
Ian and put together a WWI map on the table so naturally a big push scenario using the Flames of War Great War rules was calling.
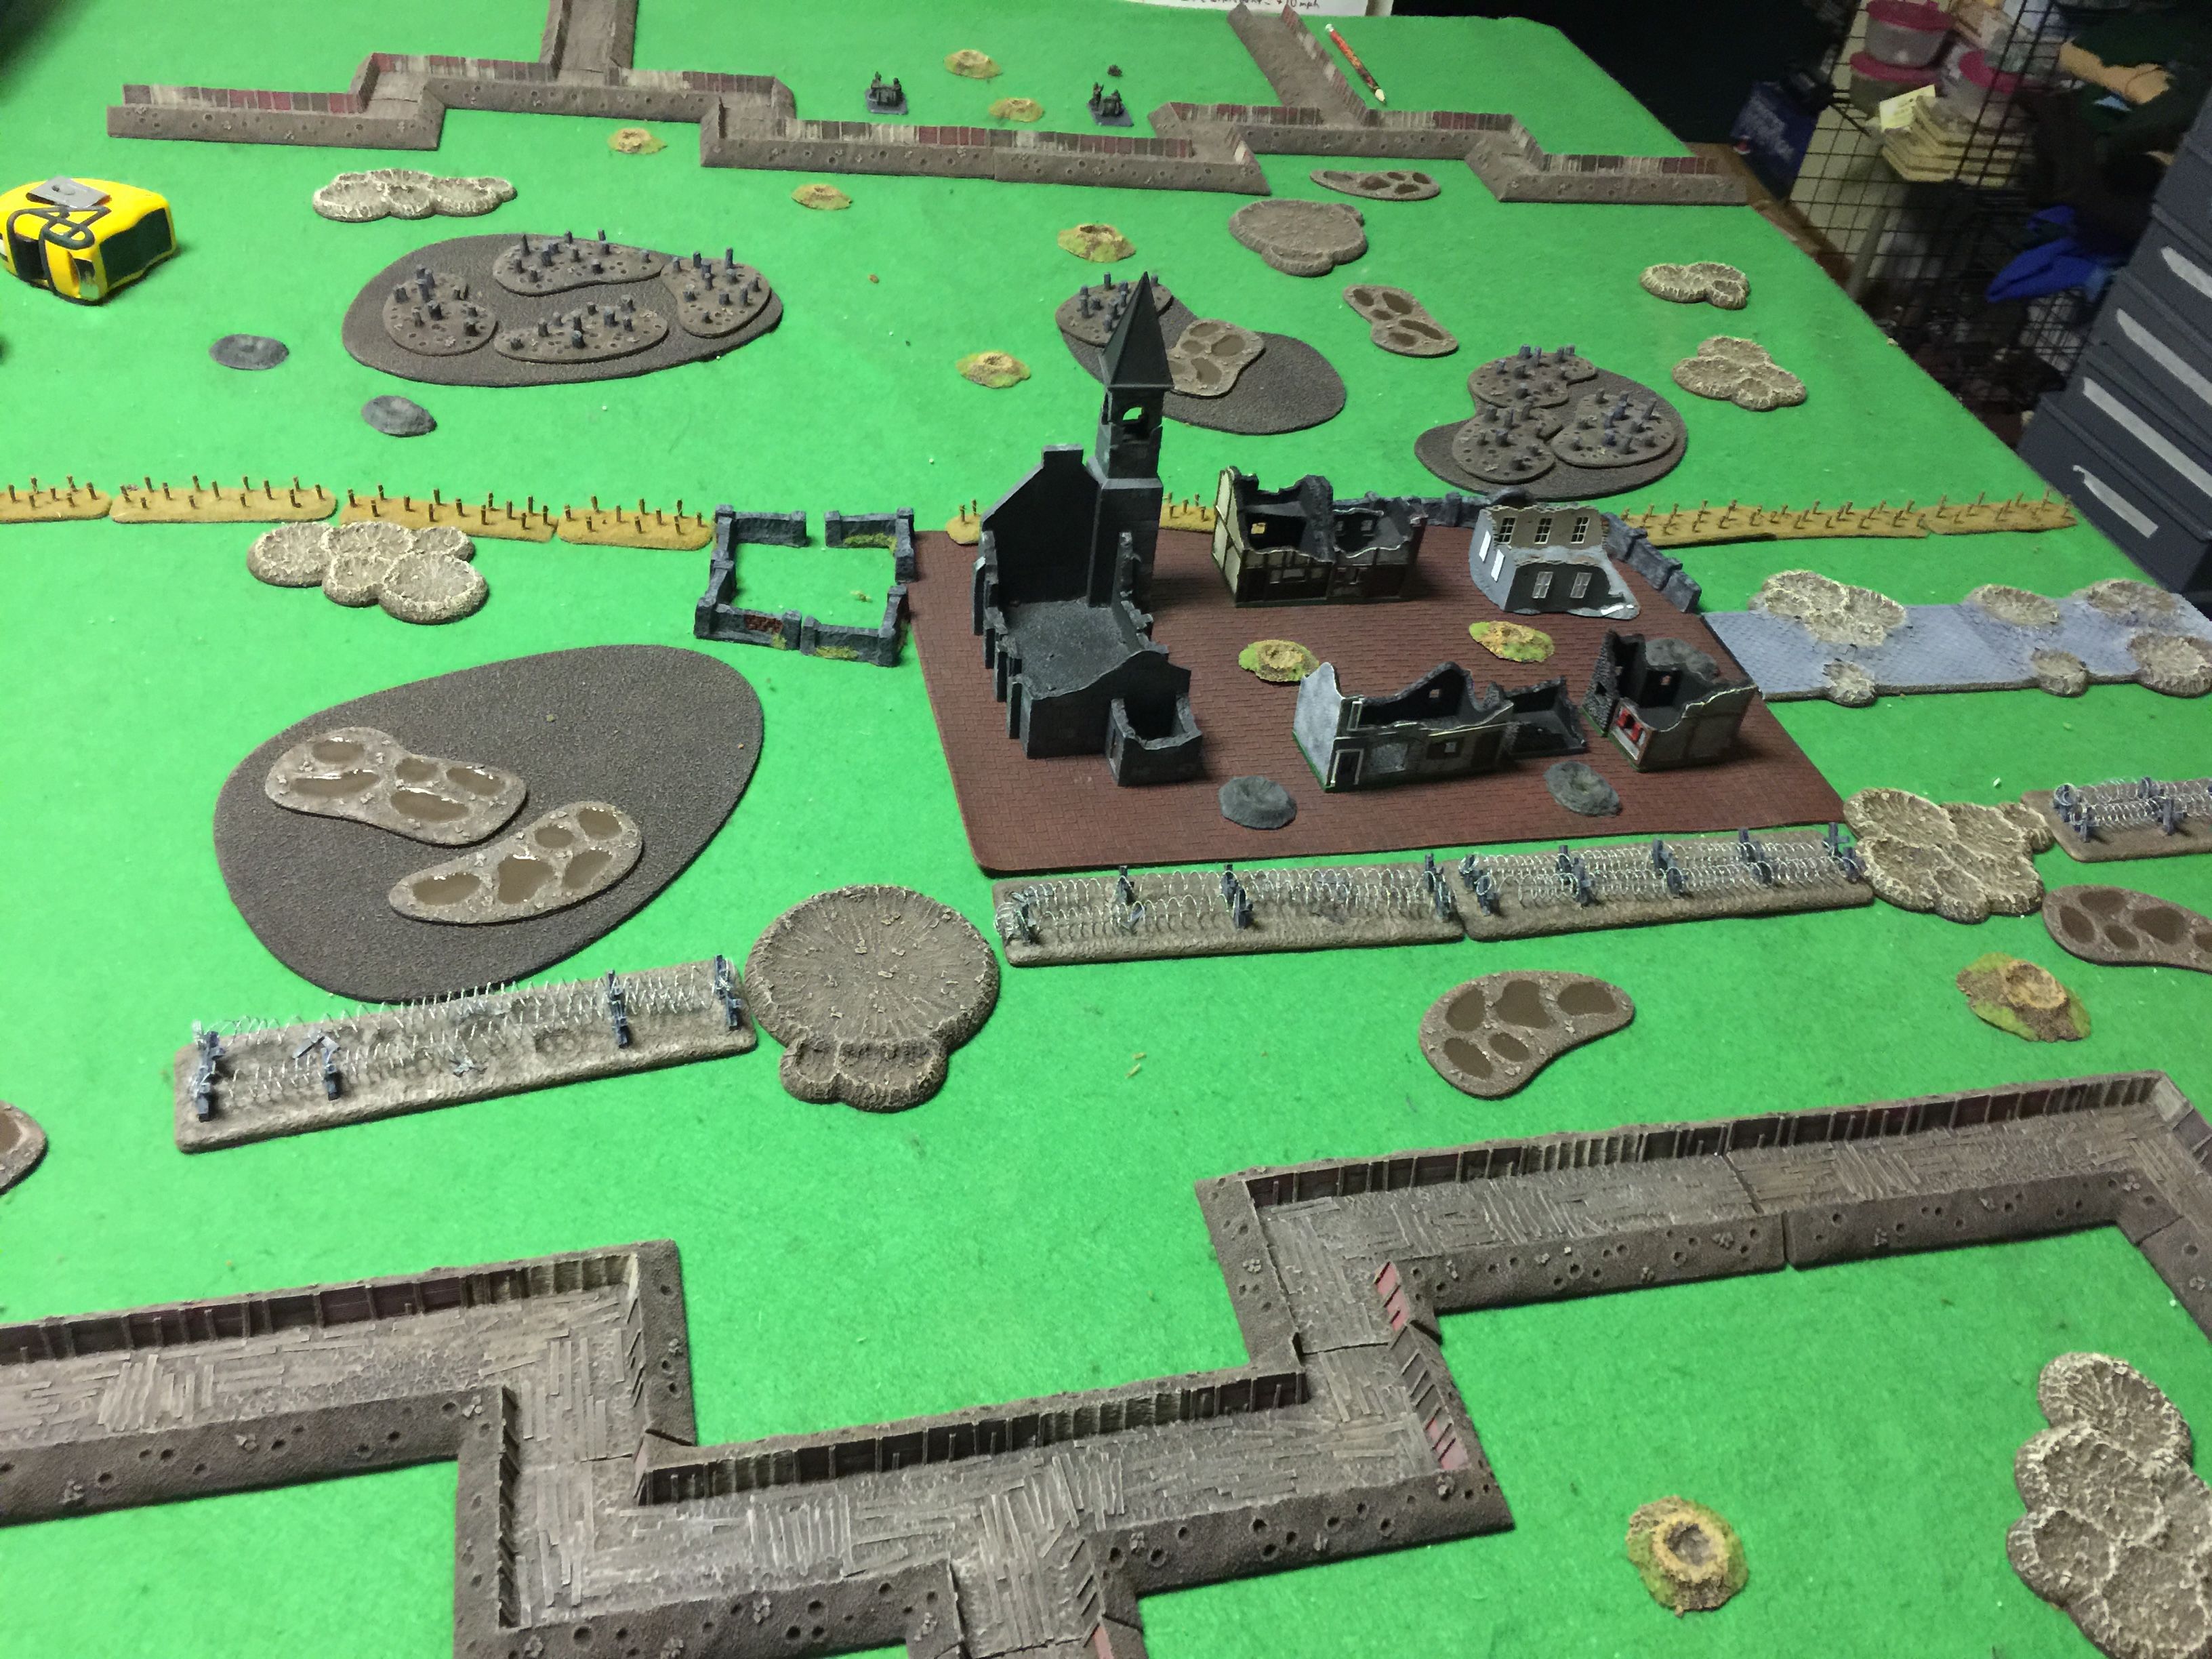
I played the Brits and Ian the Germans in a 1918 action. He was on the offensive and I on the defense.
My force was 2 platoons of straight legs. I had my Scots out for one of them. I also got a 3 gun battery of 18 lbers, a 4 tub platoon of mortars, an HMG platoon and 2 whippets for good measure.
Ian picked up a straight legs platoon, 2 7.62 Krupp guns he was just dying to use, a stoss platoon with a flame thrower team, an HMG platoon, a couple of mortars at the company level and then an Av7.
Turn 1 of course had Ian starting just back from the center line. In the picture above that’s just on the other side of the wire on the far side of the town. Alas those trenches on the other side of the table just wouldn’t get used.
With the big push that means that I had to pick for 1/2 of my initial forces to start on table and then hope reinforcements would save the day depending on how hard I might get hit.

I deployed a straight leg platoon of infantry on my left and then my HMG platoon on the right. I also picked up the 3 18 lbers at the start, having them being dug in. Ian spread his men out at the beginning quite a bit. So he put back the initial push a bit. I think he really wanted to make use of the trench line back there but really that was just window dressing.

The first turn was pretty uneventful, especially considering with the big push as the defender you start pinned. Worse since my entire force was confident trained and my dice were being less than great, I failed my unpinning rolls across the board. So much for a great rate of fire or using my artillery. sigh.

Turn 2 the Germans infantry was getting a little closer. The town was effective cover in the middle and on both side there were a couple of channels for them to filter through and shell holes a plenty to grab some cover in. On turn 2 I was finally able to get my HMG and artillery to unpin but my lone infantry platoon still felt the need to keep to the cover.
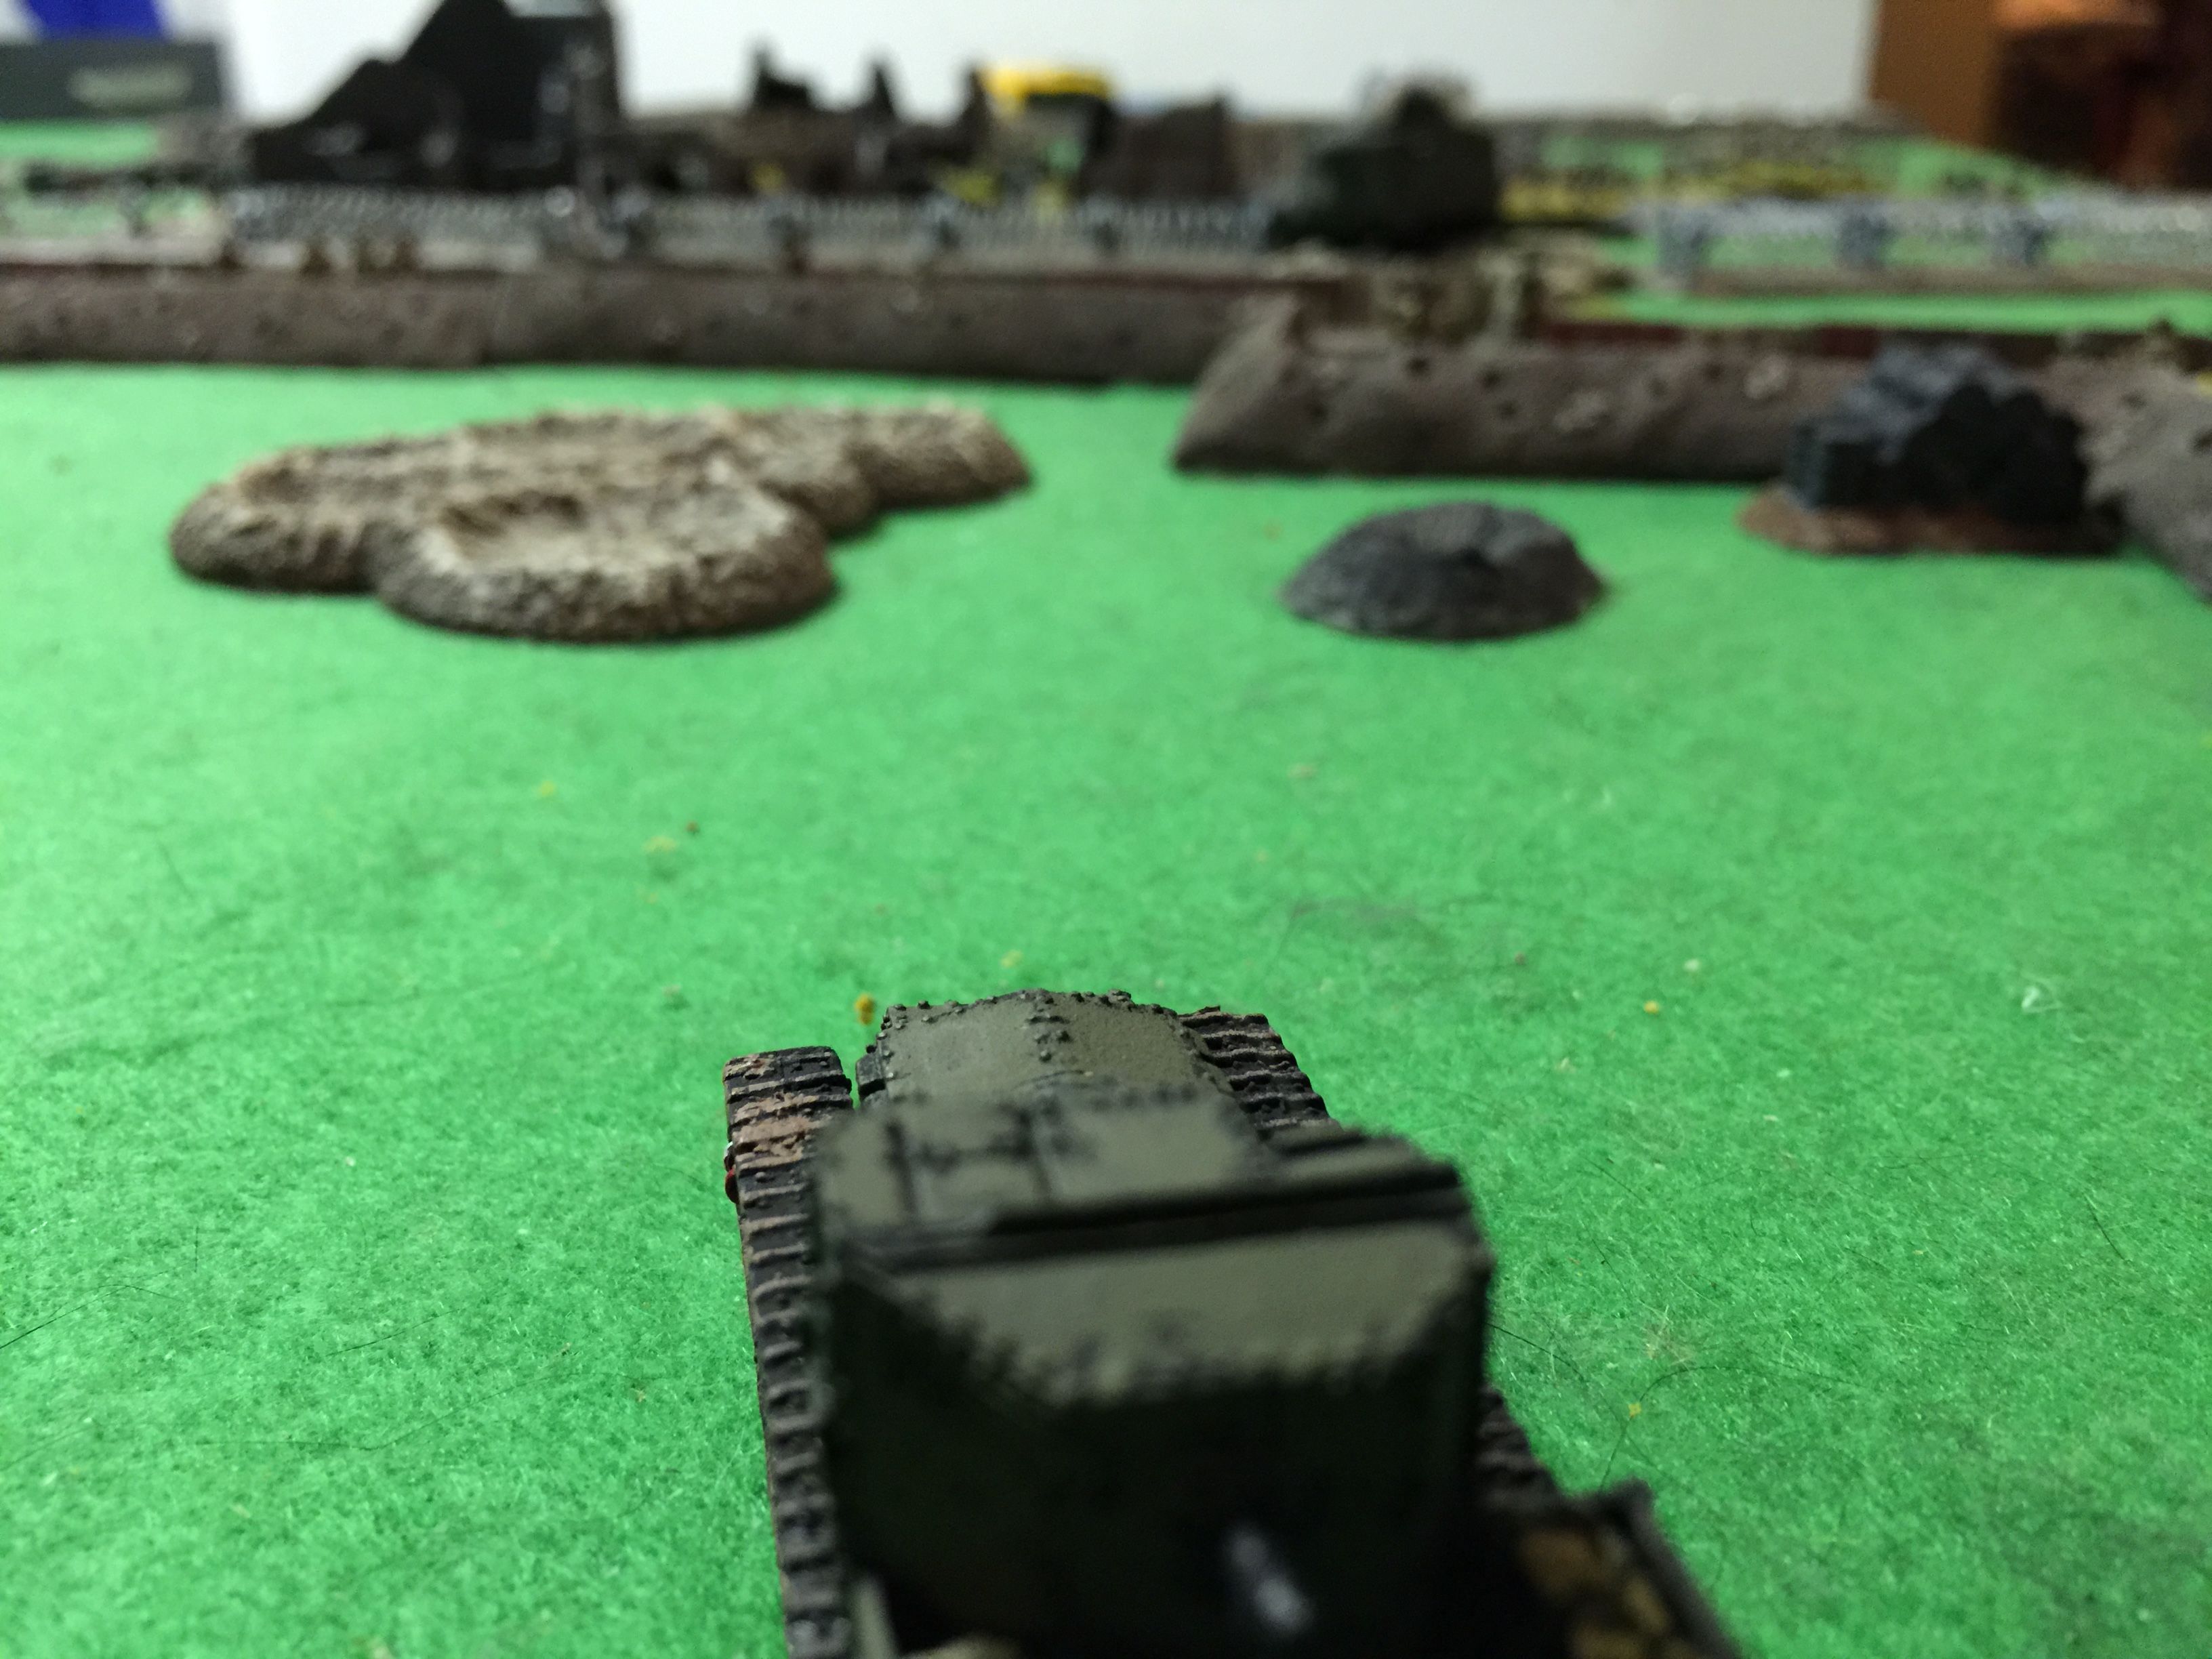
Ian’s A7V was rolling forward fine. With no bogging this was definitely my area of concern since only my artillery could handle that tank. I was hoping I could make quick work of it and then get back to pounding the incoming infantry.

Such a juicy target off in the distance. And hit it I did but I didn’t destroy it and instead put a couple of damage markers on it. Finally some decent shooting on my part. Otherwise the German infantry was advancing with little damage.
With Turn 3 I got my first reinforcement rolls so given I hadn’t suffered much in the way of damage yet I figured I’d bring the whippets on. Tank-a tank-a tank-a! I also had a second platoon successfully rolled for from the 3 dice, and I chose my Scottish Infantry. The Whippets rolled a 5 for entry and thus could come on anywhere and a 3 for the Scots which had the coming down the left communications trench. Bugger! I really needed them on the right flank!
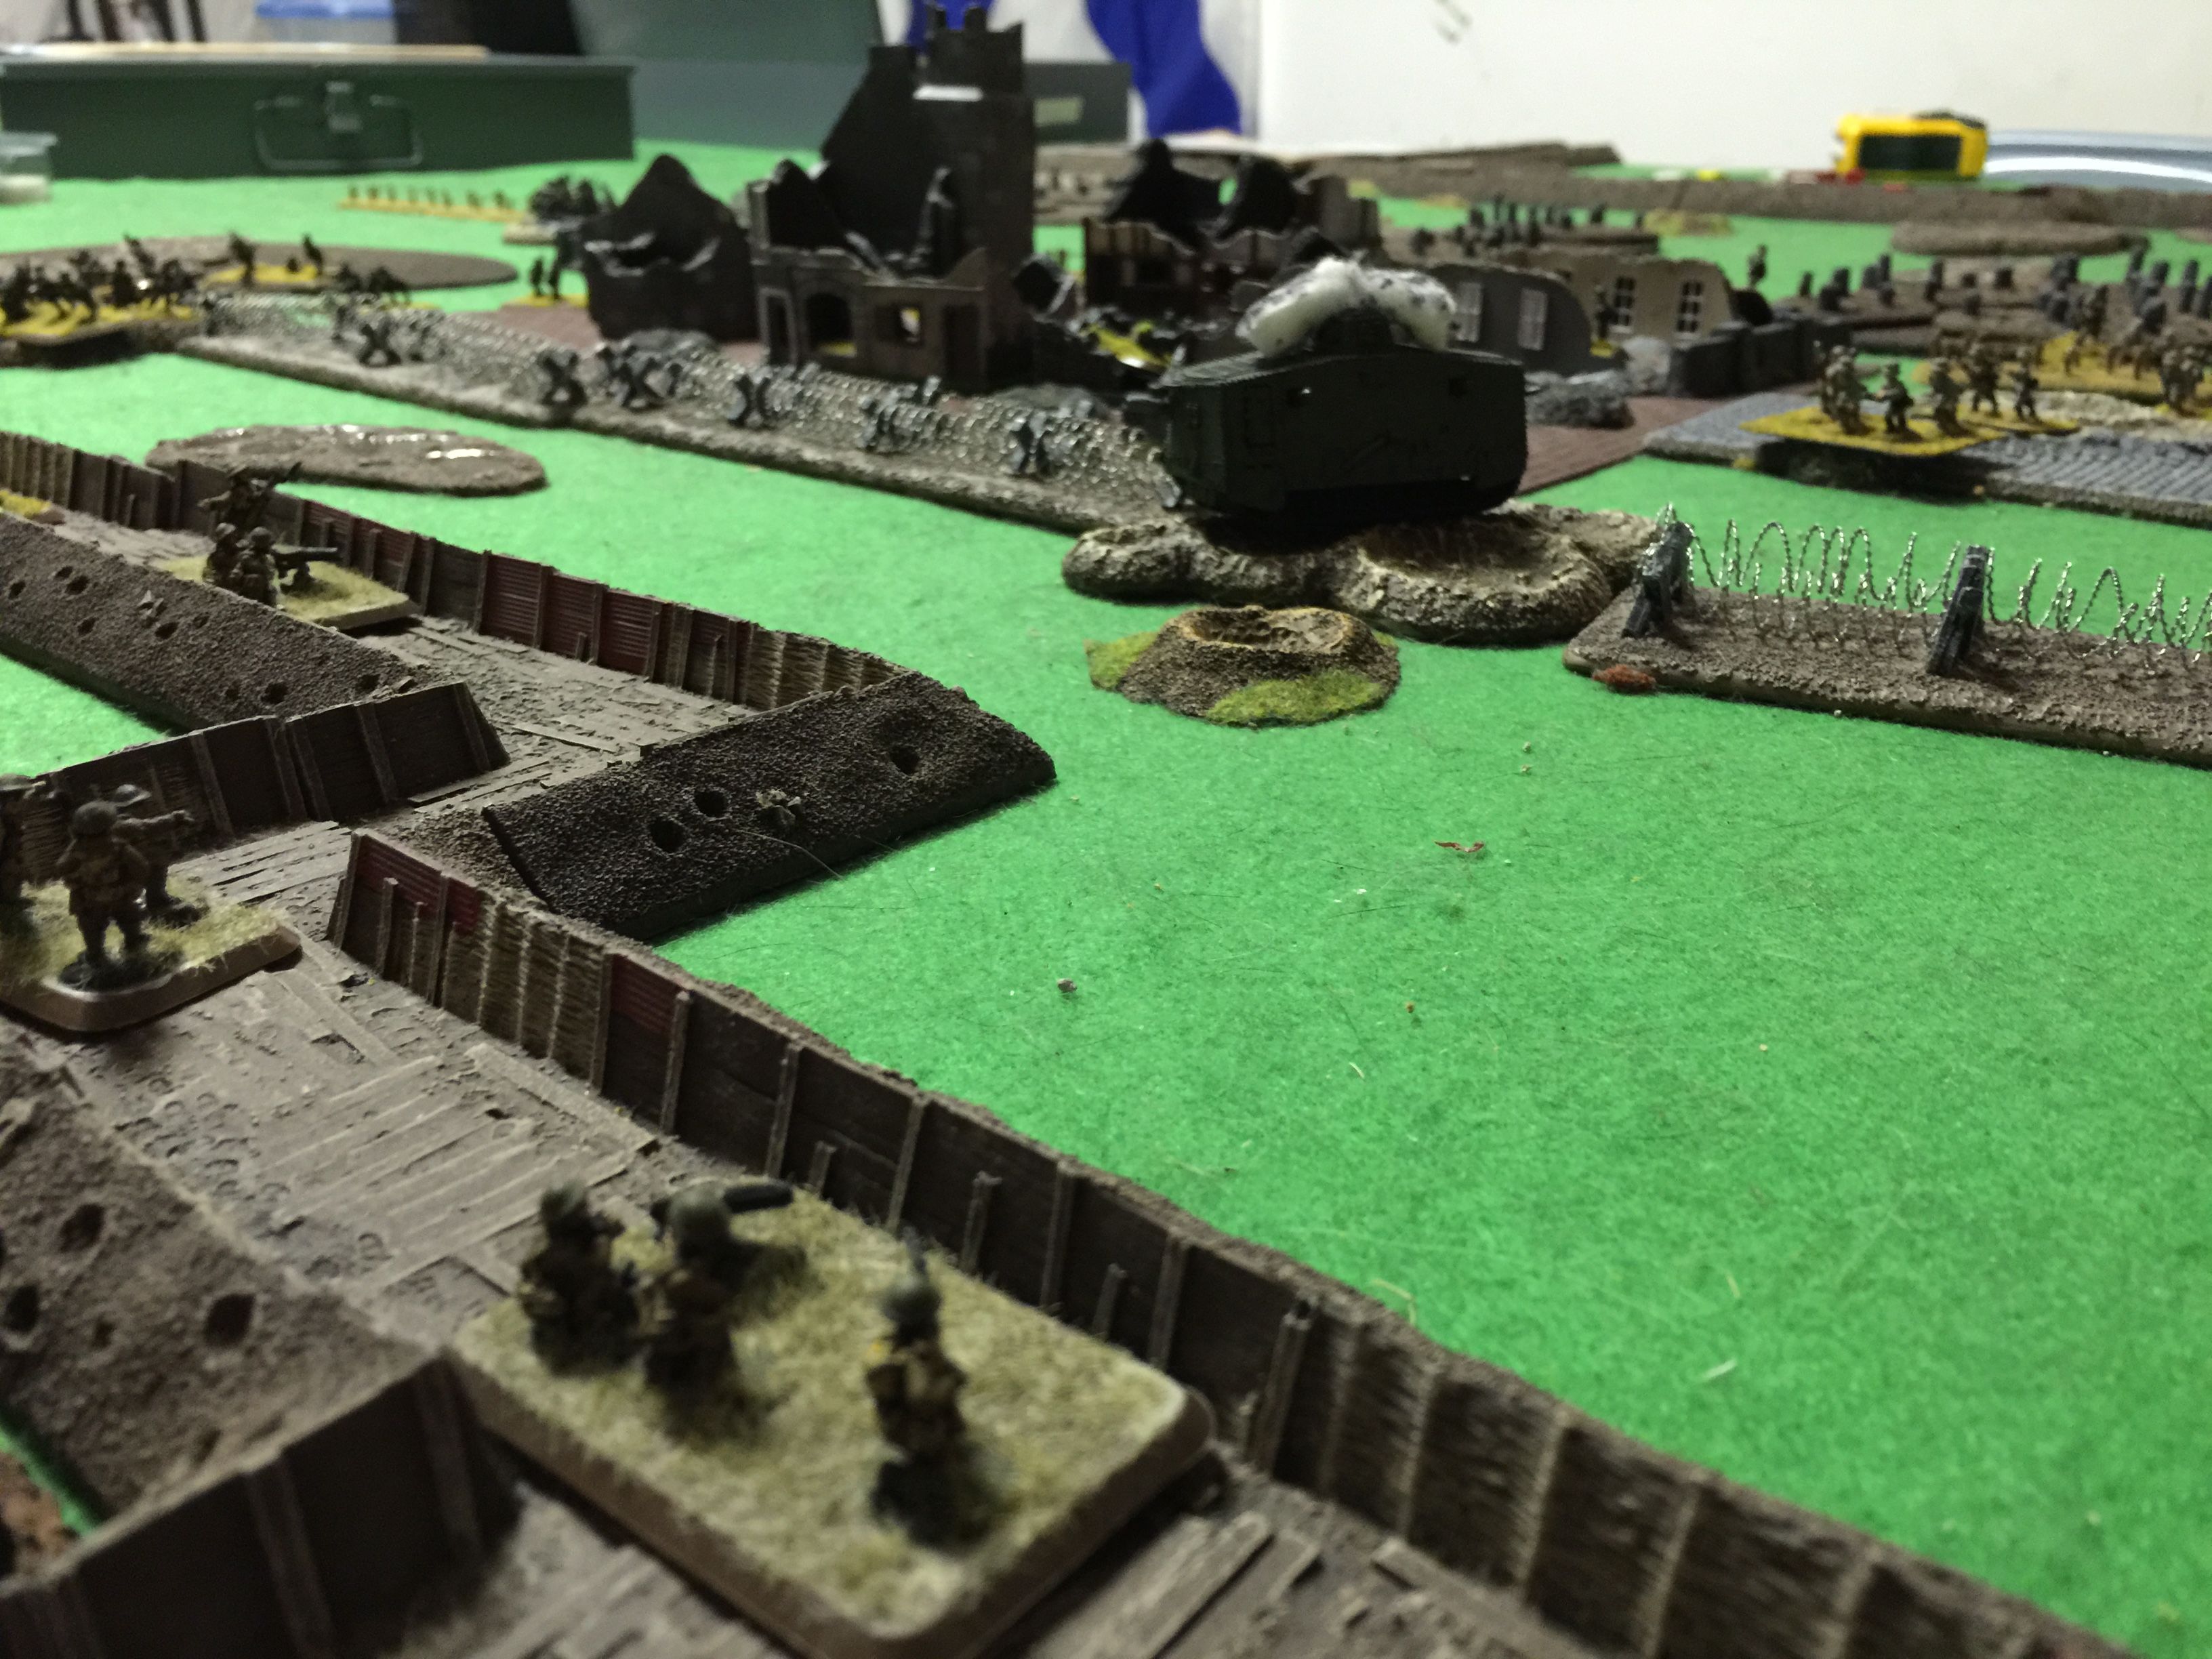
Ka-boom! Ian didn’t get his A7V repaired at all in Turn 3, so at the bottom of the turn I was able to complete the distruction. Tho off in the distance on the left, you can see the Germans were streaming my way. Ian placed a sniper in the town in Turn 2 and unfortunately he was causing a platoon here and there to dive for cover and go pinned. Grrr! Otherwise my fire at the incoming hoard was down right poor and I was starting to brace myself for a future assault phase that was going to be bloody. Also on the right side here you can see the Stoss in the shell holes. I was throwing HMG fire into them but just not landing any hits with the bullet proof cover. Least my artillery would be back online in turn 4 for using against infantry.

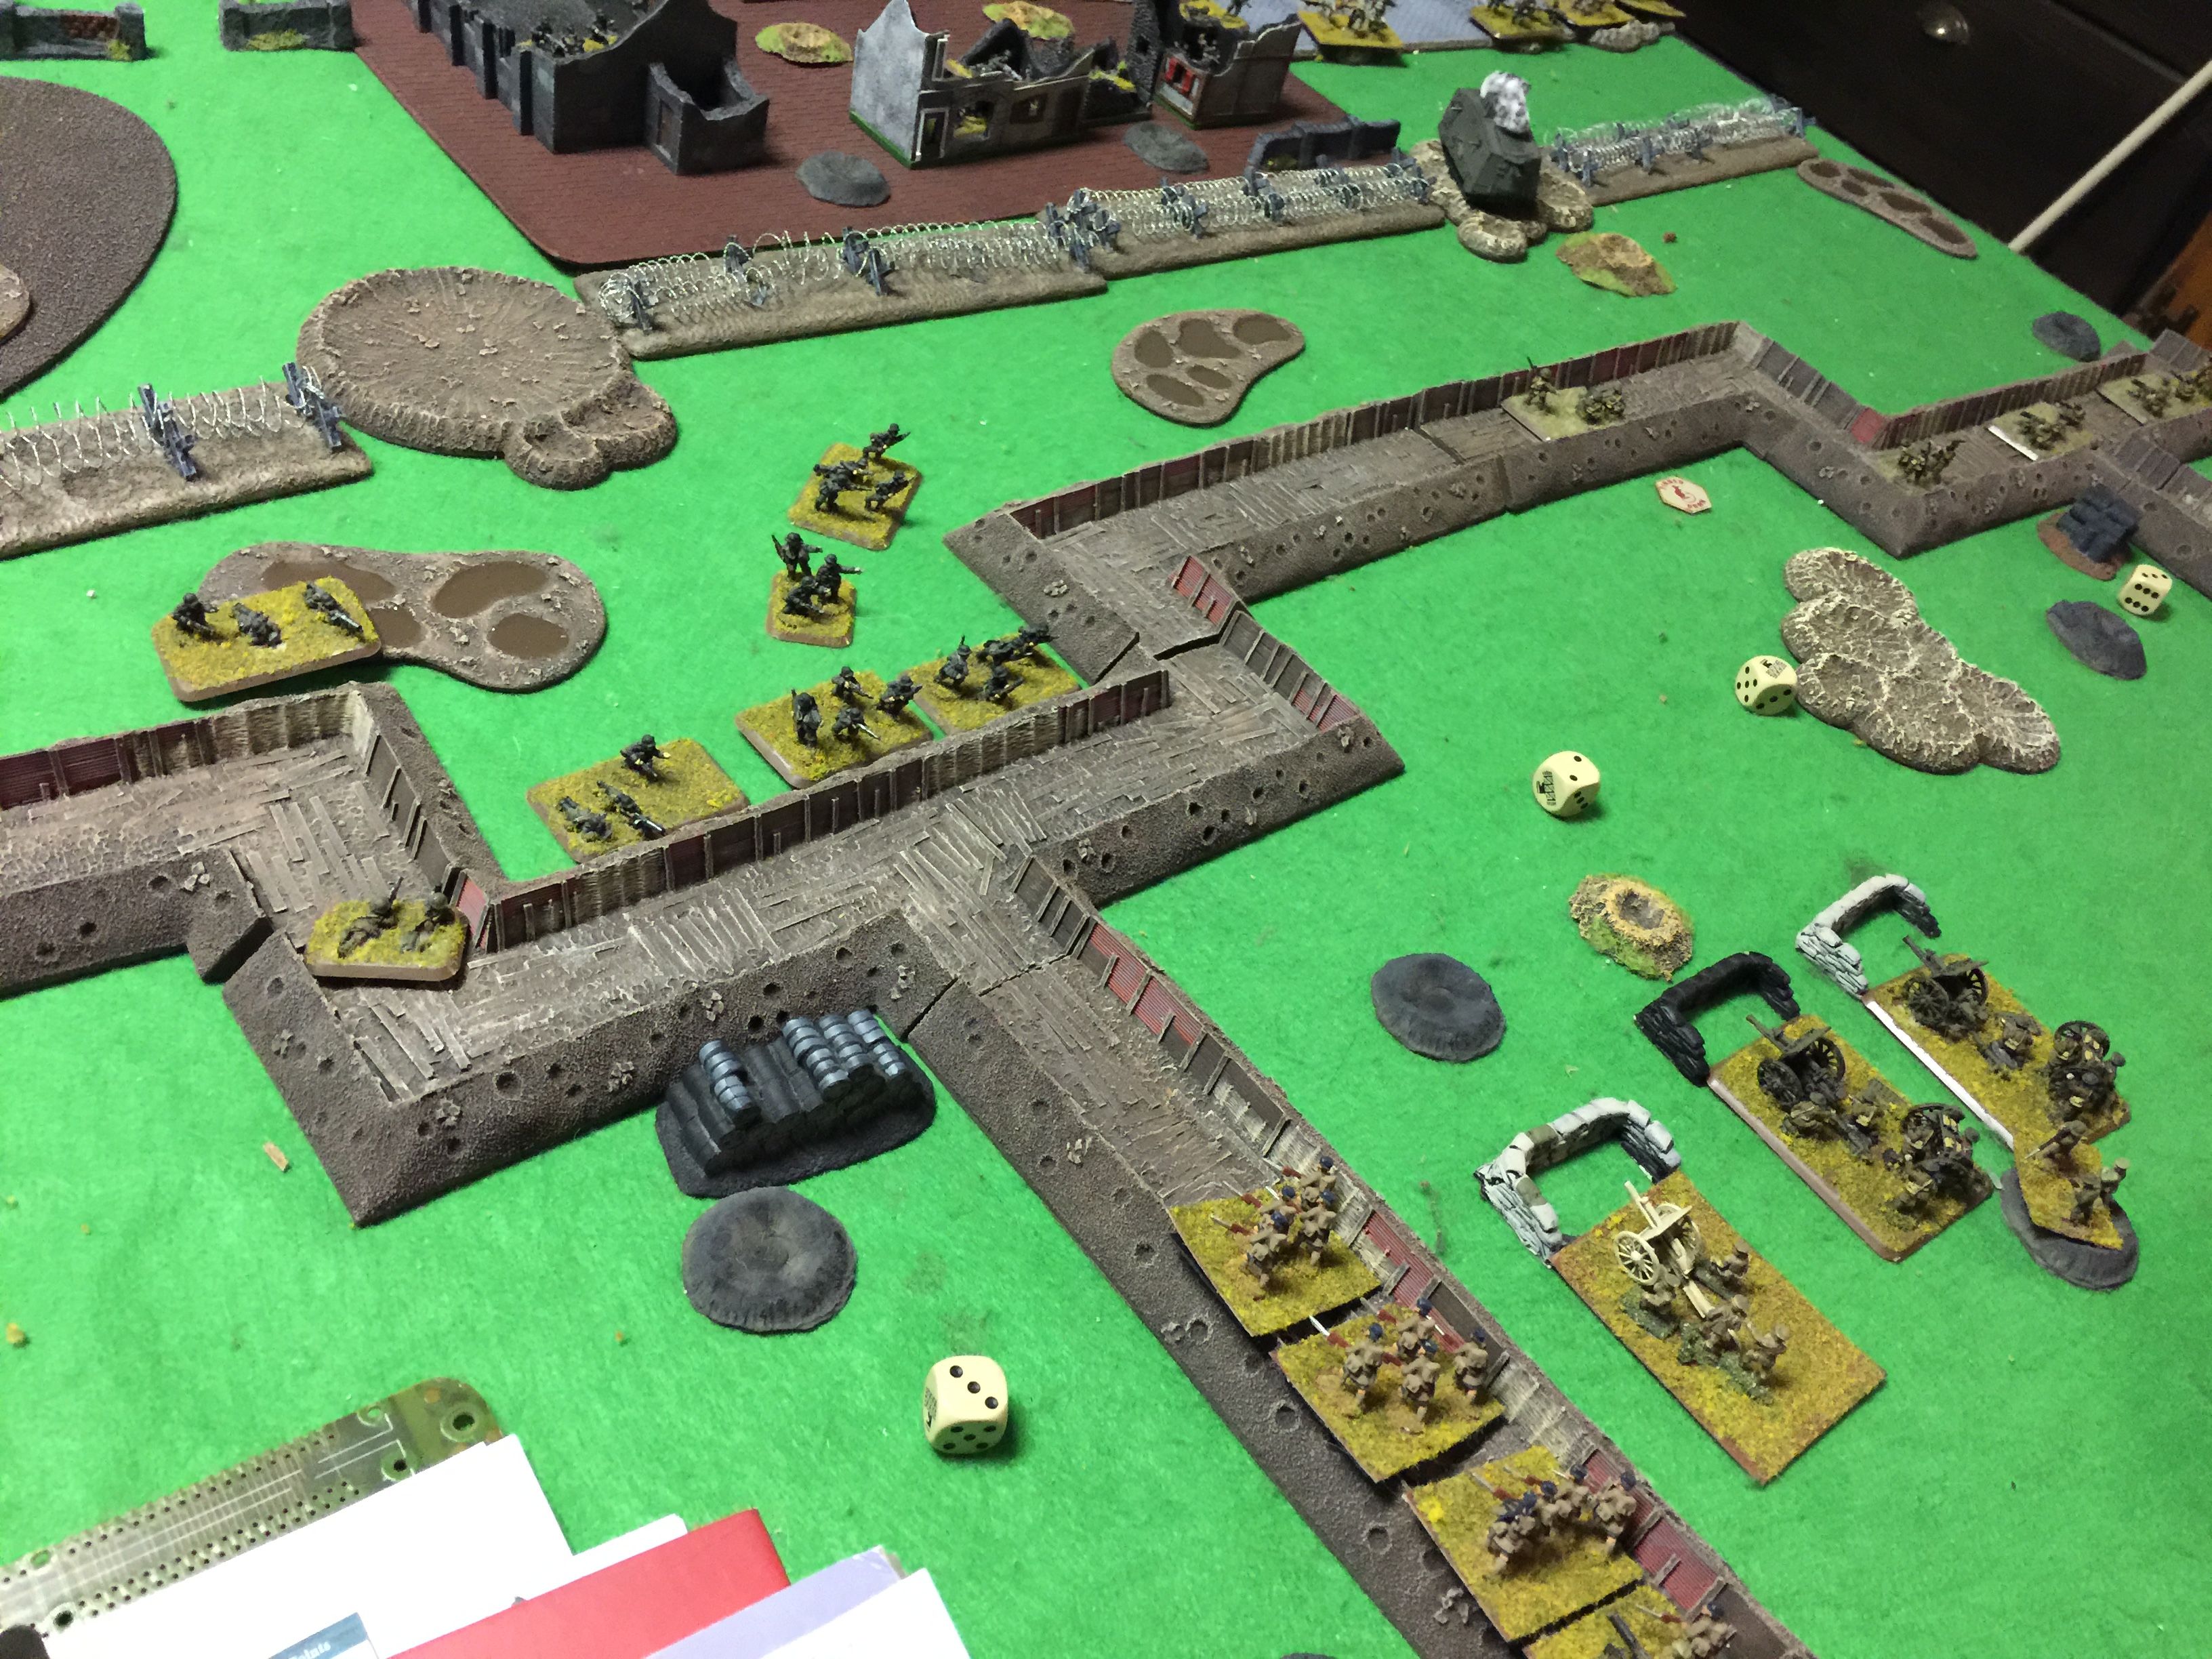
A view from behind the German Stoss platoon. You can see in the town German HMGs and mortar teams getting into position.

So bottom of turn 3 here on the left flank. Things looking quite secure and with the Scots coming down the communications trench as reinforcements.

Surprise, surprise the Germans assault and once again my fire is just horrible, so while the Germans lost a couple of teams on the defensive fire, they make it in for the close combat where things go back and forth a few very bloody rounds when the Germans finally decide they’ve had enough. Unfortunately on consolidation my platoon has decided it’s had enough and makes a run for it, failing it’s platoon morale roll entirely. No matter the Scots will save the day … right?
So the only thing left is the one sniper of mine. I double march the Scots into place so they can defend the trench. This turns out to be a bad idea. More on that in a second.

So I’m able to refill the trenches. But you can see the very big problem I’m about to have on the right flank. A mob of Stoss incoming. I start to point the Whippets over in that direction.
My Scots on the left get into place. But given the double move, that cause them to receive double hits. I’m in bullet proof cover. So no problem right? No problem. Big Problem. Ian throws a hail of HMG prep fire etc into me and so that results in a number of losses. The as Ian assaults, the Scots don’t get to do defensive fire, so we just go into it. It’s a bloody back and forth scrum which again my dice seem to think I should be doing something else so the end result is pretty bad.

Where did everybody go? Yup you got that right. Ian wins the fight but given that damage fails platoon morale and pick up. So my snipper team is holding the left flank all by himself and would for the rest of the game.

So what of the Stoss platoon? Well due to some damage my HMG platoon was whittled down to just 1 team left and the 2iC company commander and the platoon commander. I sent my Whippets over toot sweet in hopes they might be able to save the day.
Further my mortar platoon is rolled up as reserves and comes in on the right communications trench. Things are looking desperate for the Brits.

My whippets do their best none small pass impression and fail to really do much. They take out a couple teams.
Ian on the other hand, has 4 HMGs, his 2 7.62 Krupp guns all into my Whippets…..
…and scores a crap ton of his causing them both to bail.

The assault goes just how you think it would, Ian clearing my out easily and it’s basically and easily game for the Germans. There’s not way the single mortar platoon is going to take on a Stoss platoon but just for good measure and to drive the point home, with my losses, I’d have a roll for company morale, but it’s an auto fail since the CiC and 2iC both have died in the trenches.
Good game, with very code dice.