Our historical miniatures group got together on Oct 15th and finally got in our first game of Sharp Practice using the newish version 2 of the rules.
It’s written to cover skirmish action between roughly 1700 to the US Civil War, which is quite a range of time.
The system by the Two Fat Lardies, is well written and plays somewhat like Chain of Command but with more of a historical flair. They have a good system points so that it’s easy to show up with an army of X points, and play out an action between sides. It’s all the rage these days but I do appreciate a points based system for games, as compared to that age old problem of “what battle should we re-fight this week and I hope I can find approx OBs for those that were present” which is fun too, but it’s all more prep time.
You assemble a deck of cards where the cards are made up for colored flags, ~4 for each side, and then a card for each of the commanders and a little filler, one of the filler cards is the “end of turn” card, so when that is drawn, you reshuffle.
Activation is based on the command card being drawn. Or if you have a certain number of flag cards, you can potentially spend them as either an activation or augment what a unit can do when it’s command card comes up.
We did a French and Indian War action, with my french vs Eric’s Redcoats.
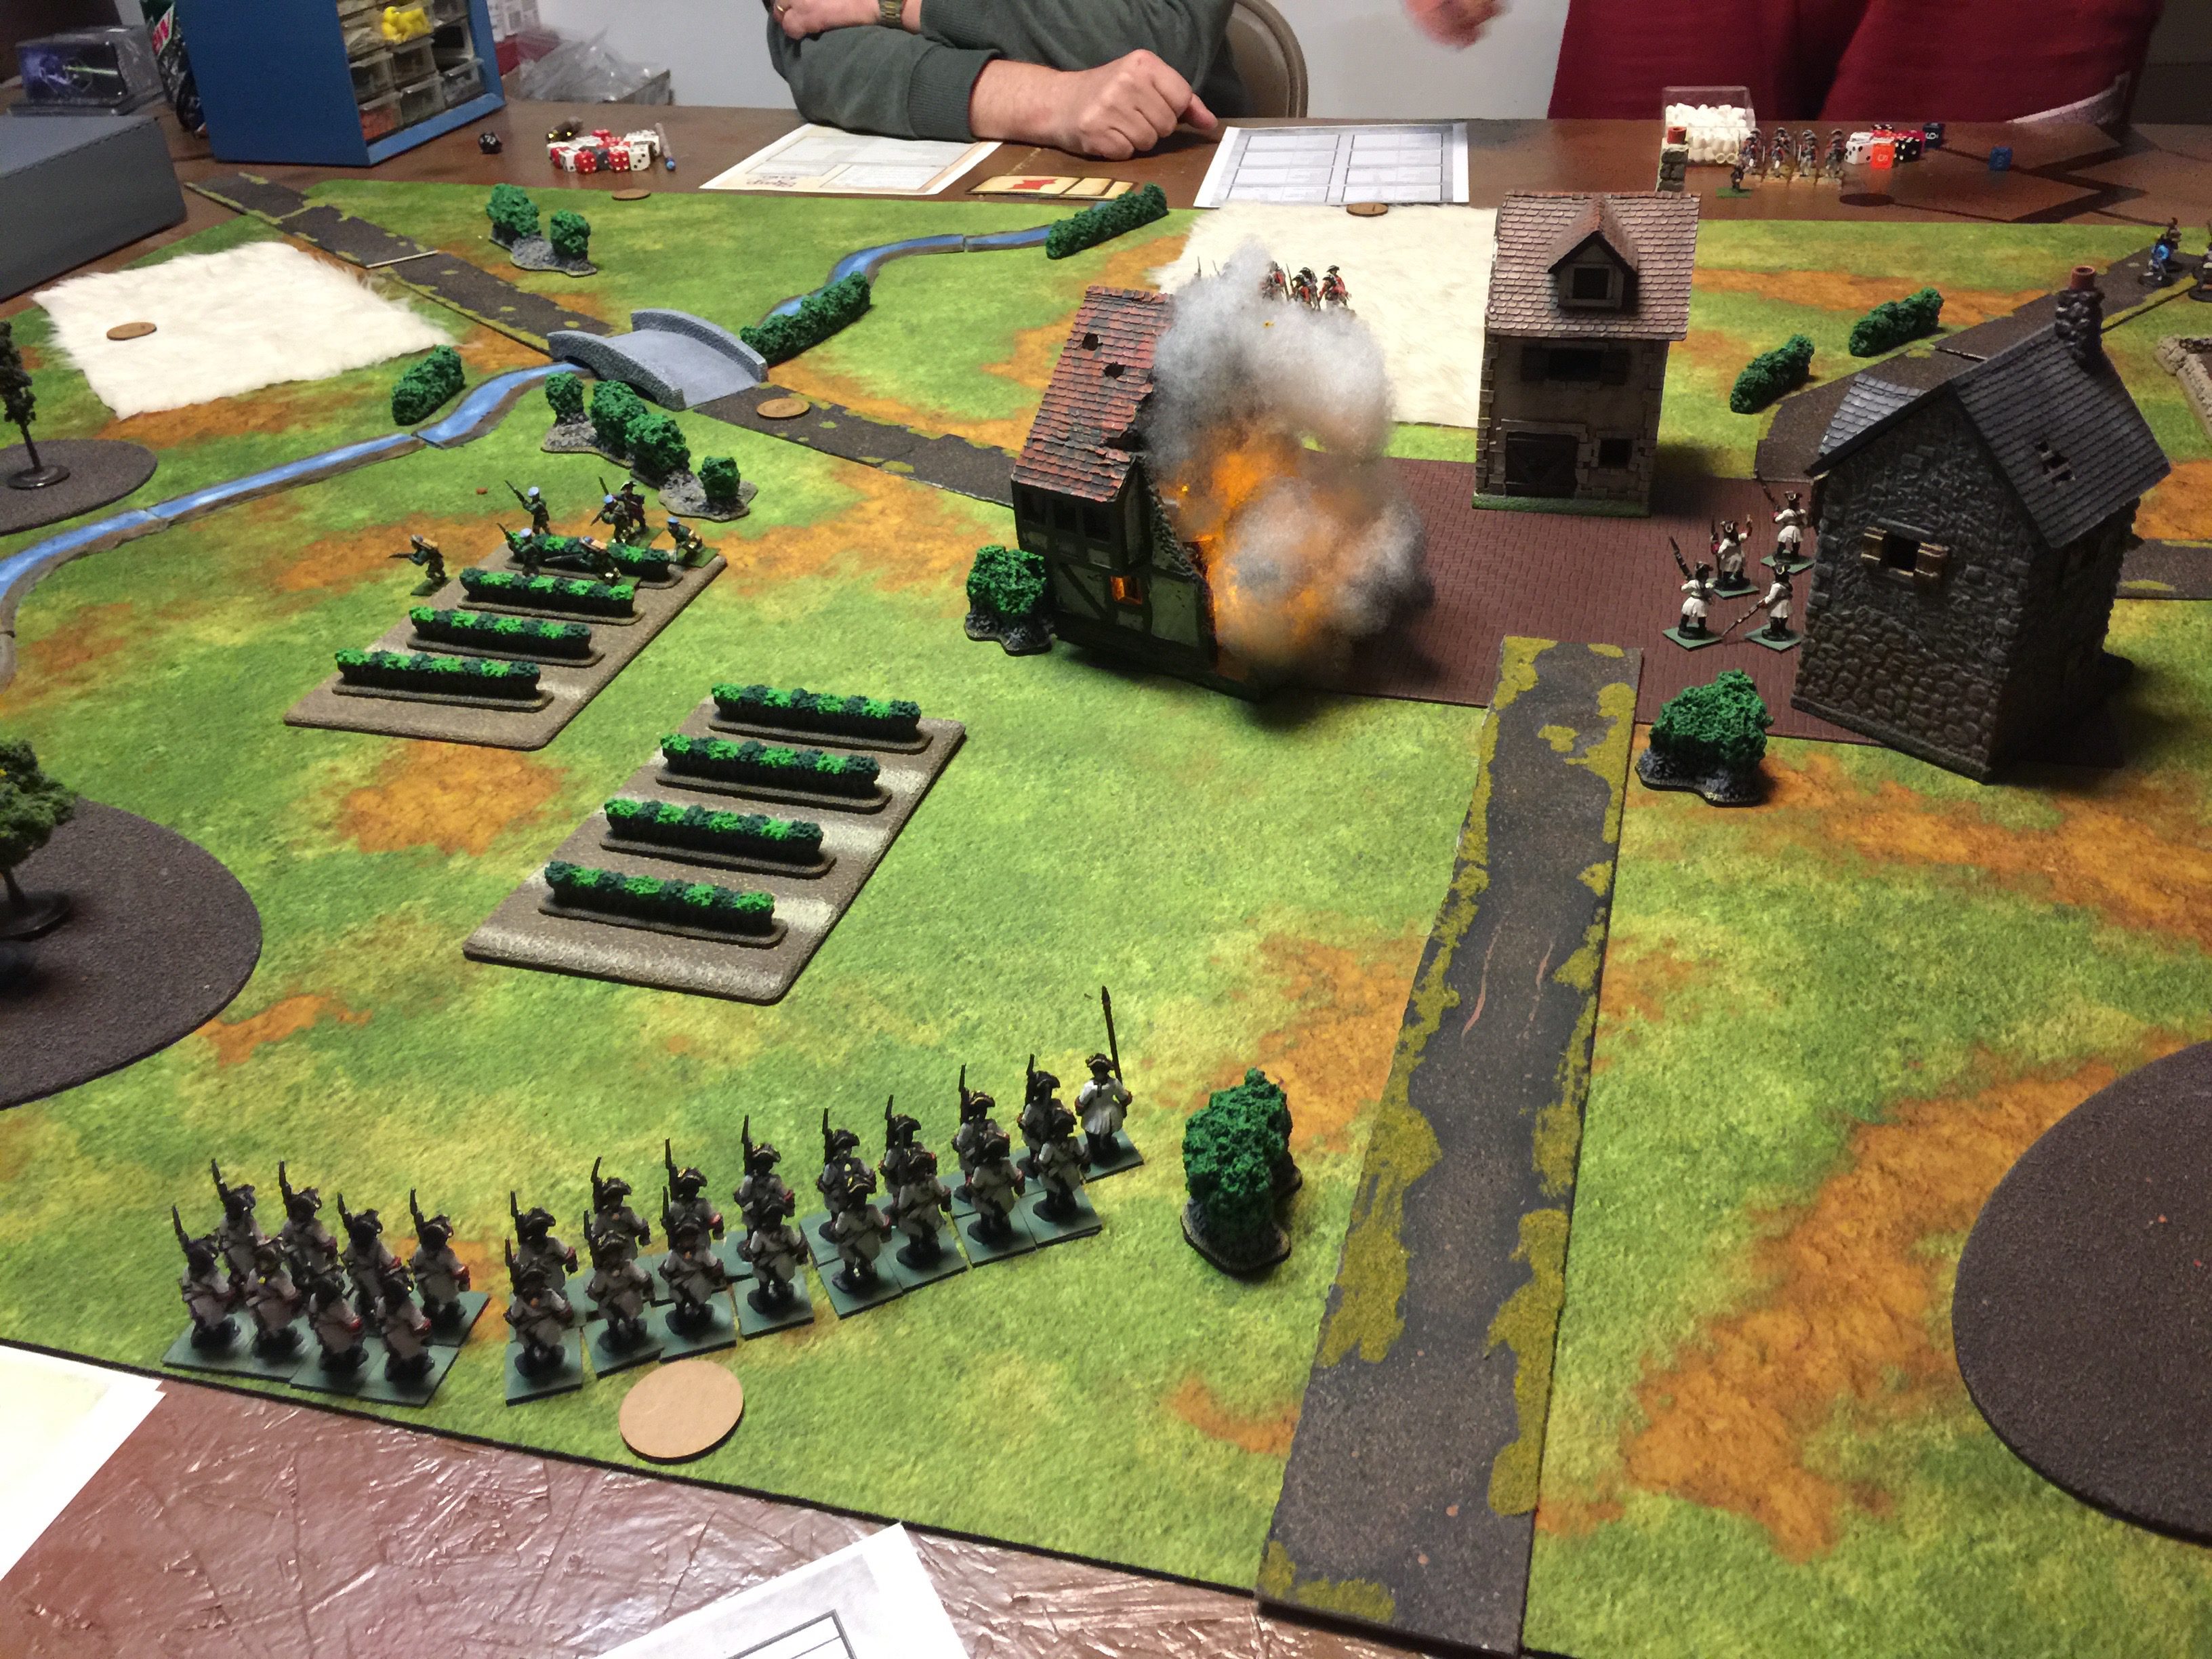
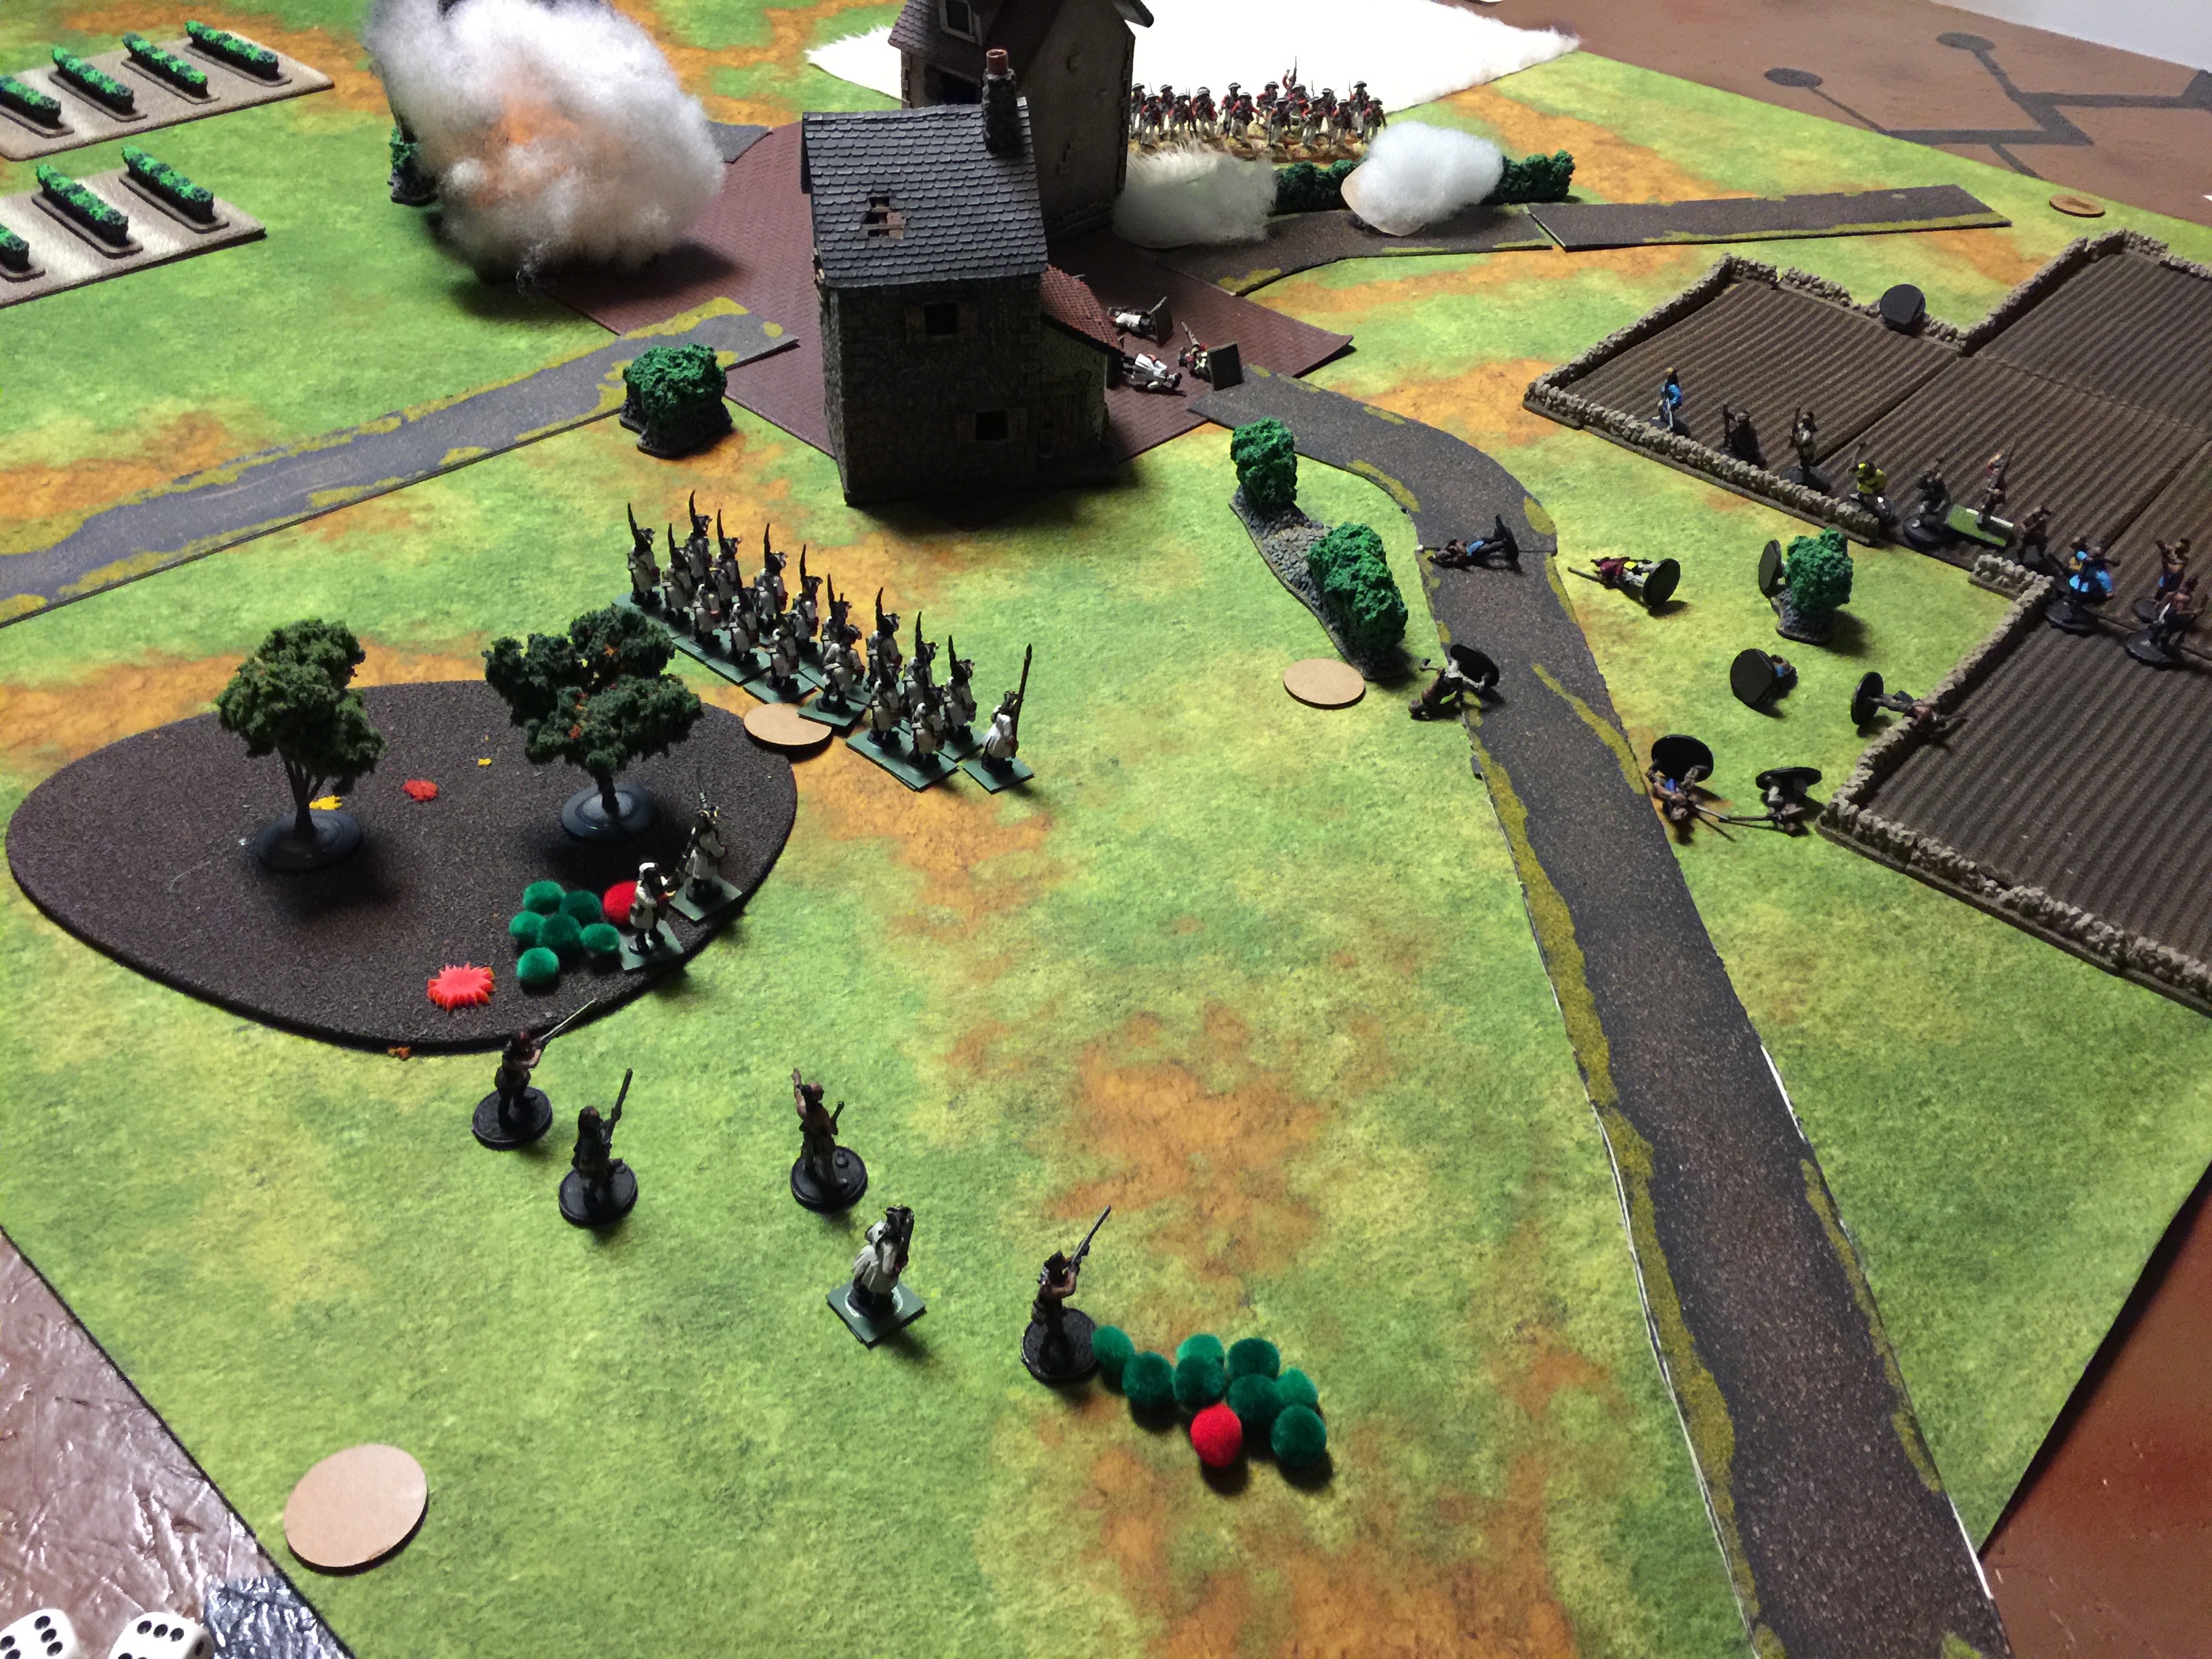
Like Chain of Command there are deployment points (the round circle on the table) so the first time through the deck, it’s about getting stuff on table. You can see I have my friend skirmishers deployed in the village and the line of French regulars coming up by the road there.
Eric dropped his skirmishers just on the opposite side of that garden and as you can imagine they were there to harass.
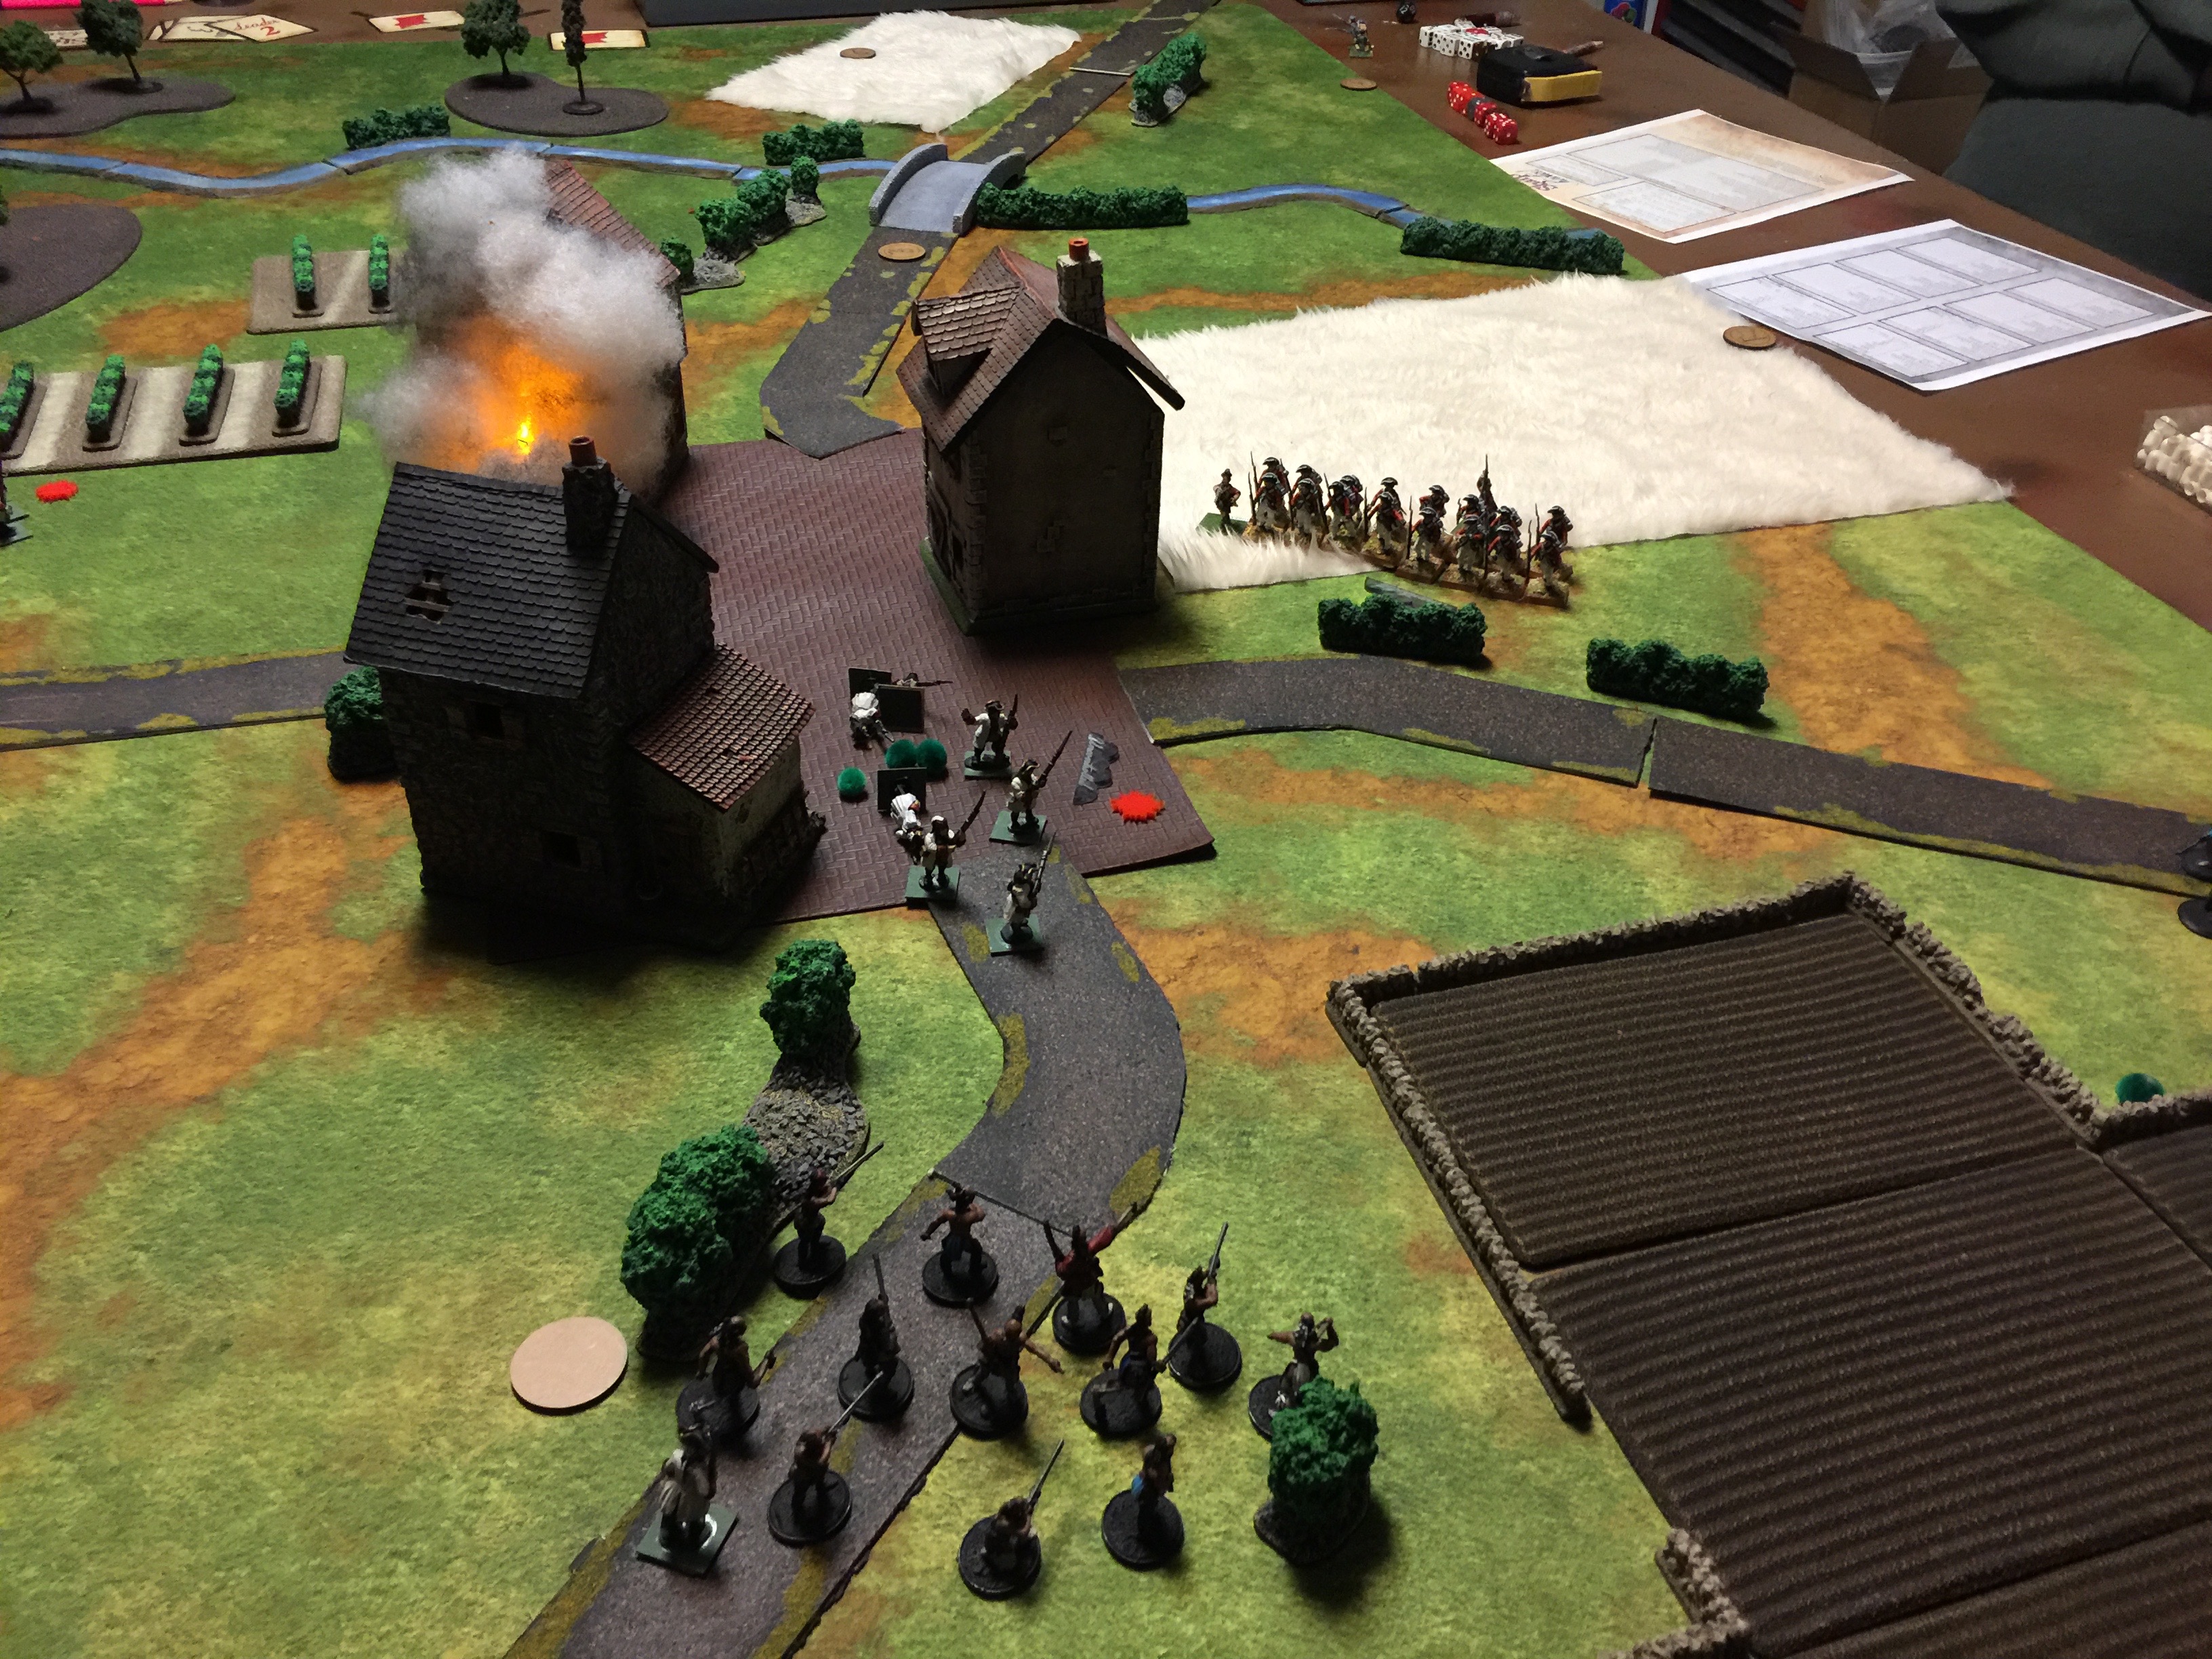
Just outside the town, my Indians deployed and behind the town a small line of British regulars deployed in the unharvested field.
Fire is conducted by rolling generally a dice to figure firing, and then rolling “saves” against the hits which depend on the cover the unit is in. A save might result in a “stress”, or a kill. For a commander, you roll afterwards, hoping to not get a number under the amount of hits the unit took, if that happens, your roll to see if your commander was wounded and how badly they were hit.
For this game the commander of the skirmisher was hit straight away by the British line infantry. He passed out and never recovered for the course of the game and this effectively took that unit out, where they then withdrew behind the Indians.
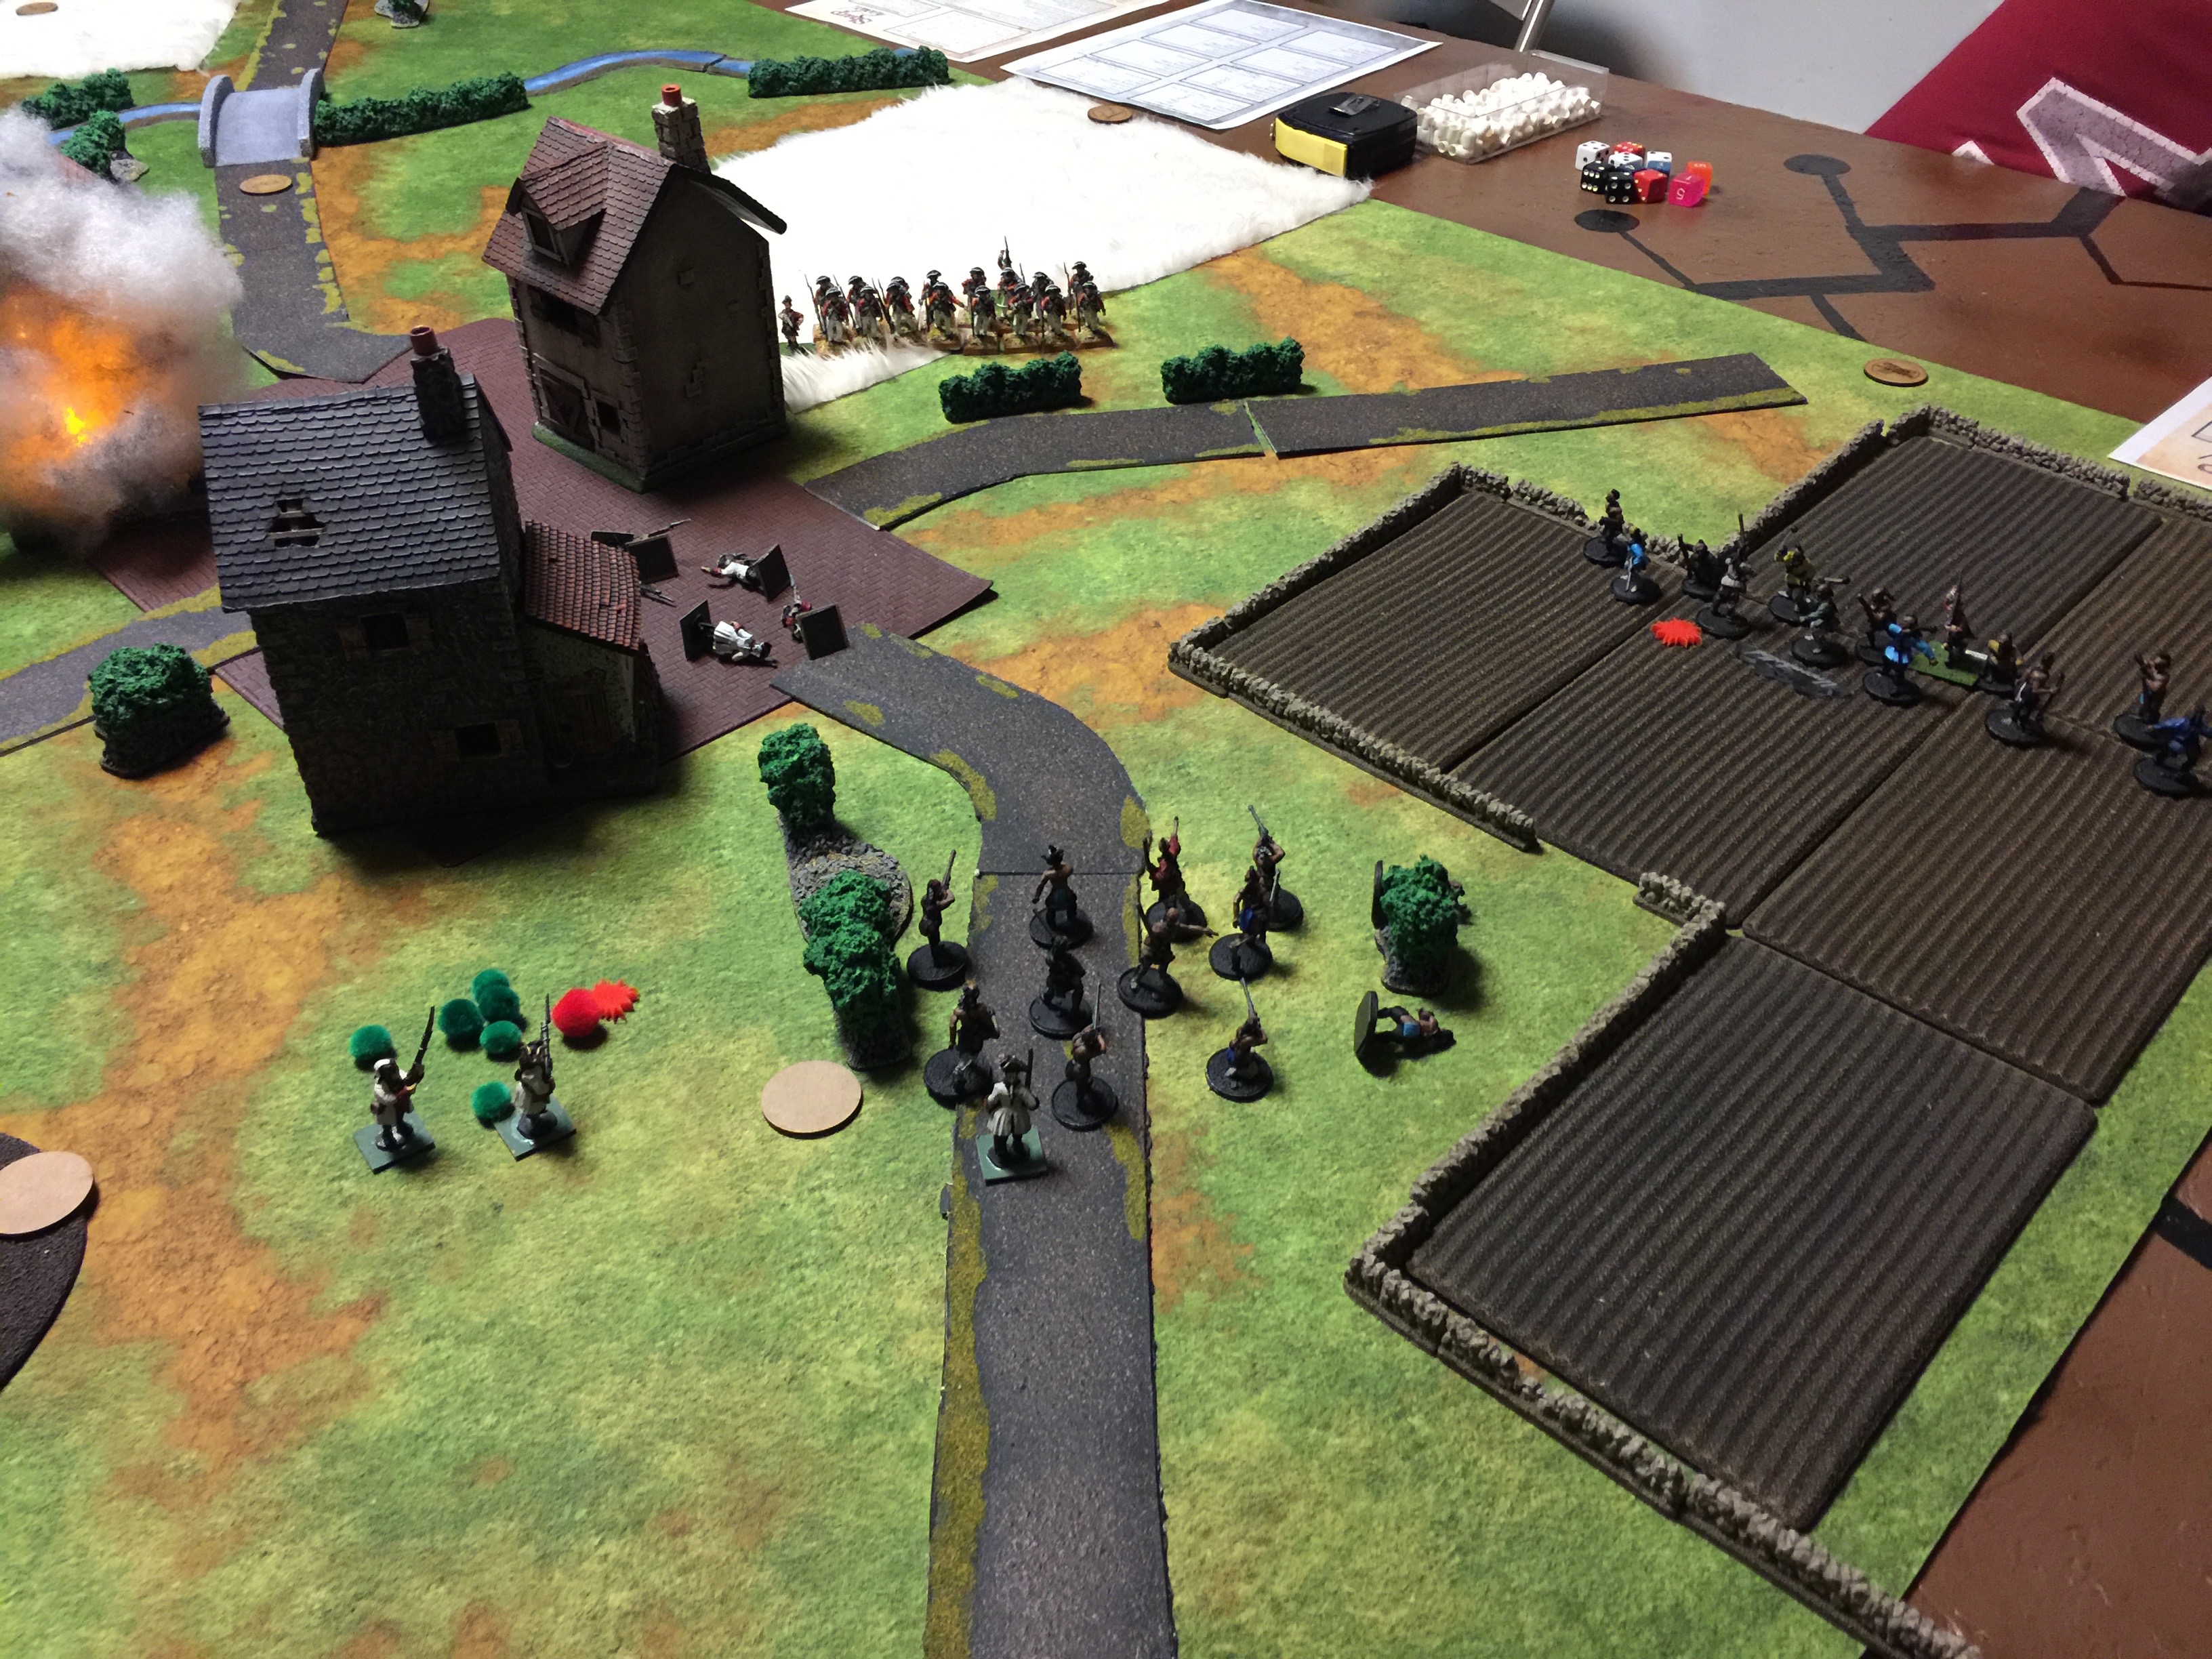
The French line split into two parts, the majority went to counter the British line since the Indians were not holding either. This flank was looking more and more grim…
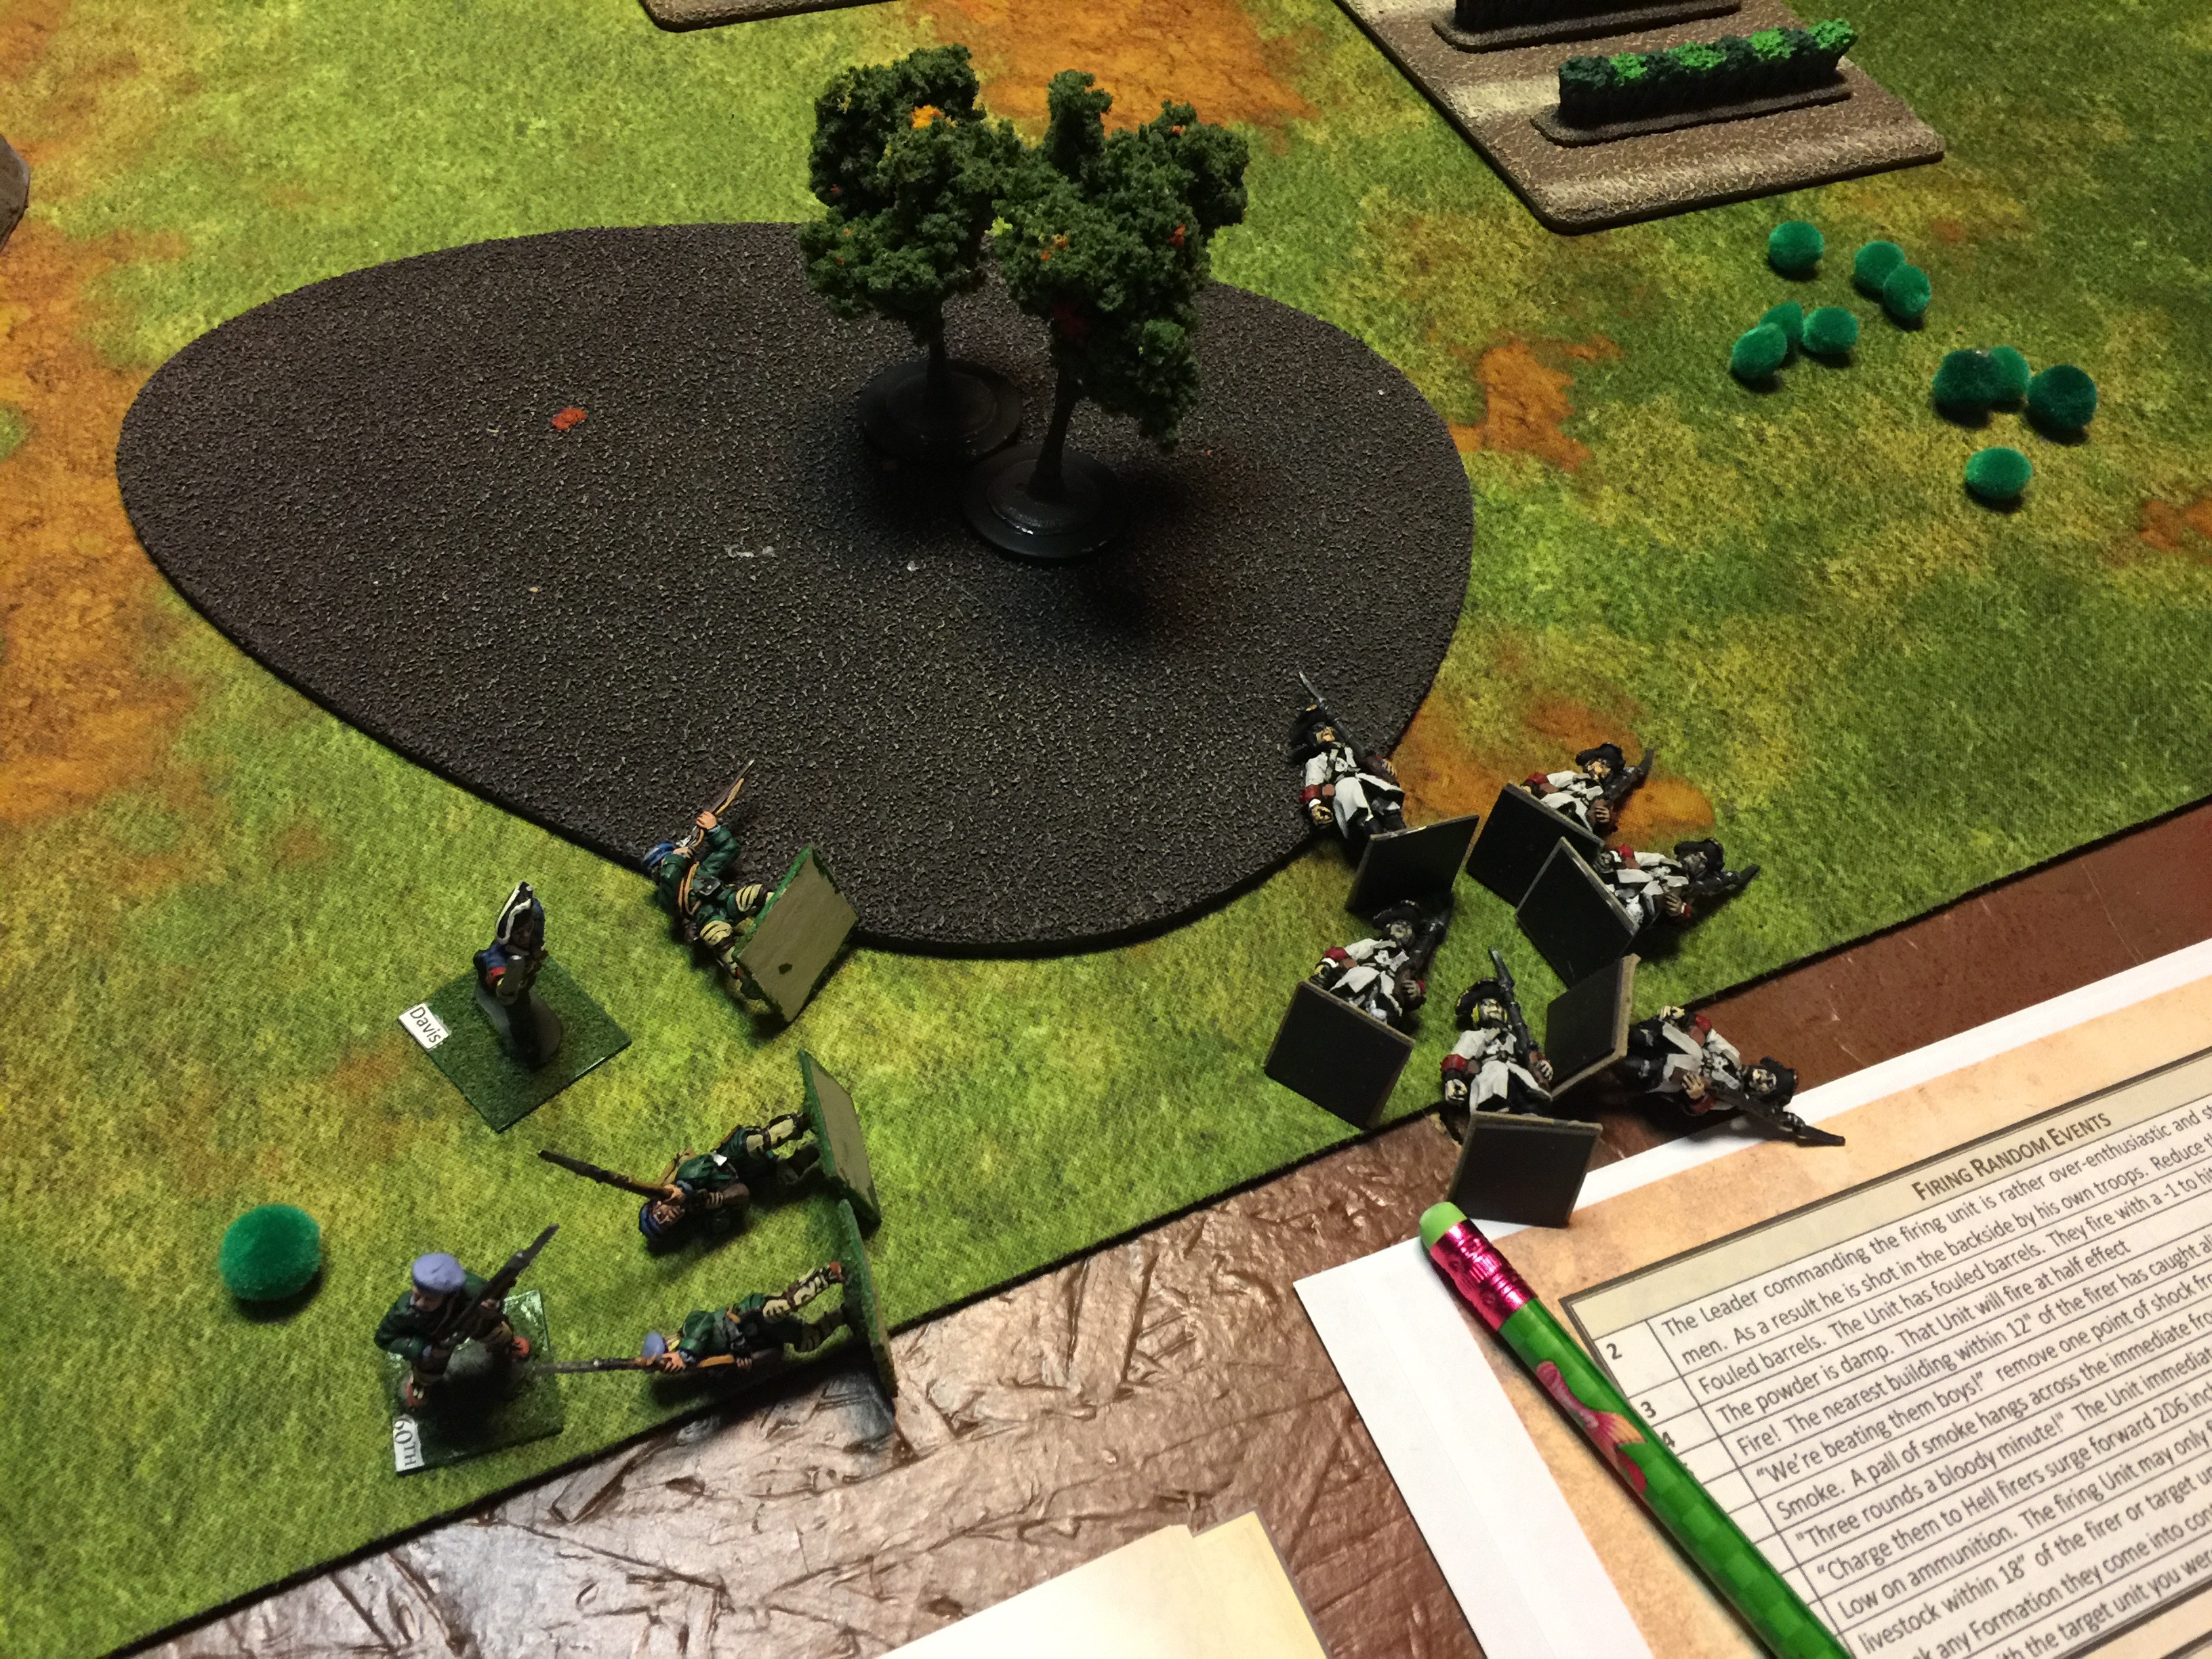
On the opposite side, the small squad of French line, thought they could easily clear off the remaining British skirmishers who had been harassing the French line. Early in the game the British skirmishers had taken a number of hits so they were on the edge of making a run for it. They recovered and more or less hid in the bush. They jumped forward and charged the French and we got into a very bloody hand to hand. Dice being dice, and given these British skirmishers were effectively back woodsmen, they took care of the French squad but at a pretty heavy price.
At this point, the game was effectively over with formation morale for the French pretty much gone, and given the state of their units, entirely makes sense they would retire.
All in all, I really like the both the mechanics and the over all play for the rules. For skirmish action, and speaking as a reenactor of the period that knows the drill, this really felt like something I’ve experienced first hand.
Given that the rules even gives benefits for having musicians, (helping with command, like stoping firing!) I’m totally sold on these rules and can’t wait to play them again.