
Locally the Twin Cities Flames of War Group through the leadership of James White started a Team Yankee campaign. Quickly the ranks of Nato and Warsaw powers grew and here we are at the end of the first round of action for Tip of the Spear.
The first game was taken from the Leopard book. As Soviet I had 80 pts to spend vs 62 pts for the Nato powers.
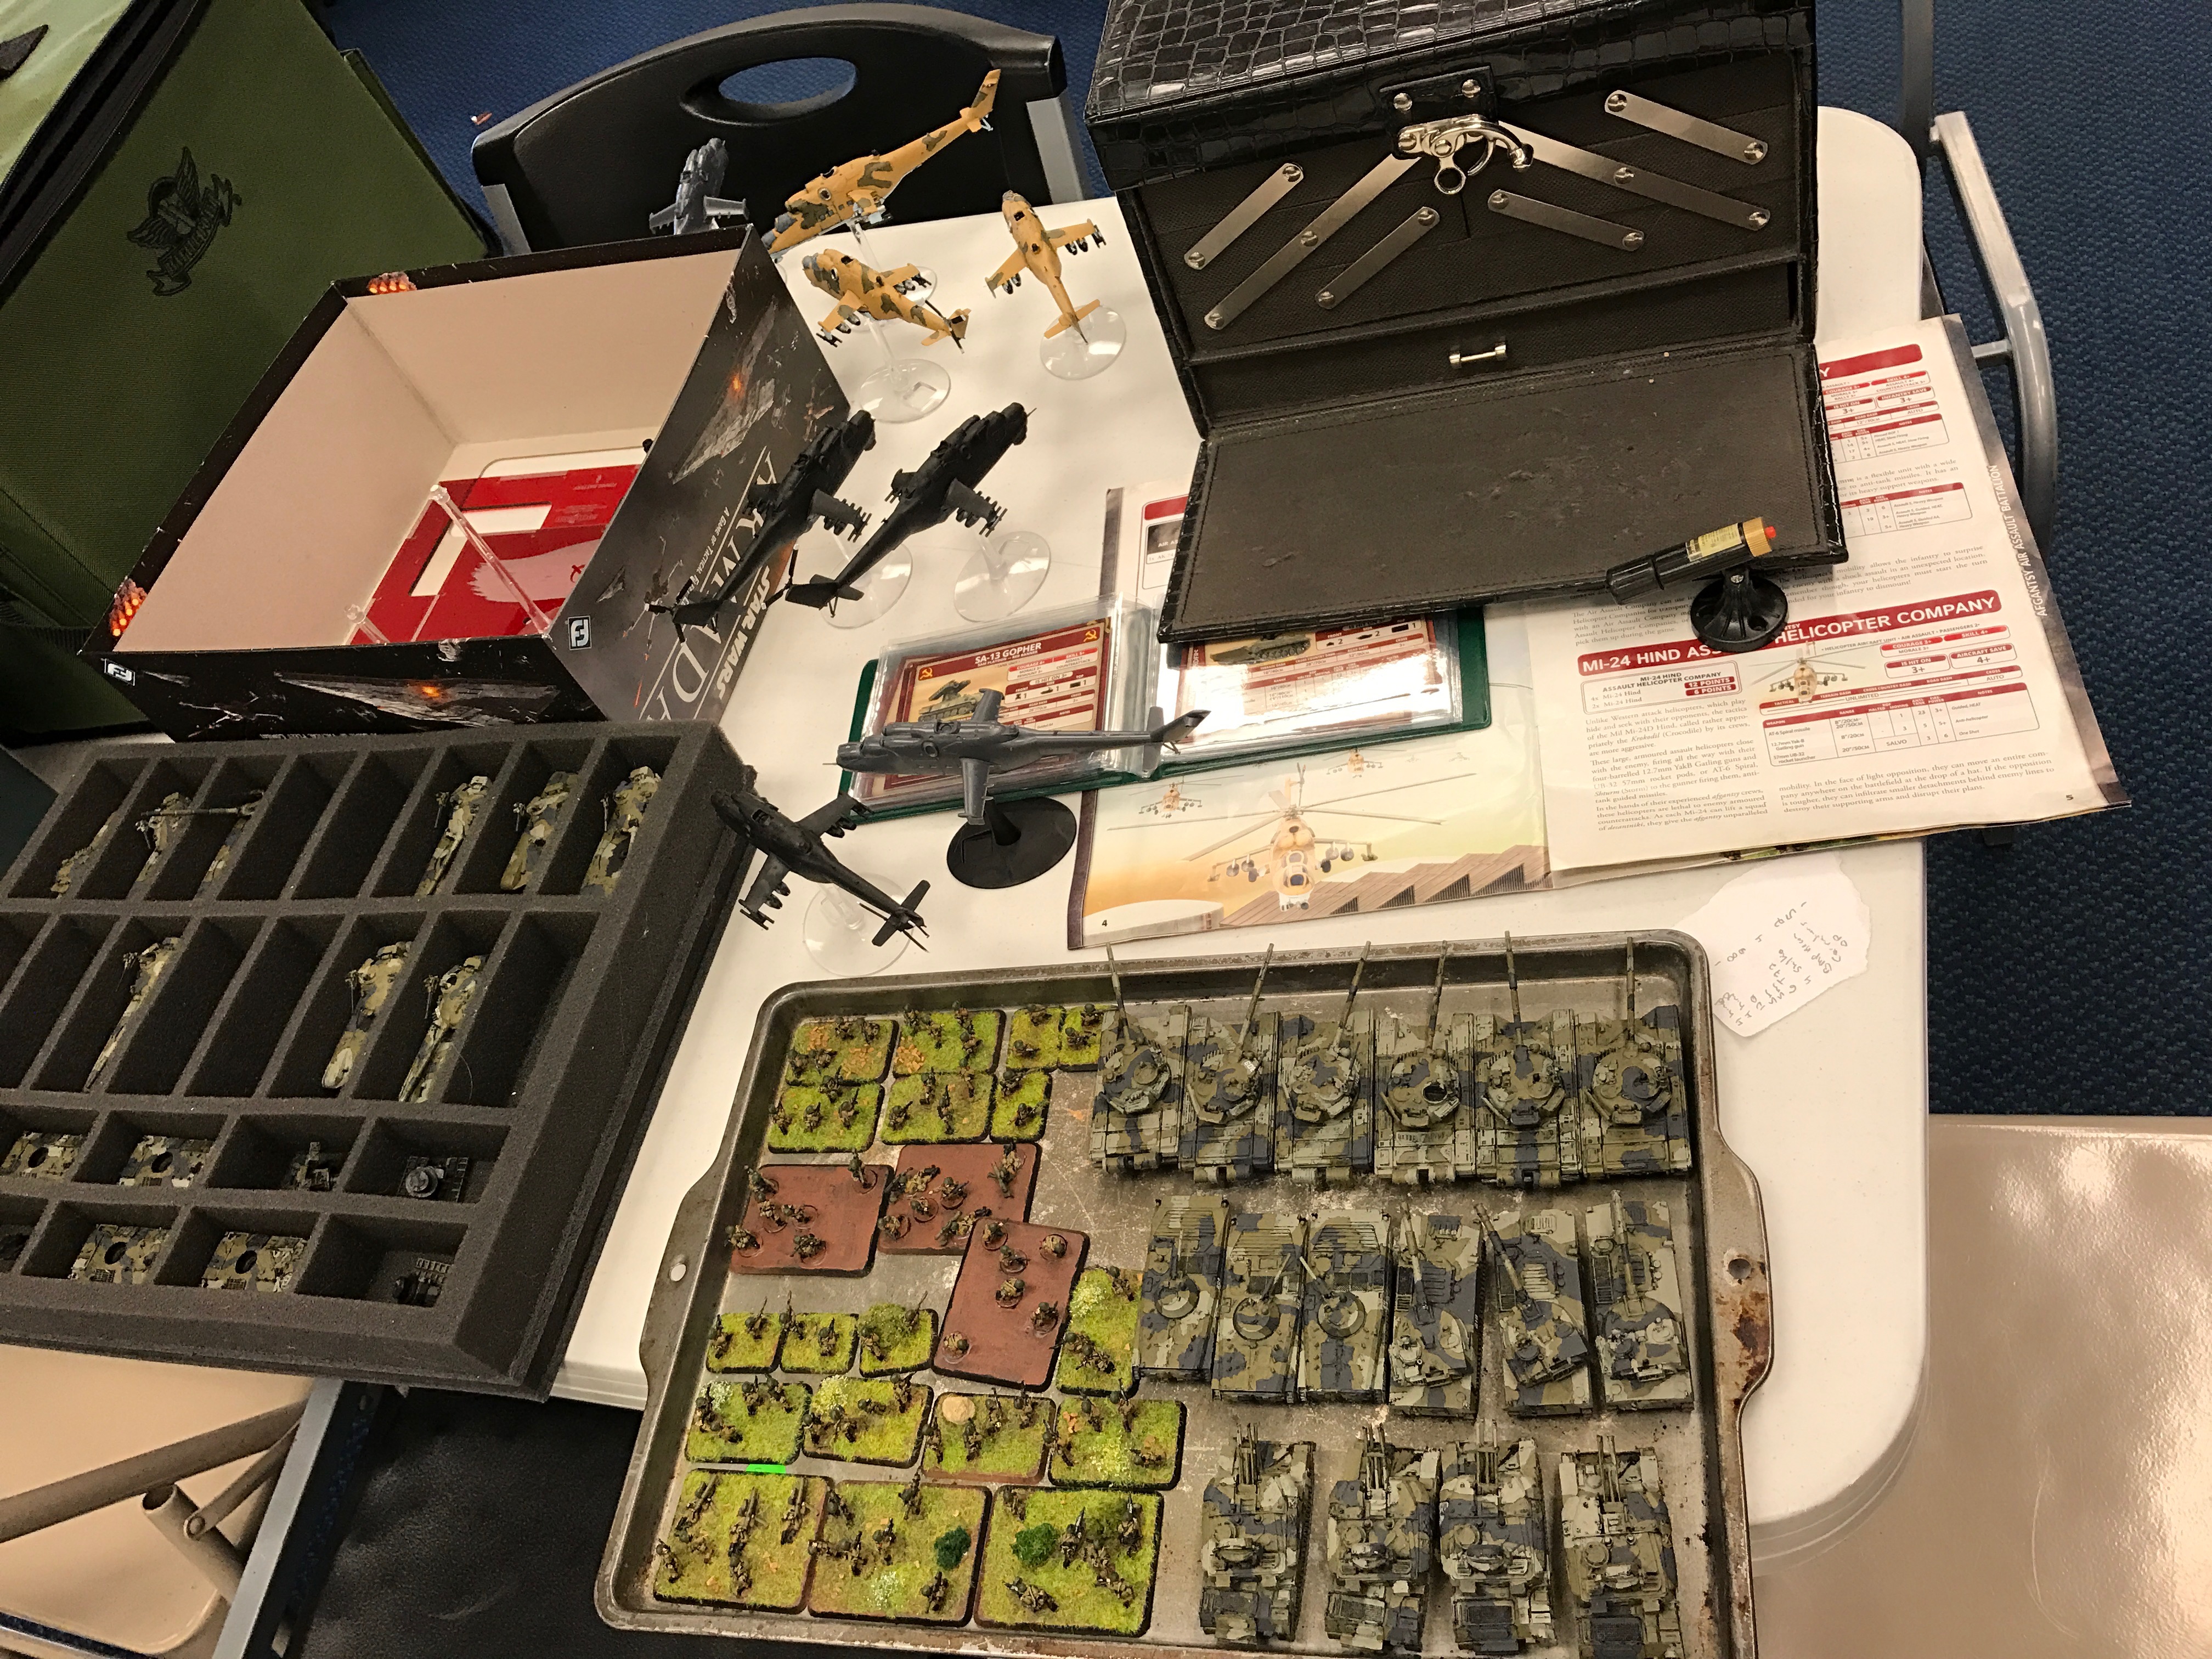
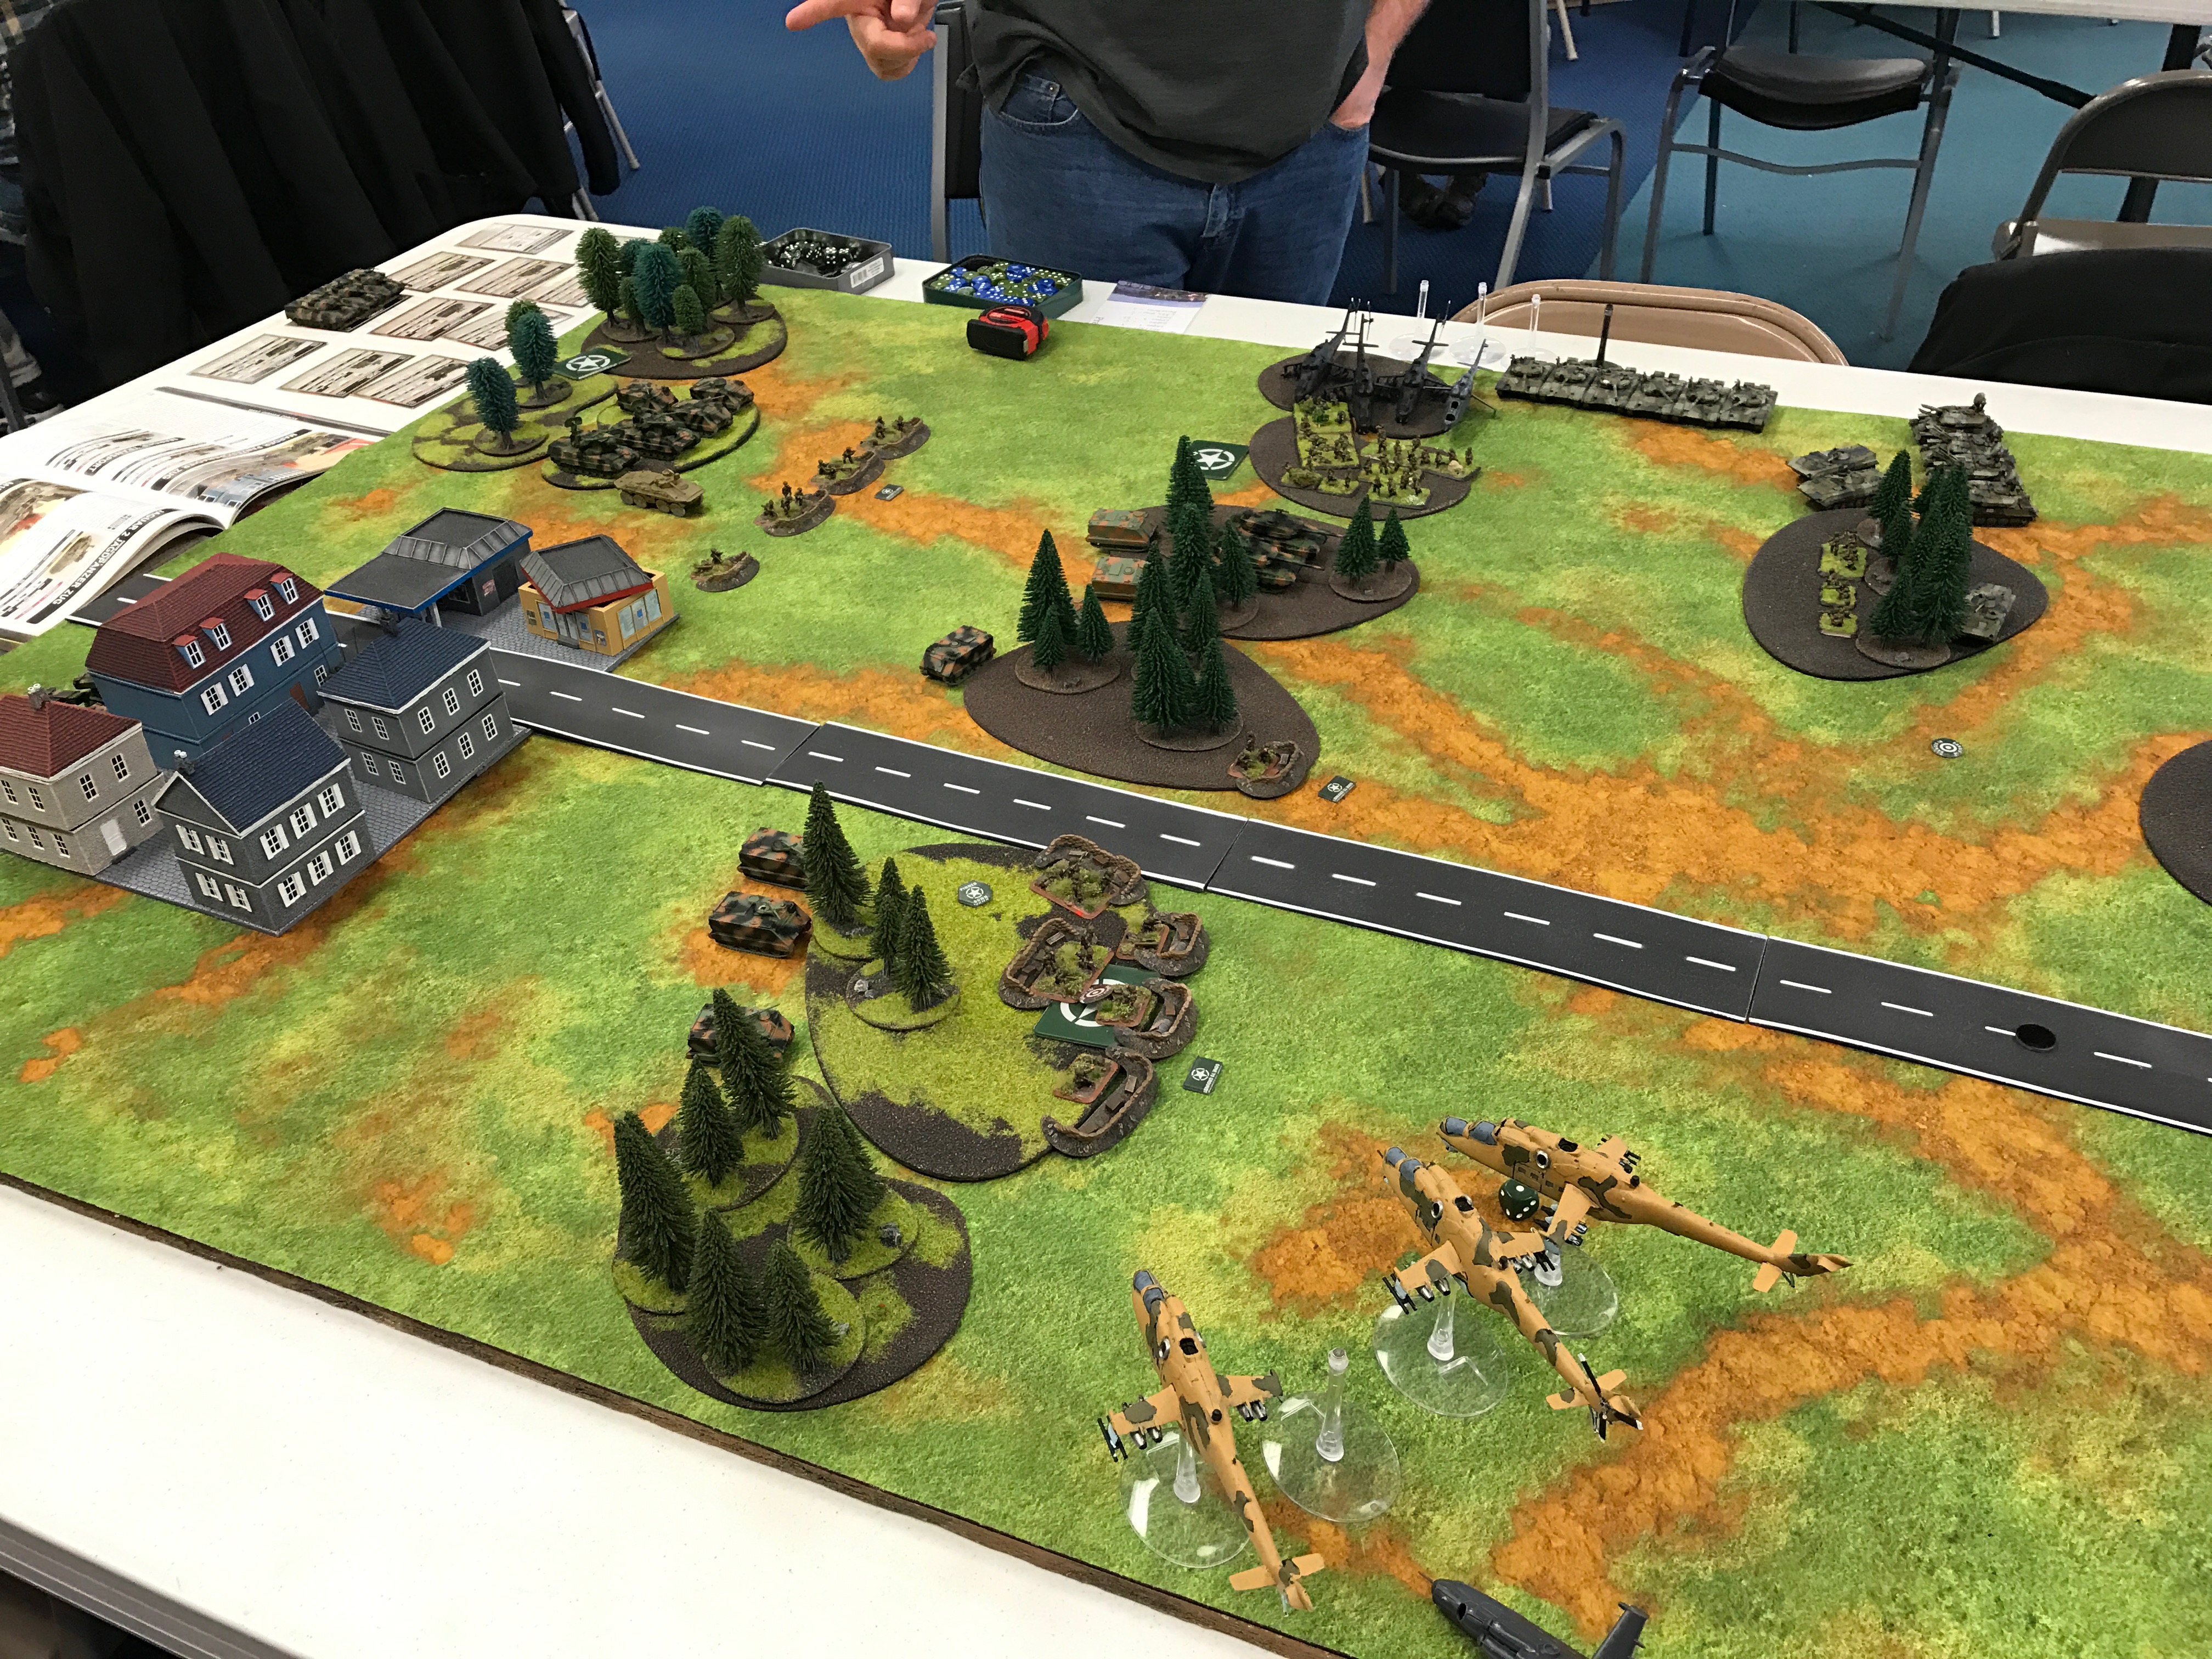
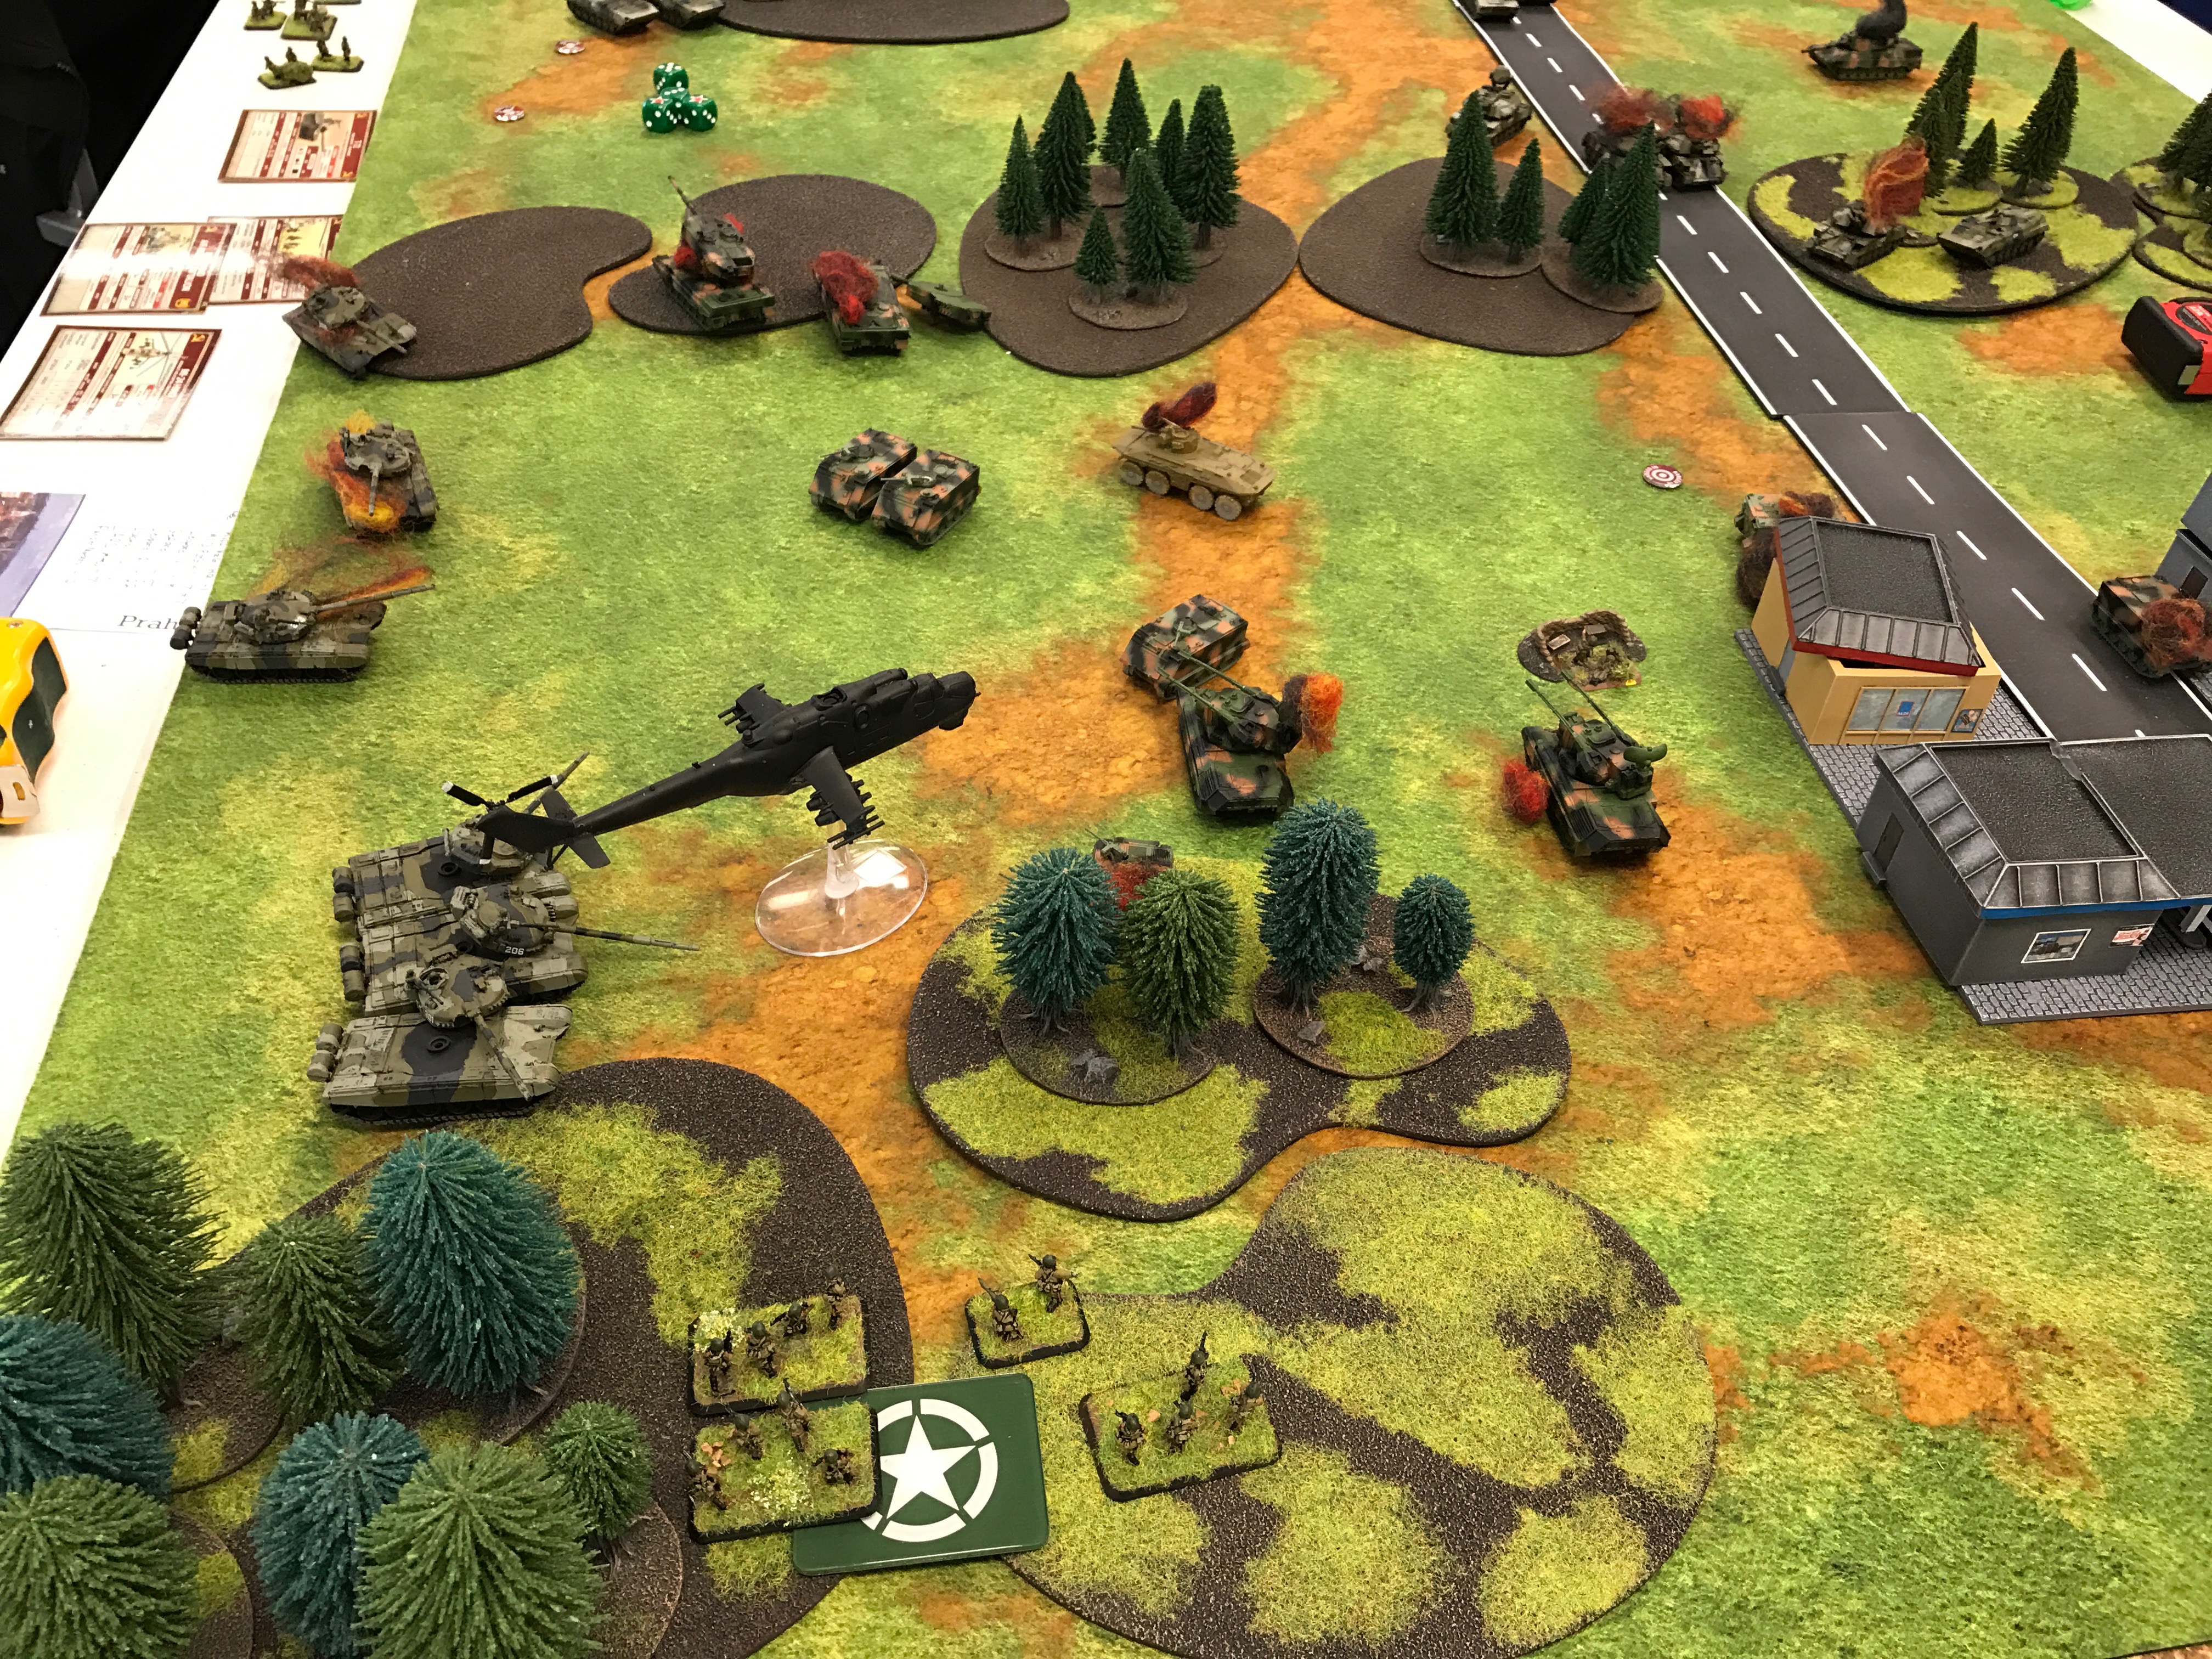
For me, I decided to go with an Afghanistan based force. 8 Hinds, 2 small infantry companies each with all the extras, 3 Carnations, a BMP op, 2 BMP-1 scouts, 6 T72s and 4 Shilkas.
For the table, there were 2 objectives midway that if taken and held by turn 2-3 then game over, victory for the Warsaw powers. The back 2 objective if taken and held after turn 4, again, Warsaw victory.
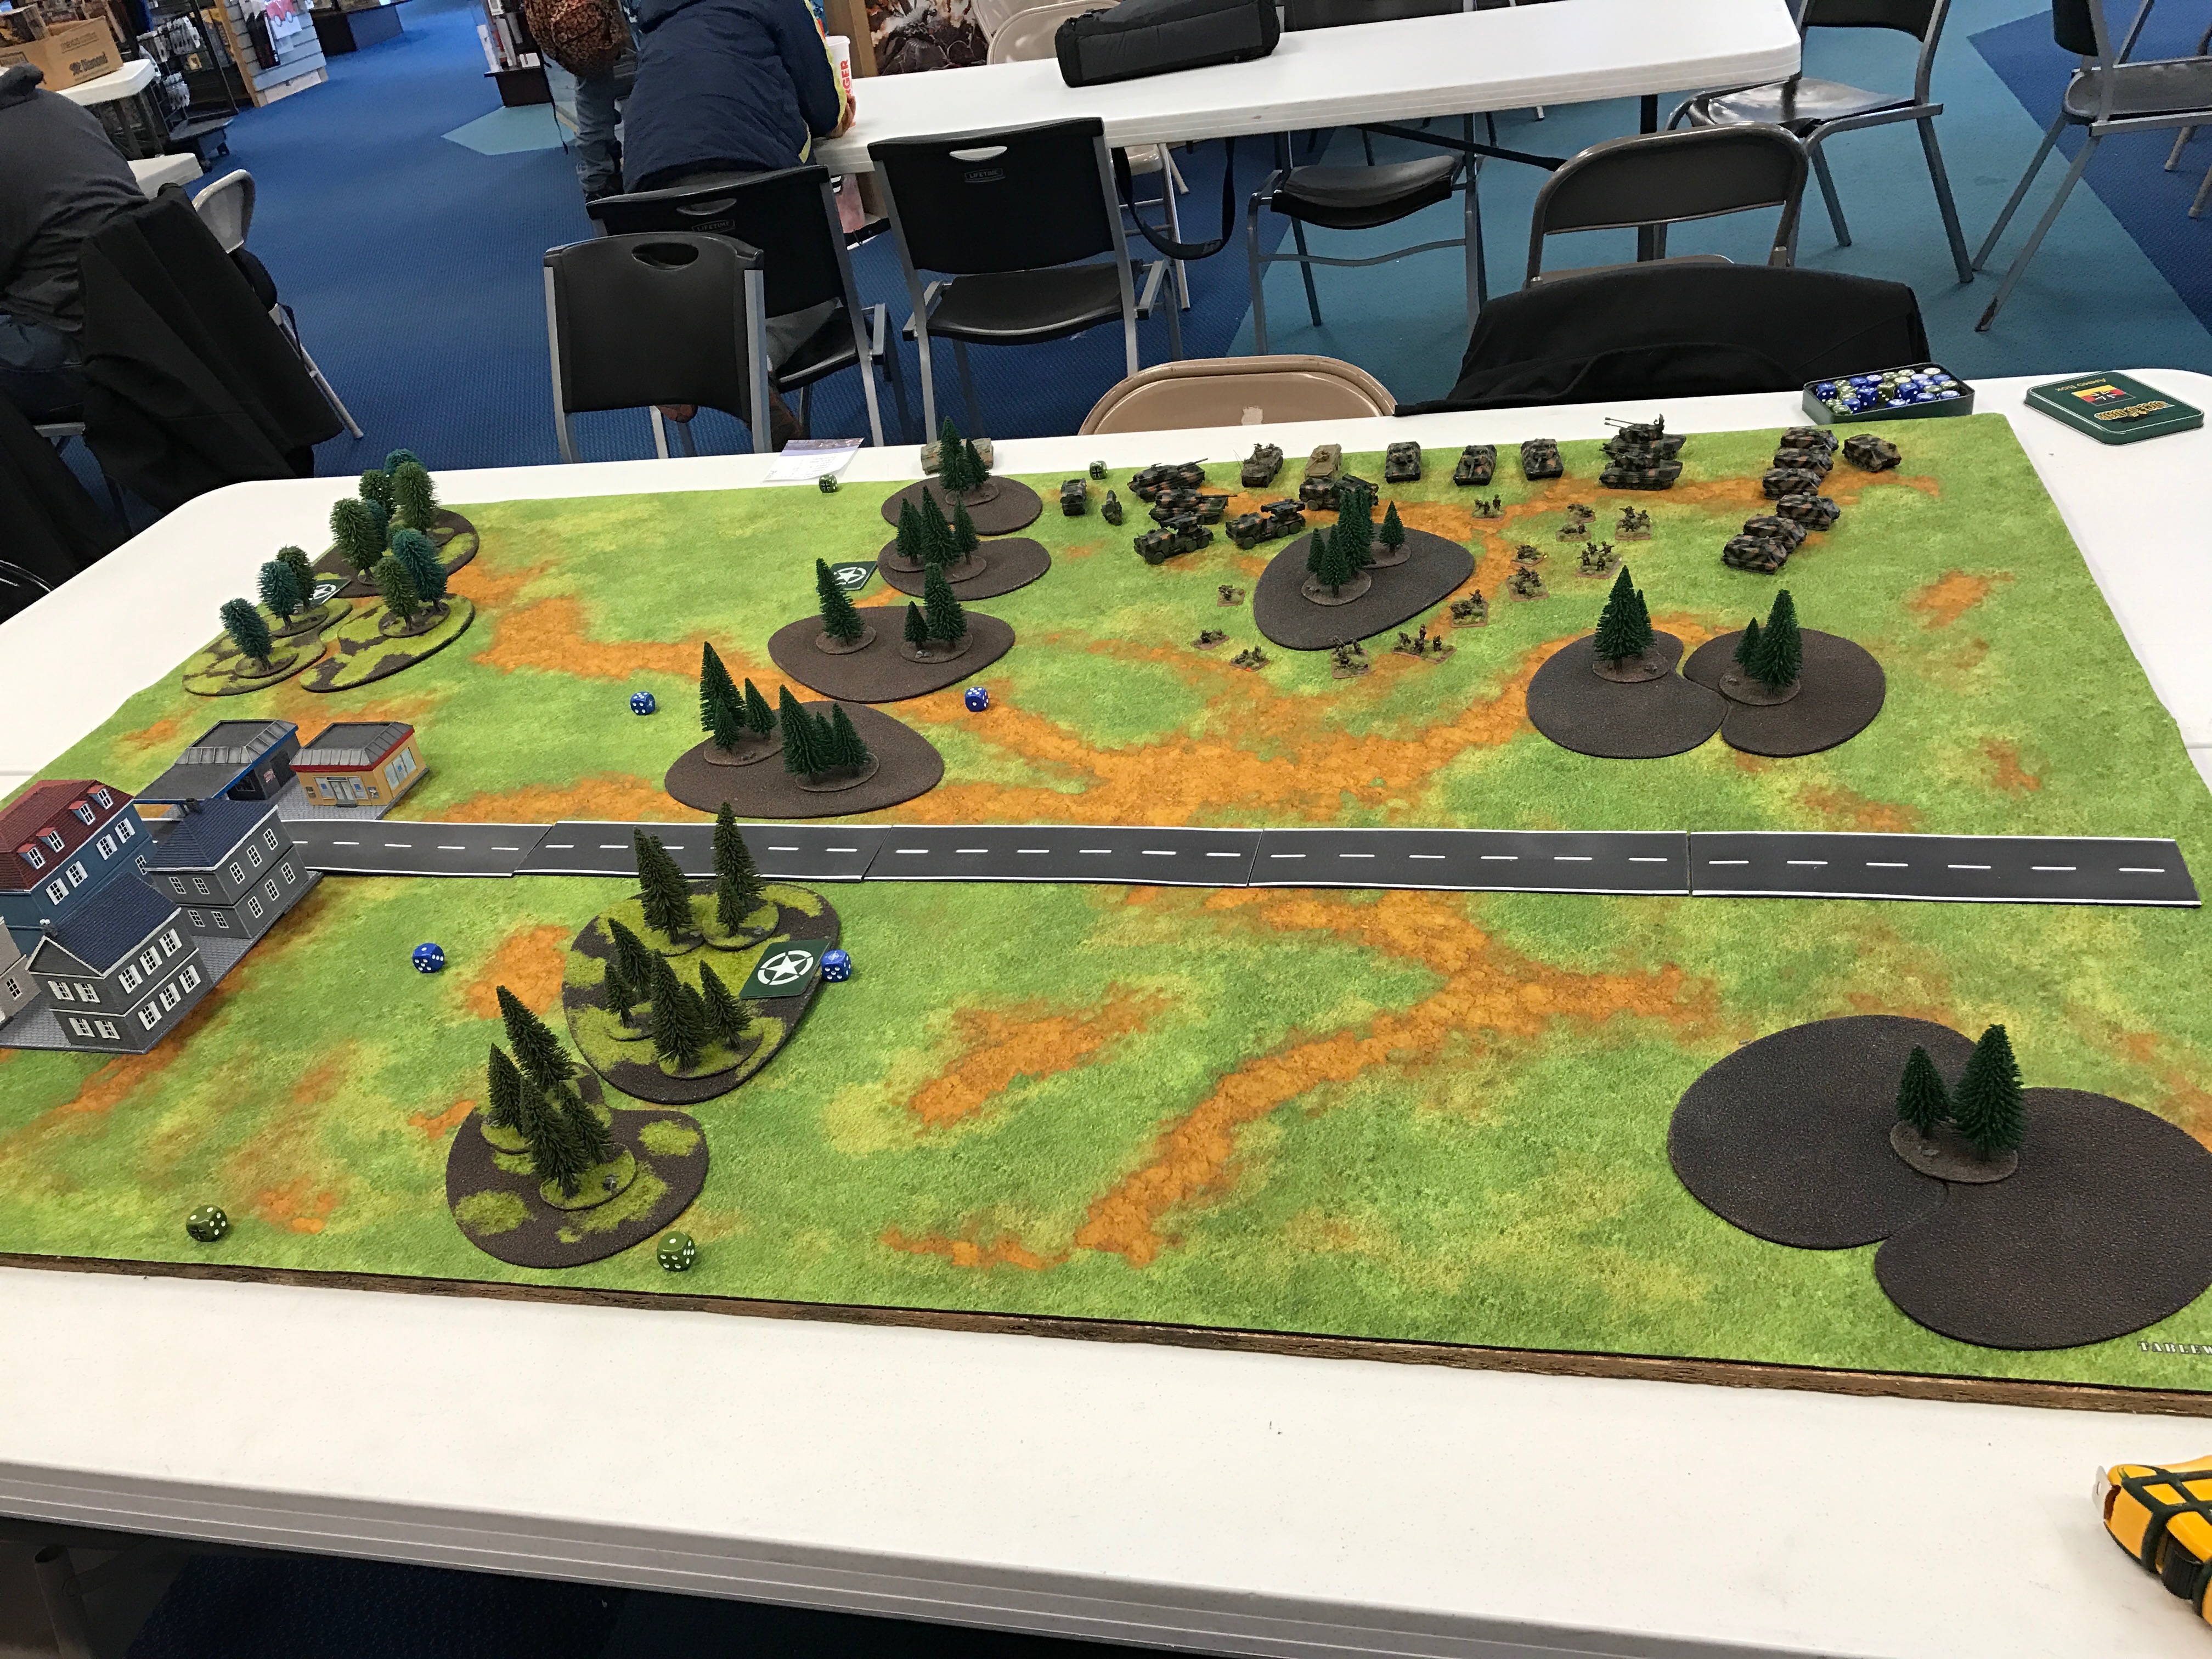
Jason, playing West German, started with his setup in the 1 foot area towards the back of the table and I would start on the right, at most 6″ in.
Jason was sporting, 2 Gepards, 2 Leopard 2s, 3 Leopard Is (in ambush), 2 platoons of M113 infantry, a platoon of mortars and Rocket artillery.
Jason deployed his Leopards 2s off to the left flank, he used the spearhead deployment on his Luchs to then put his Gepards in the back forward as well as put his artillery back behind the town. Then on his right flank he put a platoon of infantry with it’s 3 Milans.
I really didn’t expect to be dealing with the Spearhead deployment for Jason to drop stuff to his rear. That really threw my plan and I had to adjust.
I decided I’d deploy hard right, engaging the Leopard 2s right away and then use the Hinds to pepper the infantry on my left flank as well as do my first landing with the other company of Hinds, going for the close objective on my right flank.
If that failed, then one of the back objectives would have to be my focus and I couldn’t make any decisions there, until the Gepards were dealt with.
First turn I press hard. Hinds land, disgorge, and we’re on the objective. At this point I remember that o yeah, my infantry can’t really do much against Leopard 2s save to bail them out. But the T72s are in position and my Hinds on my left flank where just out of Gepard range. I had a choice of either smoking out of the milans or dropping artillery rounds and Hinds round to hopefully eliminate a stand or two.
So while I was able to call in artillery, and eliminate a standing pinning them, The Hinds just were not able to kill a stand. Blah.
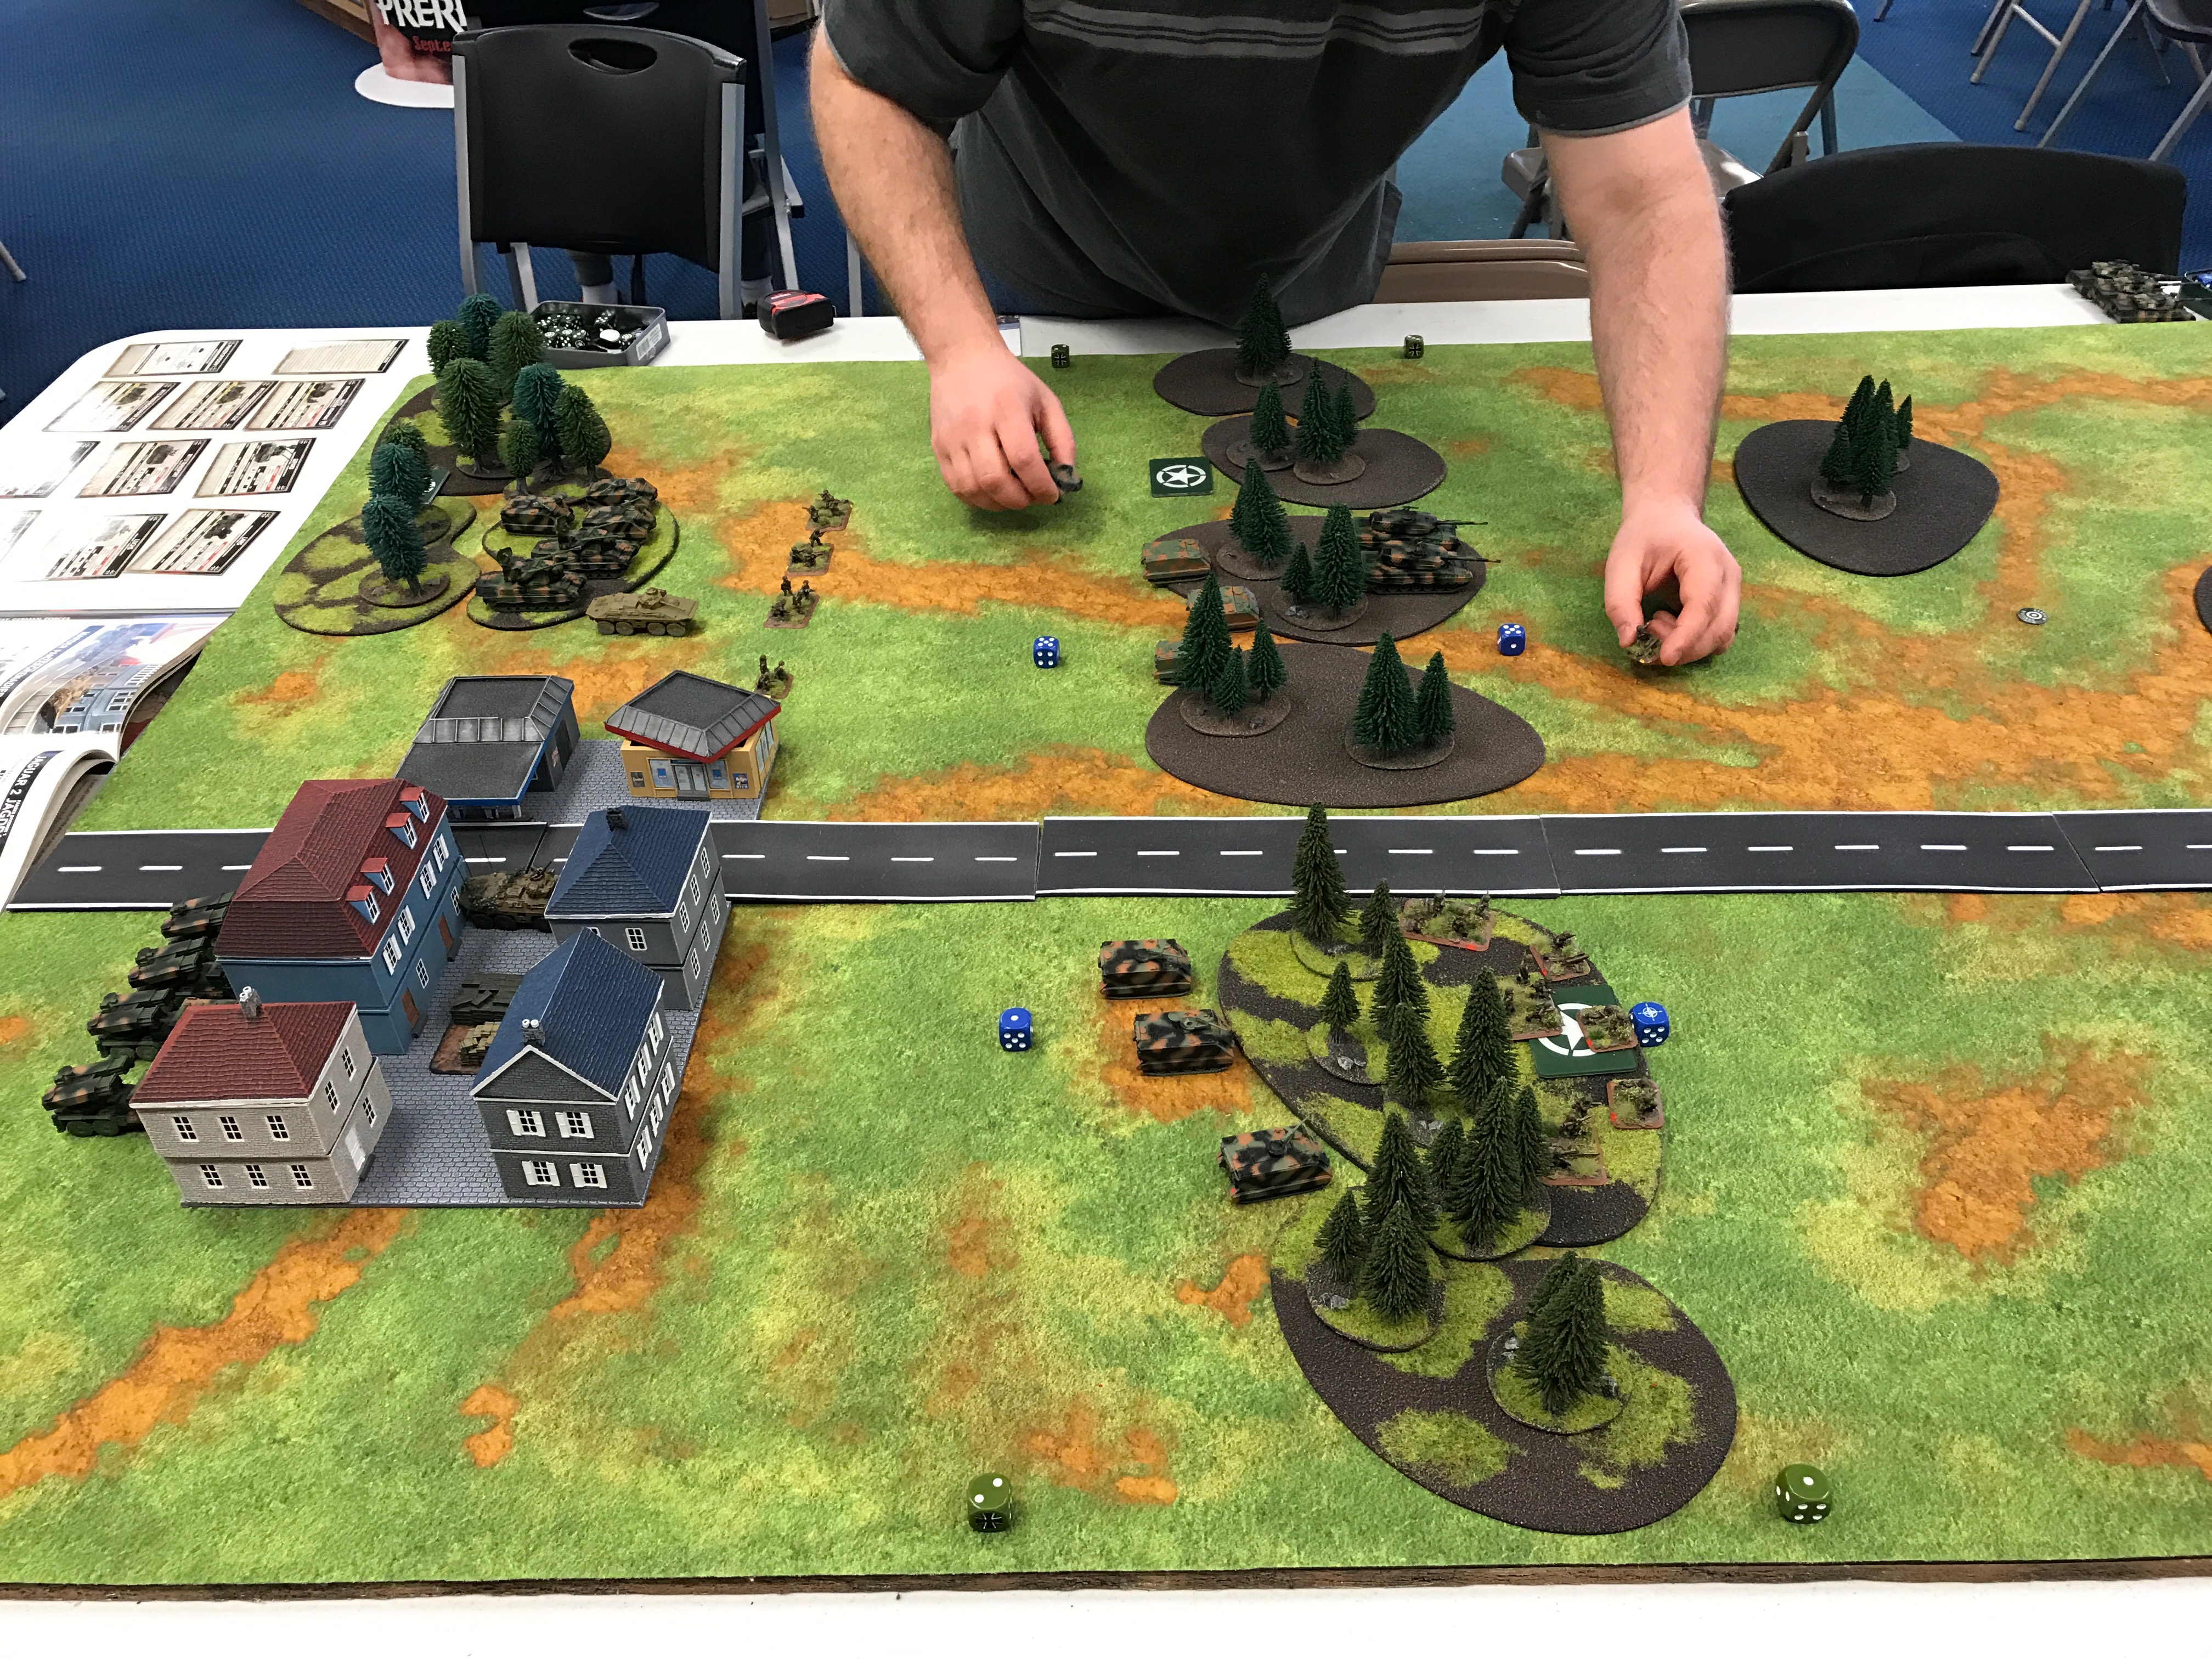
For the bottom of turn 1, Jason brings his Leopards in, with the really good plan, close assault the infantry, and if victorious, take out the Hinds at the same time.
Ummm … I got lucky. Very lucky. My RPG stands, the ONLY thing that could take out the Leopards did exactly that.
Jason moved up his M113 tho preventing the victory on my part. He also blitz moved up his Gepards and the shot down one of my Hinds.
Next his rained down mines onto my T72s, ensnaring all but one. Now in a prior game Jason did this to me during the last Team Yankee tournament and I ended up losing almost all of my T72s so that at that point I figured things were looking really grim.
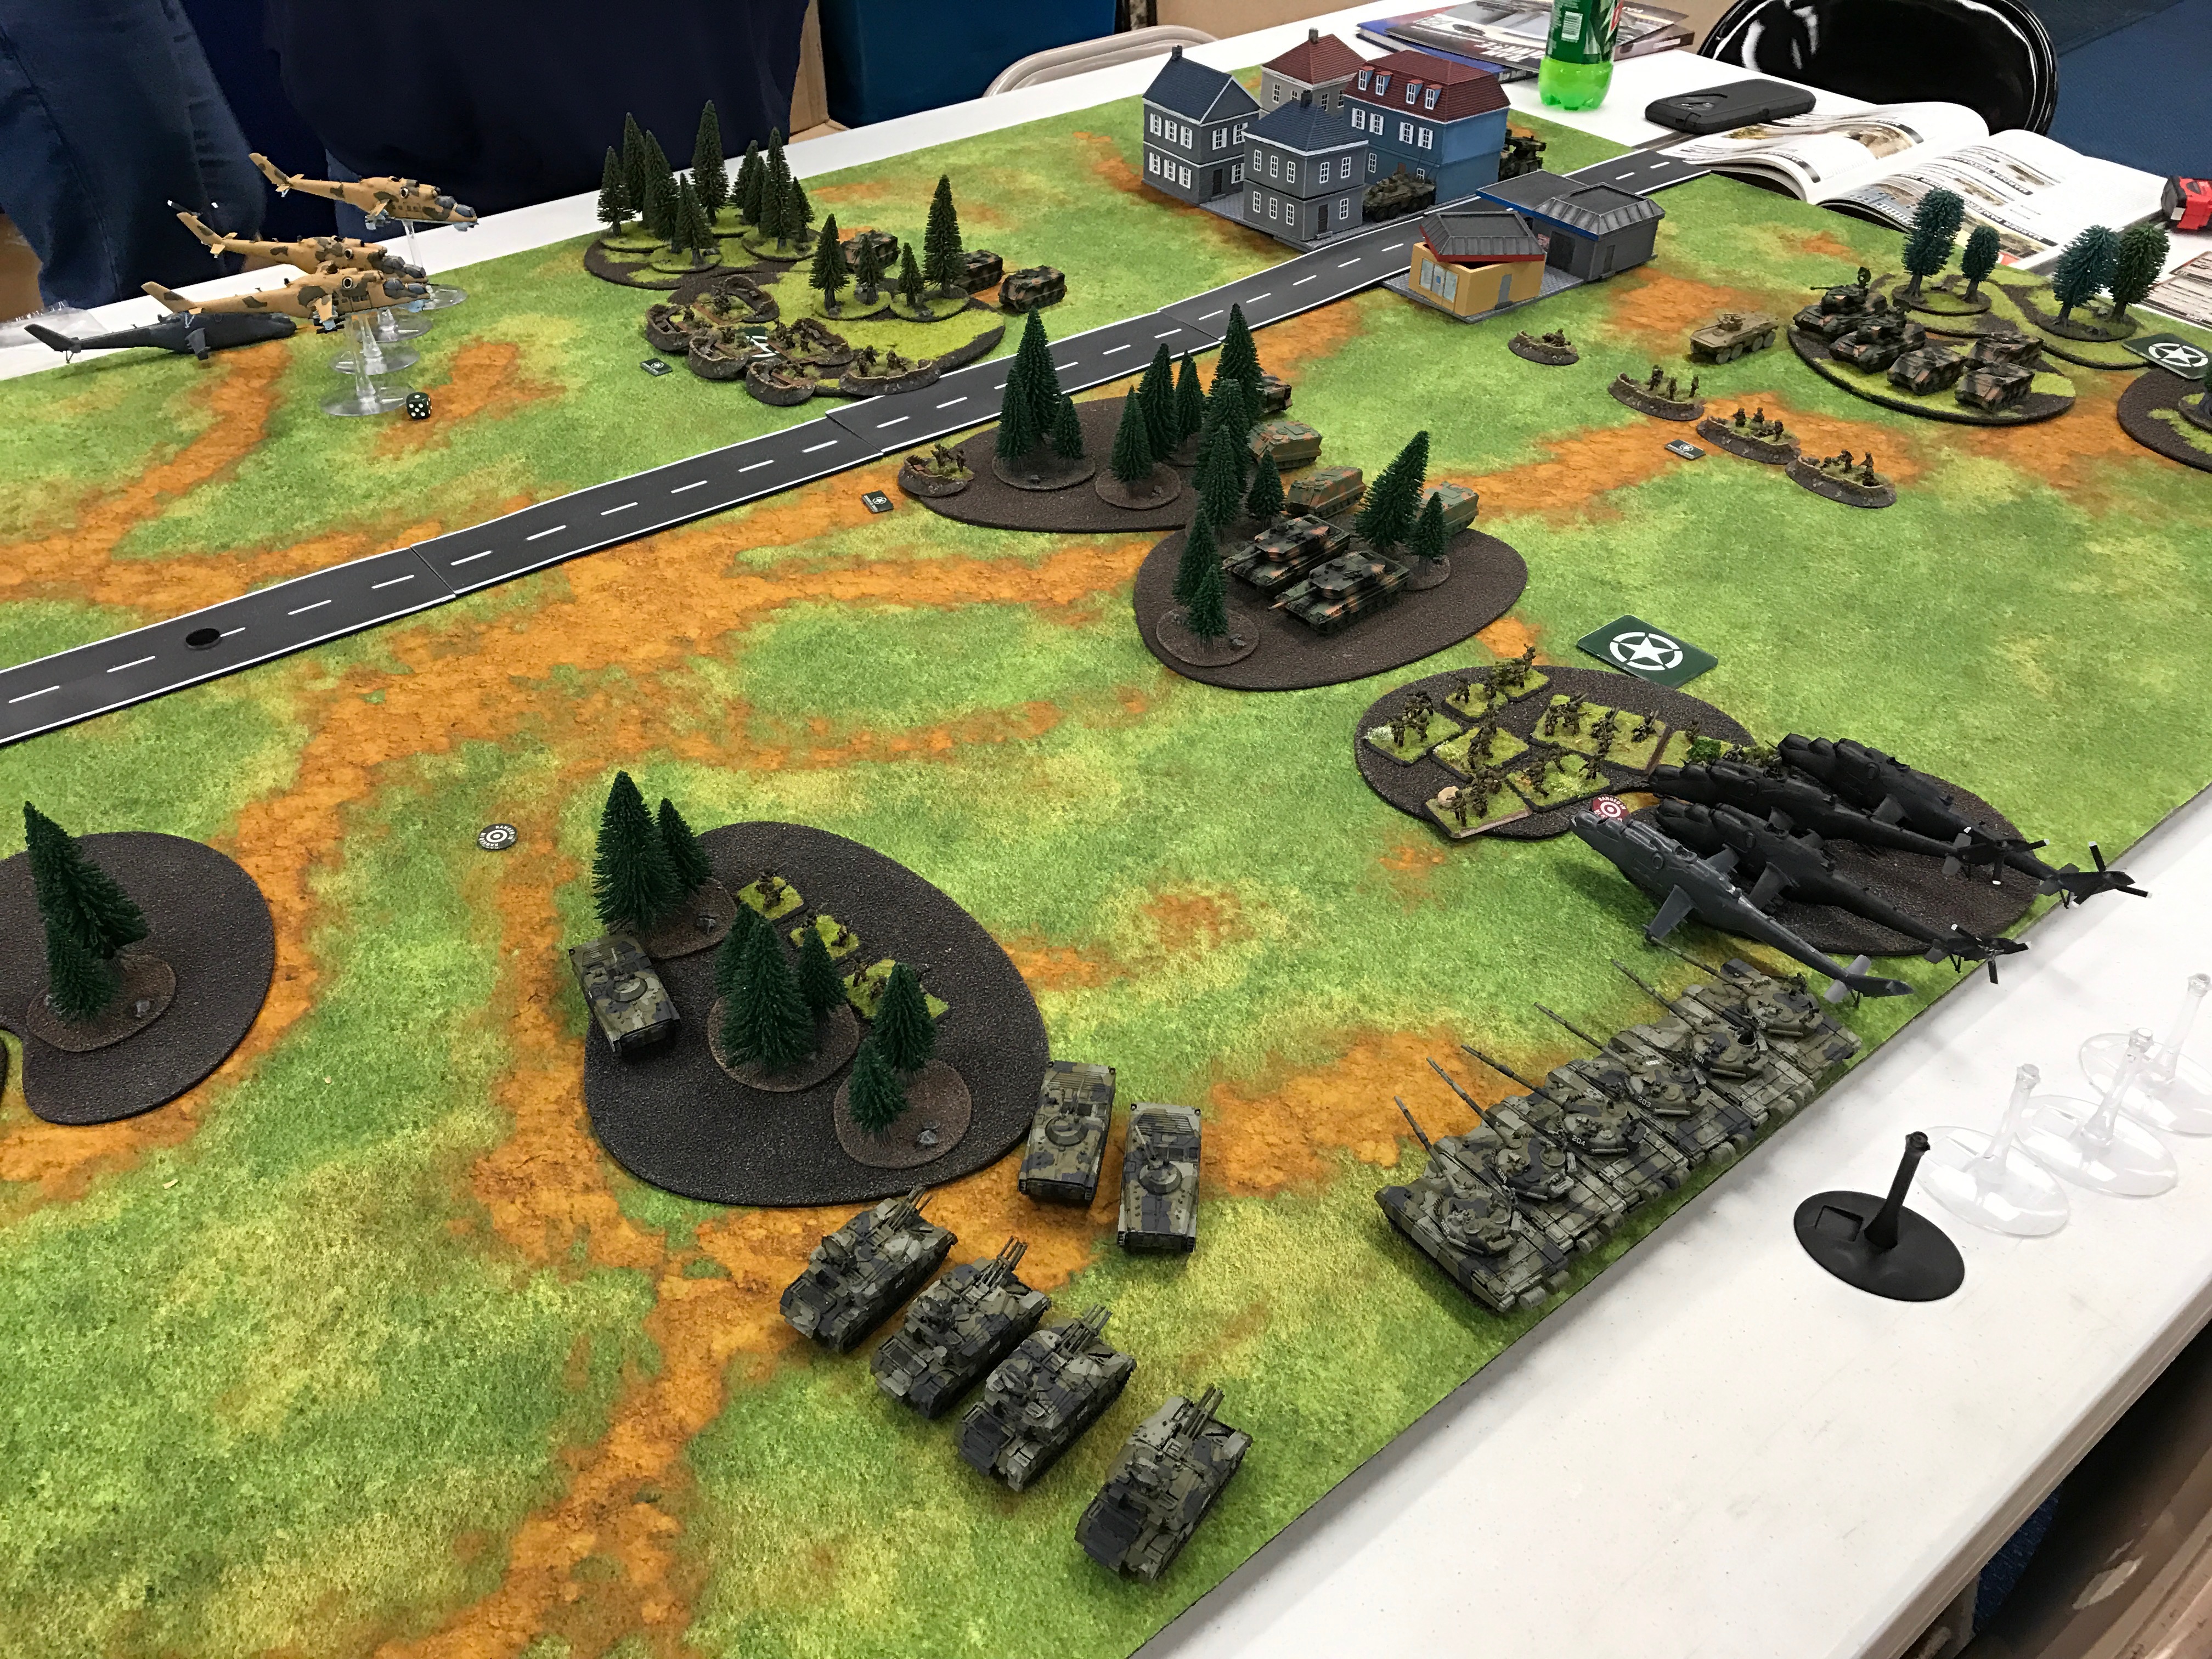
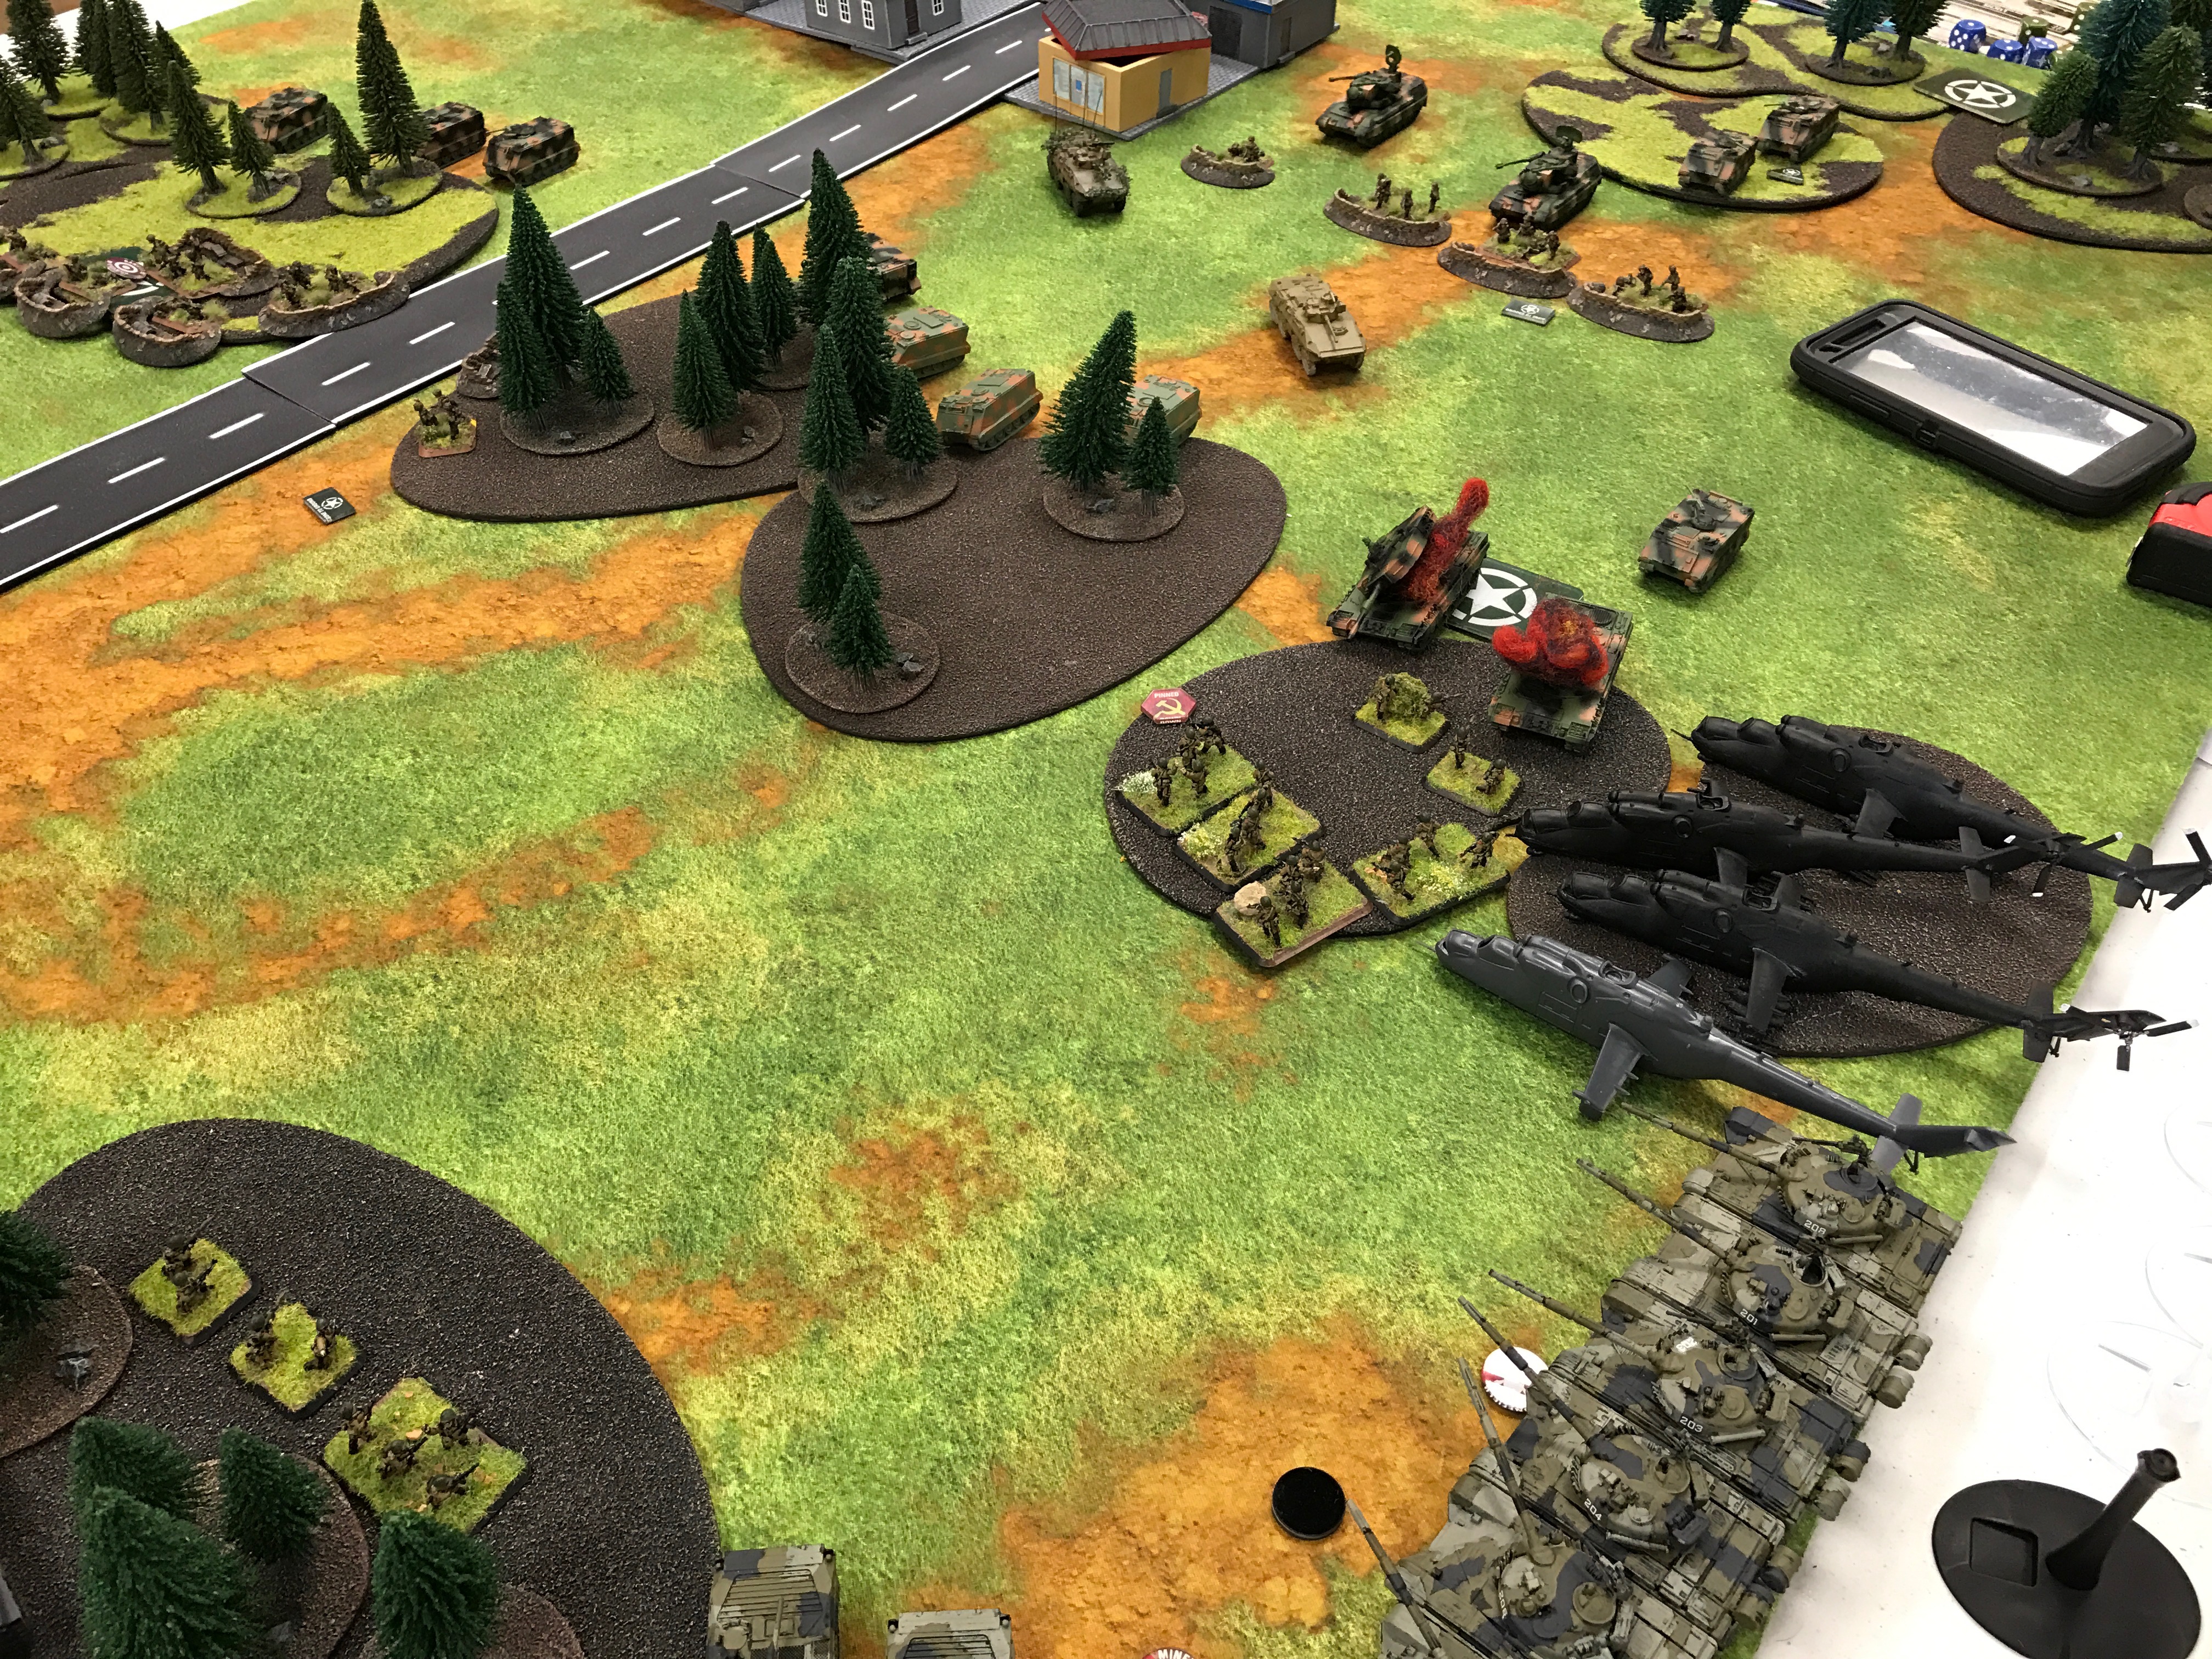
Next turn I decide to go hard. I managed to get most of my tanks out of the mine field and across the woods line to be able to shoot at and take out the Gepards. On the opposite flank I land the Hinds outside the town and go after the Rocket artillery. Boom boom and boom. Afghanistan heavy weapons are just awesome sauce. The town was mine at that point.

Next Jason brings in his M113s from the unit on my left flank and assaults the Hinds. Dead Hinds.
I figured at this point the chances of a victory on this side of the table was pretty remote. I needed to press hard on the opposite flank and you can see my other group of Hinds in the forest above the far objective starting to fire at targets.
Milan teams were my highest priority tho really I should have gone after vehicles.

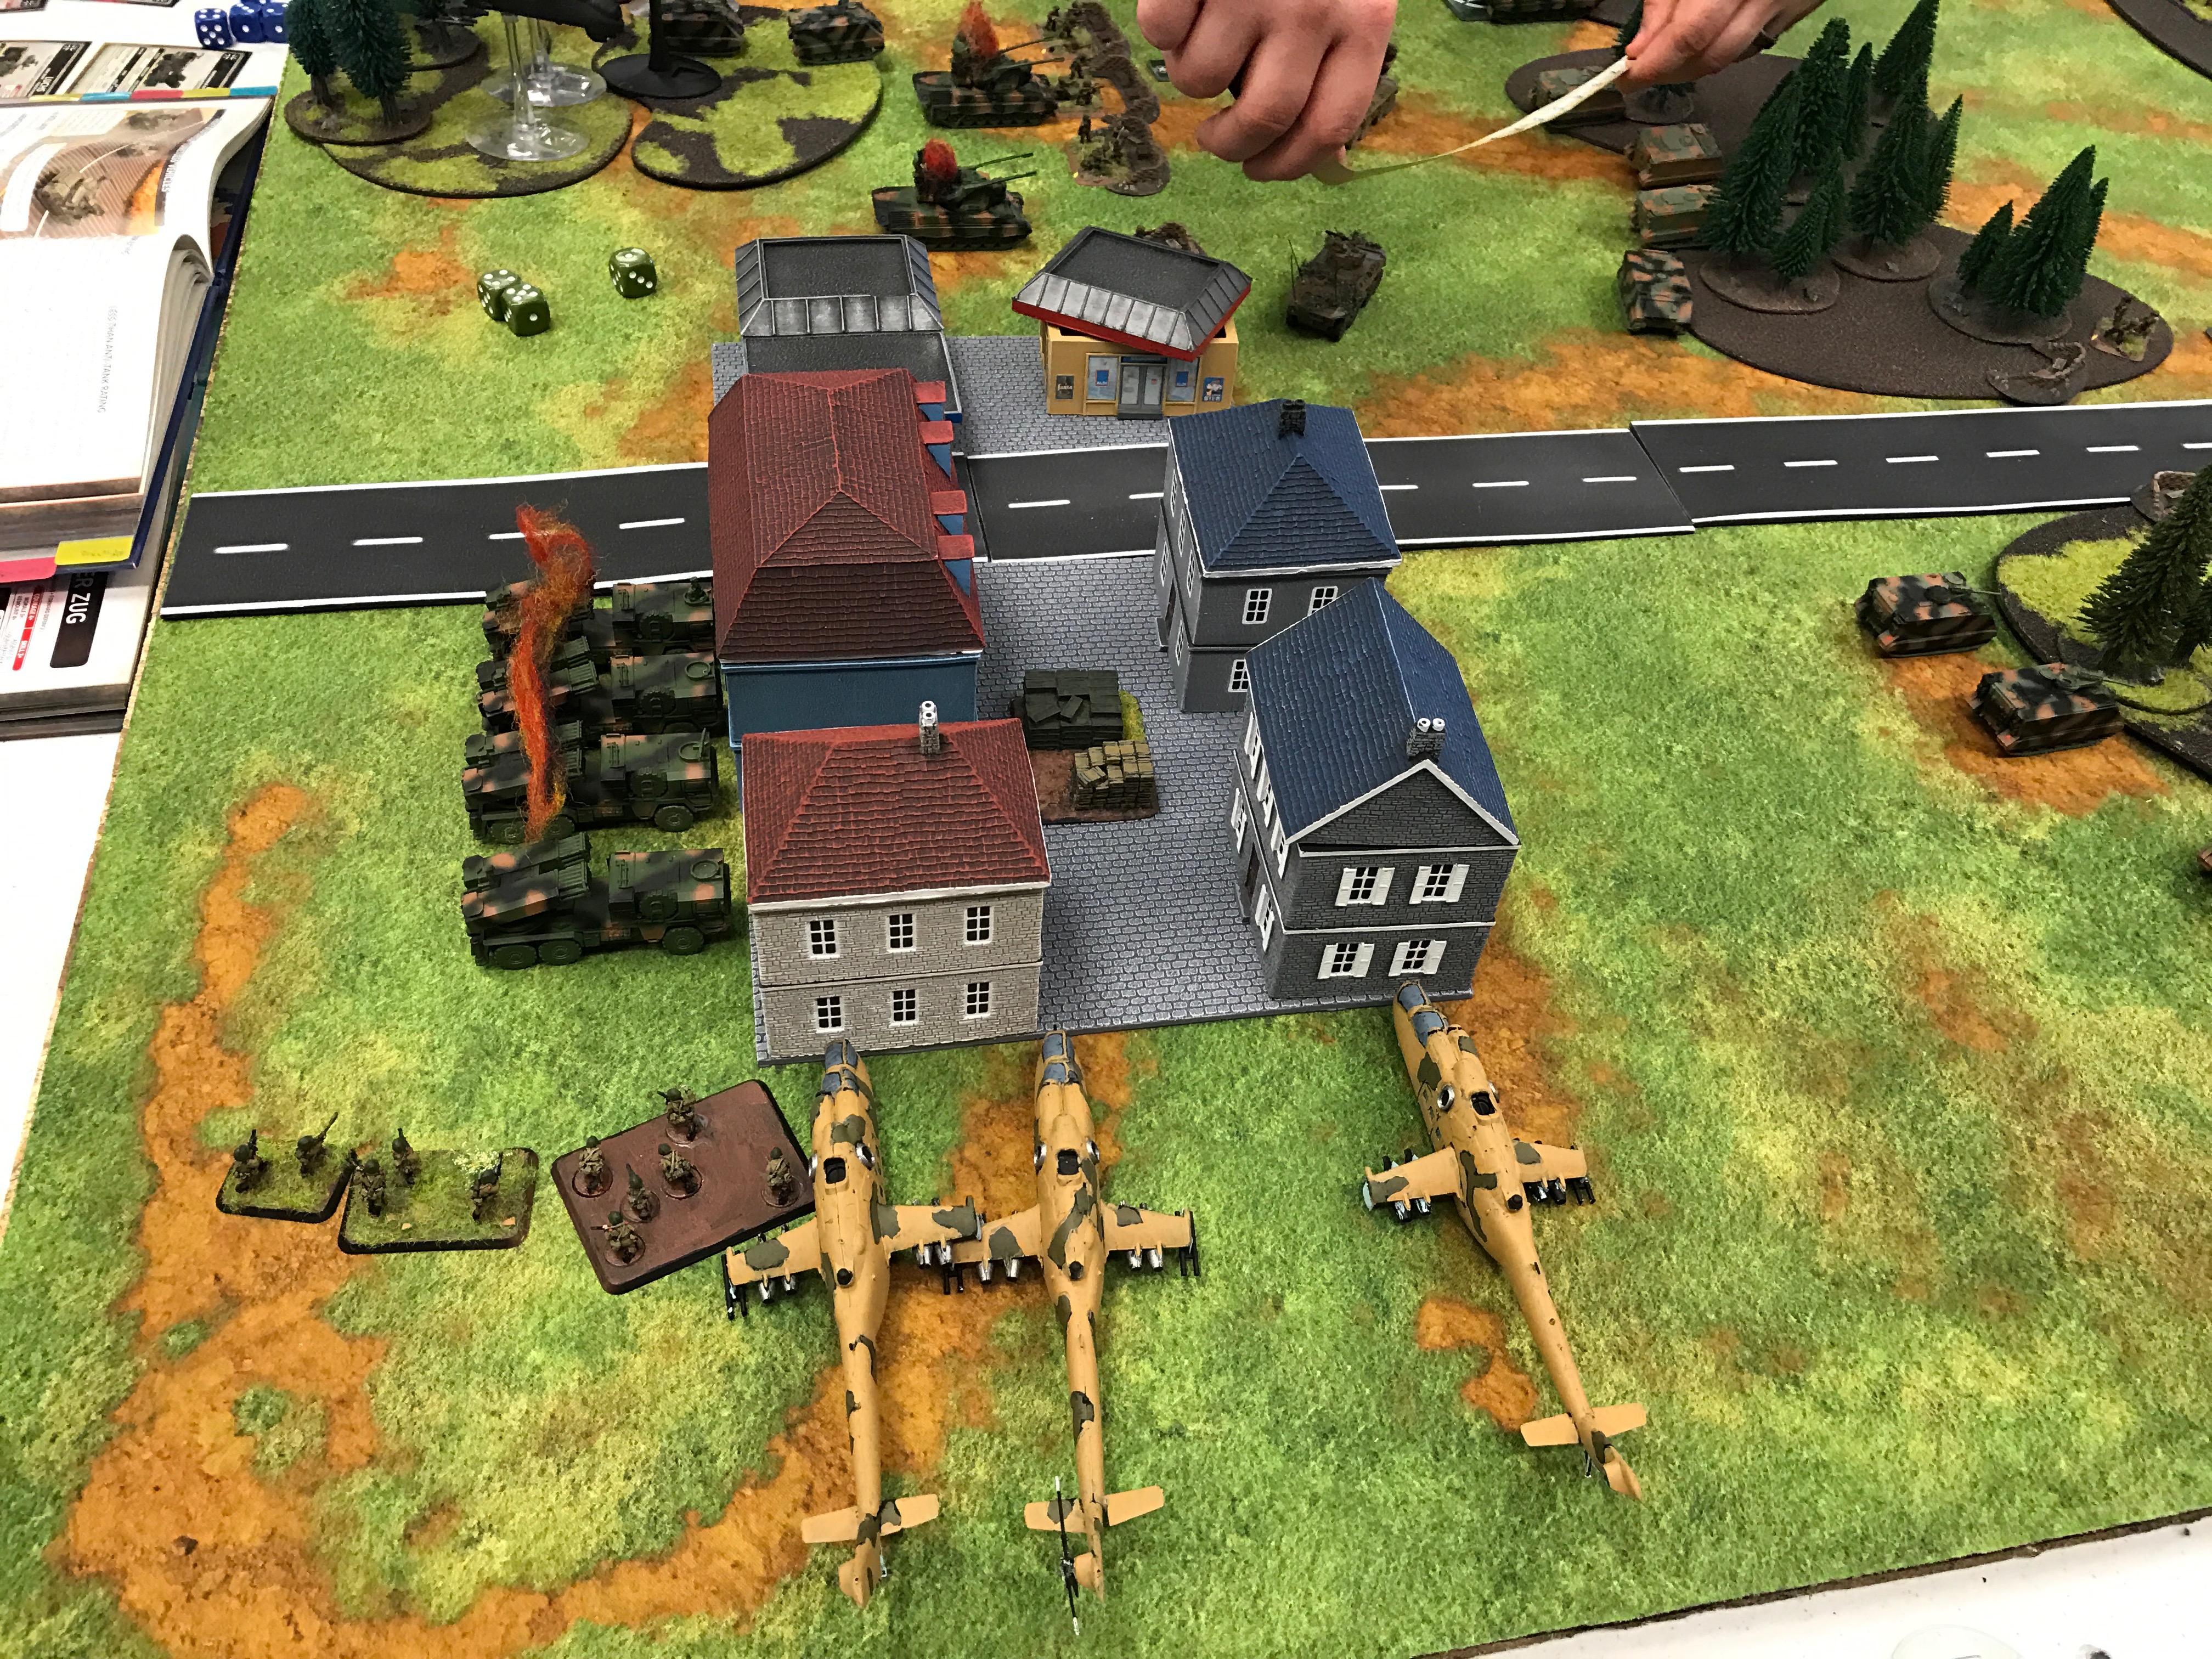
I had started to bring up my Carnations and Shilkas and Jason springs his ambush of Leopard Is. Between the Carnations, the 2 BMP scouts and my Shilkas I managed to bail one, kill one and Jason fails the morale roll so they head out for a trade of 2 Shilkas.
Meanwhile on the opposite flank I’m able to get 3 T72s back towards the objective, and between Milans and infantry I end up losing 3, and I’m down to 1 T72 at this point but he makes his morale roll. I hadn’t brought up my infantry yet but I should have….
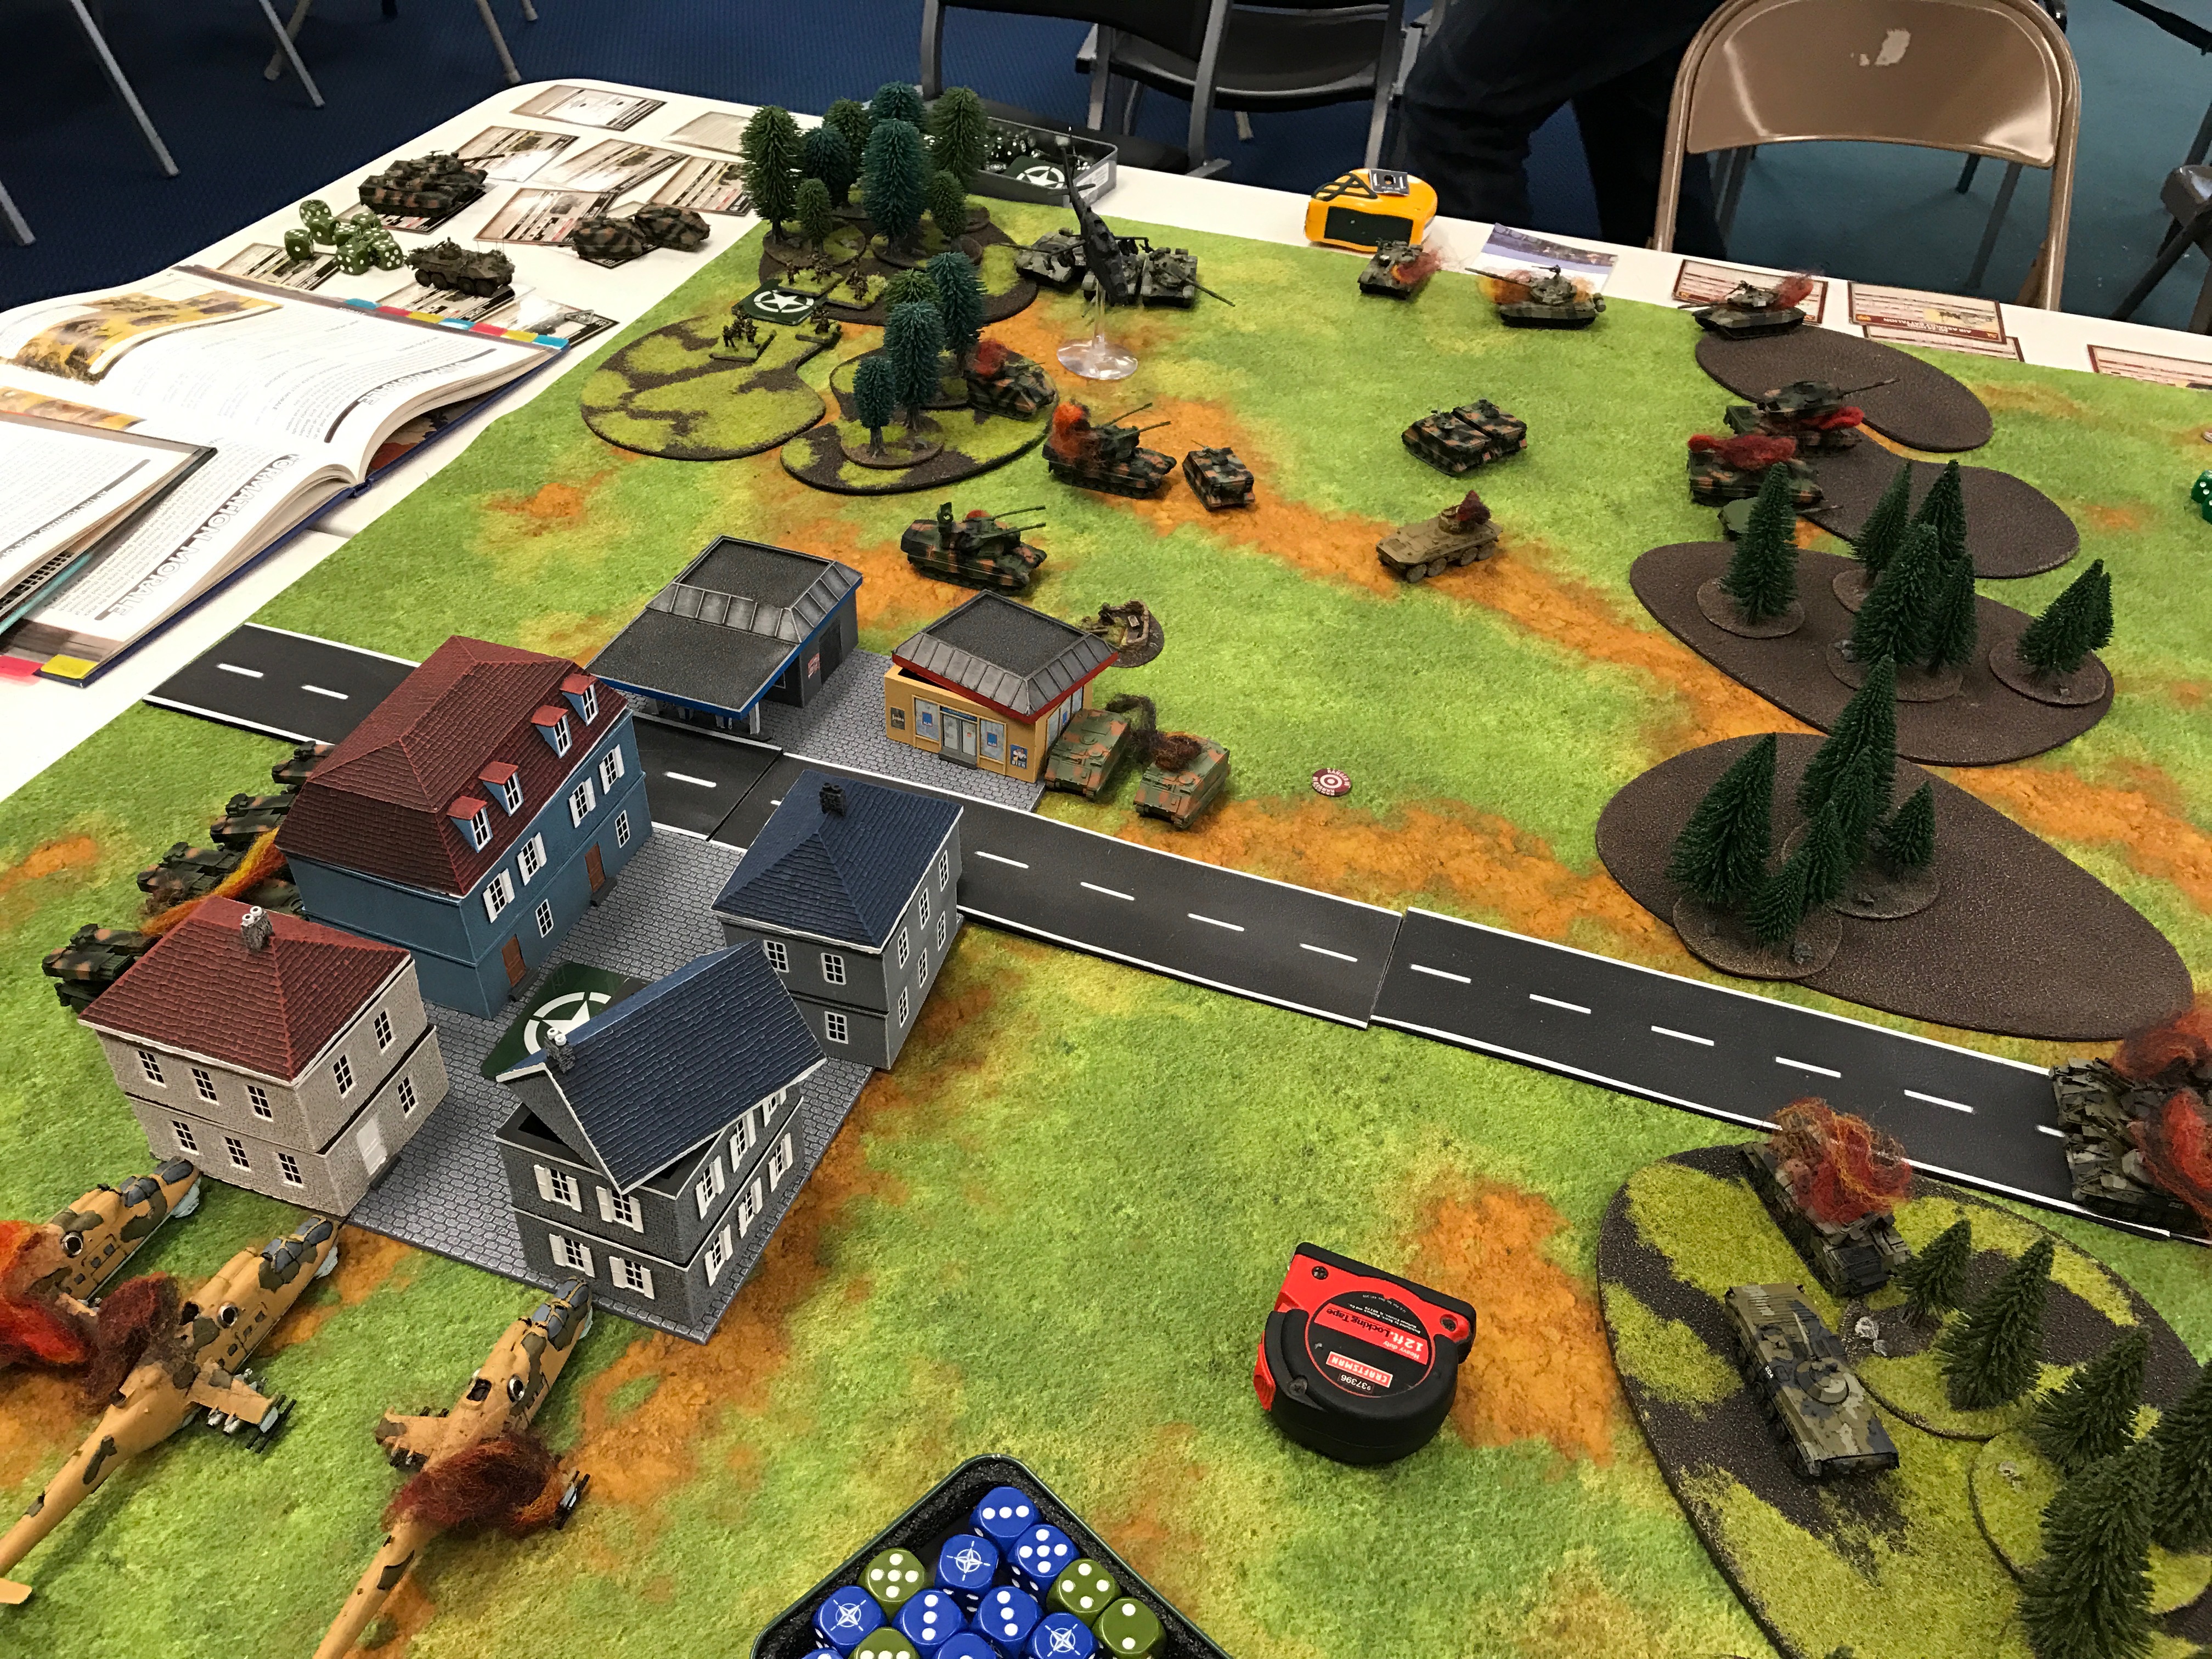
Fast forward, I’m down to 1 Hind, my infantry makes a dash for the woods where Jason had one stand on the defense. I manage to kill him but due to where I was, I couldn’t assault empty fox holes since I was more than 4″ out. Top of turn 8 we stroll onto the objective unopposed, but basically too late.
Victory for Jason 4-3.
Pivotal moments in the game.
Jason failed 3 different morale checks. That cost him his Leopard Is, one Luchs, and one other unit I’m forgetting.
His plunky M113s on the move against infantry sure did well. Likewise Hinds on the ground when they get assaulted are dog meat.
Given the points, and only two Gepards that helped the Hinds be effective. Target priority for them is very very critical. They won’t last the game so you’ve got to hit things hard. That’s vehicles. Sure going after milan teams sounds like a good idea. Don’t. Position yourself so they can’t shoot at your or have concealed shots.
Focus on that objective.
Last smoke. Keeping units alive to deny shots, especially expensive units is more important than trying to take a low odds chance of killing stuff.
Till next time!