Blood Red Skies Playtest

Warlord games has come out with a new WWII flying game called Blood Red Skies. I happened to be able to get in a game of it last night up at Fantasy Flight Games as one of my friends has gotten into it.

I’ll state right off I’ve played a number of WWII air rulesets in hope of finding something that was kinda like a game of yore called Red Baron. Now with Red Baron you have to plot your moves, you have all sorts of stats and such to keep track of with aircraft mounted on sticks that go up and down for altitude. It’s great fun and well beloved.

For our group I’d say that Wings of Fire was probably the closes to that style of game. Check Your Six another that played ok but with it’s hex system was just a bit too simple so over time the replay-ability kinda suffered.

Blood Red Skies comes at the design of the game from a different and very refreshing direction that I’ll try to explain. I can’t cover it all, but here’s the highlights.
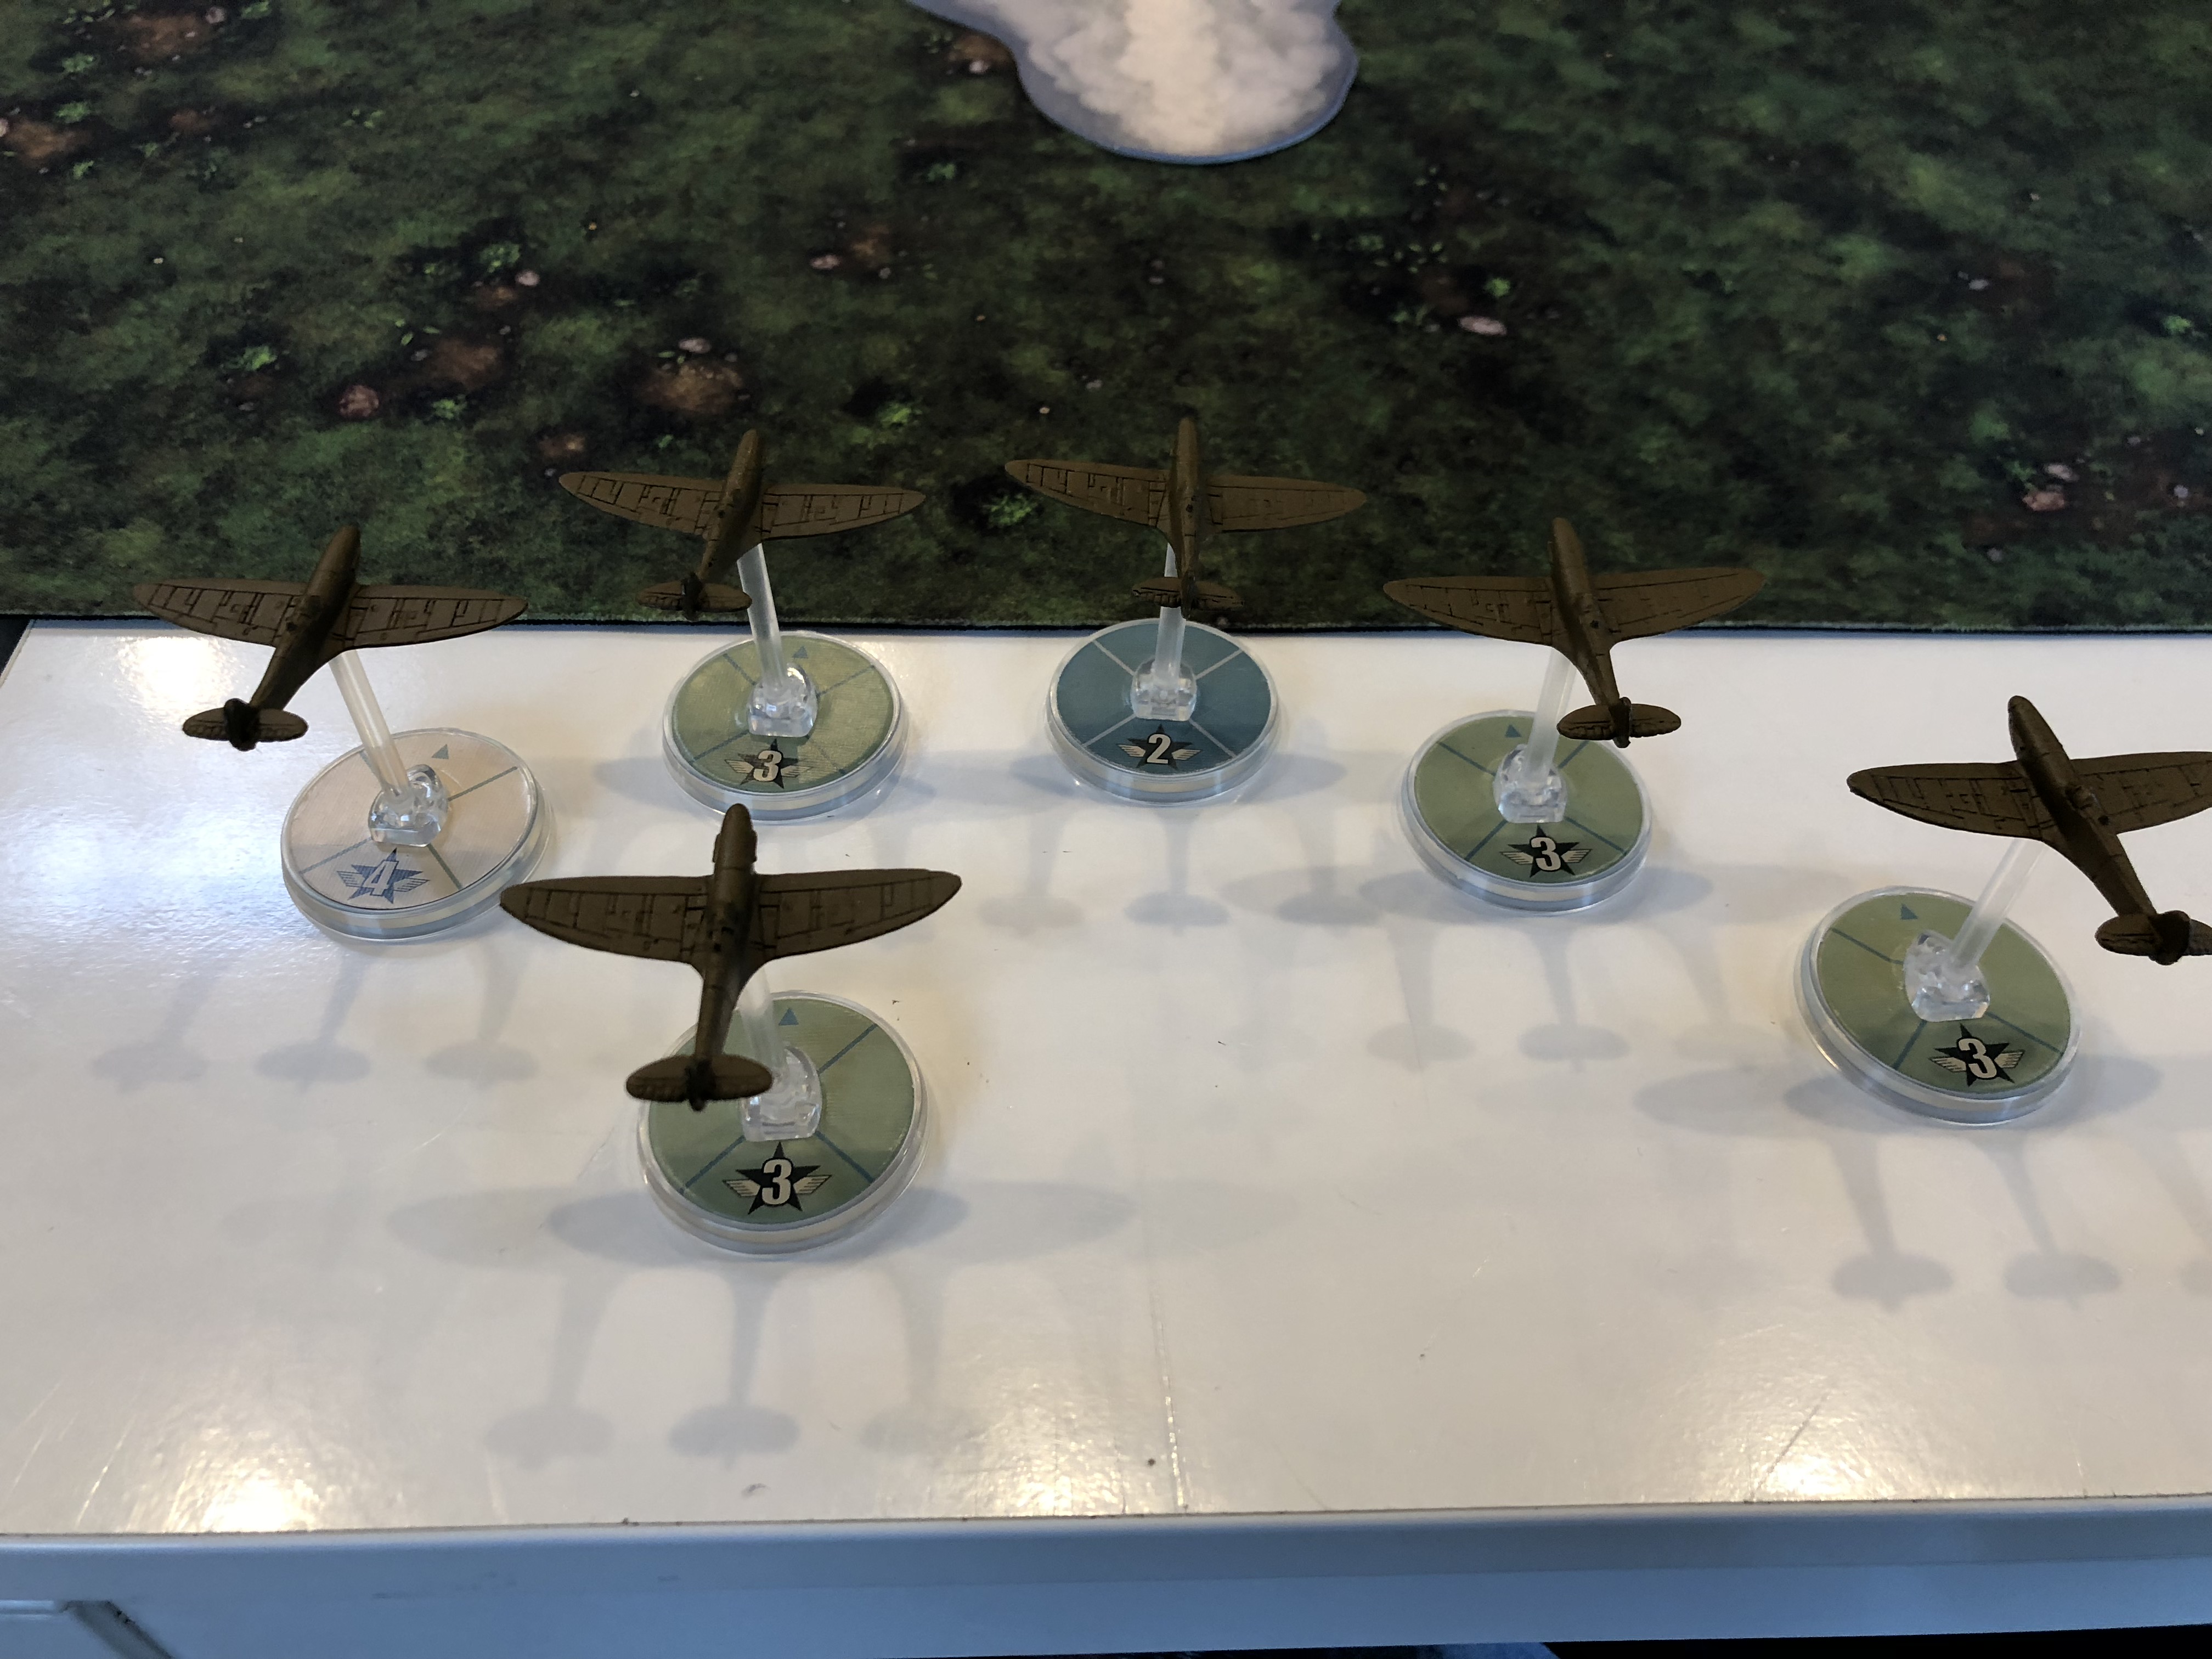
Firstly the models are 1/200. As the game is new the variety of aircraft is limited. Brooks and I had Spitfires and ME109s going at it in our game. Models are unpainted but otherwise numerous in the core box. (6 of each side depending on if you pick up a Battle of Britain, Pacific, or Russian themed box). The stands have the pilot skill 2 being a rookie, 4 being a skilled pilot. Lines clearly mark the firing arc. Tailing is actually being behind the plastic post, not the whole rear arc.

There is no altitude nor plotting in this game. For many a flying game how to design those iconic elements is very important. In Blood Red Skies, planes have 3 states, Advantaged, Neutral or Disadvantage. Gaining state takes an action and losing state can allow you to perform maneuvers or be forced on you by circumstances, like being tailed without a wingman.

A typical airplane activation is fire, move, then action.

This design element combined with a system of cards that are available to be used creates exactly the element of trying to jockey and outfly the other guy. Skilled pilots are still rewarded for being skilled pilots. Rookies likewise have to take care of themselves and also benefit strongly from friends to keep being shot down. Wingmen being important?! Who knew!

Shooting, pilot skill tests, avoiding damage, etc is all done through rolling a certain number of dice. Get a six on one of those dice and it’s success. Get multiple sixes and you might get rewarded depending.
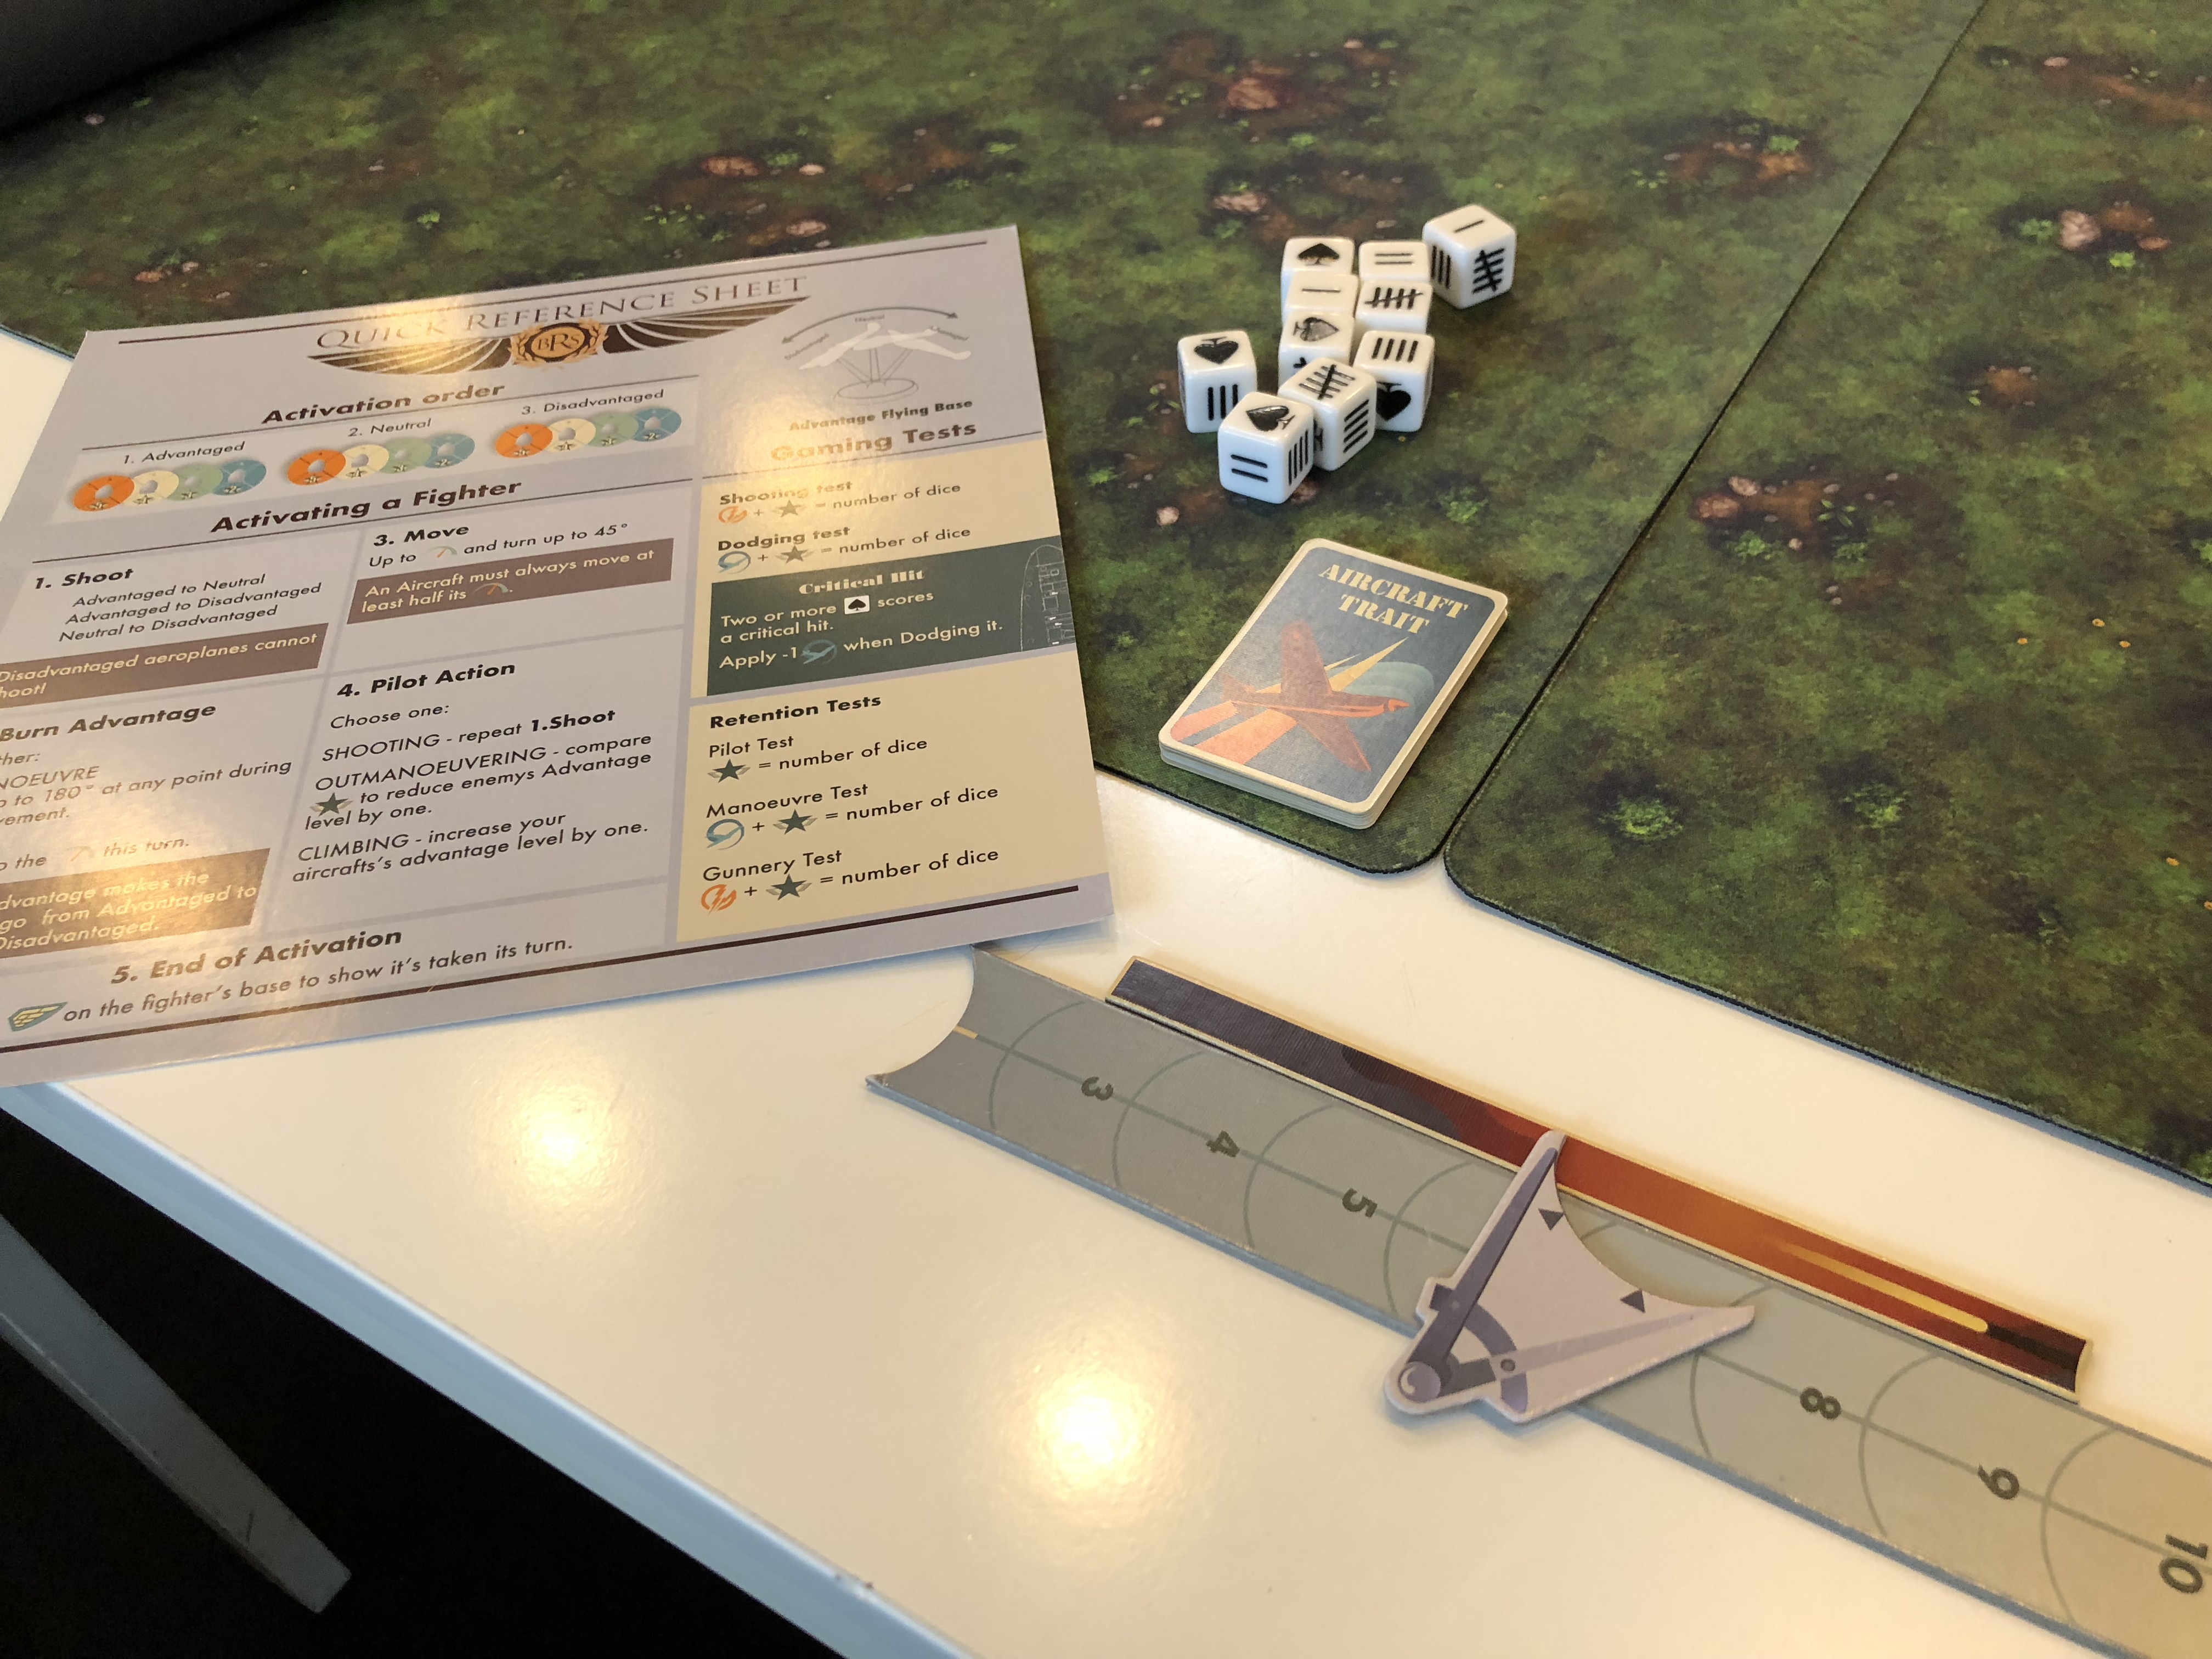
Shooting range thus far is just 6″. Deflection shots allow for more defense dice. Charts and support stuff is all pretty clear.

Activation is in the order of highest skill pilot that is advantages going first, then next skill level of advantaged pilot,  then neutral planes started with highest skilled pilot on down and then disadvantaged planes.

Planes that are in the same or higher advantaged state can’t shoot at each other. So thinking about this, IE if you’re both high altitude and haven’t traded momentum to be able to dash about, makes sense, you shouldn’t be able to be picked on. If you’re say advantaged and the other fellow is disadvantaged, IE you have altitude, speed, etc on your side but that disadvantaged plane doesn’t, you get a shot. Roll up generally ~4 dice, get a six, that’s a hit. The opposite side gets a boom token.

Now this is where again, another element of design is how do you track damage. The designers here decided, not to count rivets, instead boom tokens are awarded to a side. If you have more boom tokens then planes, your side runs away. You’ve lost your will to fight, they’re getting the best of you, best head for the clouds. Makes perfect sense.

The target of an attack, having hit them, then rolls defense dice, pilot skill plus plane maneuverability plus potential deflection. If you get a six, you don’t get shot down.
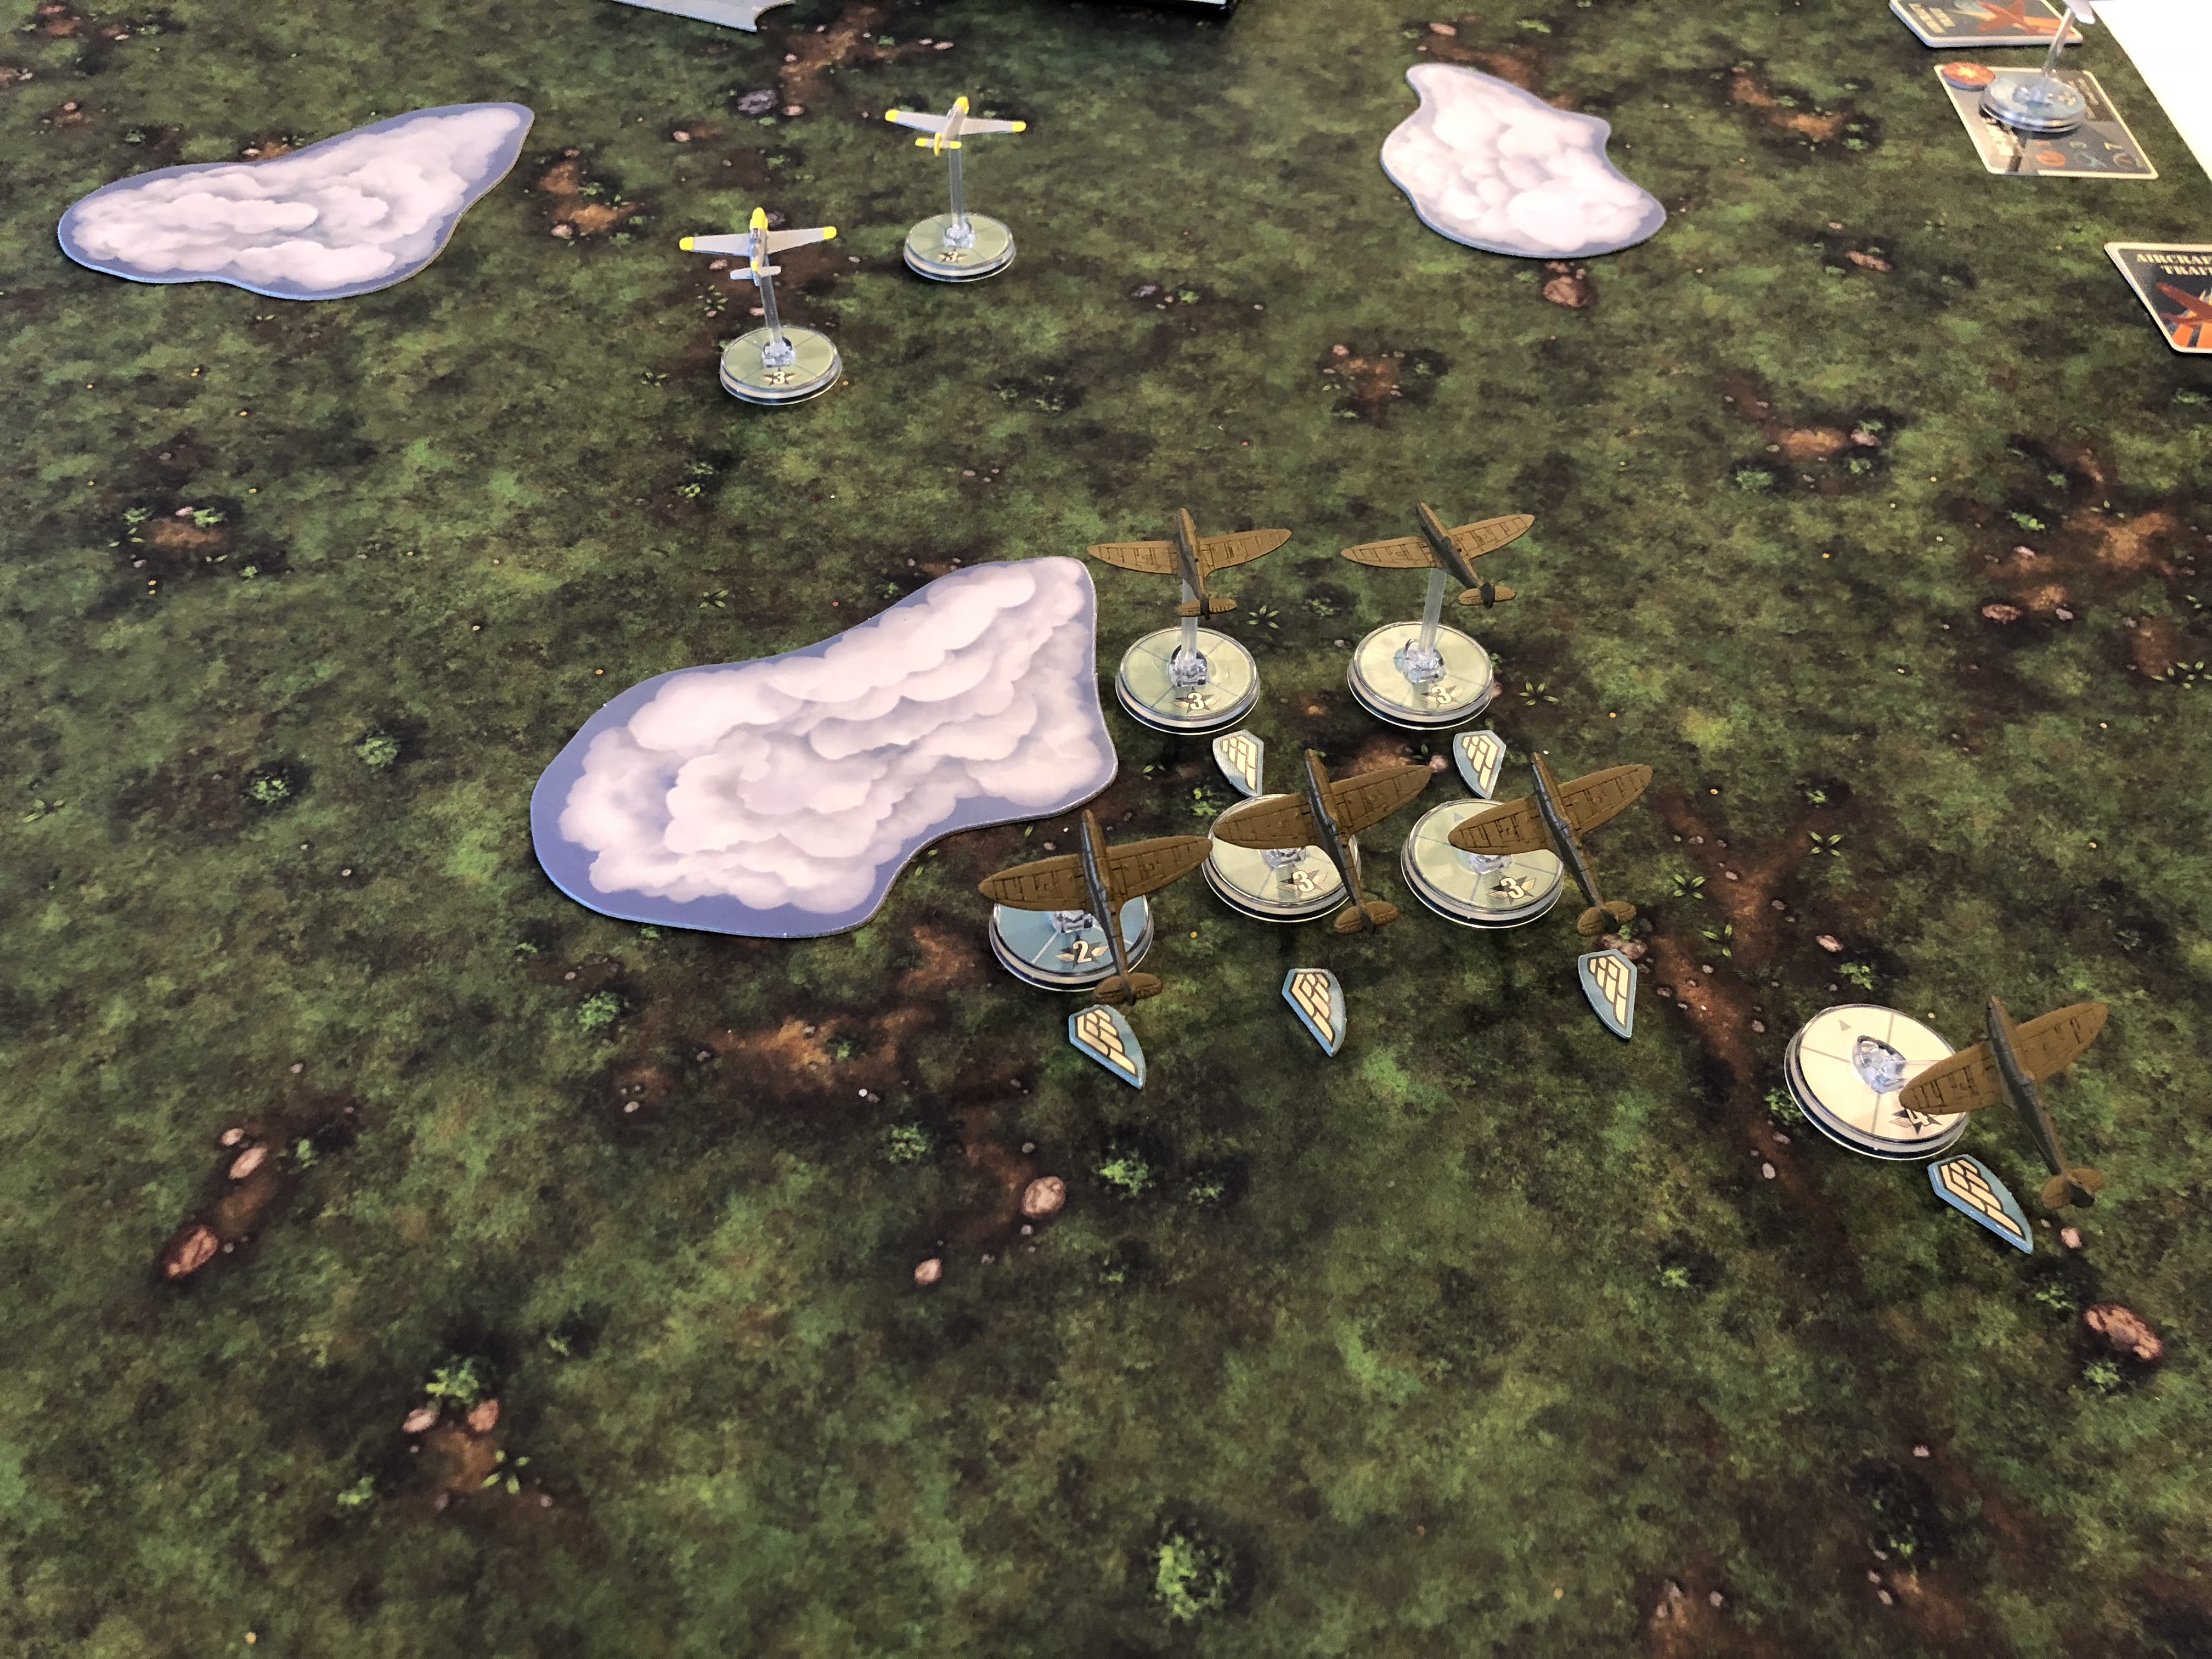
If the game we played, my whole squadron was angled in and on the attack catching some 109s off guard. There were 3, but I managed to pick on and take out a rookie very fast.

The little wing by the planes indicate a plane has gone. You’ll see the planes angled back meaning advantaged. Planes level are neutral.

Clouds completely block. No shooting. They also put you into a neutral advantage state. Running around and through clouds actually means something.
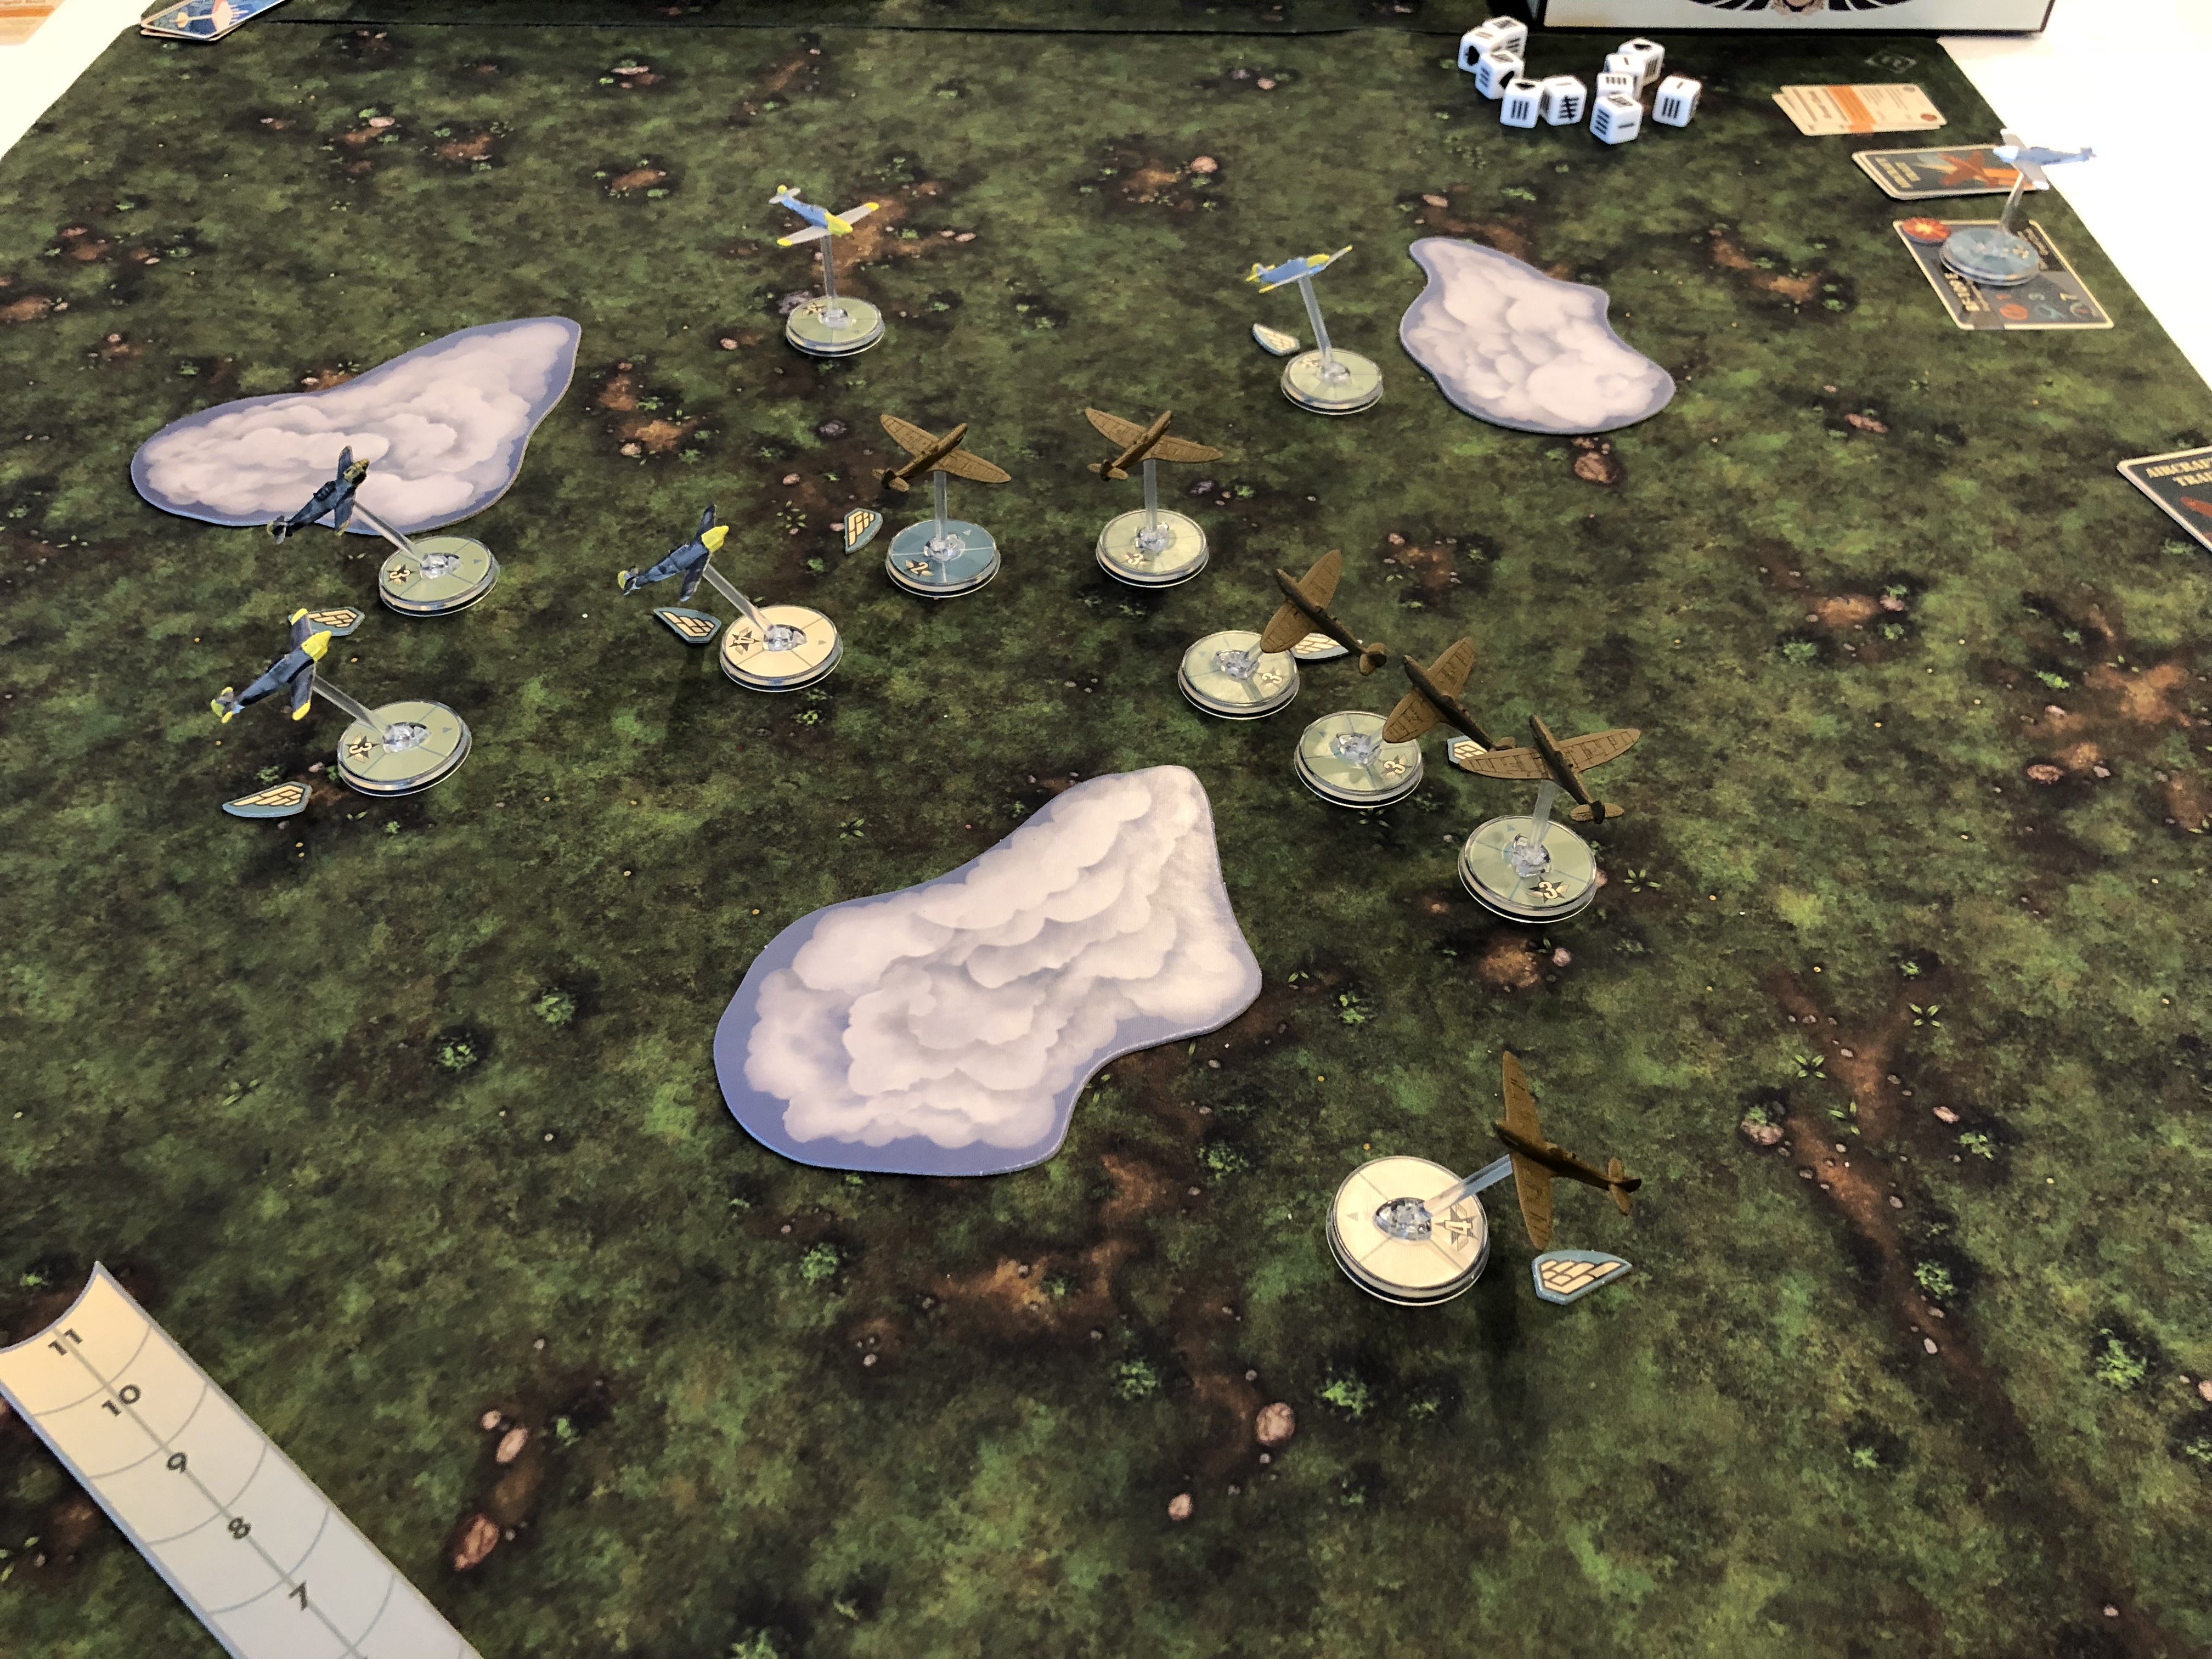
Later on in the game but my last picture. As the dog fight ensued, what I found quickly was that my planes over the course of the game where dropping from advantaged down and trying like heck to get the Germans to be into a disadvantaged state, either through out maneuvering or getting on their tail. Same for the Germans so this jockeying is a hugely critical element of the game and thus gives it a very nice flavor.

The cards I’d mentioned do add in extra situational elements, specific to the battle of Britain, mixed in with that were plane specific cards. You have 3 in your ‘hand’ so you can burn them through the course of the game, and your deck recycles so you don’t need to hold on to them as precious treasure but you don’t want to just burn them either. At one point one card definitely helped one of my guys escape from being shot down. Likewise Brooks has some situations where he caused me to pilot test and kept me from getting back into an advantaged state after I’d done some fancy flying by spending advantage.

Ad the end of the mission, I ended up having more boom tokens then planes so my squadron disengaged. Three planes all total shot down as I recall. Two spits and 1 109. A lot of my planes at the end were not in a great state when it came to advantage so the outcome seemed spot on.

All in all, on one play I’d definitely recommend the game. Planes are limited yet but they’ve more on the way. I’ve ordered the core box, so look for some games at D6 in the not too distant future.
Posted in Blood Red Skies | 1 Comment

Italians on the defense

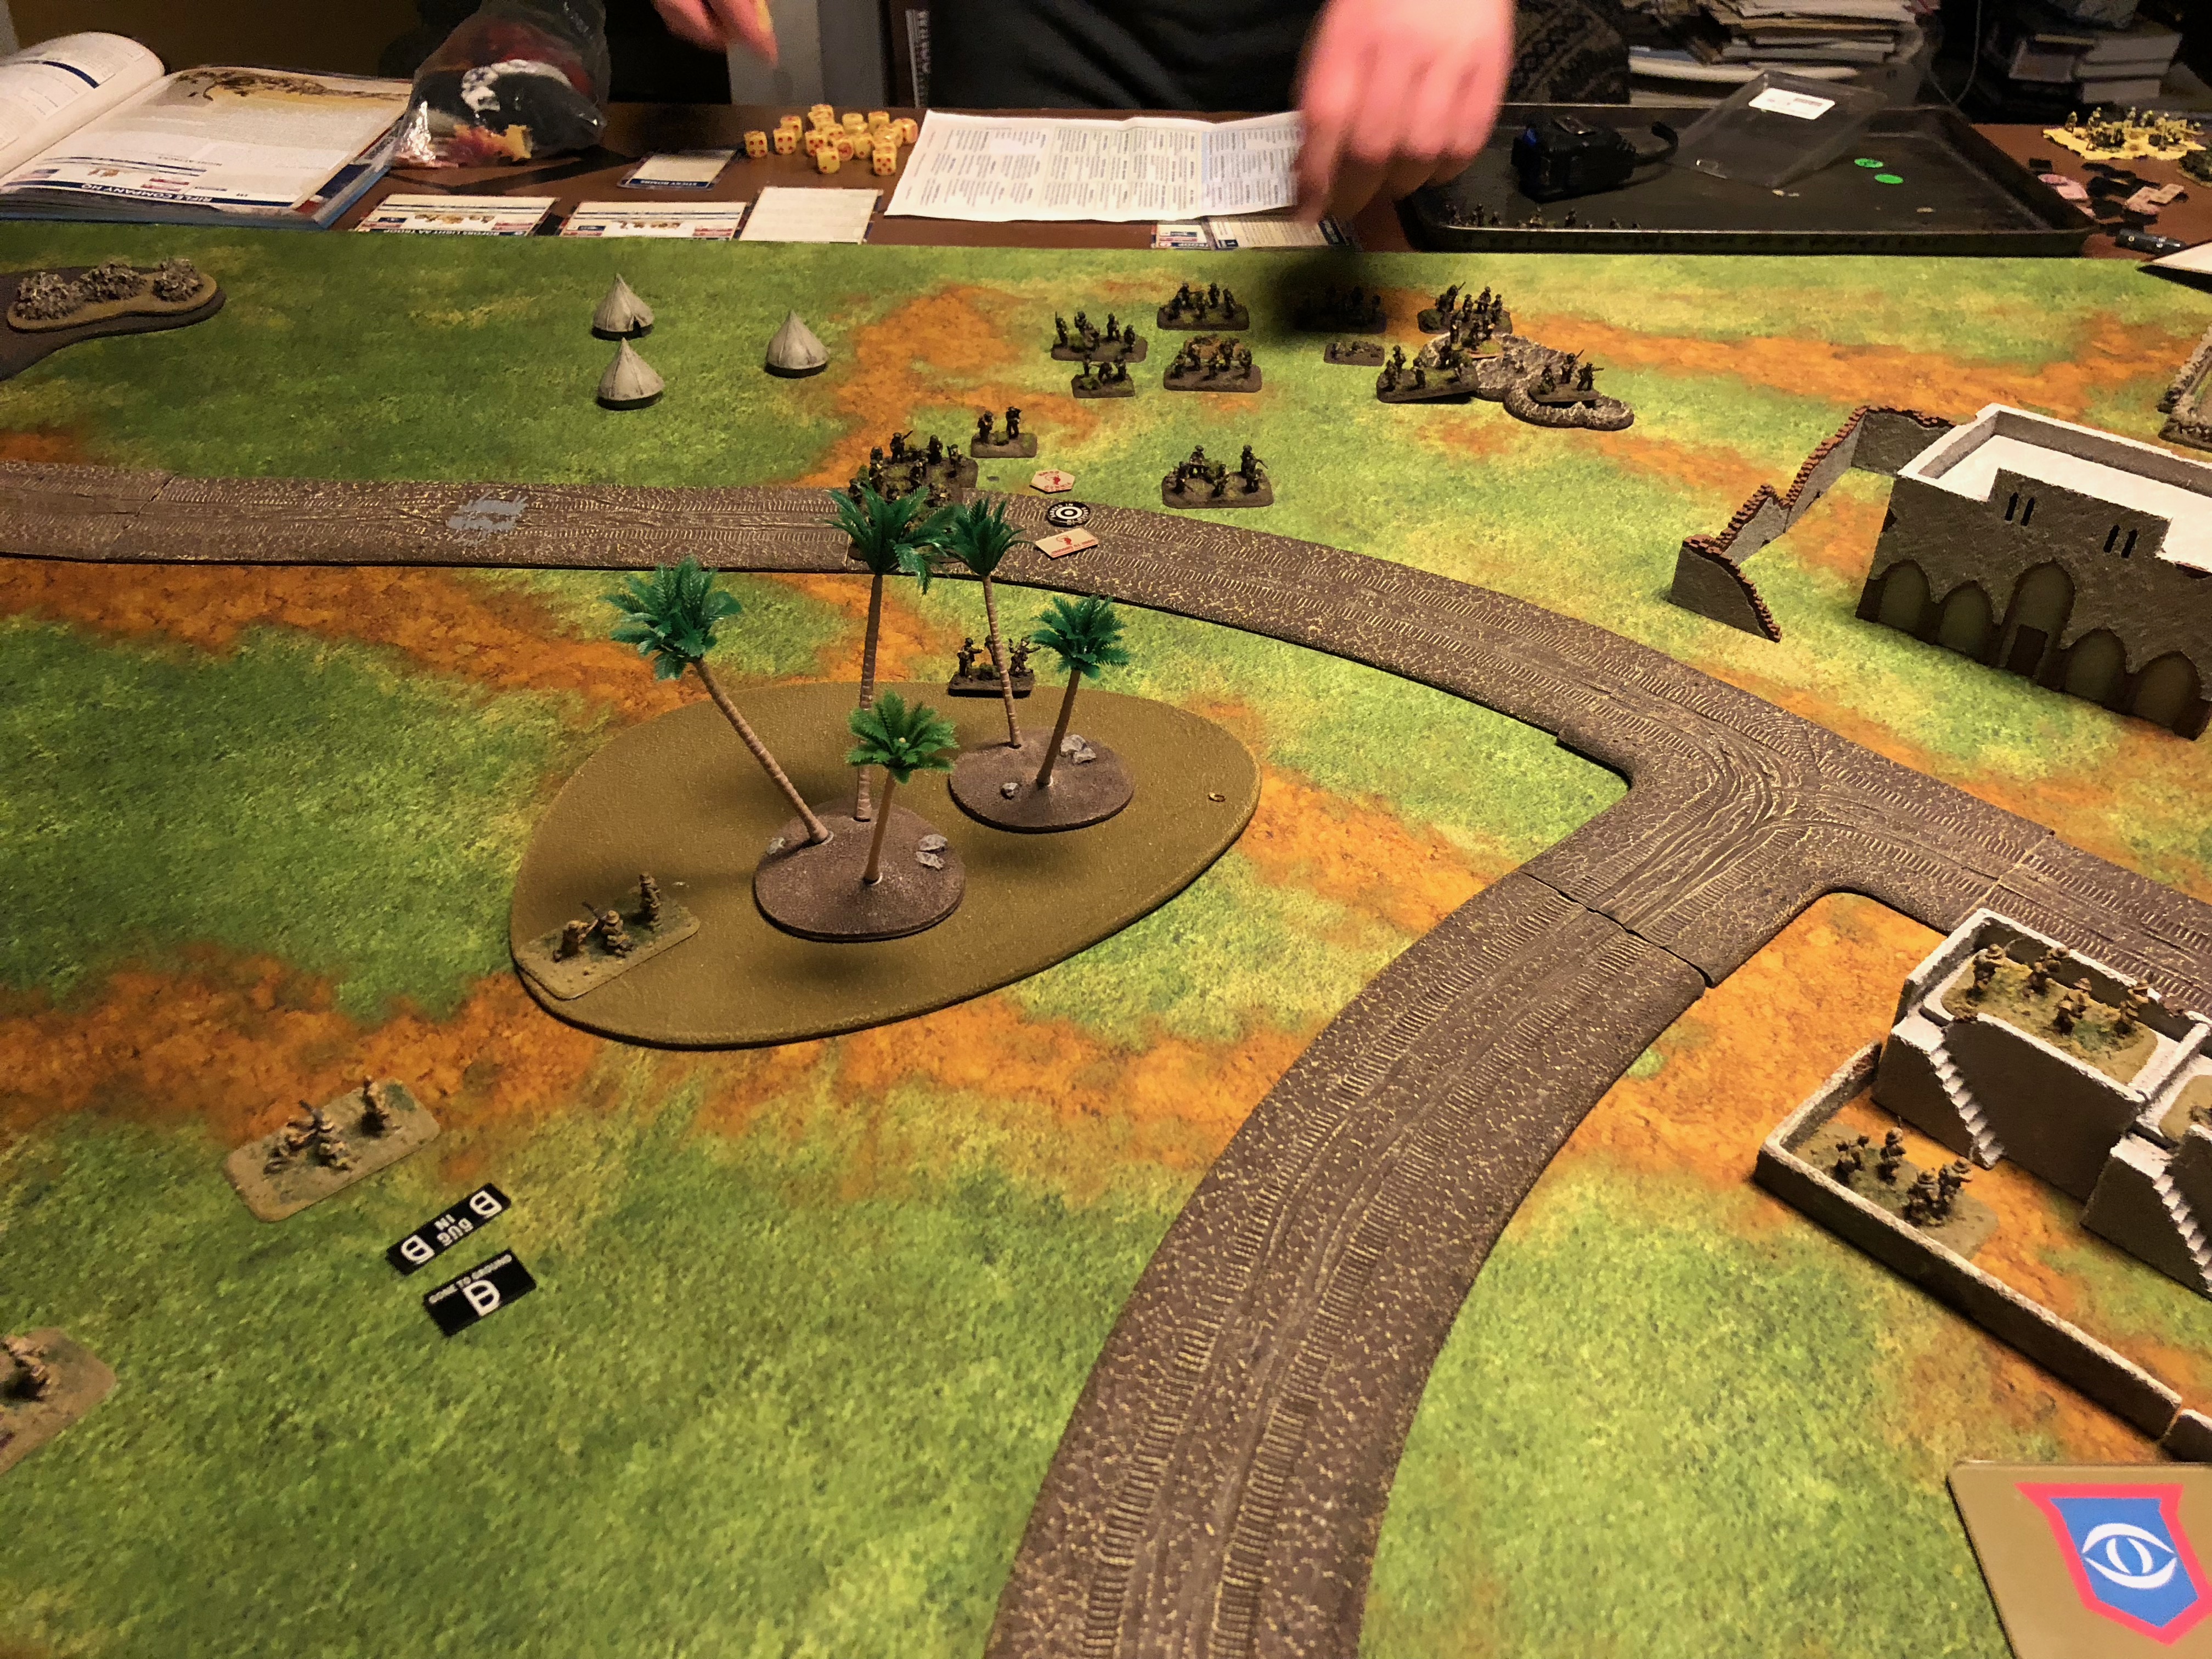
Given the wonderful weather this weekend getting out and gaming was what I wanted to do on Sunday but since conditions still hadn’t improved Ian and I got in a game Sunday evening.

We played 80pts MW both of us using experimental lists in anticipation of the 80MW tournament at Dreamers Vault in Minneapolis on April 29th. Ian went for something out of Iron Fist, Churchills of course included. I went with Italians wondering if I could have something viable knowing the feature creep going on in the game with higher quality armor.

Ian chose attack and I choose defense for our battle plans which then resulted in Bridgehead.

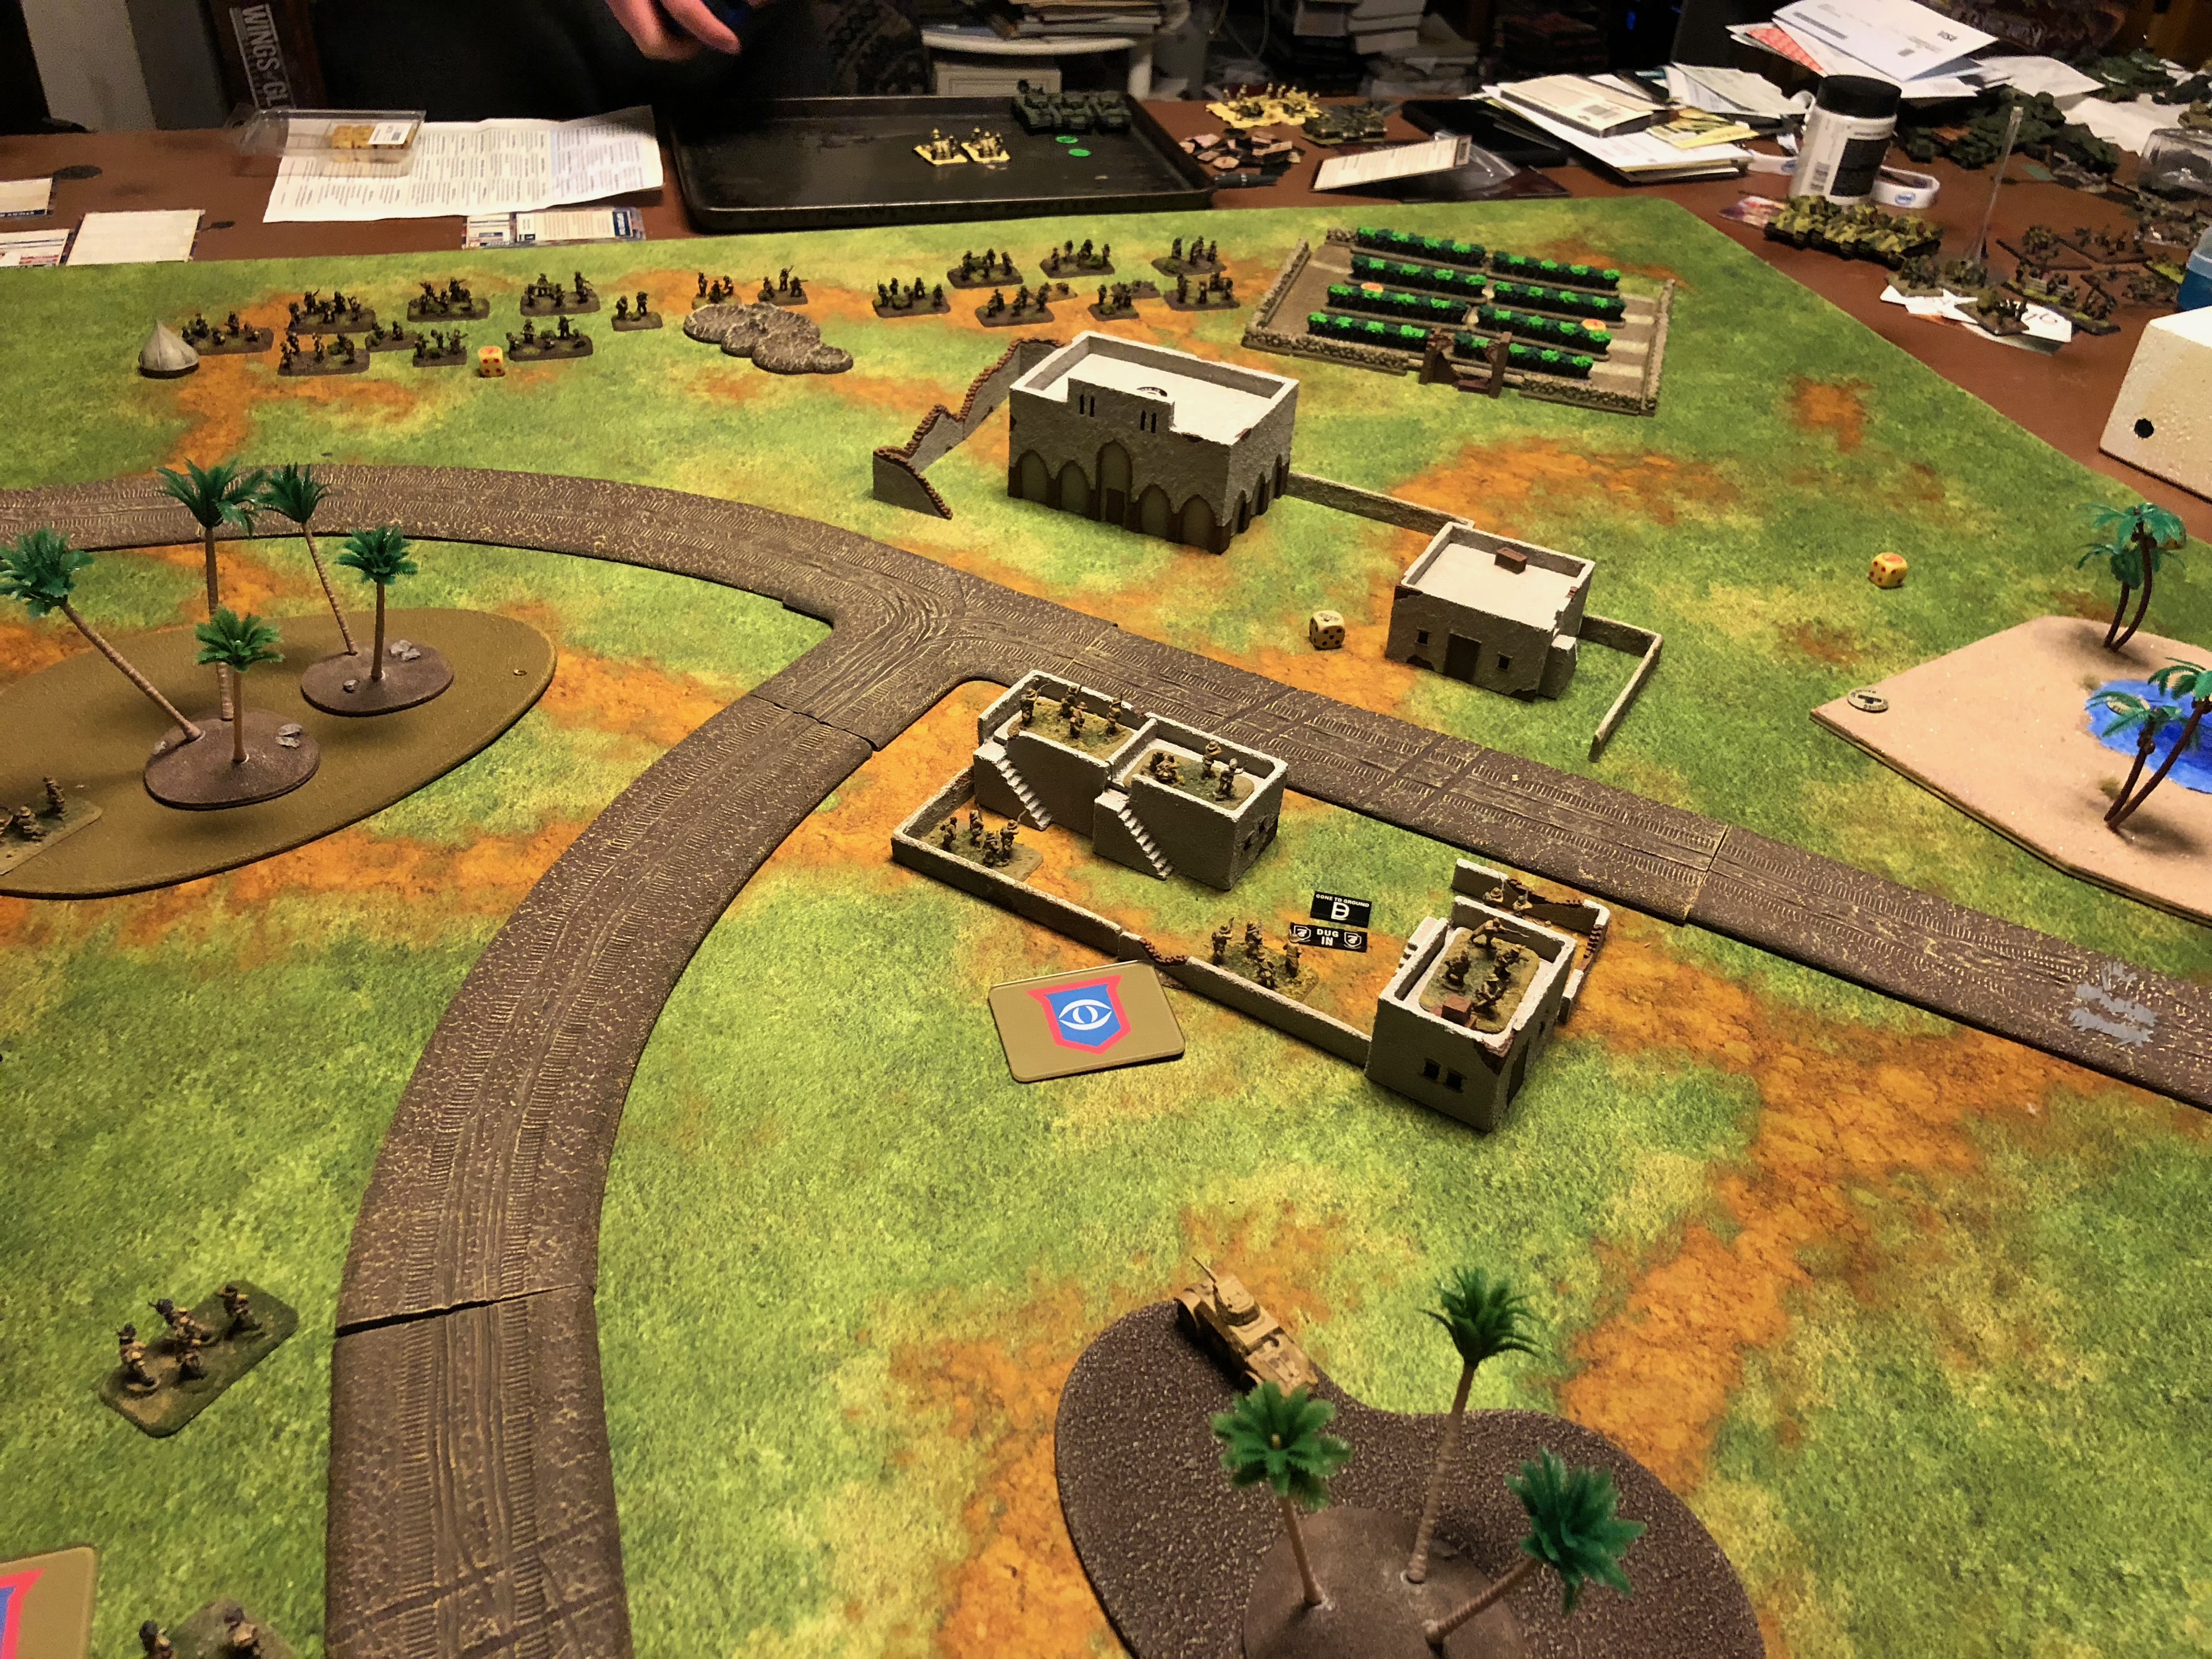
For this list I decided to go with an Italian Bersaglieri formation, infantry heavy but should be good at generally holding. I went with a large and small platoon of infantry (9 and 5 stands respectively), 3 81mm Mortars, a HMG platoon, 4 100mm guns with AB41 observer, 3 88s, 3 Lancia 90mm, a platoon of 5 L6s and a platoon of 3 L6s.

For my 60% I kept off the Lancia trucks, the 81mm, and all the L6s. With the box that I was bound in, managed to comfortably setup to defend one of the objectives an the other, I’d have to cover with dug in infantry in the open but on overwatch. I kept my 88s in Ambush cause well, Churchills.

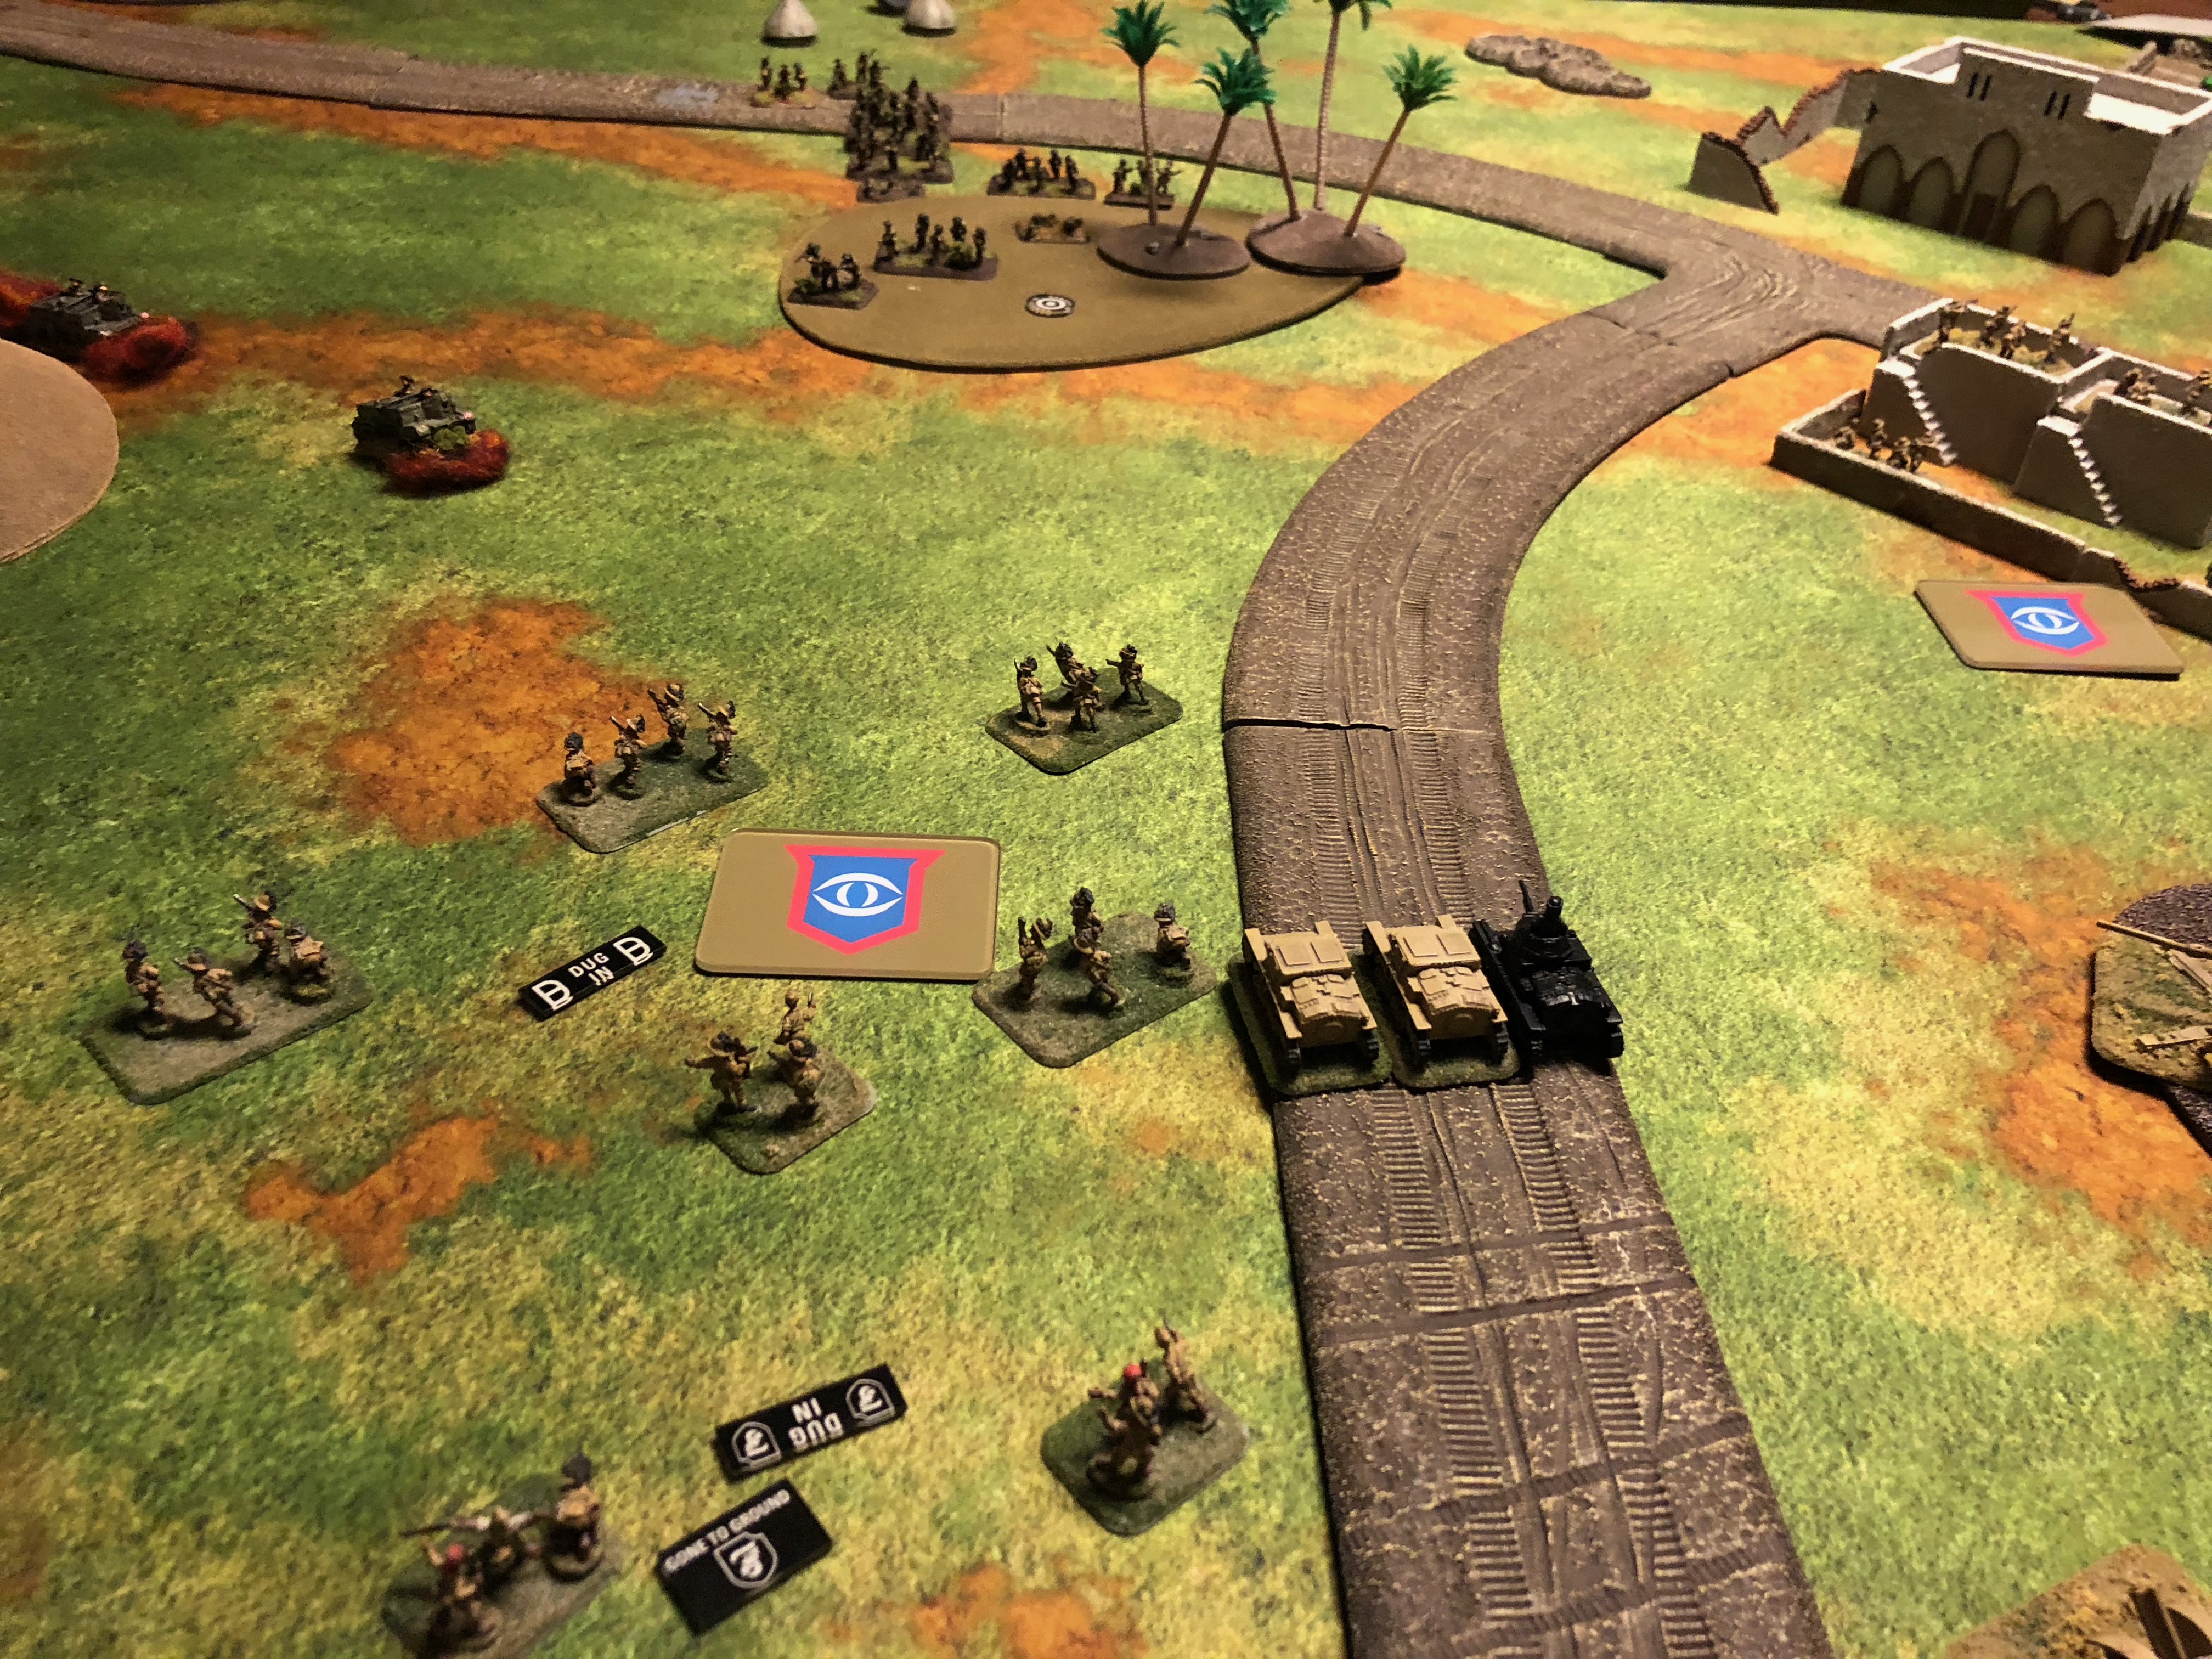
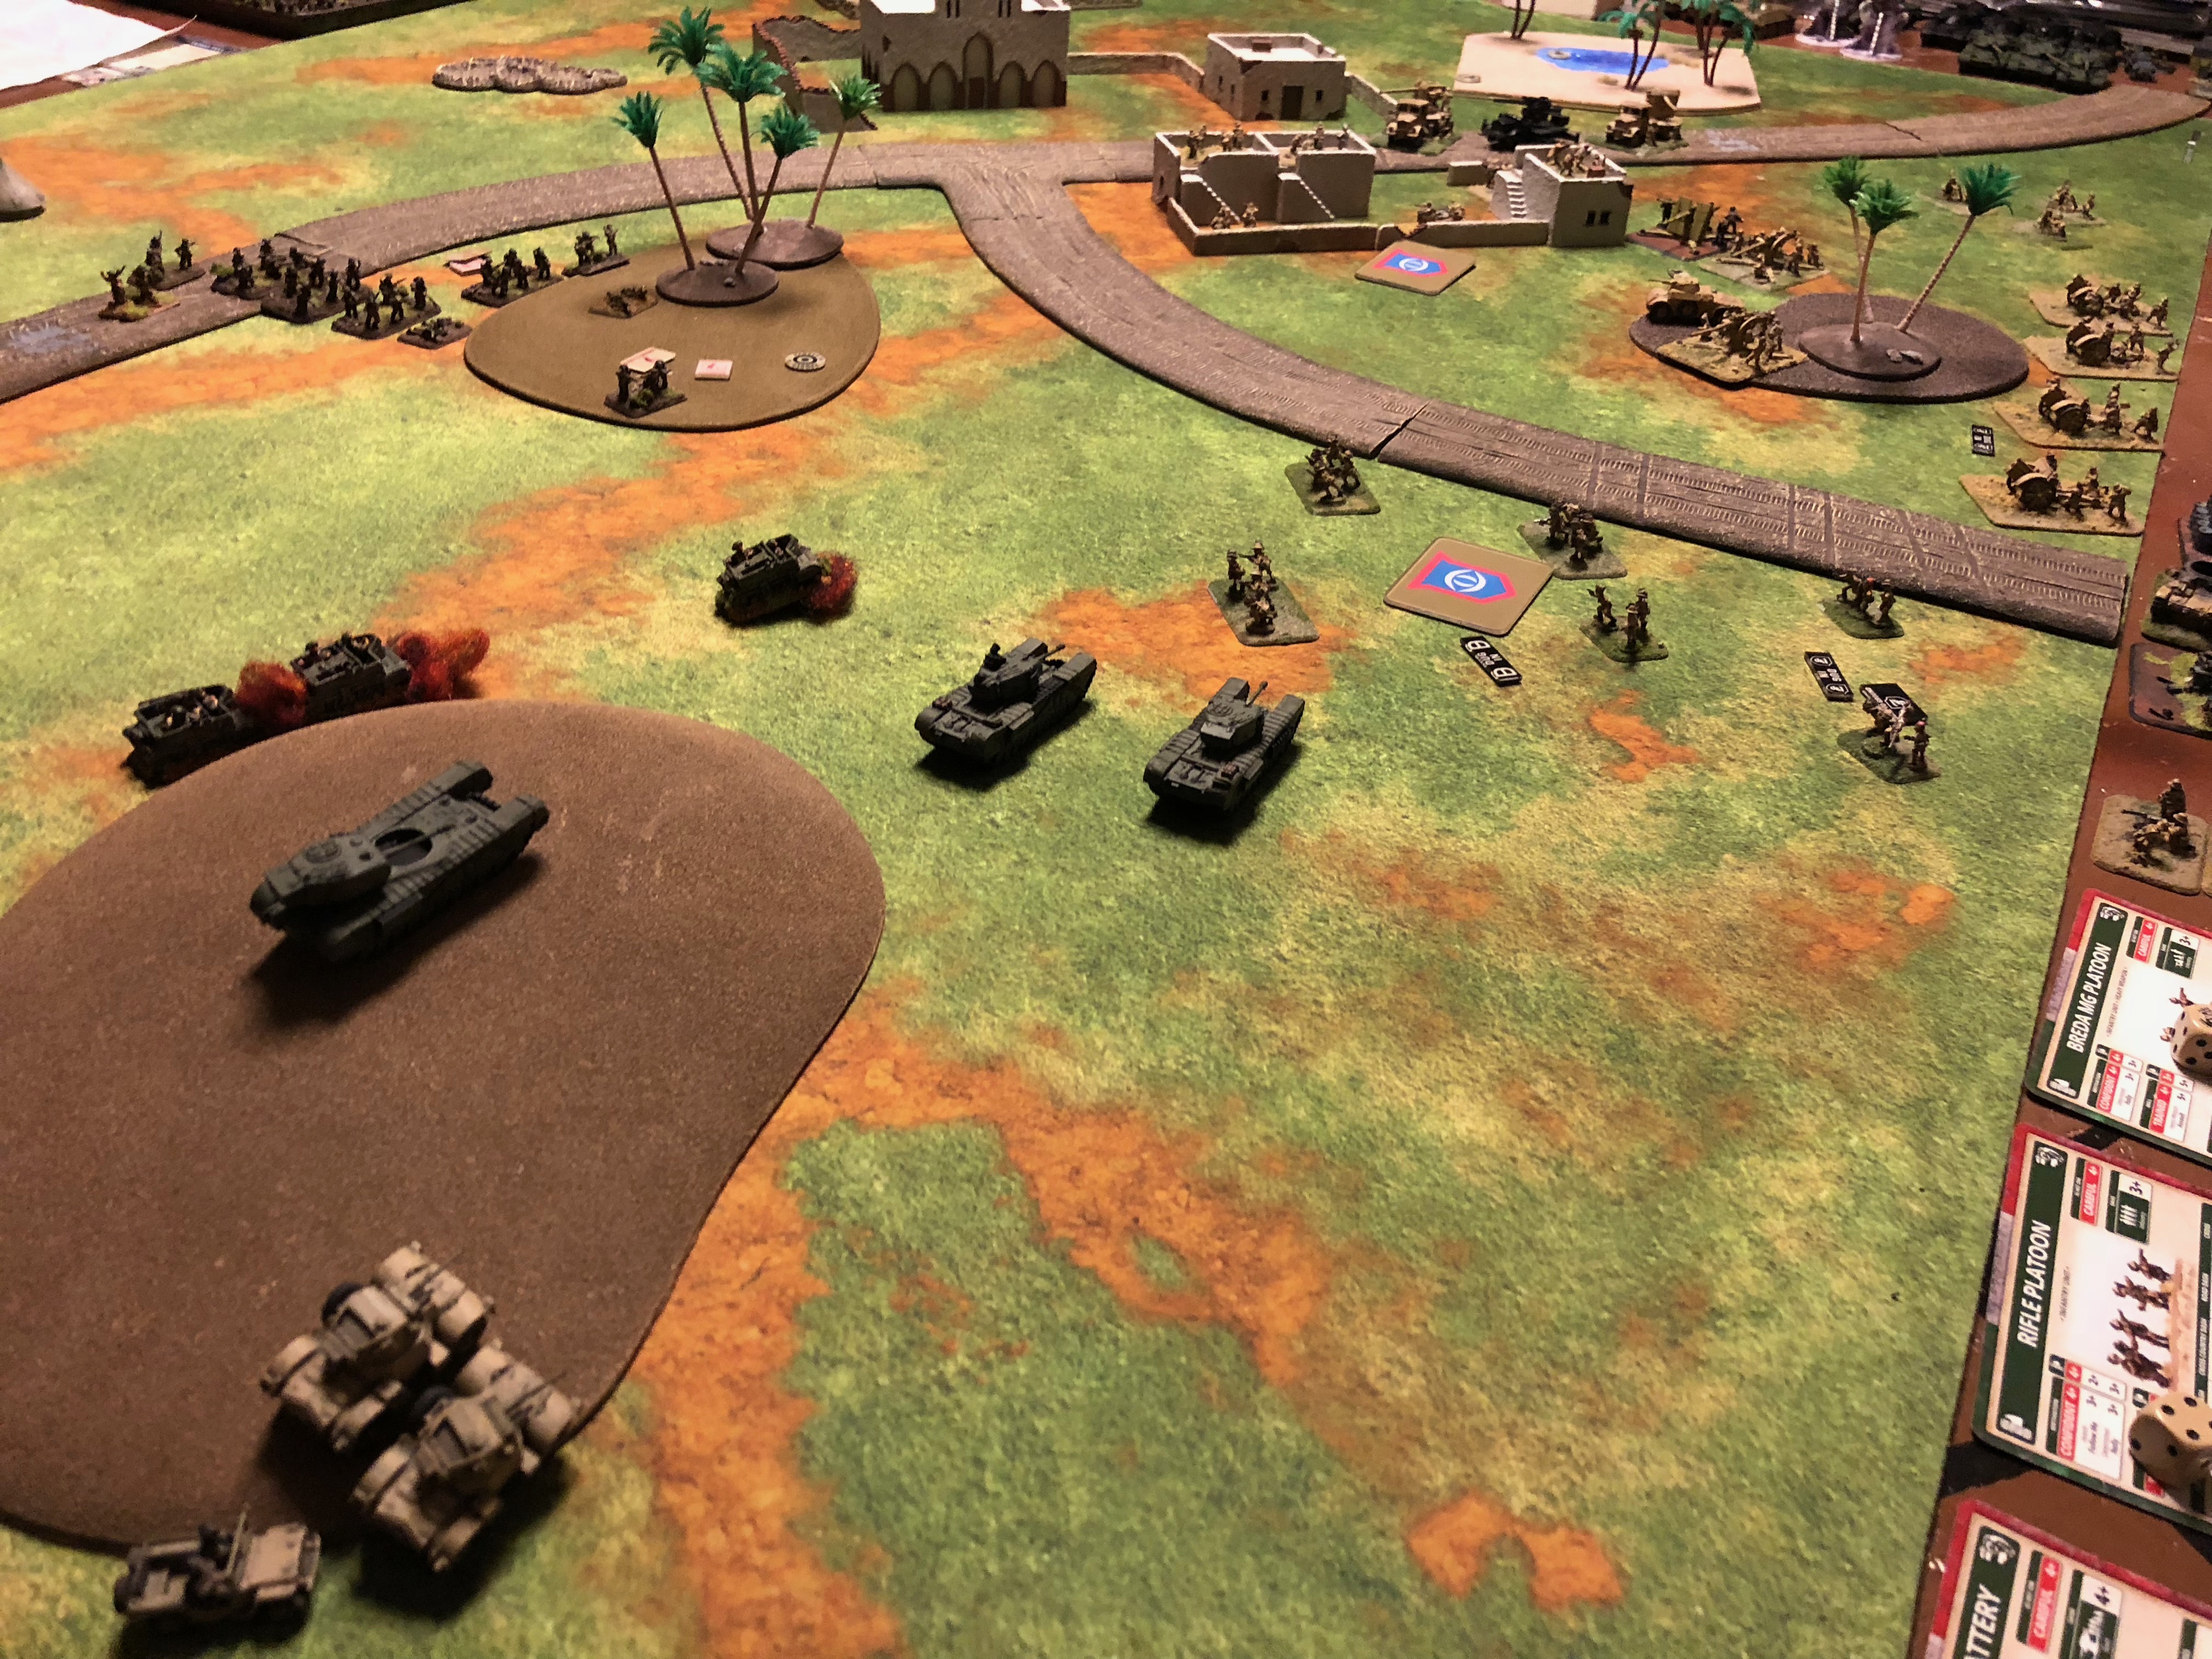
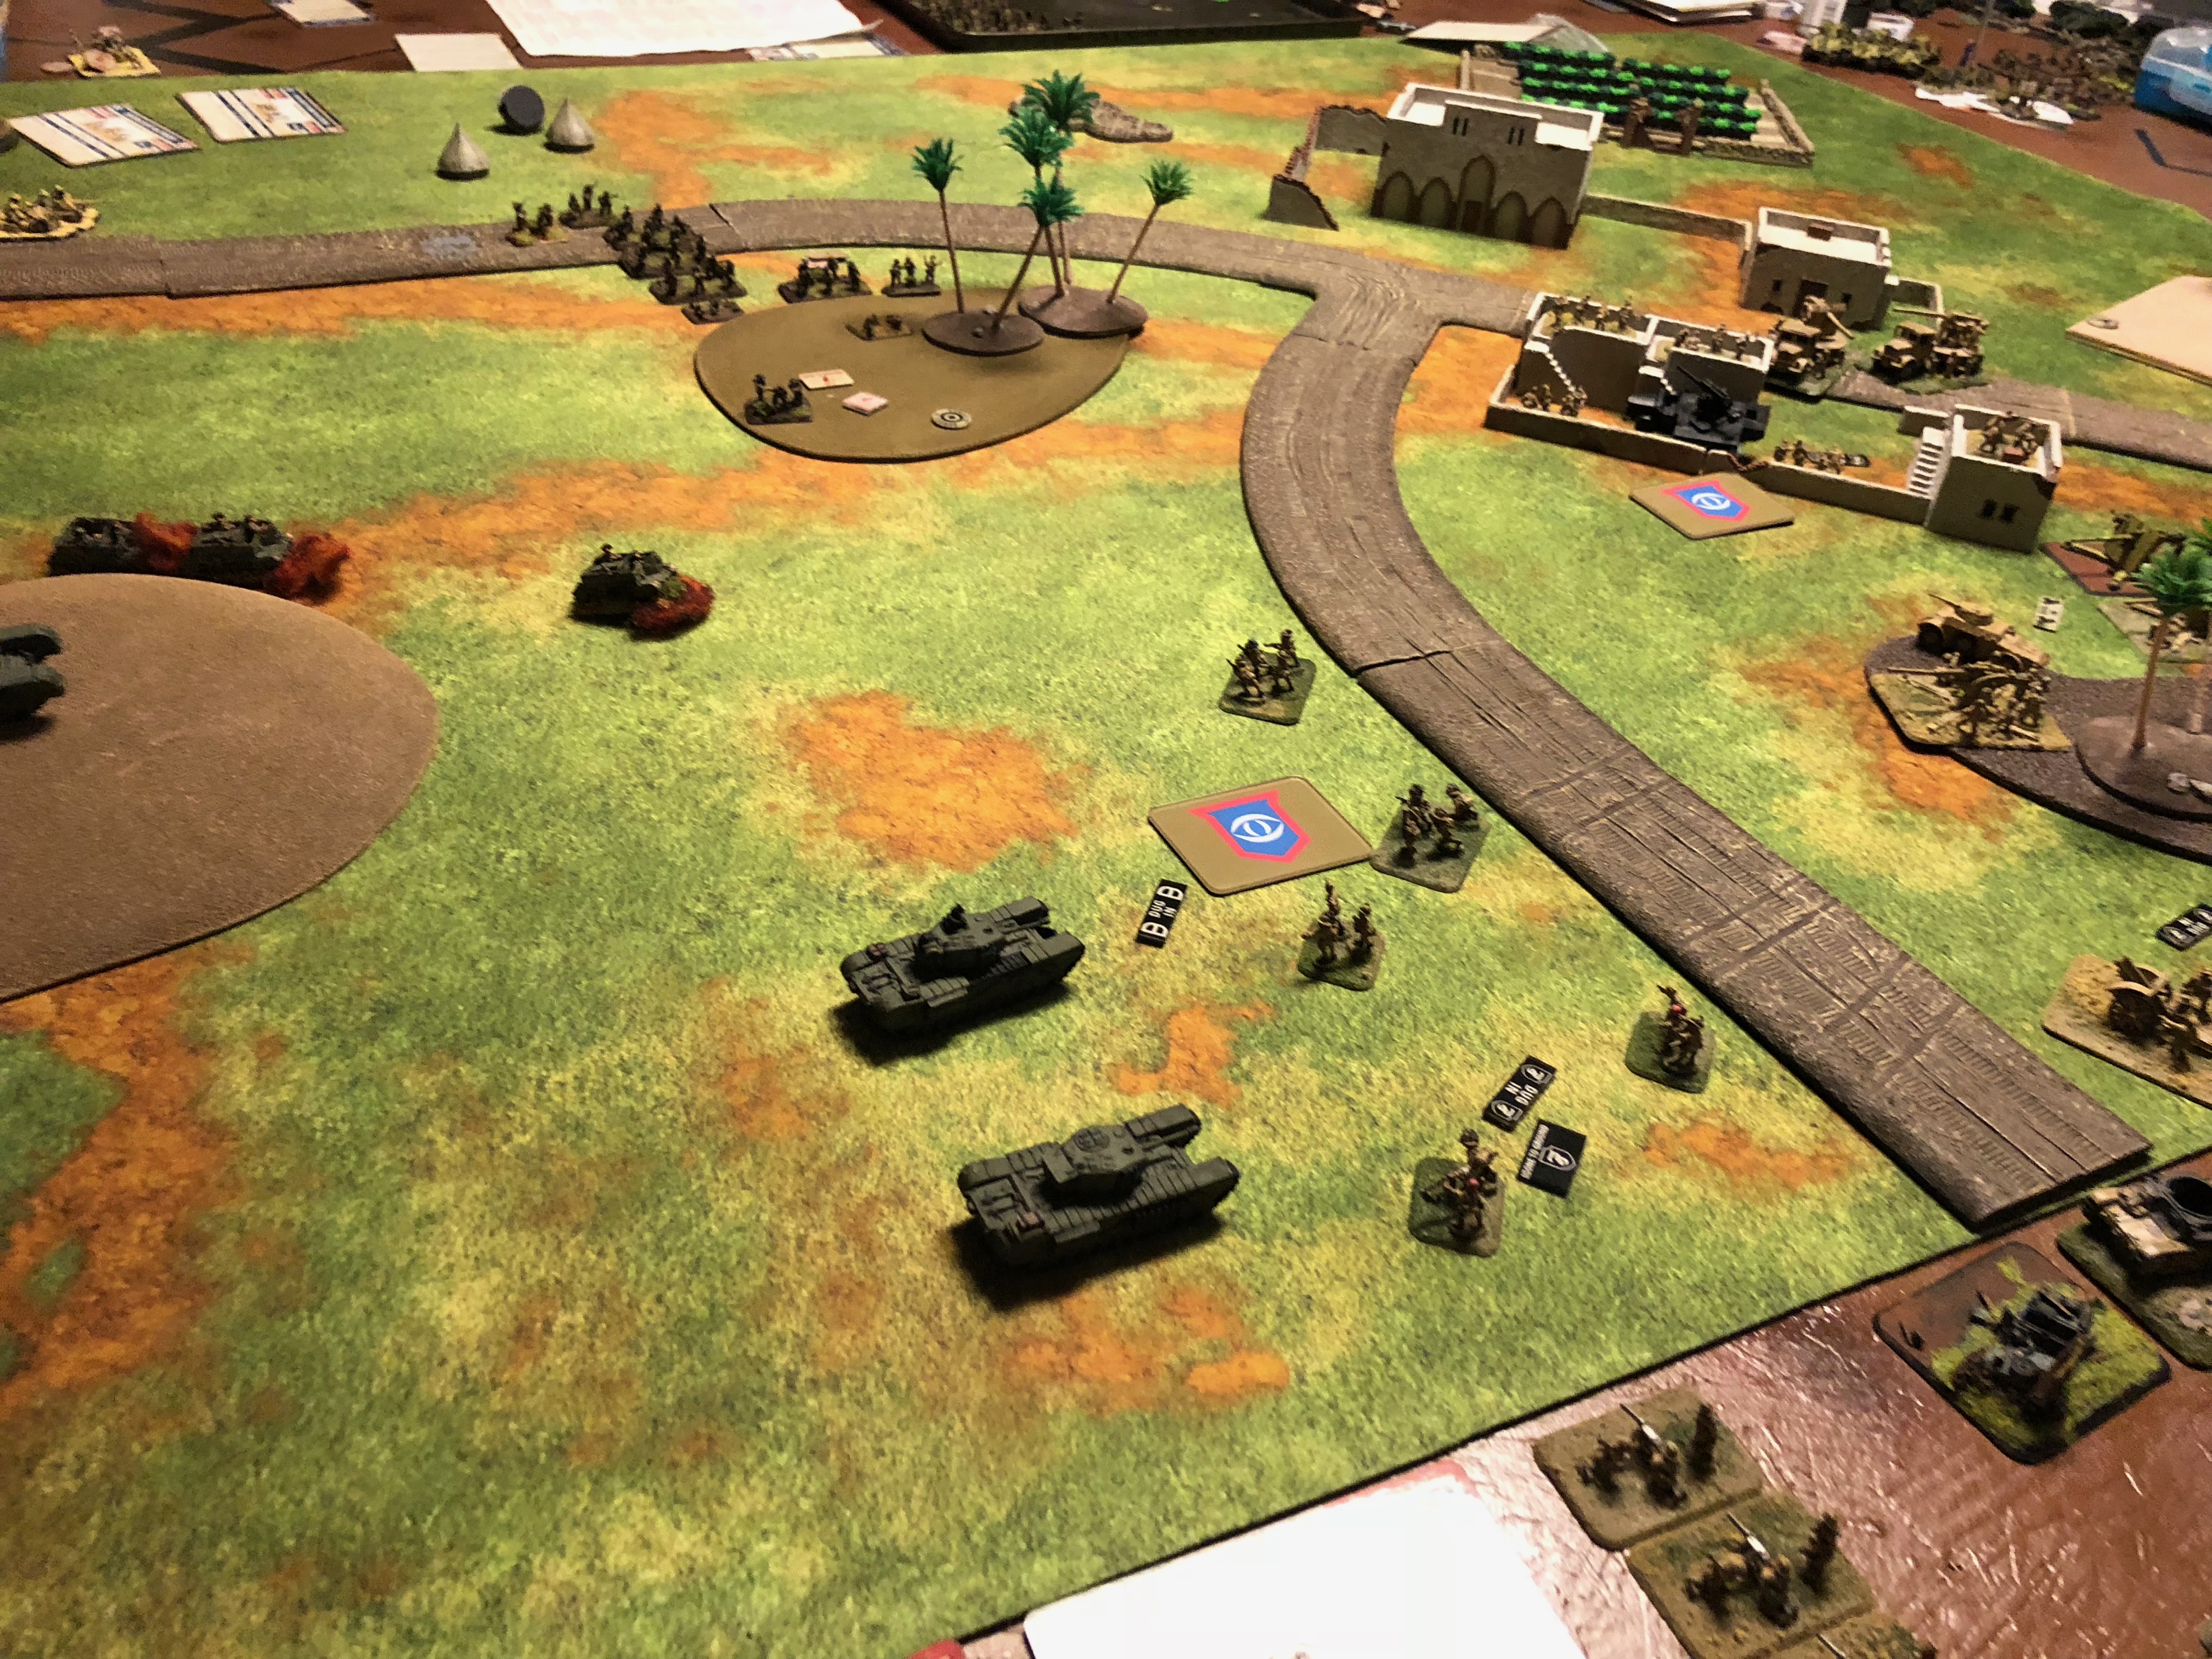
As I put my minefields over in that little Oasis, Ian decided to avoid that side of the map and instead concentrate his infantry generally in the middle and his armor and guns on my left. 6lbers with no HE … not that scary. 40mm Bofors, getting scary, 3 Churchills, well we’ll see.

Early on in the first couple of turns Ian moved his infantry front and center to focus his push through the trees. Luckily I had a line with my artillery to bring down shells on their approach. As a result I was able, through the course of two turns, score enough hits one of his platoons was essentially combat ineffective.

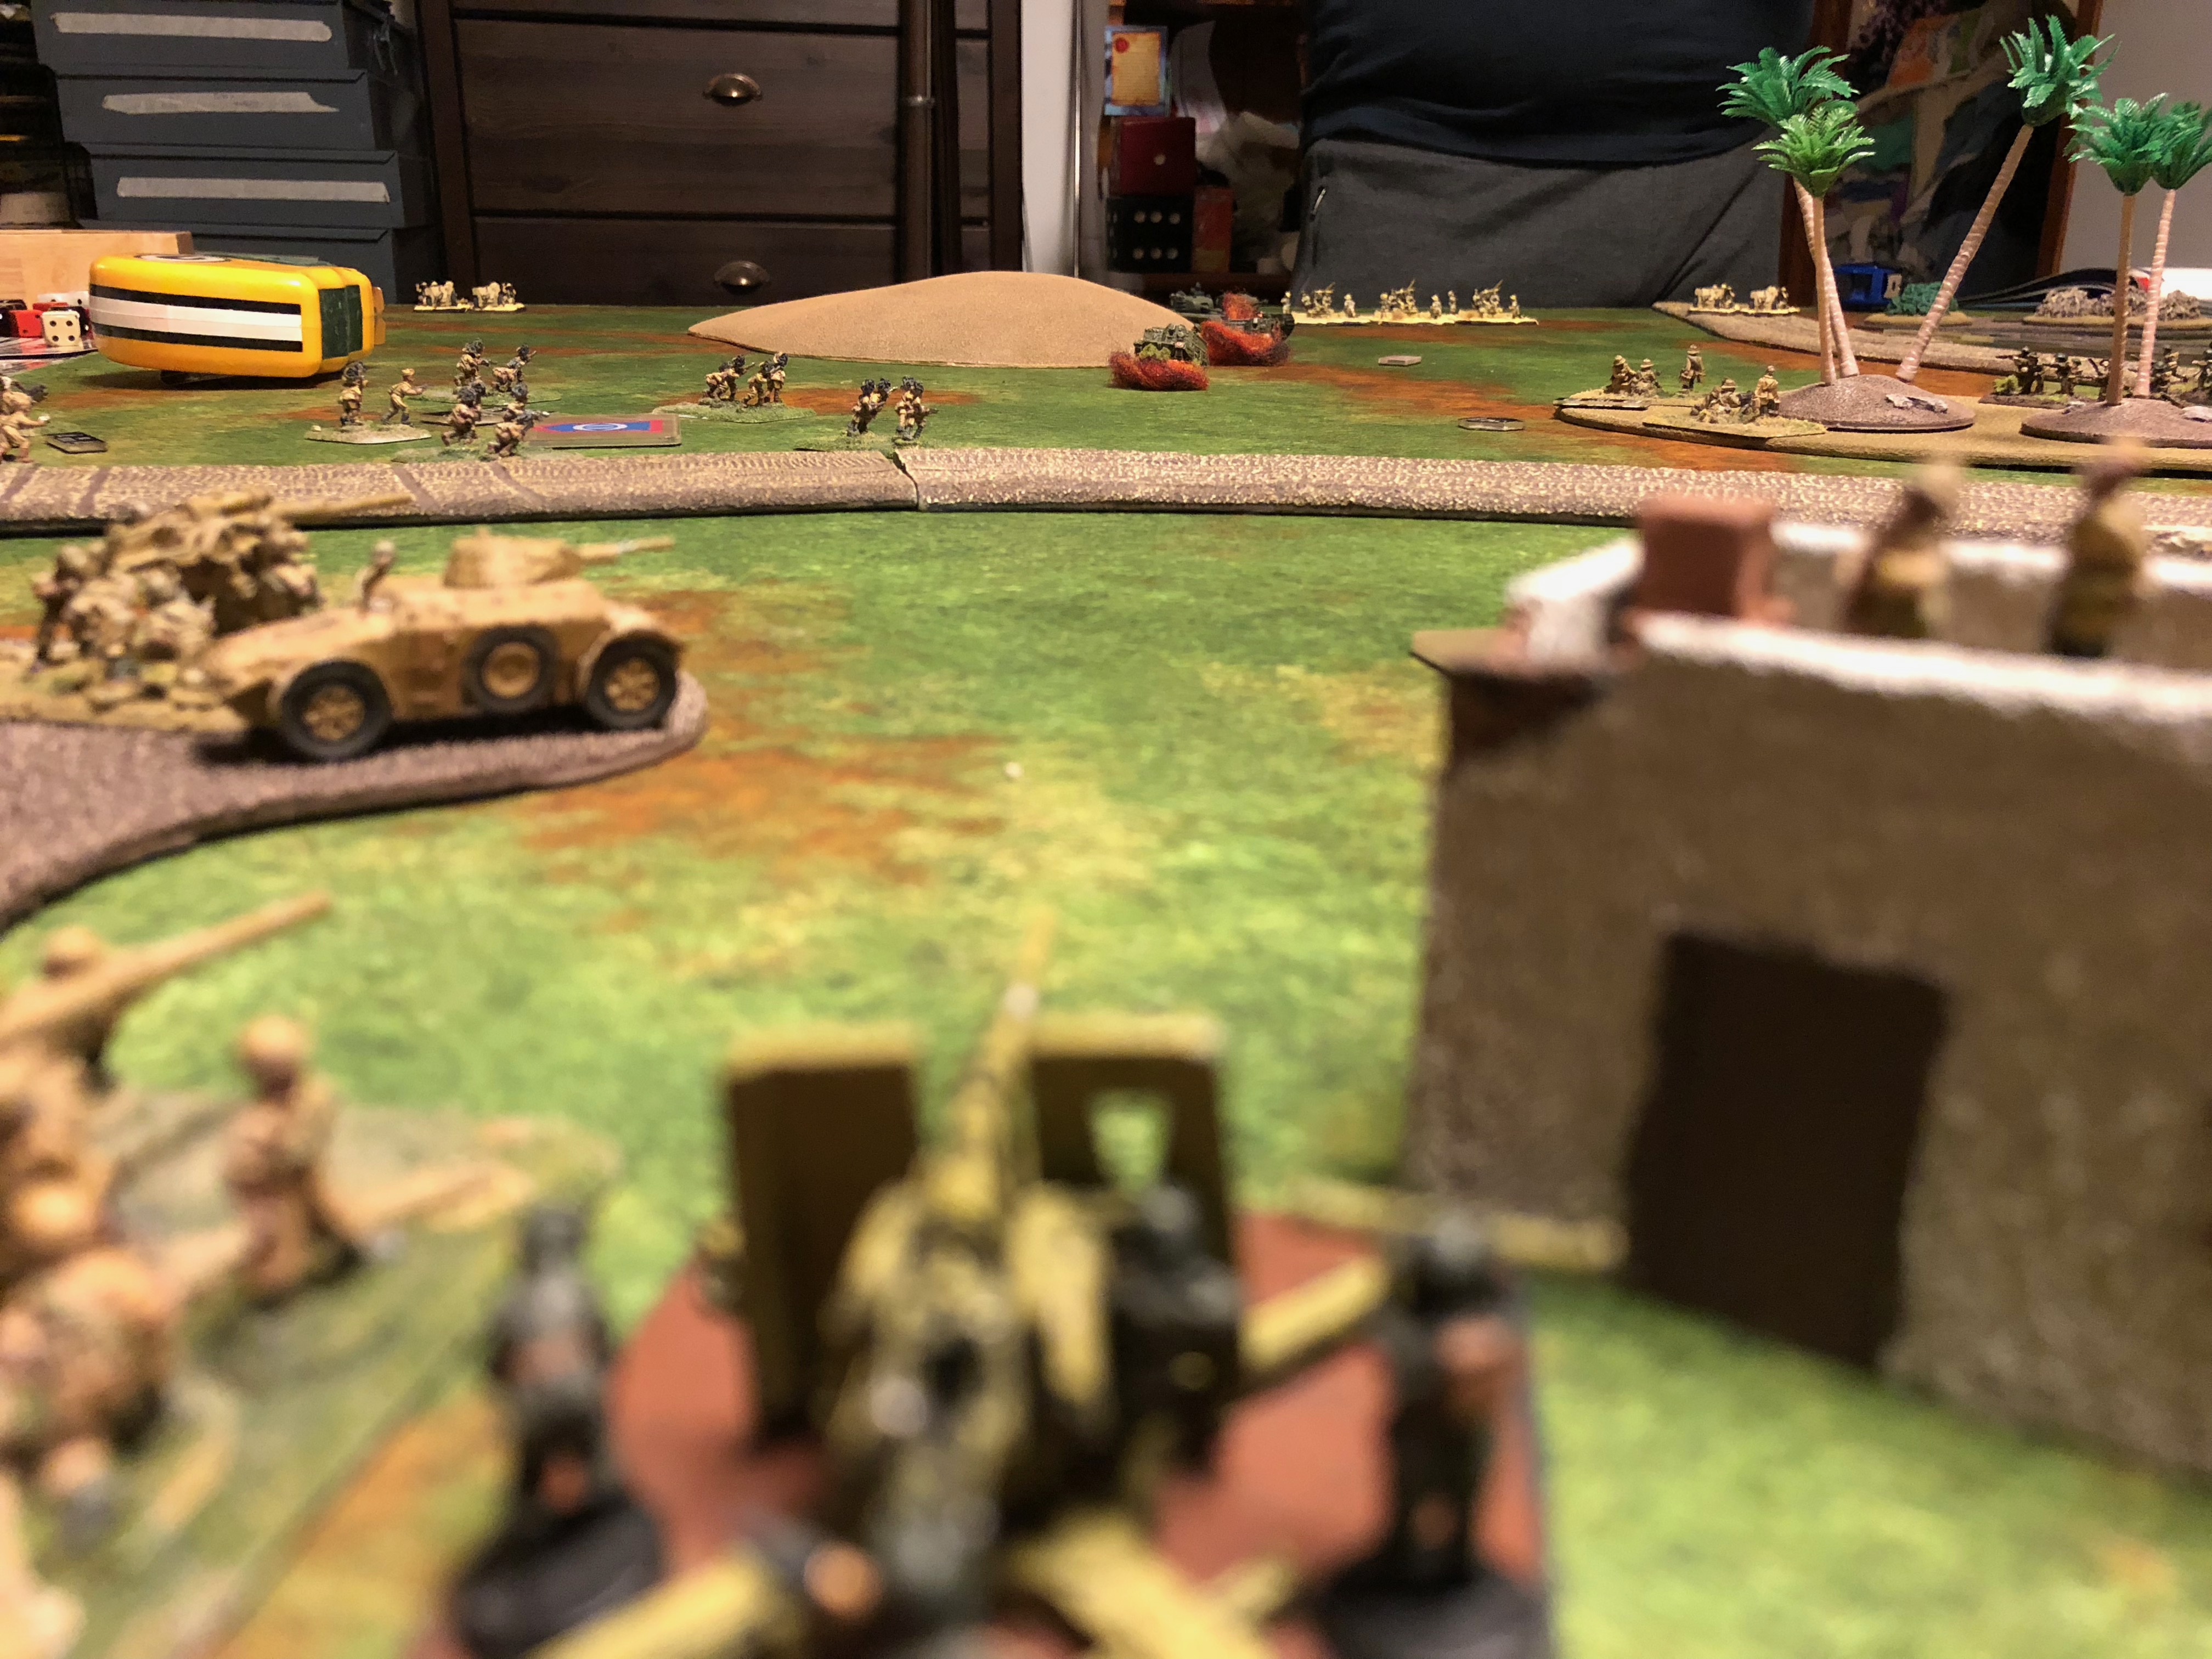
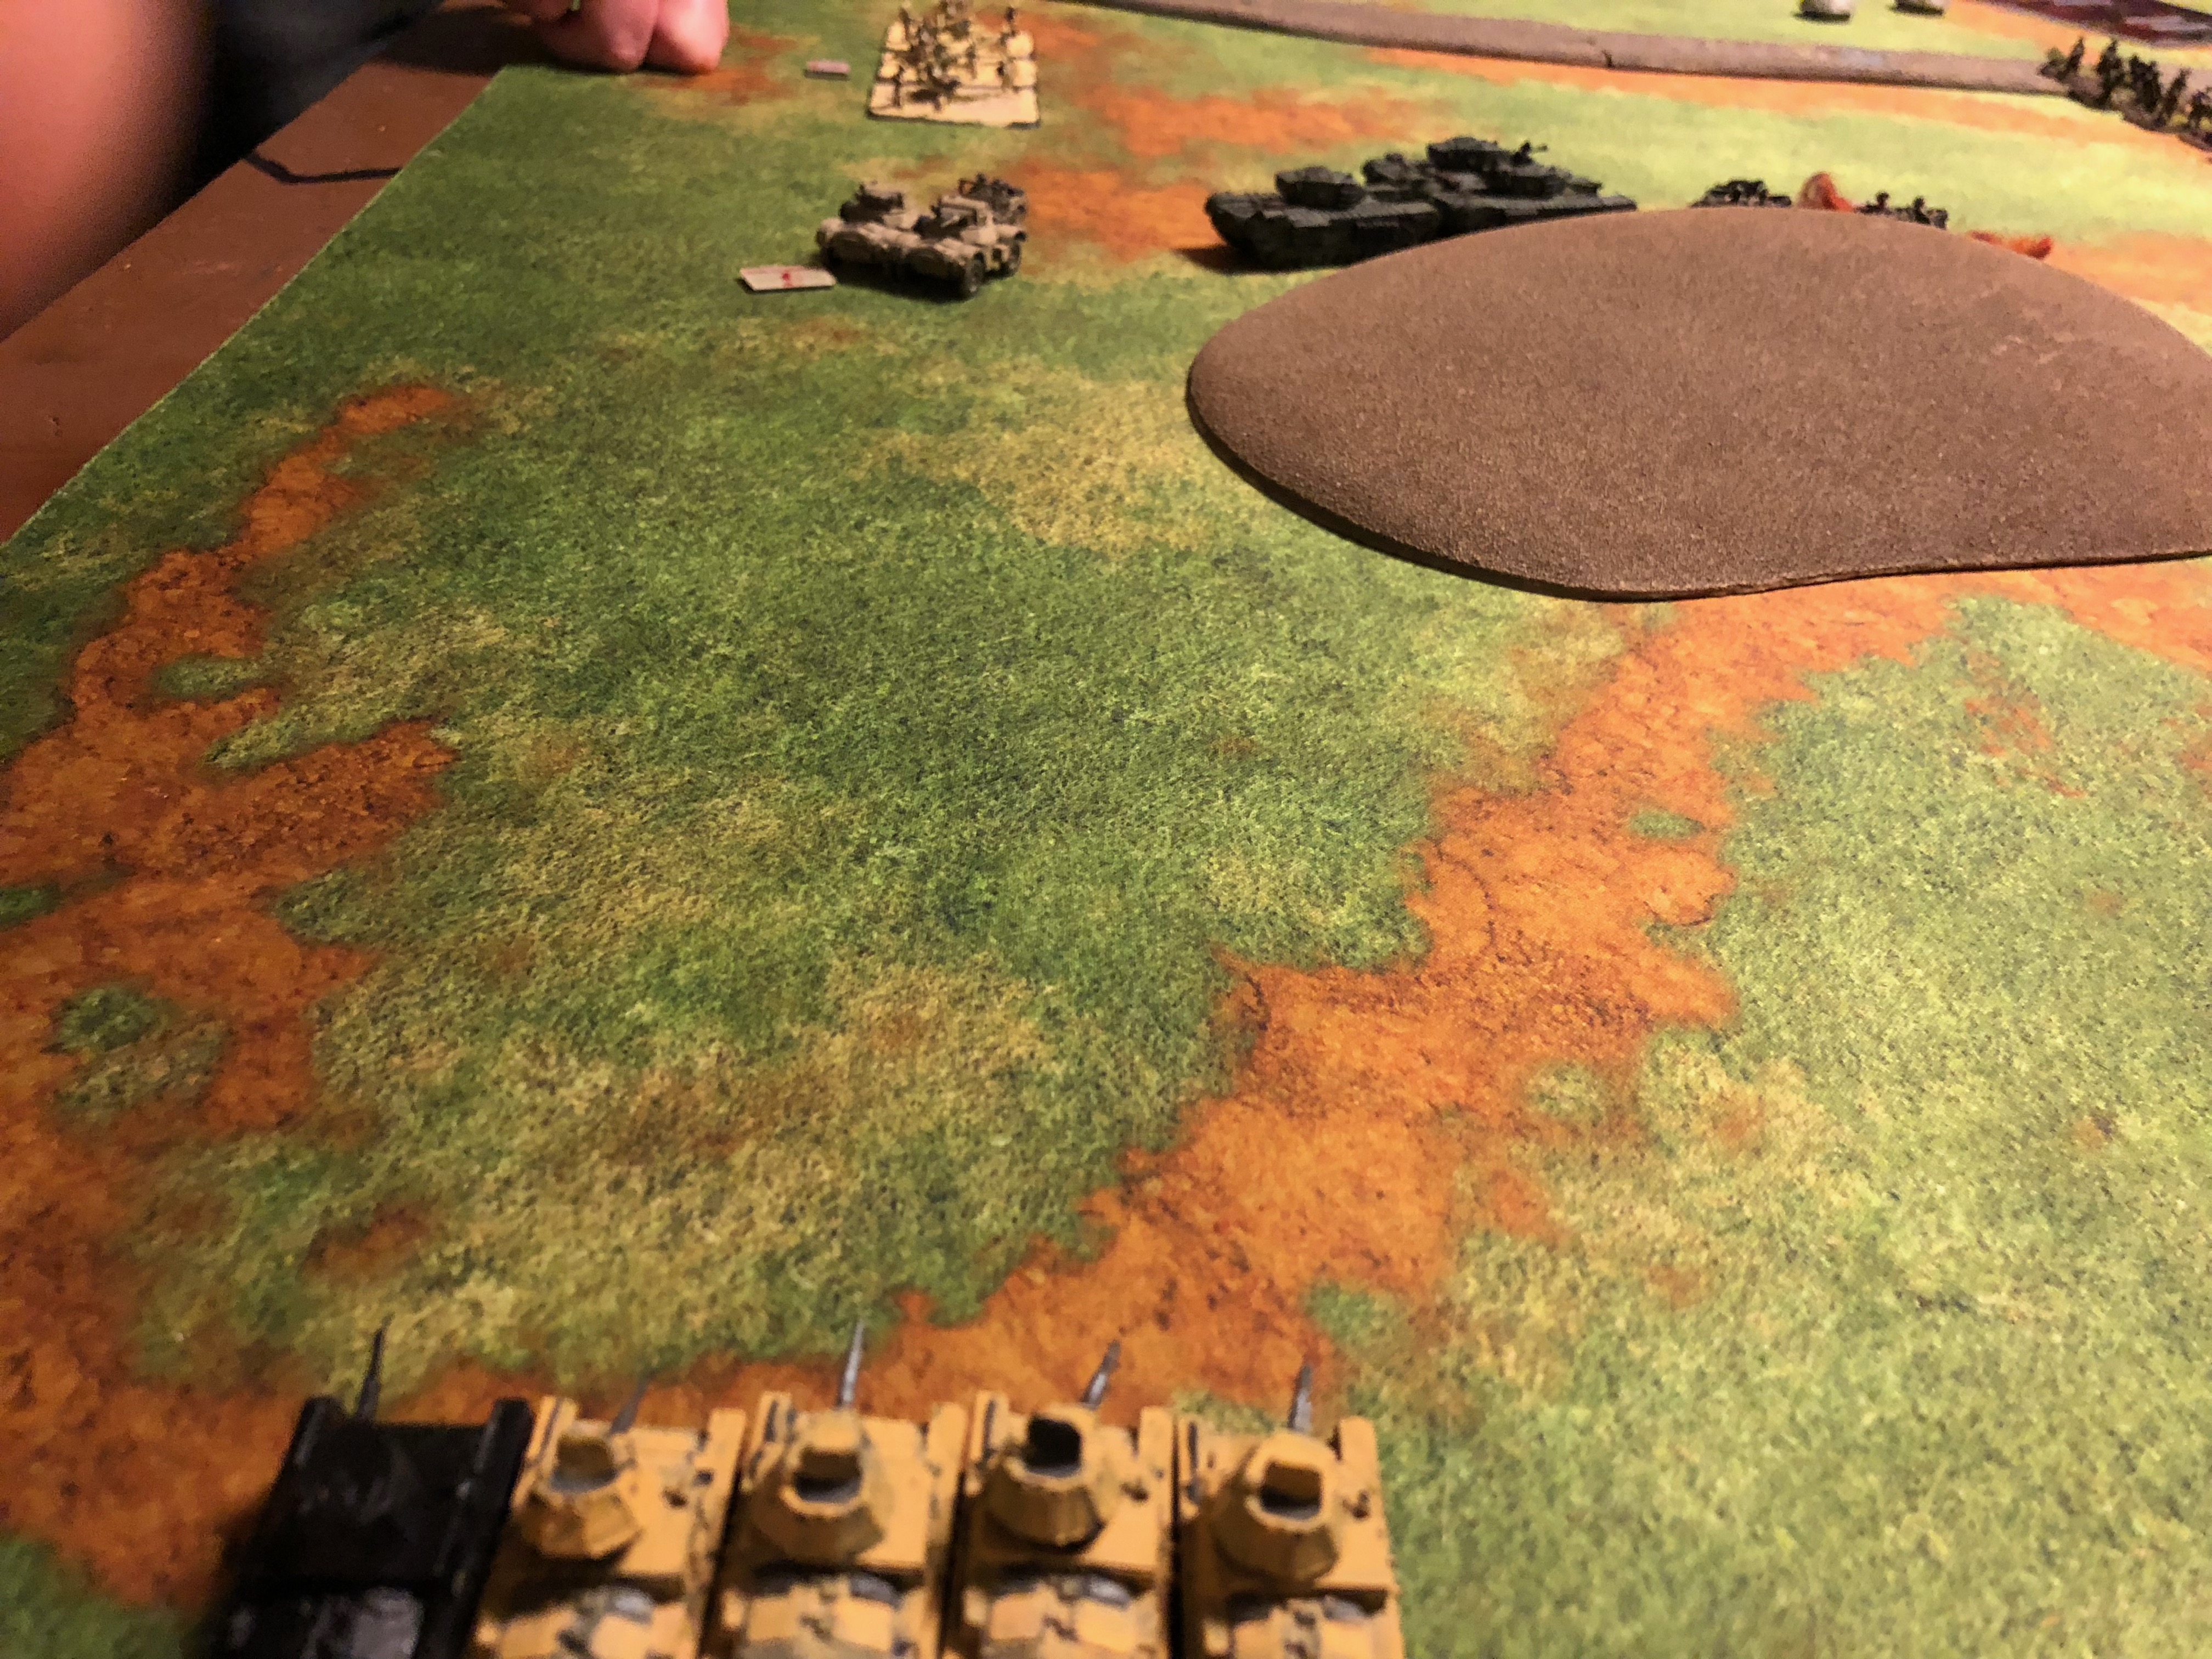
On turn 3 I popped my ambush as over there off in the distance behind the sand dune 3 Churchills were being very shy. I managed to take out his platoon of recon carriers so they couldn’t just come up and machine gun my infantry at will, which they had done, nearly taking out my HMG platoon. He likewise was starting to creep up his bofors with the same idea so I’d very quickly have to decide how I wanted to use my artillery assets. The HMGs would flee into the woods and then be taken out by the advancing infantry.

I didn’t get any reinforcements turn 1 nor turn 2. Turn 3 I pulled in my L6s and was lucky to have them arrive on my left flank. First up they were on the flank and behind a platoon of 2 6lbers. I was able to successfully take them out tho I had to assault with the L6s which is pretty difficult. The 5 counter assault and high skill number (5) makes it hard. Somewhat surprising for light tanks tho not exactly how tanks like this want to be employed.

With the 6lbers gone, this put pressure on Ian. Would he ignore the L6s or stop his offensive for another turn or two?

So Churchill love is the best love … but thankfully this diversion bought me time. Time enough for the remainder of my reinforcements to arrive. The Lancias came in on my right flank setting up around and close to the 88s. So when the Churchill attack would come that should take care of them.

This was also at the point where I realized that the Lancia don’t have a tactical move. It kind of makes sense as after all the guns need time to setup, so being able to move and fire a shell would be pretty nice but a bit much.

My my other platoon of 3 L6s I brought them up the middle road to support the middle. With Ian not moving his infantry forward I figured that the quickest path to victory to me was drive them down the road and attack the infantry that were behind the woods. More of a diversion probably but anything to keep the enemy out of range of the objectives as turn 6 wasn’t far.

My 81s also came in and I positioned them on my right flank in such a way they could cover the middle approach should Ian bring up his infantry.

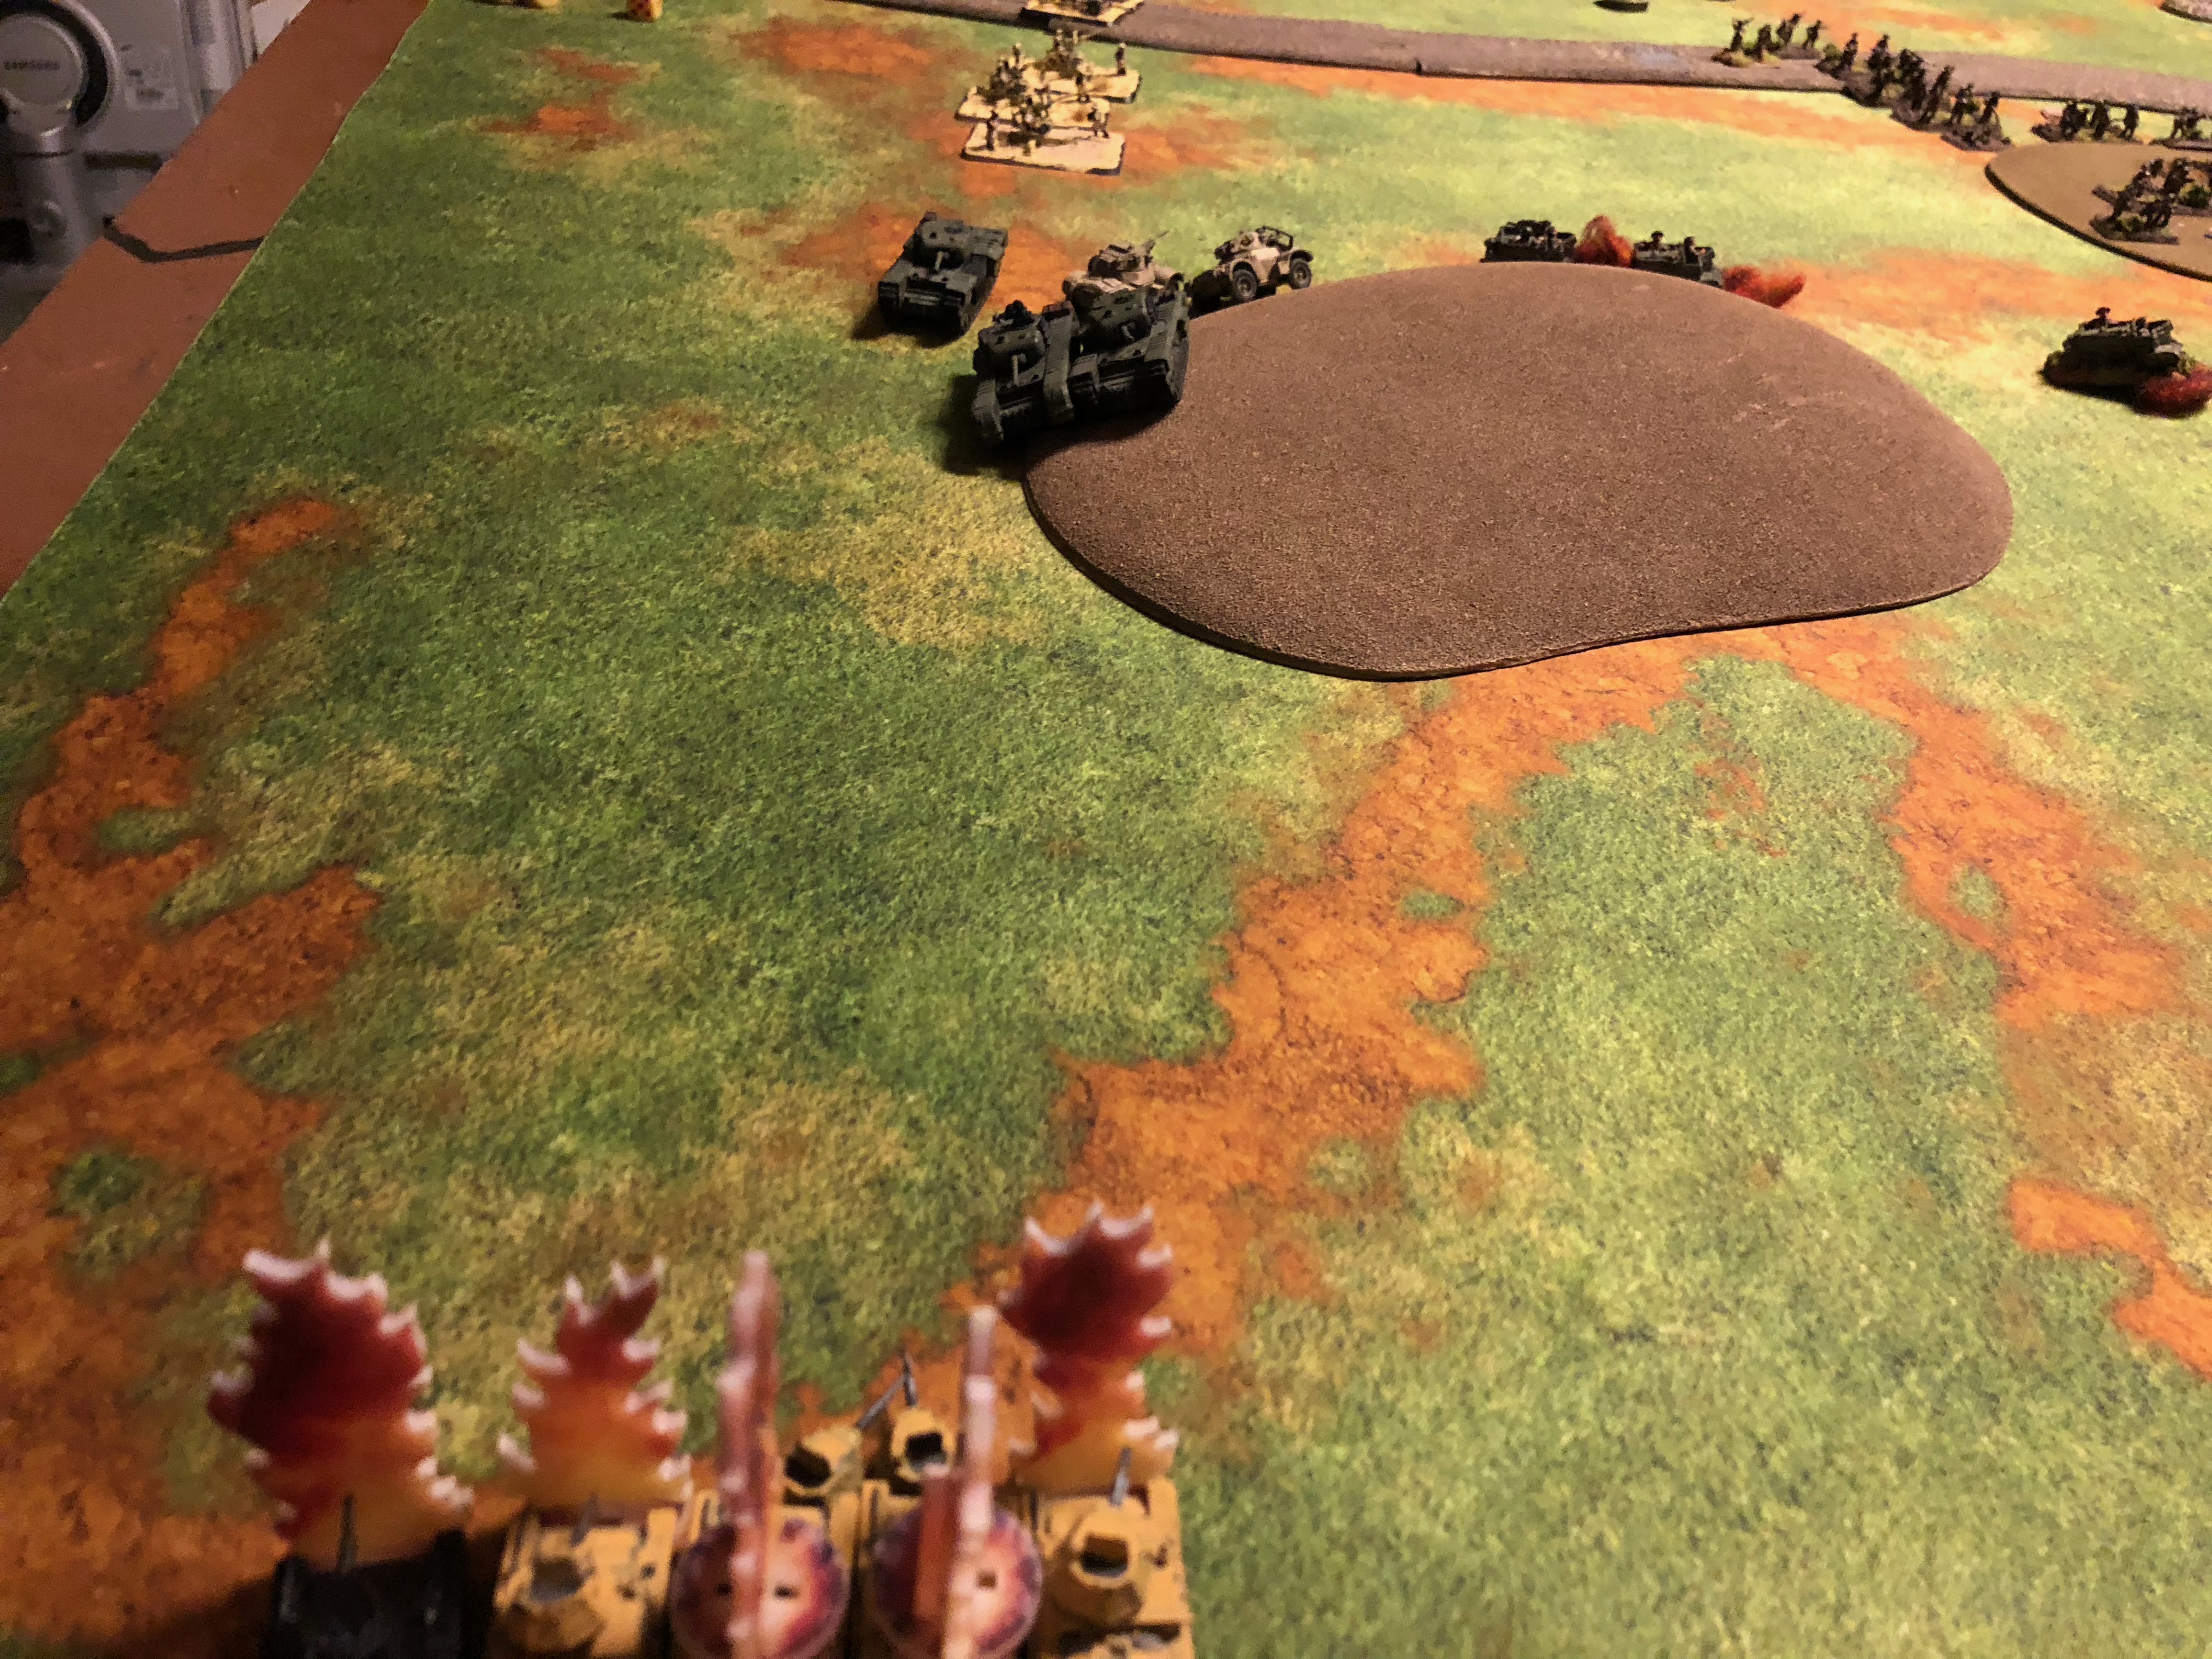
Turn 5-6 the Churchills crested the hill, where I was able to take one out, then pressed forward to attack. My poor Italians couldn’t really do again against mega tanks like that. Without something there was little to do but hope the 88s and Lancias would do their work.

Ian shifted his attack to mask off two of the 88s with terrain. The Lancia’s missed their shots but then the one 88 at less than 16″ hits both Churchills, one blows up and the other ends up running away.

All in all an interesting game. Italians in a world of mega tanks can be viable using the same tactics they did historically. Long range guns that can knock out armor and then artillery to go over attacking infantry.

Battleplans I think also figure large into making the force viable. With battle plans, I’m able to select ‘defense’ which is where this kind of force shines. It’s just not an attacking force. Without Battleplans I could get stuck in a mission where I’d have to maneuver or go running around the table which isn’t something that 88s or Lancia’s are going to do.

I did pick up some Falcos and while I’m not super big on aircraft in Flames, especially with v4, the Falcos are pretty cheep point wise, 5 for 2 planes. As a comparison 5 L6s which are basically just machine guns on tracks are also 5 points. Future experiment for sure!


Posted in FlamesOfWar | 2 Comments

Uthuk on the prowl

Curt and I after a fairly long delay needed to get in our last game of the winter Runewars League. The League has been great fun and a bit tip of the hat to Curt for putting it together. Any excuse to get some games in has always been most welcome.

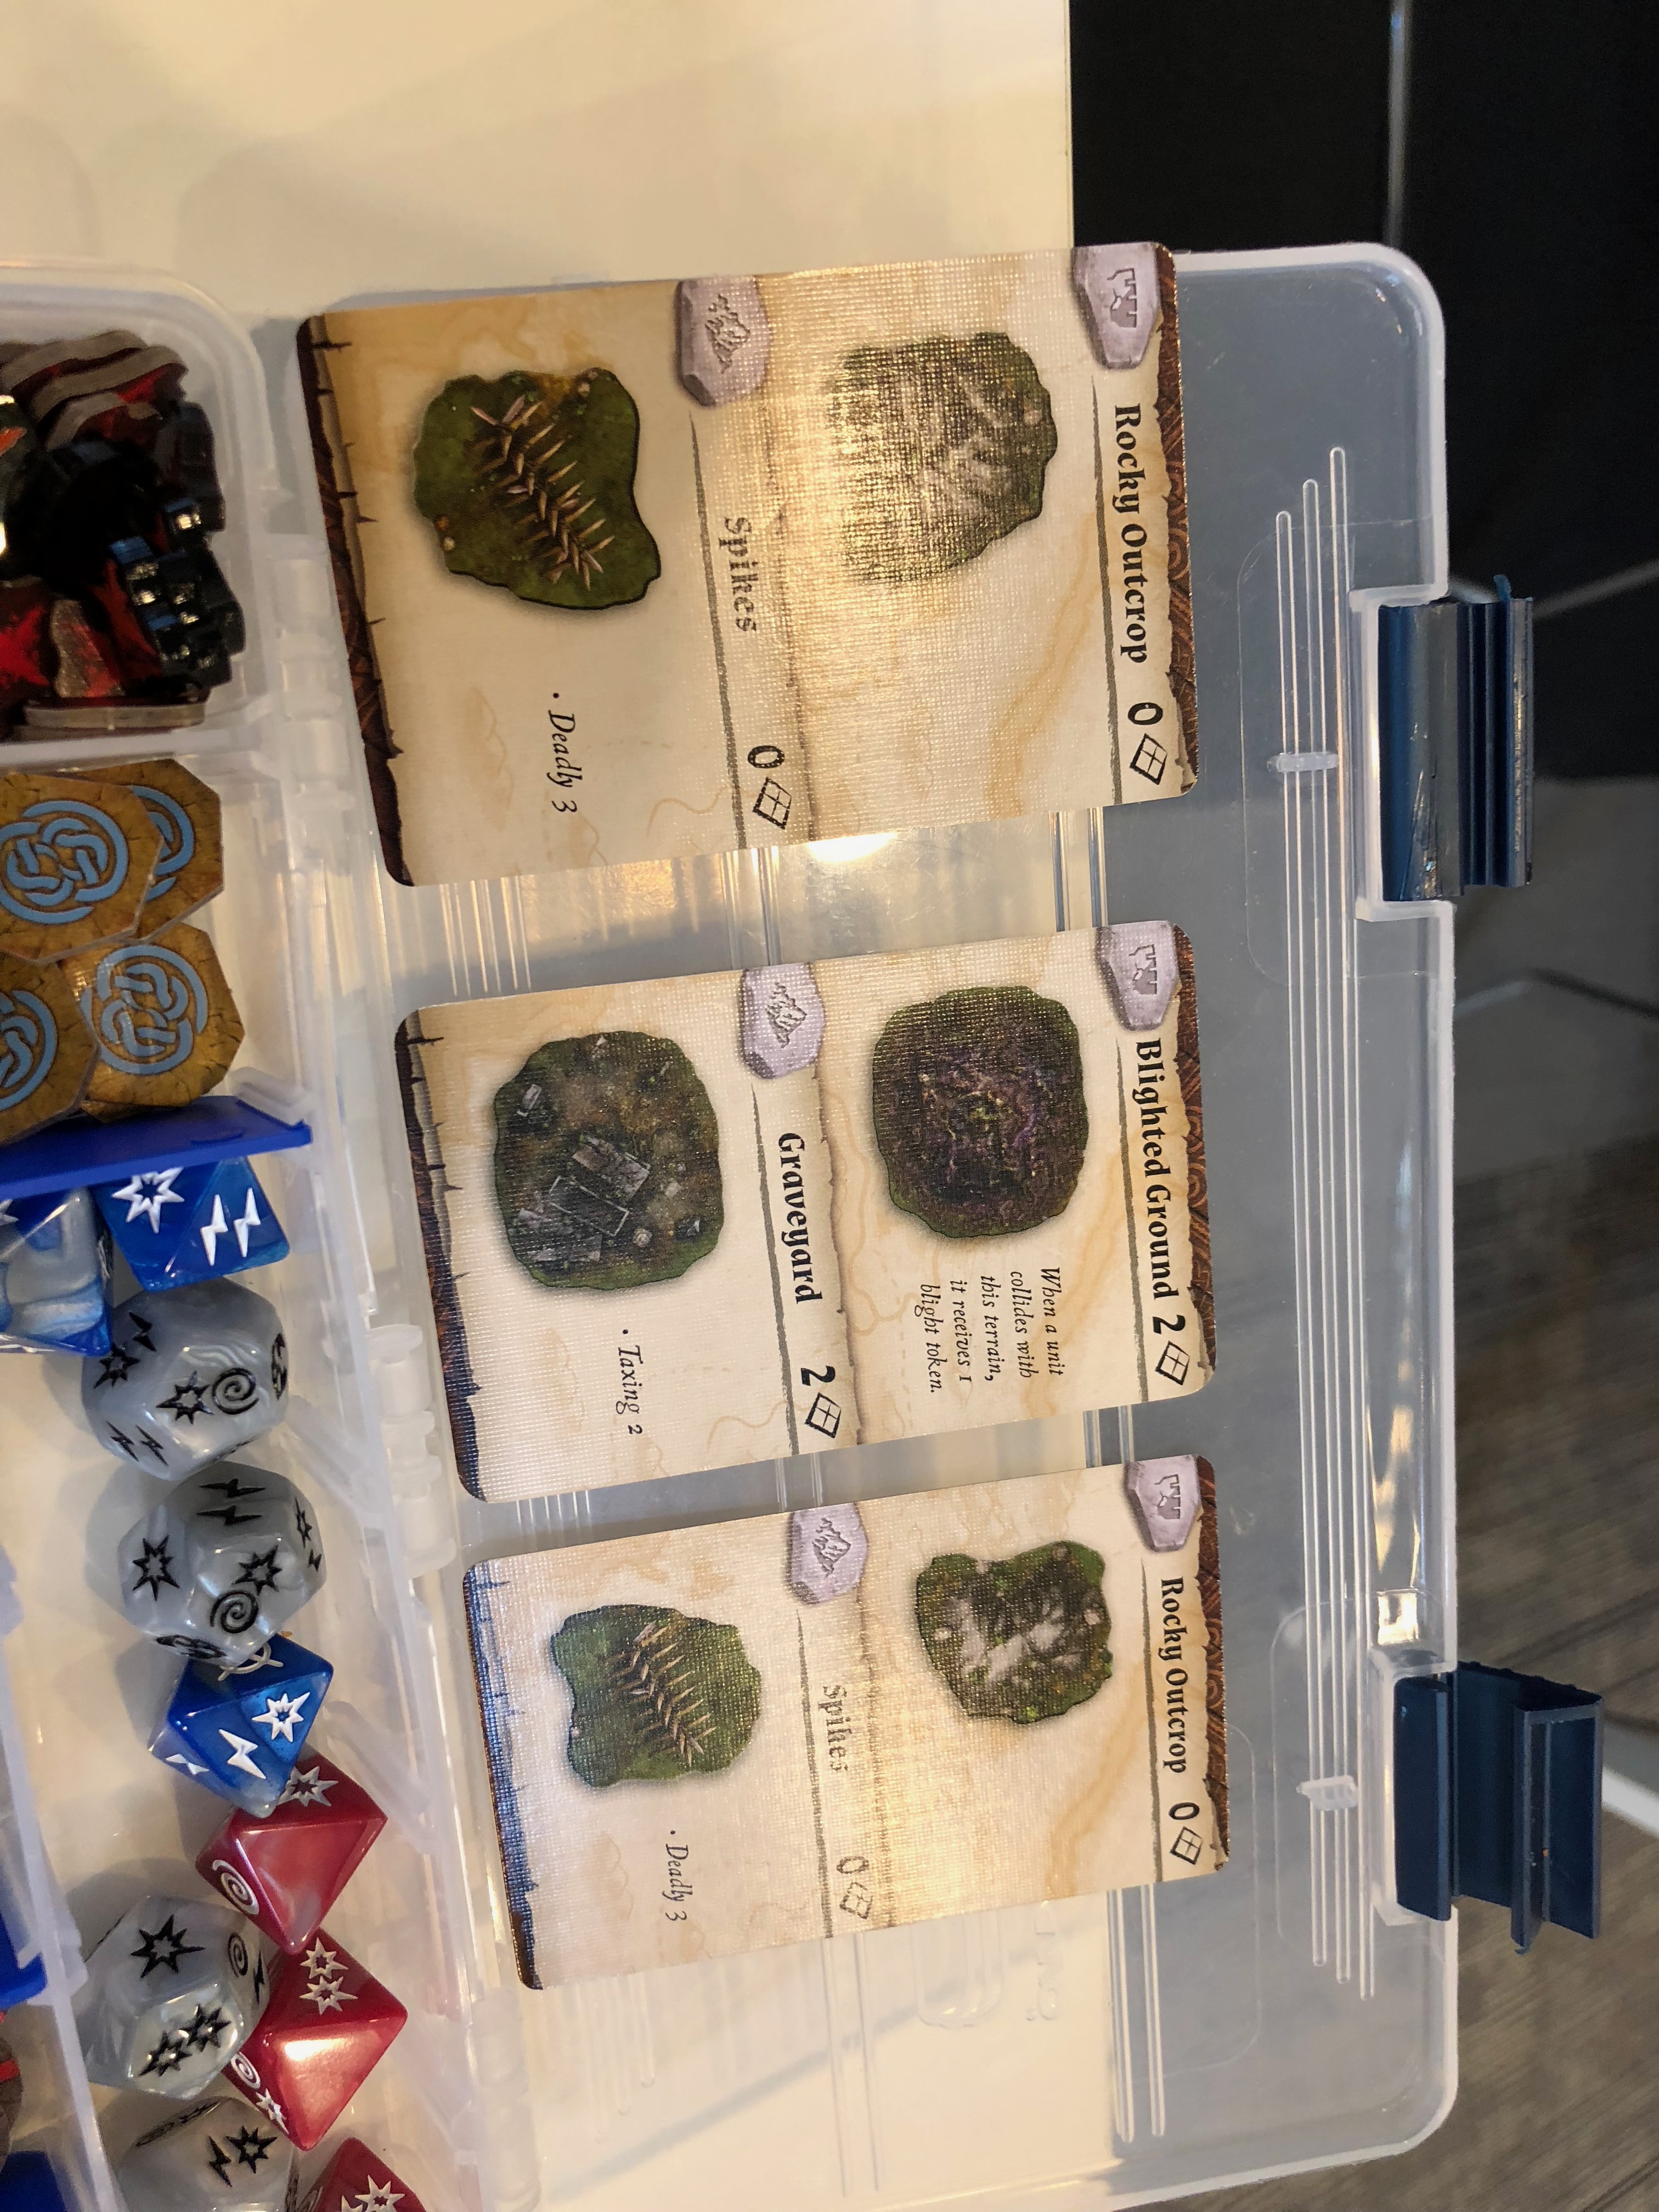
For this last game, we drew from all the potential deployments and missions and ended up with:

I elected to be second player as I had figured that as Uthuk, I generally wanted the initiative in the ‘even’ round as I like to think I’ll be on my opponent by turn 2 ready to attack.

Of course the fun thing about being player 2 is we only get to use one of my terrain cards as opposed to 2 from Player 1 so there is an element of risk that larger terrain which I generally don’t want to see might pop up.

As luck would have it terrain wasn’t much of a factor in this game. Curt dropped the graveyard sort of next to my deployment zone but it wasn’t generally in the way of the long table edge that we .. well I would have to traverse.  The two sets of spikes were pretty much out of the way as well so all set.

I took a time lapse of the game. Go ahead and watch and I’ll try and walk you through.

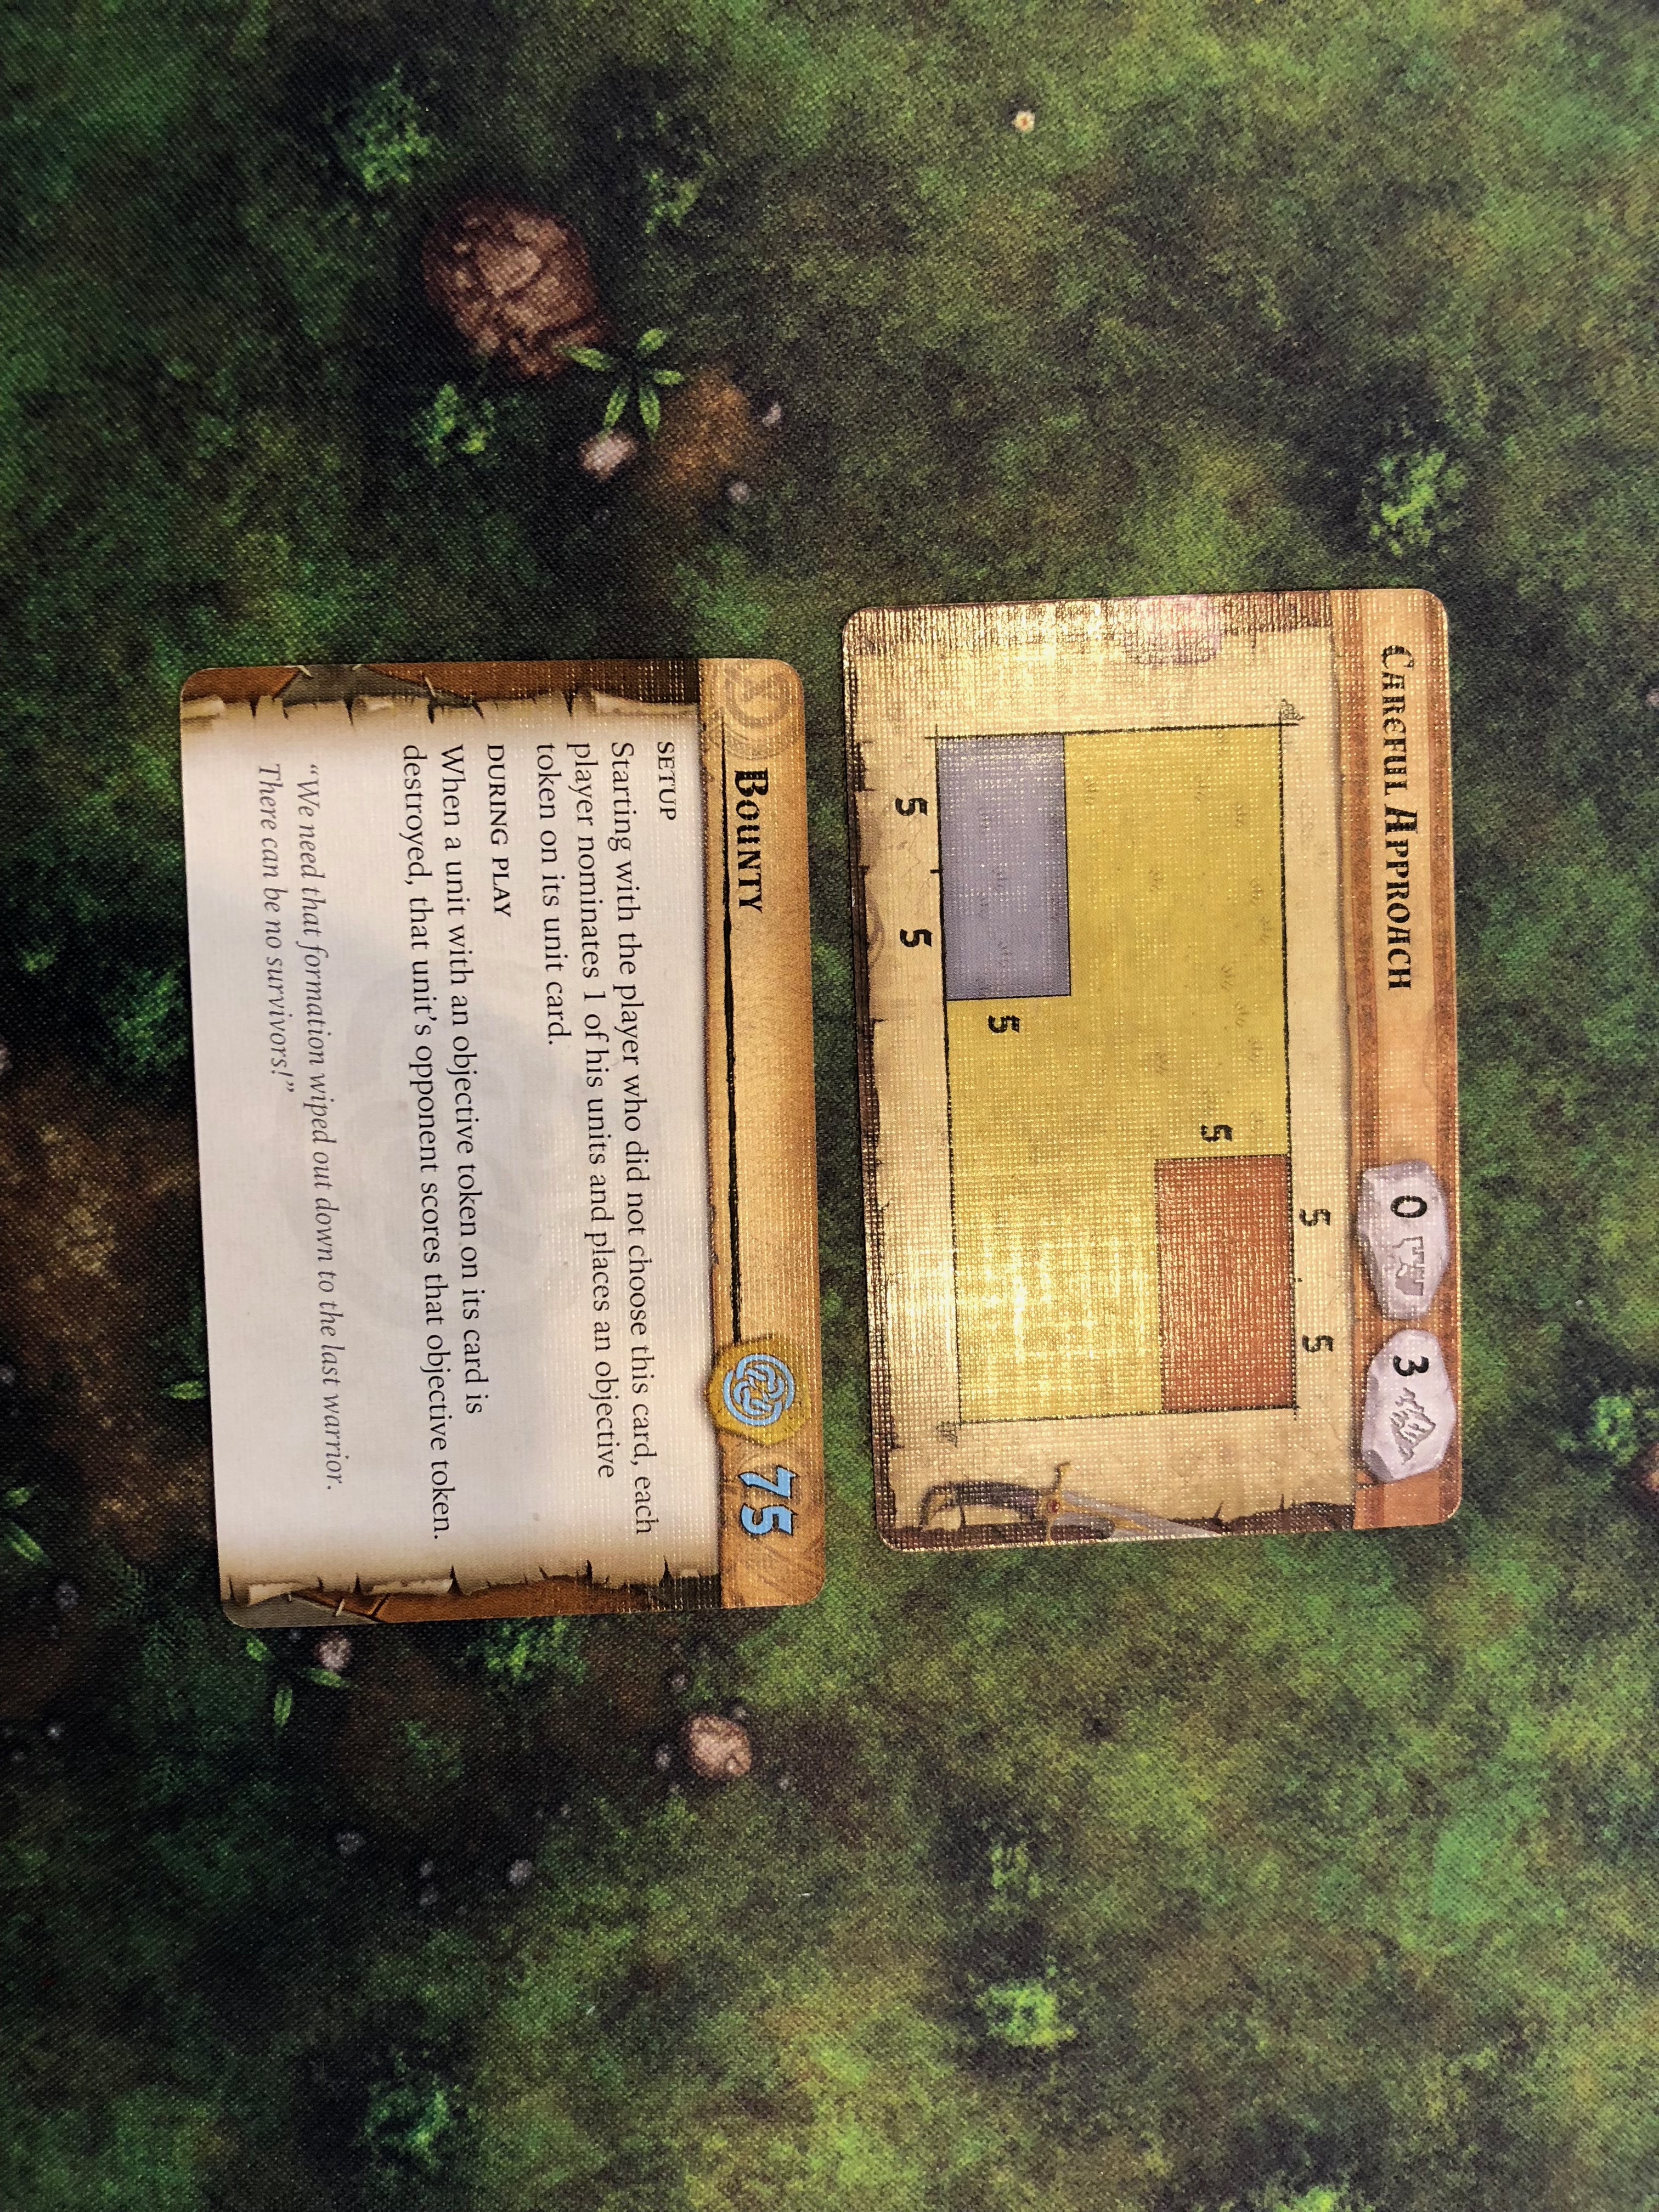
First for the bounty I selected my berserkers and Curt selected his reanimates.

Early on I decided with the narrow frontage I would have a couple of problems to face. First, I wasn’t going to get there to be ready to attack by turn 2 to take advantage of the initiative. Going with Player 1 would have been a better choice as getting there by turn 3 was definitely possible.

Next was what to do with Ravos. That bad boy likes to be fed and I hate feeding him with my own units. Sure I had the goblet going so that would heal the first turn damage he would take presuming he stayed away from others. Turn 2? Probably taking a damage.

Then there was the matter of everything else, so what I did was deploy the two 2 tray spined threshers in front but behind Ravos. The berserkers behind. Gotta protect losing 75 points unless it’s the last unit anyway.

The Flesh Rippers were kinda stuck in so much that I couldn’t fit them next to the Threshers and make it work, so I sent them to go past the Graveyard and then turn up towards Curt’s Waiqar. Given again the narrow frontage chances are they wouldn’t get a flank to attack but none the less, sometimes you kick units out just to keep the other player thinking.

After the first couple of turns it was fairly obvious Curt wasn’t going to aggressively move up, he wanted me to attack which gave me the benefit of picking my approach and somewhat dictating terms.

By turn 3 Ravos had 1 wound due to himself. He was right up close to both the Reanimate hoard that had been expanded by Maro.  The Reanimates were sporting File Leader and Curt had both them and his archers using Raven-Standards for the initiative buff. That several times made to stop and think to do initiative math and reconsider orders.

So Turn 3 my Threshers were not ready to get into it and I didn’t have initiative, so I thought, why attack with Ravos, why not just sit there? If Ardus moves forward to engage in 1×1 combat, I should survive but better, with the attack I dialed and the berserkers getting into range with their Dispatch leader, I dialed it up such that in theory I could get a double attack.

So instead I took some arrows, and Maro ranged attack so all total 4 wounds, ouch. But for Turn 4 where I would have initiative, I figured I was all set. Ravos probably dead by the end of the round … o well. At this particular turn we had 3 green runes. Curt wind runes his archers back… distance 3, this took them out of range.

Across the turn, Ravos charges and gets to Ardus. Ardus at this point has 2 wounds due to some pre-fight snack attacks by Ravos. Ravos finishes off Ardus.

This sets up the next turn when the Spined Threshers could attack the Reanimates double teaming with the Flesh Rippers, Ravos gets to heal a wound thanks to the Goblet and death of Ardus.

The Flesh Rippers make it and whats more get onto the flank of the Reanimates. I didn’t think I’d have room and thought for sure the Reanimates would have adjusted or charged forwards but instead I lucked out and hit them. The file leader resulted in a loss of a tray before the Flesh Rippers could attack but non the less, 2 reds, 2 blues, rank discipline, there was blood, err undead parts flying everywhere, only to have a couple of trays come back thanks to Maro.

I’m sure Curt had a tough choice here… either attack Ravos or heal back his Reanimates which are the bounty.

Next turn, Threshers and Flesh Rippers on the Reanimates, I’m down to 1/2 of my Flesh Rippers and down to 1 Spined Thresher at the very end.

My other unit of Spined Threshers charge into the Reanimate Archers and take them down to 1 tray.  Ravo charges Maro who is down to 1 health left due to amping up the Reanimates and he goes down.

With only one tray of Reanimate Archers left we call the game.

While a lopsided result, Curts dice when making attacks against Ravos probably should have resulted in his death. The Banner buffs made me have to time my initial attacks on rounds where I knew initiative was going to be mine. The 3 green rune turn messed up Curt’s use of the wind rune on his archers. Distance 3 is a long way to step back.

I think another factor that was in Curts favor was having to play the long way. Playing across the short edge an Uthuk army can pretty much be on the attack by Turn 2. Going the long way, not so much and with terrain it’s possible to constrict / control the avenues of approach easier.

All in all a fun end to the league and to get ready for the next league starting up in May. Hopefully this time across all the factions we’ll have new units to work in. I’d just like to retire ‘Sir Not Appearing in This Battle’ for 2 of my Spined Threshers. Sadly that means things need to be actually for sale. I’m just not buying 2 more core boxes, love ya FFG, just not love ya, love ya.


Posted in Runewars : The Miniatures Games | Comments Off on Uthuk on the prowl

Star Wars Legion Debut

Finally getting home from Hong Kong, I was able to crack my Star Wars Legion boxes open and start assembling. This has been a game I’ve been seriously watching every little development as I figured it was going to be some major fun.

It is a skirmish level, and highly cinematic game with lots of generally good polish. Tim and I played a couple of the opening weekend simple games and then dove into a full 800 point action.

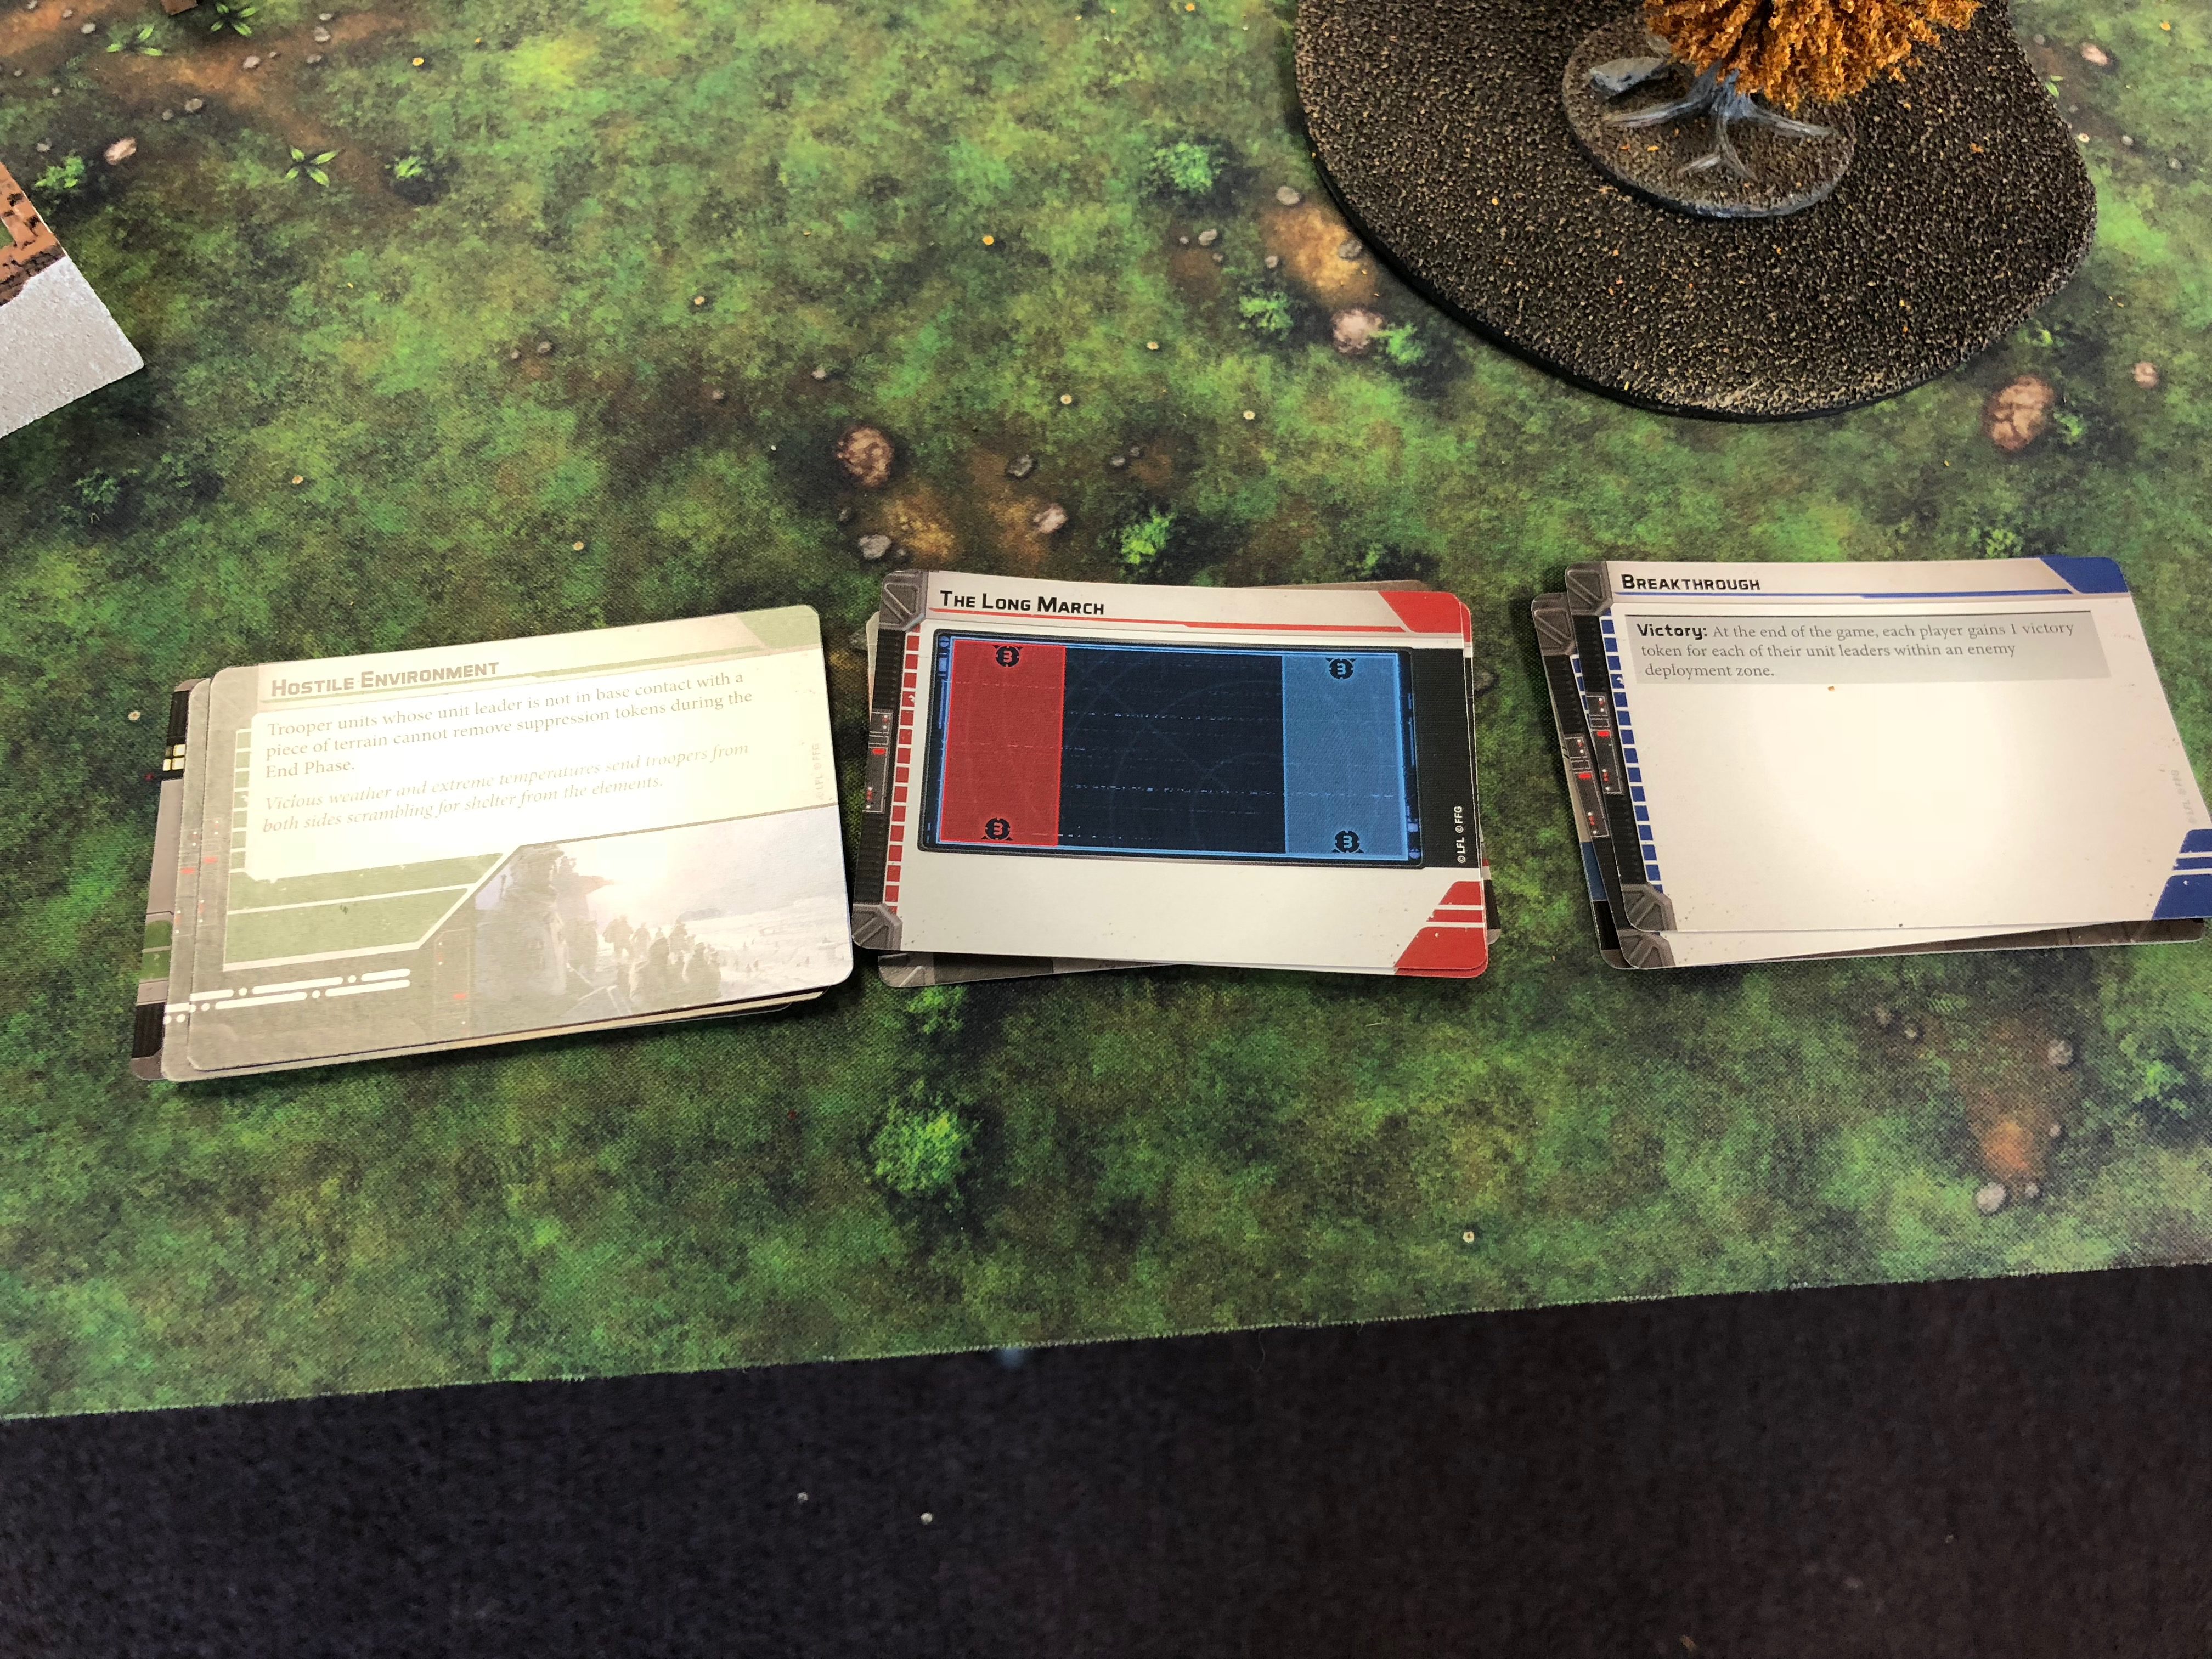
Legion has a mission/deployment/conditions card system for normal games. You draw 3 of each type of card and then have two rounds of eliminating from those cards to end up with a deployment, a mission and battlefield conditions. By going with cards this makes the game sort of infinitely expandable much like Runewars.

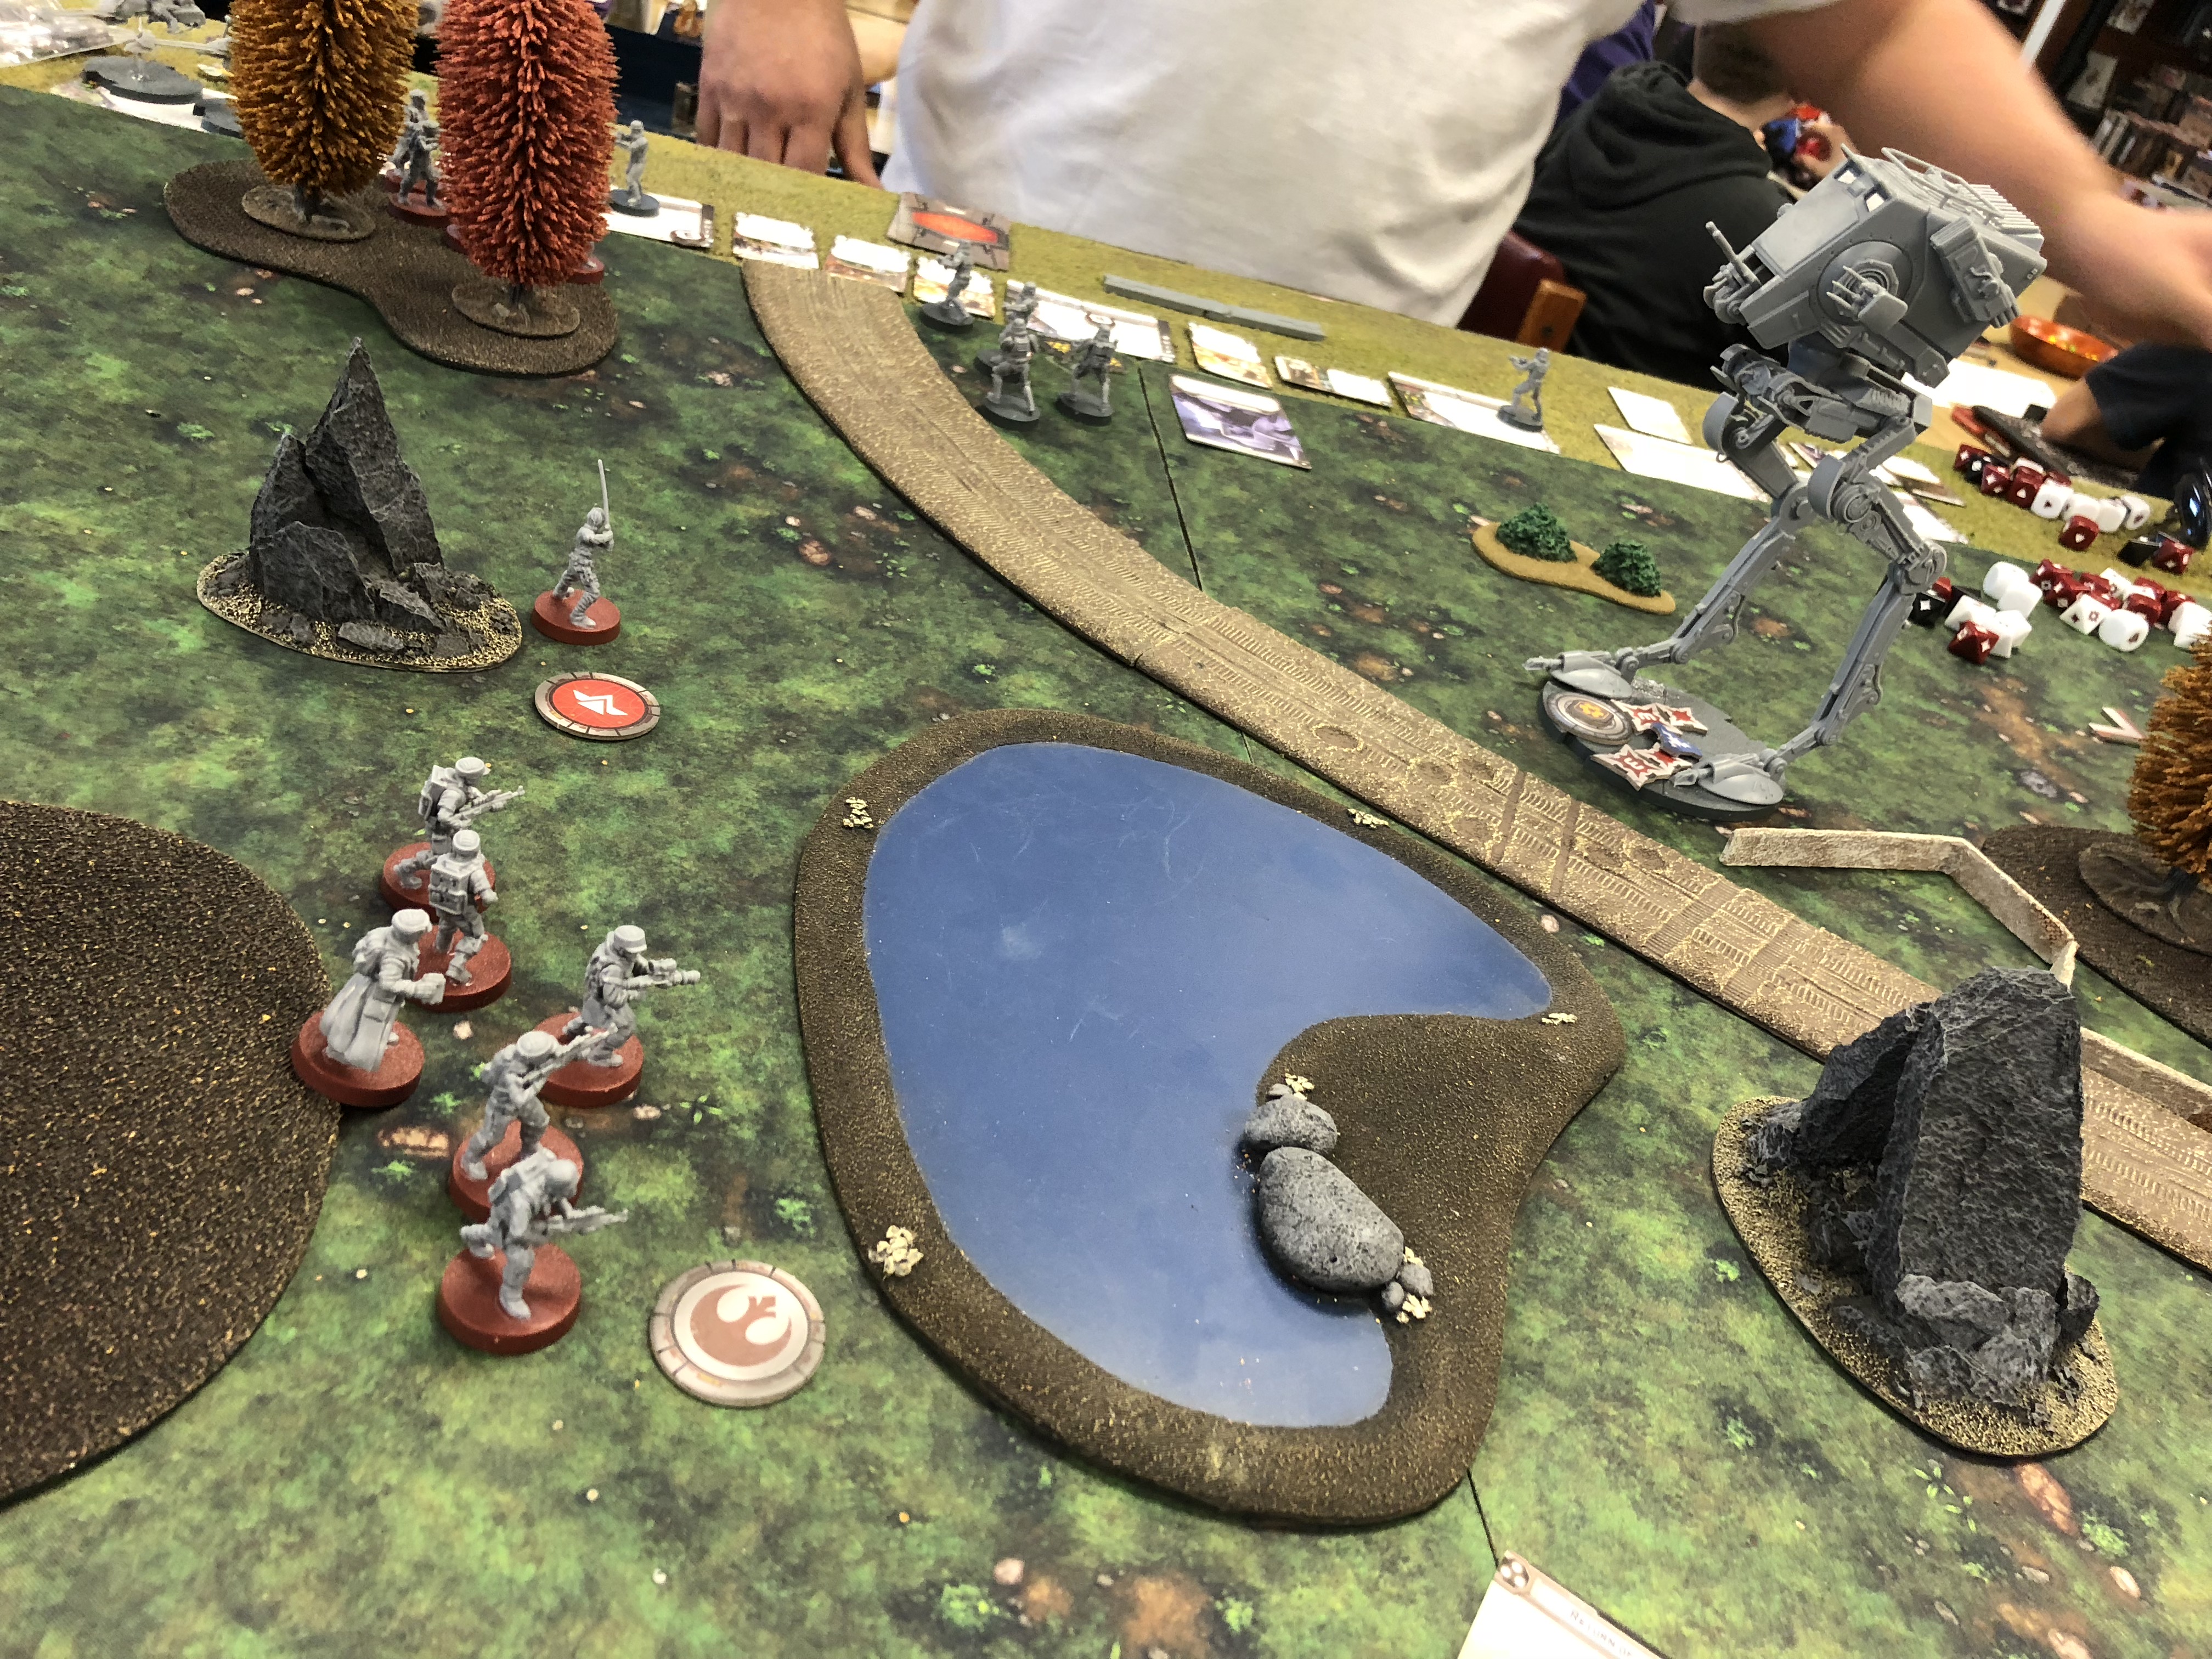
This is what we had chosen. Basically playing the ‘long way’ on the 3×6′, victory tokens only if you’re able to get into the other guys deployment zone and hostile conditions meaning that you only lose suppression when you’re in terrain, not out in the open.

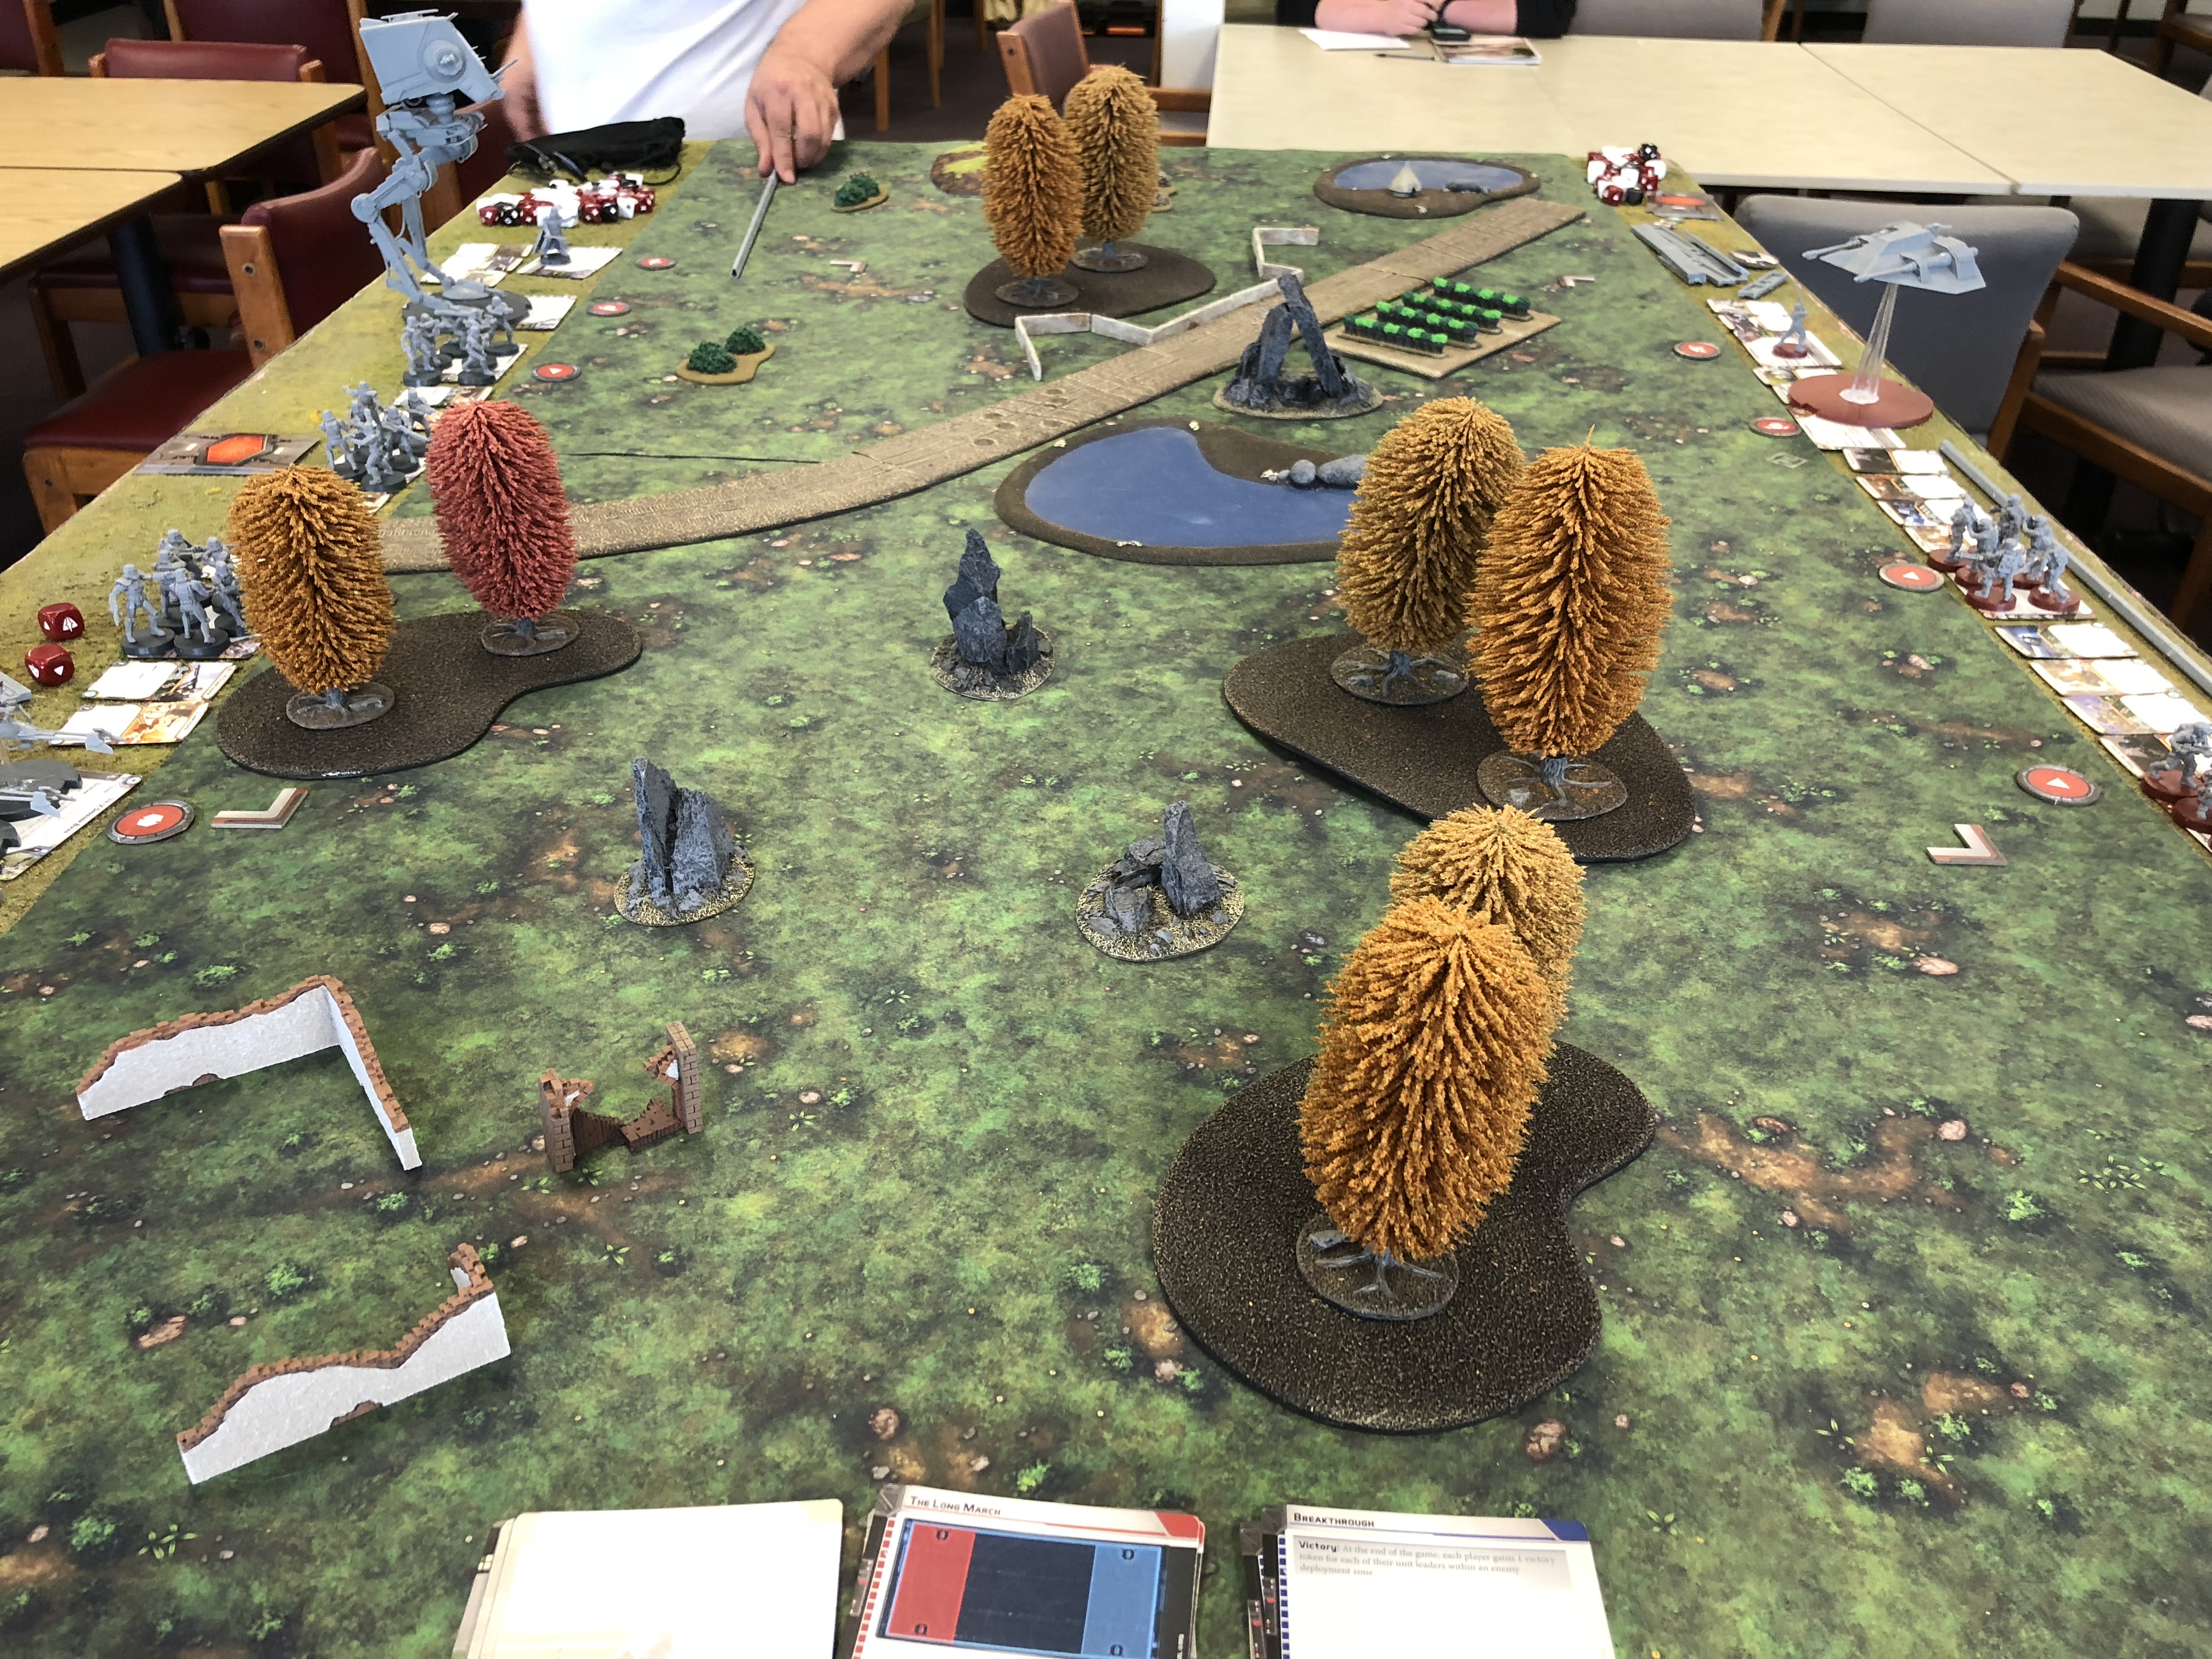
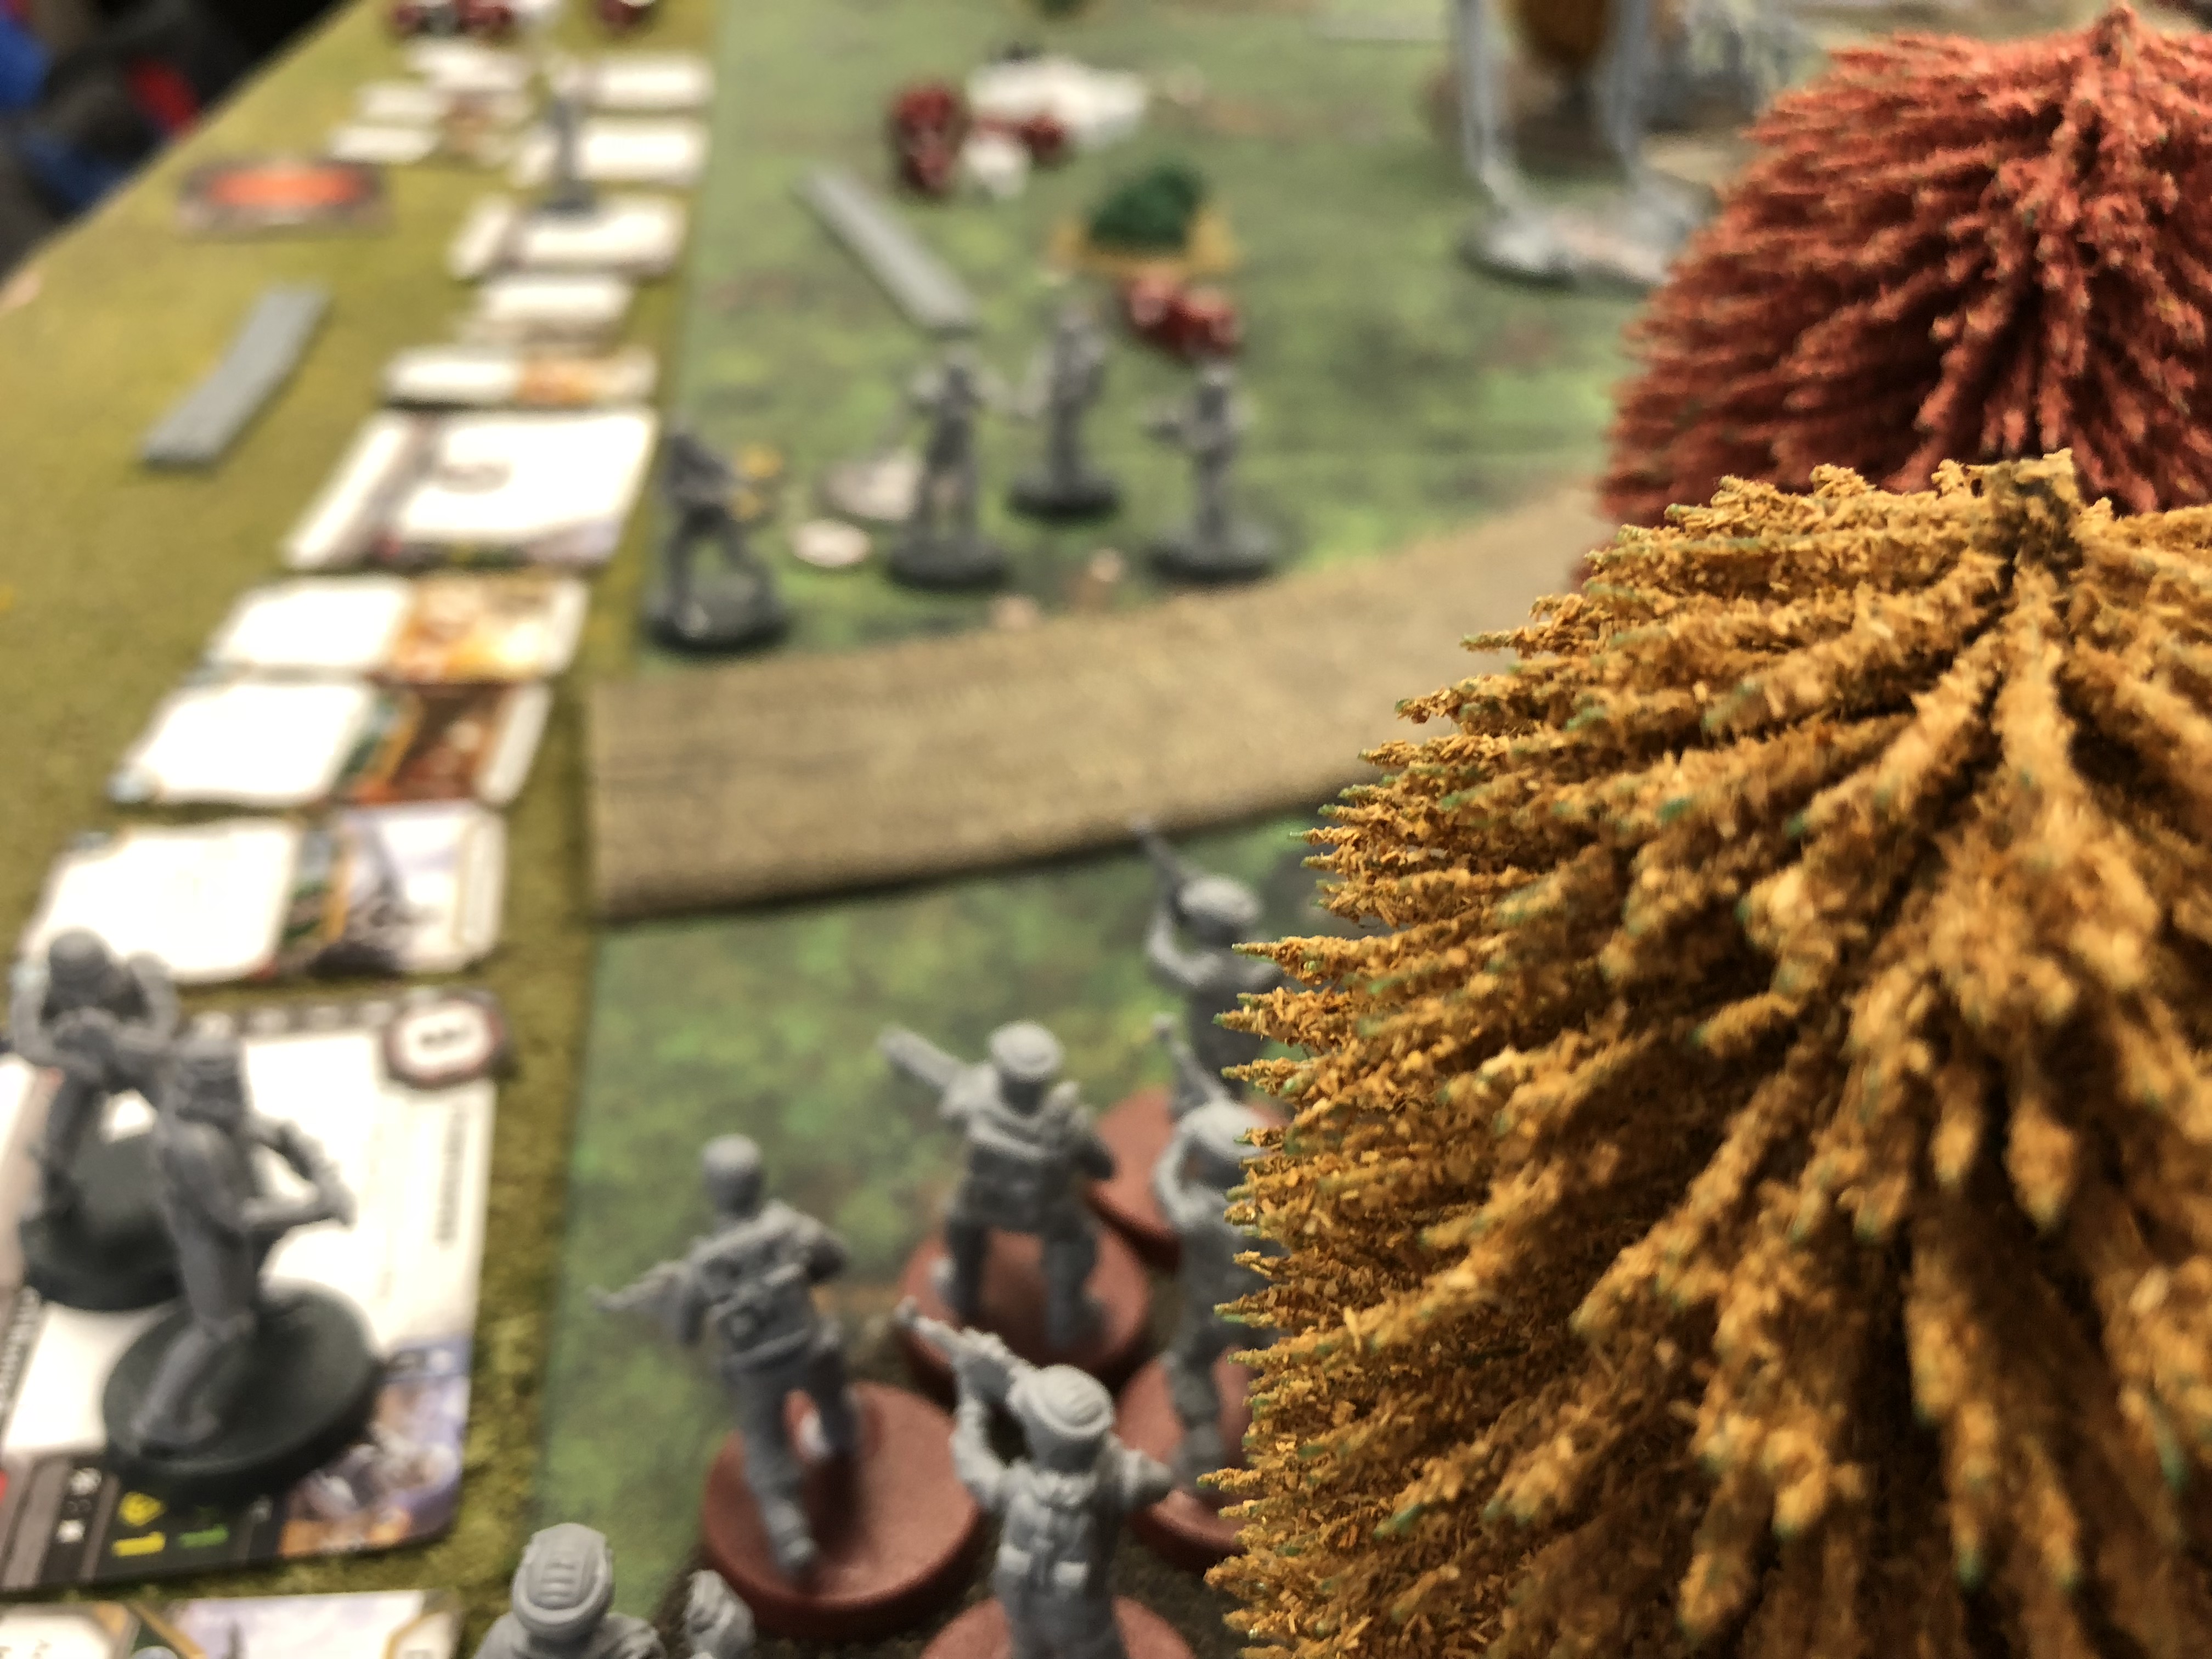
Here was our table setup, on the … umm … forest moon of … someplacedor.

I put my two AR-RTs on the left flank with a squad of infantry. I figured they could cover the area if the imperials pushed from that side. I put my infantry and Luke pretty much in the center. I figured I’d try and hold on the left and push on the right.

“Red leader, I see two imperial speeder bikes…” pew pew pew…

Scratch one speeder bike….

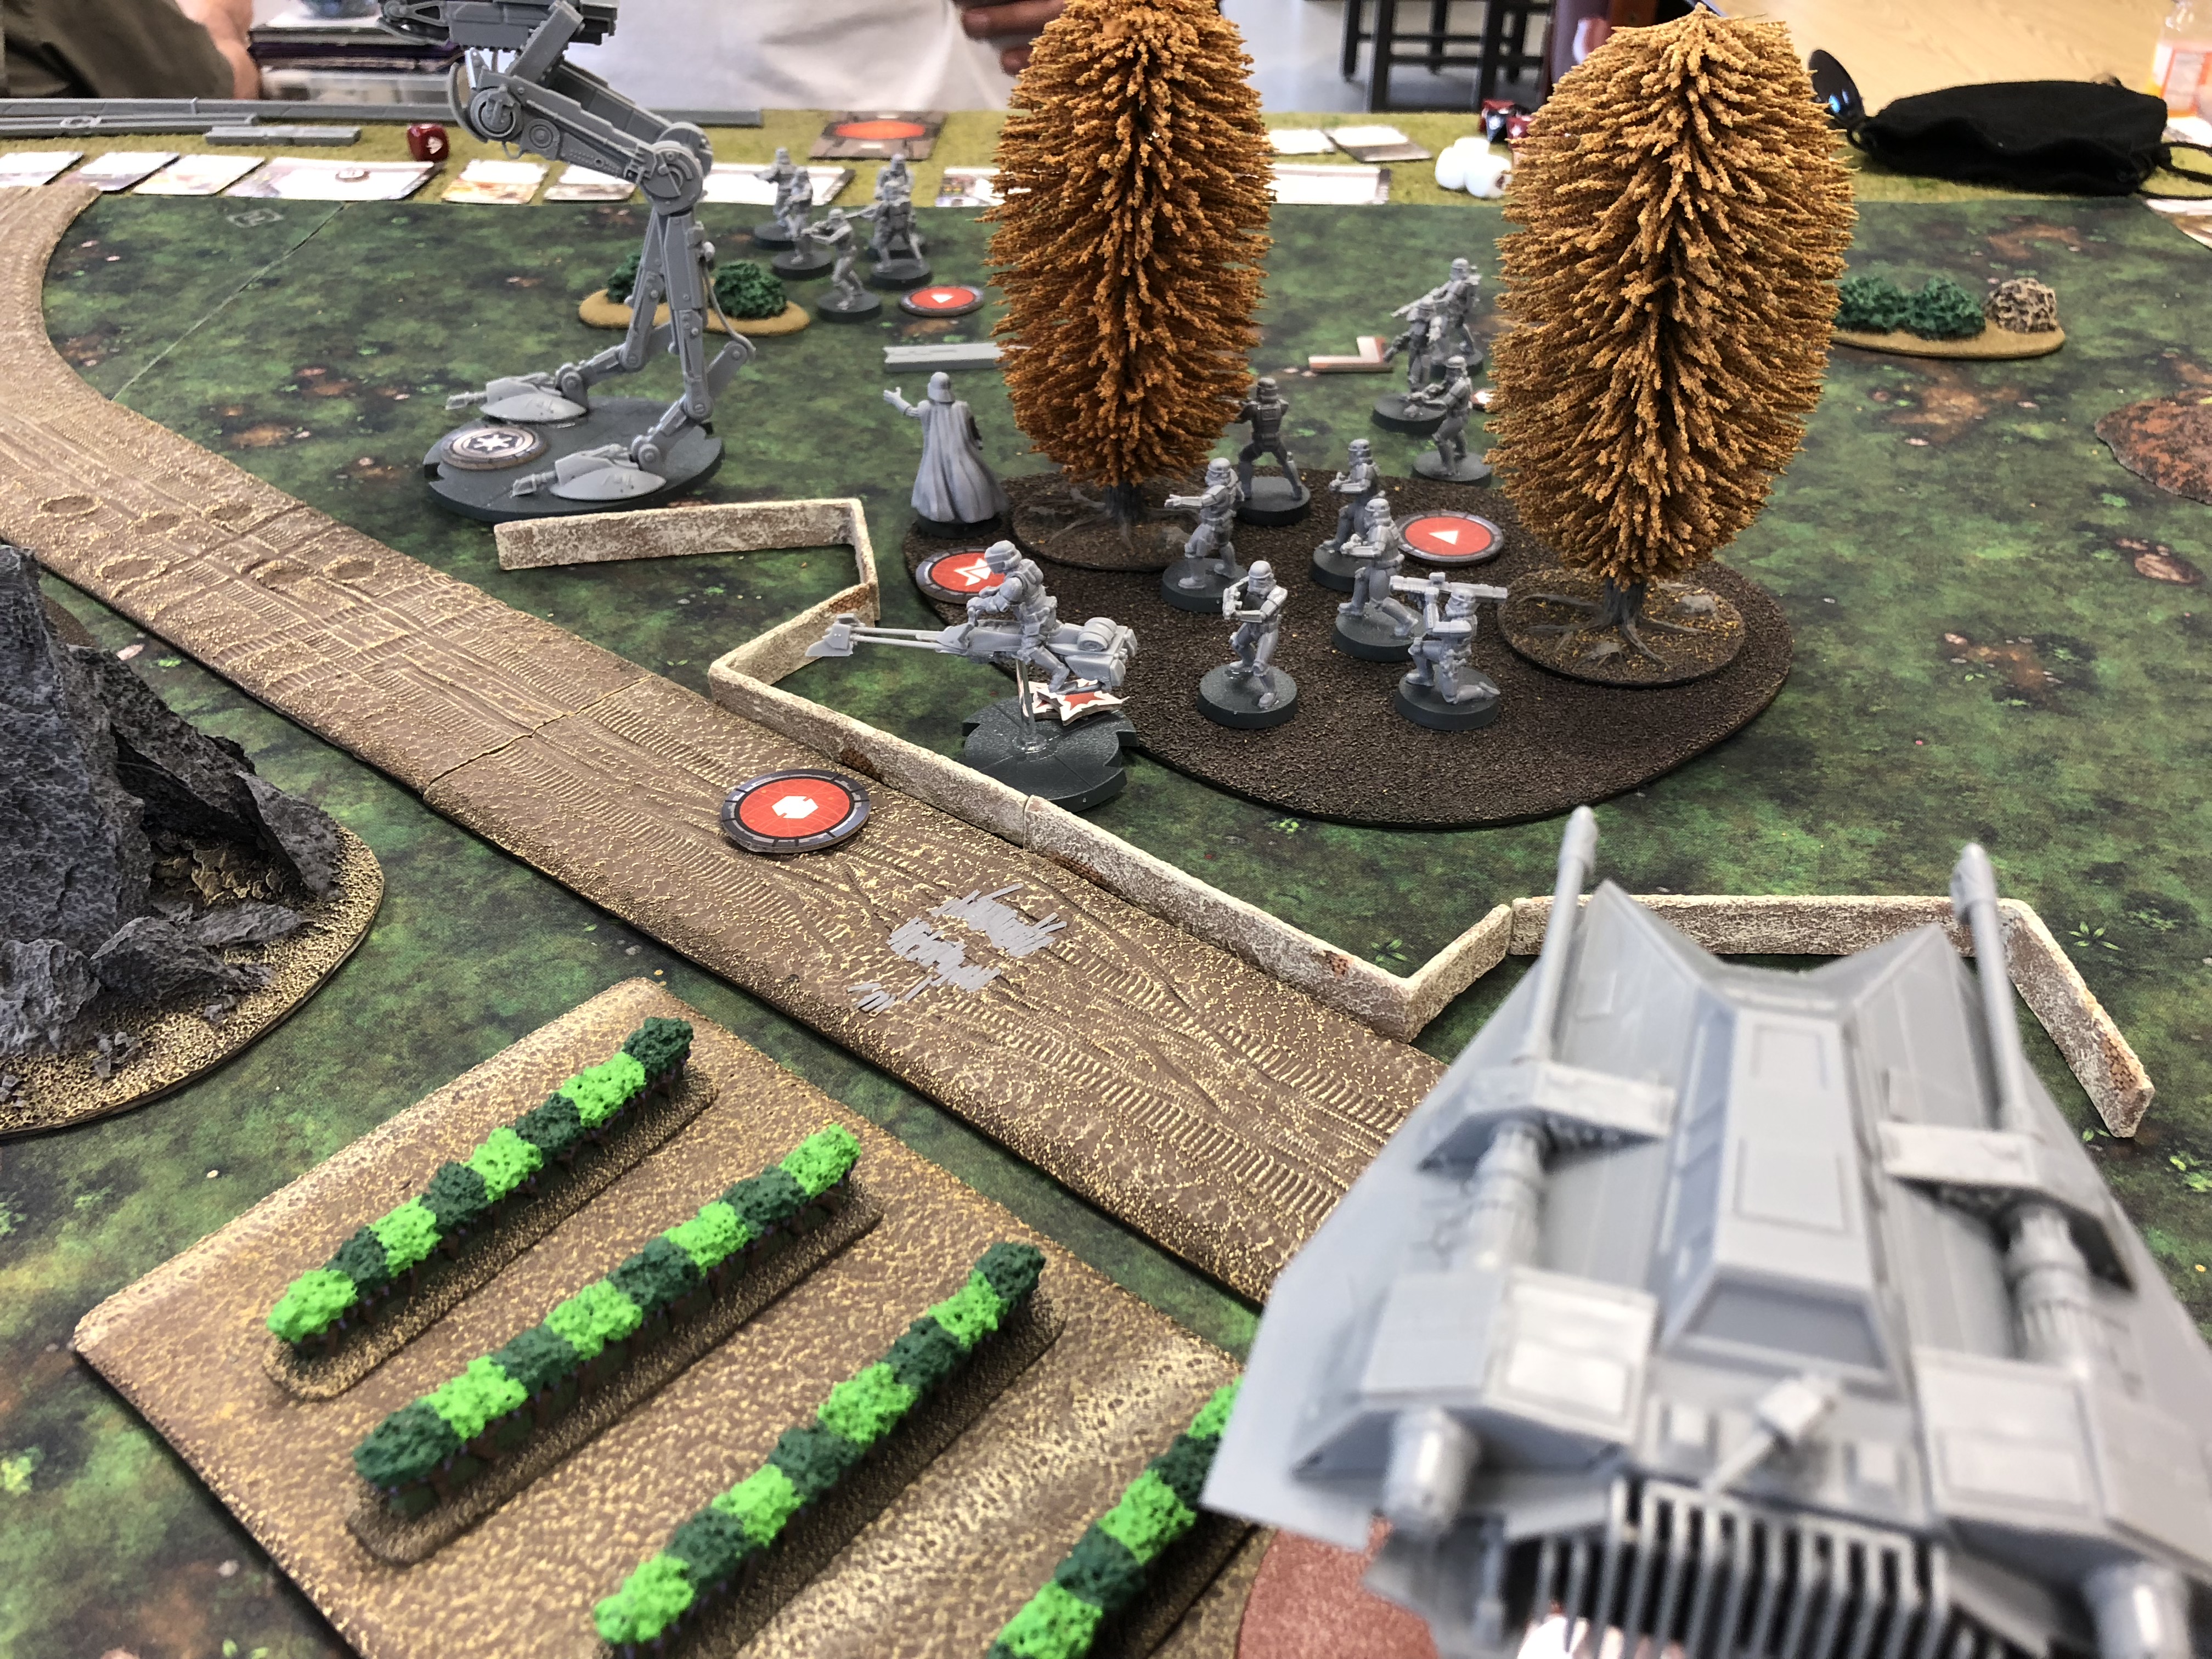
Meanwhile the AT-ST moved up, the stormtroopers and Vader setup in the center and on my far left flank another squad of stormtroopers moved up.

I moved my two AT-RTs up. Maybe two could help put a dent into that AT-ST.

Hits starting to land on the AT-ST, unfortunately the Stormtroopers and their HS12s were landing hits on my T-47…. Red Leaders … we’re going down ….. kkkkkkrk”

It’s Darth Vader! Give him all you got boys! Hey where did everyone go? Uh-o ….

Meanwhile on the left flank pinned down the Stormtroopers trying to move up and push pressure on me.

Getting towards the end of the game. Needed to make a run in order to have a chance of having anything reach the opposite side. Luke leading the charge, ran forward and delivered the final blow on the AT-ST. This set Luke up for the last turn dash to try and reach the objective.

But wait, there’s a bunch of enemy stormtroopers just outside the woods. Using a jedi mind trick causes them to panic and run away since Vader isn’t nearby to …. um… motivate them. On Luke’s turn 6 activation, he makes a run for it and just barely crosses into imperial territory for the victory.

All and all a fun time. Some thoughts about game play. You probably noticed in the picture some of the round disks, those are to make activated units (when on the rebel or imperial symbol side) or units that have orders. At the top of the turn, you select an order card and depending on the bid associated with the order card that’ll determine if you or your opponent activate first. Activations go back and forth. Additionally, the order cards determine how many units you can issue an order to (as long as they are within command range or have a radio to talk to the commander), and the remaining disks go into a bag to be drawn at random when it’s your activation. When it is your activation you have a choice, either you can activate a unit that was issued an order or you can draw from the bag and see what unit type you can activate at random. It’s a good system that works well.

Generally when you activate a unit has 2 action. It could double move, attack and move, aim, dodge, go on overwatch that kind of thing. You can’t double attack. If the unit is suppressed (and that’s big in this game) then you’re down to one action. You can suppression when you are shot at and hit. Too many suppression and your unit will panic and run away. If you are in command range of say Luke, you use his courage value thus making it harder to run away.

Jedi like Vader and Luke, well they really feel and play like Jedi. Really powerful but still able to be taken out if you employ lots and lots of firepower.

Vehicles, speeders, T47s, AT-RTs, all great vehicles, each with pluses and minuses. Given the game is point costed, sure you can run two AT-STs if you want but you won’t have much else.

The terrain rules are probably the part of the game that needs a bit of refinement. The rules reference (the lawyer version of the rules) is available online only and isn’t part of the game. Terrain is covered in the online guide and feels like they’ll probably apply updates and clarifications fairly quickly. With the game being just a week old, there are lots of questions and just when you do/don’t apply LoS, cover etc seem slightly confusing OTOH this is something I need to go back and reread so confusion could be entirely mine.

Overall, I think this is a well done skirmish game at just the right scale. I’m sure it’s going to bloom with lots of expansions and options to field a force (wookies!) as you desire.

Posted in Star Wars: Legion | Comments Off on Star Wars Legion Debut

Team Yankee – AAR Firestorm Stripes Battle #1 Amsterdam

March 4th at D6 we had six of us get together at somewhat sort notice to get some games of Team Yankee in as well as the continuation of the BattleGroup Barbarossa campaign.

With the Firestorm Stripes world wide campaign kicked off, everyone was eager to do their part. You can follow or join in the campaign here.

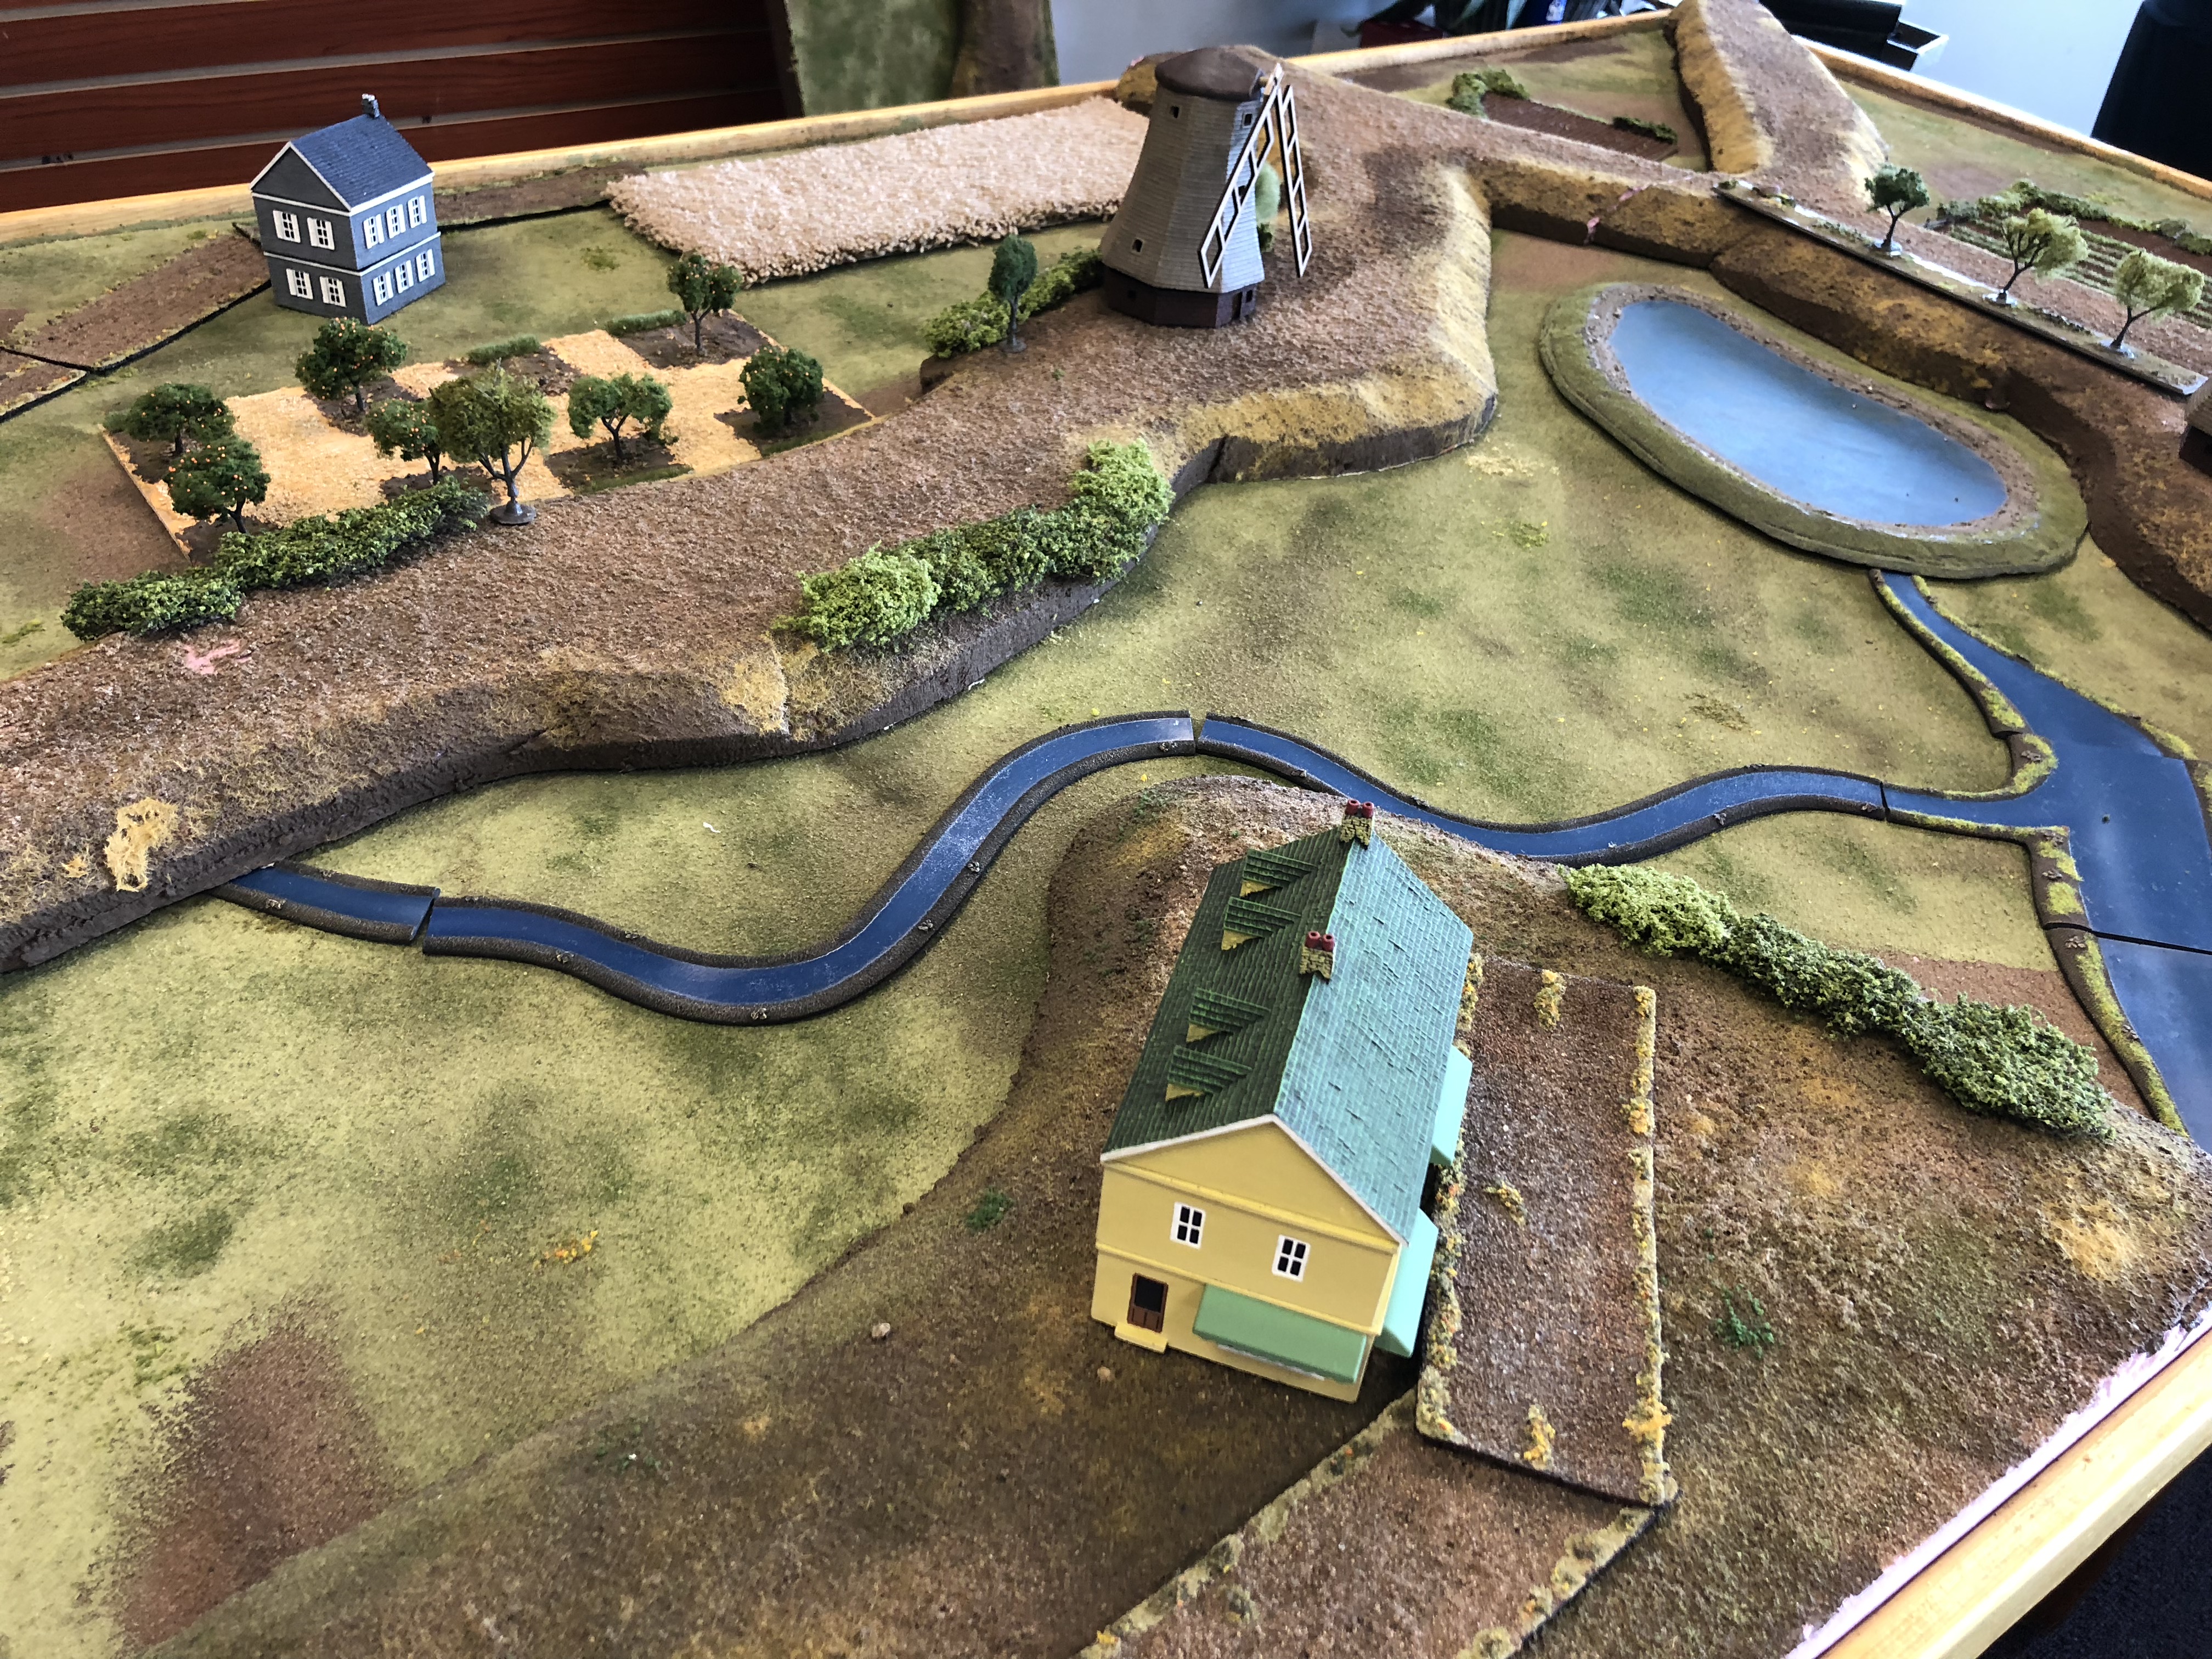
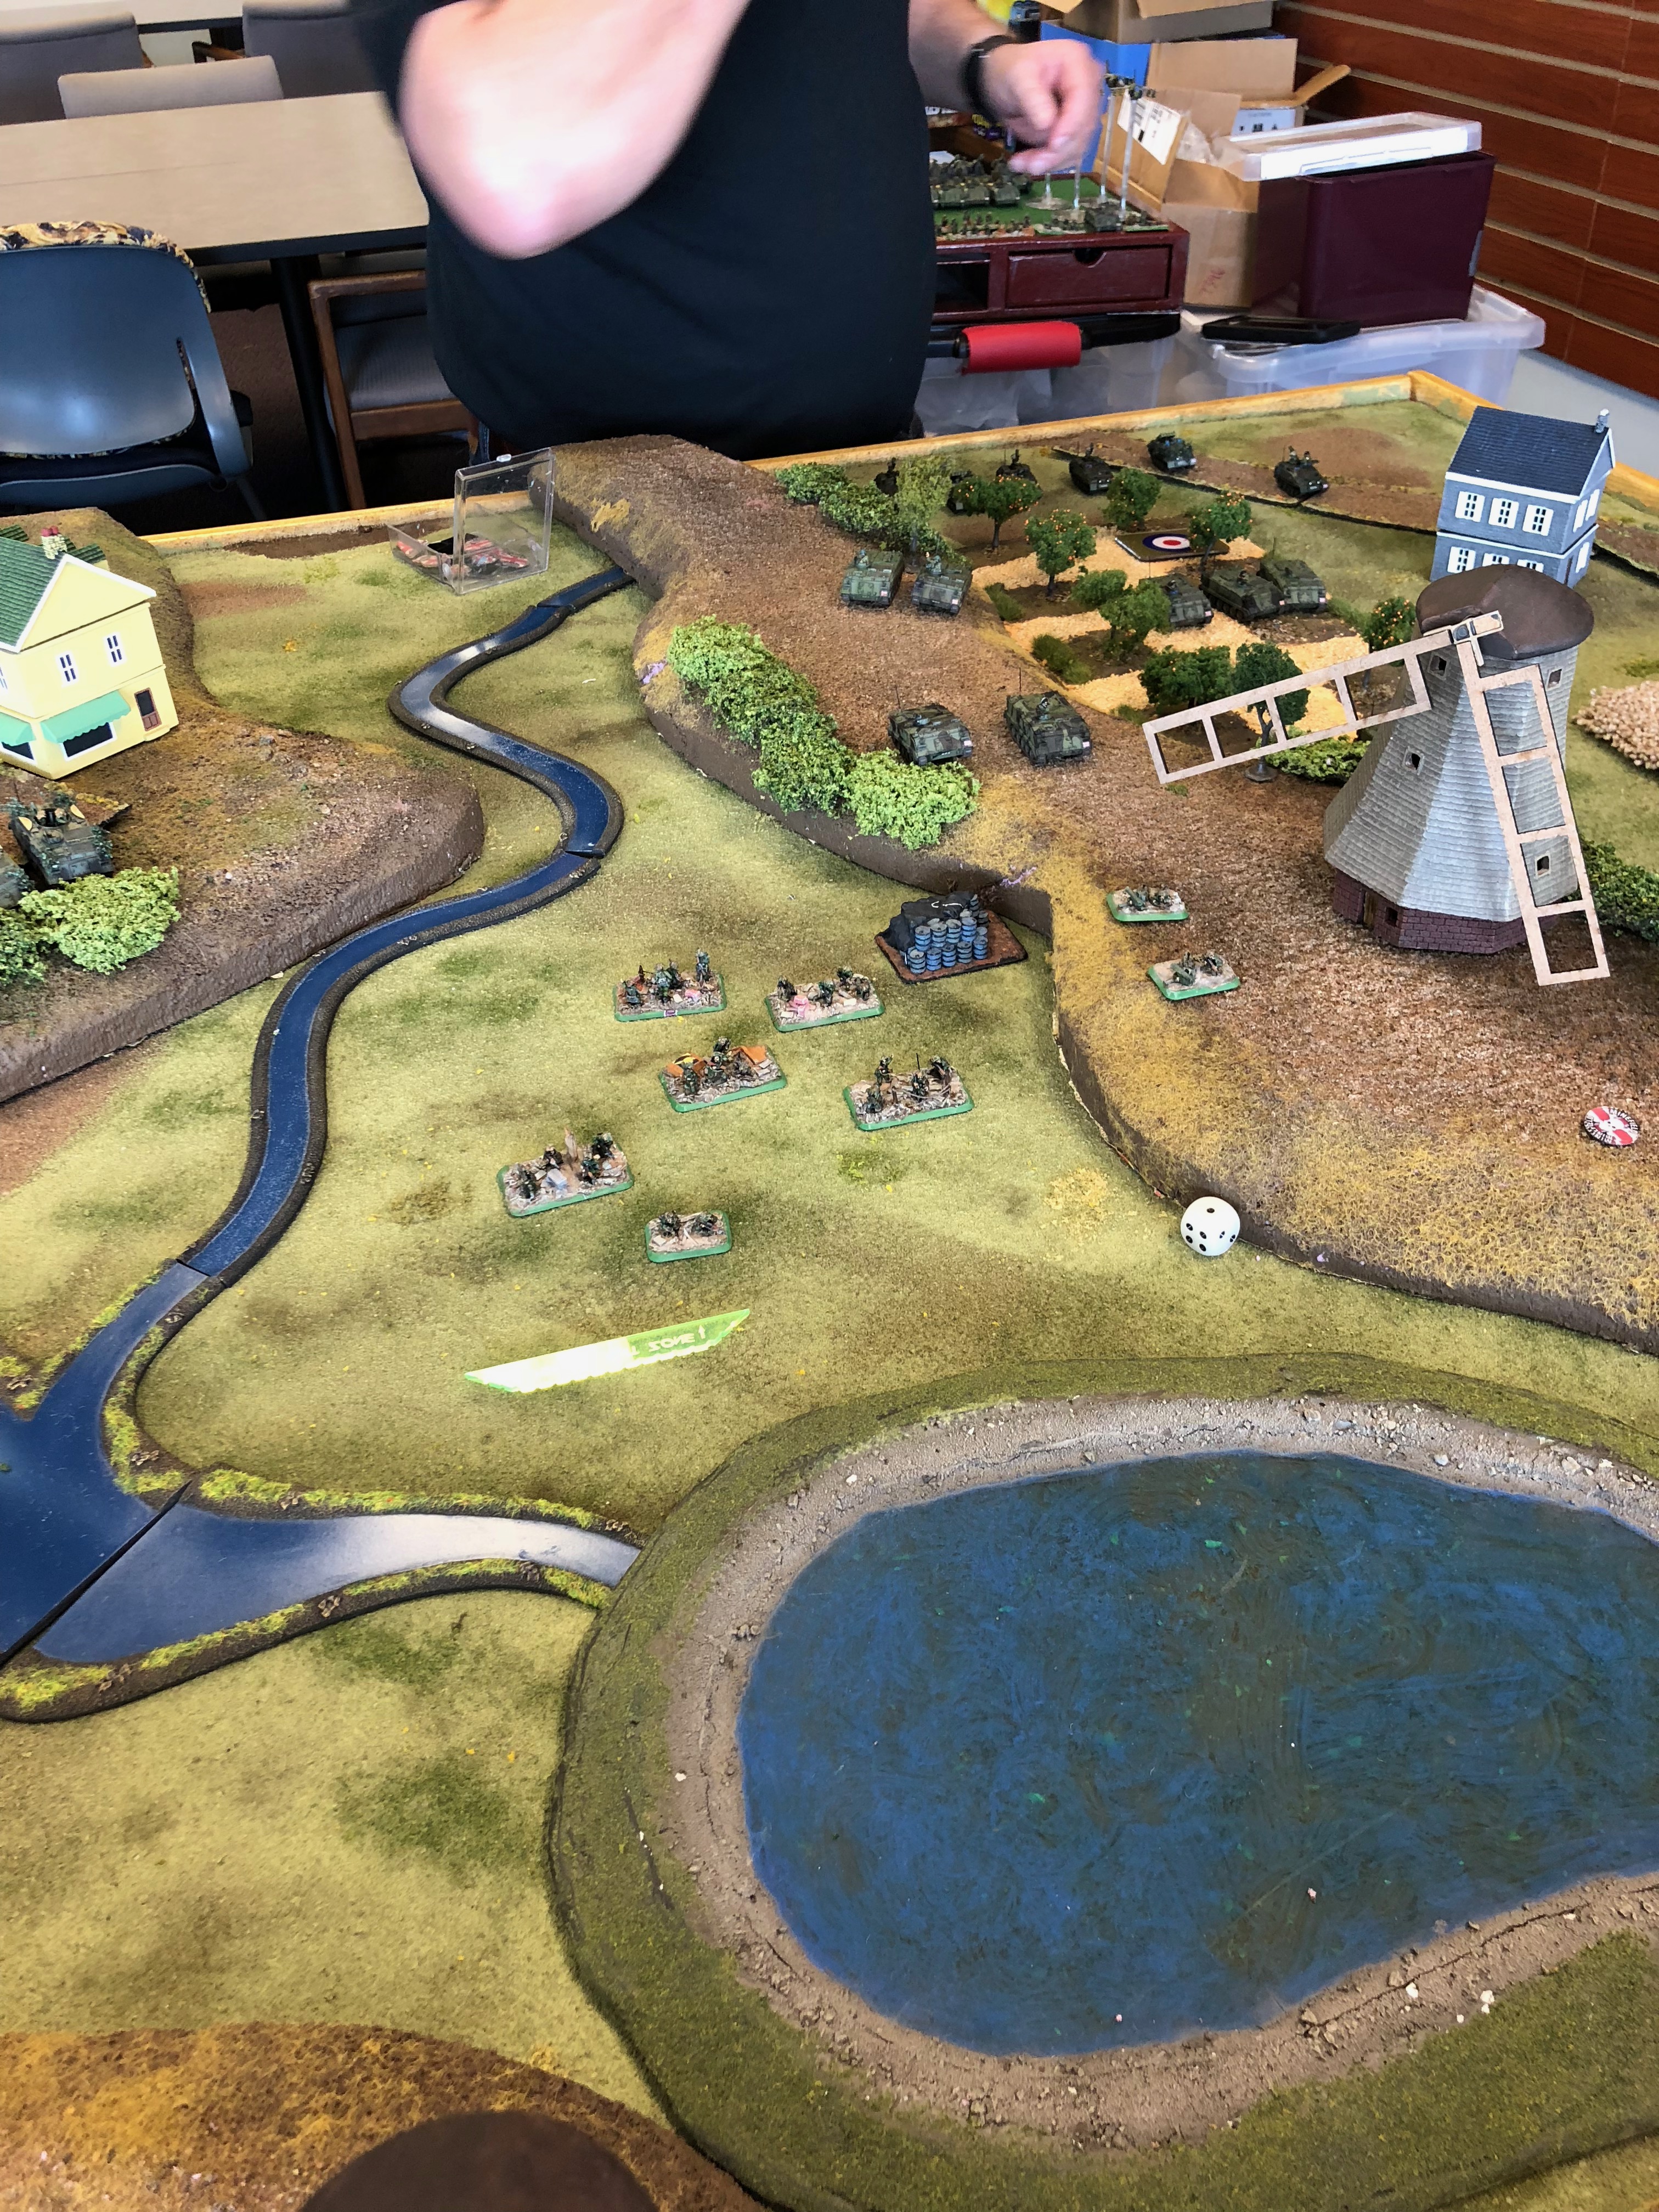
Chuck playing Brits and I with Russians decided to play in the Amsterdam sector where “No Retreat” was the mission. He envisioned something outside the city in the area where Market Garden had been fought with the windmills and sunken crop land that is still there today.

I fielded a Russian BMP Motor Rifle Battalion and we each aimed for 75 pts. In my force I had a Small BMP1 Company, a medium BMP2 company, T64s, Storms, BRDMs, Hinds, and Gophers.

With the mission set at Dawn as well as giving the Brits 3 minefields, I considered how I would approach the attack.

Without mine clearing equipment where ever those would be put I would avoid, yet with the water on table, and my ability to cross water I wasn’t too worried.

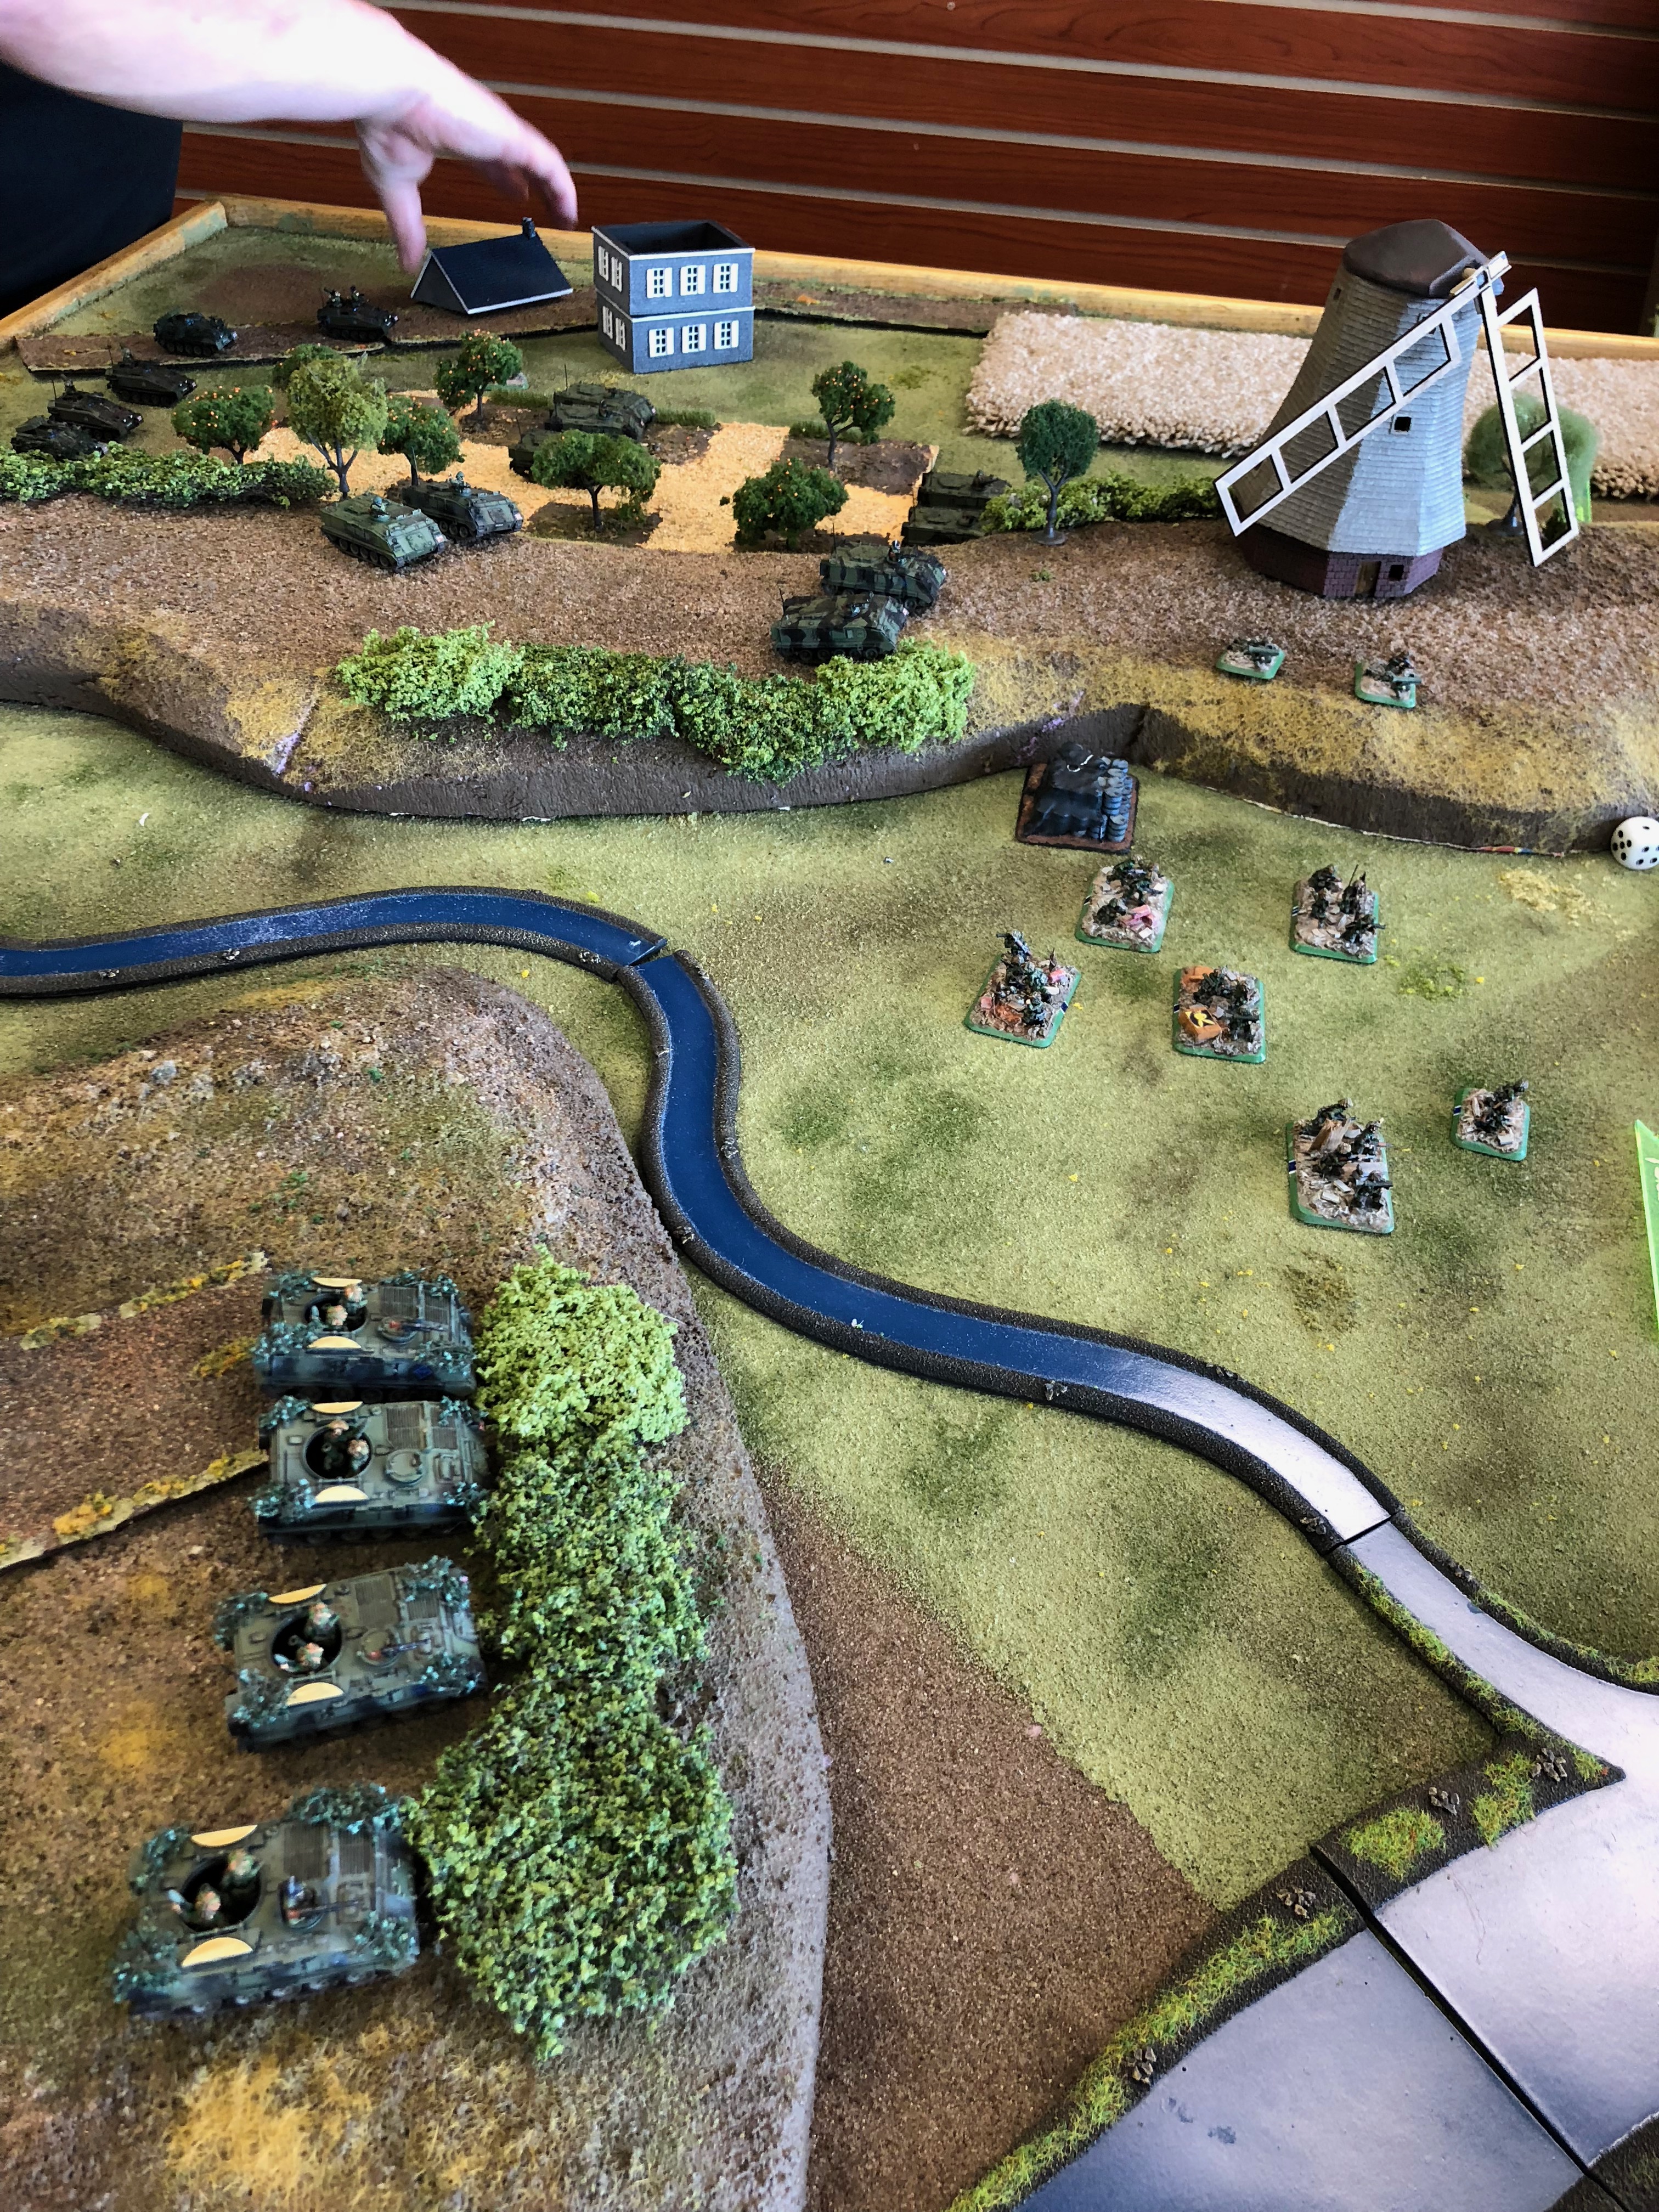
Initial recon photo from the night before. Infantry in the field next to a strategic area that command indicated was important.

Reports indicate that enemy troops in the field are currently distracted and may be easily surprised.  Attack should be at once under cover of darkness.

Another recon photo with second critical objective located next to blue building. Comment notes that the primary force in the area appears to be infantry. A crushing swift victory should be possible.

Film crews were able to capture the action as heros of the state were pushing bravely ahead. This is no episode of Spokoinoi nochi, malyshi! 

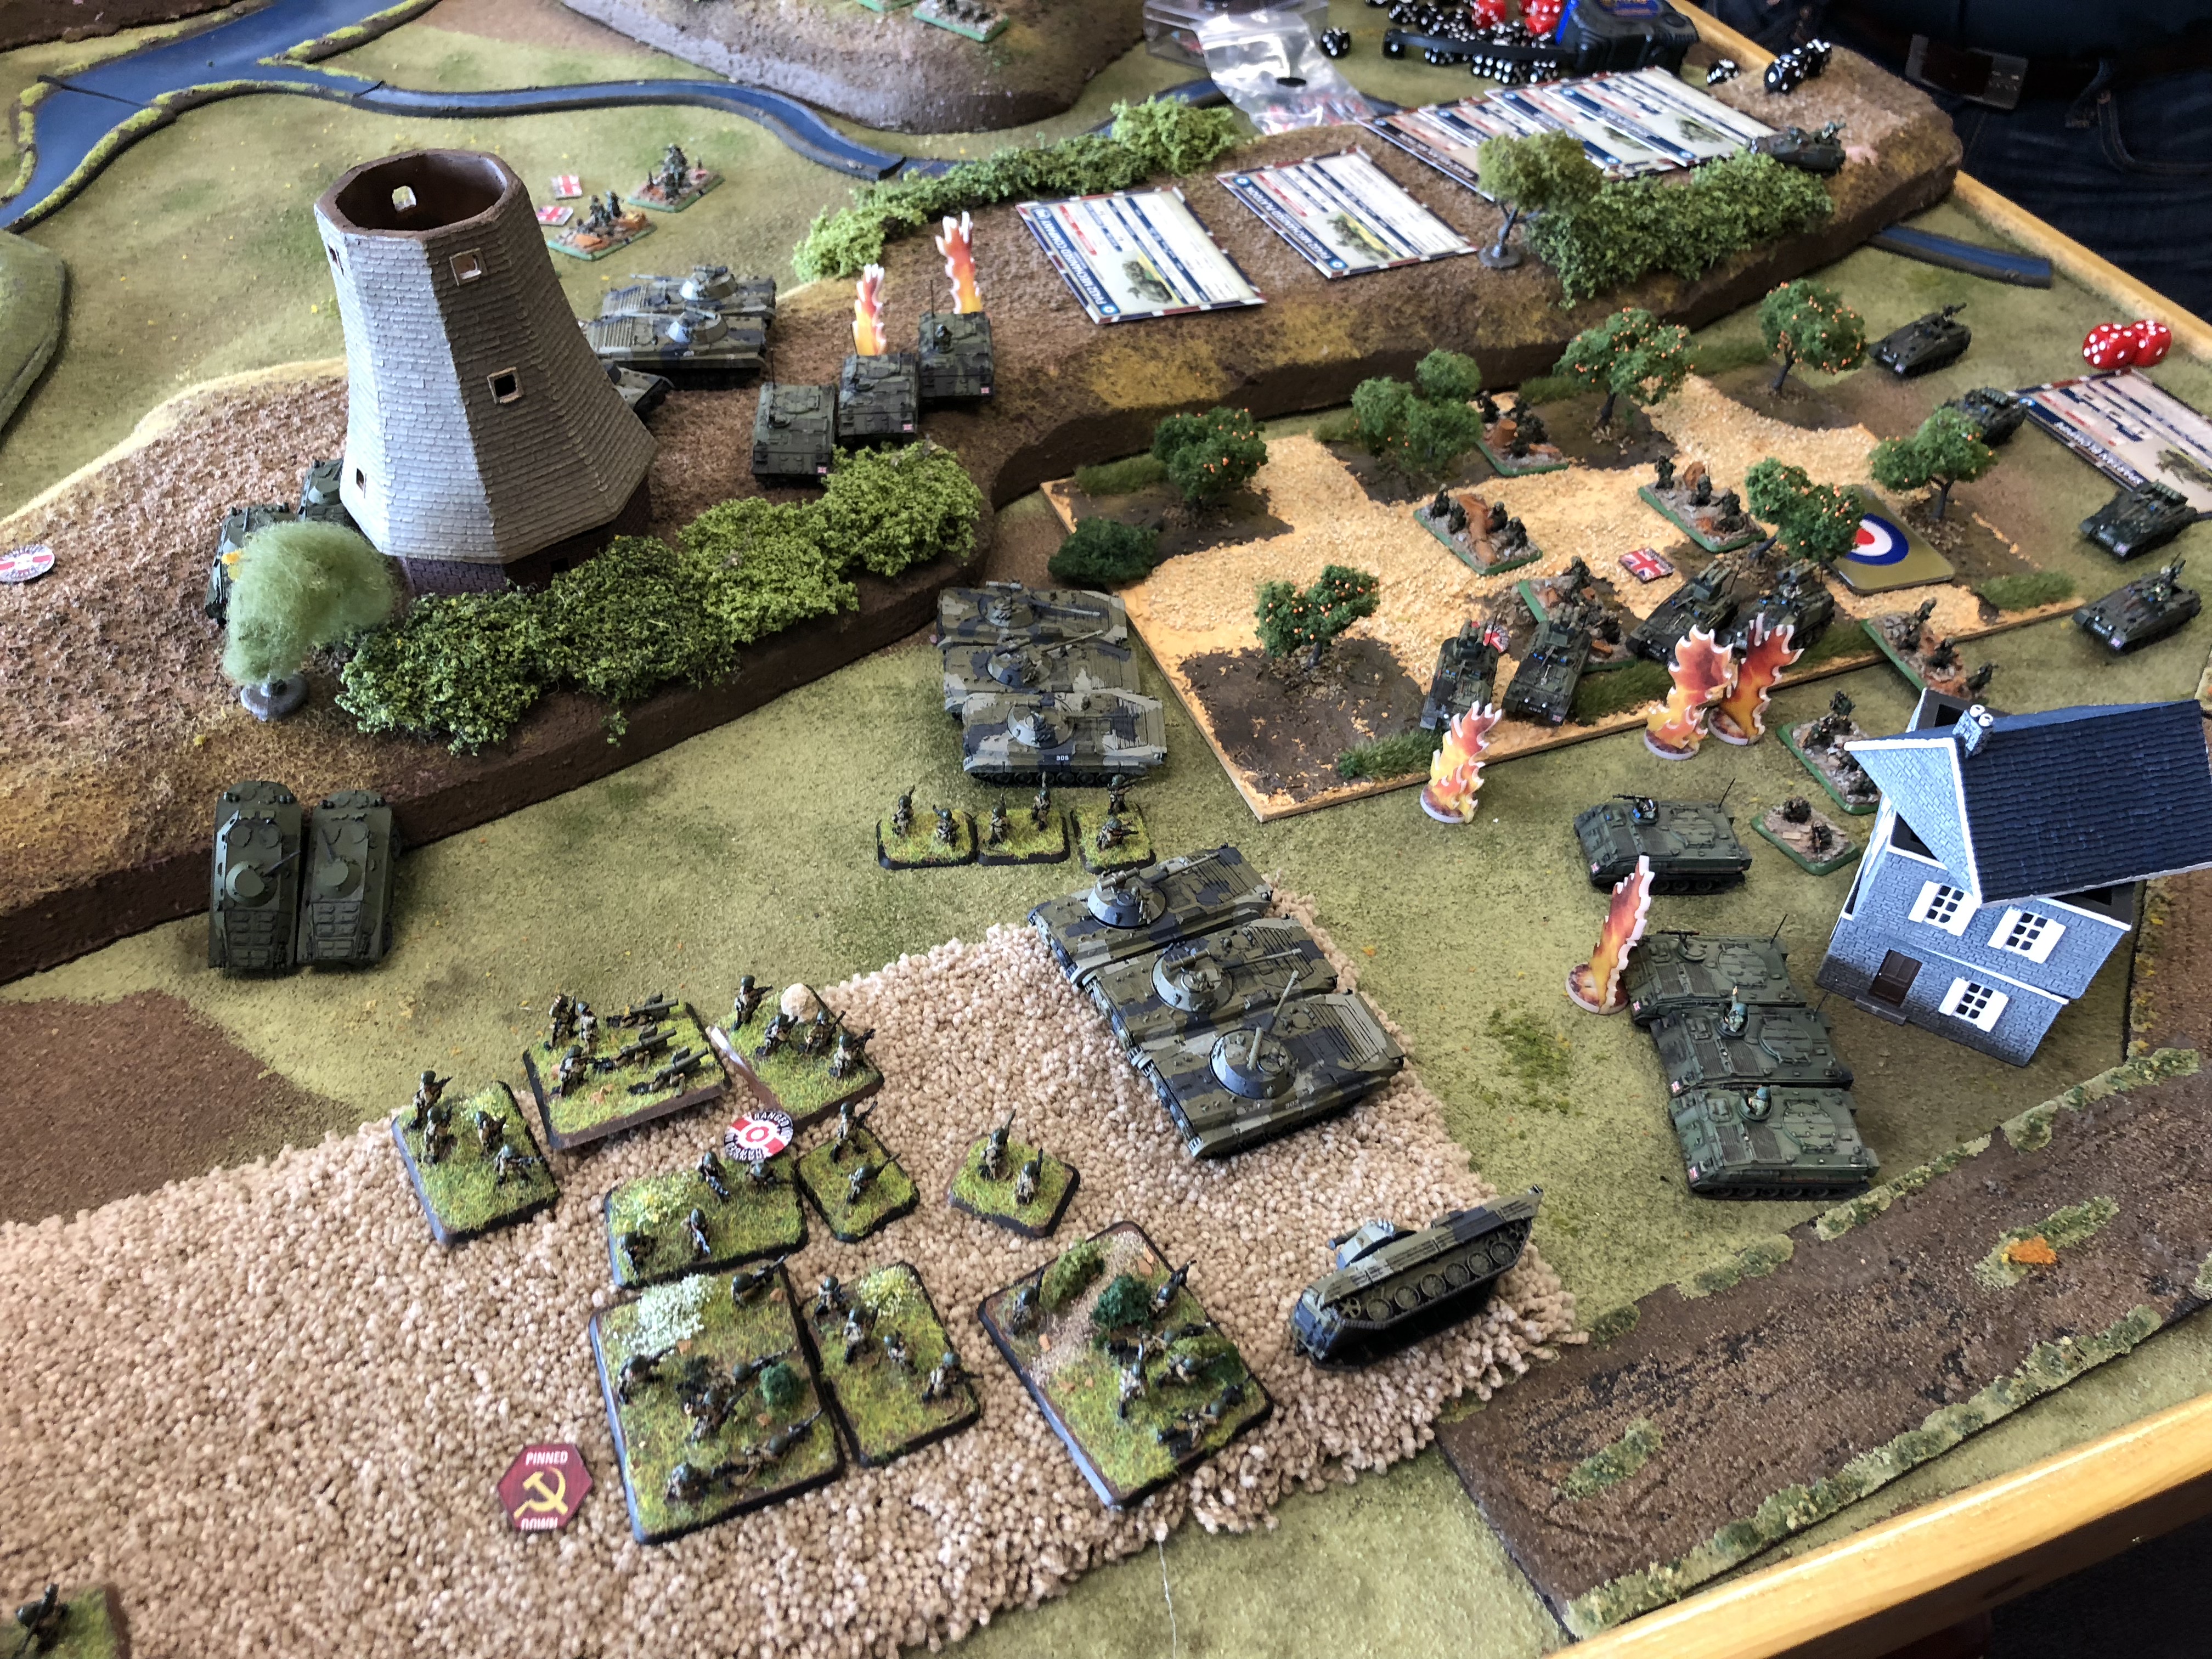
A BMP1 company deploys left  and the BMP-2 company deploys right in an effort to catch the sleeping lazy British off guard. T-64 tanks deploy on the heights on the far left flank awaiting the flashes of British fire. Our Songster missiles will blast them out of their holes allowing for the main push to either hook around or push for the far objective.

Reinforcements flow like water, early on BRDMs, Gophers, Storms, and Hinds take their positions before the sun comes up. BRDMs move in to support the strong attack by the BMP-2s.

The Hinds under cover of darkness decimate a motor platoon poised to be critical artillery fire for the weak British forces. Sadly they give their lives when British AA forces spot and with great luck bring them down.

The assault on the right flank fades as the first rays of sun appear. The BMP2-s doing most of the work, successfully destroy most of 2 British FV432s who then lose their morale and run away. Later a detachment of BMP2s in a last desperate attempt to take the objective before critical time runs out make a dash up to the central ridge and assault. Supported by the T64s and BMP1s, surely the British will be pinned down by superior fire. It is not to be.

I am to report that a 2-1 result was obtained. Another action in this area would surely be a smashing victory. Losses include the Hinds, versus 2 platoons of FV432s.

Posted in Uncategorized | Comments Off on Team Yankee – AAR Firestorm Stripes Battle #1 Amsterdam