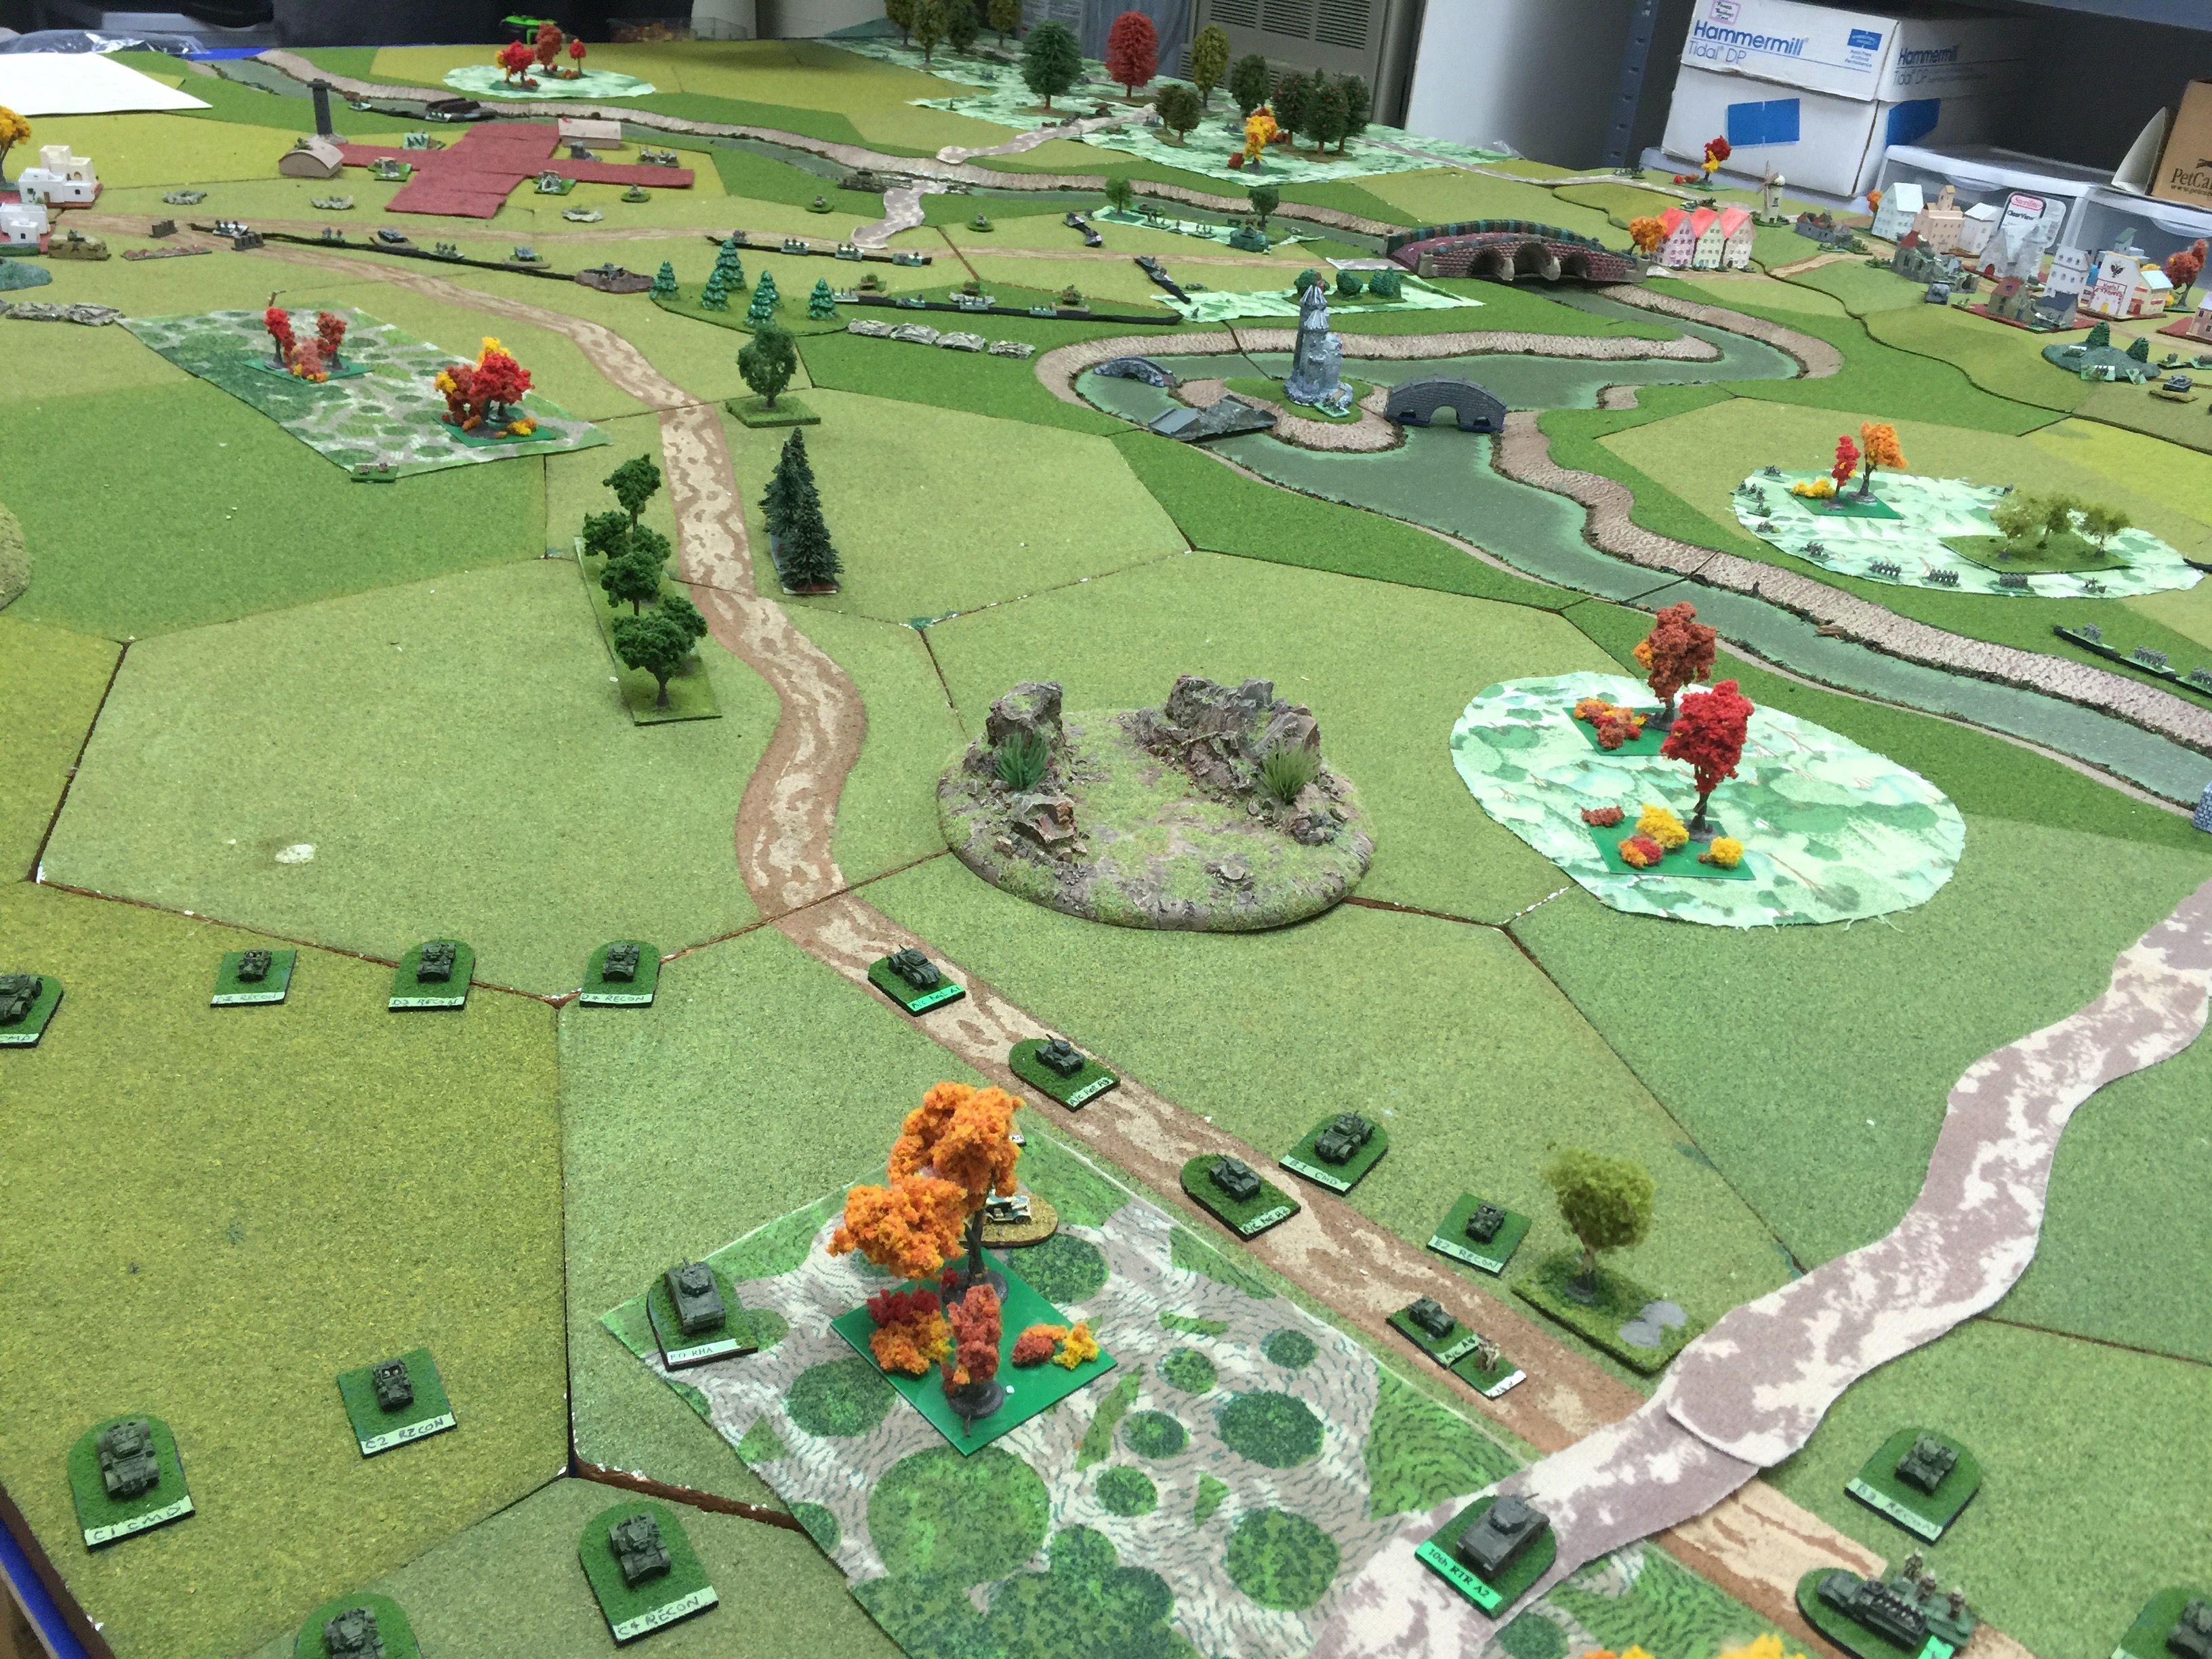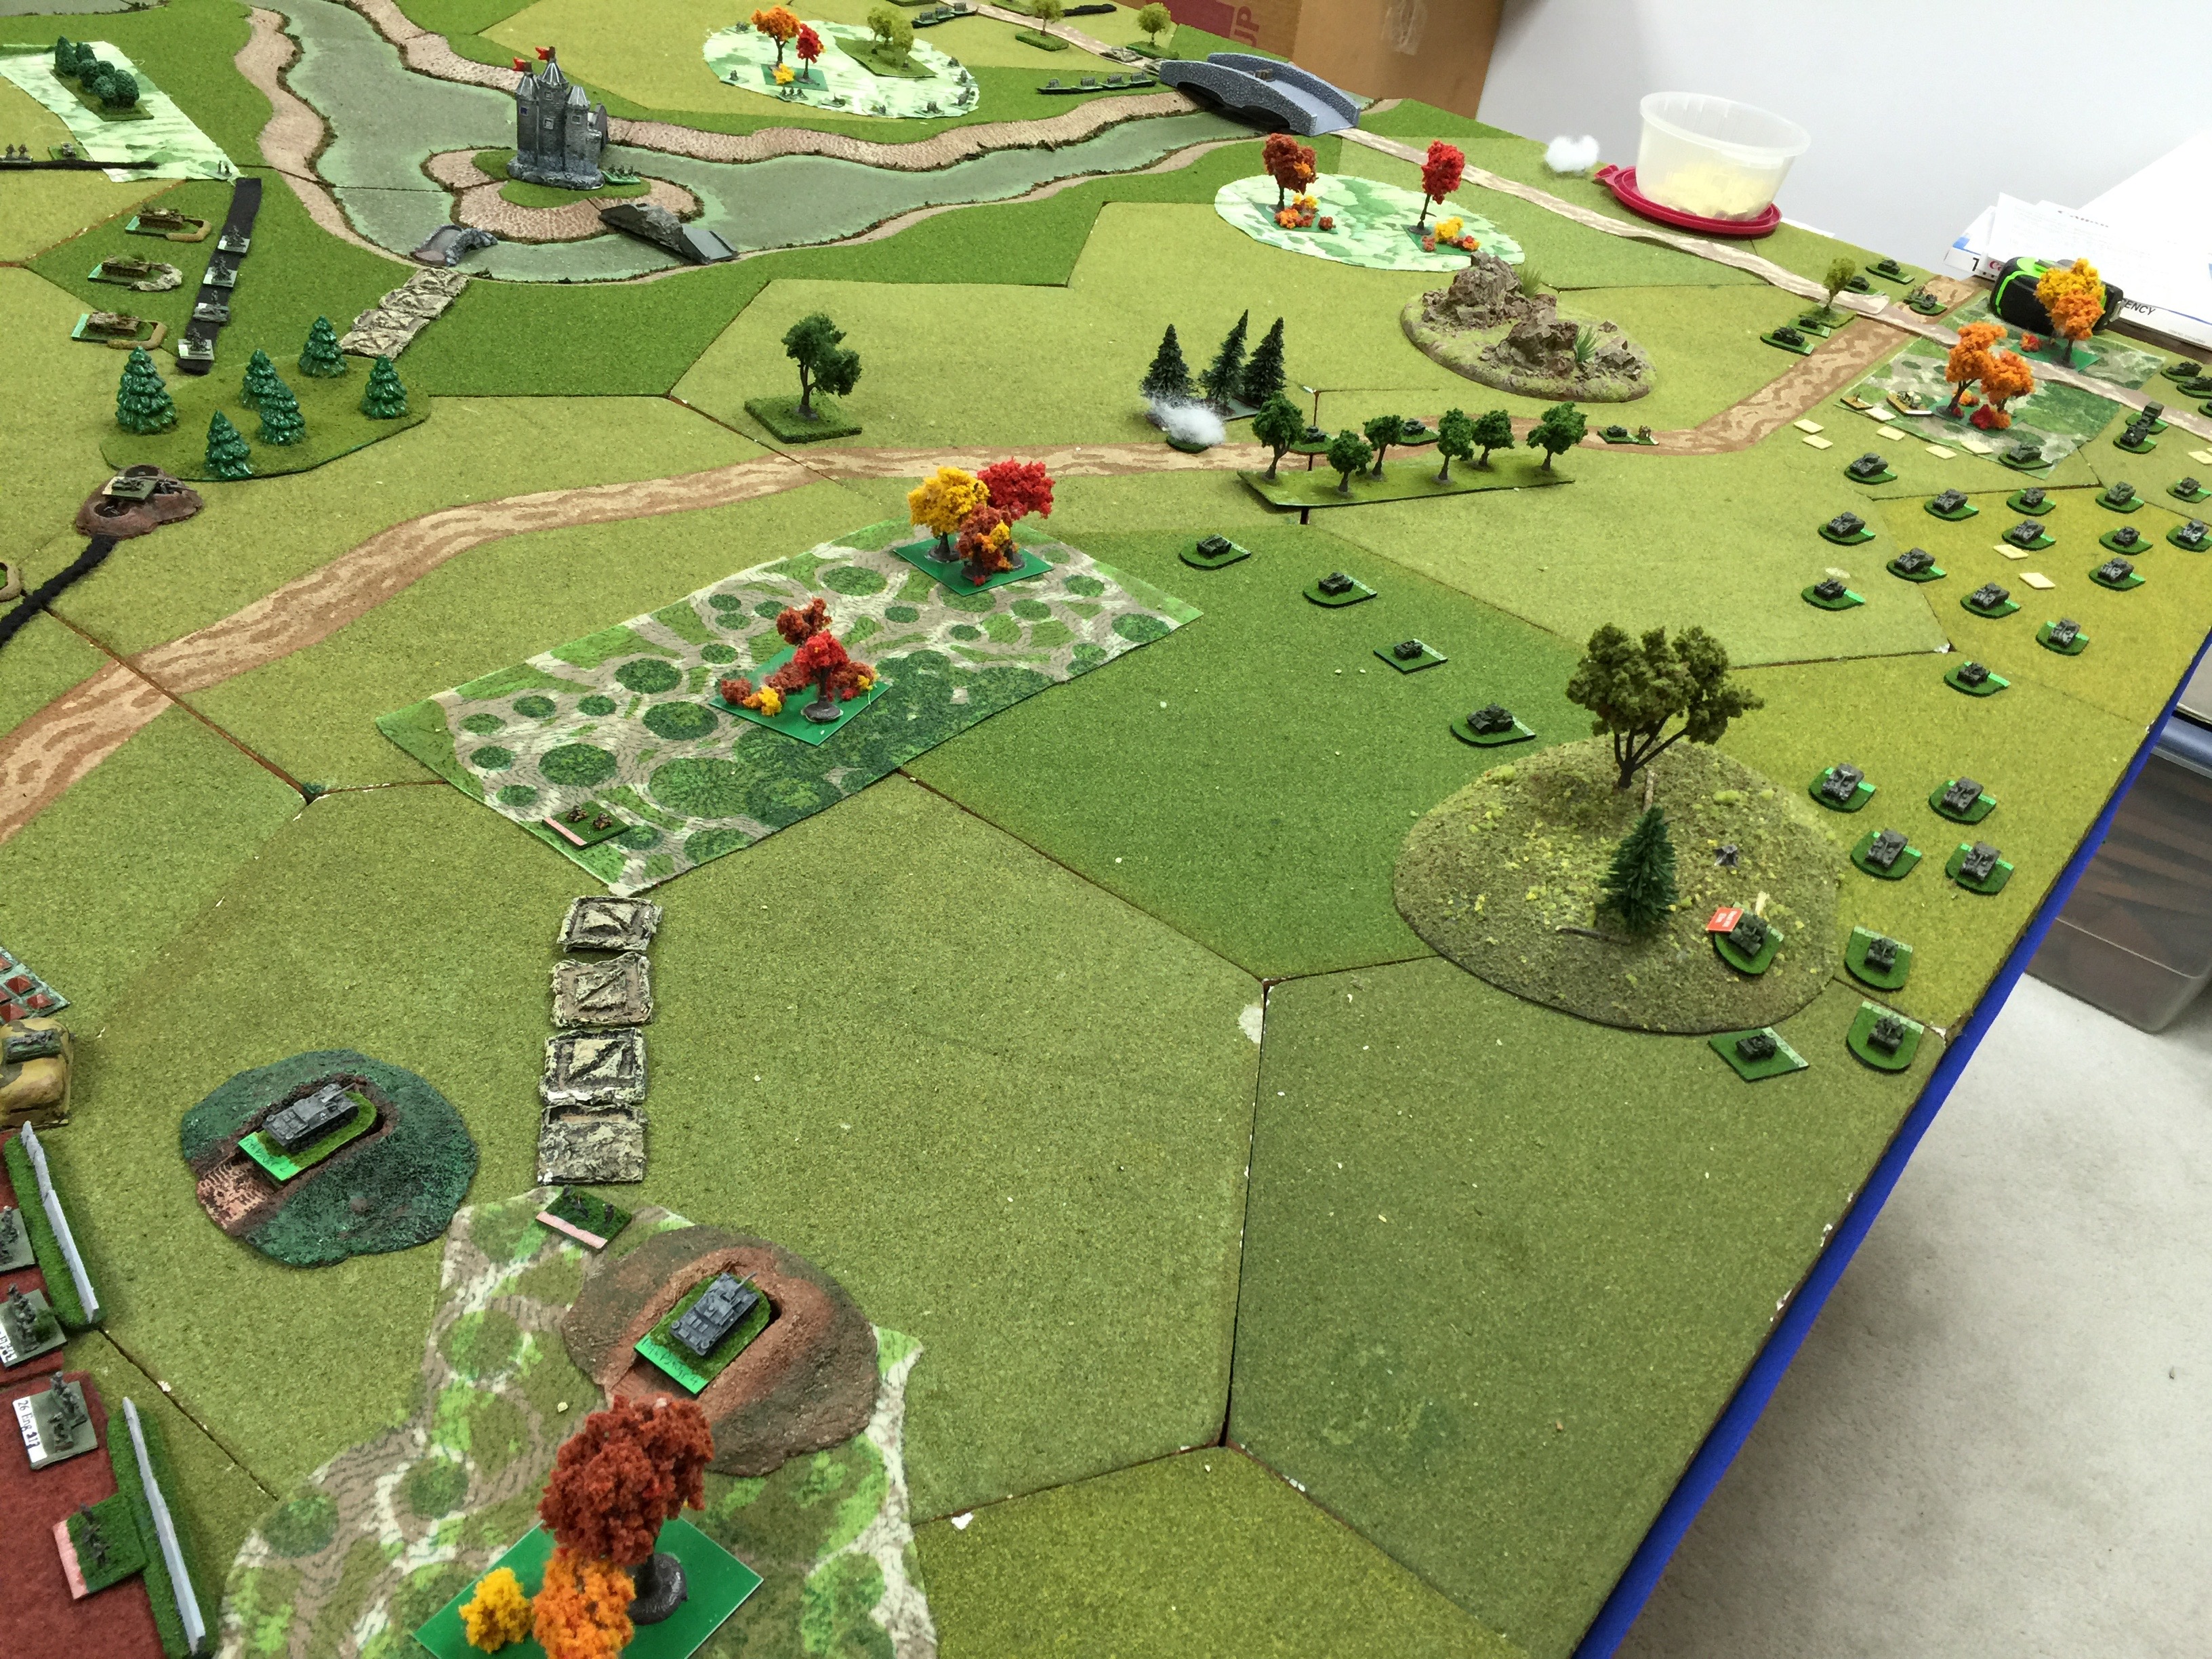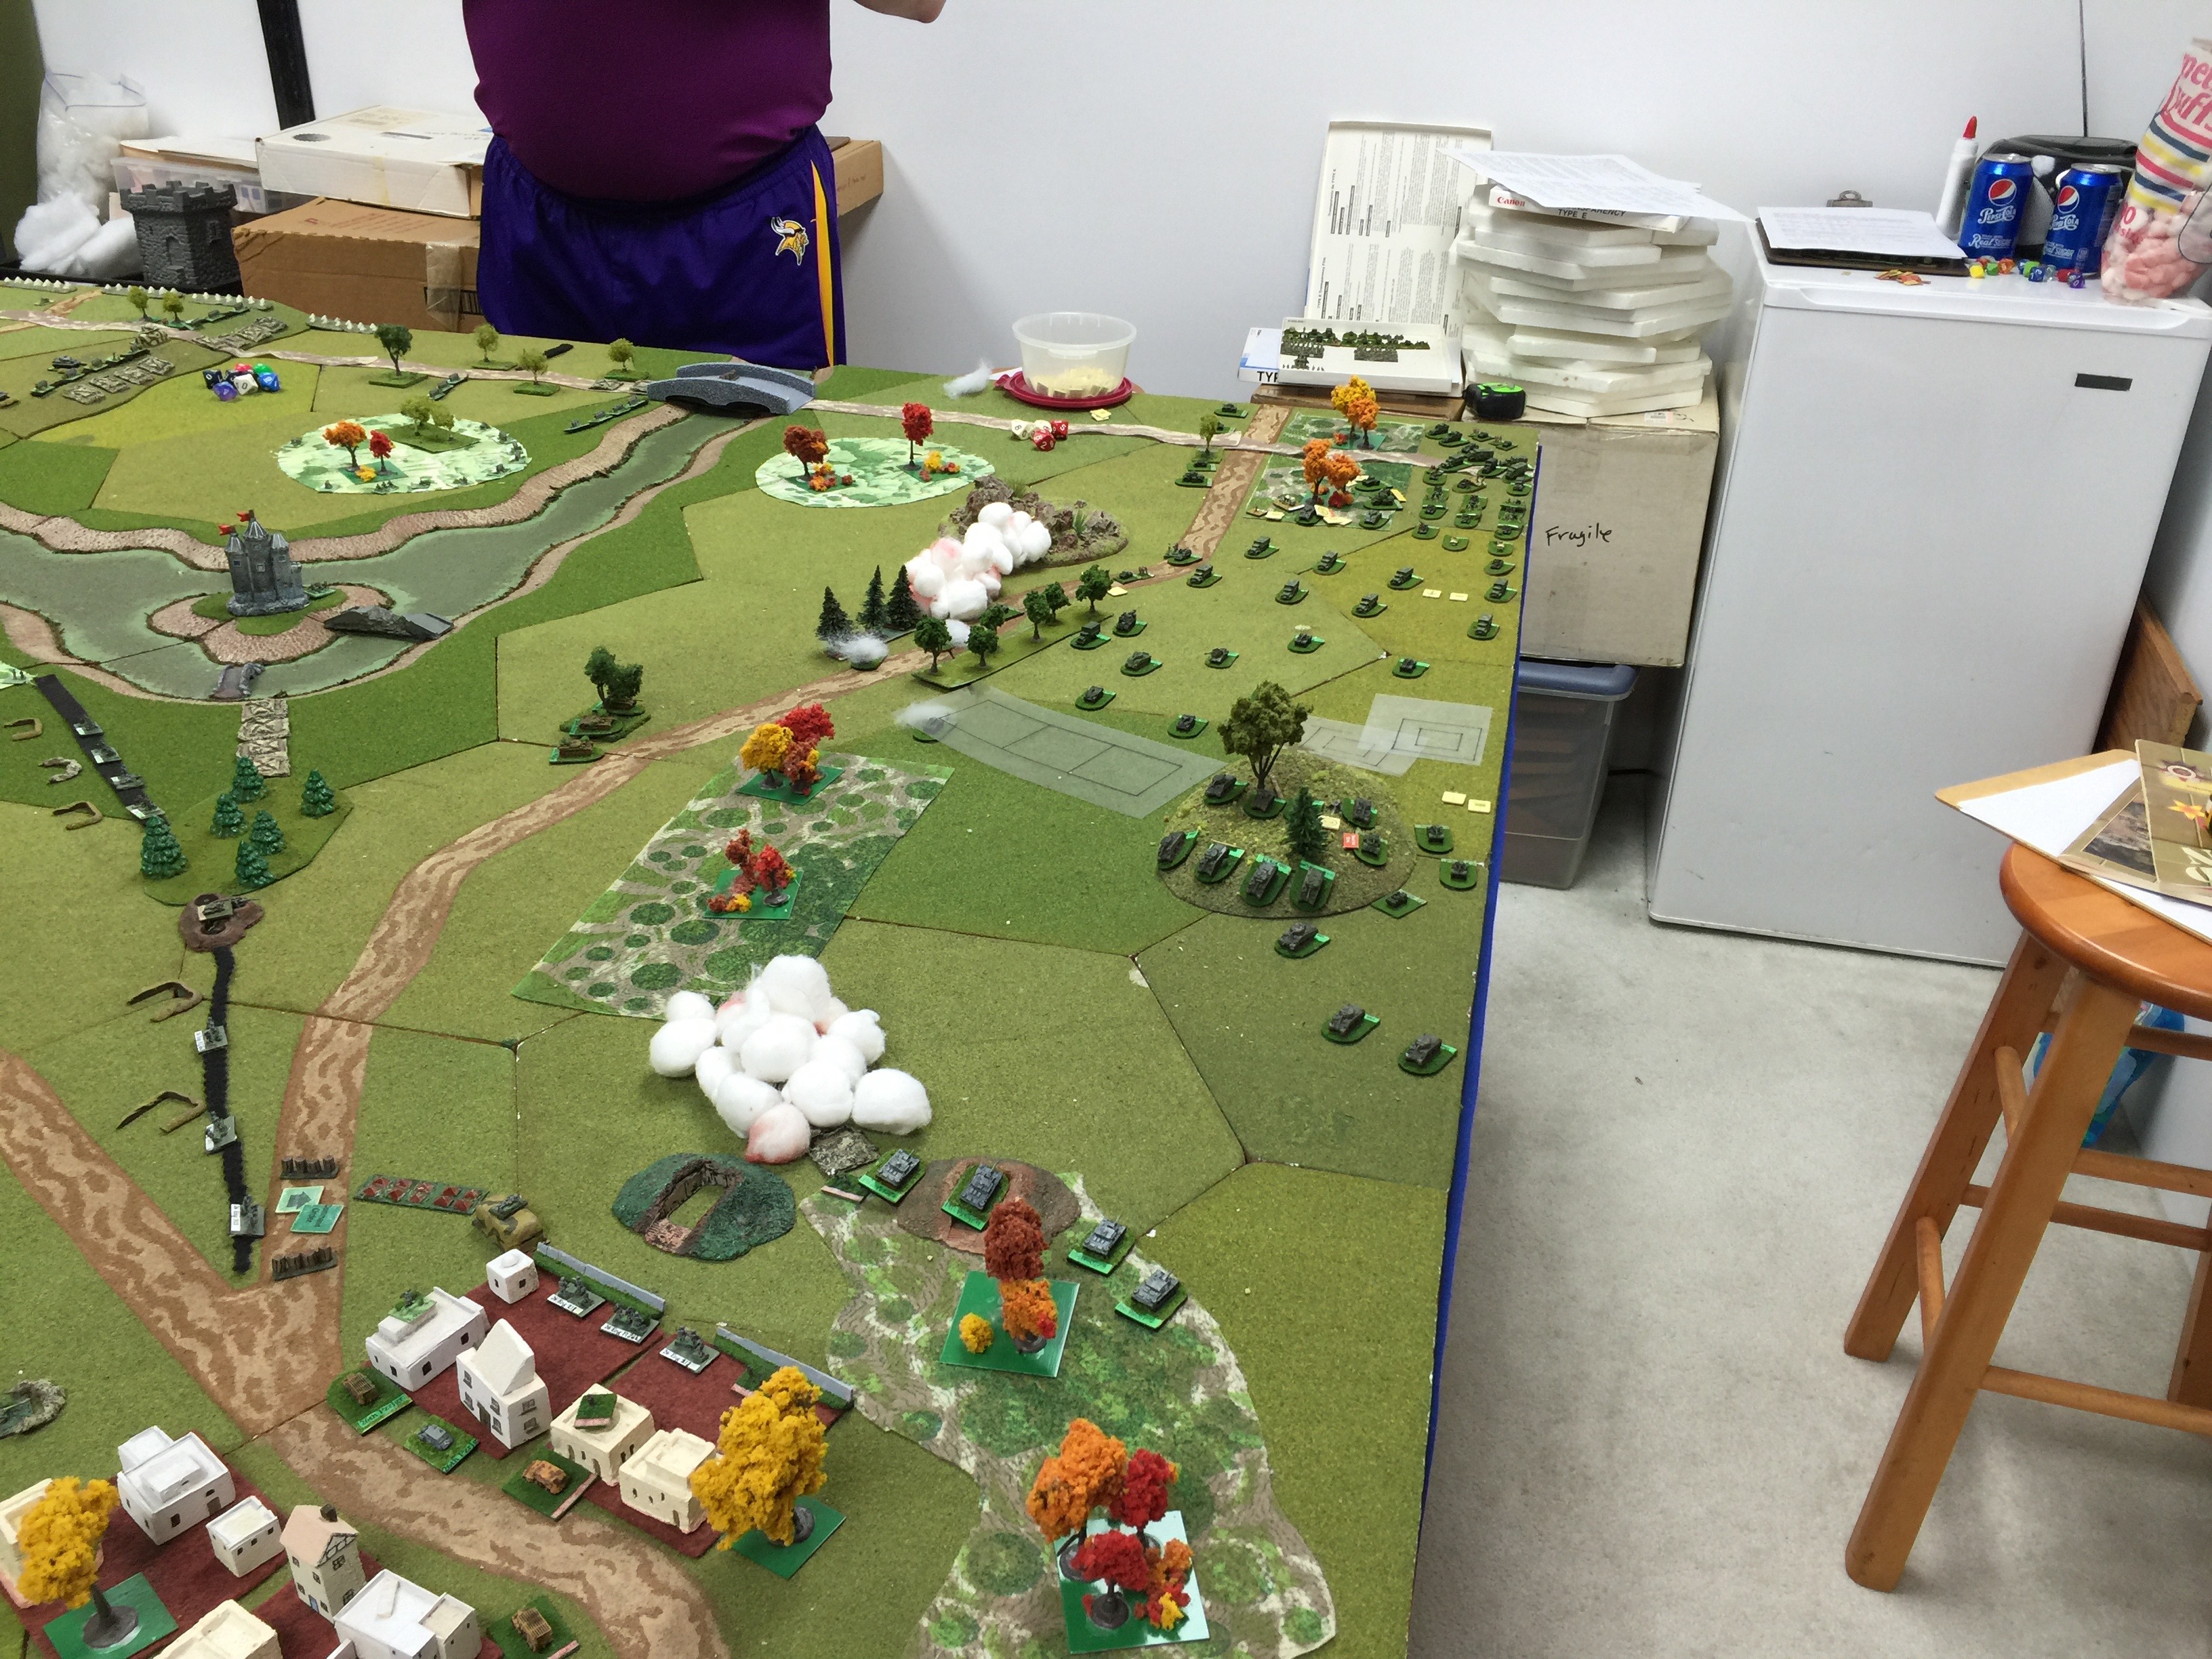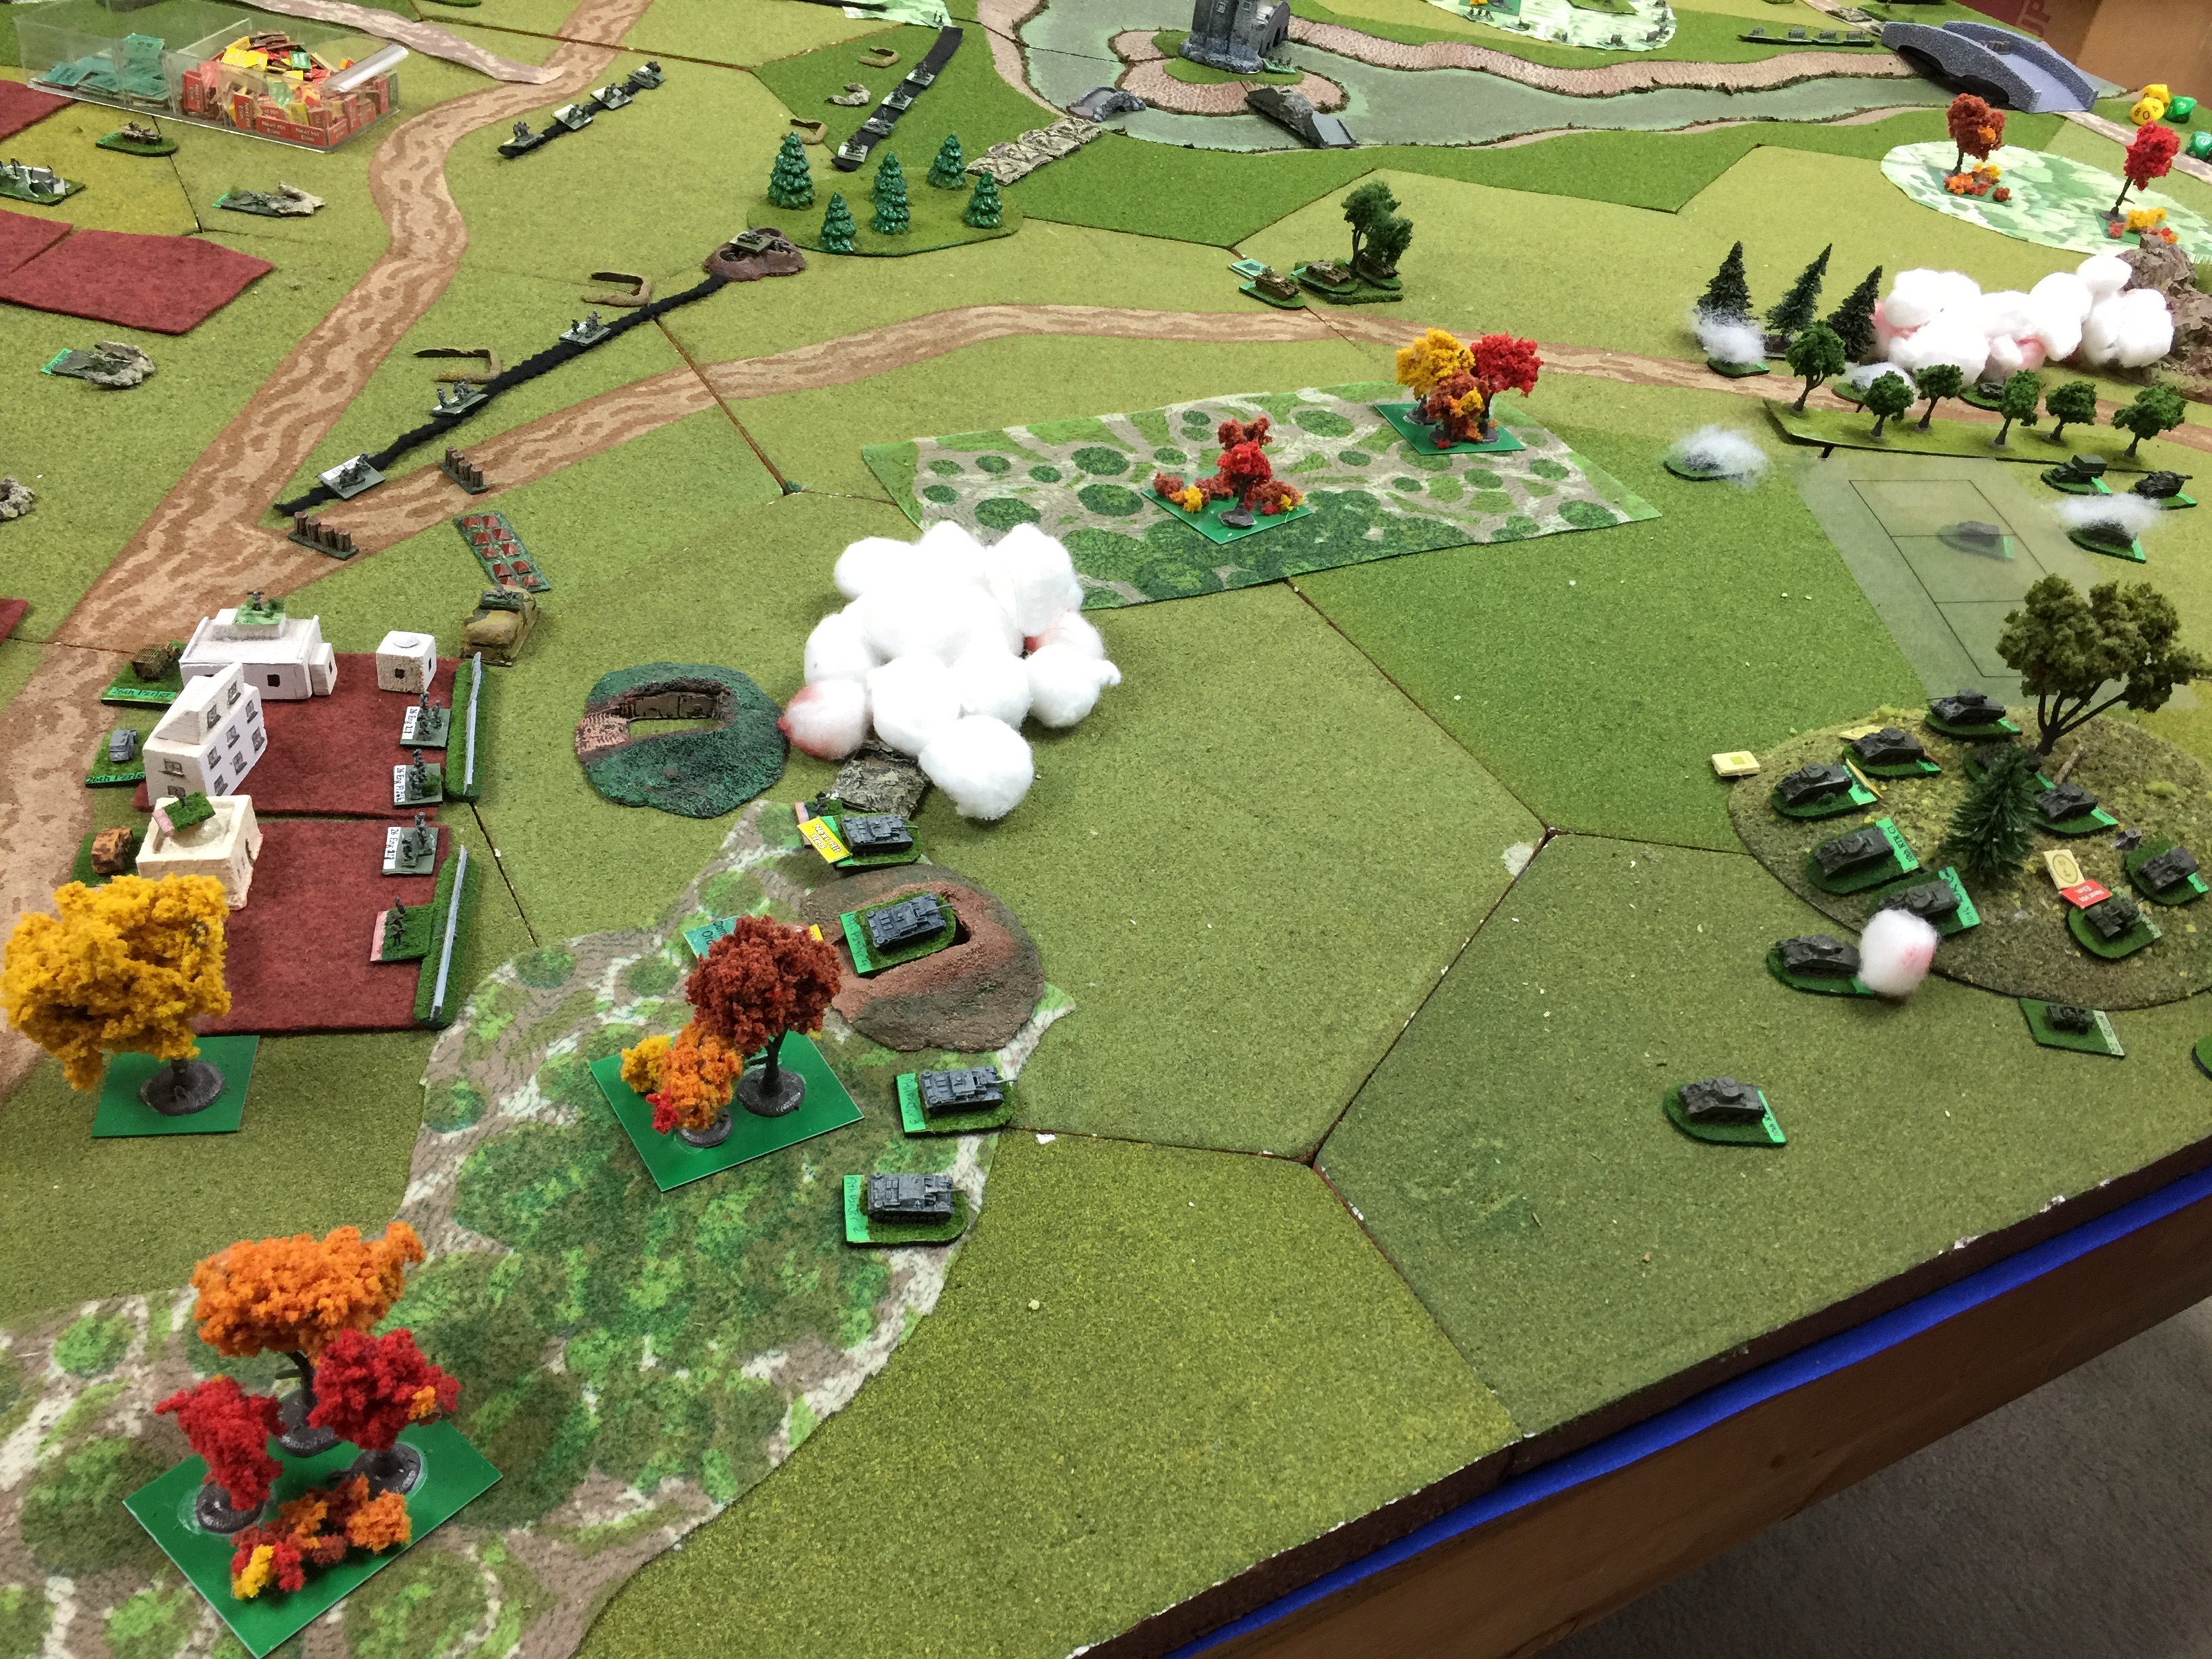
Bane of War VI

Not quite back yet from Bane of War VI, but time to take a little time in my hotel room in Dallas to write it up and post pictures. Chuck and I travelled down all the way to Austin Texas to attend this “50” man 1675pt Mid-war tournament.

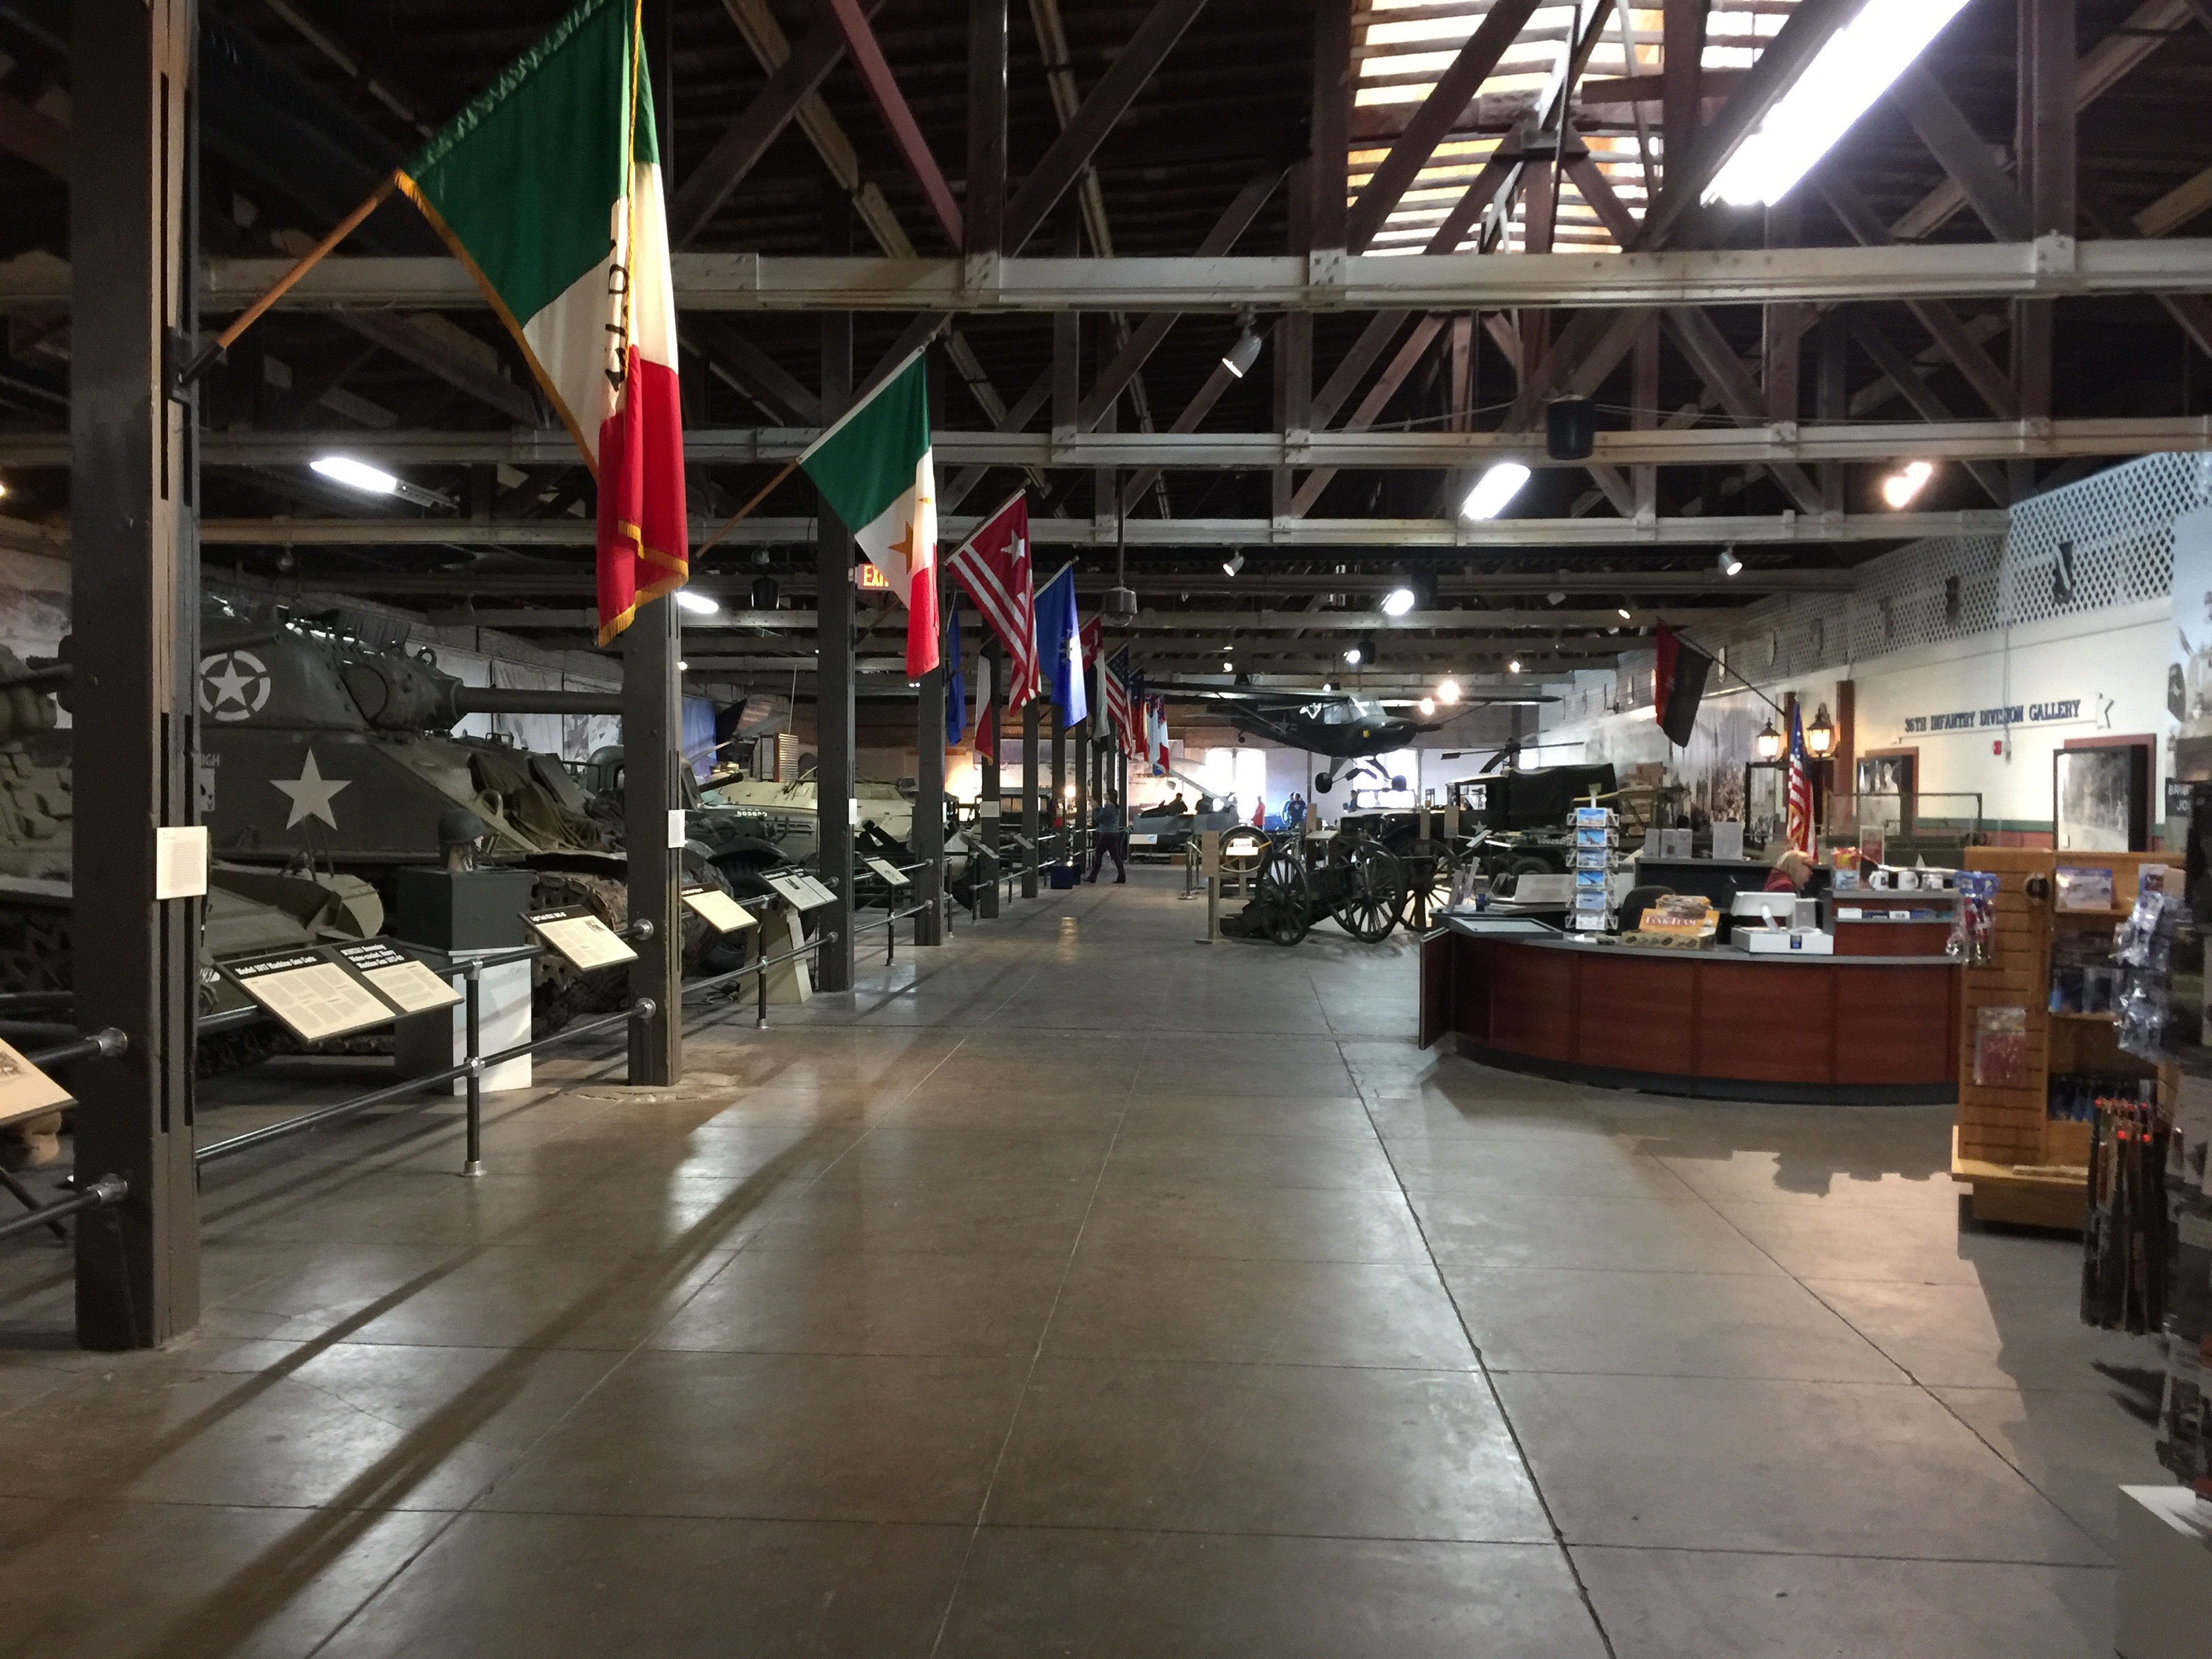
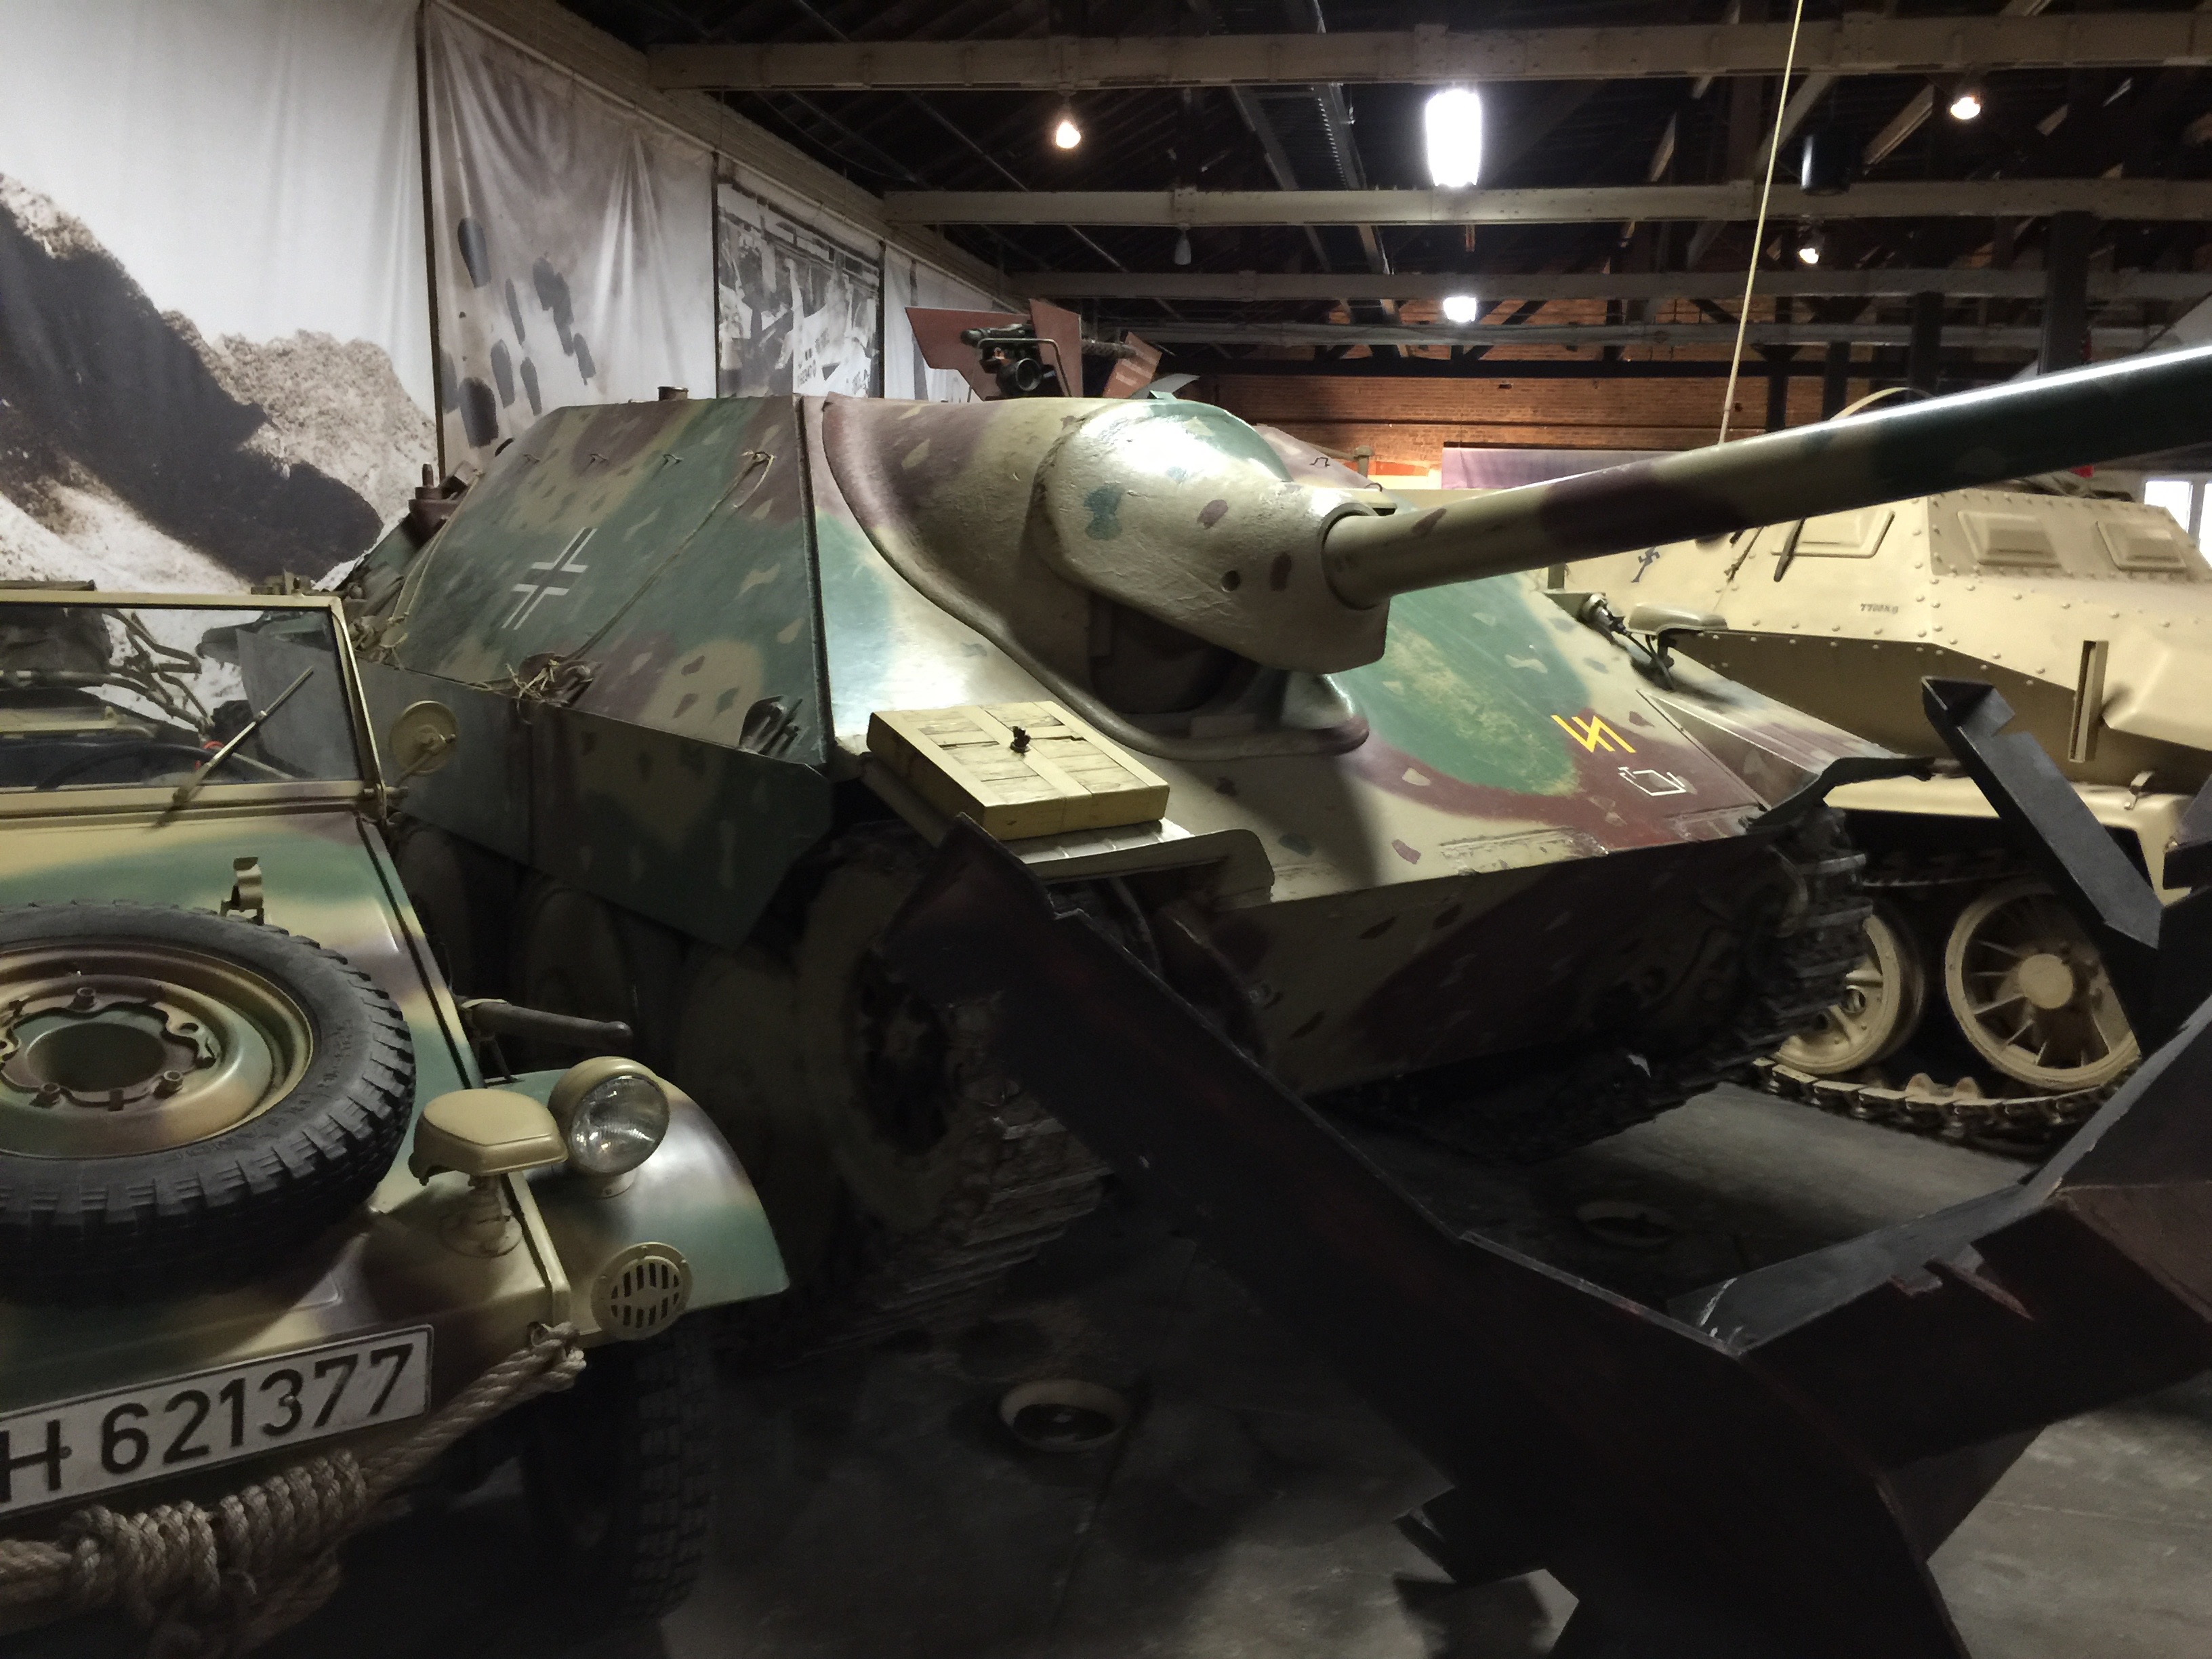
The location was in many ways perfect. It was held at Camp Mabry inside the Texas Military museum. Quite something to be but a few feet away from real WWII gear. Within their collection a Stuart, Sherman, Hetzer, 251, Kubelwagen, PaK 38 and lots of other items across various eras from the Texas War of Independence up to the modern day.
IMG_1471

The tables were setup across two different spaces at opposite ends of the facility. There were about 15 tables in a sort of reception room lined with Texas regimental flags and pictures of various officers and printed histories of their service.
IMG_1444

Out on the museum floor there another good 10+ tables and over the course of the two days it was great not to be stuck in just one room and get a little walking in between matches while viewing gorgeous period hardware on the floor.

The tables were a good mix of terrain and theatres, some a little sparse others rich and thick with challenges for the players. Both have their charms and equally test what you bring with you in your company.

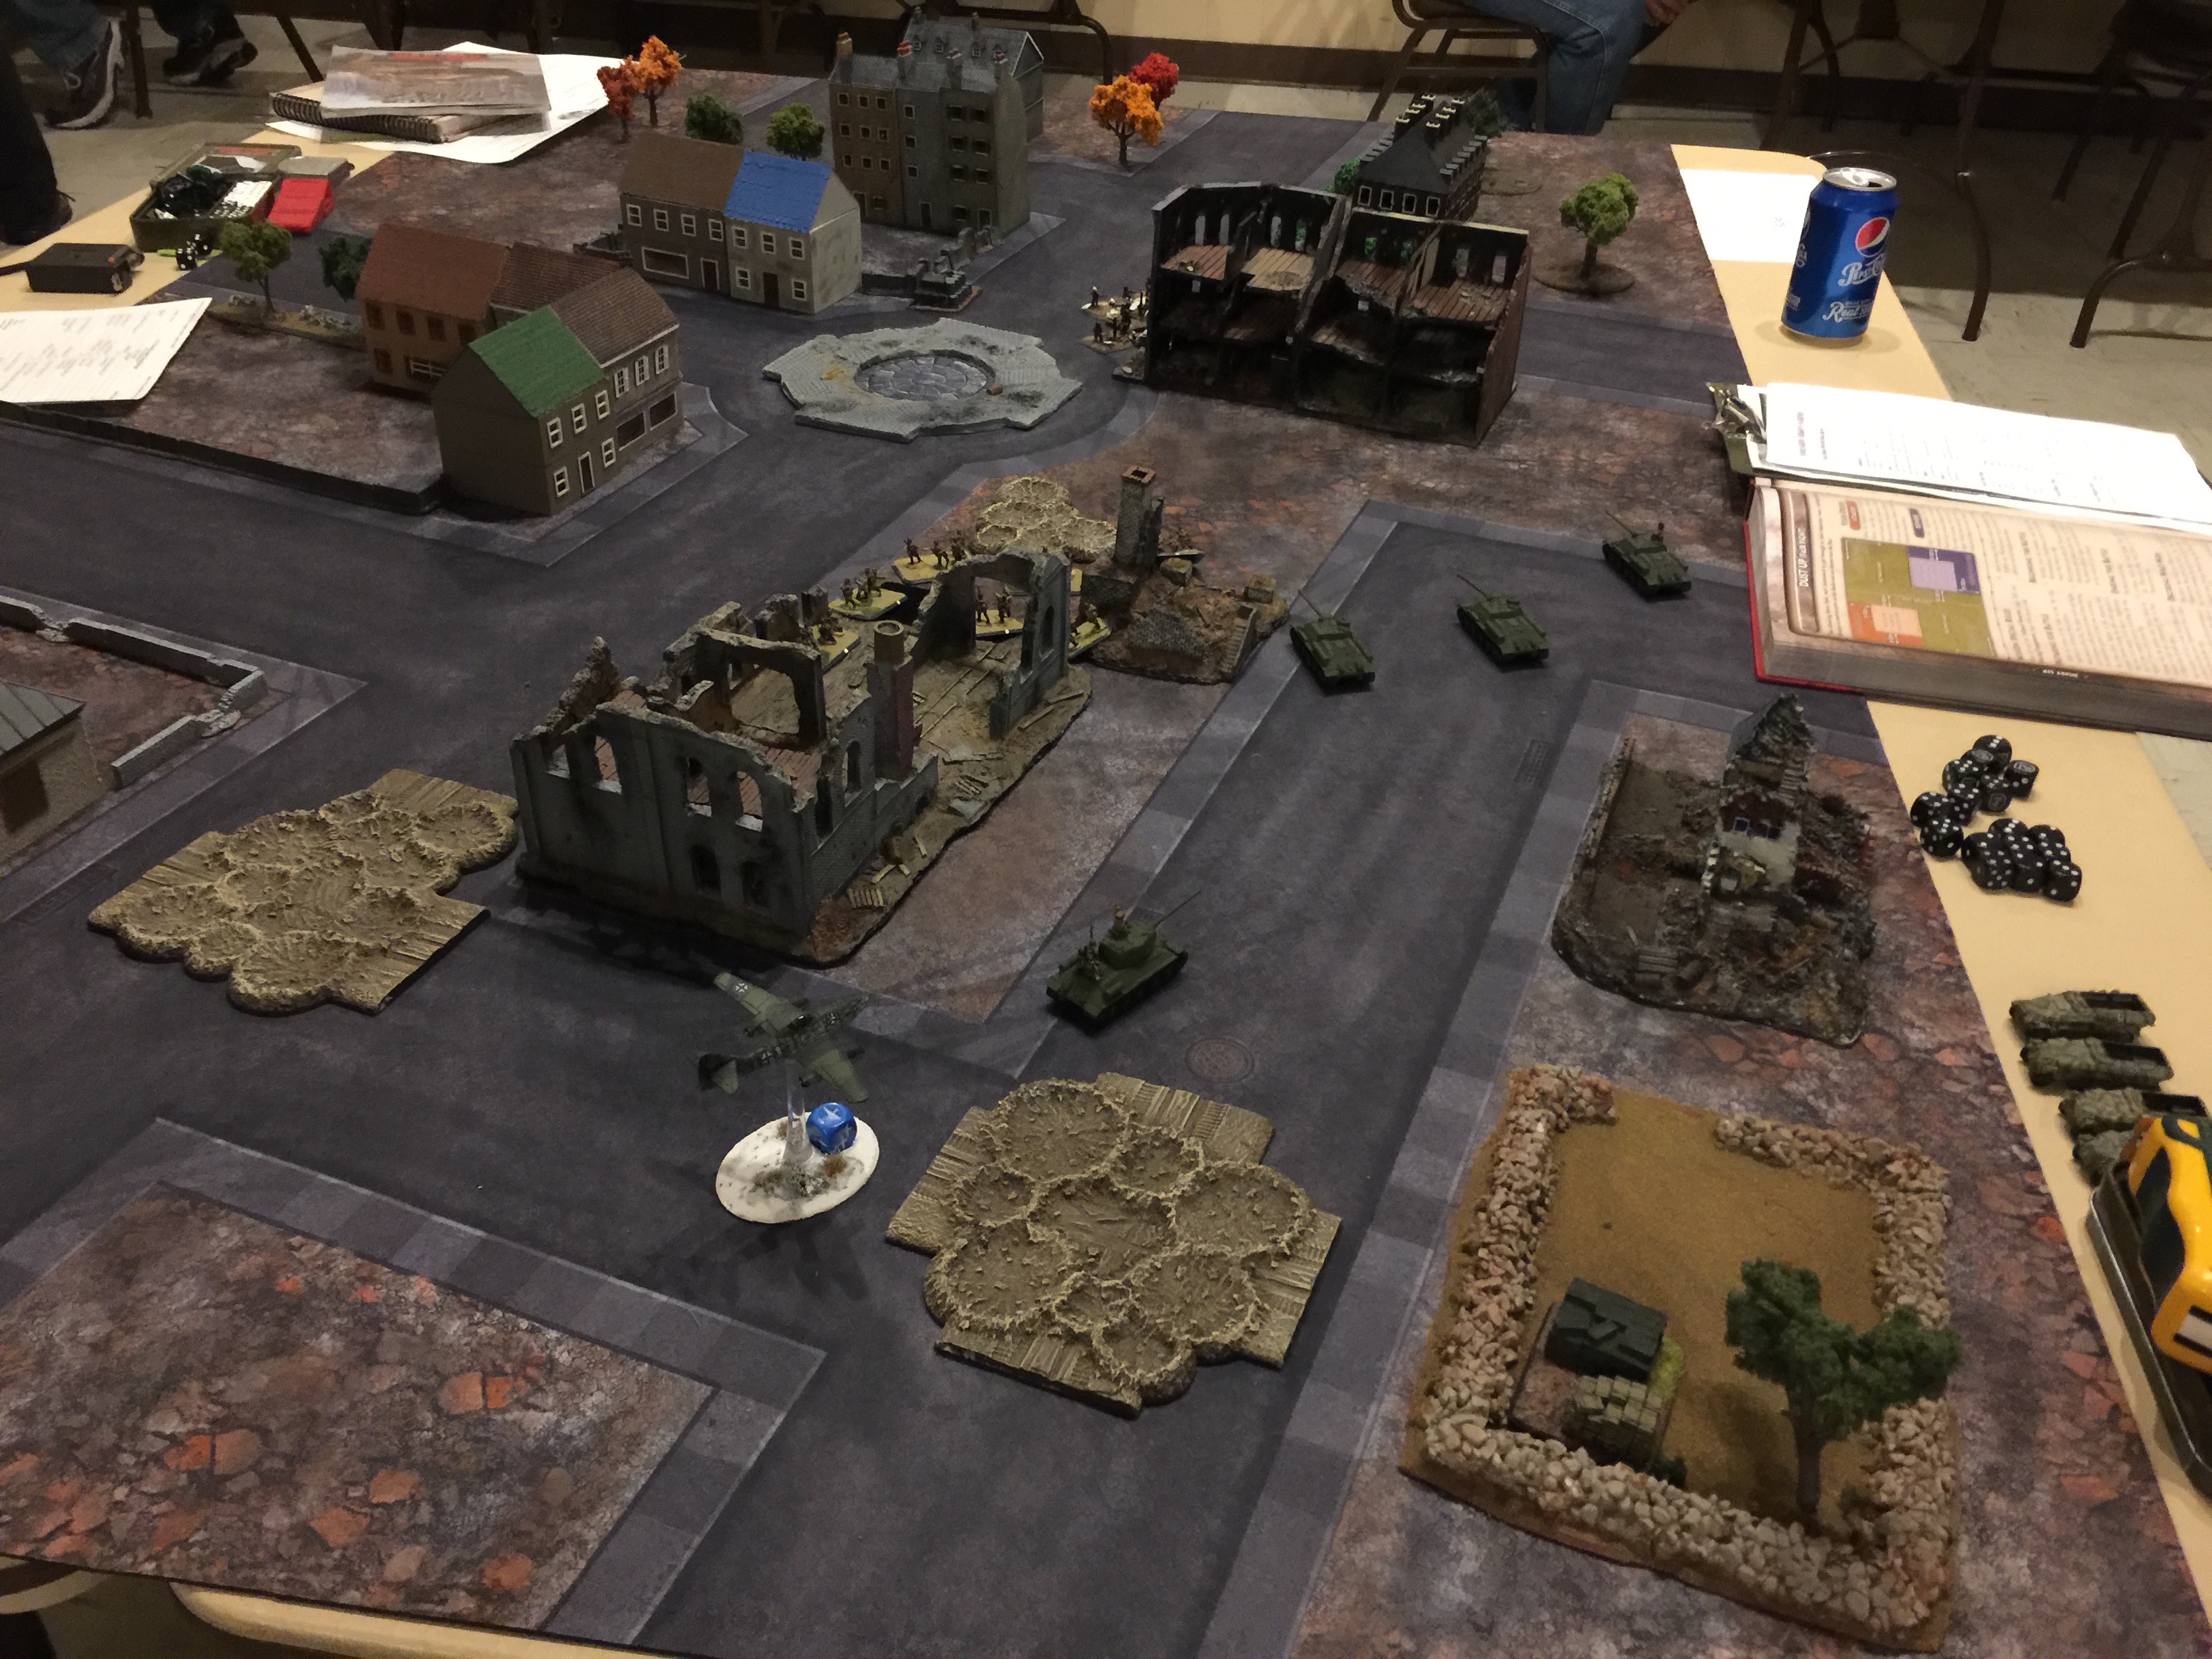
IMG_1432I put together a German Schnellsquadron out of east front. It was a refined change of the list I had used for my first tournament. It features 2 four stand platoons of Rifle/MGs, 2 MG stands in the company HQ, 3 Marders, 2 StuGs, a KV-1, 2 BM-10s, a battery of 4 105s and last priority Hs129 support. The Marders I finished quite literally the day before I left.
IMG_1496

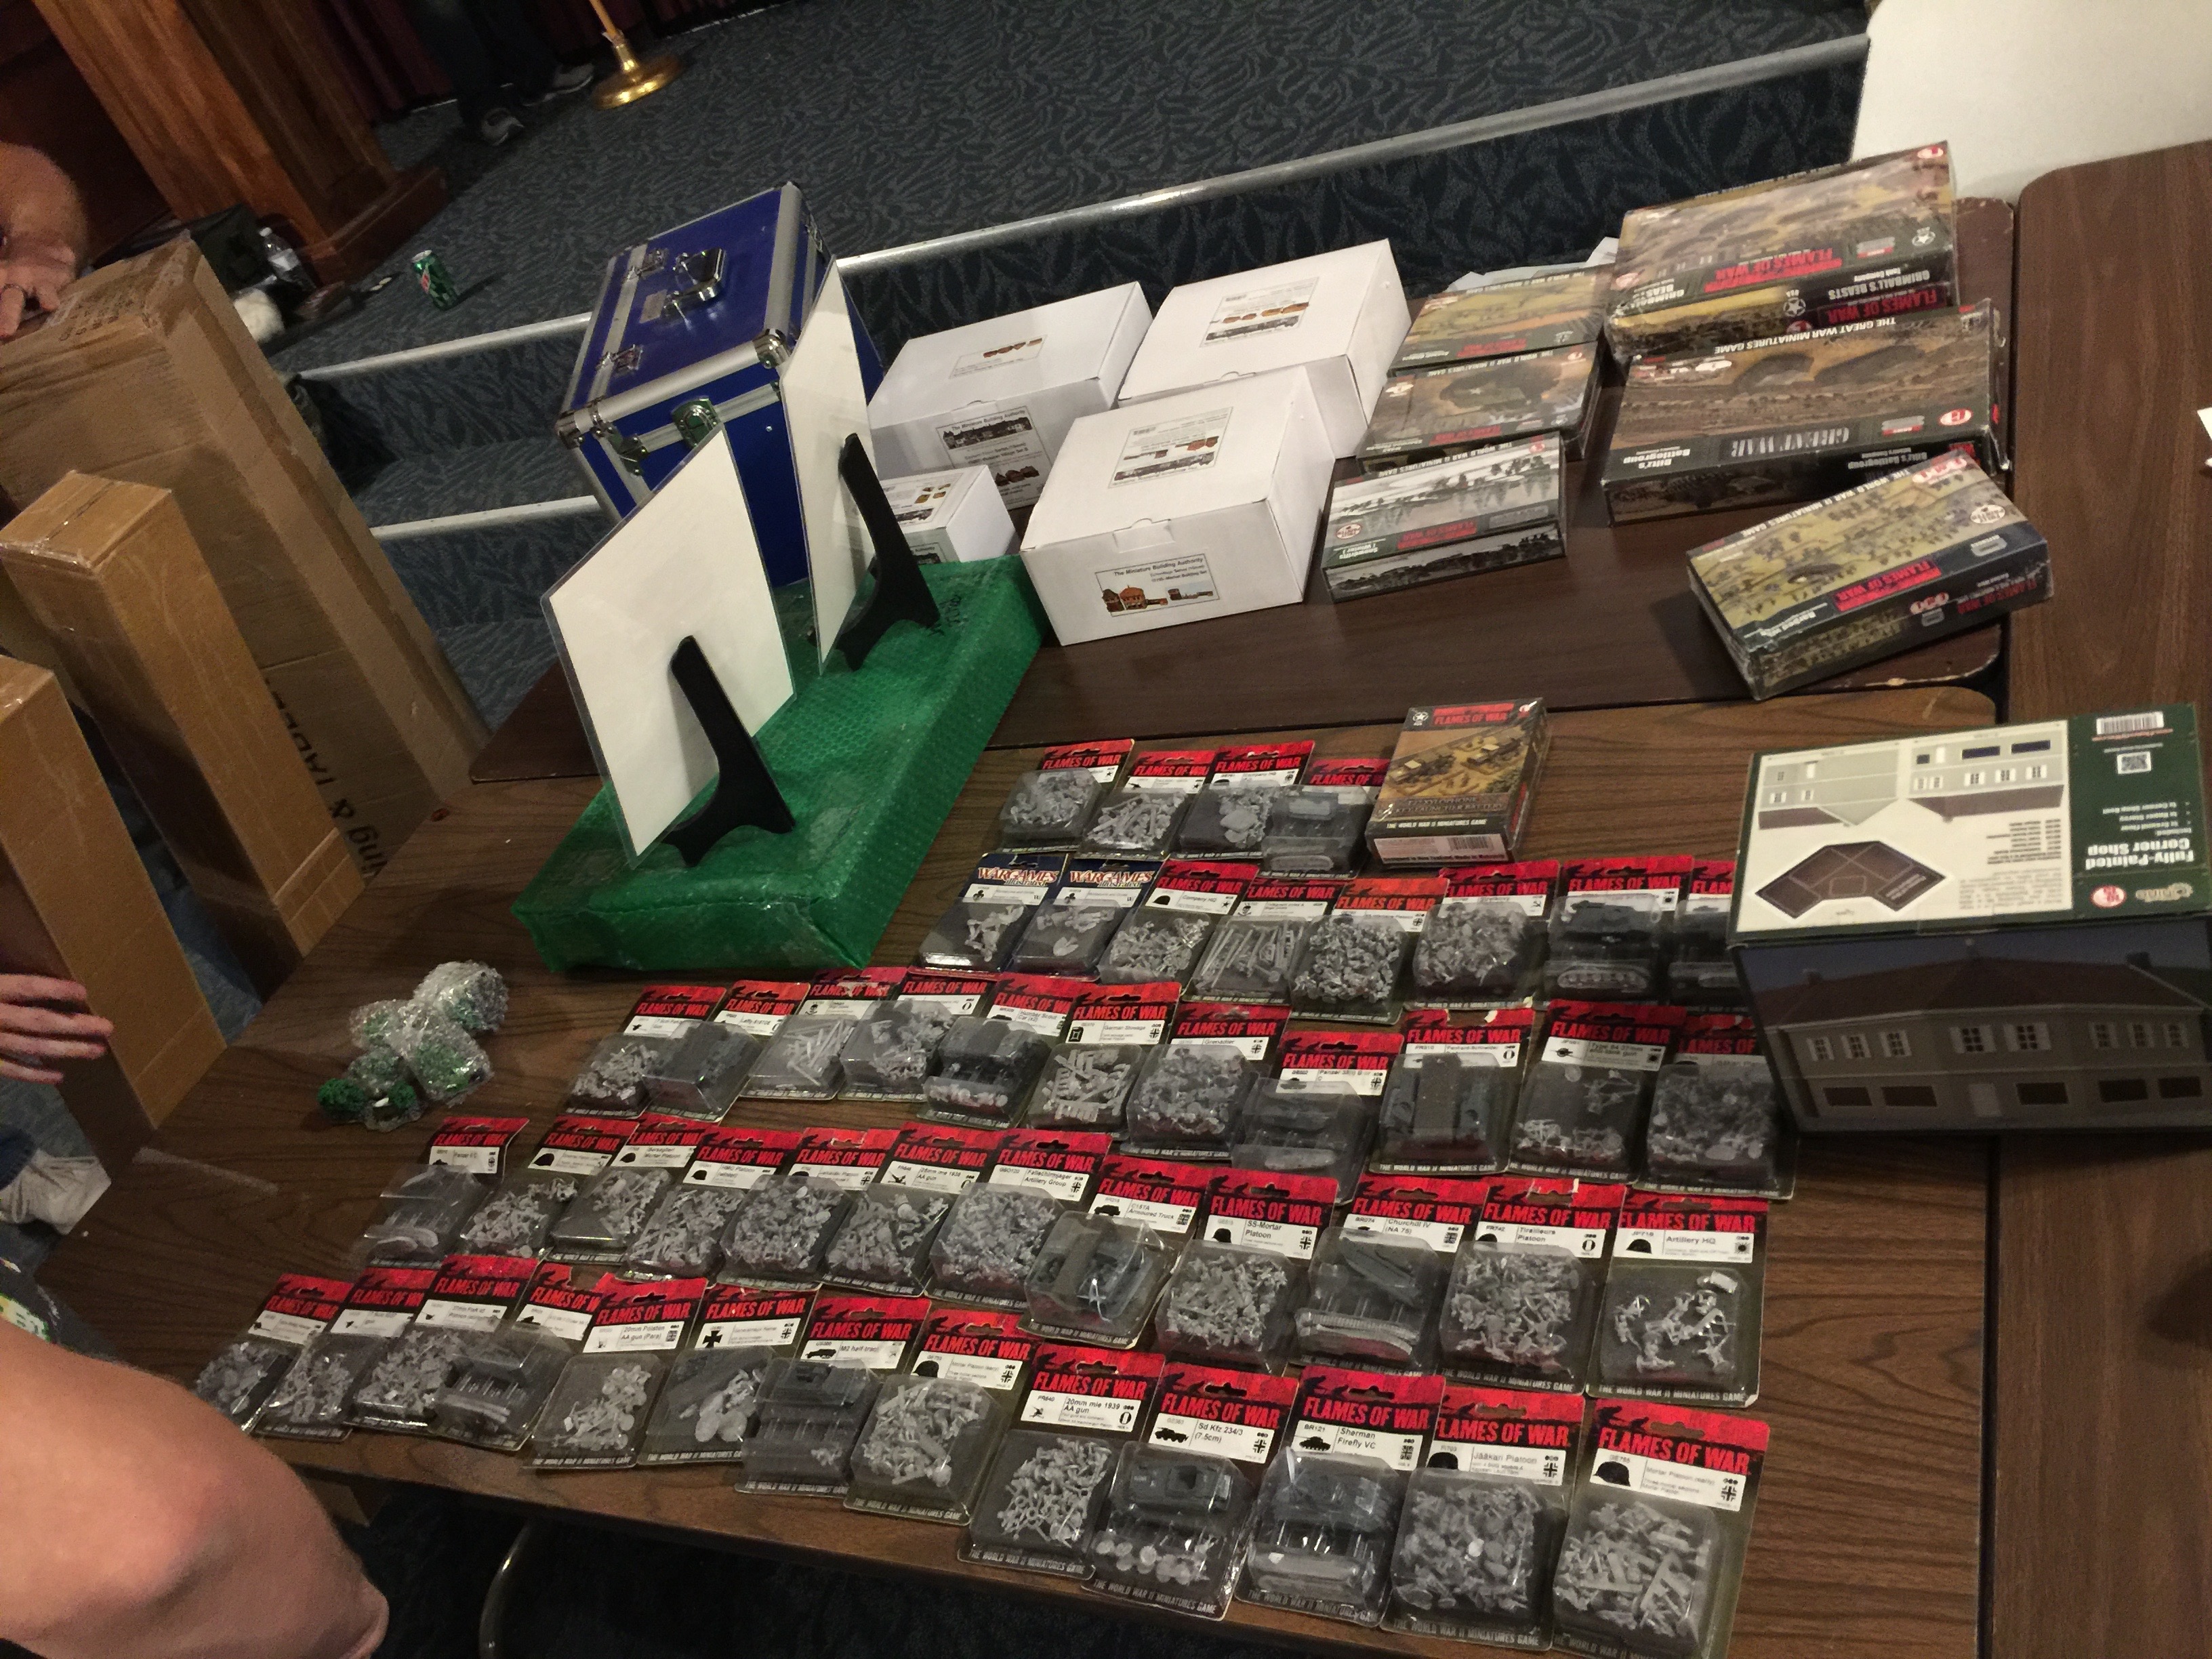
The prize table was it’s own brand of awesome and those finishing in I’d say the top 15-20 had a heck of a set of things to choose from. Between F.A.T. maps, a Fretts box, Miniature Building Authority buildings, and army/platoon boxes from BF there was lots to be had for those that were above the pack. Still, for those down the list a bit, lots to choose from too!

The first game I played against Amreican armored infantry. It was a fun match which was generally open but with a number of ruined buildings and a town to break up the terrain. The scenario was a fighting withdrawal which features all your hardware starting on table with 1 platoon in ambush if you’re the defender which I was.

The hard part of fighting withdraw is how to defend against one side being over loaded for the bull rush. With 3 objectives on table, the attacker only needs to take one, but must do so before enough turns happen where the defenders removes one he is concentrating on while the defender is also retreating forces.
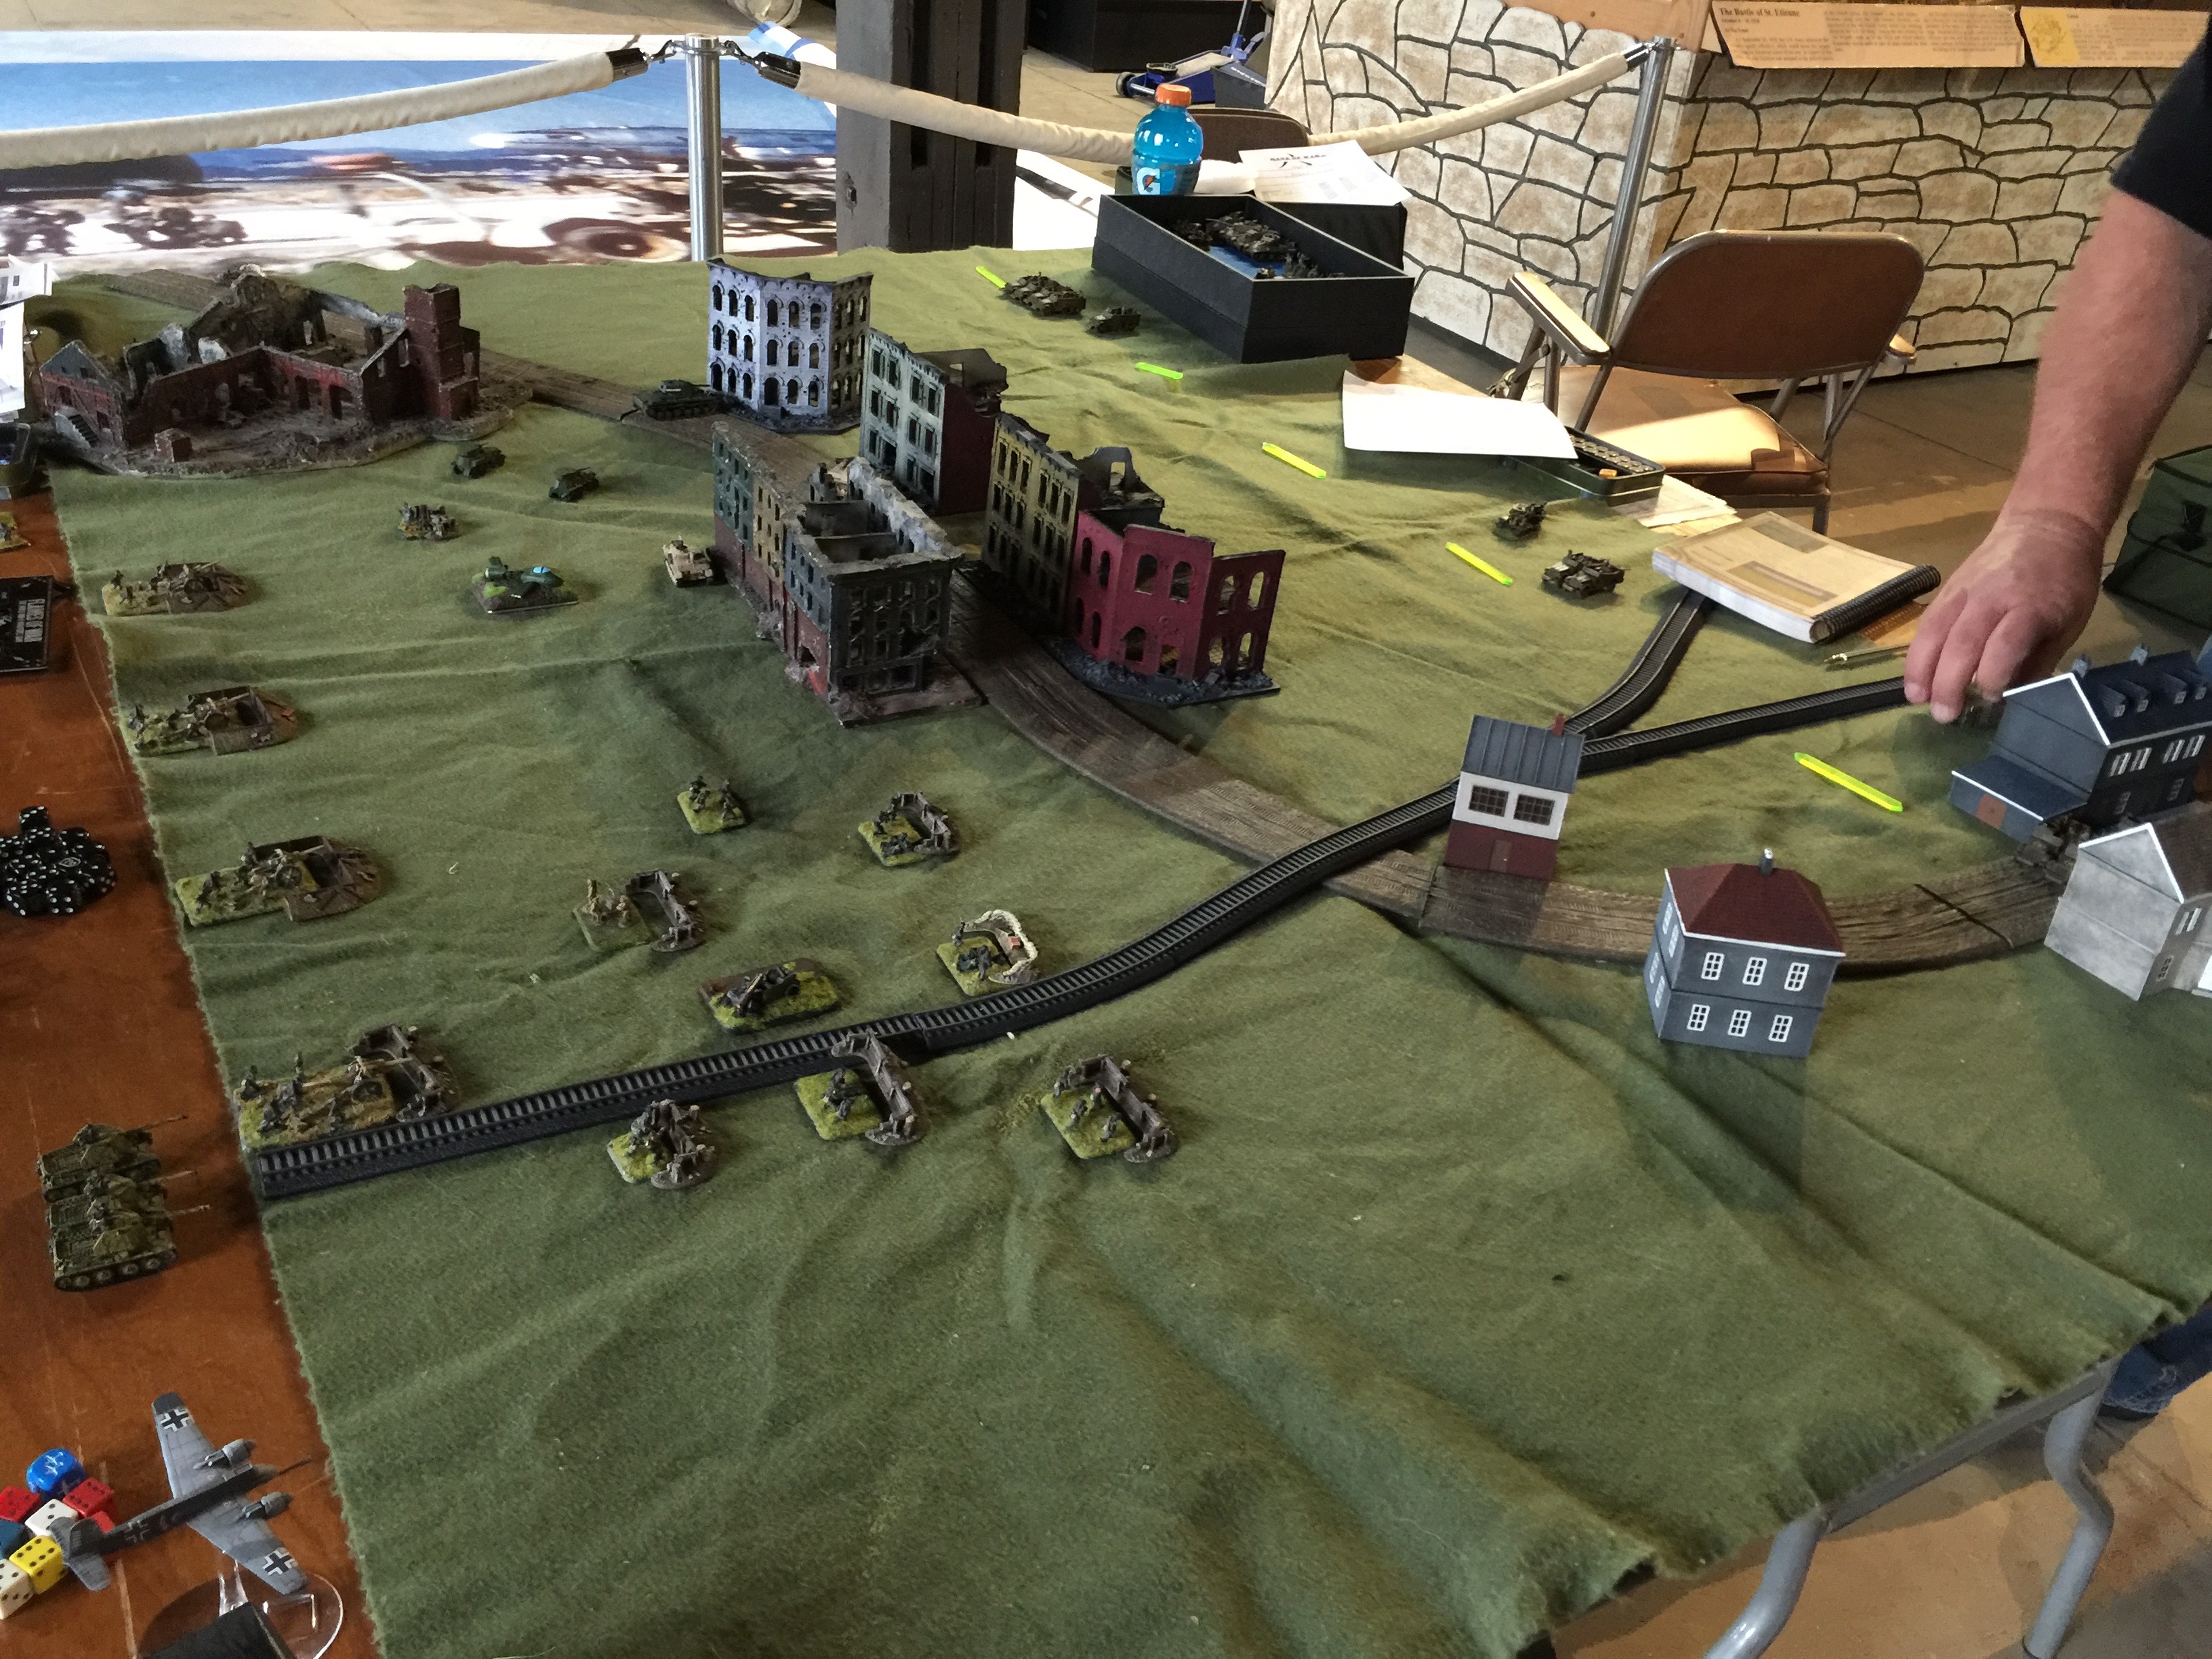
IMG_1461

Here’s my initial setup with my HS129 warming up it’s engines….extra cannon ammo please!
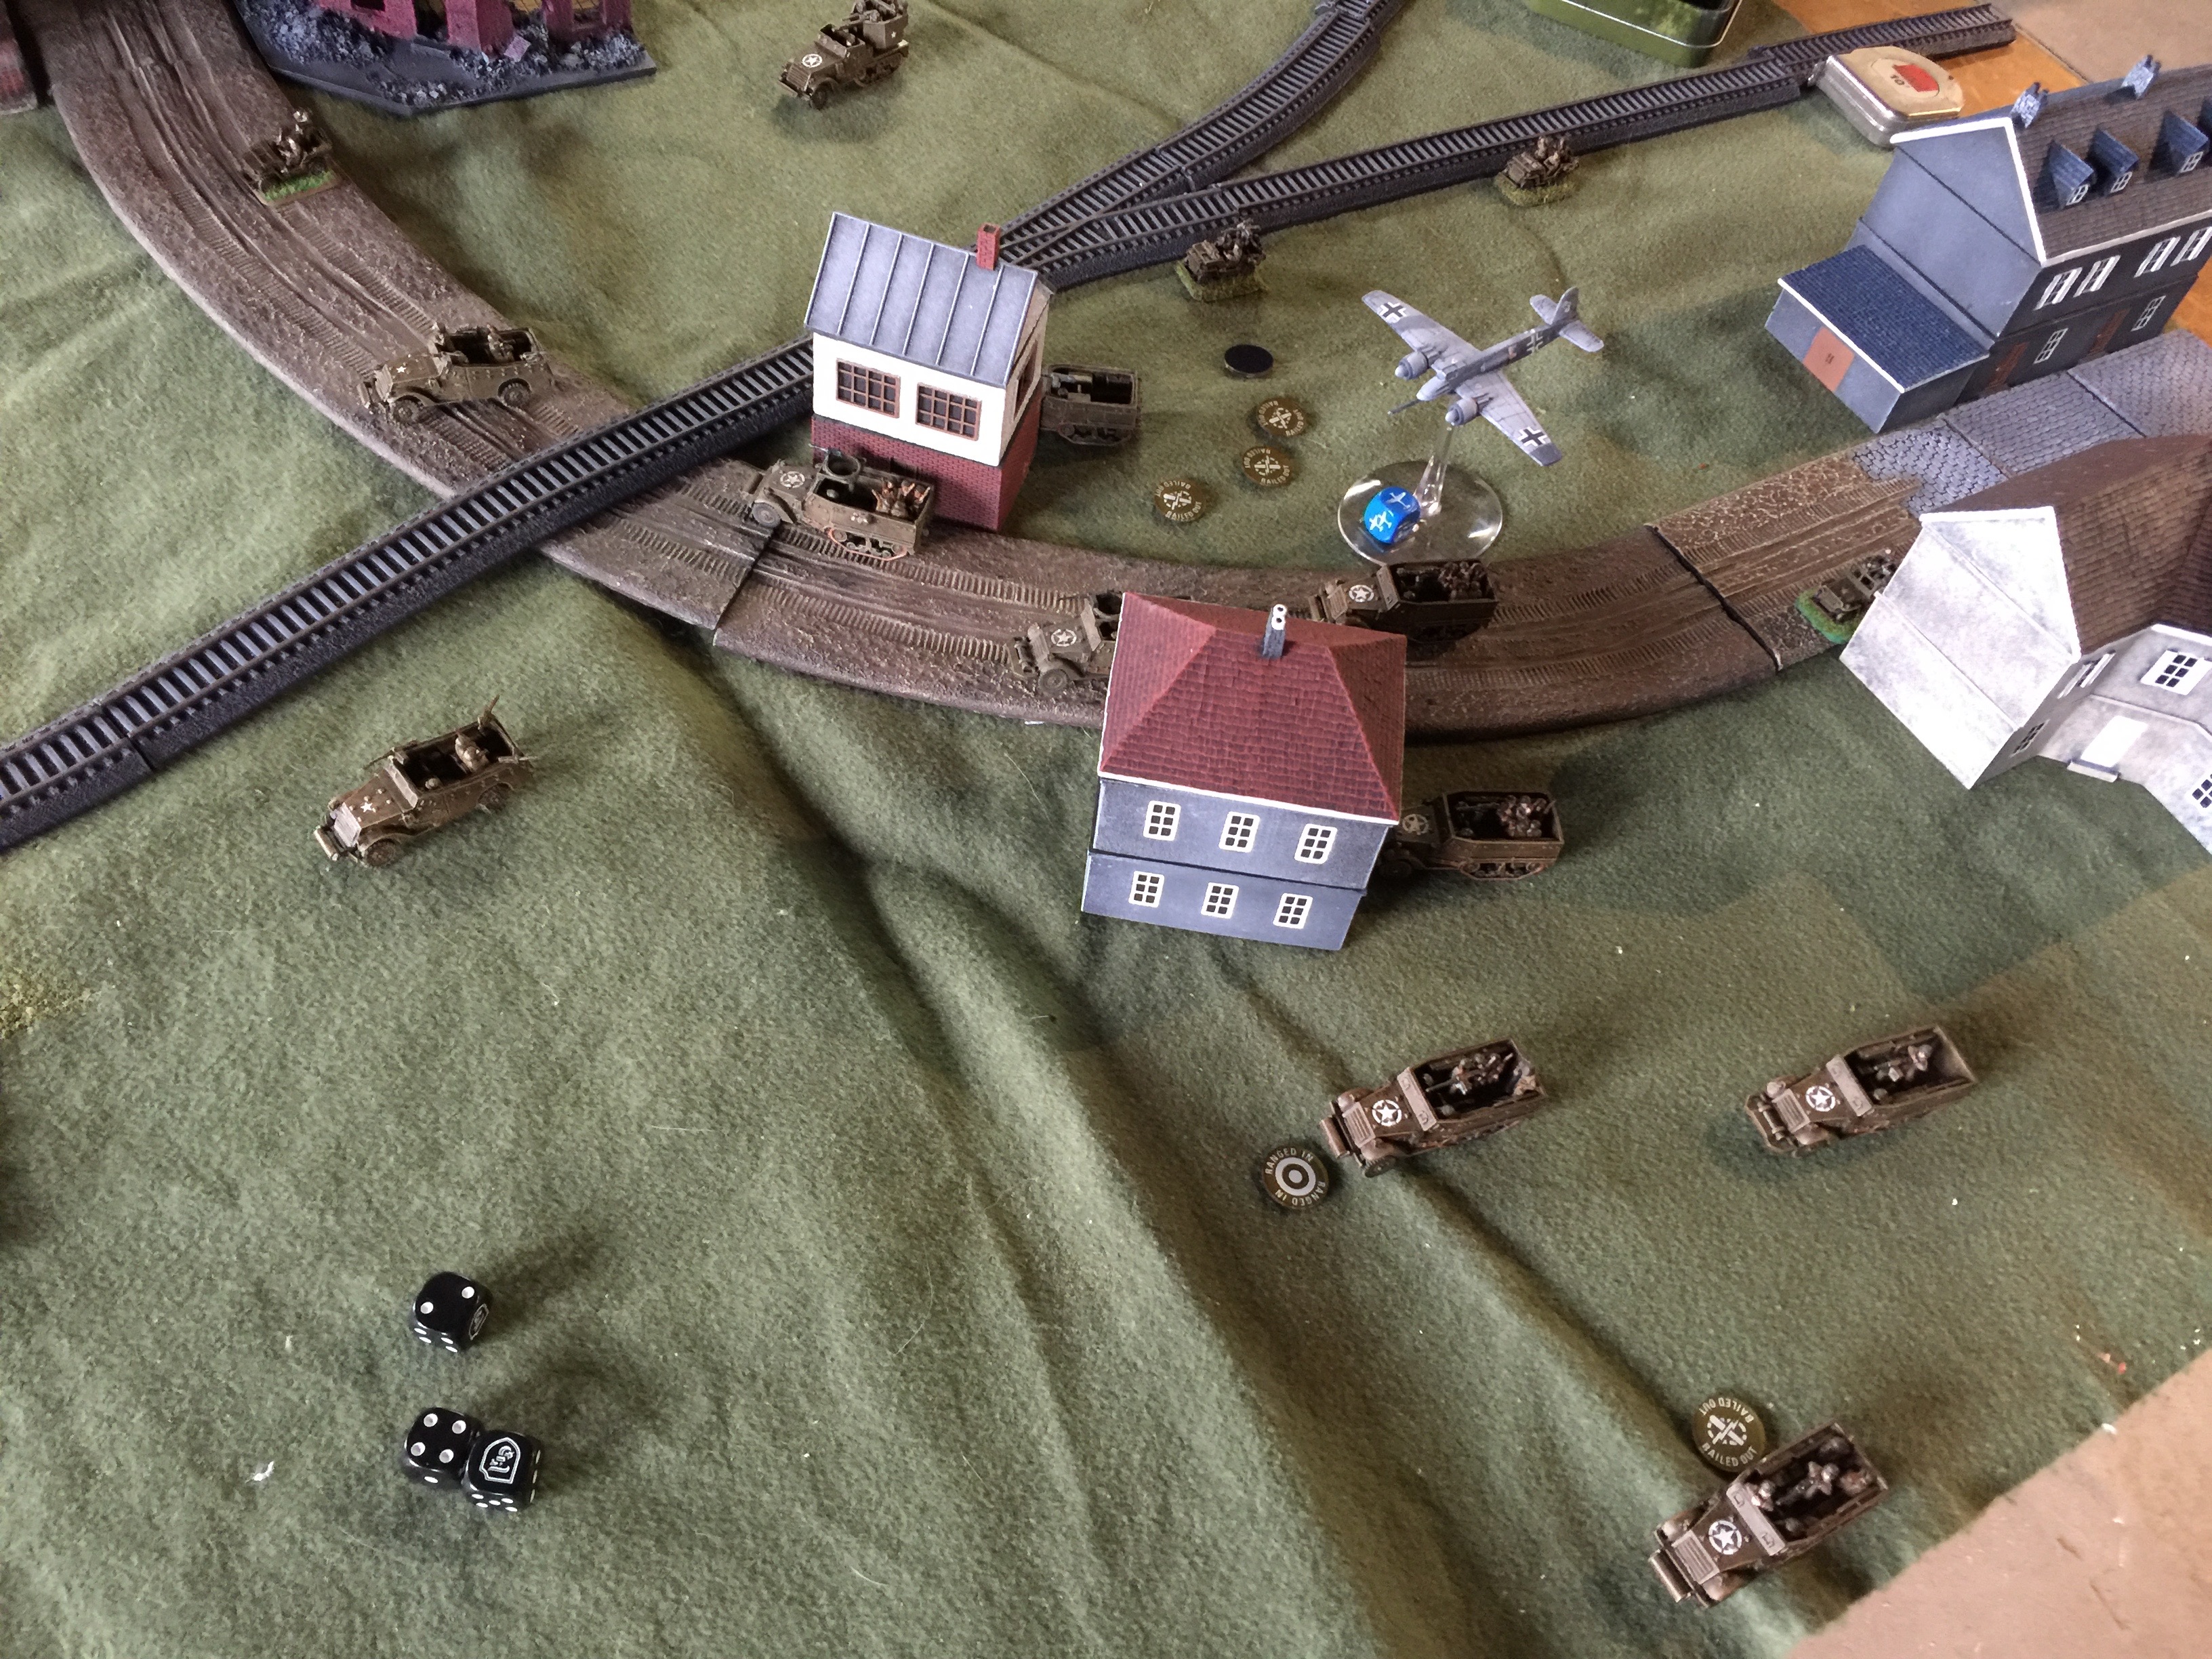
IMG_1462

Joe came at my right flank fairly hard. In my initial placement I keep my mobile stuff generally in the middle with fire lanes towards both sides and then my infantry to secure the flank objectives. Joe had to get in close to me as my Hs129 in my first defensive turn immediately started to produce results by brewing up a number of half tracks to take that platoon almost to it’s testing point.

IMG_1466

In the course of turn 2 I sprung my marders to also shoot at half tracks, along with the air, and my artillery. This really blunted his attack and by turn 3-4 I’d caused one platoon to flee and a second platoon to be on the brink but with a recce platoon still in good enough shape to try for the close assault to take the objective. Thankfully it didn’t work out but Joe’s M-10s made quick work of my marders just in time for me to bring down air on them and make them have a bad day.

IMG_1465

My StuGs meanwhile were dueling it out with some Scotts and Stuarts which they were able to survive with the help of my KV and recon.

When I had to remove my first platoon I took off my BM-10 recon which was down to one vehicle but by that point there was little left for Joe to do as his offensive force was worn down and it ended up being a 5-2 win for me.

IMG_1472

The second game I was absolutely crushed 1-6 by an American armored infantry company. Andrew one of the Able Kompanie guys was the attacker in Cauldron. I went down crazy fast in 2 turns. Between a bad choice in initial forces and bad placement he deftly and rightfully took advantage of my mistakes.

He close assaulted from my right flank into my Marders and StuGs and they were completely helpless to do anything against the bazookas. Pulling my infantry would have no effect to contest the objective and that was that.

He dun some mighty powerful learnin’ on me and it was much appreciated.
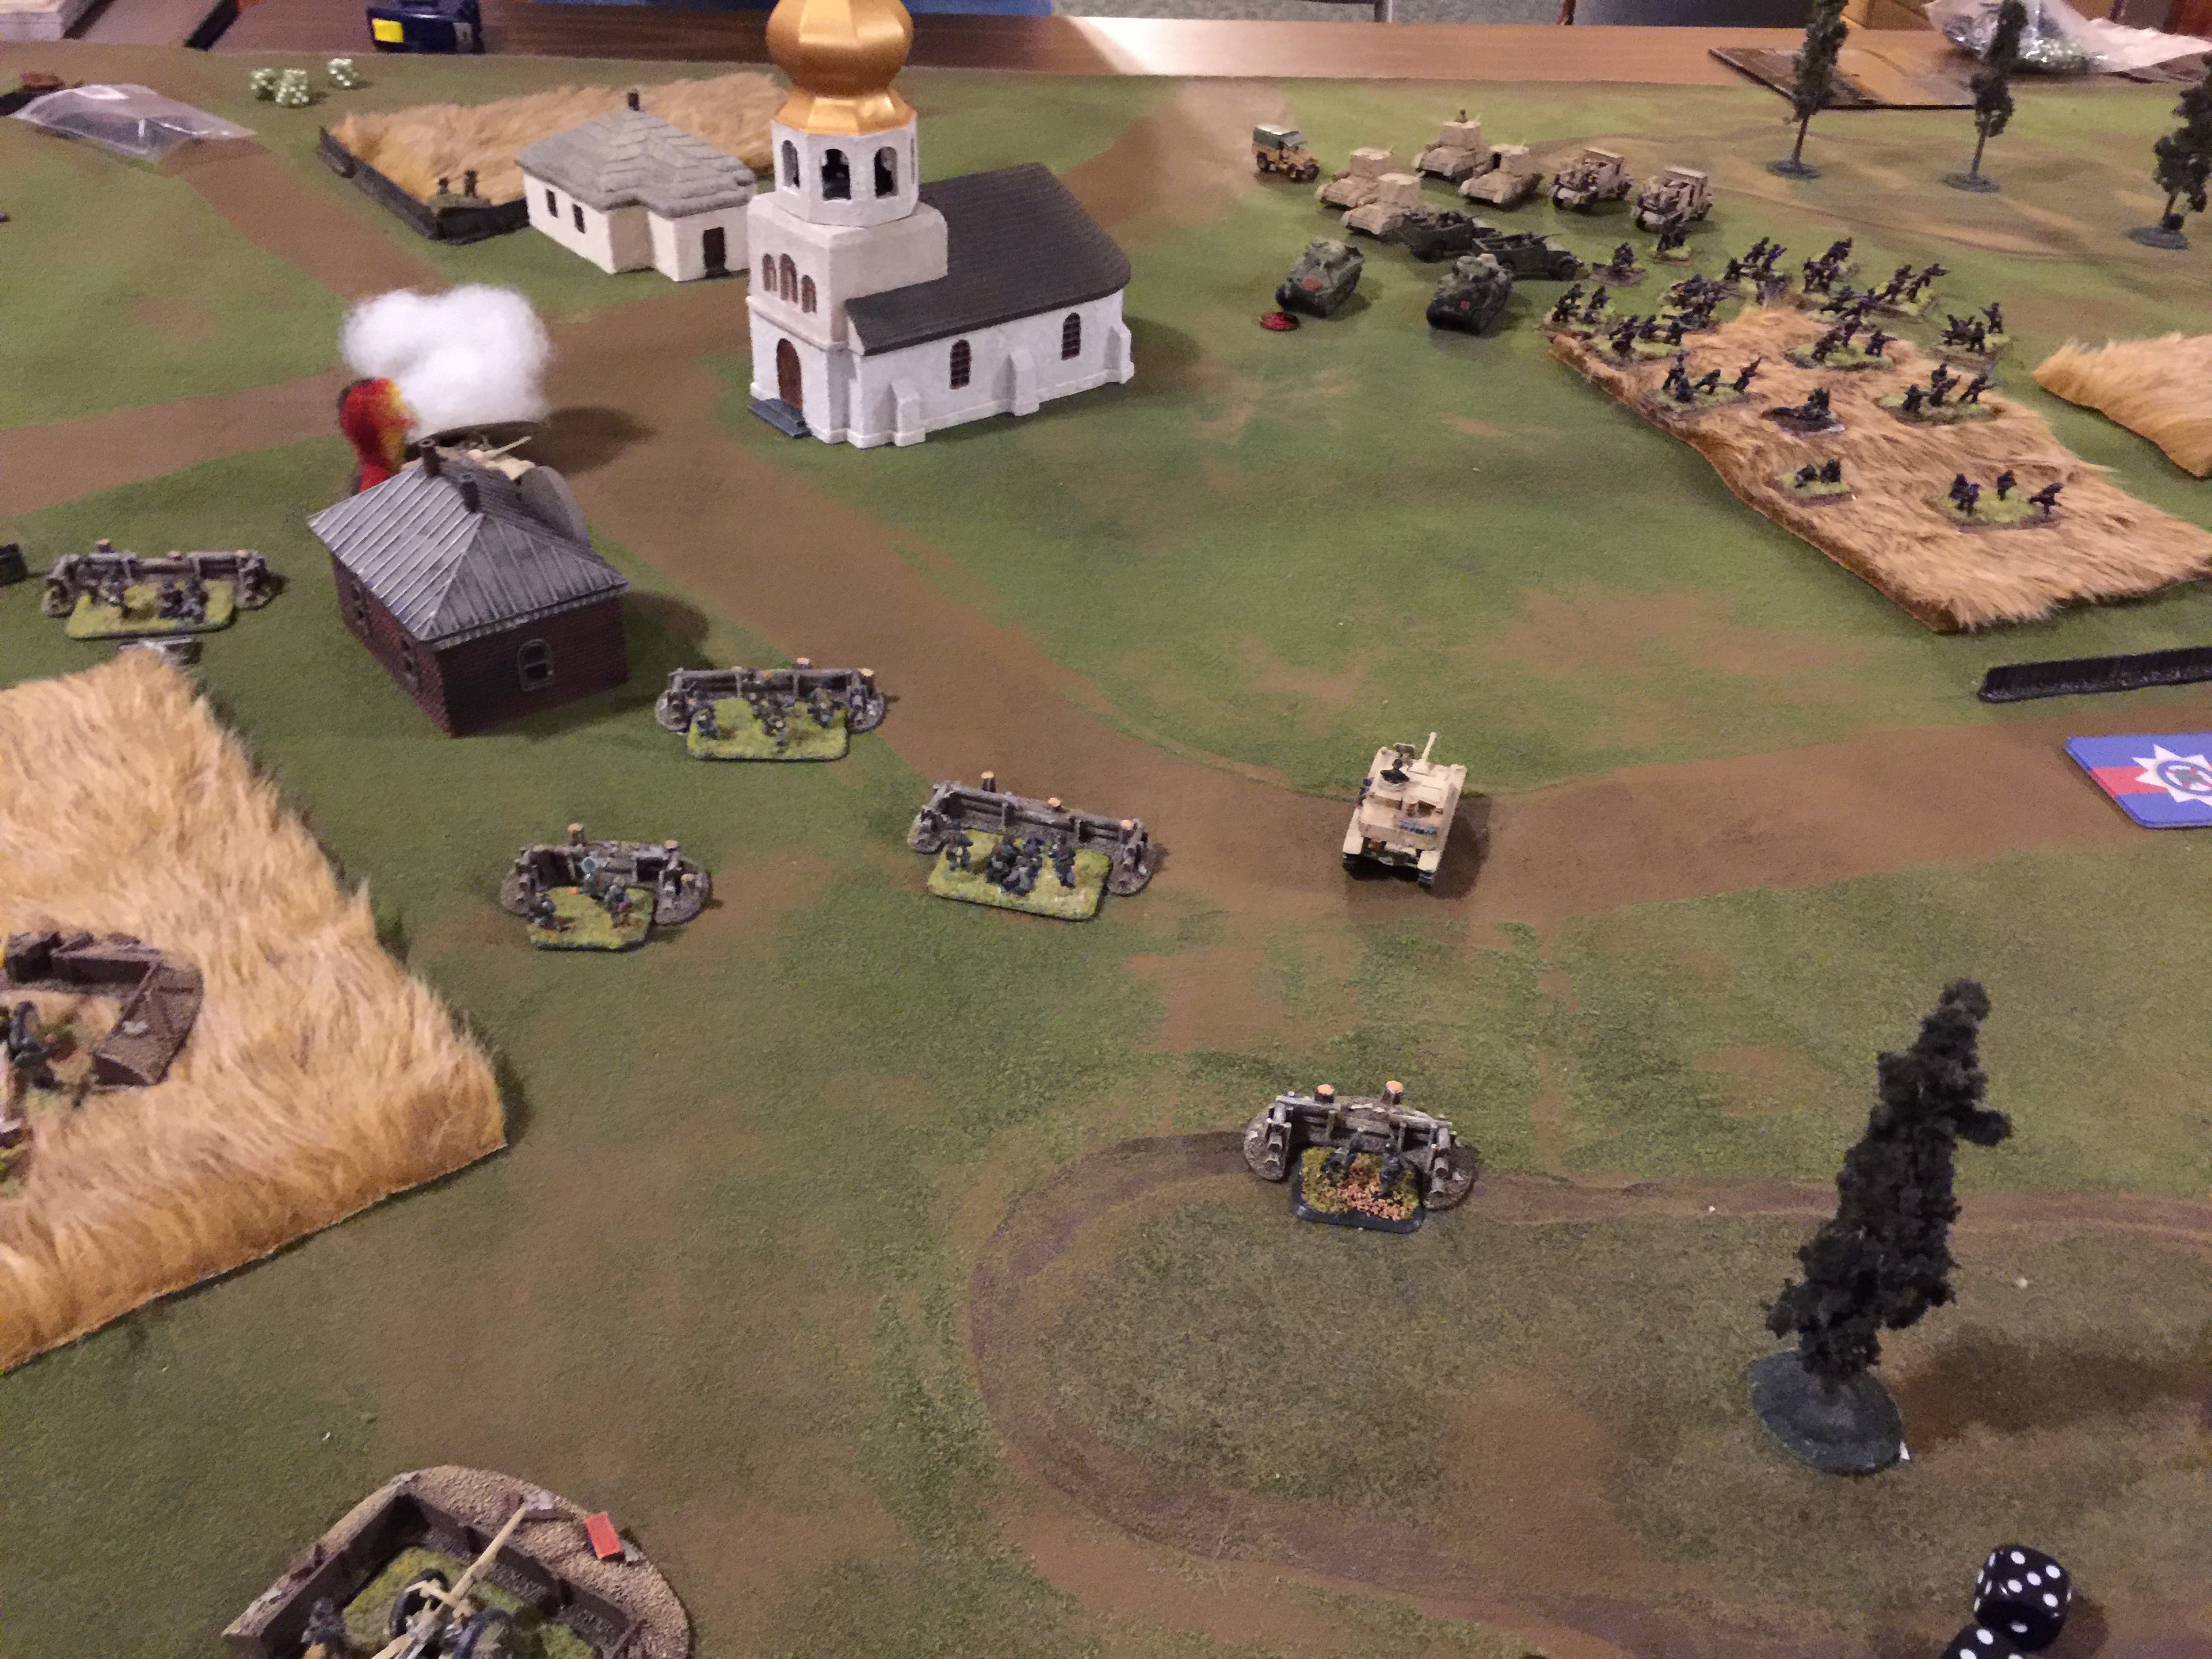
IMG_1476

The third game I played against British commandos in a night game using the Breakthrough mission. The night rules took quite a bit to get used to as if you want to fire, you roll a dice, see what range you can see and either get to execute the attack or not. If you fire, then you are open to be fired at. That was the first night game with Flames of War. Certain something to practice.

The Brits pretty much tried to stay out of possible night time range and wait for their reinforcements to then come in on my right flank.

IMG_1478

With bad luck I couldn’t contest the objective effectively when I had suffered the loss of both of my StuGs. While the Recce, Marders and KV were on to help the platoon of infantry I had over on my right, they were being squeezed by British commandos that appeared on my right flank as reinforcements and the strong force that was shift towards my right.

As dawn broke my air started to get into play but just couldn’t quite land an effective attack. The flying tank factor on my HS129 was getting through the defensive fire ok, but the 4+ firepower rolls weren’t going my way as often as I liked.
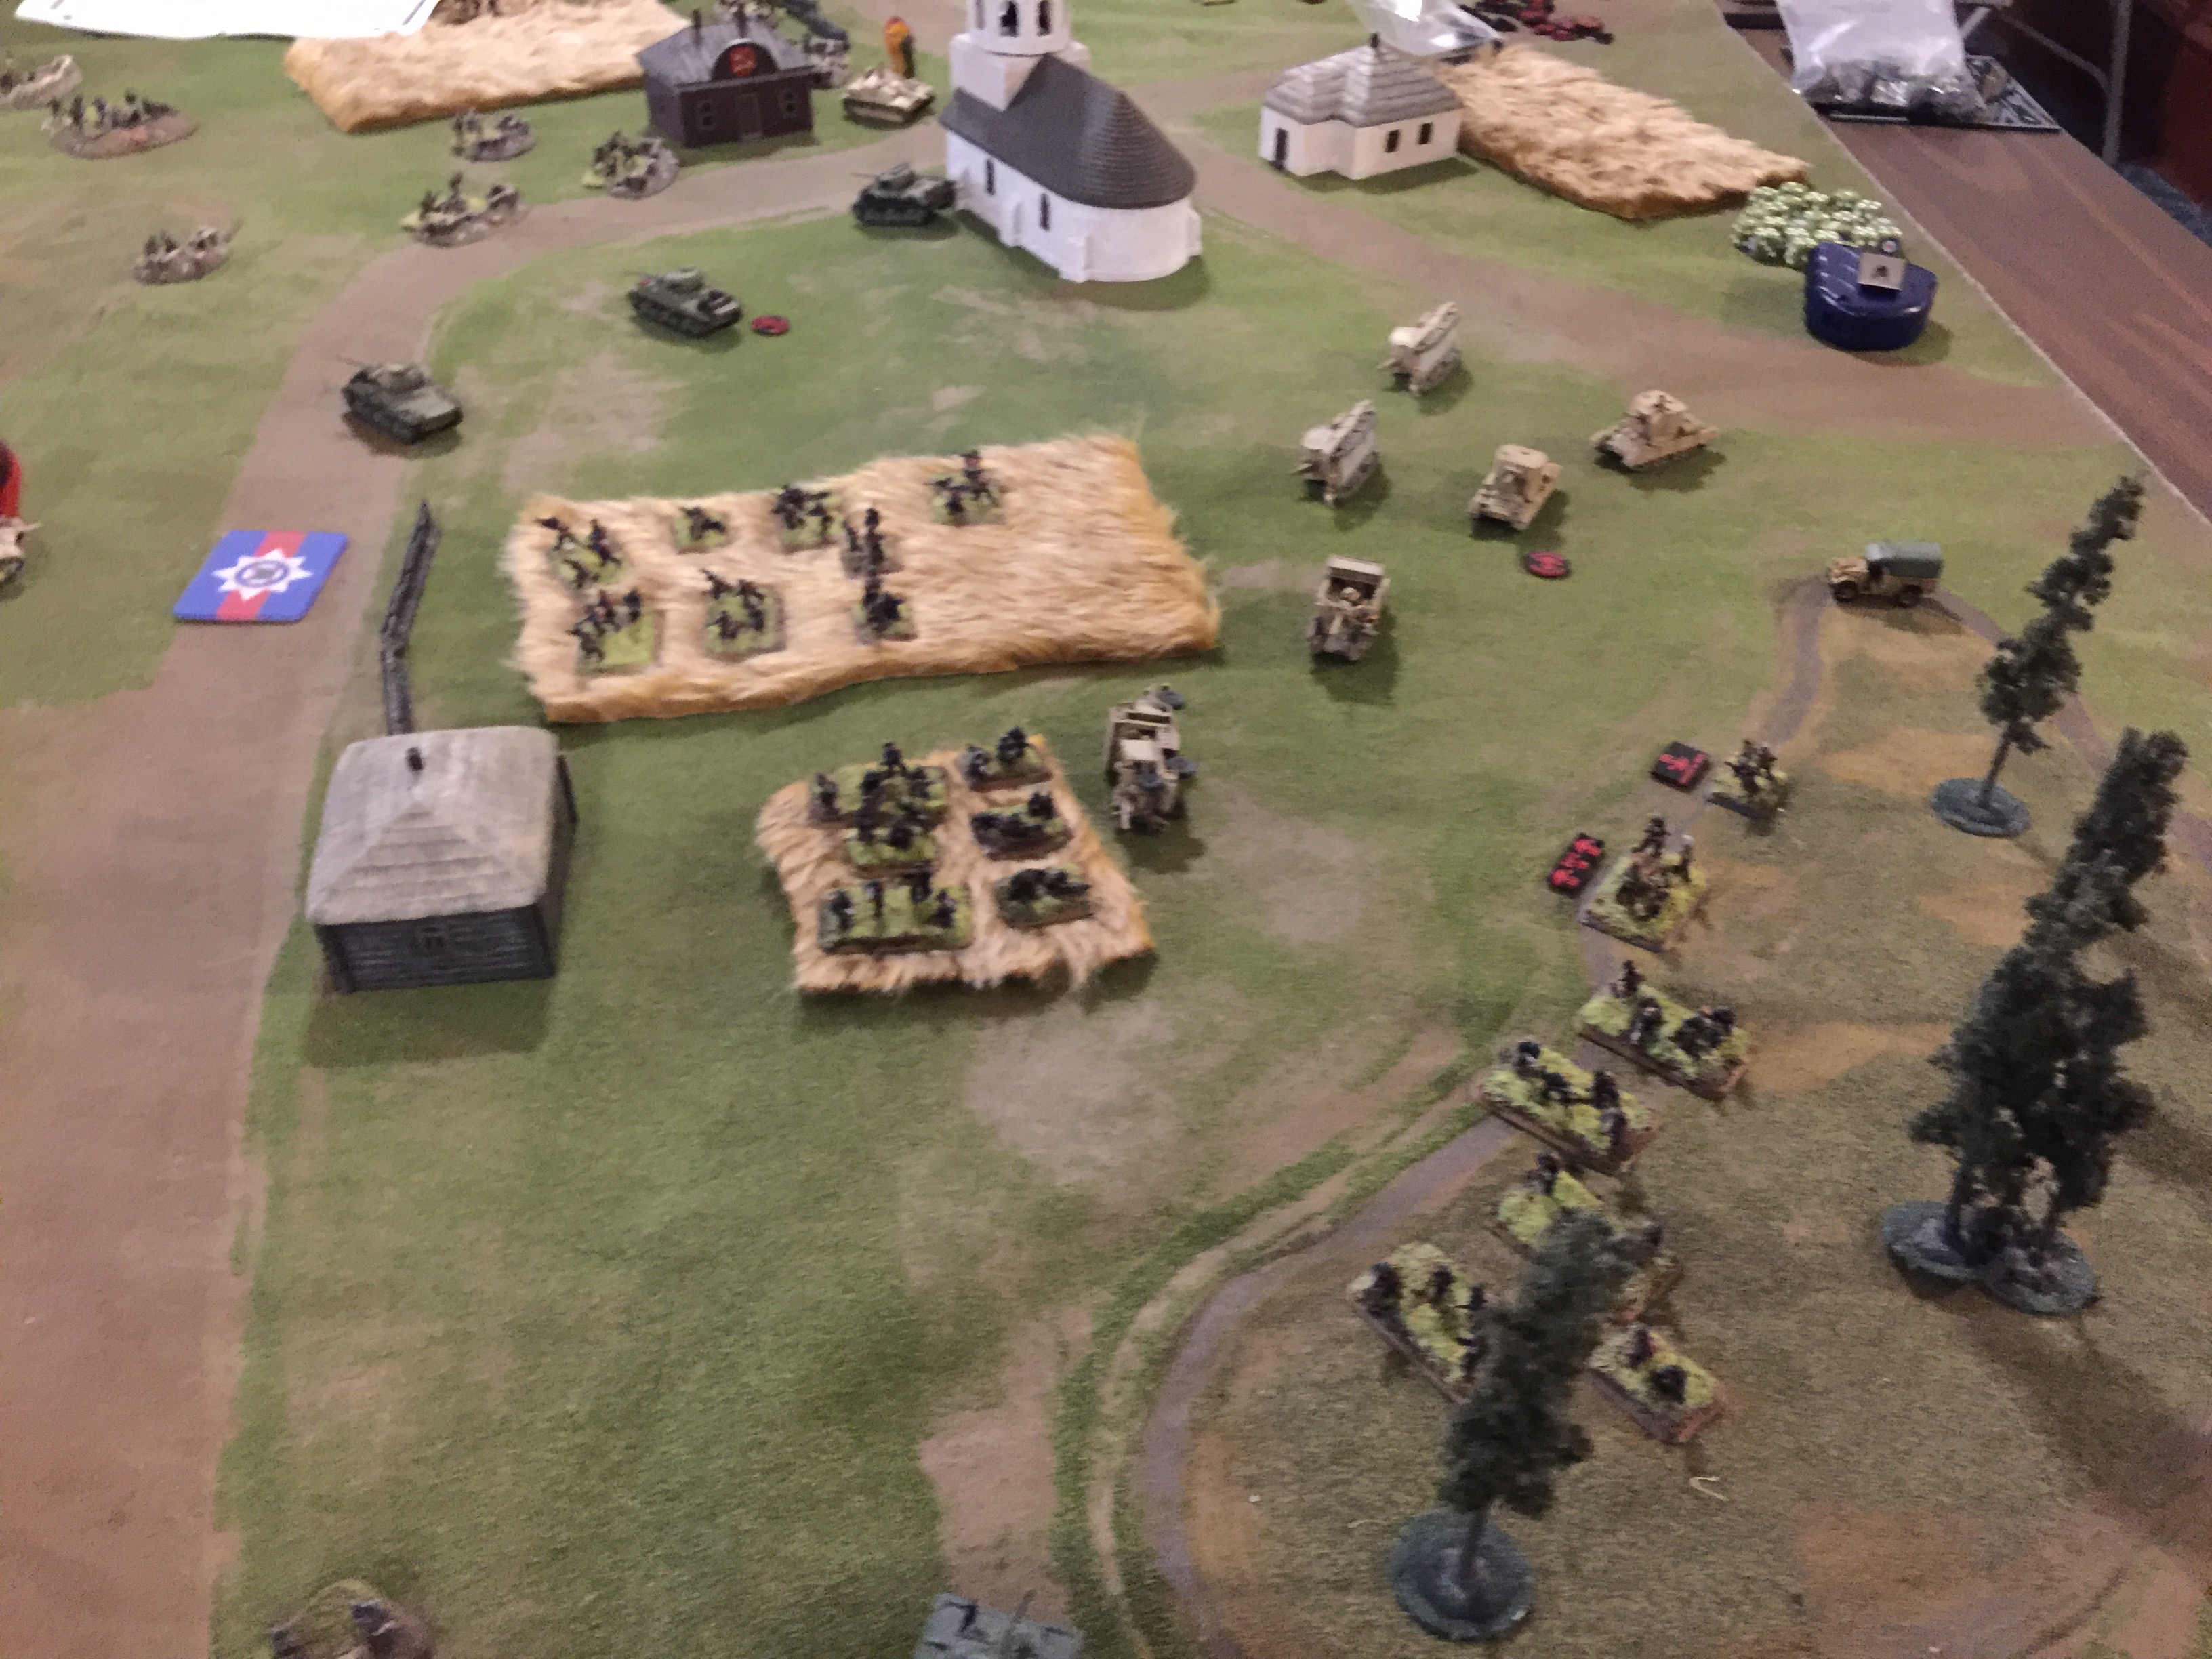
IMG_1480

With turn 6 coming up and trying to play for a point, I couldn’t bag a platoon nor contest the objectives. The third game slipped away with a 1-6 loss to British commandos in a night fight.

End of the day I was standing about 36th so was hopeful to see if I might turn that around a bit Sunday.

———————————

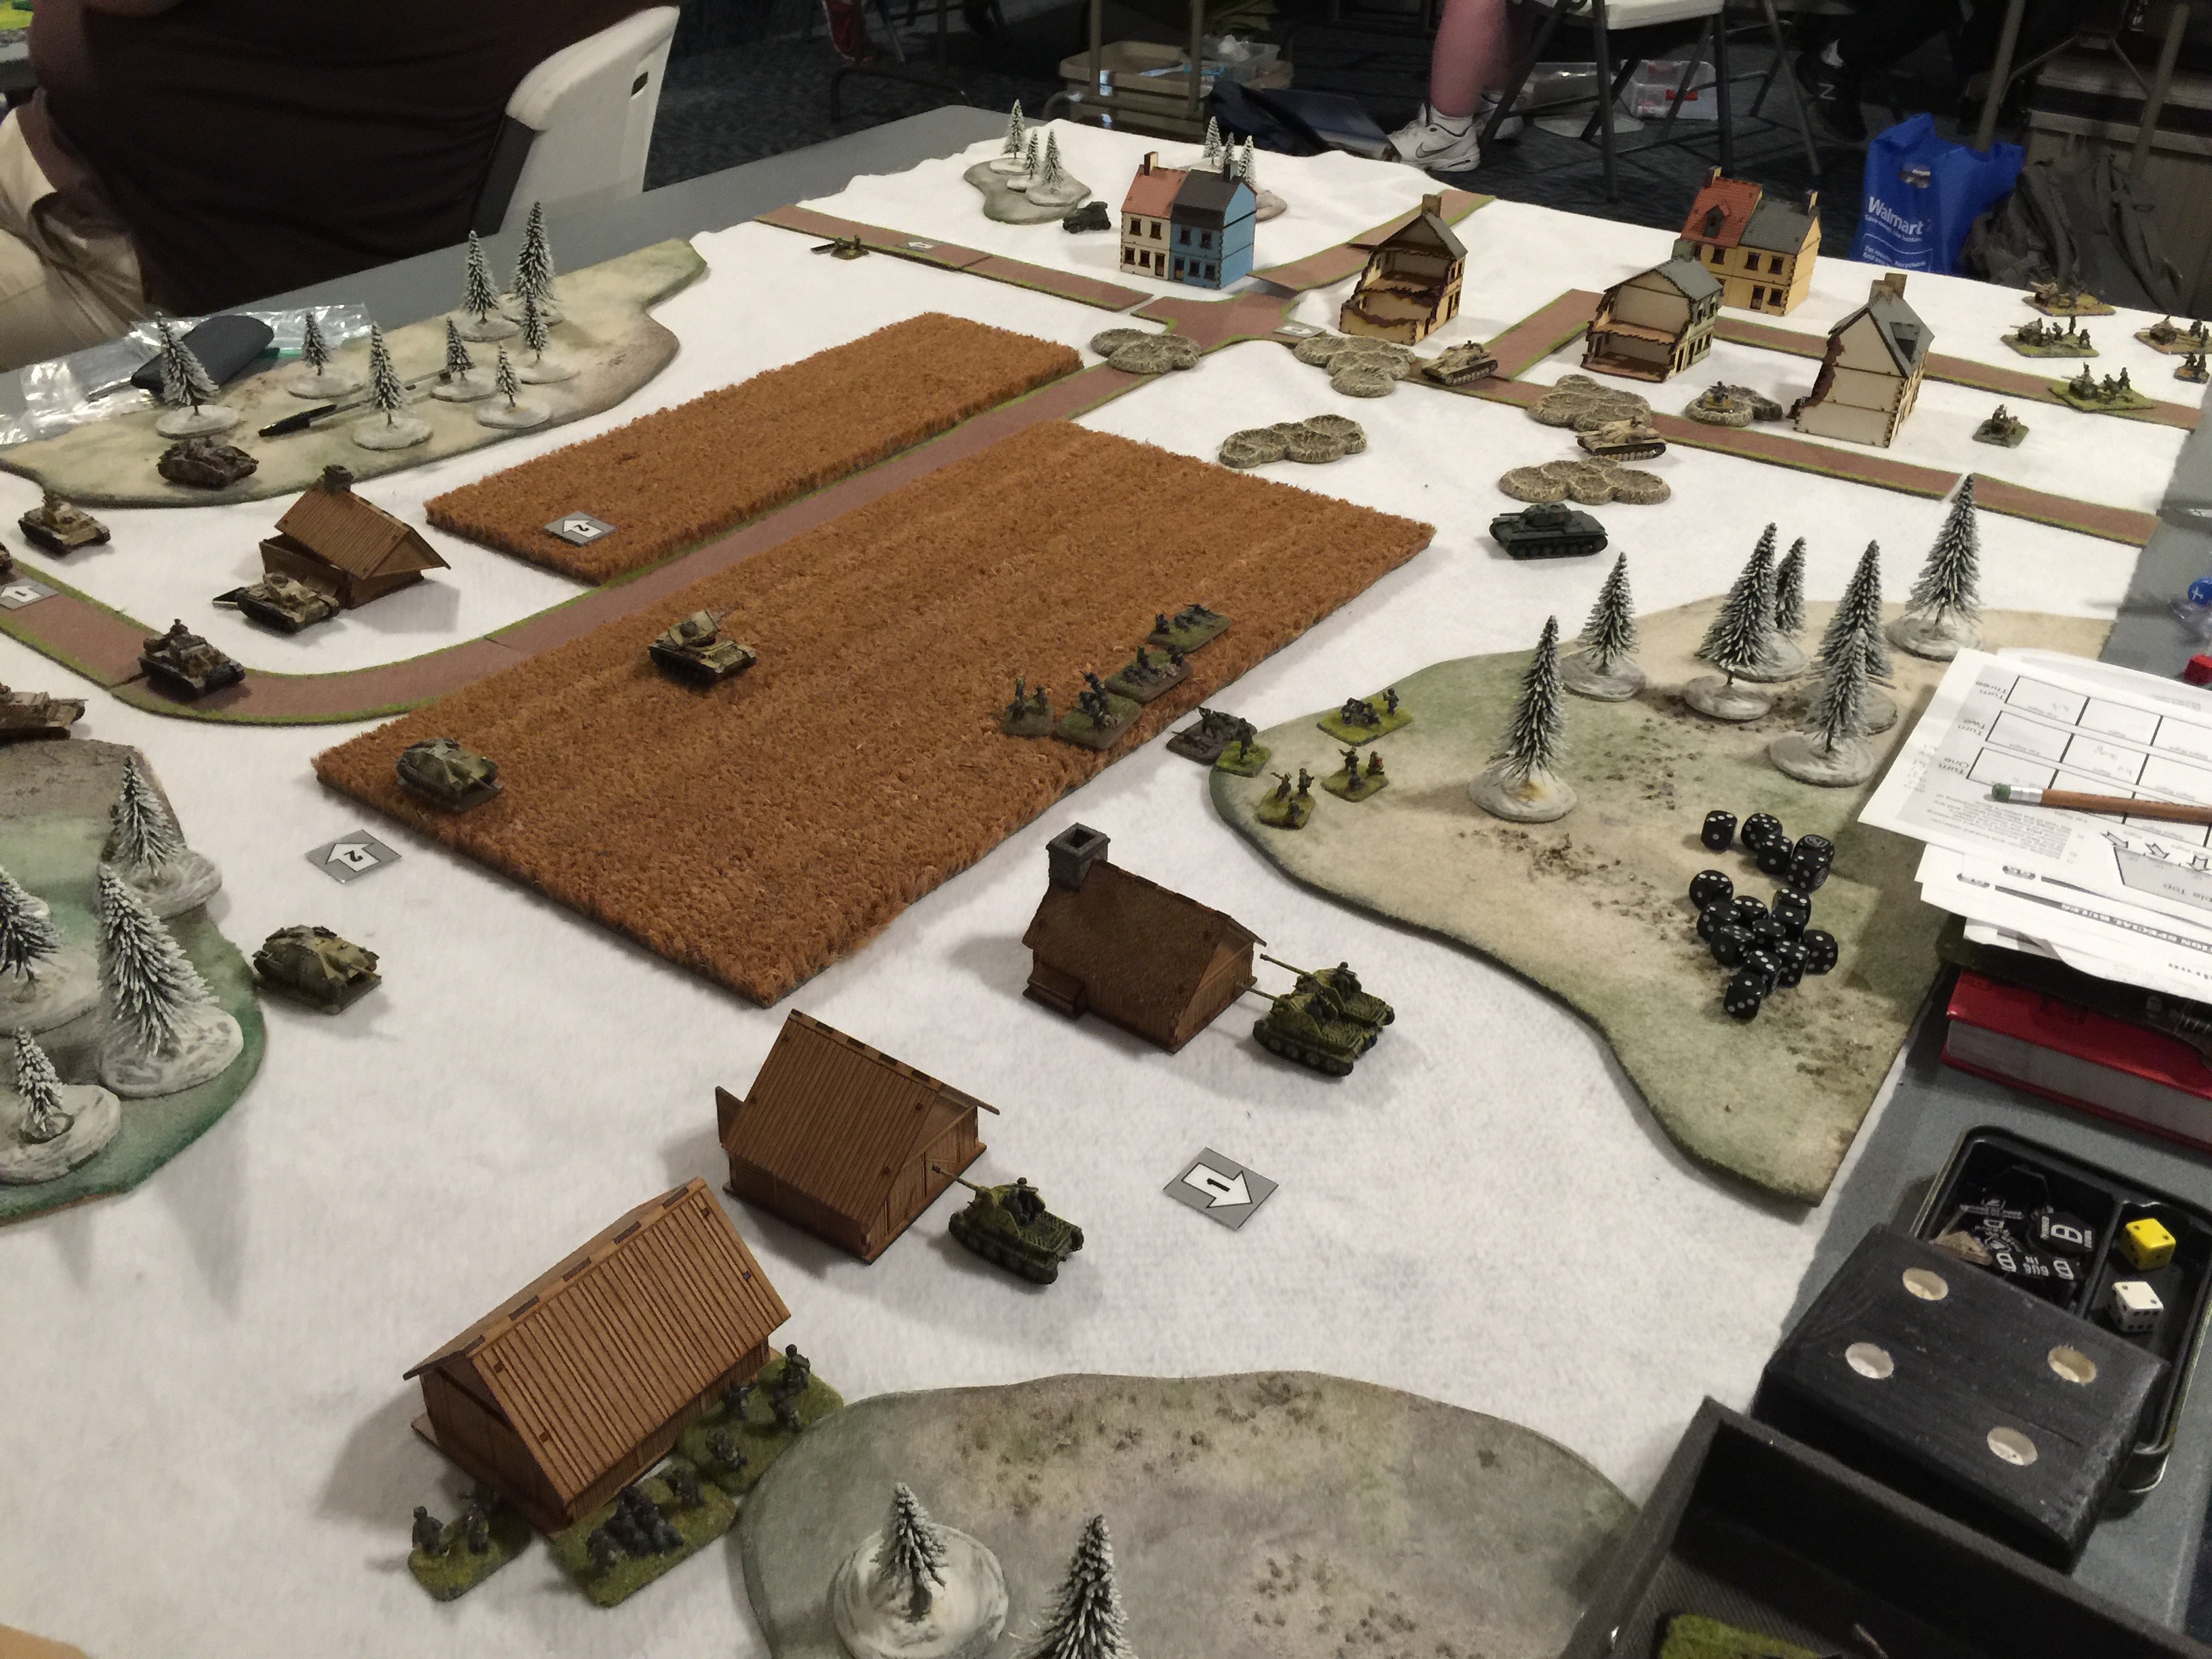
The first game on Sunday we played on a winter table, one that when I had first seen it was hopeful to get a chance to play on it. It was a German on German game tho taking on a German Panzer company in Blind Domination.

Domination is a fun mission as you’re playing several objectives and you have to be generally mobile. Gather up 8 points of objectives and it’s over. We had a 3 pt, 3 2pts and 3 1 point objectives.IMG_1481

My deployment was in two parts. On the left, 2 sets of infantry to come in via the woods with Marders in support and then on my right the heavy metal, Recce, StuGs and KV1 and  last artillery. I ended up going first but it wasn’t a big deal as my opponent had no recce. In domination recce and observers only come on in a preplotted location. This was a huge advantage, by turn 2 I had control of 6 points already.

Turn 2 you get to pull on 2 platoons and turn 3 you’re able to pull on the rest of your force. Again it’s all preplotted as far as where it comes on BEFORE the game starts without your opponents knowledge.

My opponent also had no anti-aircraft assets so my planes were able to come down and attempt to be effective. Unfortunately they were a little less lucky being able to do so save for taking out 2 of his 105 guns on turn 3 when they came on.
IMG_1484

My left flank facing armor by itself was in a tight spot, but I was facing mostly Pz IIIs with just a 24″ range. Coupled with use of stormtrooper movement to hide the marders ended up chipping away at 1 Pz III platoon and then with the KV and StuGs the second. If figured if I took care of the Pz III platoons first, that would free up my infantry  to bull rush in while the last remaining StuG platoon of his would be more concerned with my armor.

IMG_1486

About this point my opponent started to play for taking out platoons. Failing one of my stormtrooper movements with marders, he got his wish and brewed them up quickly with his StuGs. I didn’t manage to lose anything else tho and ecked out the 5-2 win and a majority of the domination points.

Towards the bottom of the picture is my KV-1 … it didn’t die all weekend and was very successful at thrusting out it’s chest in a “none-shall-pass” sort of way.

Out of the tournament games the last was the most fun I think. While it ended up in a loss and it was the 3rd time having to face American armored infantry it was a complete nail biter.

IMG_1487

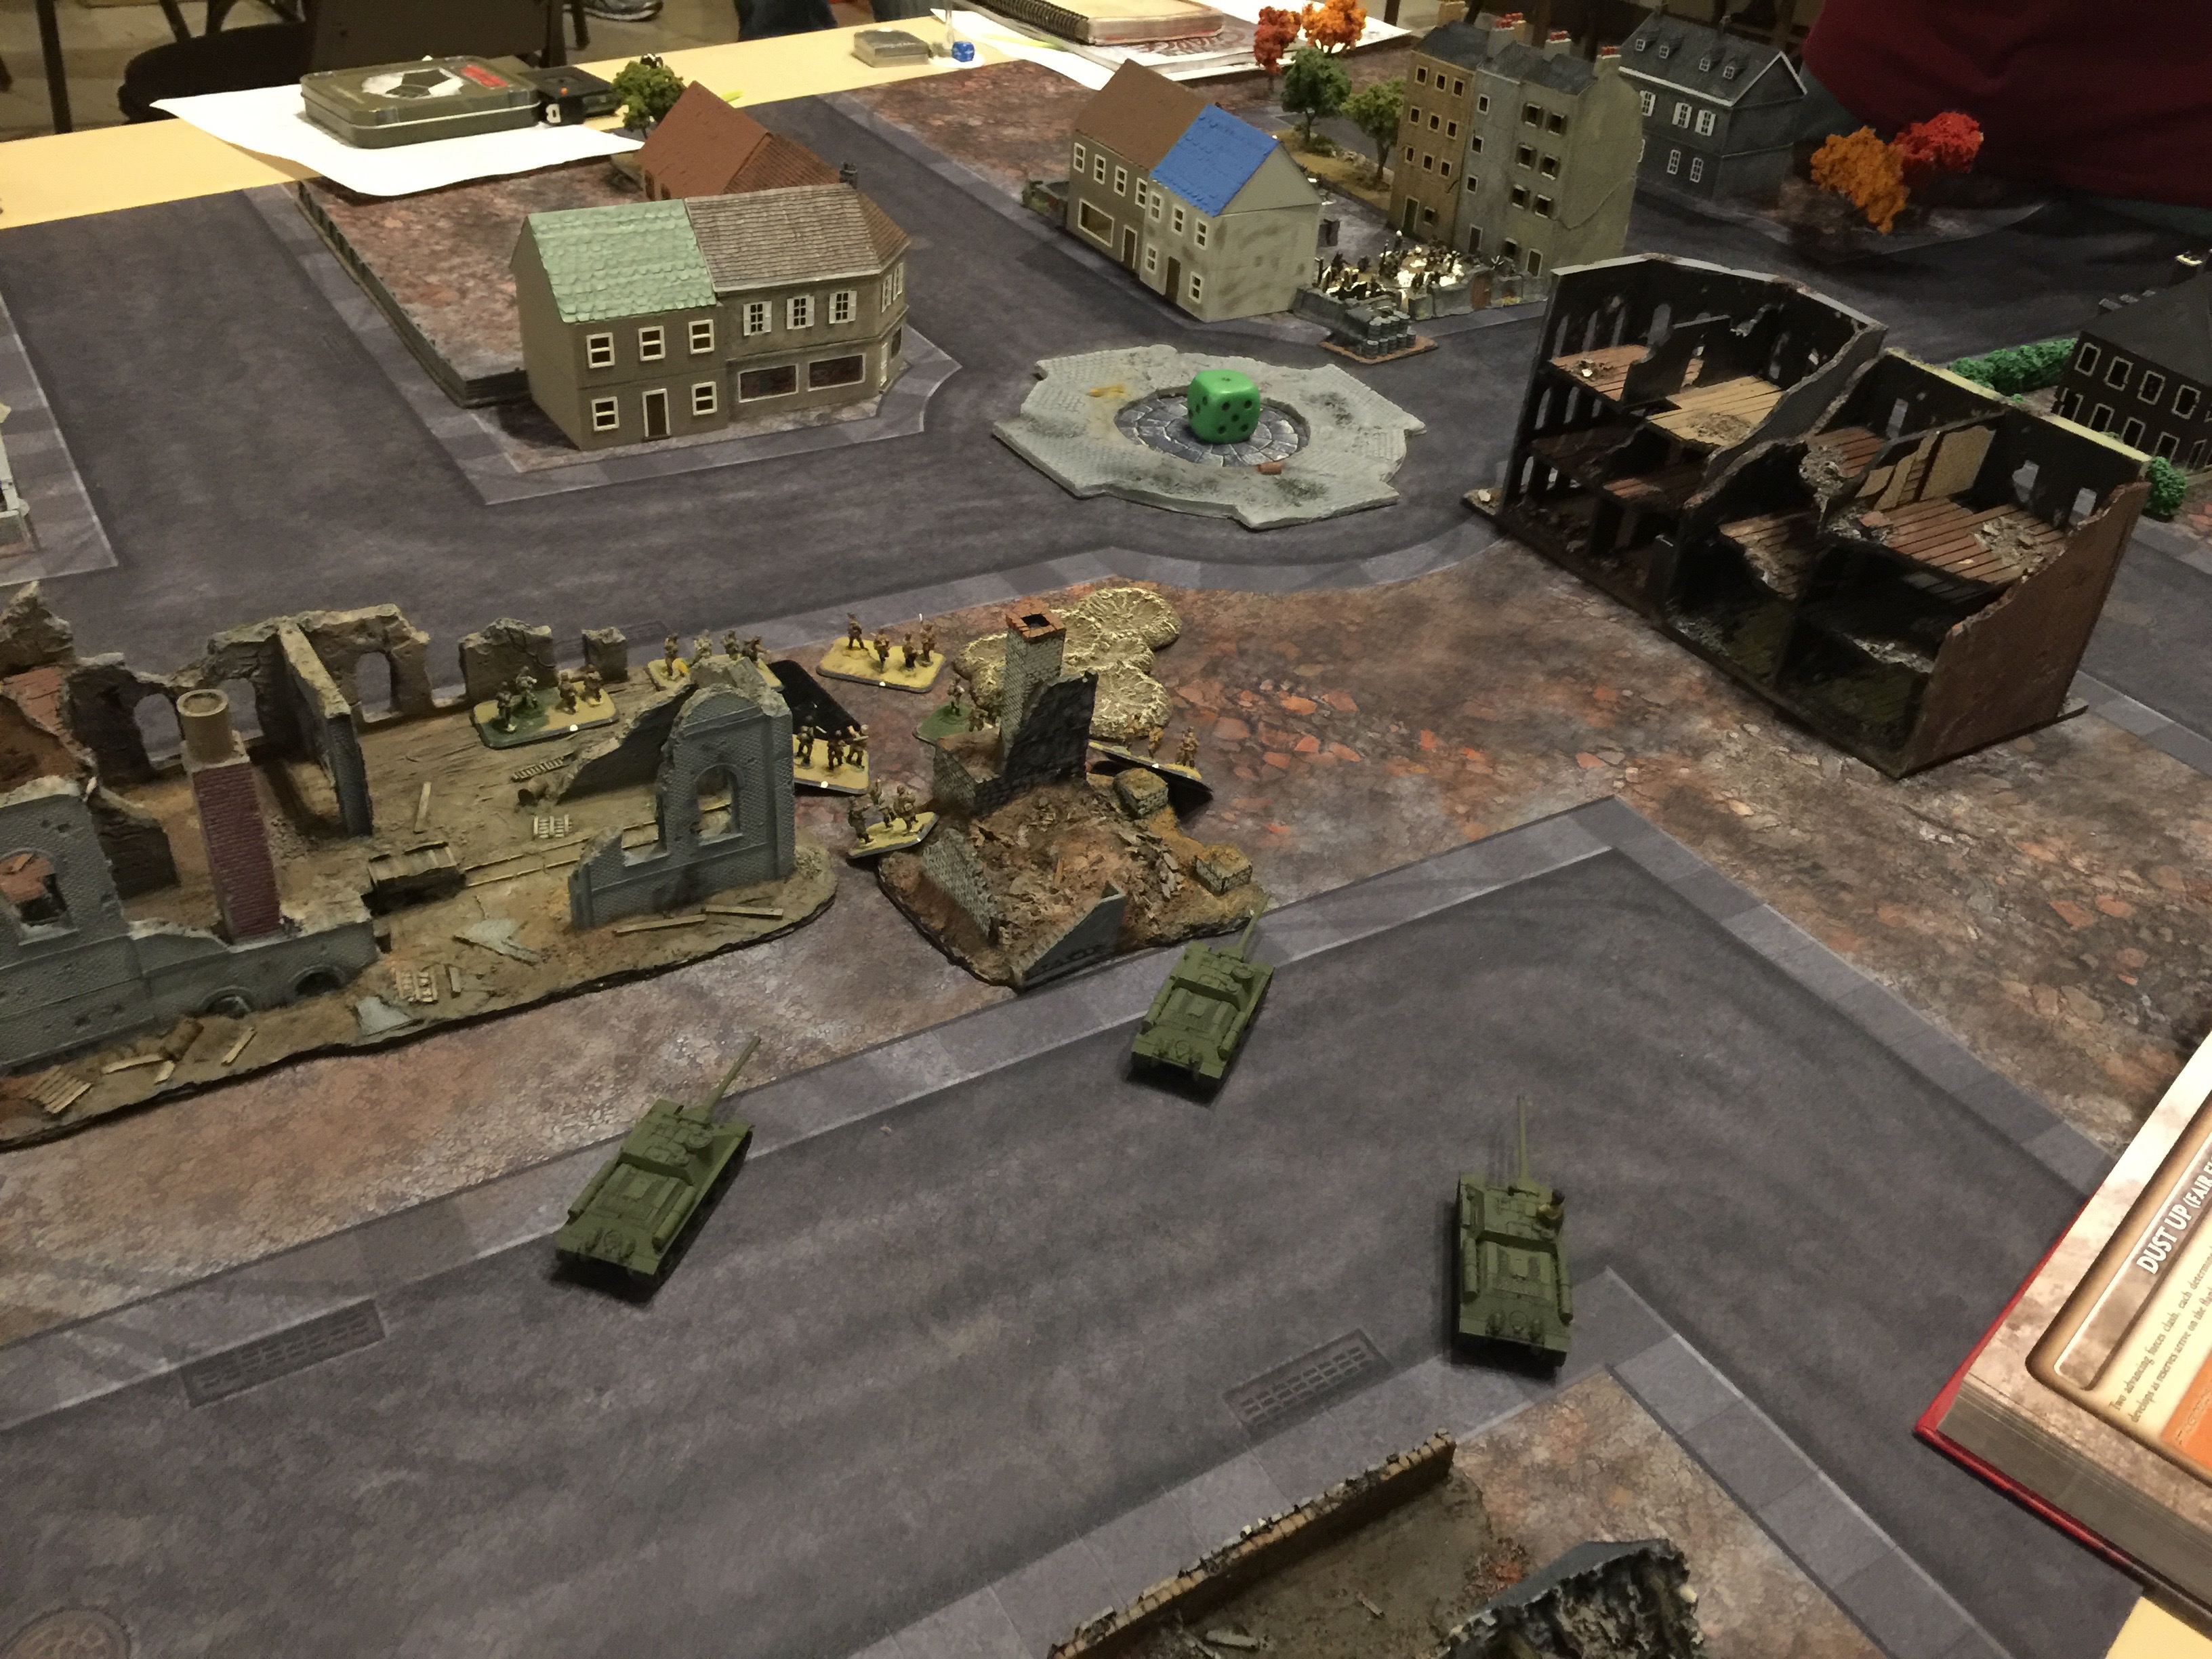
The table was a north Africa locale with lots of special terrain rules. The scenario was dust up and as fate would have it I was the attacker. I picked the quadrant I felt offered the best deal on defenses. It’s just on the right. Defender being on the far left.

With only 3 platoons to start, I picked 2 infantry platoons and my marders as I figured they would be key to the eventual armored attack coming at my flank. With my recce, KV, StuGs and artillery as the reinforcements that would appear on my opponent’s flank I felt if I could strike quick, I should sort of be at an advantage presuming my air could prep the area.
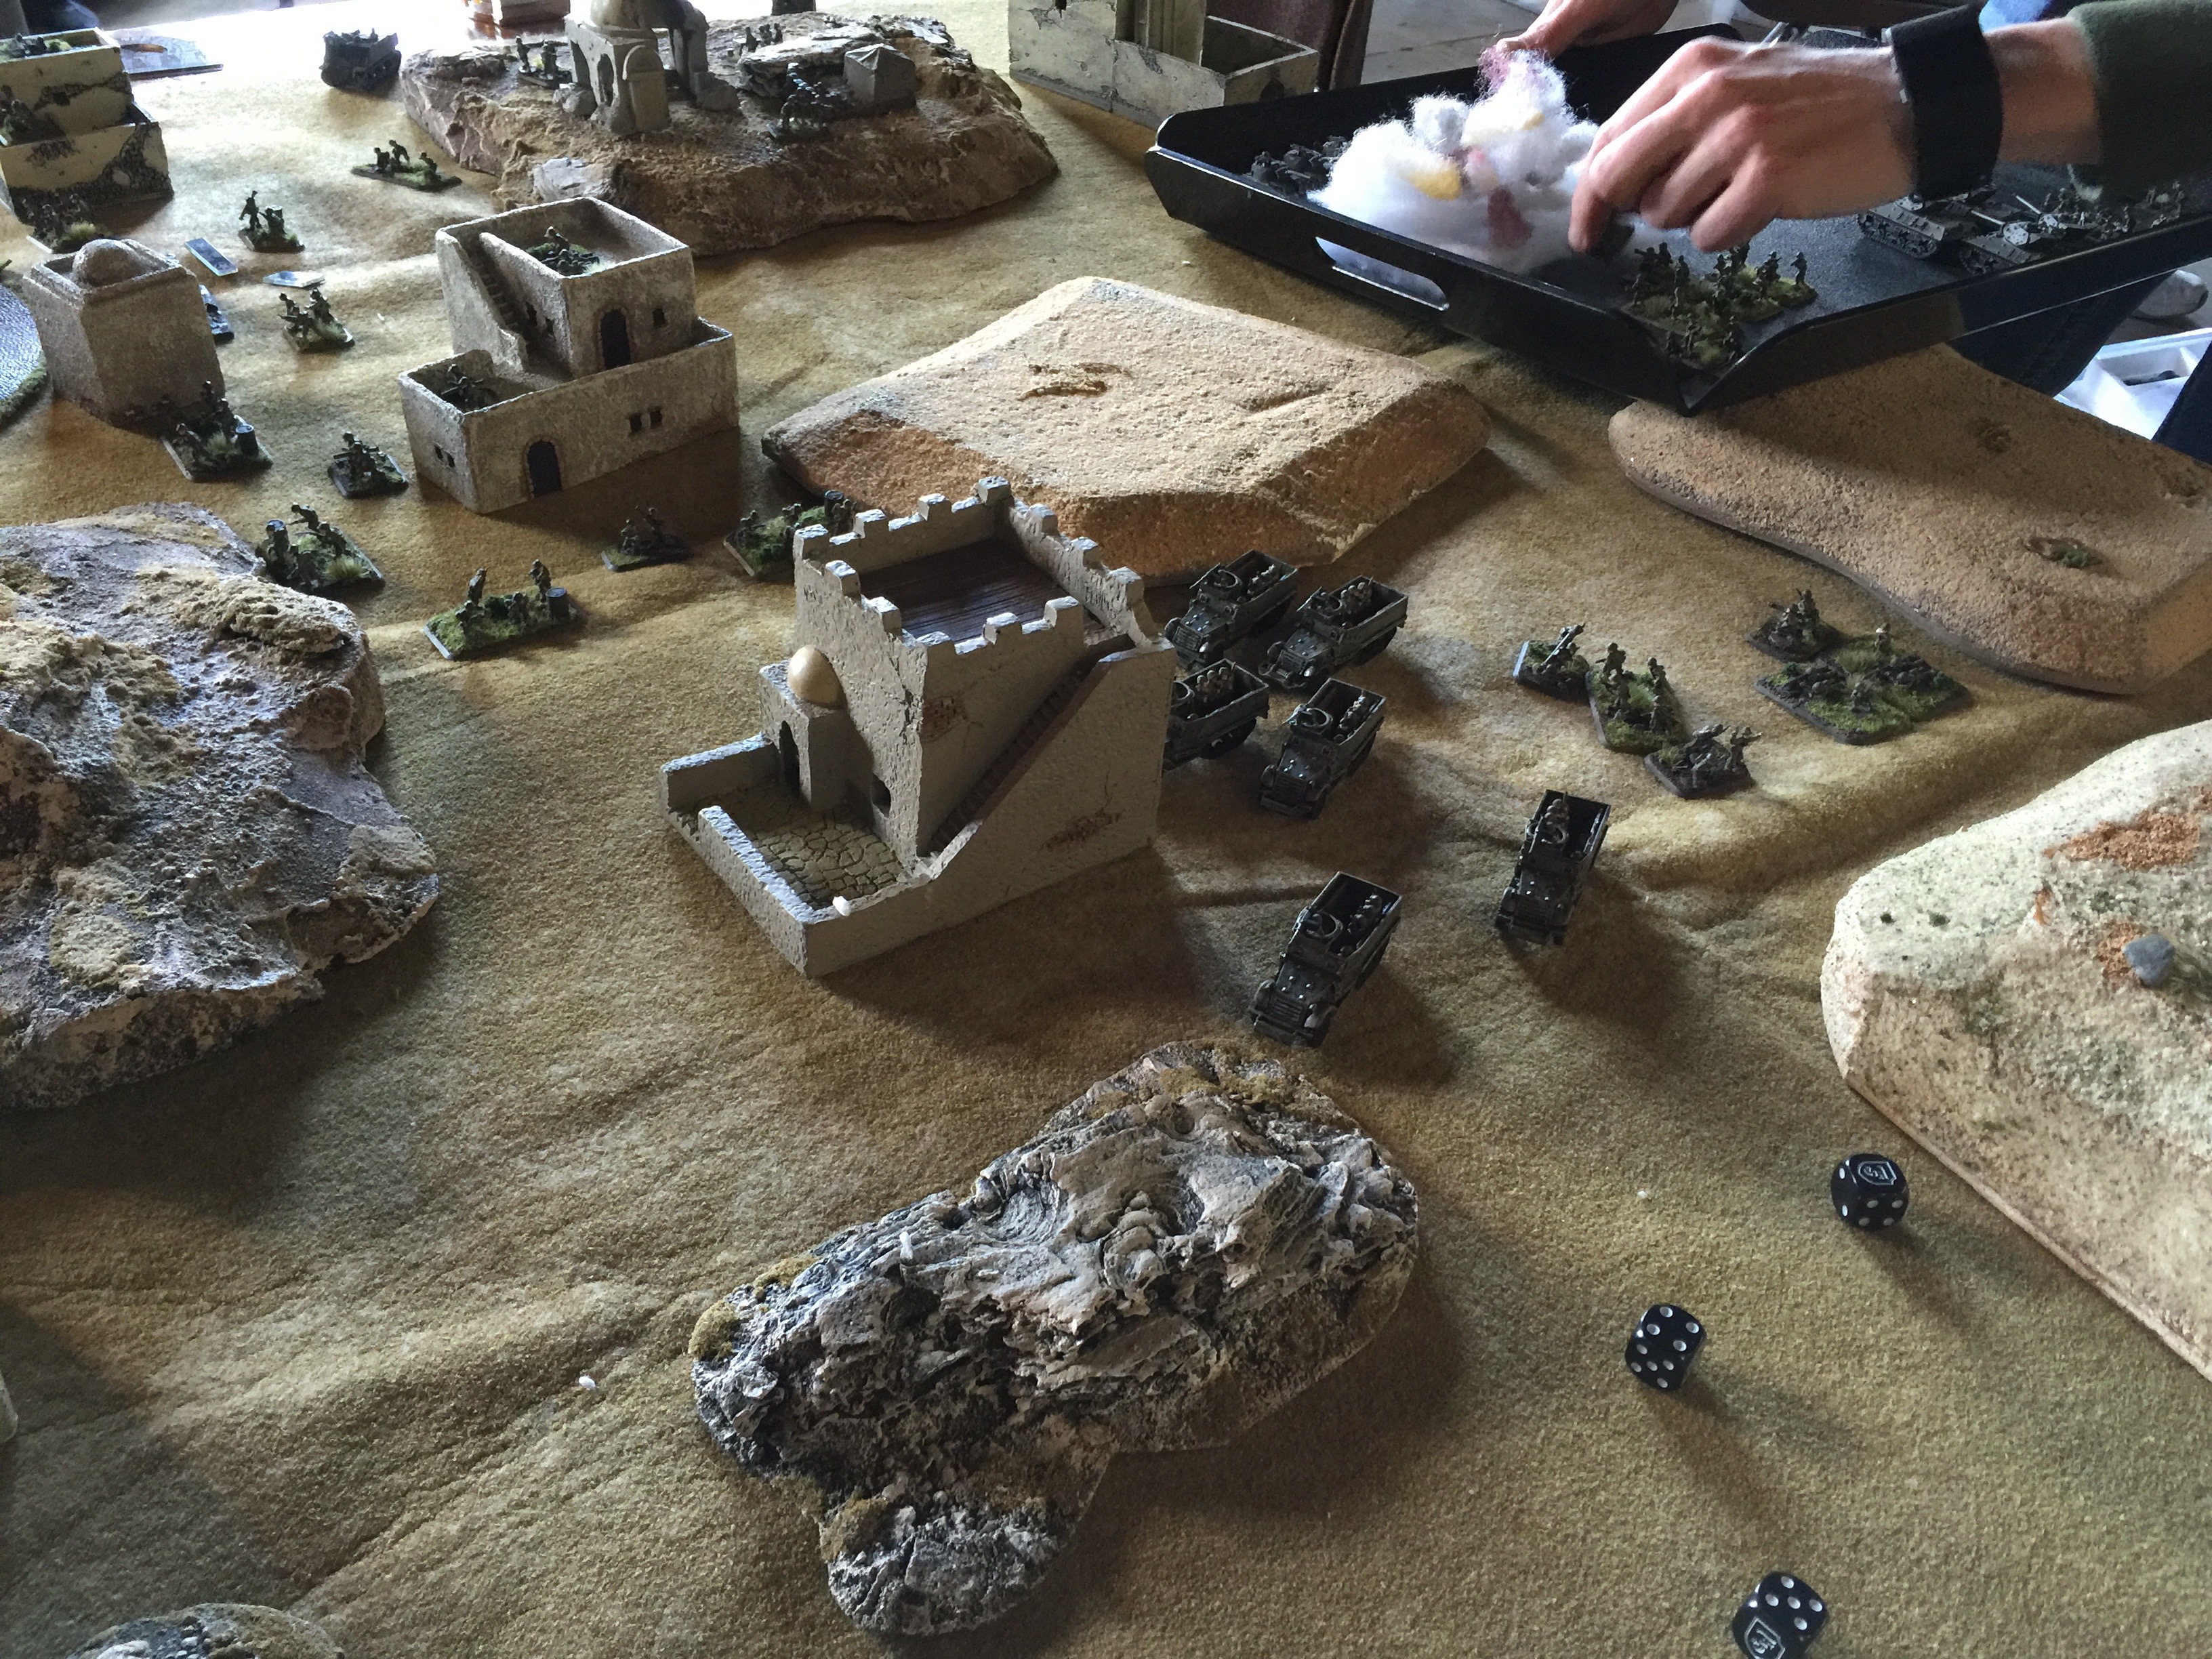
IMG_1488

My flyboys got their wish and were looking at this glorious target for their first mission. It was time to dig out the smoke….
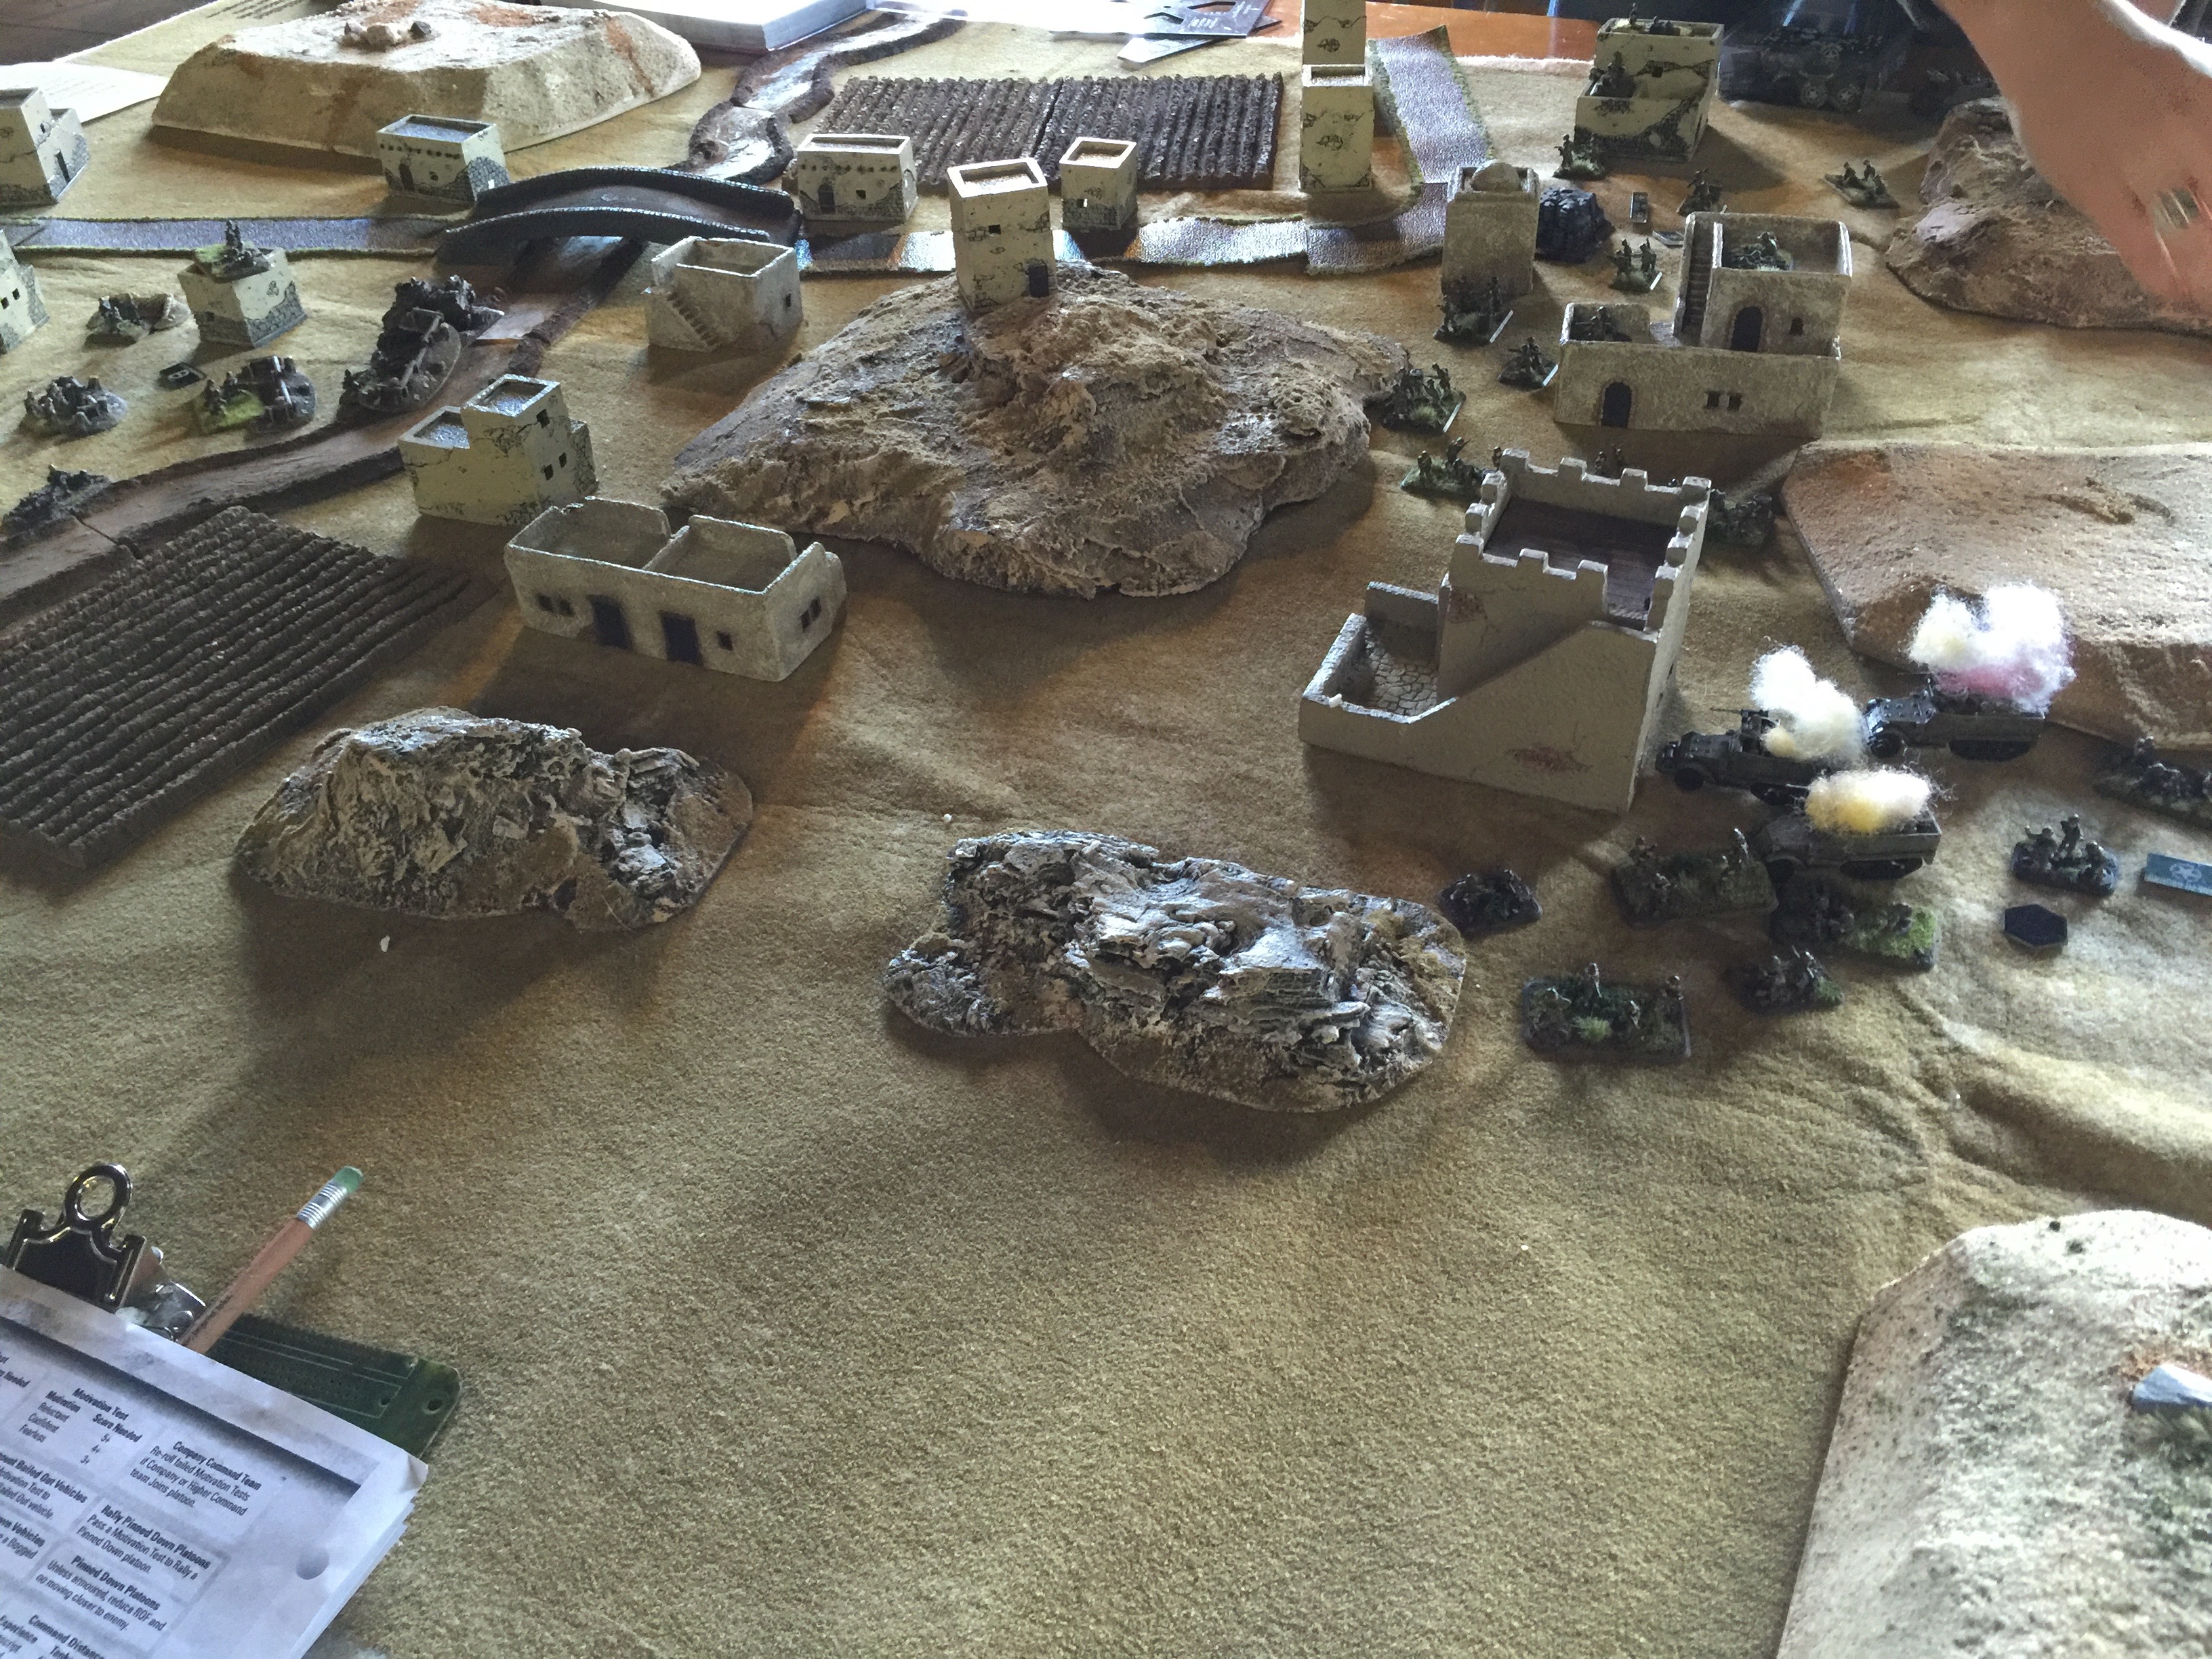
IMG_1489

A good portion of the platoon was gone, but they were still on the table. My reserves (mobile, not delayed) would be showing up shortly.
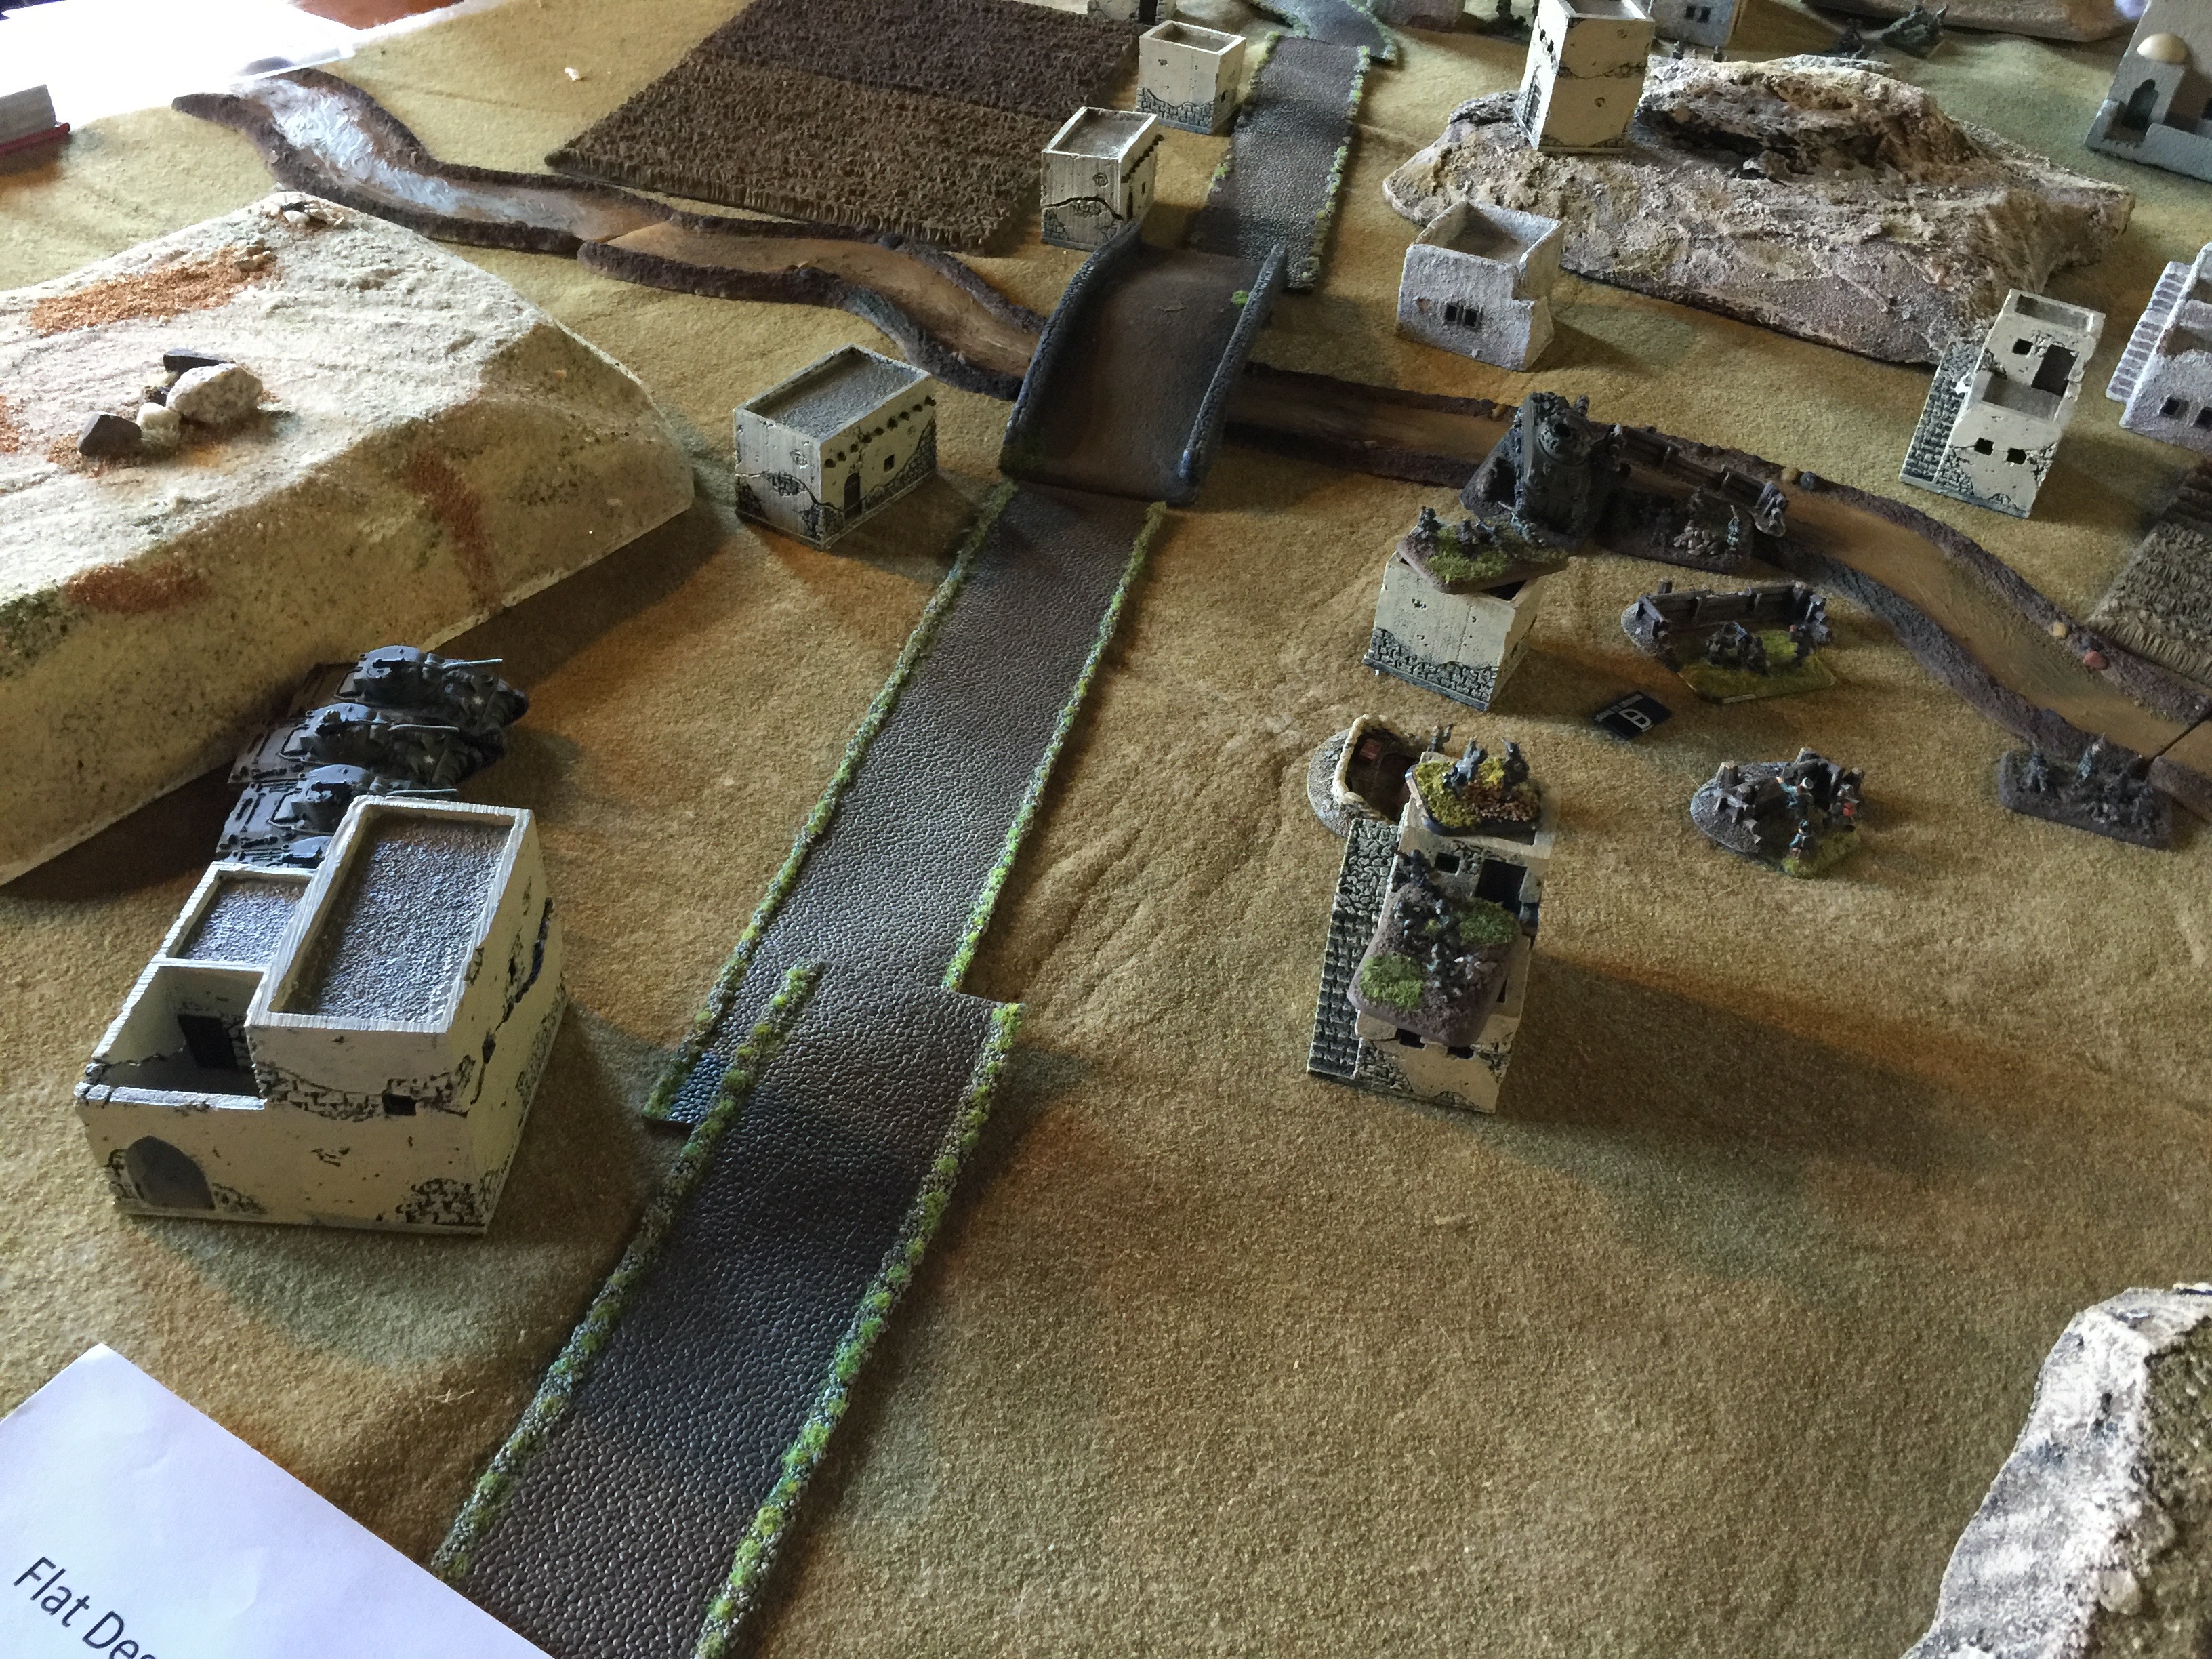
IMG_1490

Meanwhile on the opposite side of the table, 4 unescorted shermans would start to give me heartburn. Would one panzerknacker be enough? How about the air?

Thankfully the air did come down and take out two. He wasn’t quite close enough that I couldn’t pull back the two units of infantry so that the attack didn’t get waved off.

IMG_1491

Unfortunately that’s when the security platoon / M10s would show up. Just as my Marders were moving into position…. critical error on my part. I SHOULD HAVE WAITED.

IMG_1492

On the opposite side of the table, my recce and StuGs finished off the straightlegs that were hit by the air attack earlier. They didn’t move and failed to dig in so machine gun fire while having to deal with concealed and gone to ground, for 5+ to hit but no firepower rolls.

My recce attempting to win the game rushed just the two artillery stands in defense of the objective, an observer team and a staff team. I assaulted, and won and the staff team broke off. Next turn, with nothing else able to react to assault the unlikely of unlikely events happened, where my armored car was assaulted, hit,  with it’s zero top armor vs a tank assault of 2, just needed to not roll a 1 or 2 … and I roll a one. Dead recce, which bought just enough time for the infantry to fall back to a point where it could be in assault range… That’s what decided the game. My KV, StuGs just didn’t have enough time to pepper the infantry (with gobs of bazookas in their hands of course) to prep it for their own assault and therefore take another run at the objective because on the other side…

IMG_1494

he would brew up my marders, and then assault into my infantry. My panzerknacker WOULD take out the Sherman platoon as the two that assaulted, one bogged going in and the second got knackered. Still with 4 M10s to then assault I just didn’t have enough to push that back.

Close and very fun 3-4 loss.

I ended up approx middle of the pack and brought home an early war Japanese tank to add to my early war Japanese.
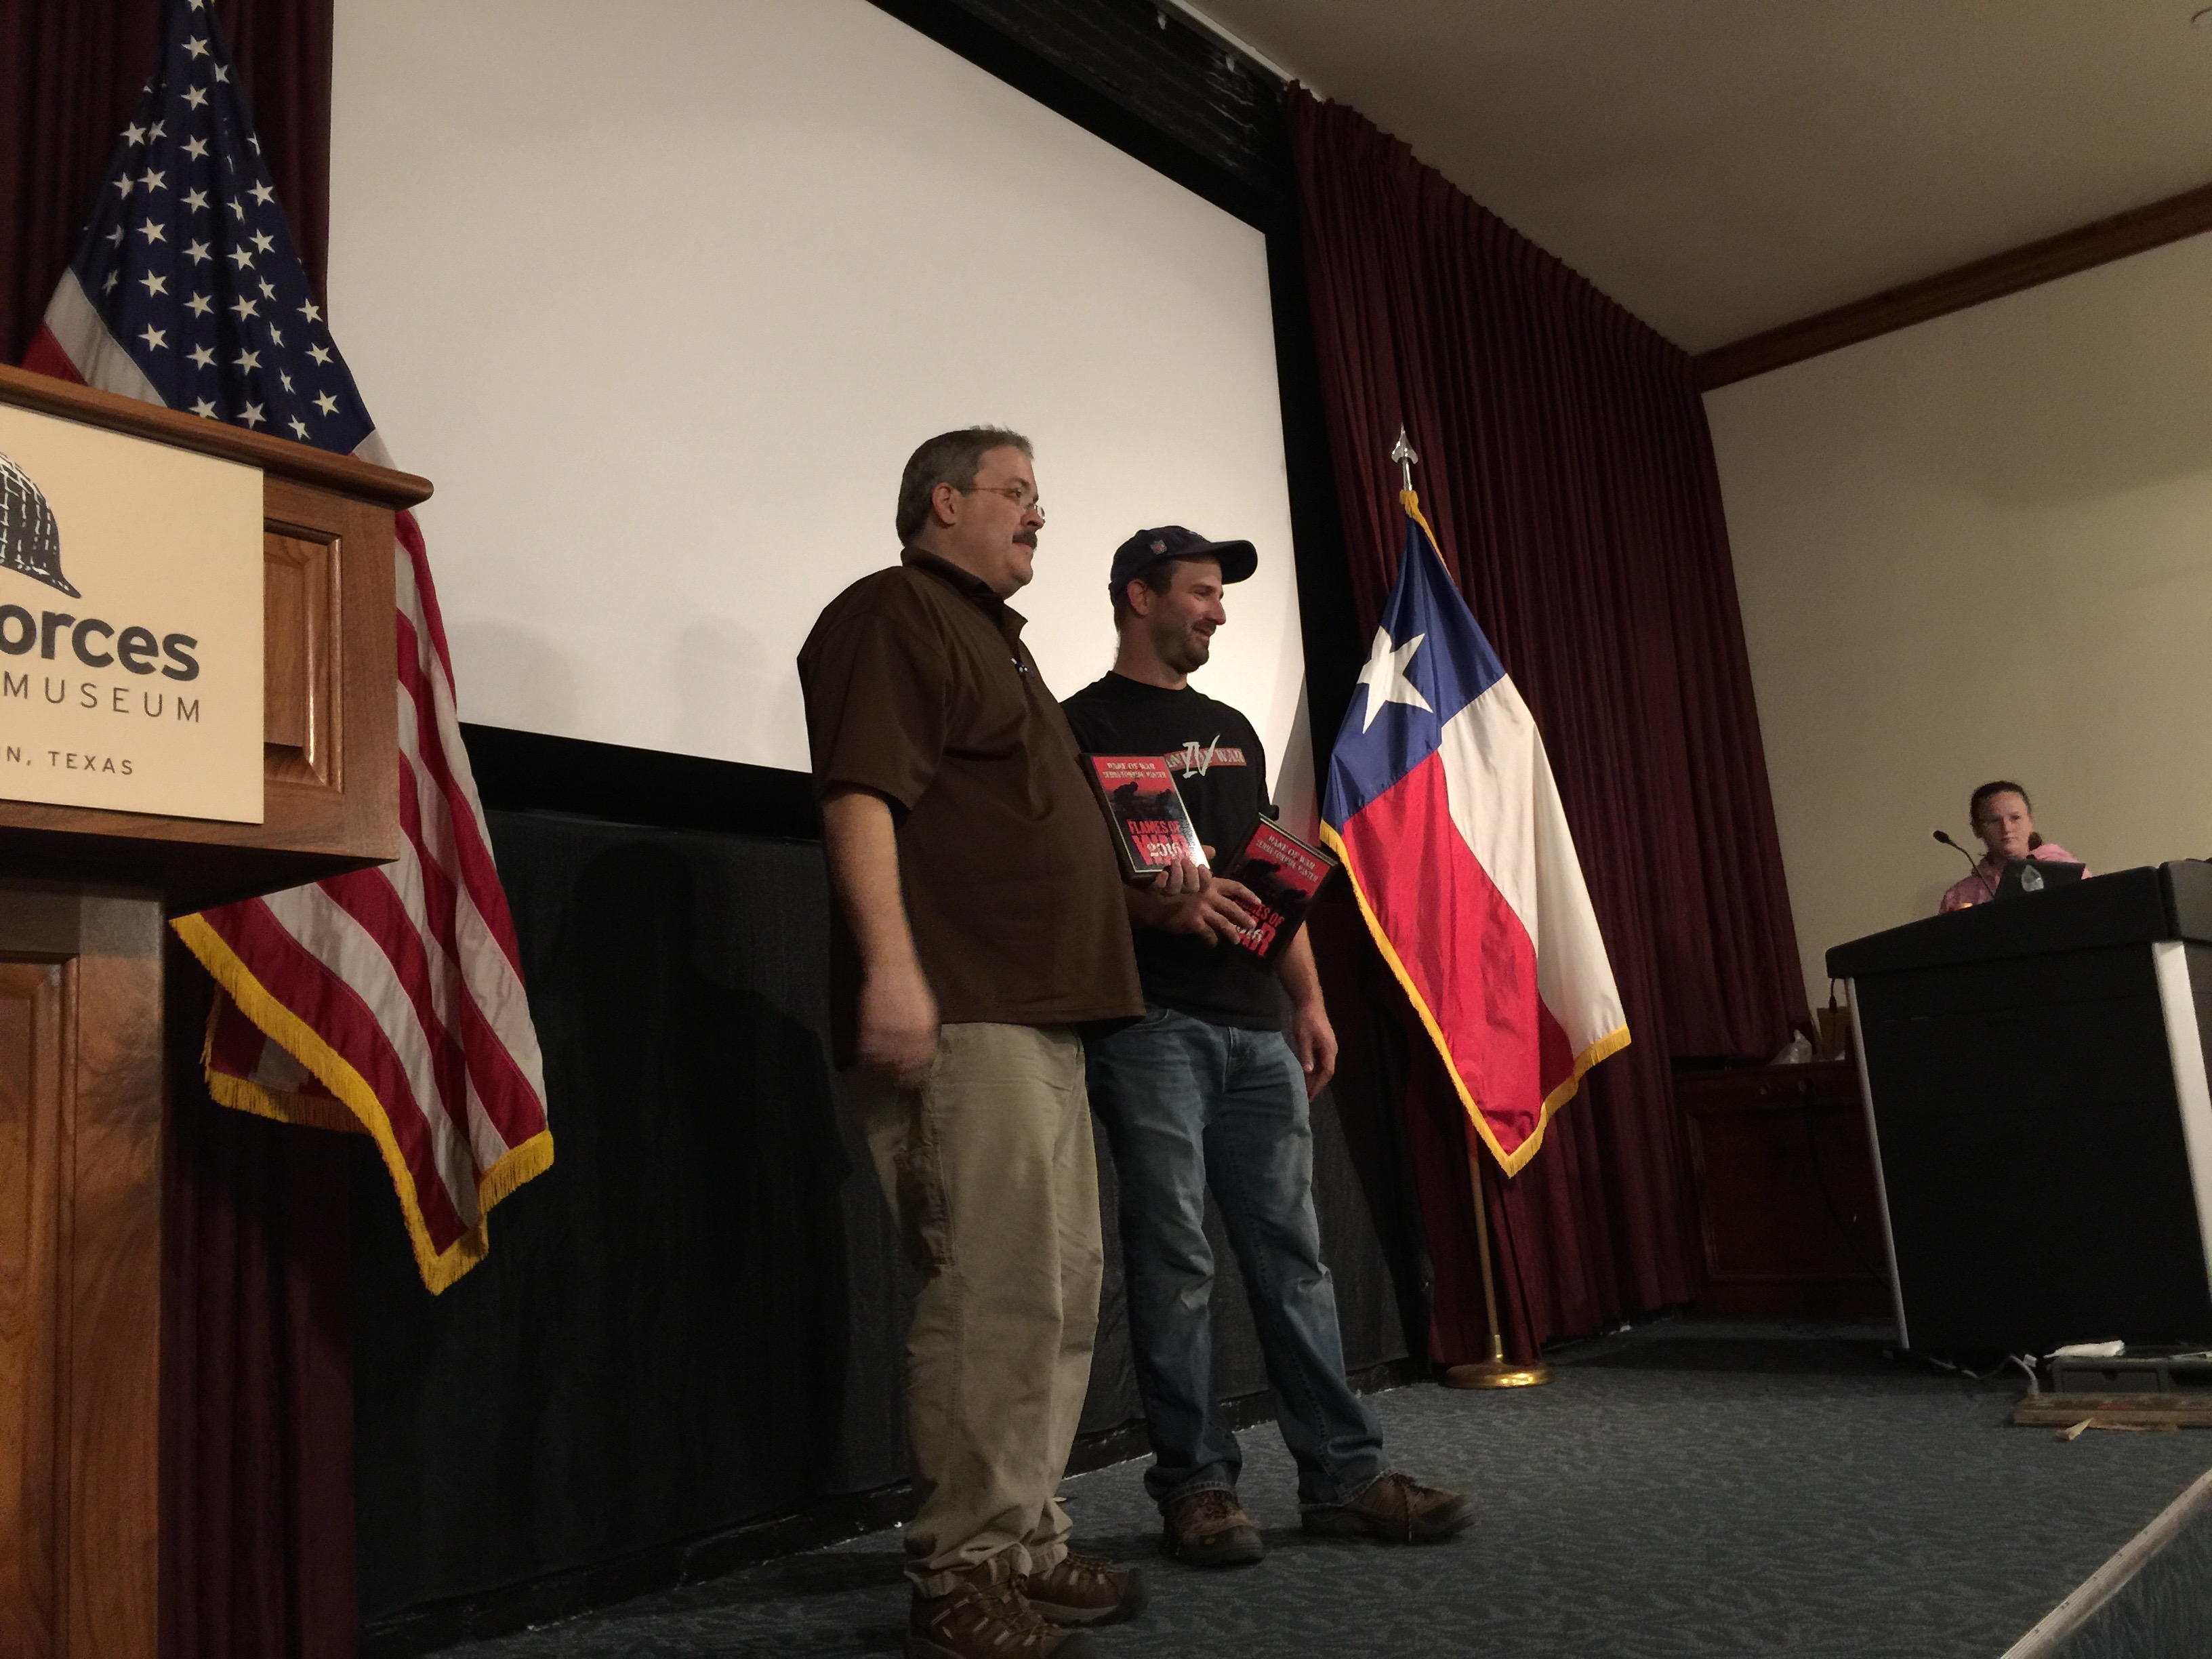
IMG_1497

The winner of Bane of War was Chris Fretts, he’s one of the Able Kompanie guys out of the Indianapolis area. They are a really talented bunch to which Chuck and I are aspiring to get our game up to that level of competitiveness.

Over all the American lists performed well. The German lists were down a bit in the standings. Only a small handful played Brits and the Russian players likewise didn’t seem to stand out either in the results.

Looking forward to Bane of War VII!
Posted in Con, FlamesOfWar | 1 Comment

TundraCon II – Still Cold

TundraCon II in Appleton WI was this past weekend. Yes it really was -3F when I finally got back to my driveway early this morning…. and further dropping to -13F by sunrise. What a wonderful time of the year for a day of gaming. Held at the American Legion in Appleton once again, here’s how it all went.

IMG_1431

This year there were all of 4 vendors on site besides all of the games. Adventure Games (Oshkosh), The Last Square (Madison) were the two stand outs and it was great to see them both there.

It seemed like there was in general more people there than last year. The food was the same (mostly ok), the lighting the same (still dim)….

Far as the gaming offerings there was much to choose from. I had travelled up specifically to play in the Flames of War tournament. More about that in a moment.

IMG_1391

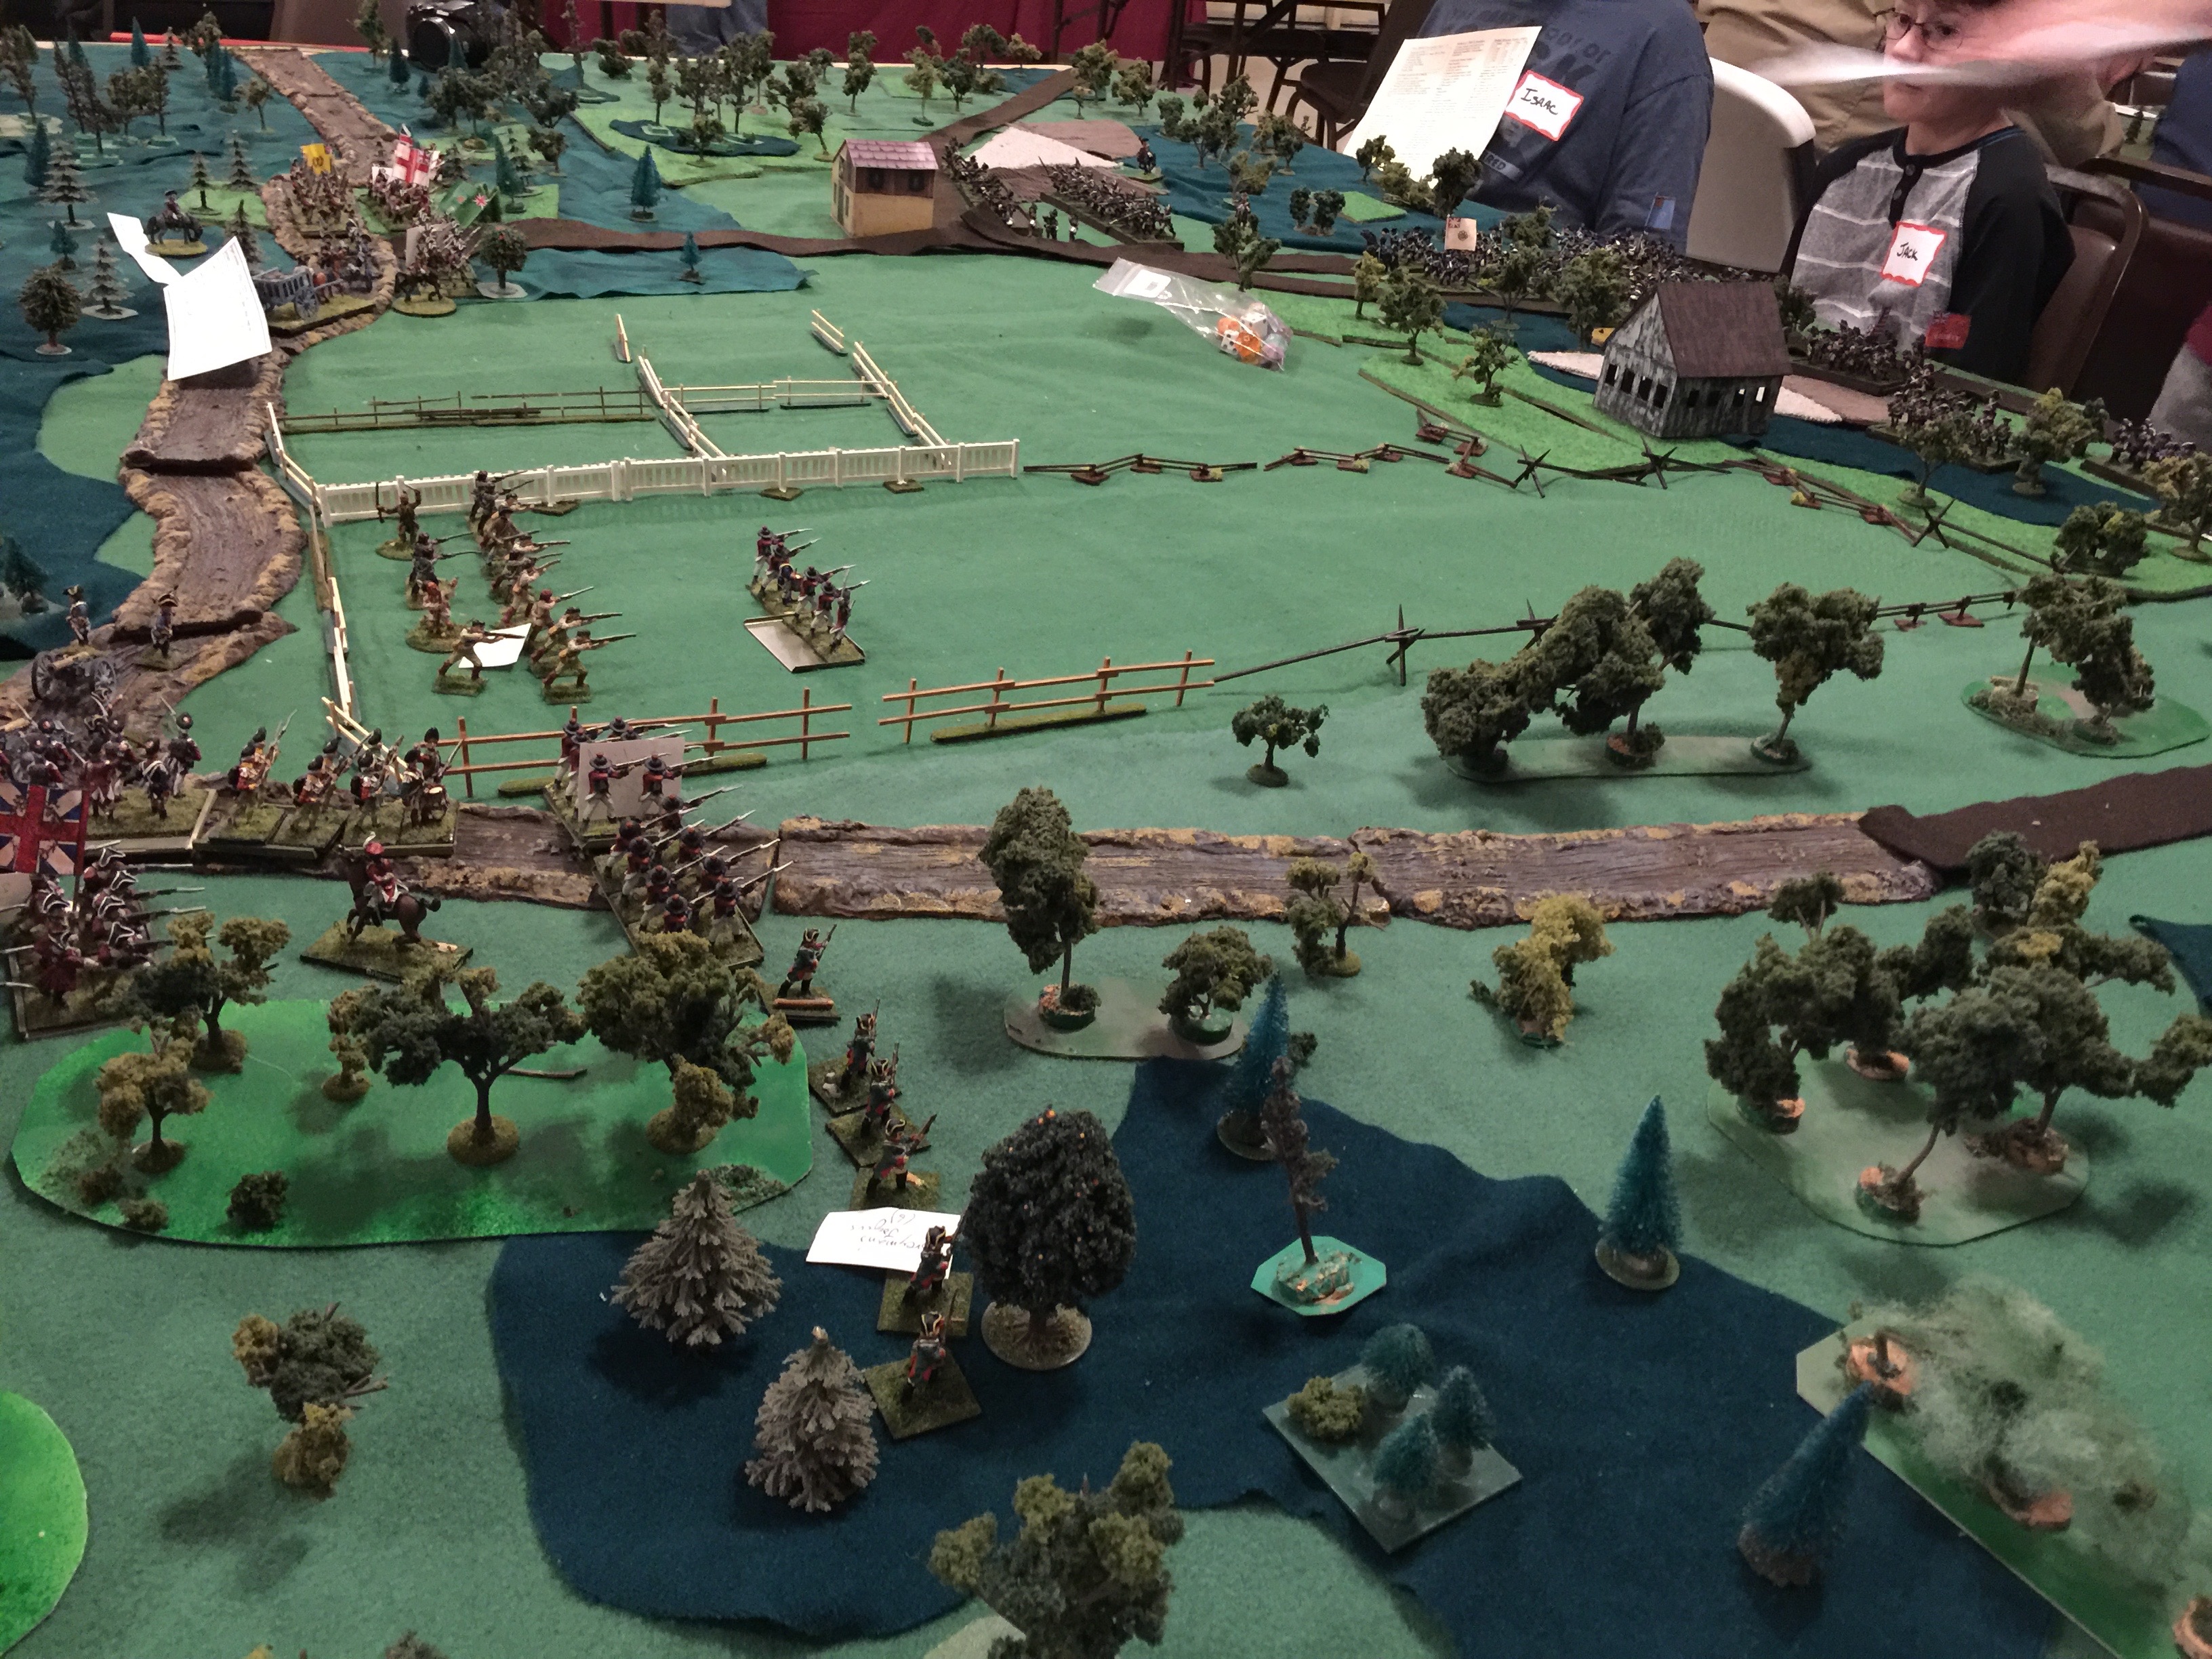
There was a rather fun looking  American Revolutionary War game:

There was a Star Fleet battle game (didn’t get a picture) ,

IMG_1427

a Wings of War game,

IMG_1419

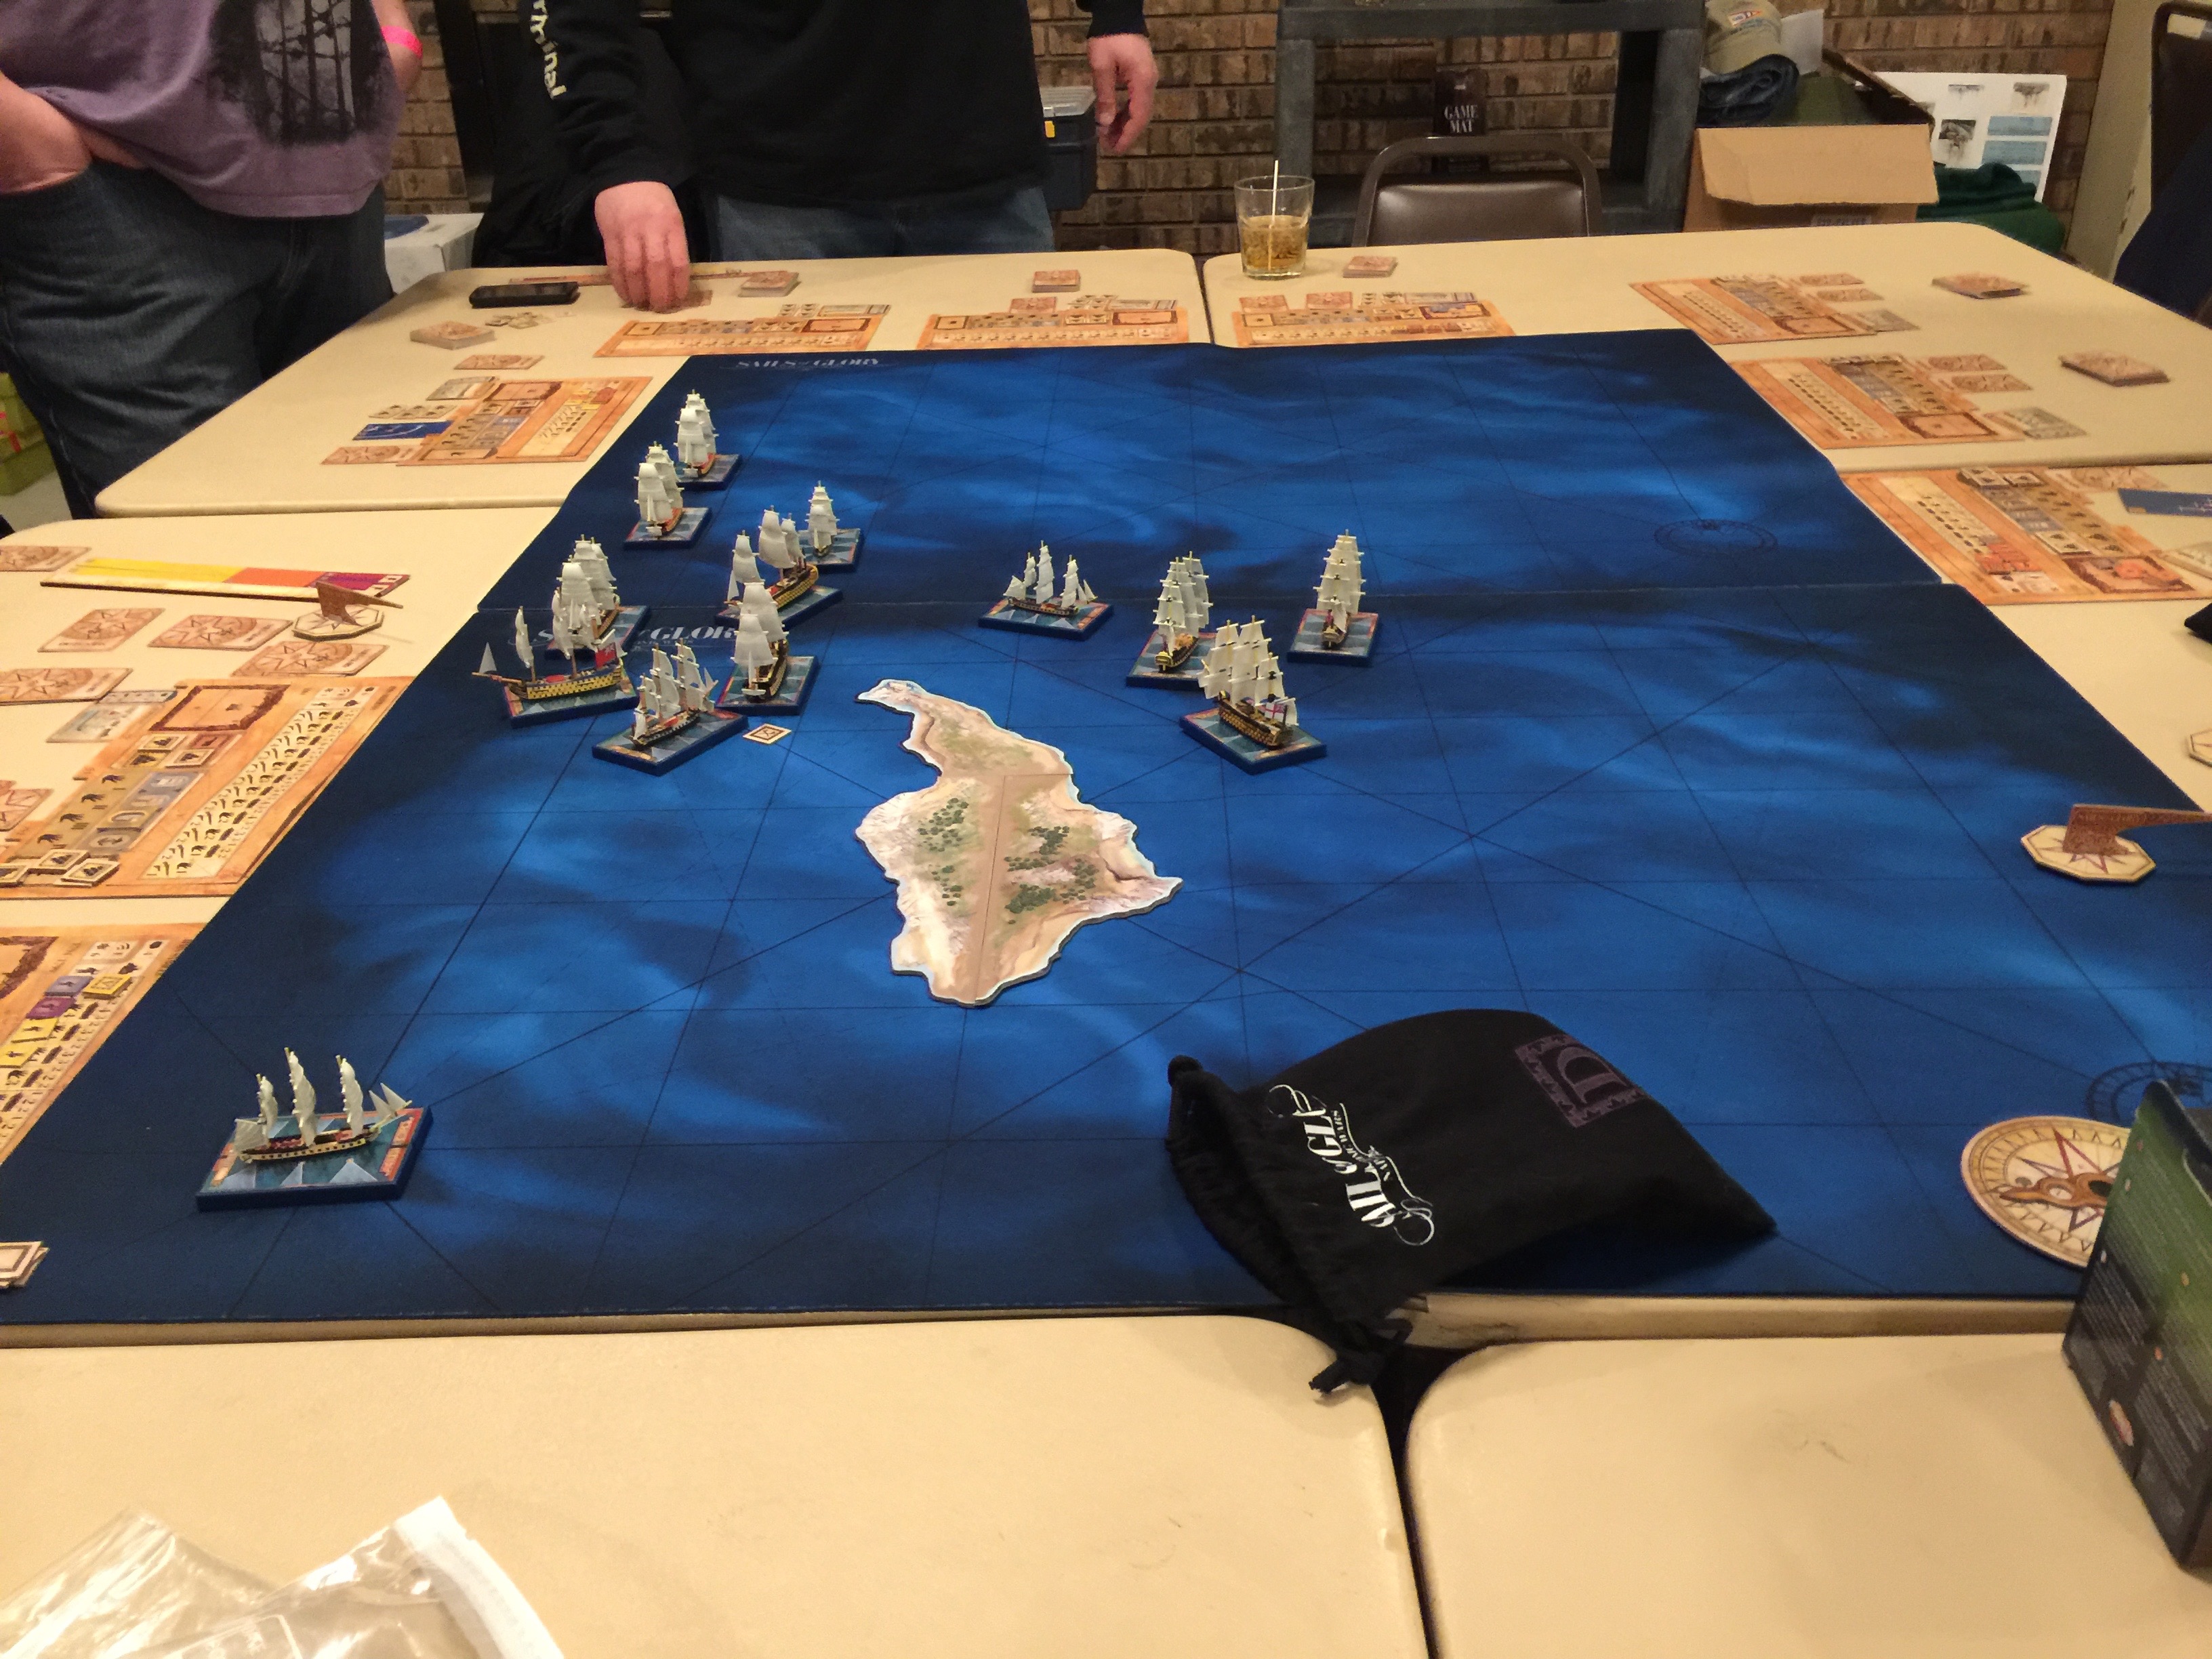
Napoleonic sailing ships,

IMG_1421

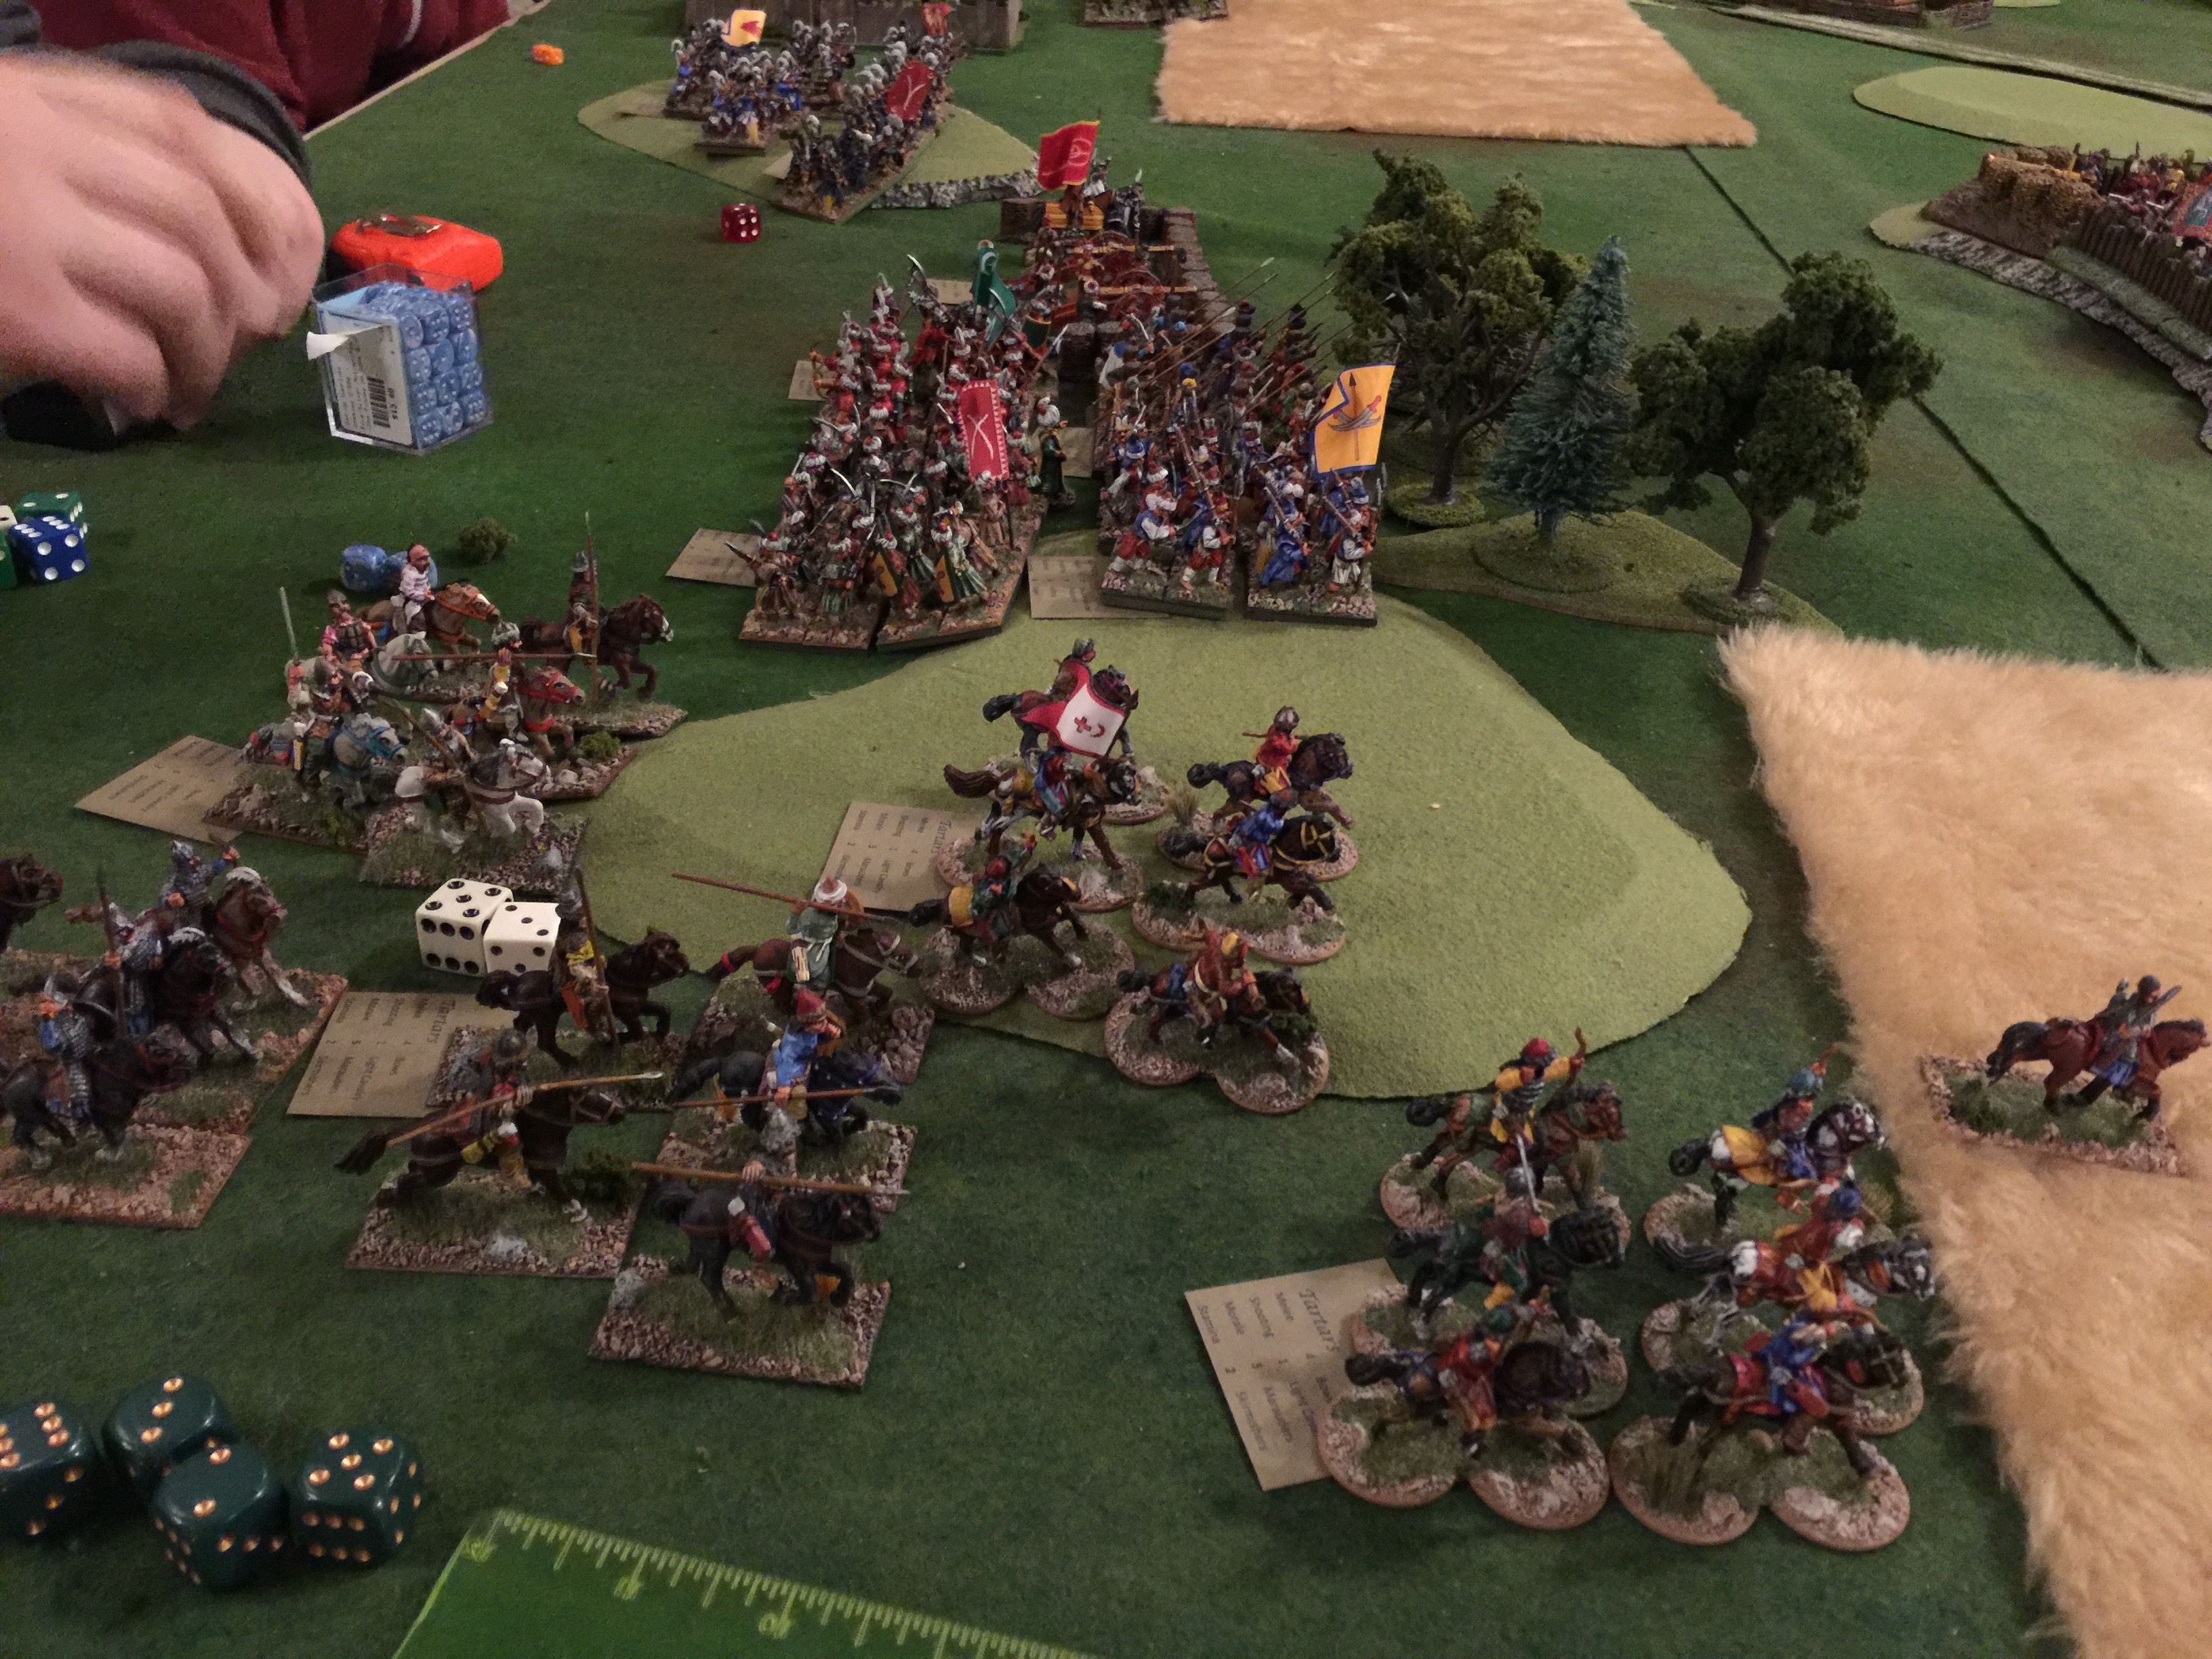
an ancients game that was using Pike and Shot,

a D&D dungeon crawl game (I didn’t get a picture),

IMG_1430

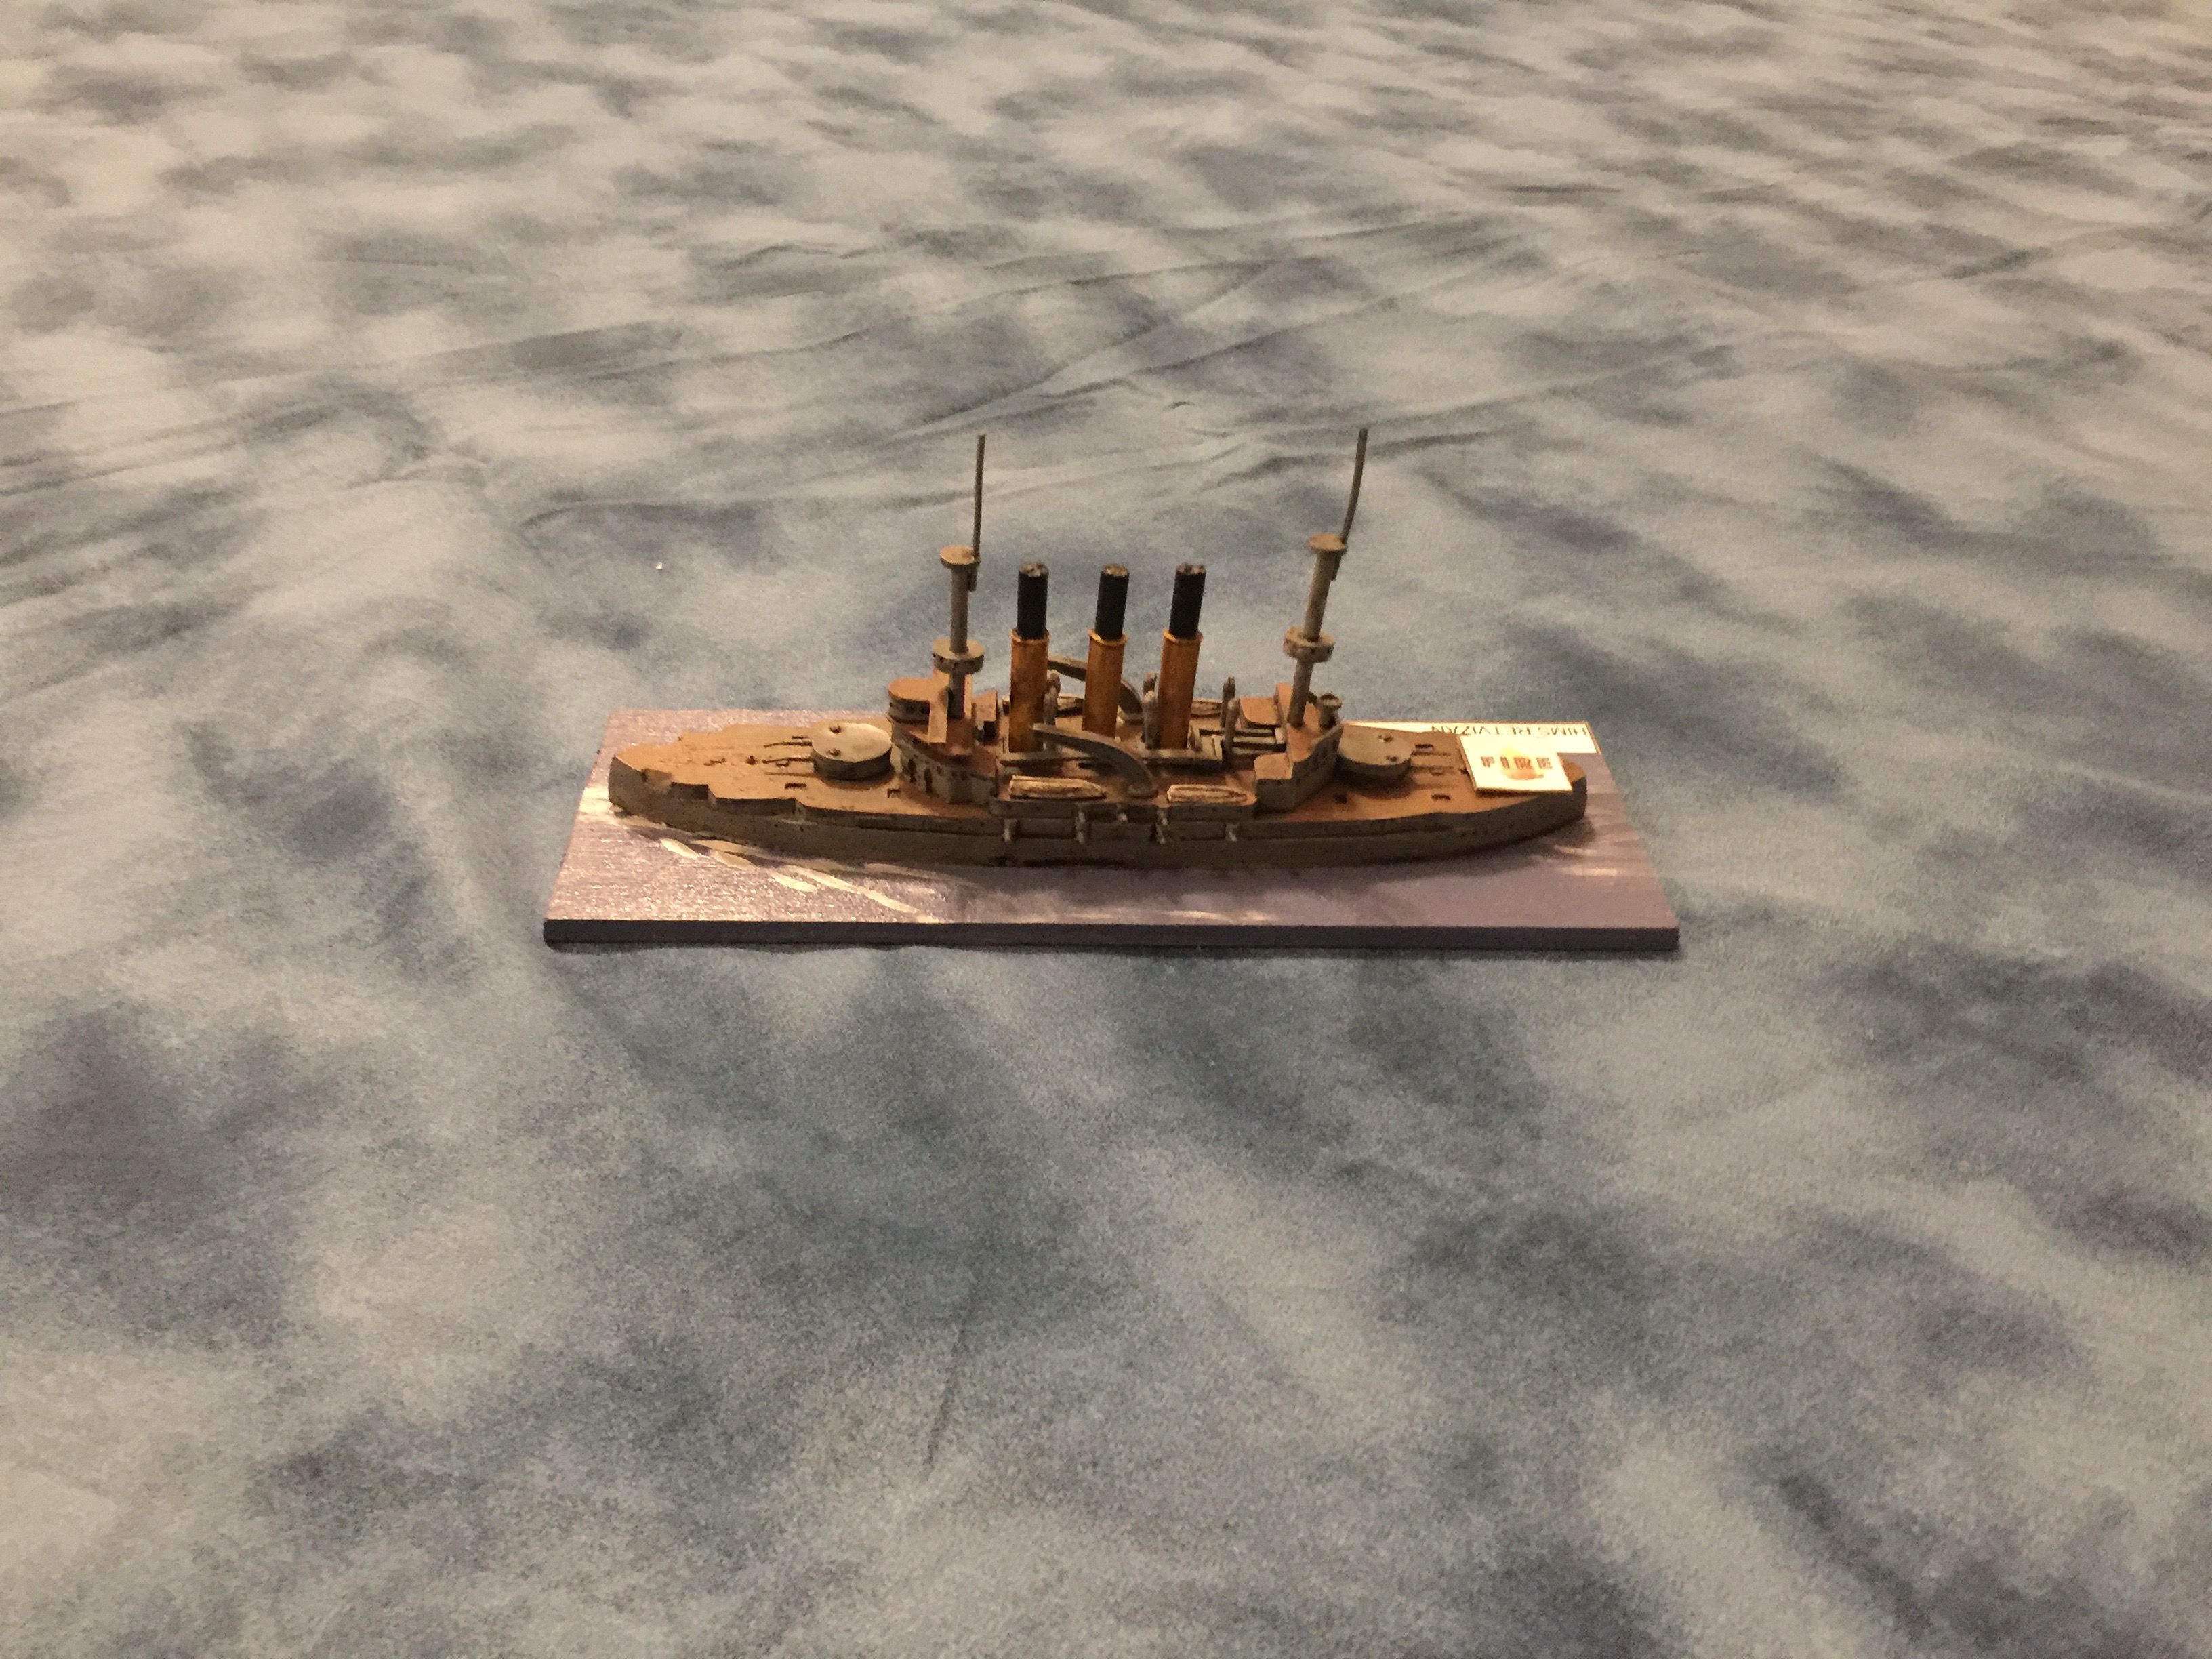
Pre-dreadnaughts with Naval Thunder,

IMG_1411

Bolt action… and more that I missed…

All in all, lots of fun stuff. Plenty of things for players to try out new games as well as games that might be your old favorites. Dan and the entire crew that plan out the Con do a really good job.

In the case of the Flames of War tournament, 4 of us had travelled up from Minnesota/LaCrosse to attend. The Battle Badgers put it on and as it would turn out Rick couldn’t make it to run the game but instead Lee (who had I played last year) ran it. There were just 6 of us all total which was crazy low turnout.

There seemed to be probably 2 factors causing the low turnout. One being that many of the potential players were running/playing other games. The other being the weather. When we drove up on Friday, it was raining and by Saturday the temps had started to drop and when we left that evening there had been freezing rain, snow and other fun things to make travel interesting.

Anyway, how about that tournament?

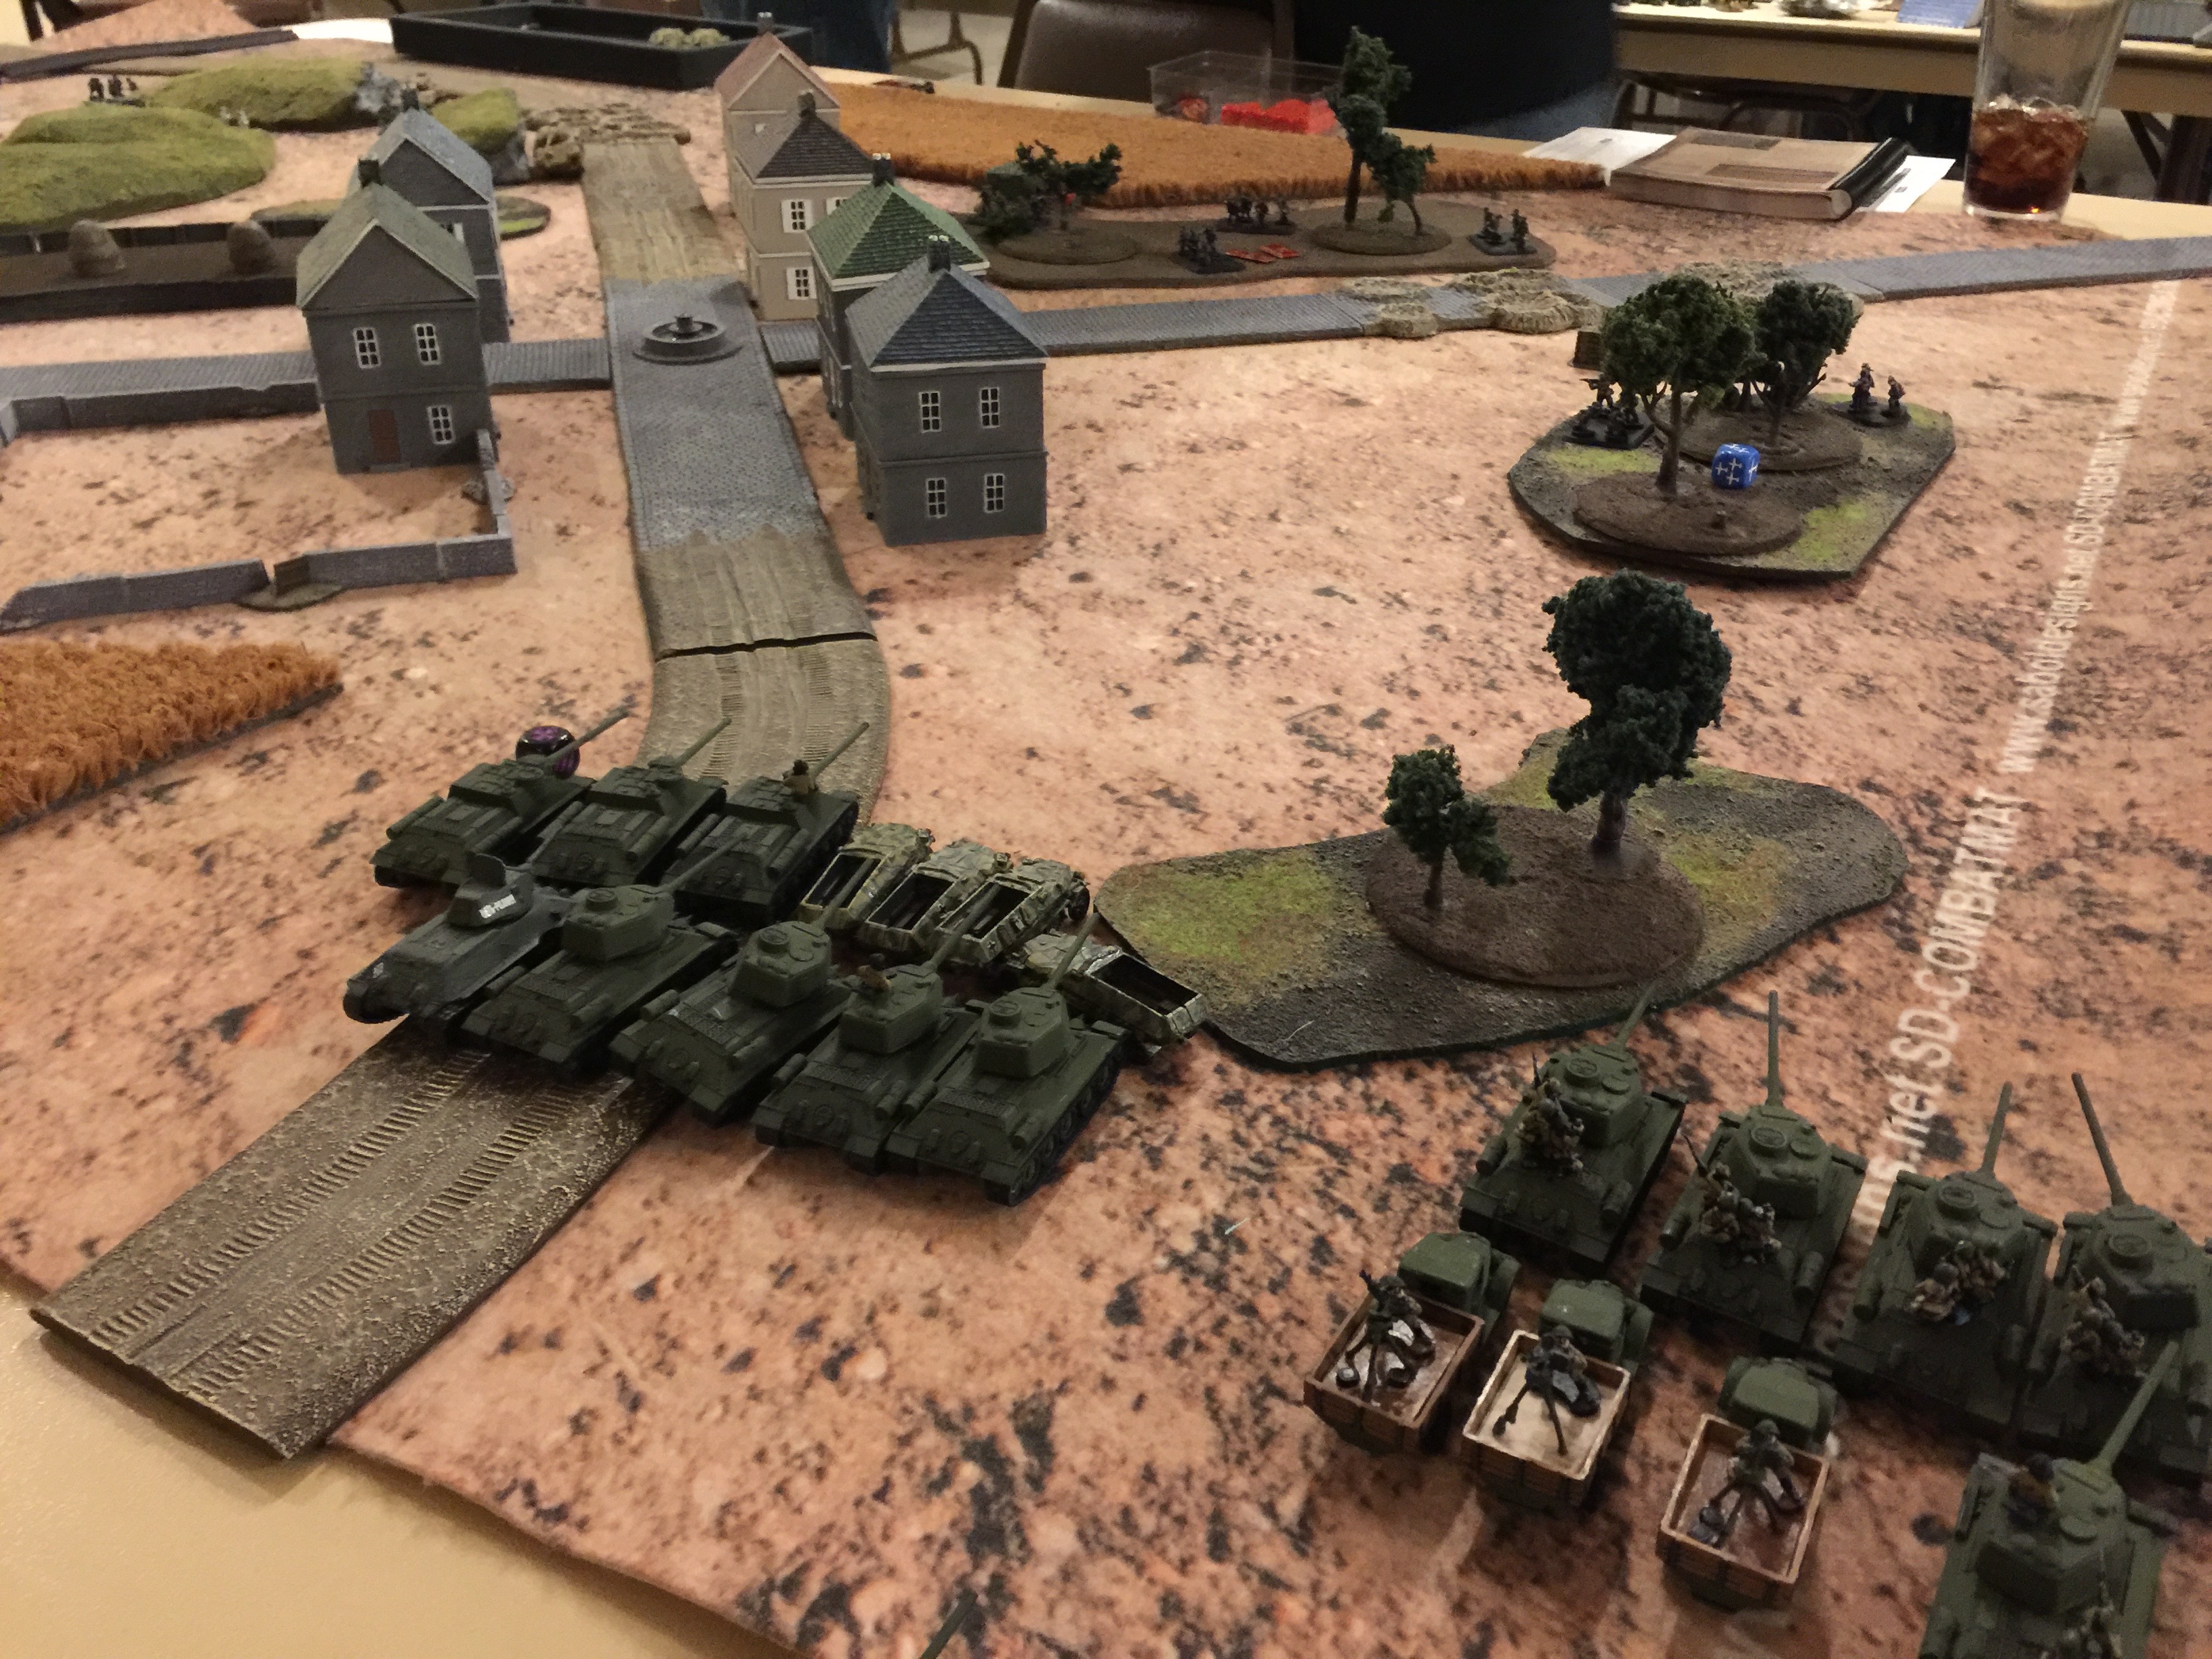
It was a Late War 1420 point affair. I fielded a Russian Guards Armor formation, with 11 T-34-85s, 3 AA trucks, 3 SU-100s and Speznacki platoon. (Infantry dressed up like Germans that can do recon and infiltration).

First game I played Roy and we ended up being on the City table playing Dust Up.

IMG_1401

Generally it was a fun but unfortunately flawed game for a couple of reasons. First we weren’t clear on the terrain so the areas in between the builds which was supposed to be rubble caused trouble as far as the effects were concerned. Lee ended up giving us a ruling which was that it gave bullet proof cover to infantry but nothing else. (Our group treats it akin to area effect trees as thing of it as piles of rubble and thus blocks line of sight.) This would have changed my initial placement significantly as my SU-100s needed to avoid Roy’s air as well as position for his Panthers which were in this picture behind the building on the right. As the tournament veterans know, discuss terrain first! My fault.

IMG_1403

Turn 1, Roy came across the street with his infantry and into the building,with Panthers behind.

IMG_1404

Then we come to the second problem with the game here on turn 2. Roy was popping out and then using Blitzkrieg movement to move back behind the building to try and snipe at my SU-100s. On the turn 3 I brewed up that Panther in the open, there was a second Panther that was partially concealed by the building but certainly available as a target. With the roll I had 4 hits.

Roy claimed that given the concealment I needed to roll at 5s instead of 4s. Roy’s assertion was since the entire platoon wasn’t visible this was the reason. Well the rules read, calculate to hit based on the easiest target and apply hits from easiest, and lowest armor rating to hardest based on line of sight. I didn’t want to throw a stink as I was there to have fun but basically it cost me one more Panther kill, which would have been a major turning of the tide since I didn’t get my reinforcements roll on turn 3, 4 …  and by turn 4, I’d lost my company command and Roy had managed to brew up my SU-100s and assault into my infantry quite deftly.

Ended up a 1-6 loss. Flaws happen, don’t read it as sour grapes. We roll dice for a reason!

Game 2 I took on Matt which was a Fighting Withdrawal game. Matt as the defender having 3 objectives to cover had some very tough choices to make based on their placement. This was a game my force was made for and I was able to overload with the attack of my choice. That was a huge advantage. I ended up aiming the hammer for Matt’s left flank.  I just needed to defeat one Panther at long range, 2 Jadgpanthers in ambush and one infantry platoon around the objective. Panzerfaust MG teams no less! I liked those odds.

IMG_1413

Lining up I readied the thunderbolt.

IMG_1414

The SU-100s made quick work of the Panther. Here kitty, kitty!

IMG_1415

On the other side I had taken advantage of the 16″ infiltration move, managed to not be detected, then had my infantry hop out and press into the woods on my Turn 1 with tanks tanks and more tanks in support. I easily won the assault and was on the objective.

IMG_1417

On Matt’s turn he would pop out his Jadgpanther ambush, and moved to contest the the objective. Top of turn 2, with all the firepower to bear I took out both tanks, and charged in to try and push his men off the objective who could contest from the bullet proof cover of the shell holes.

Didn’t work out and my infantry was pushed back in the assault and then later blown away. Given the panzerfausts in the hands of the German infantry while I could have pushed in with my tanks I just didn’t figure it was worth the losses and likely turn back.

IMG_1418

Matt would bravely use his last Panther to get a kill on one T-34-85. With the next turn and all the fire power I took out the rest of the infantry securing the objective and we called it Game. 5-2.

I’m not sure how Matt could have otherwise defended better against me on that one. That was a crazy amount of armor to have to deal with.

Game 3 I played against Ken on the Dutch table with Encounter. It featured a fairly open terrain and 3 bridges across a canal.  This was a game that I just didn’t have a clue how to work the terrain much less deal with Ken’s very impressive force.

He had 1 Tiger II, 4 Jadgpanthers, 2 88s, a couple of Wirblewinds, and a small amount of infantry. It was in many ways the perfect long range very very hard hitting force.

IMG_1422

I did a feign on Turn 1 to draw out the placement of his Tiger II which cost me an SU-100. My other initial platoon was T-34-85s.

IMG_1423

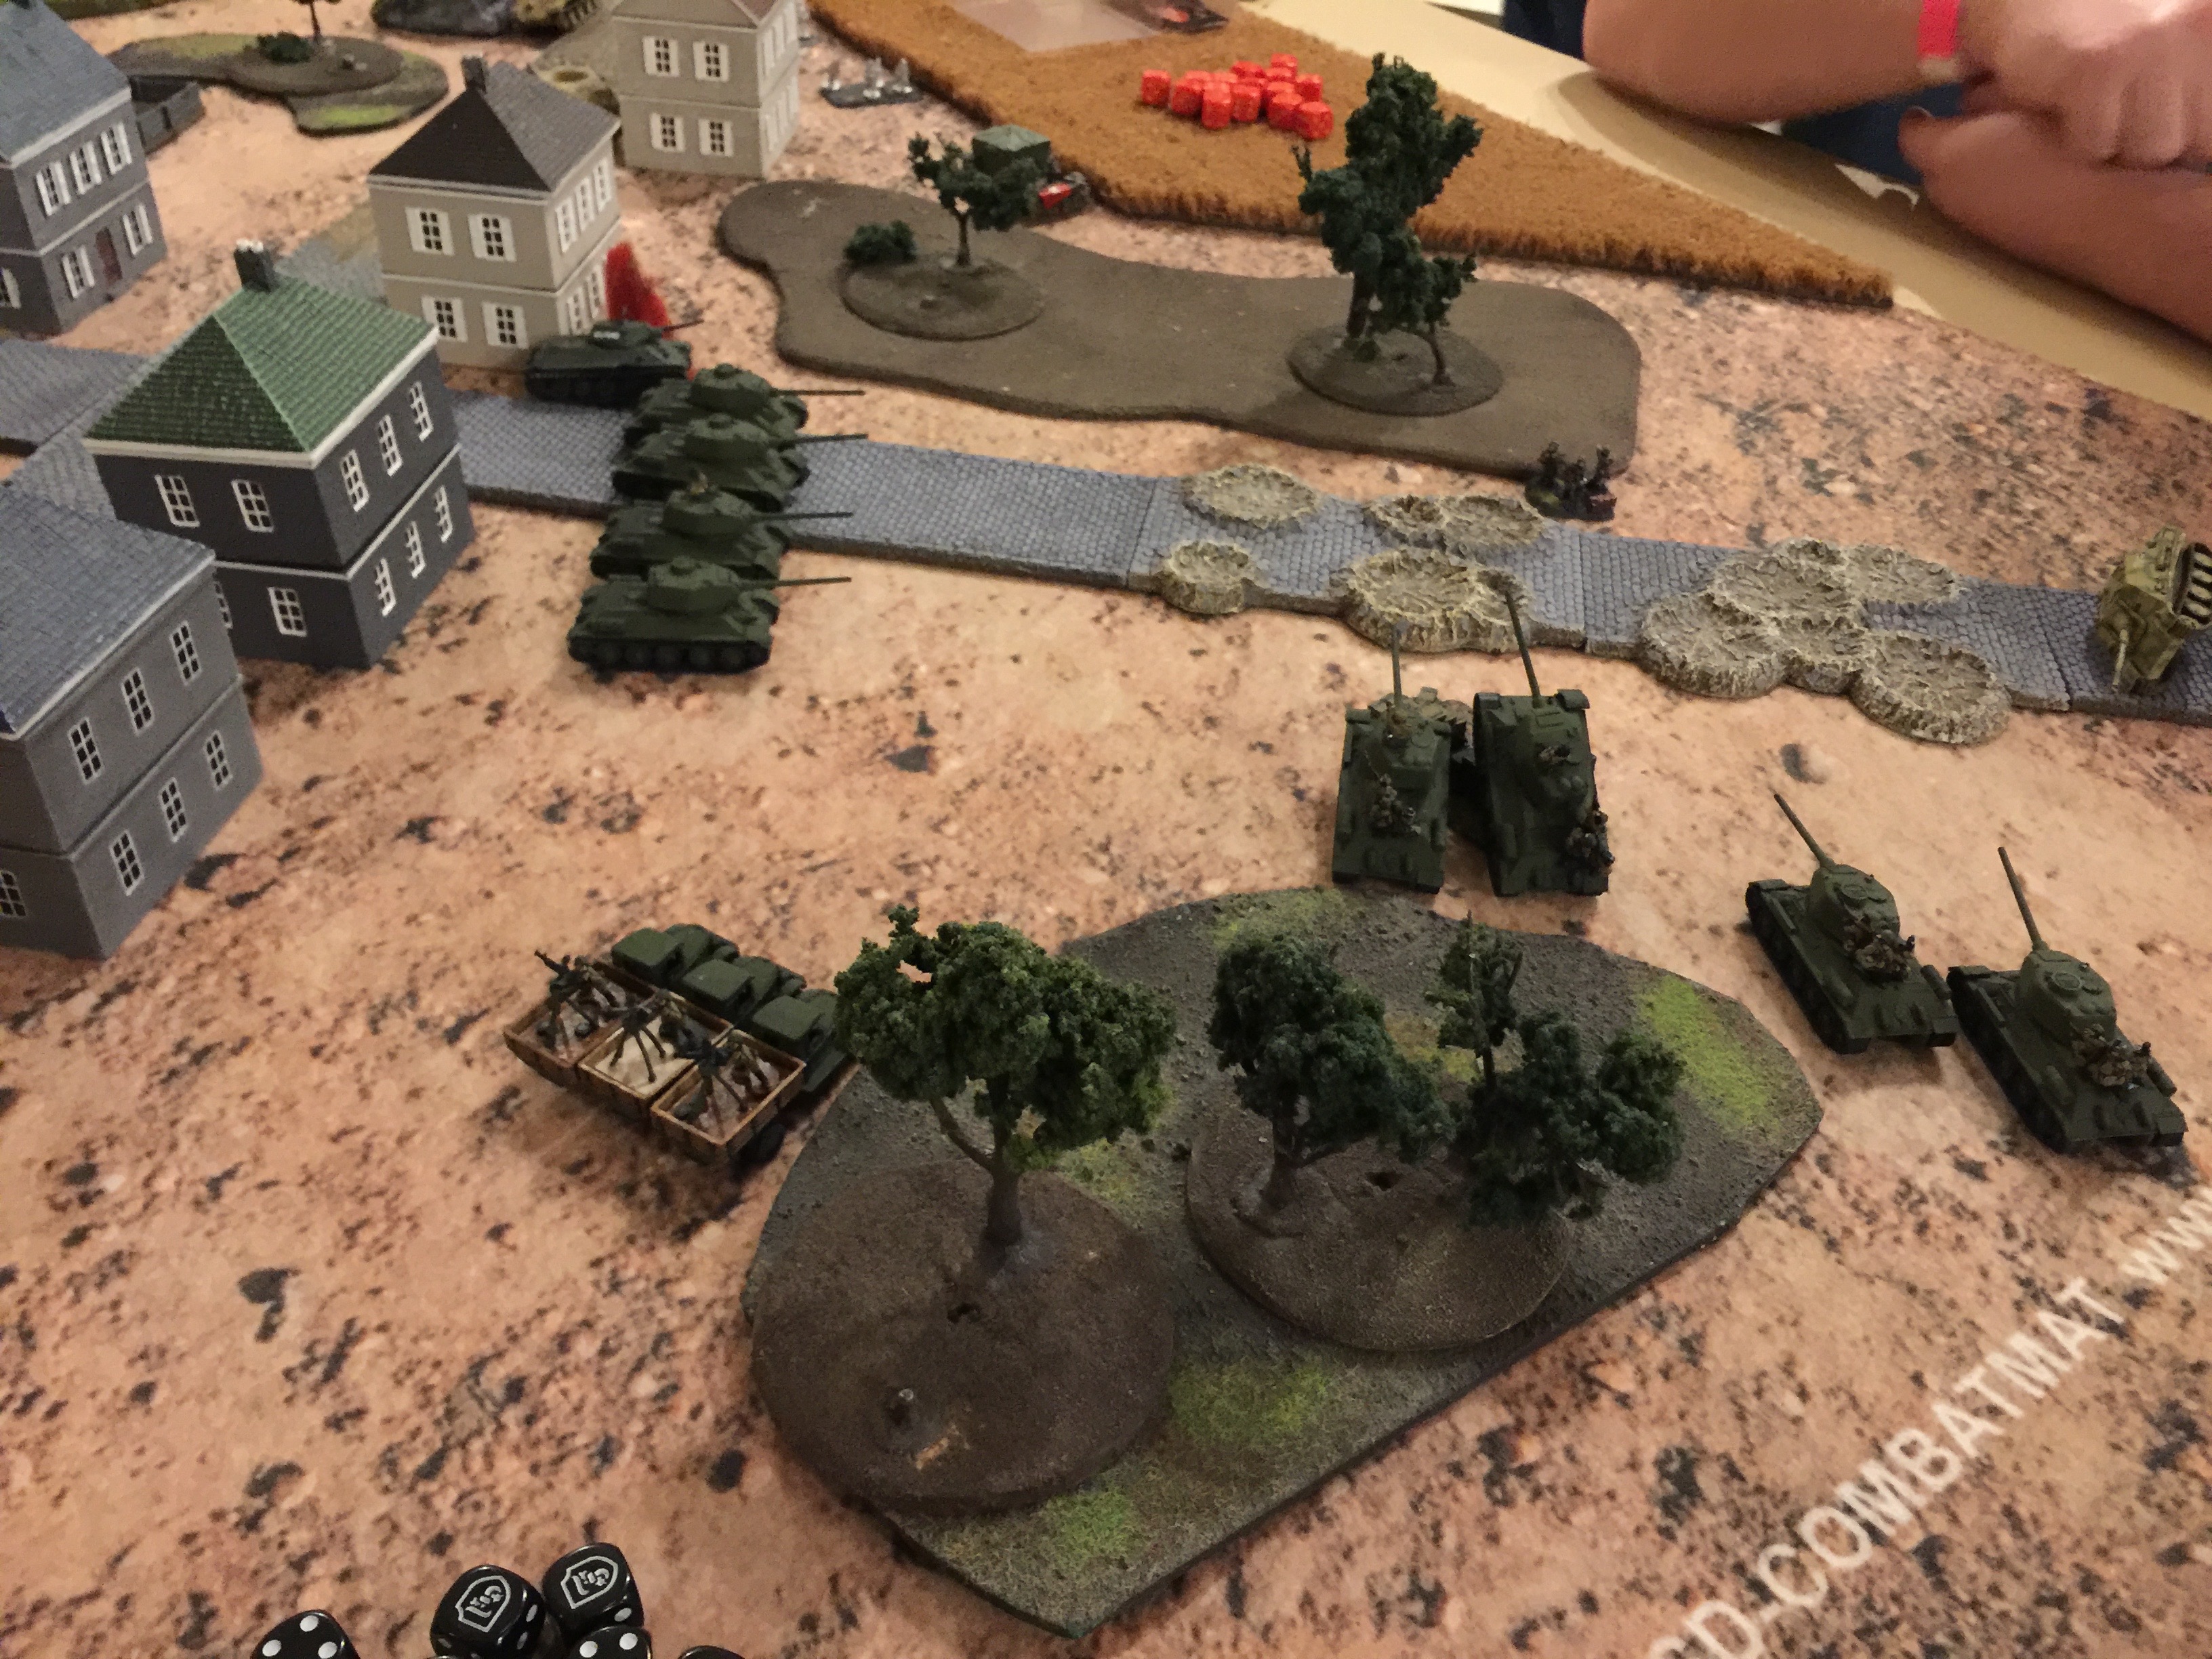
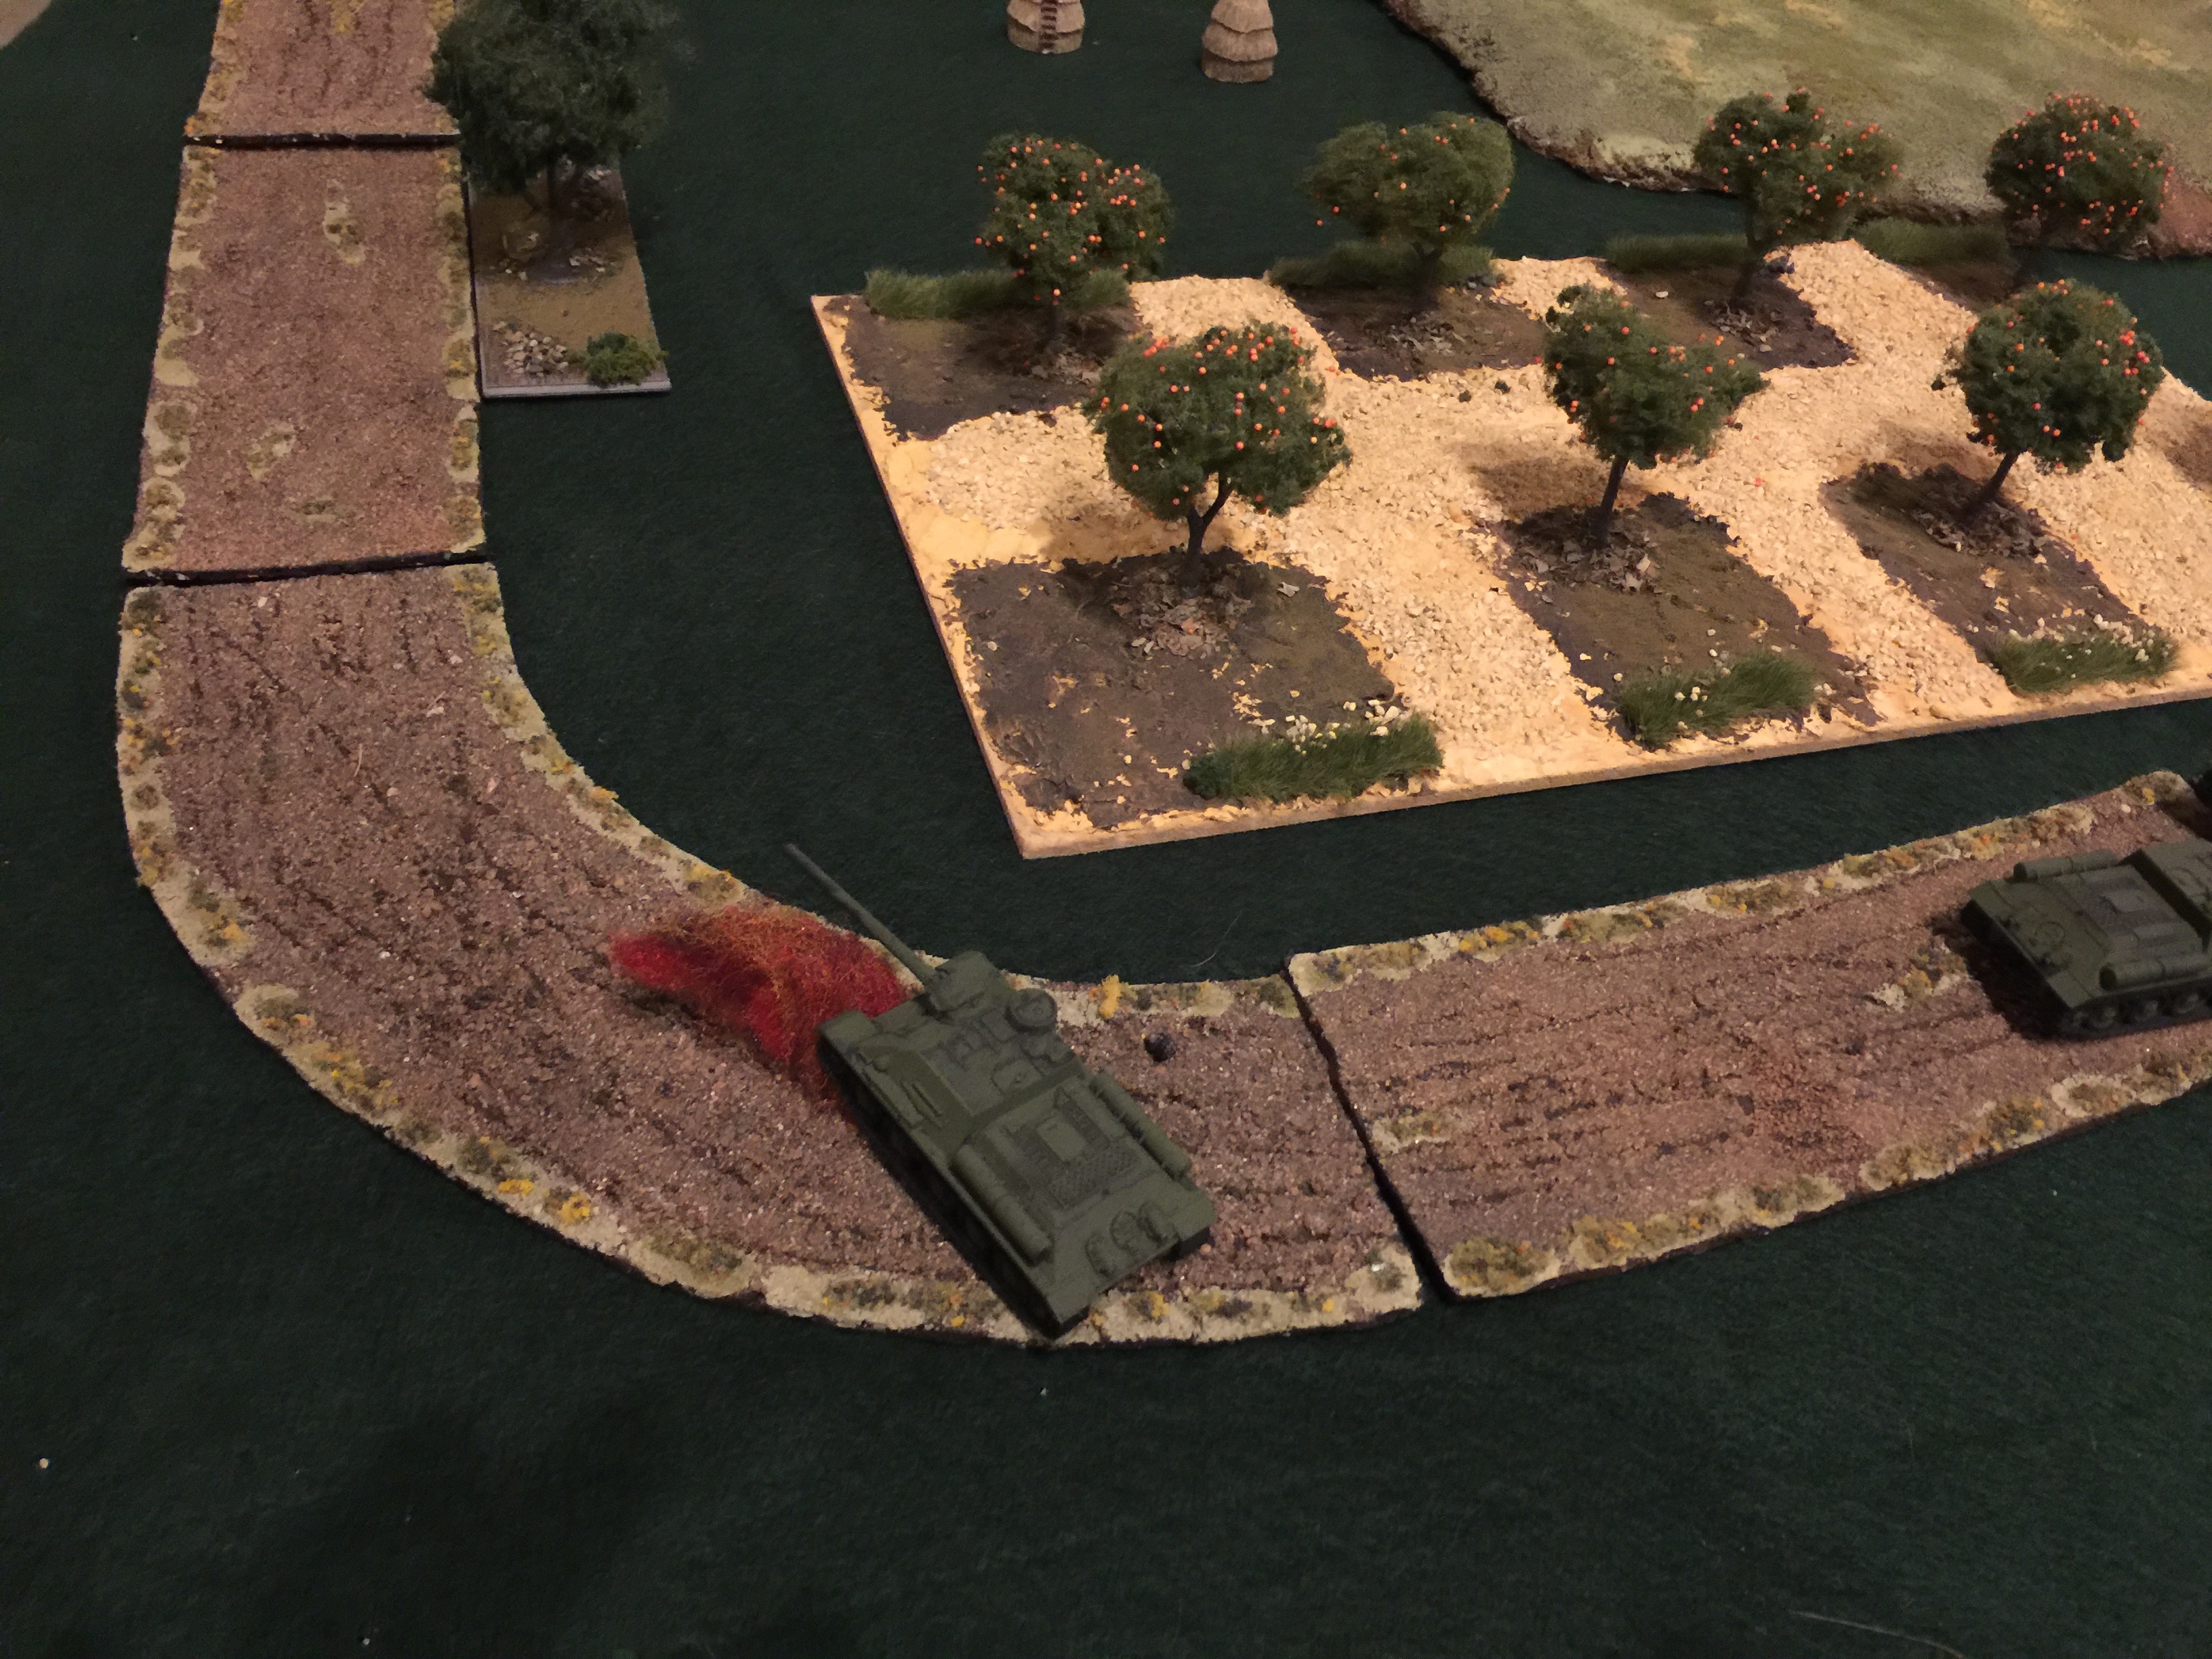
I kept things with the exception of my company commander mostly on my left flank behind the orchard in hopes that would draw Ken in. It kind of worked as here you can see his company commander coming forward. I would end up brewing him up.

IMG_1424

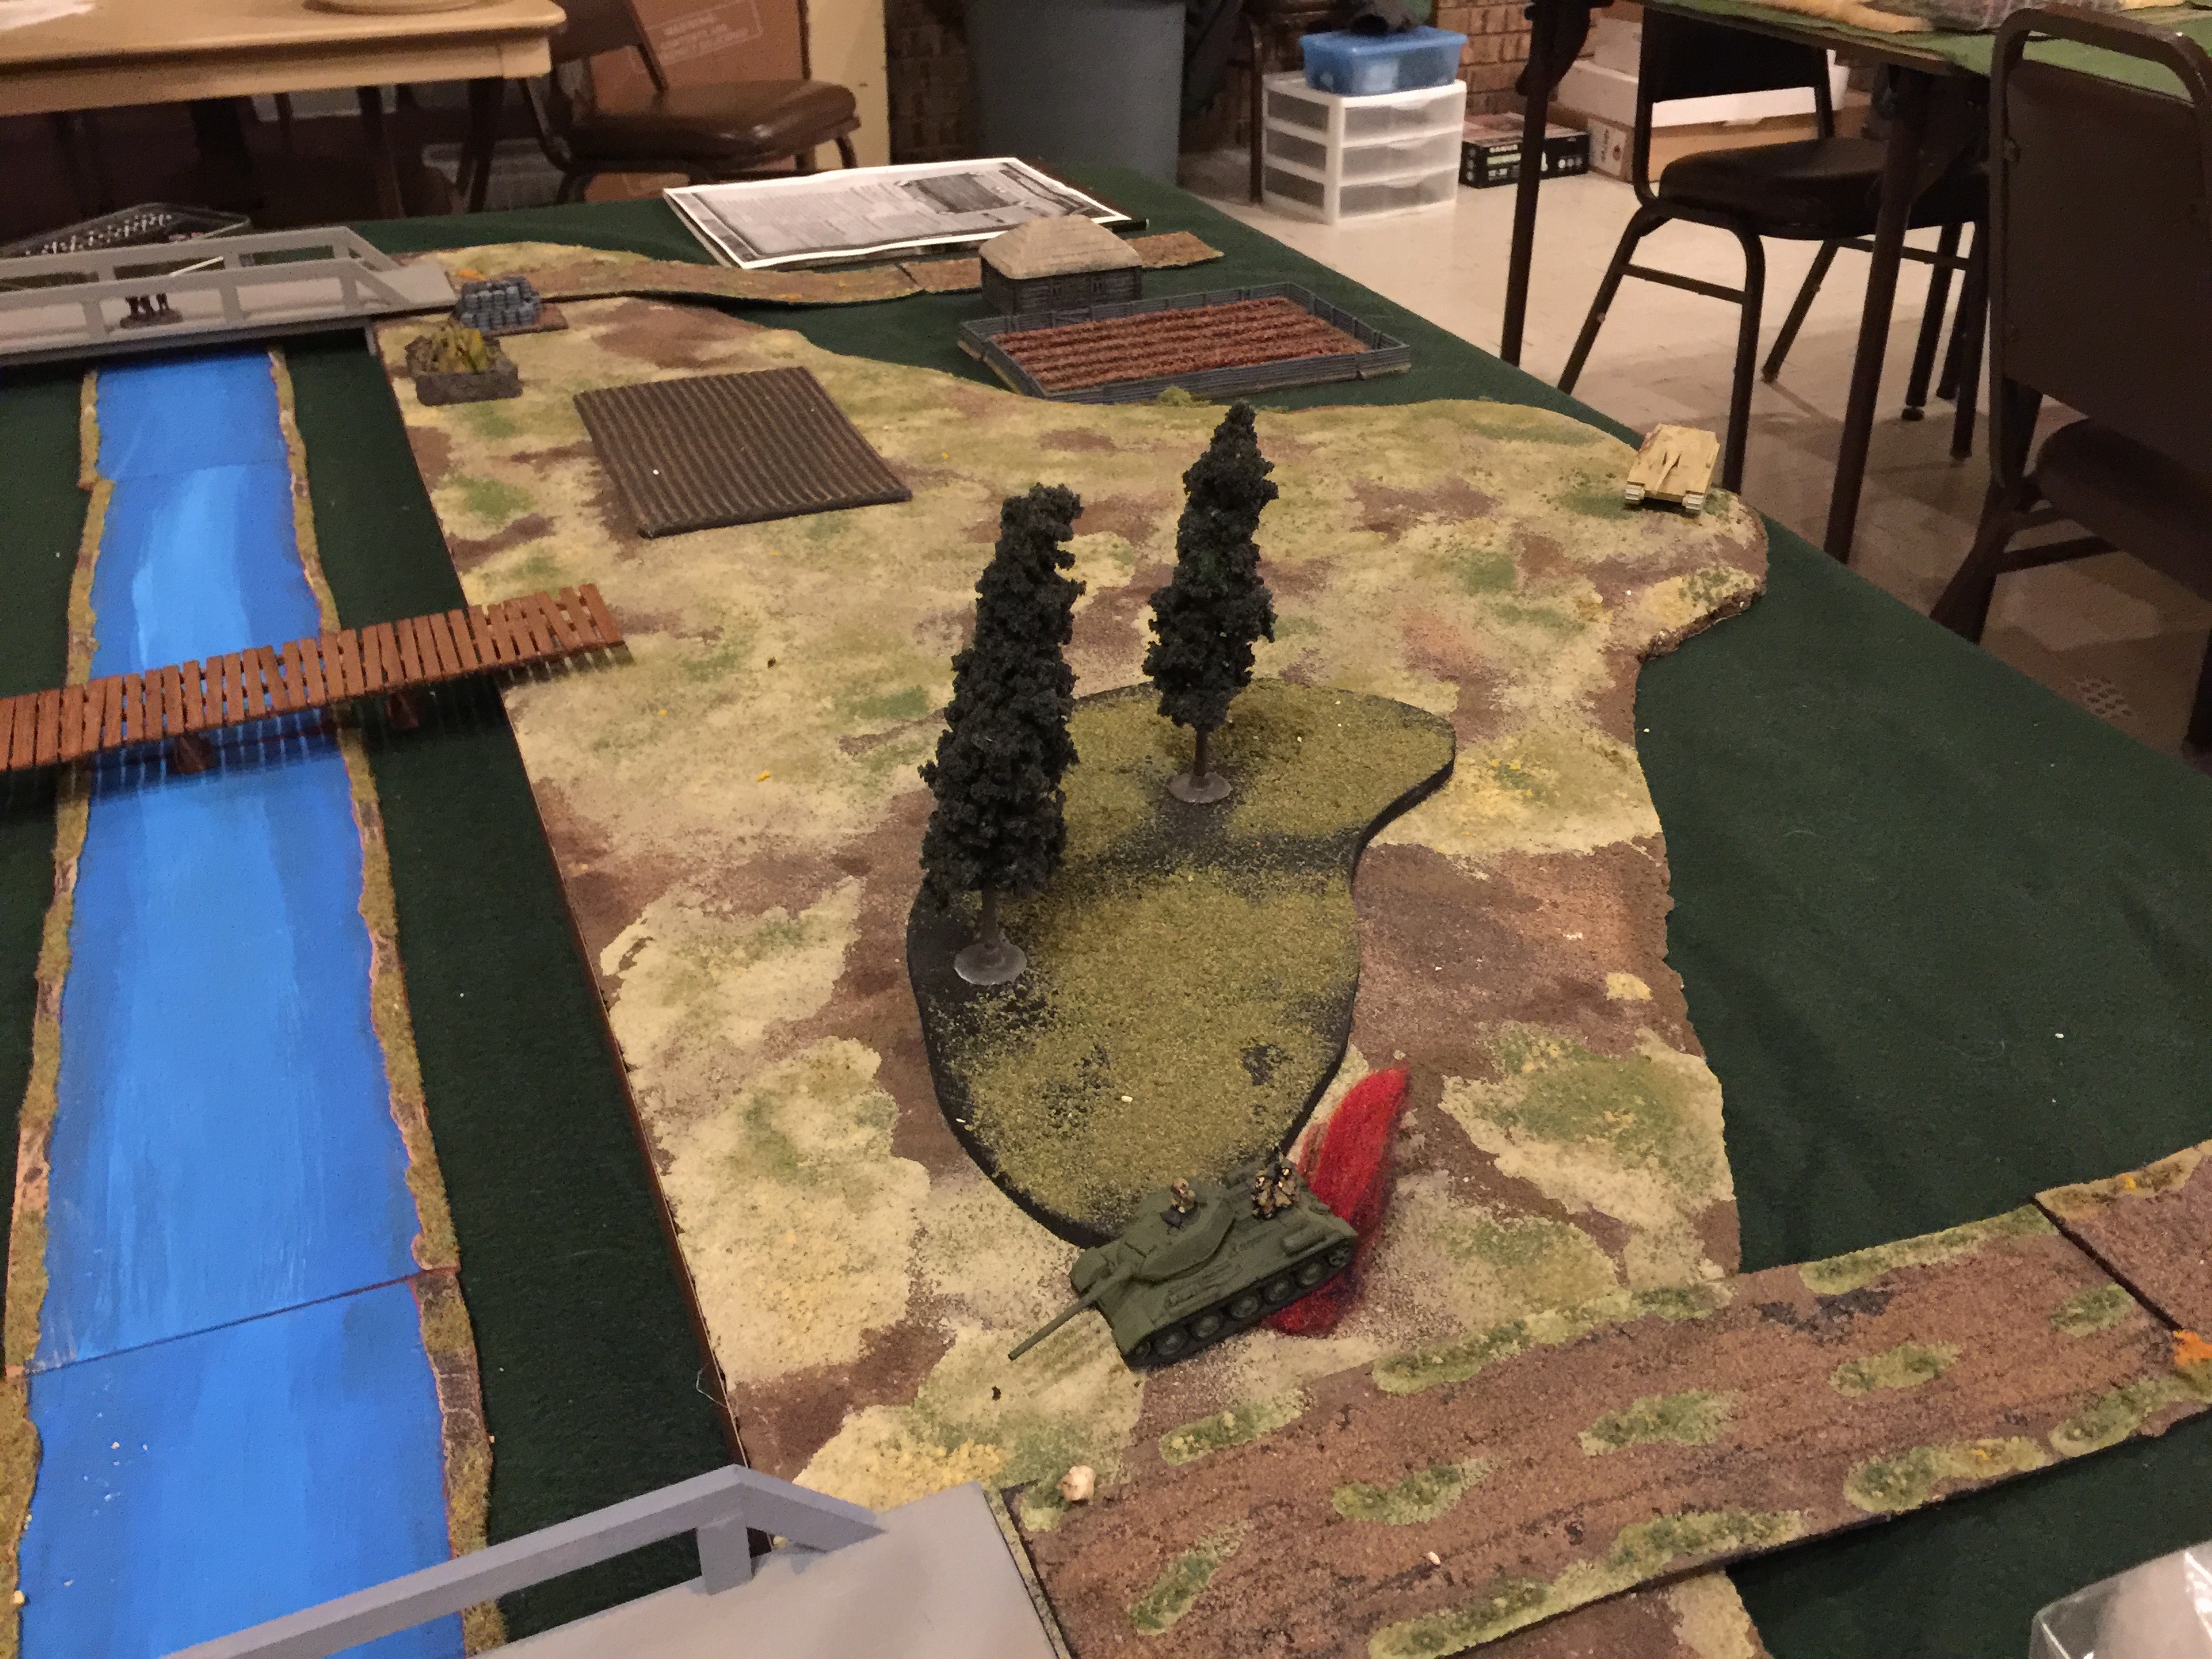
On my right flank I was hoping I could keep things to a minimum with the idea of reinforcements enabling me to turn this into the focus of my attack. Didn’t work out. I should have started out in the woods. Dumb placement on my side.

IMG_1426

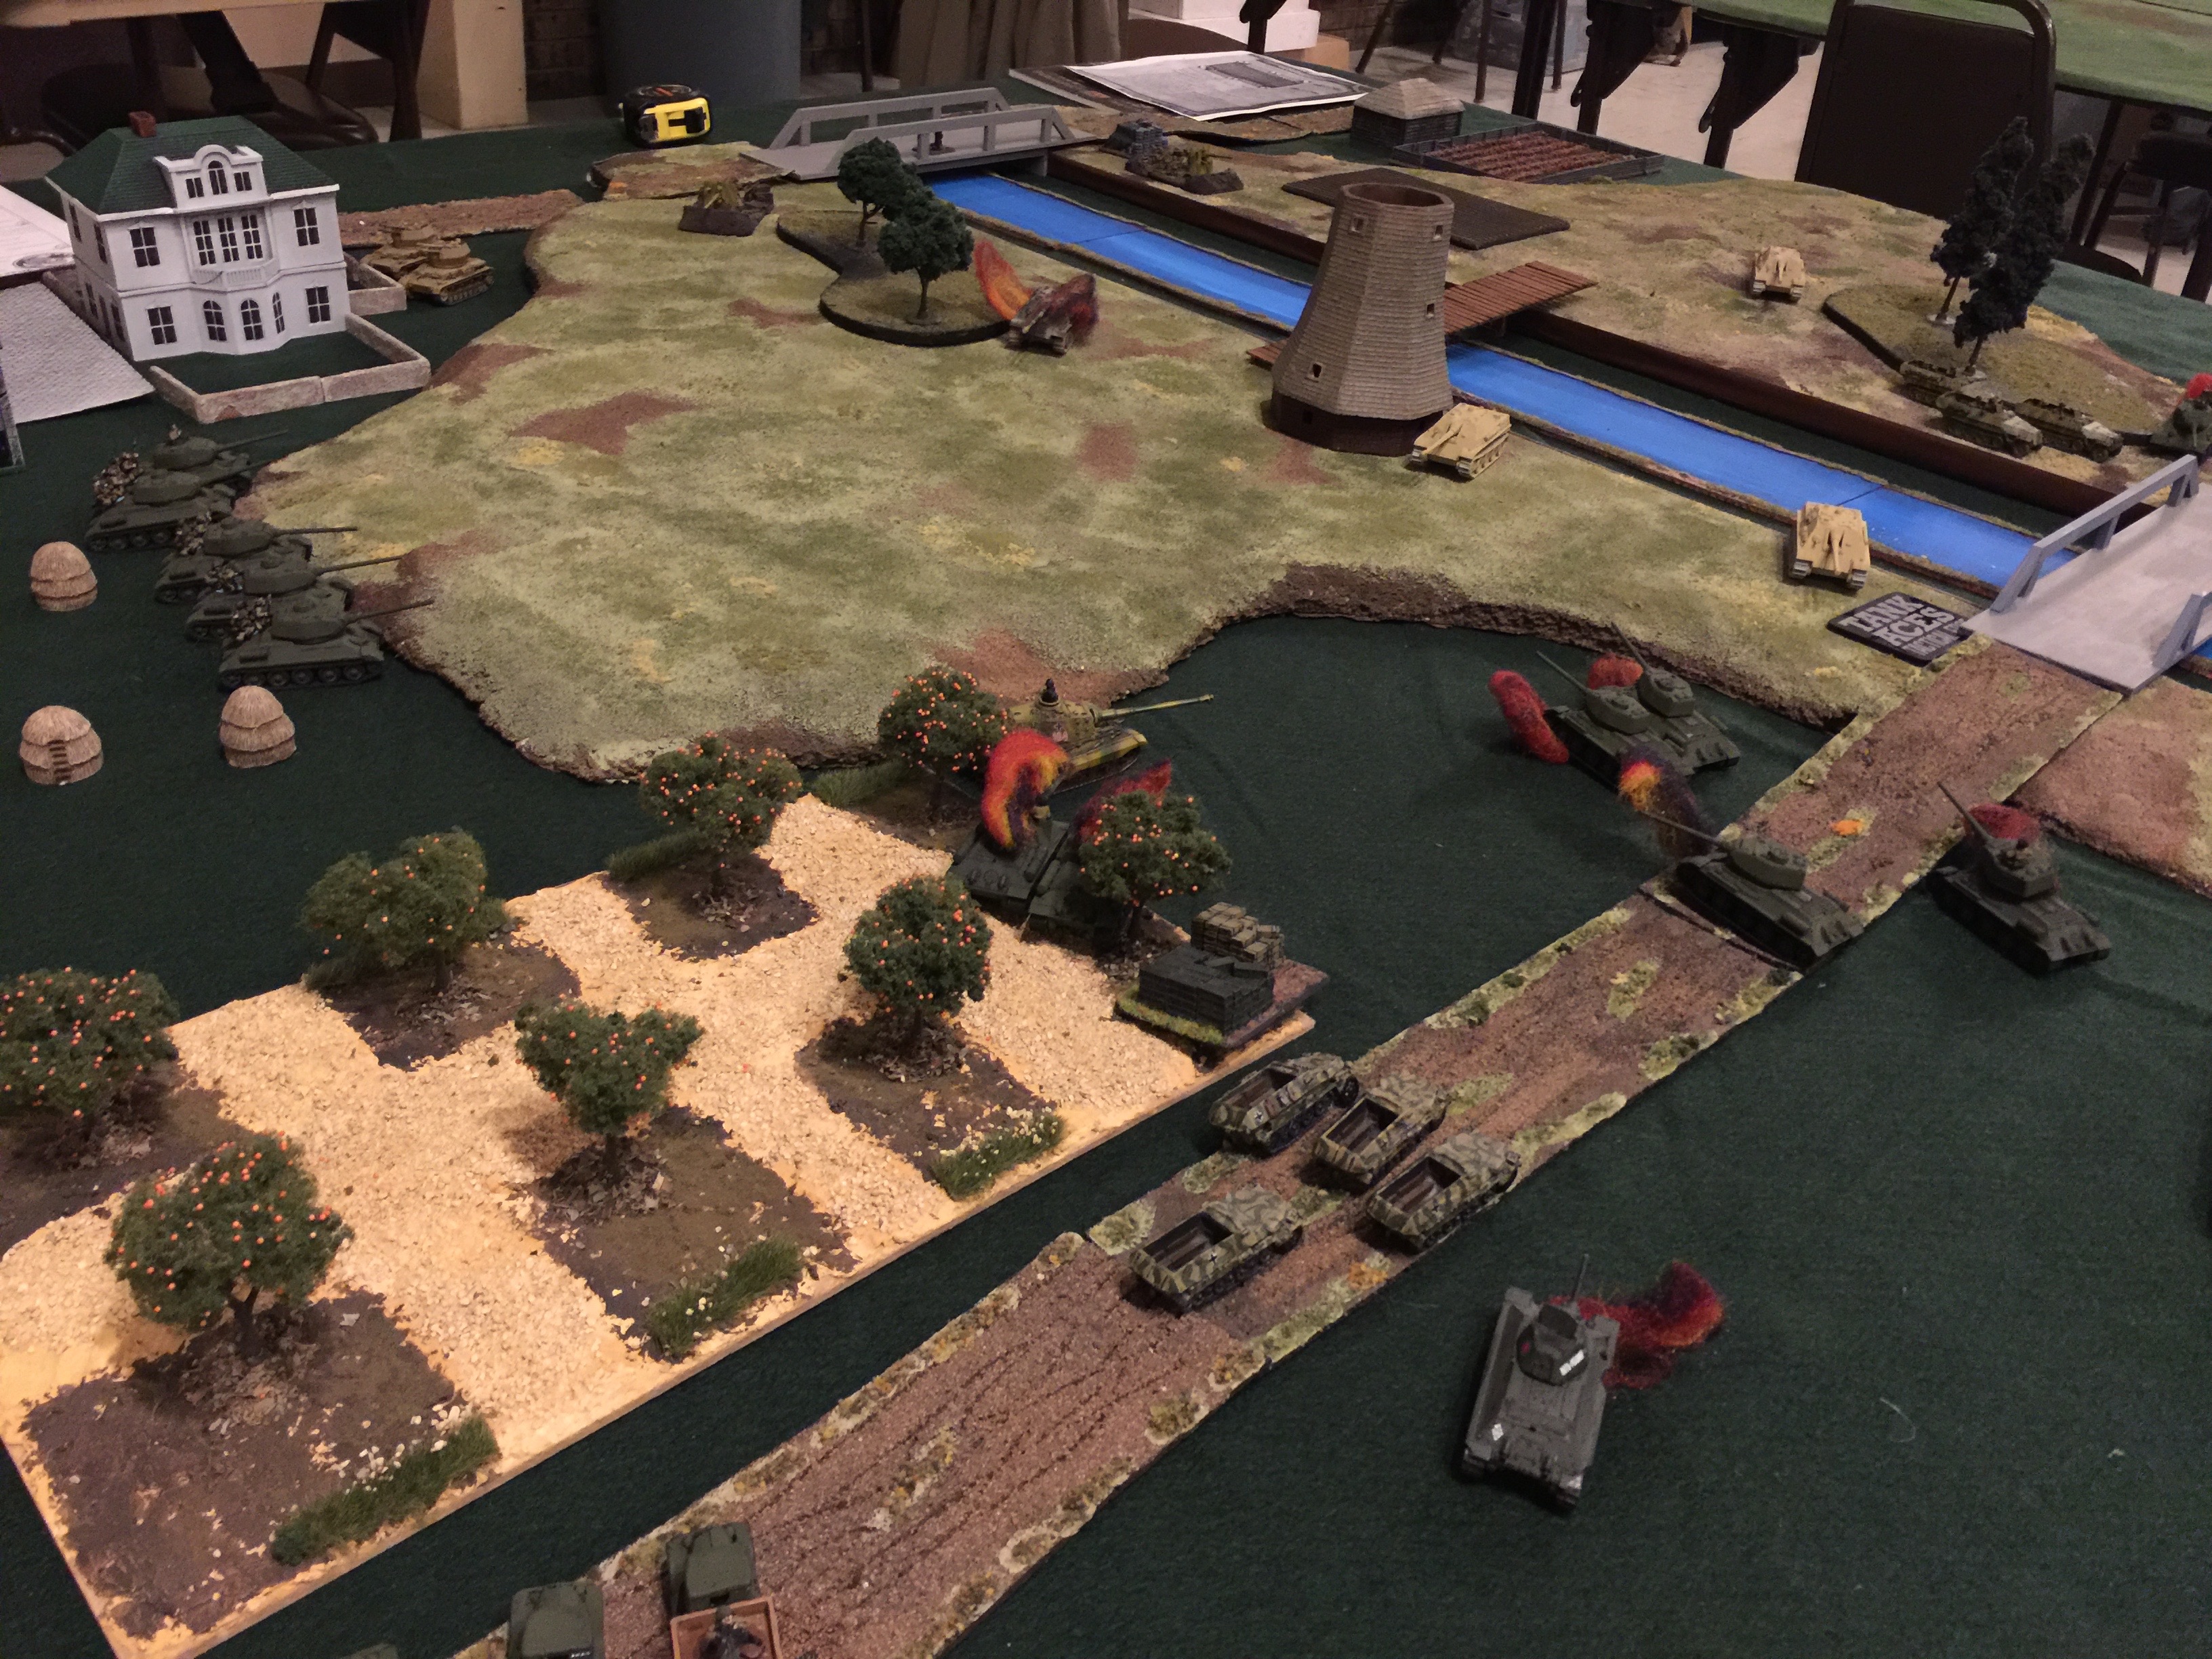
Here’s from the last turn where my other T-34-85s finally arrived on turn 5 but on my left flank. They rushed up with the idea of trying to get on the flanks of Ken’s armor. Between wiffs and good shooting/tactics on Ken’s side he deftly took my force apart.

Without artillery or air to take out the 88s, it was I think a pretty straightforward win for Ken with a 6-1 score.

All in all the LaCross crew ended up with 3rd, 4th, 5th and 6th over all in the point standings. (I was 4th) Prize support was through Adventure Games so it was great to have a $15 credit to spend. No more substituting an old T-34 as a T-34-85!

It was a major disappointment that the tournament was so small especially after such a very long drive.

Hoping that in the future the TundraCon guys will have a 2 days event so that tournament games can be on one day and ‘normal’ games can be on the other. Between the X-Wing, Star Wars Armada, Flames of War tournament possibilities AND other good games, I think that would make for better participation in a tournament and be a natural growth of the Con. Guess we’ll see!

Posted in Con, Flames of War Great War | 3 Comments

Tuna to the Face : First Star Wars Armada Tournament

The Fantasy Flight Game Center up in Roseville hosted a store ‘Imperator’ tournament on Jan 2nd and here’s my little write up.

Having recently bought the Star Wars Armada game and only having played it a few times with the game group down here in Rochester, I felt it was time to go see how it plays at the tournament level not to mention get a good on the spot education on the rules.

First, the Fantasy Flight Game Center is located right next door to the offices of Fantasy Flight Games. The store is it’s own brand of awesome, being part restaurant (and I mean a GOOD restaurant), part retail (it’s not huge, it’s mostly FFG stuff but still everything they make) and play space. LOTS of play space. The day I was there, every game table was taken. Then there is a whole space dedicated to special events and that’s where the tournament was. We had 24 players and we only used up maybe 1/3rd of the room for the tournament. That’s crazy amazing in itself.

Since I play mostly historical stuff I did check to see what they had for 6×4 boards and terrain for being able to play here. 6×4 boards they have but 15mm/28mm terrain… not so much.

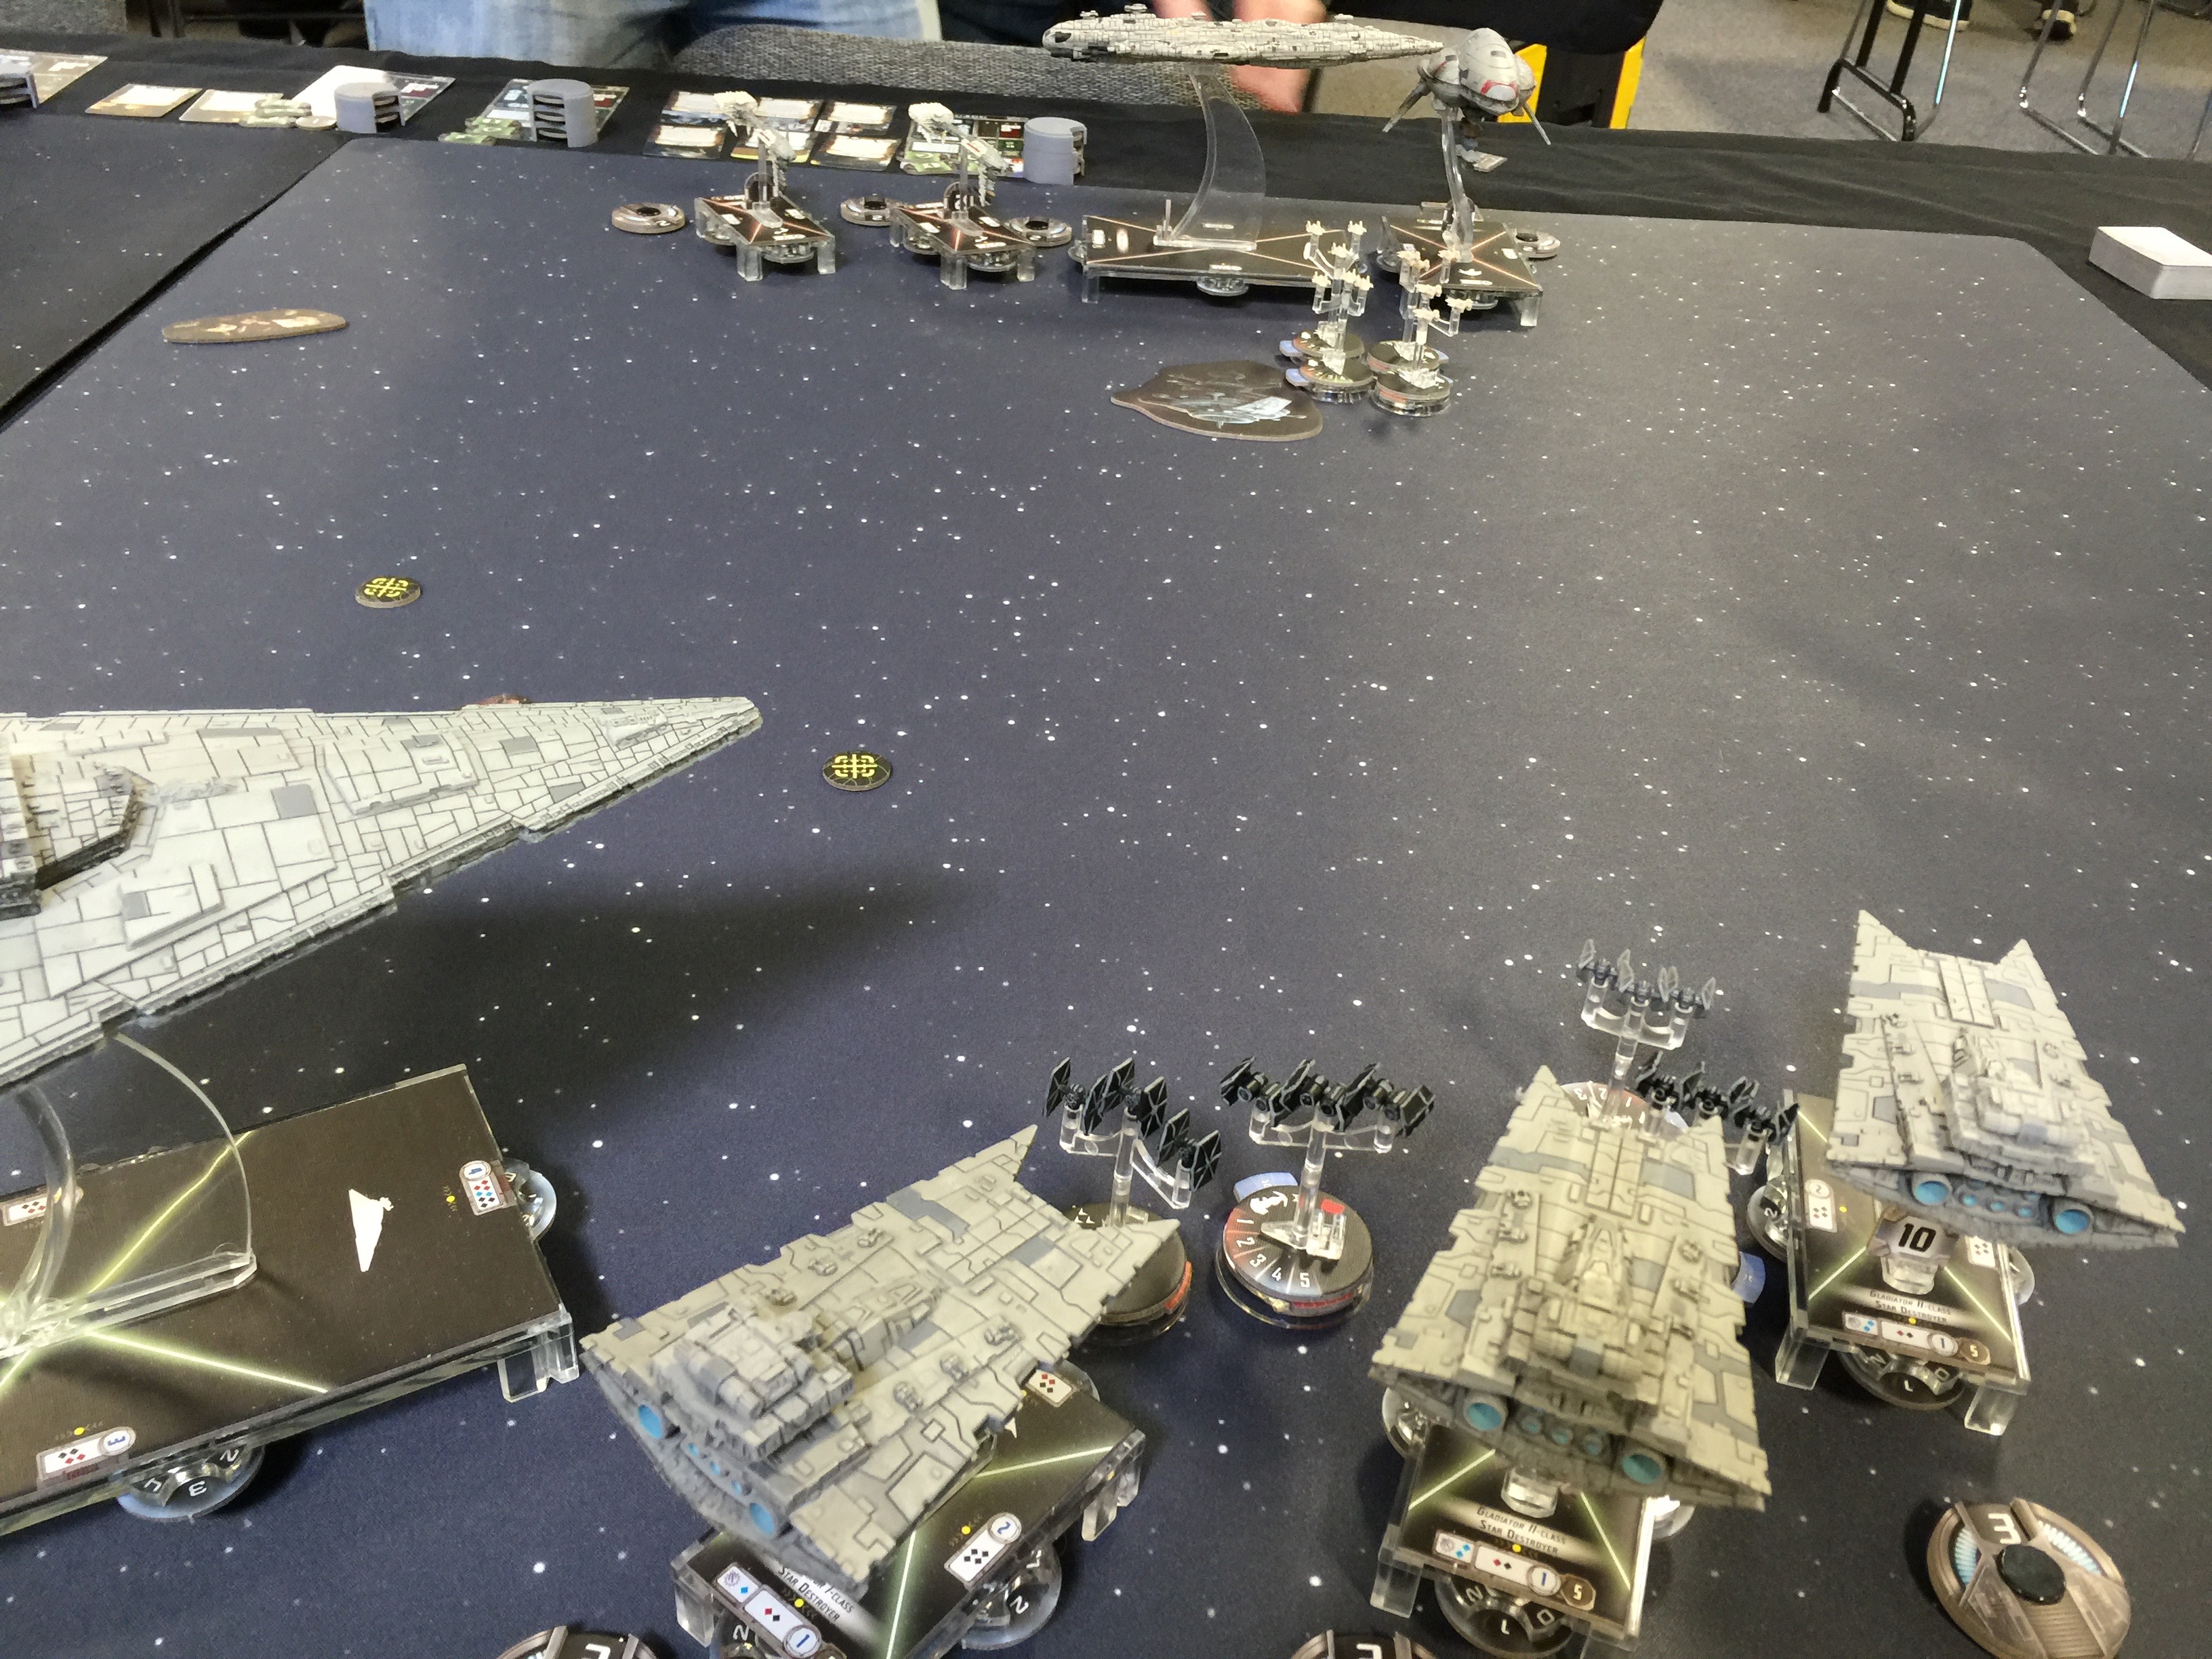
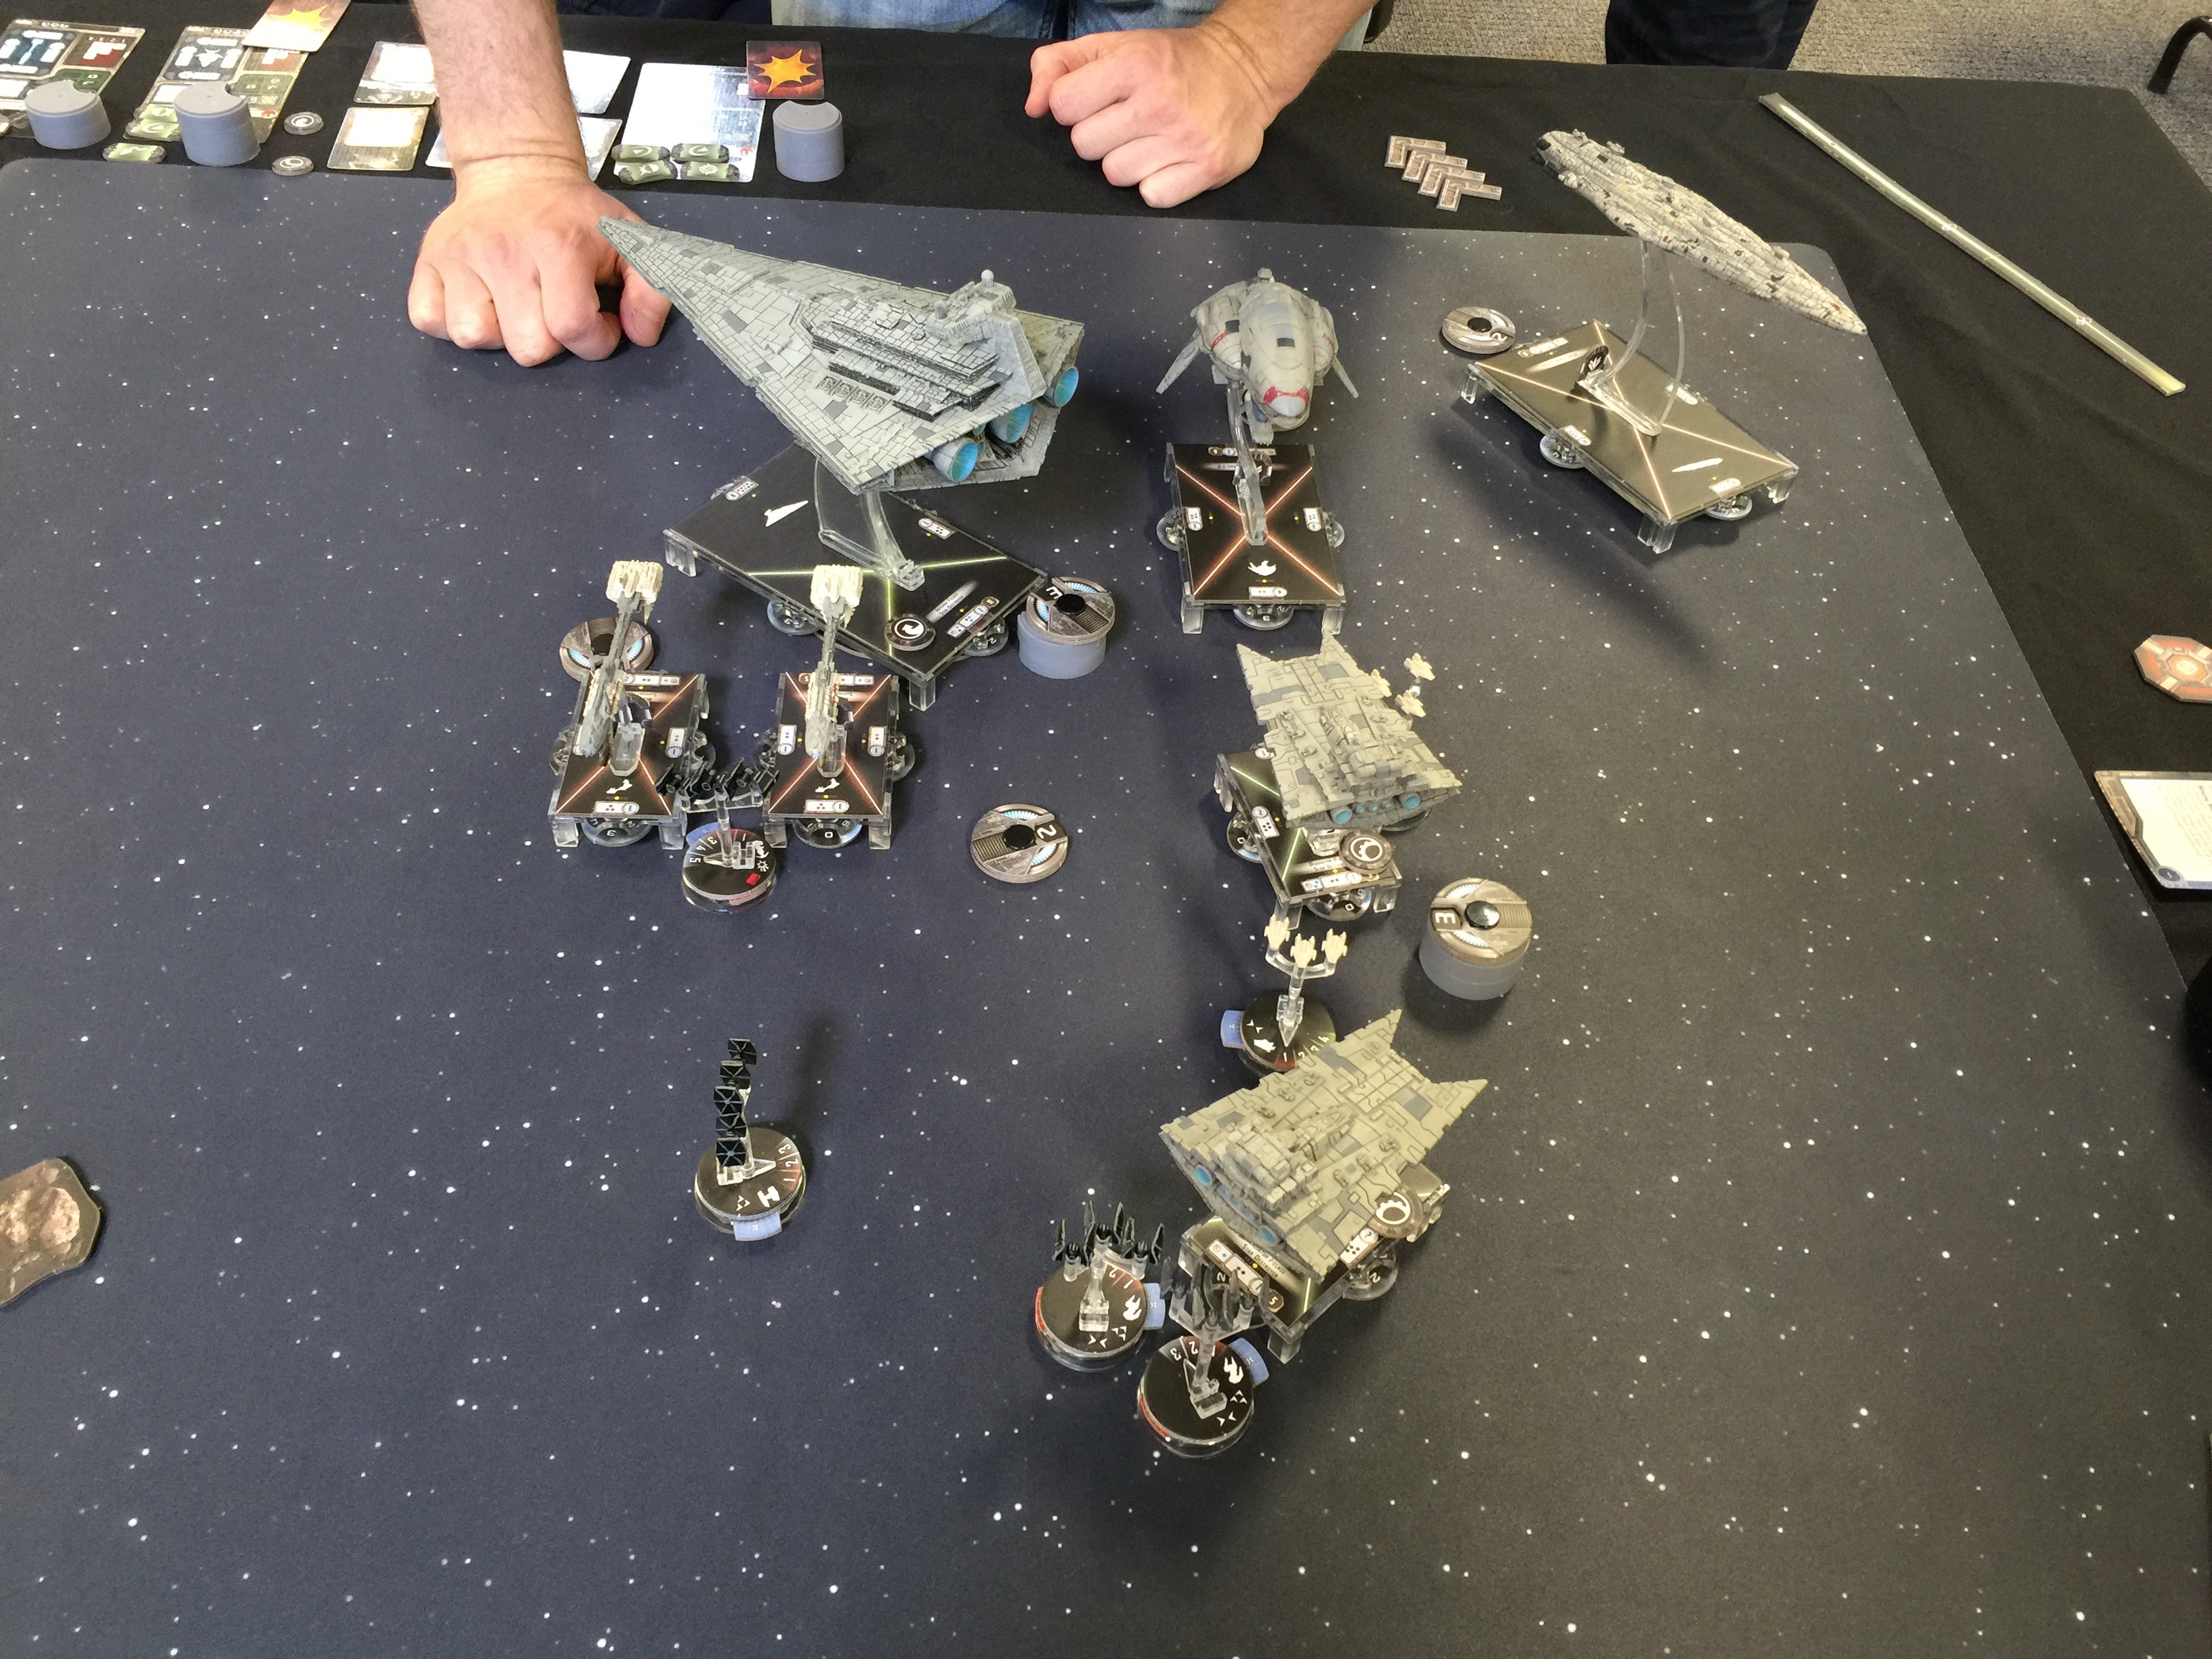
So for my tournament force I put together Motti as my admiral, a class I Imperial Star Destroyer with XI7 turbo lasers, a class I Gladiator with demolisher and Ordnance Experts, and 2 class II Gladiators (one with Insidious) with Rhymer, Howlrunner, Soontir Fel and one squadron of TIE interceptors. Pretty much a big experiment, but for a first go I was more going to play and gain experience then have grand visions of being super competitive.

IMG_1383

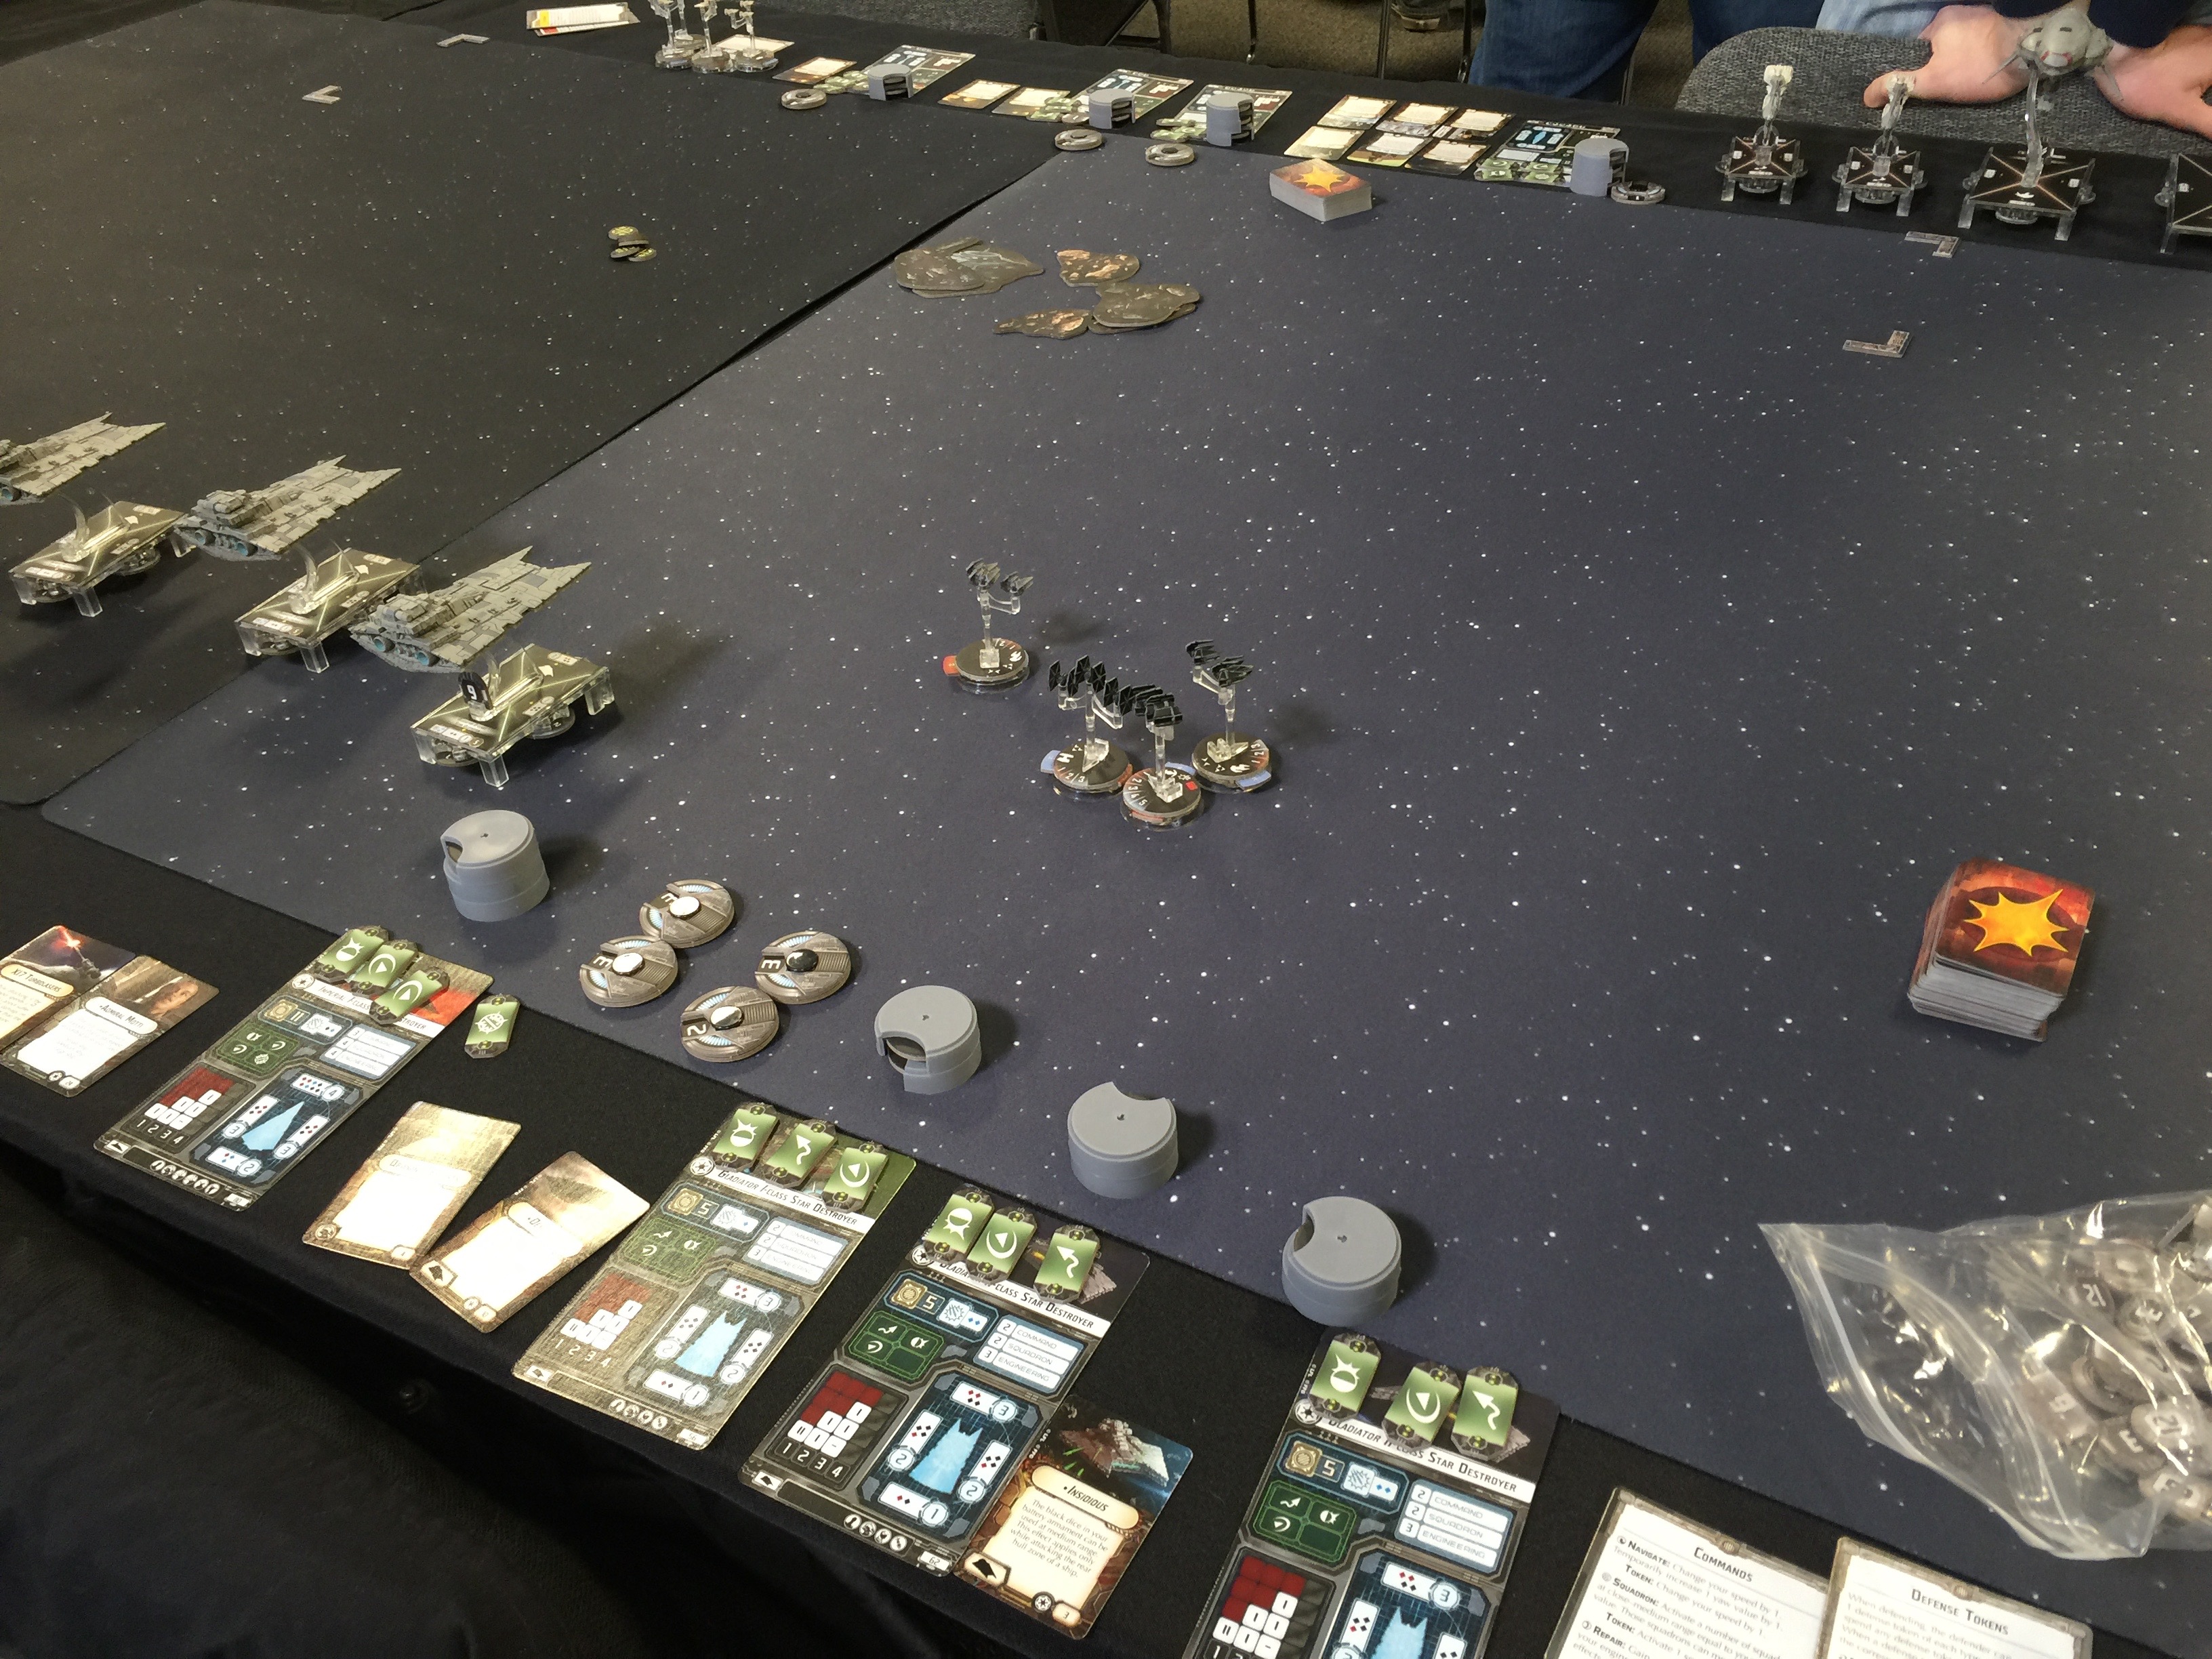
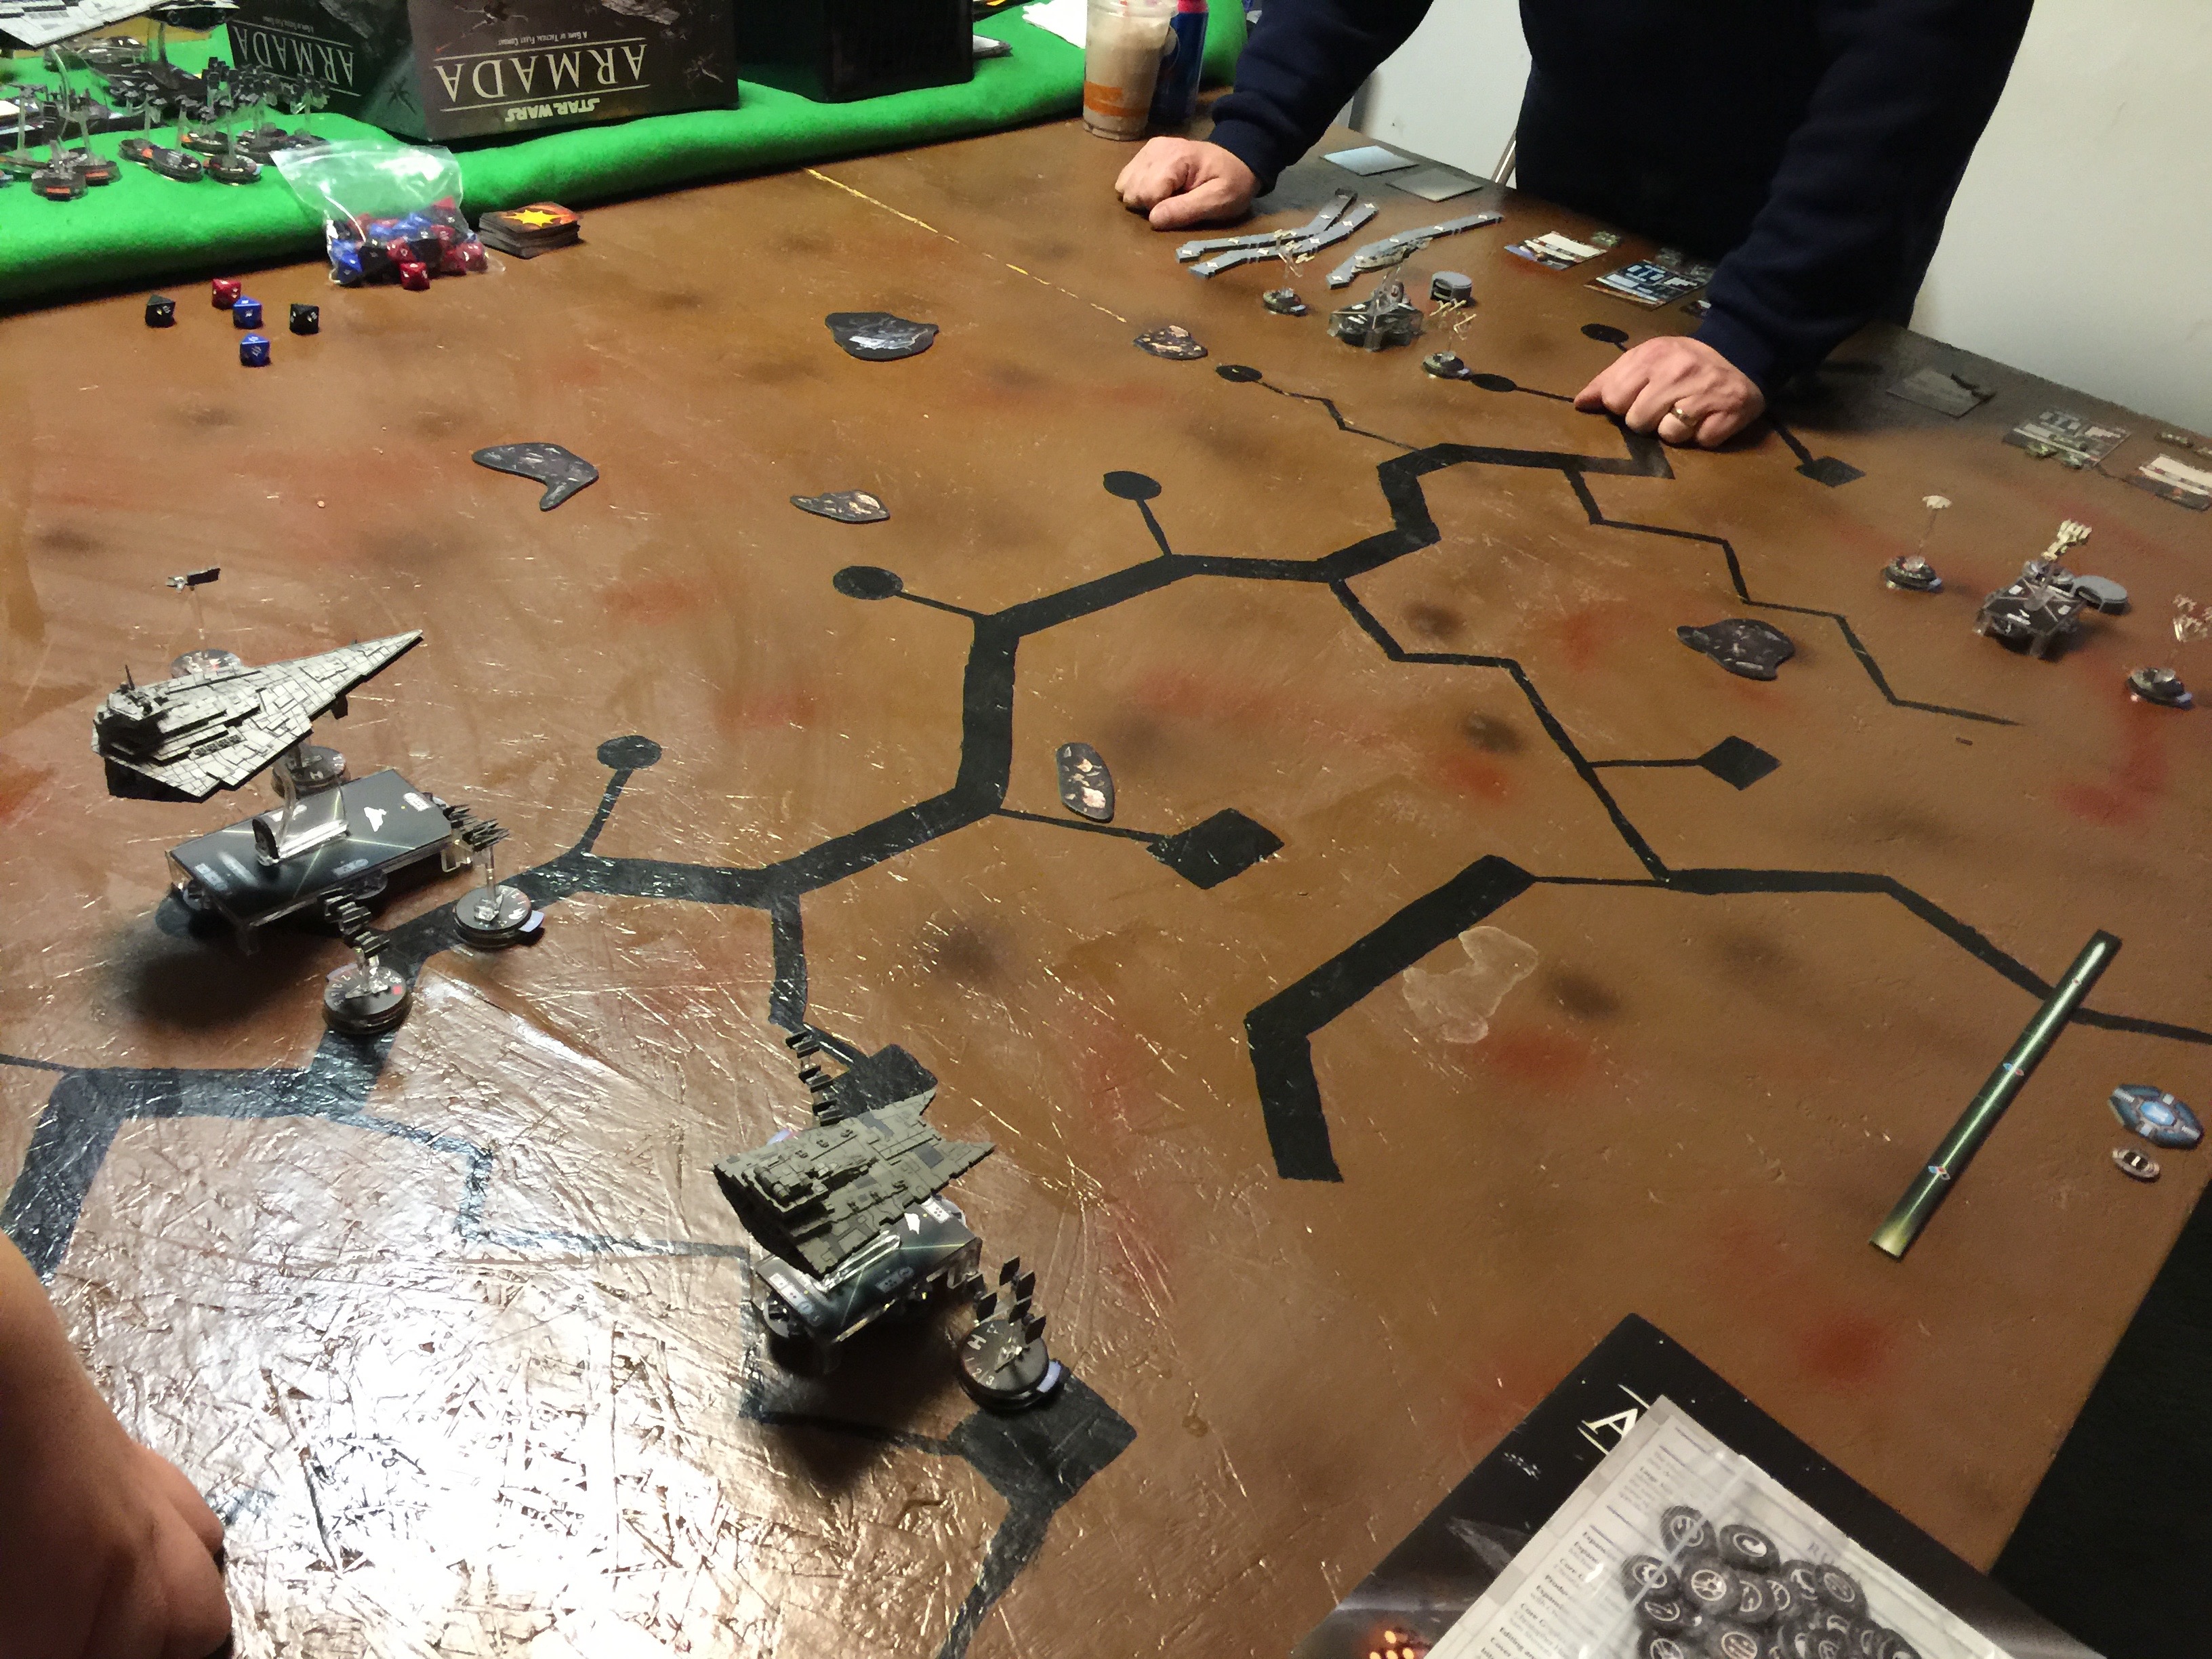
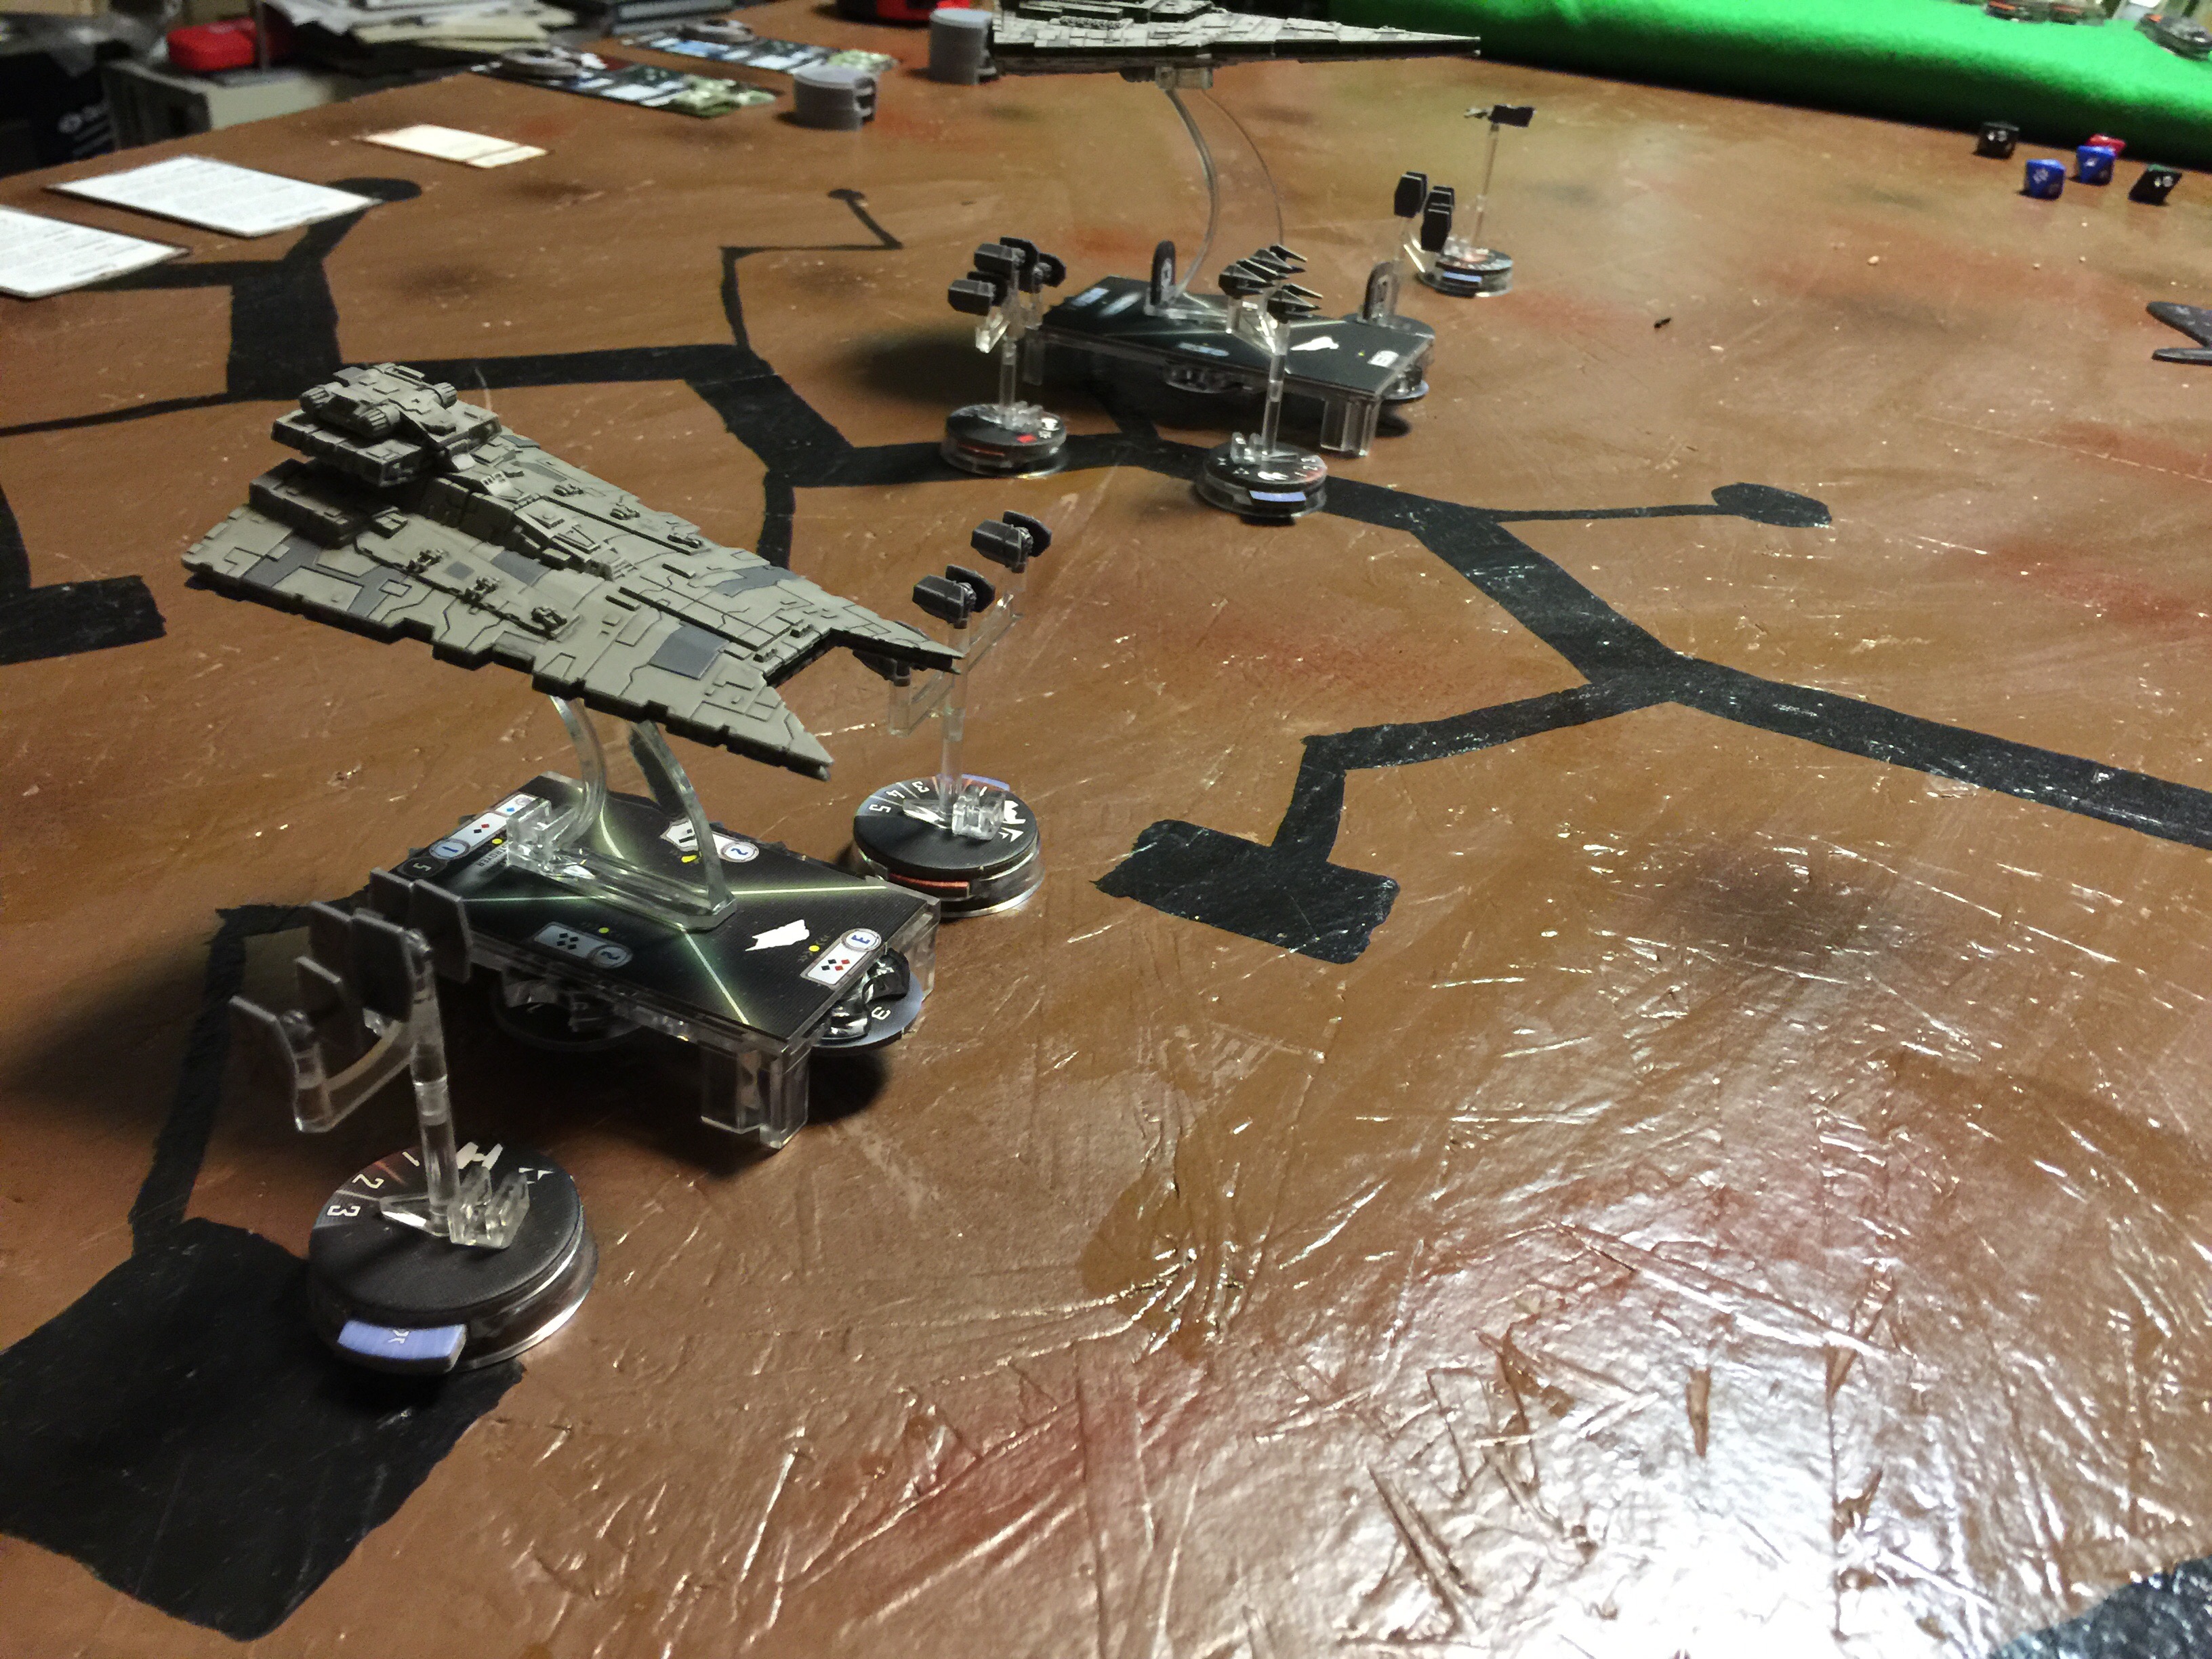
Setting up for the first game I faced a rebel force of made up of Home One, 2 Nebs, an Assault Frigate and 4 A-wing fighters. We played the Minefield scenario which was deployed largely across my front so I had to pick a flank to move and attack through. I didn’t want to split my force so ended up putting my Glads followed by the ISD into a battle line with the intent of doing a largish circle.

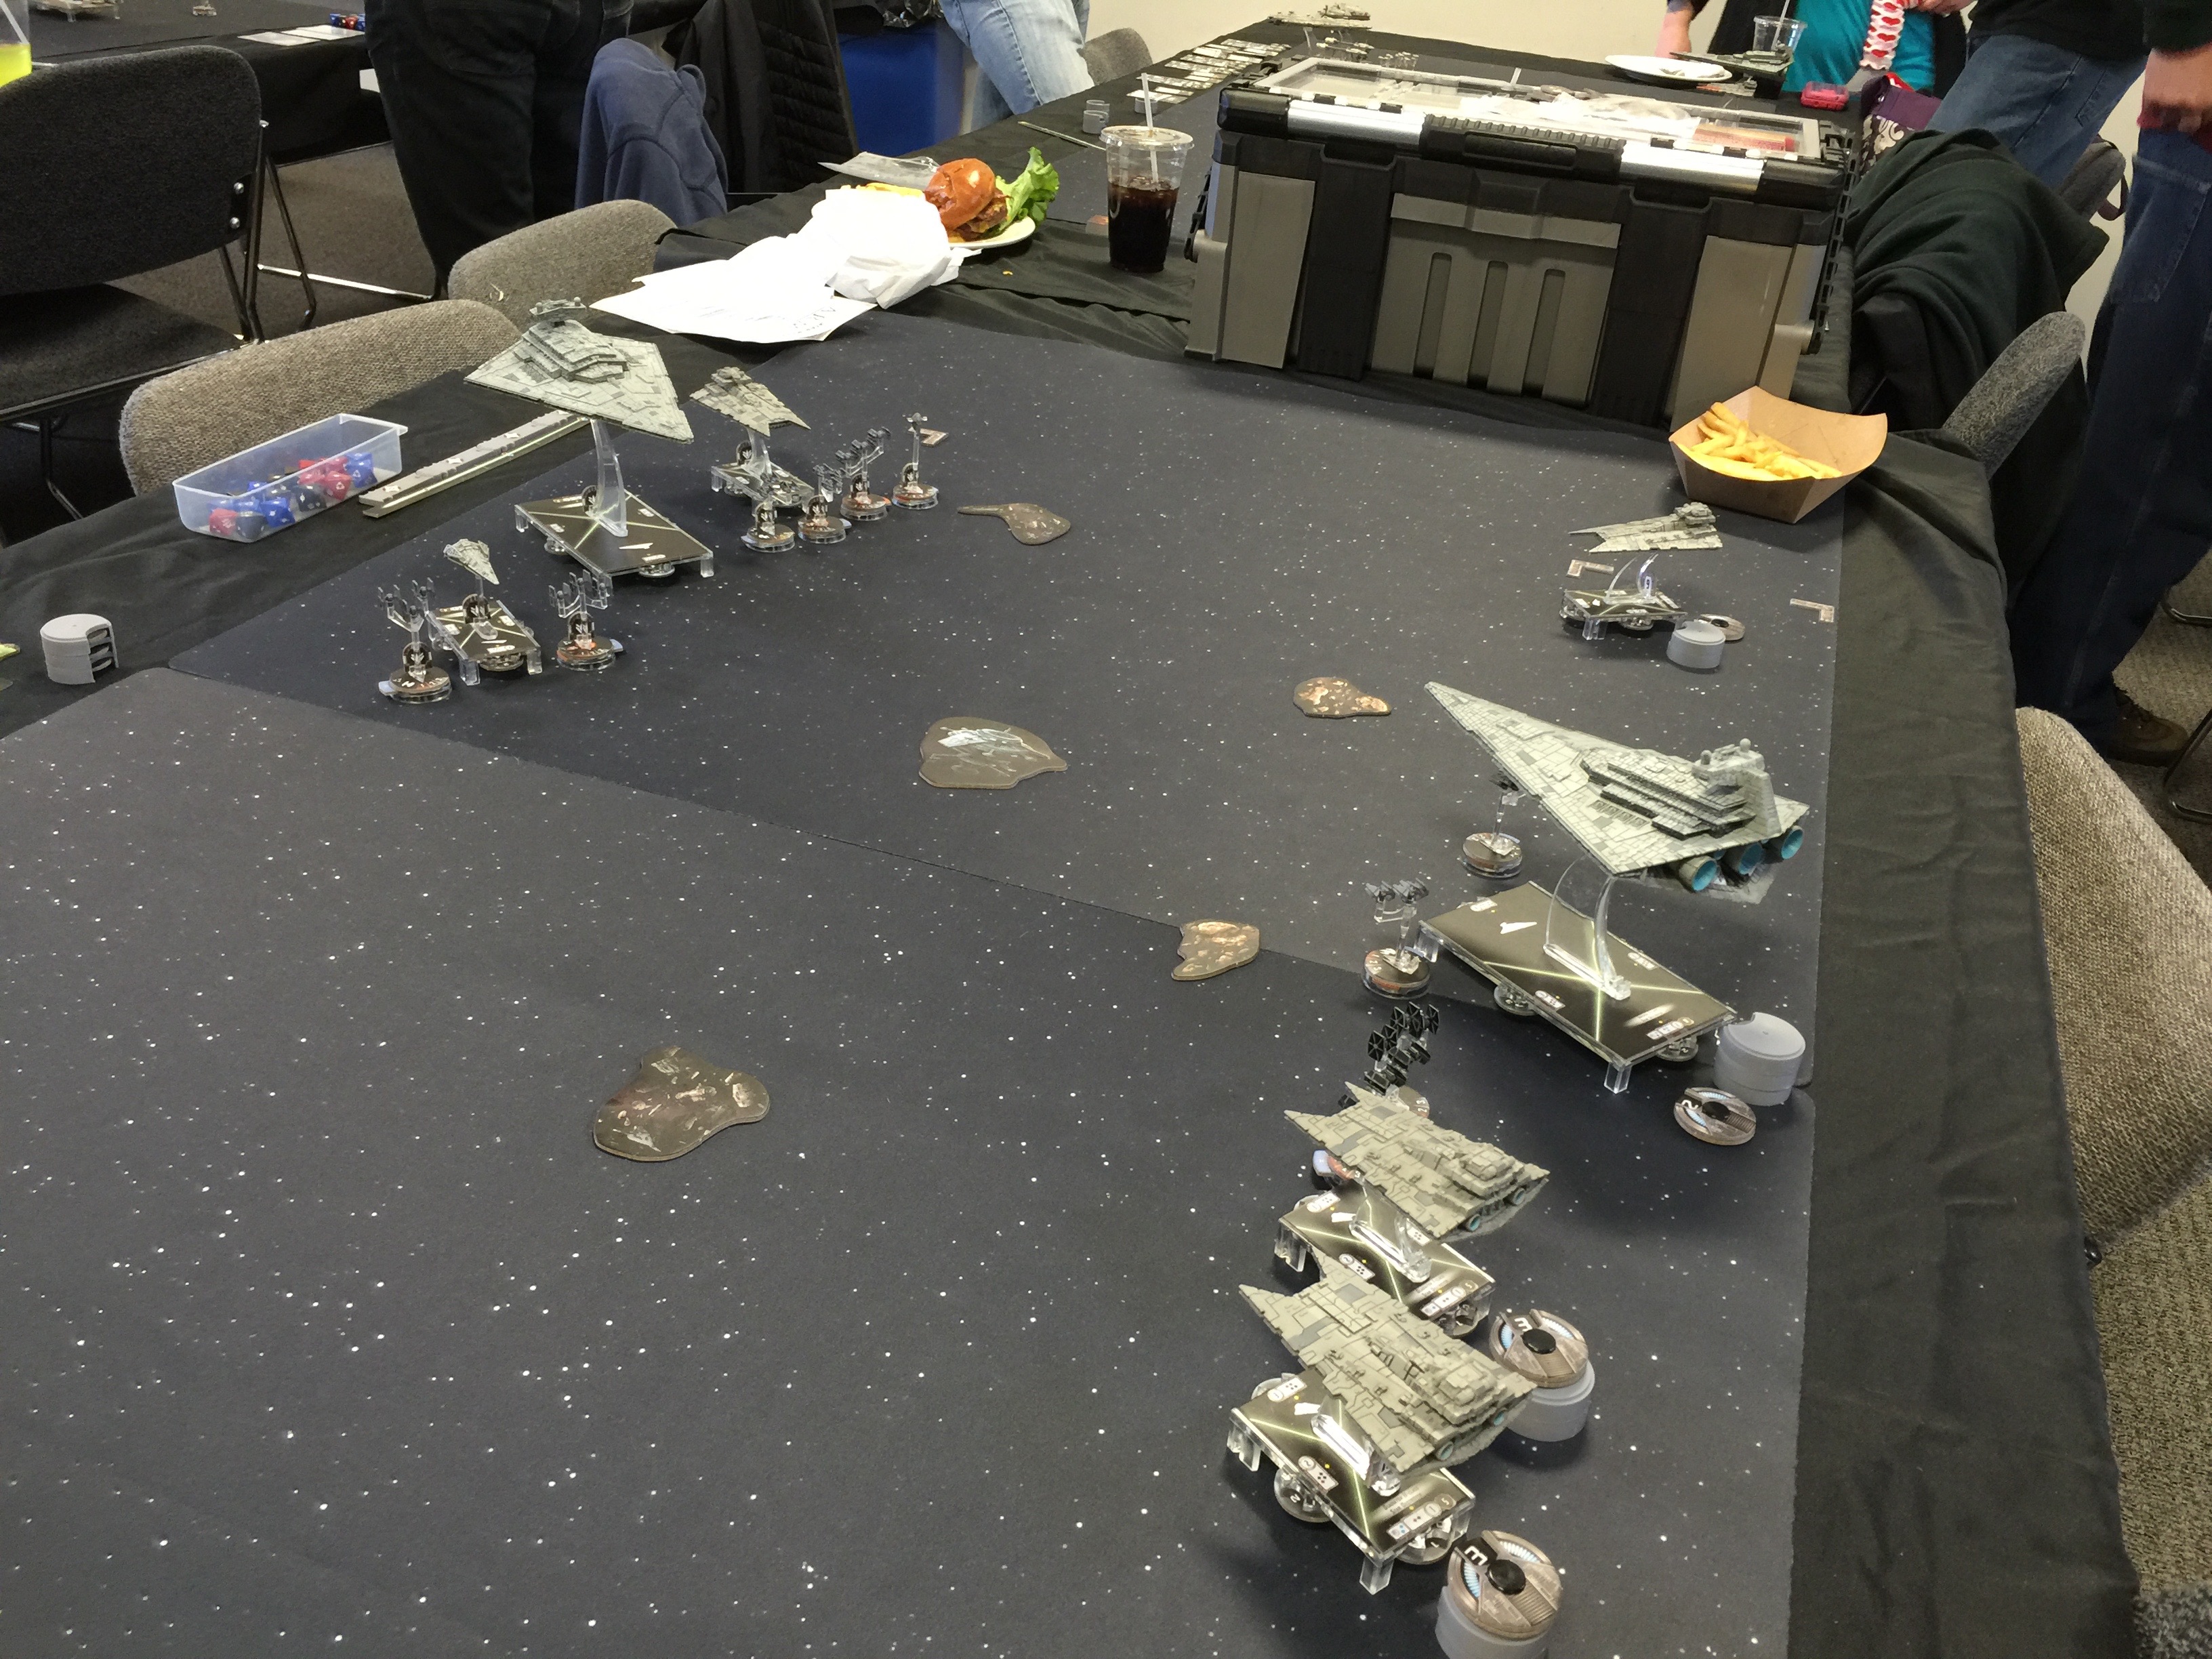
IMG_1384 Well… it was a somewhat ok plan but it didn’t play well and I ended up colliding with some of my own ships in the beginning. Should have formed the line a little bit more uniform but o well. IMG_1385

I was ended up losing Glads fairly fast with them being largely out of position to be super effective. They did however help my fighters plink away at the A-wings and I ended up taking most all of them out.

I did also take out a Neb but otherwise, it was a 3-7 loss (102 vs 224). Lots of lessons learned!

IMG_1386

Second game I played Tony who was an all around awesome guy. We had an Imperial on Imperial match. Somewhat similar forces tho his was an Imperial Star Destroyer class II, a few more fighters, a Gladiator and the Imperial Raider.

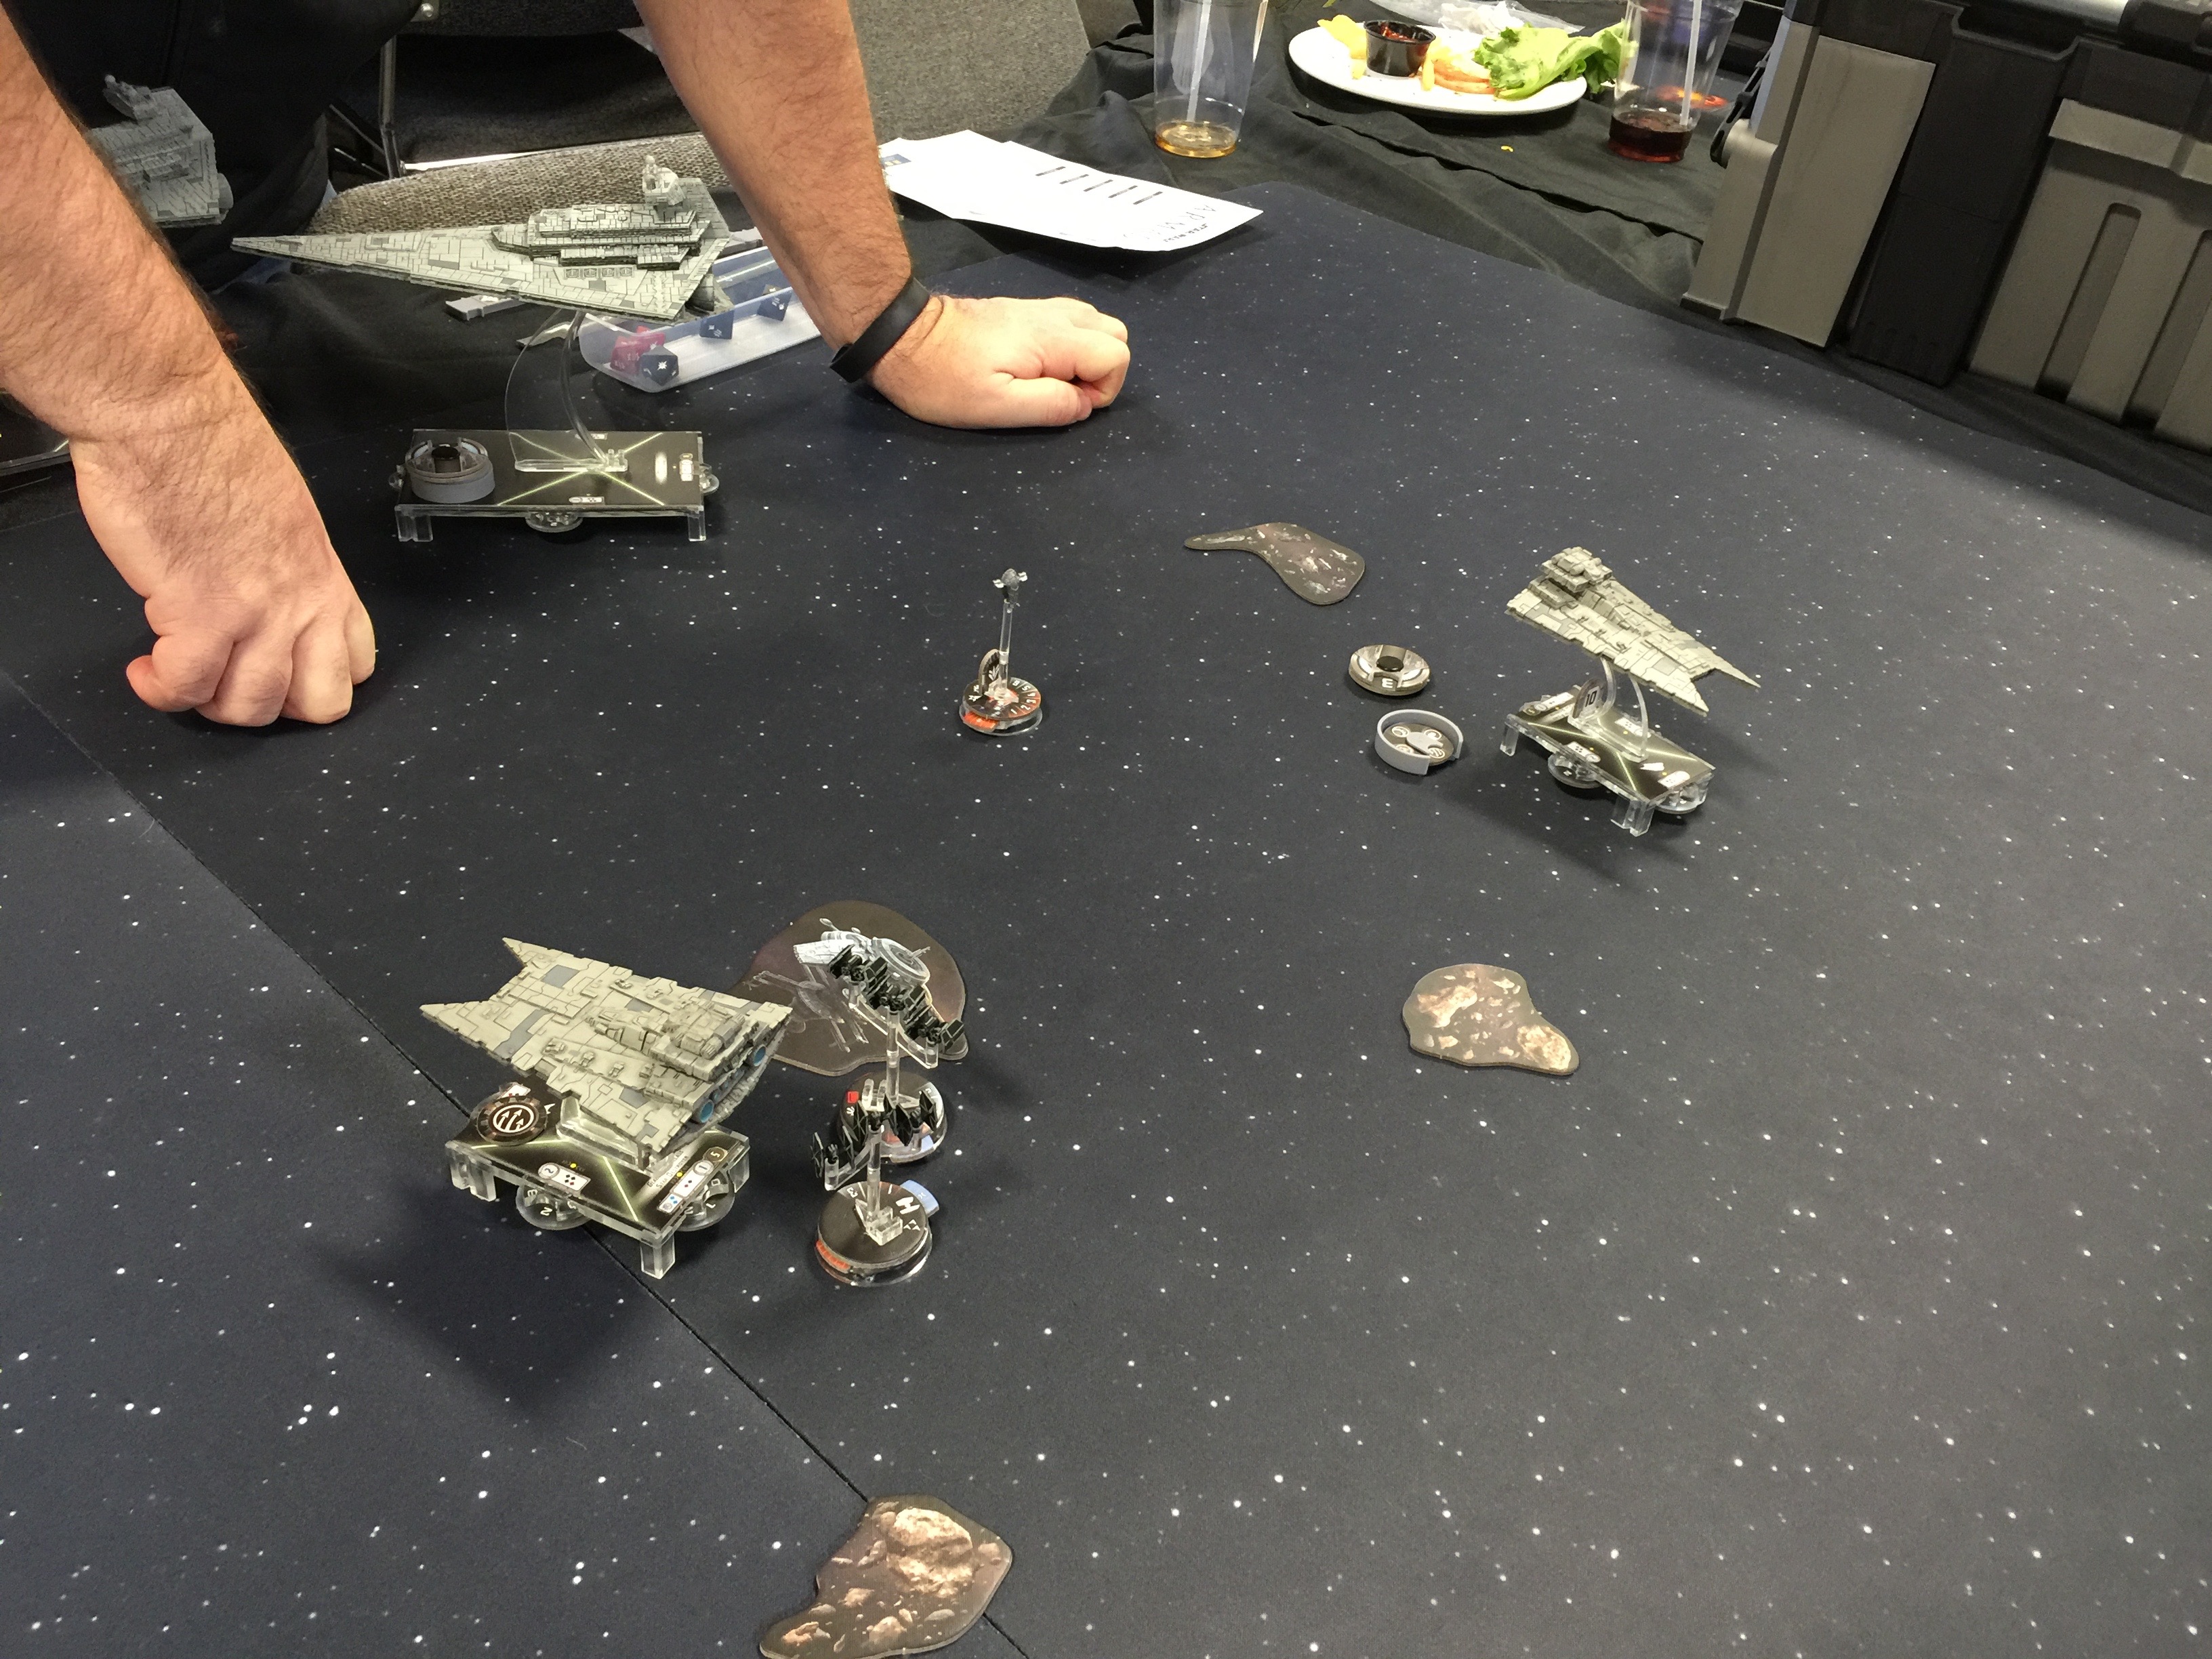
For the scenario we played the Contested Battlestation. As fate would have it I would end up grabbing 2 victory tokens and Tony 1. With my capital ships it was more easy for me to pick up victory tokens and hold the station. In addition, our ISDs would go nose to nose but I’d ended up winning as my class I had more black dice when at close range and with decent rolls and Motti as well, I was able to win the boxing match. The loss of the ISD and his raider, lead to me gaining lots of points.

IMG_1387

Here is the last turn with his Glad on the station and my fighters nibbling at his rear. I ended up taking out I think all of his fighters to boot.

In the end an 8-2 (348 vs 184) victory for me.

The last game I guess I didn’t take any pictures of which is really too bad. It was another learning match that I lost 3-7 (60 vs 245). We played dangerous territory. The fellow I played had lots of squadrons and I just couldn’t handle them. While all my Gladiators survived my ISD basically got taken out by copious B-Wings, X-Wings, and rebel heros. I had my ISD on my left flank and it basically shielded the rest of my force. Given the loss of my ISD tho, very hard to make up that loss of points. I did knock a good number of rebel heros and fighters down to 1 but given their numbers it was easy to disengage and avoid the point loss.

All in all, a mighty fun day. I didn’t get to stay around for the free swag as I was under time pressure to get back home. They didn’t have a prize table setup so hard to say if there was something. I imagine I probably was in the bottom 3rd but doesn’t appear that they post results anywhere so who knows.

Posted in Star Wars : Armada | Comments Off on Tuna to the Face : First Star Wars Armada Tournament

CDIII: Fall ’44 British Armoured vs Germans

In yet another in the series of … I should really get that blog written and posted from the game, I’ve got a write up of our Command Decision III (yes people still play that), game using some recently acquired lead.

Eric setup the scenario which involved the Germans trying to retreat elements of various forces across a river as well as protecting an airfield. Germans started dug in and had some generally good observation and firing lanes.

Running British armor, we had immediate choices as we came in on the corner of the board and could either force a river crossing or turn left and push down a road towards the airfield we needed to secure. Pretty much a no brainer.

We pushed hard down the road with recon elements in the lead and then the armor next.


IMG_1271

In the prepared lines ahead of us there were dug in tanks and off in the distance through the various gaps in the trees, AT guns covering to snipe.

IMG_1272

None the less, being mobile, time to press on move quickly.

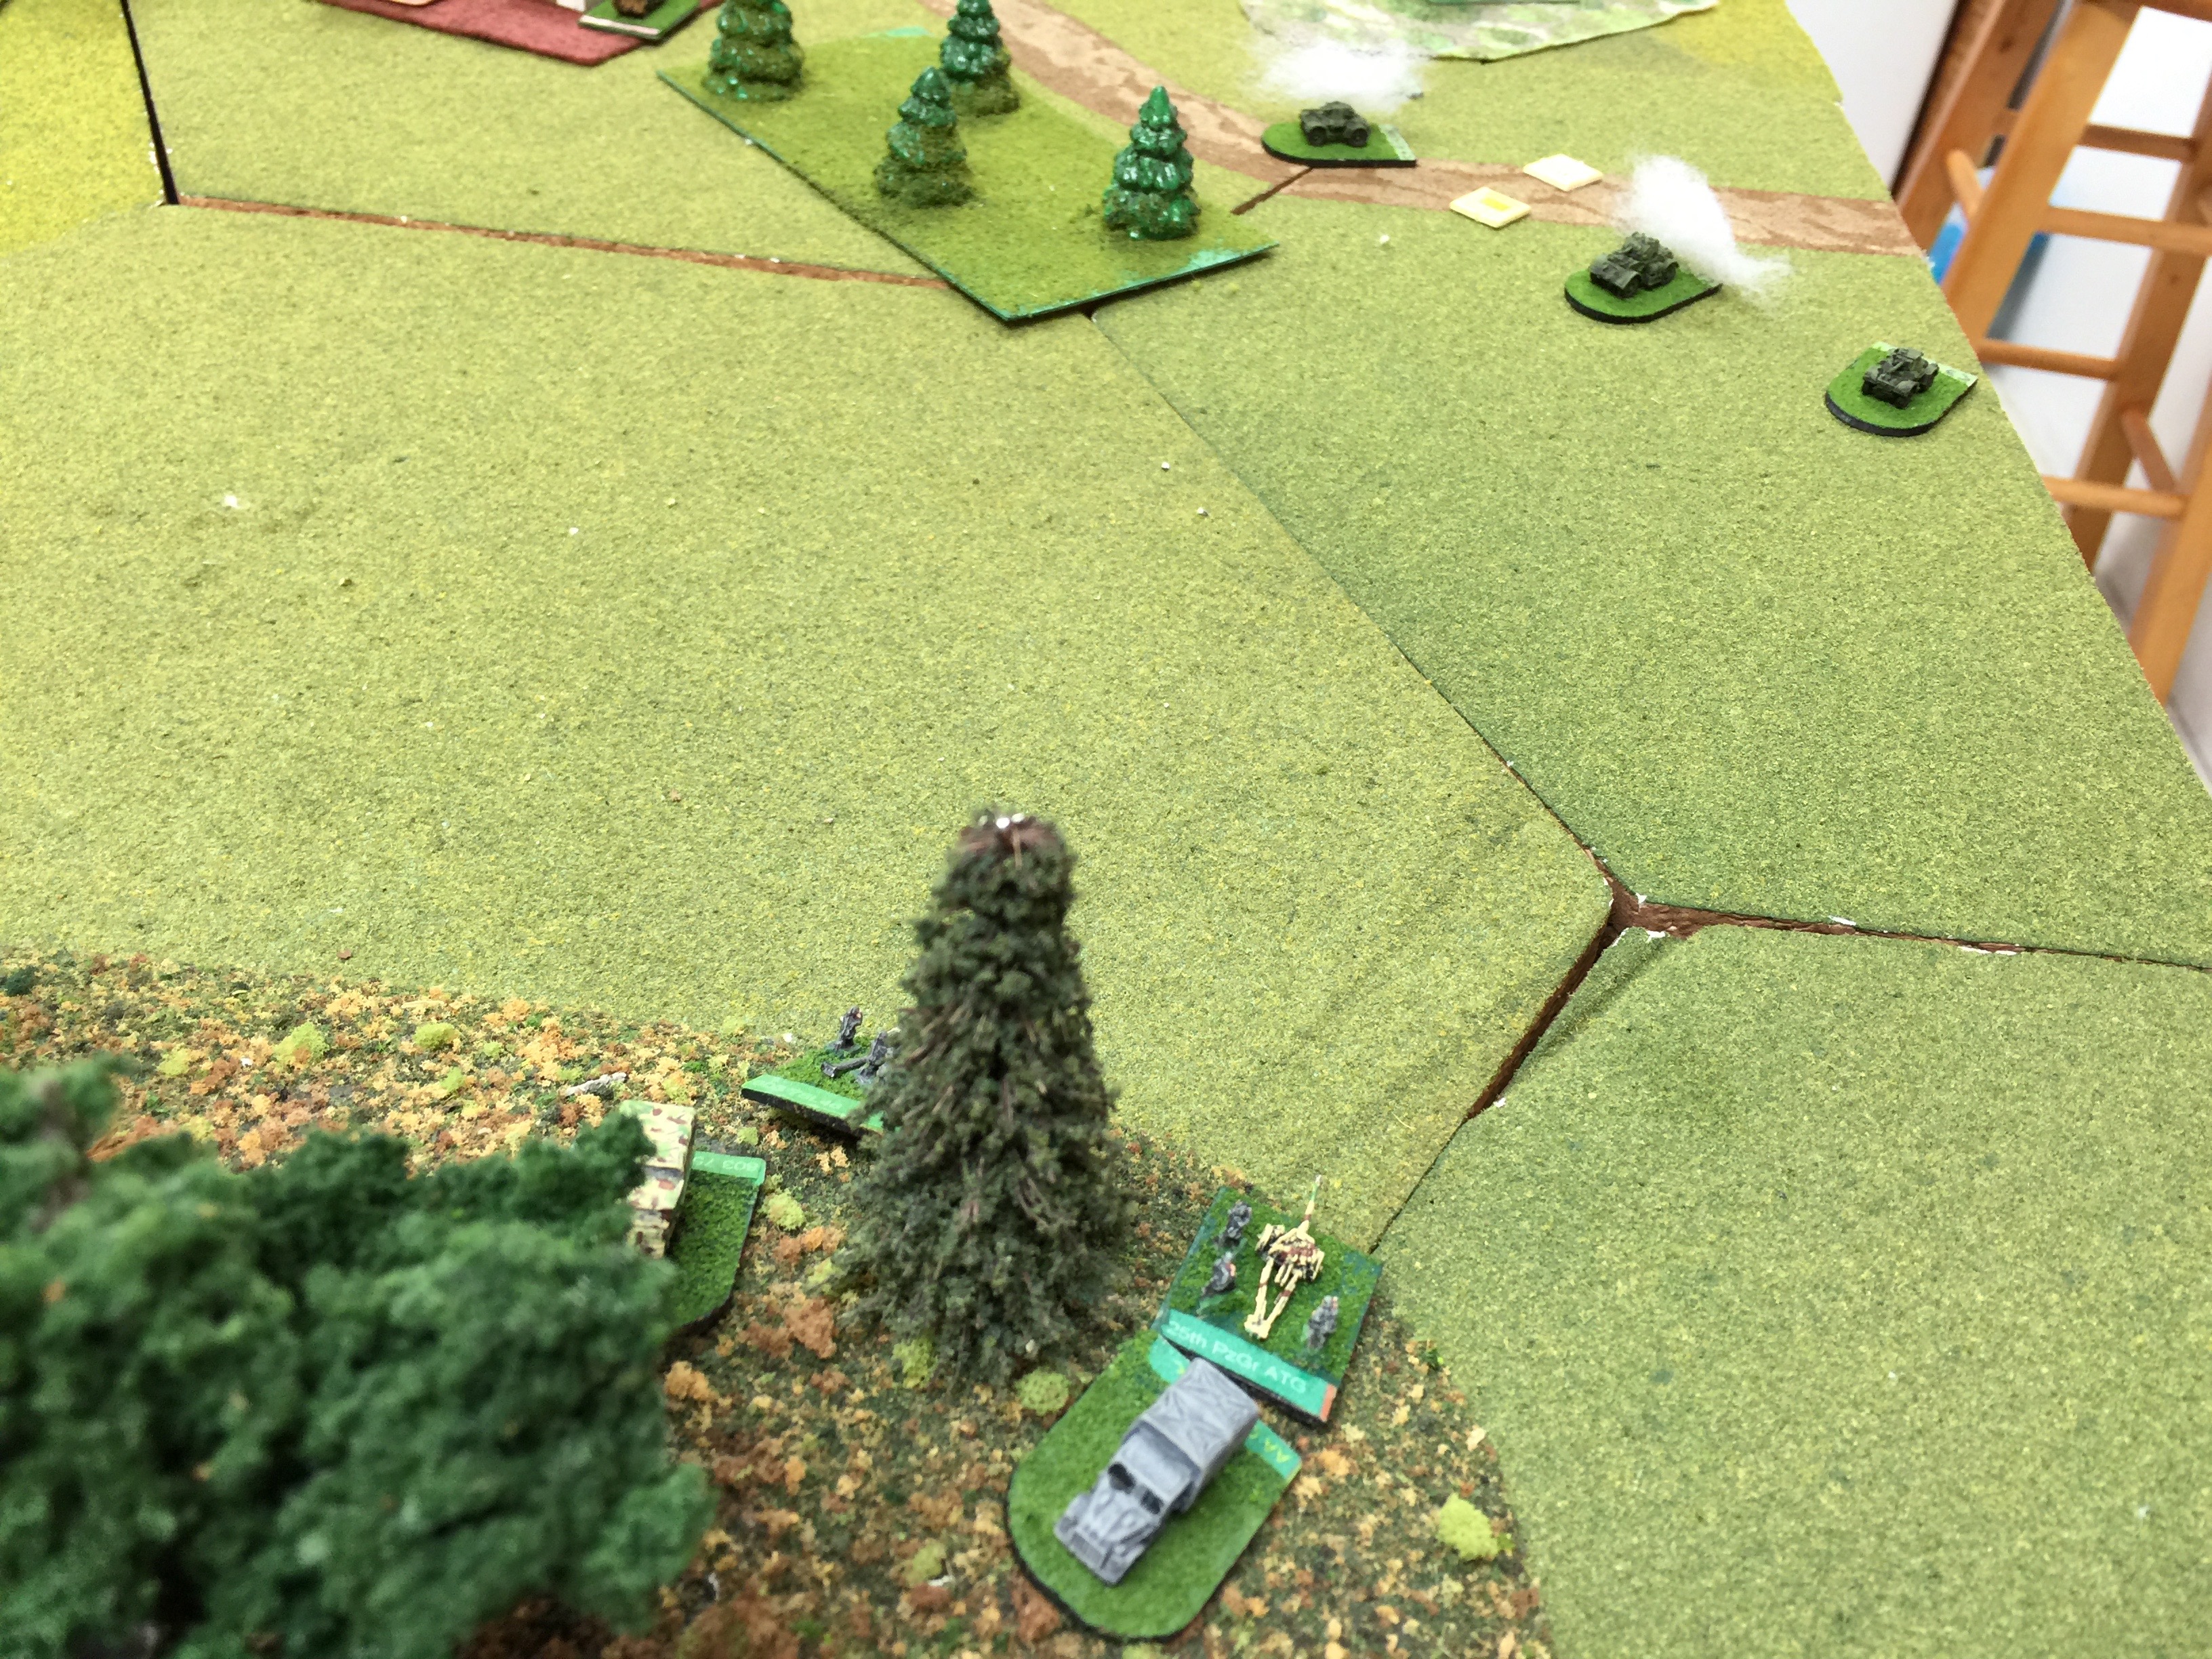
IMG_1273

Drop a little smoke to cover up the AT guns with our off board artillery and continue to move forward. The line of armor we were no facing was all hetzers. Three joining the line and 3 dug in, some tough shooting for the Shermans.

IMG_1274

Our shooting didn’t go so well so we unfortunately got bogged down at this point. Without more smoke, only way forward was to engage which meant unfortunate losses. I should have probably just smoke the position at this point with special rounds from the Shermans and forced them to move as we ran around the flank.

But. Didn’t do that. We decided the battle was right here.

IMG_1275

Meanwhile behind the lines, tired Volksgrenadiers making their way across the river just pass the airfield we needed to secure.

IMG_1276

We managed to push off the German hetzers and with that truck loads of British infantry raced ahead to deploy in the forest and start to roll into the town.

The burning vehicles on the road are my recon that pressed forward to attempt to cut off any more escaping Germans.

IMG_1277

The vantage point of what was troubling my poor recon.

At this point we called in. We were a good number of turns in but the armor was sadly fairly spent and the city battle could be a tough slog as the Germans (Chuck) had a number of engineers with flamethrowers in the town. That’d be a tough defense to crack.

Easy to see we would fall just short of our objective. CDIII still is a mighty fun game and playing with a whole division to game out a tactical area is sure something the rules shine at.

Till next time. Cheery-o!

Posted in CommandDecision | 1 Comment

Star Wars Armada : Little dust up

Eric and I gather for a rare weeknight game to play a game of Star Wars Armada. Given this was our very first real game of it, we didn’t bother with objectives and instead concentrated on trying to blast each other out of the sky to get up to speed on game mechanics. We also didn’t gear up on extras where you can add abilities to ships for some amount of points.

As dyed in the wool war gamers, modern or futuristic fairer is a big move for us but darn it, this game is totally fun.

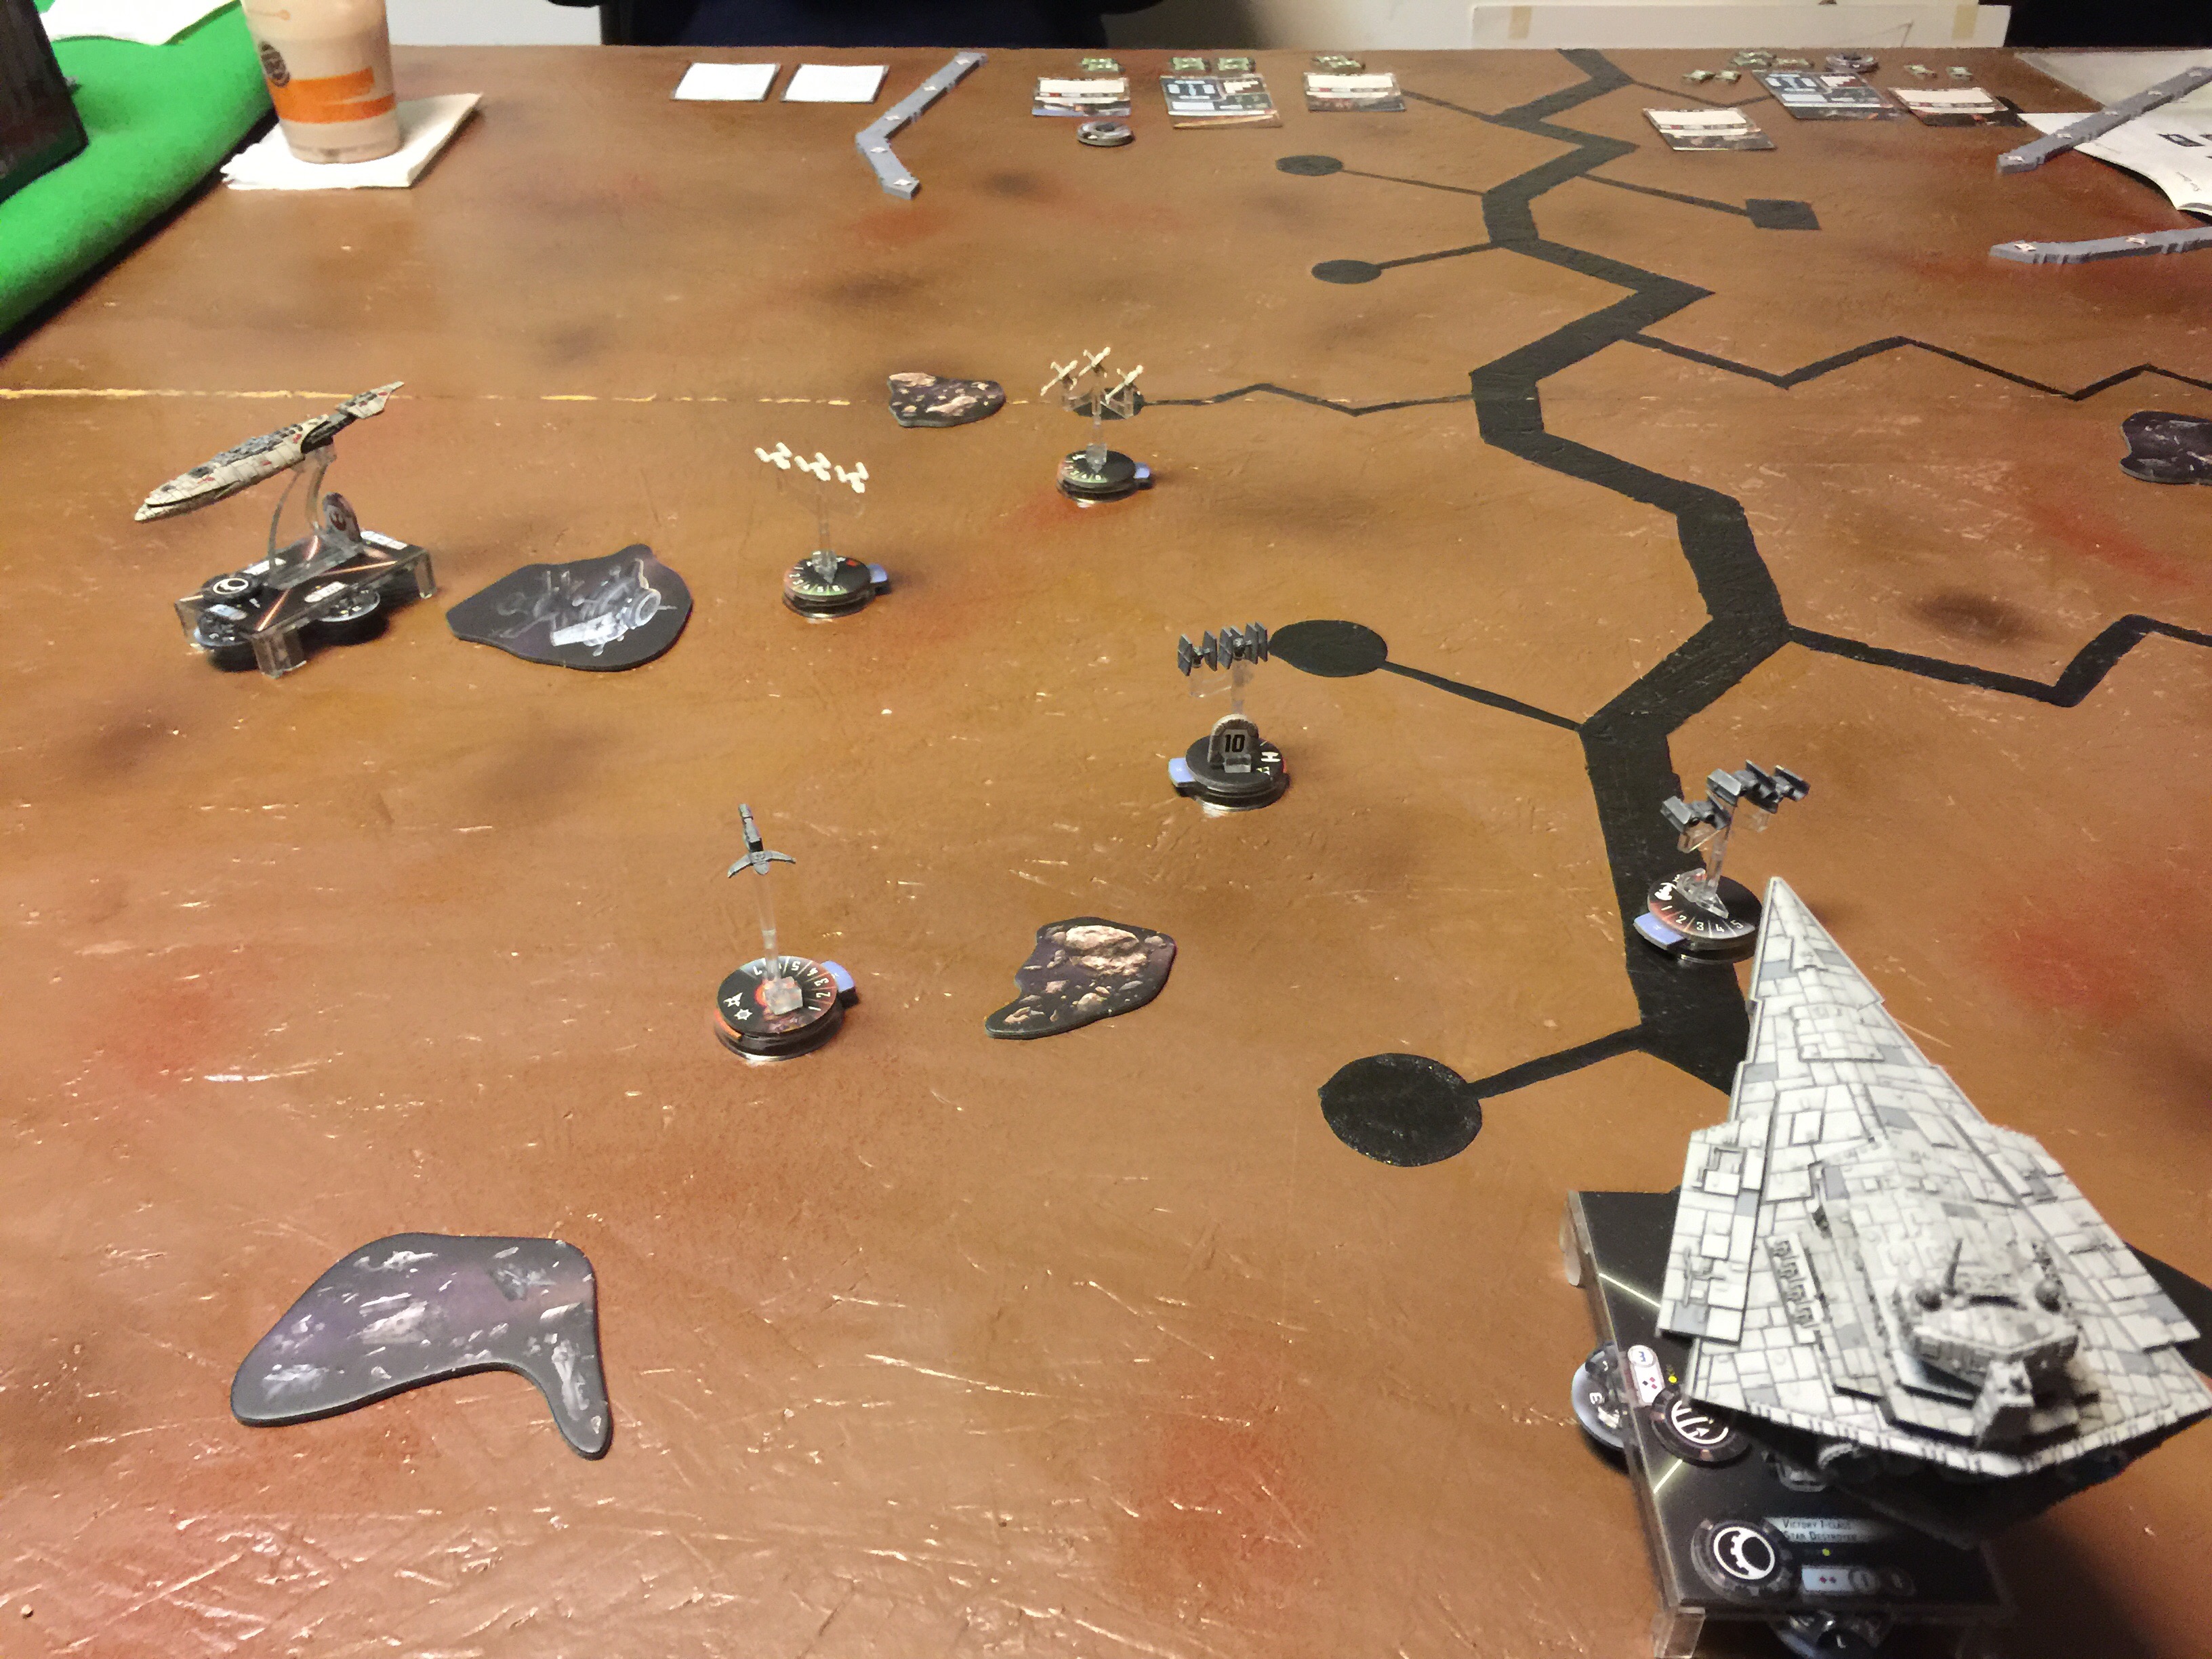
IMG_1282

We both picked 300 points for our fleets. I played Empire and Eric the Rebels. For my force, I picked a Star Destroyer (victory class 1), the Gladiator and then a number of squadrons, 2 Tie, 1 tie bomber, 1 advanced tie fighter, 1 more super advanced tie fighter and then the hero bask.

Eric geared up with an MC 30 frigate, a corellian cruiser, Luke Skywalker, Hans Solo in the Millennium Falcon, 1 Y-Wing squadron, 1 B-Wing and an X-Wing squadron.

We placed several asteroids out and the space station and set our ships, one per side back and forth.

img_1283

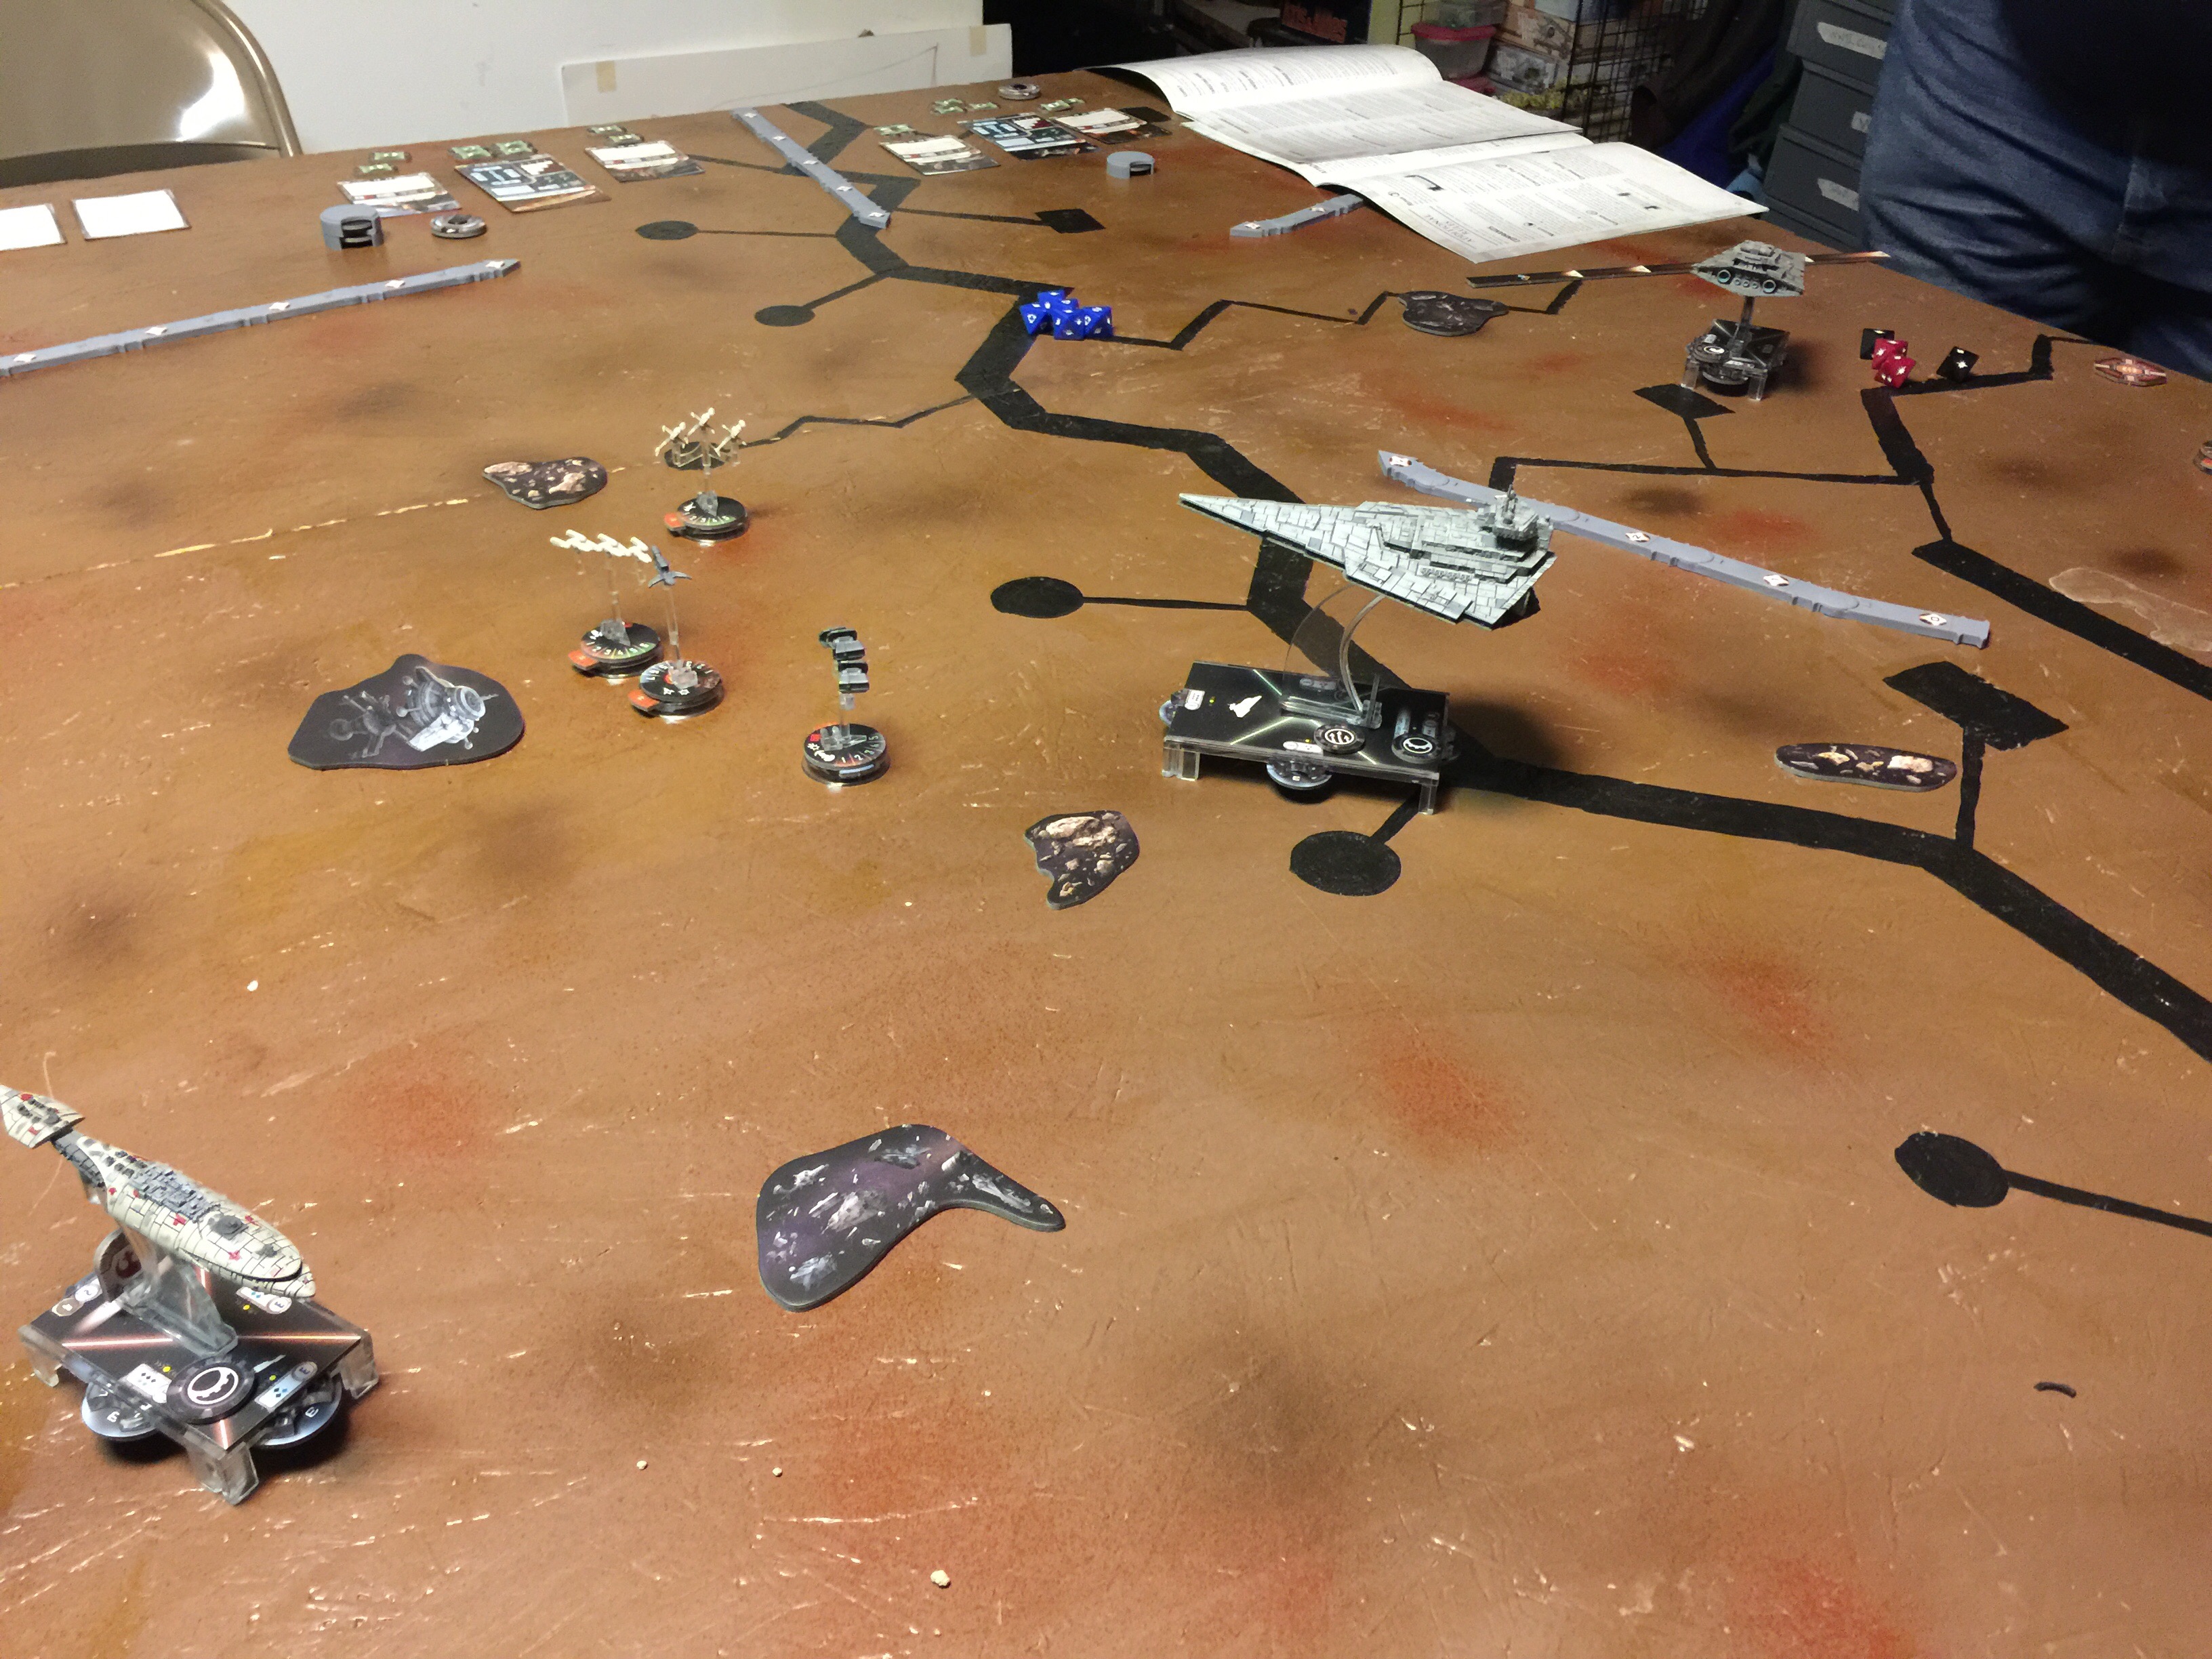
Here is the Imperial line, ready to apprehend those Rebels, a fine catch for Lord Vader.

img_1284

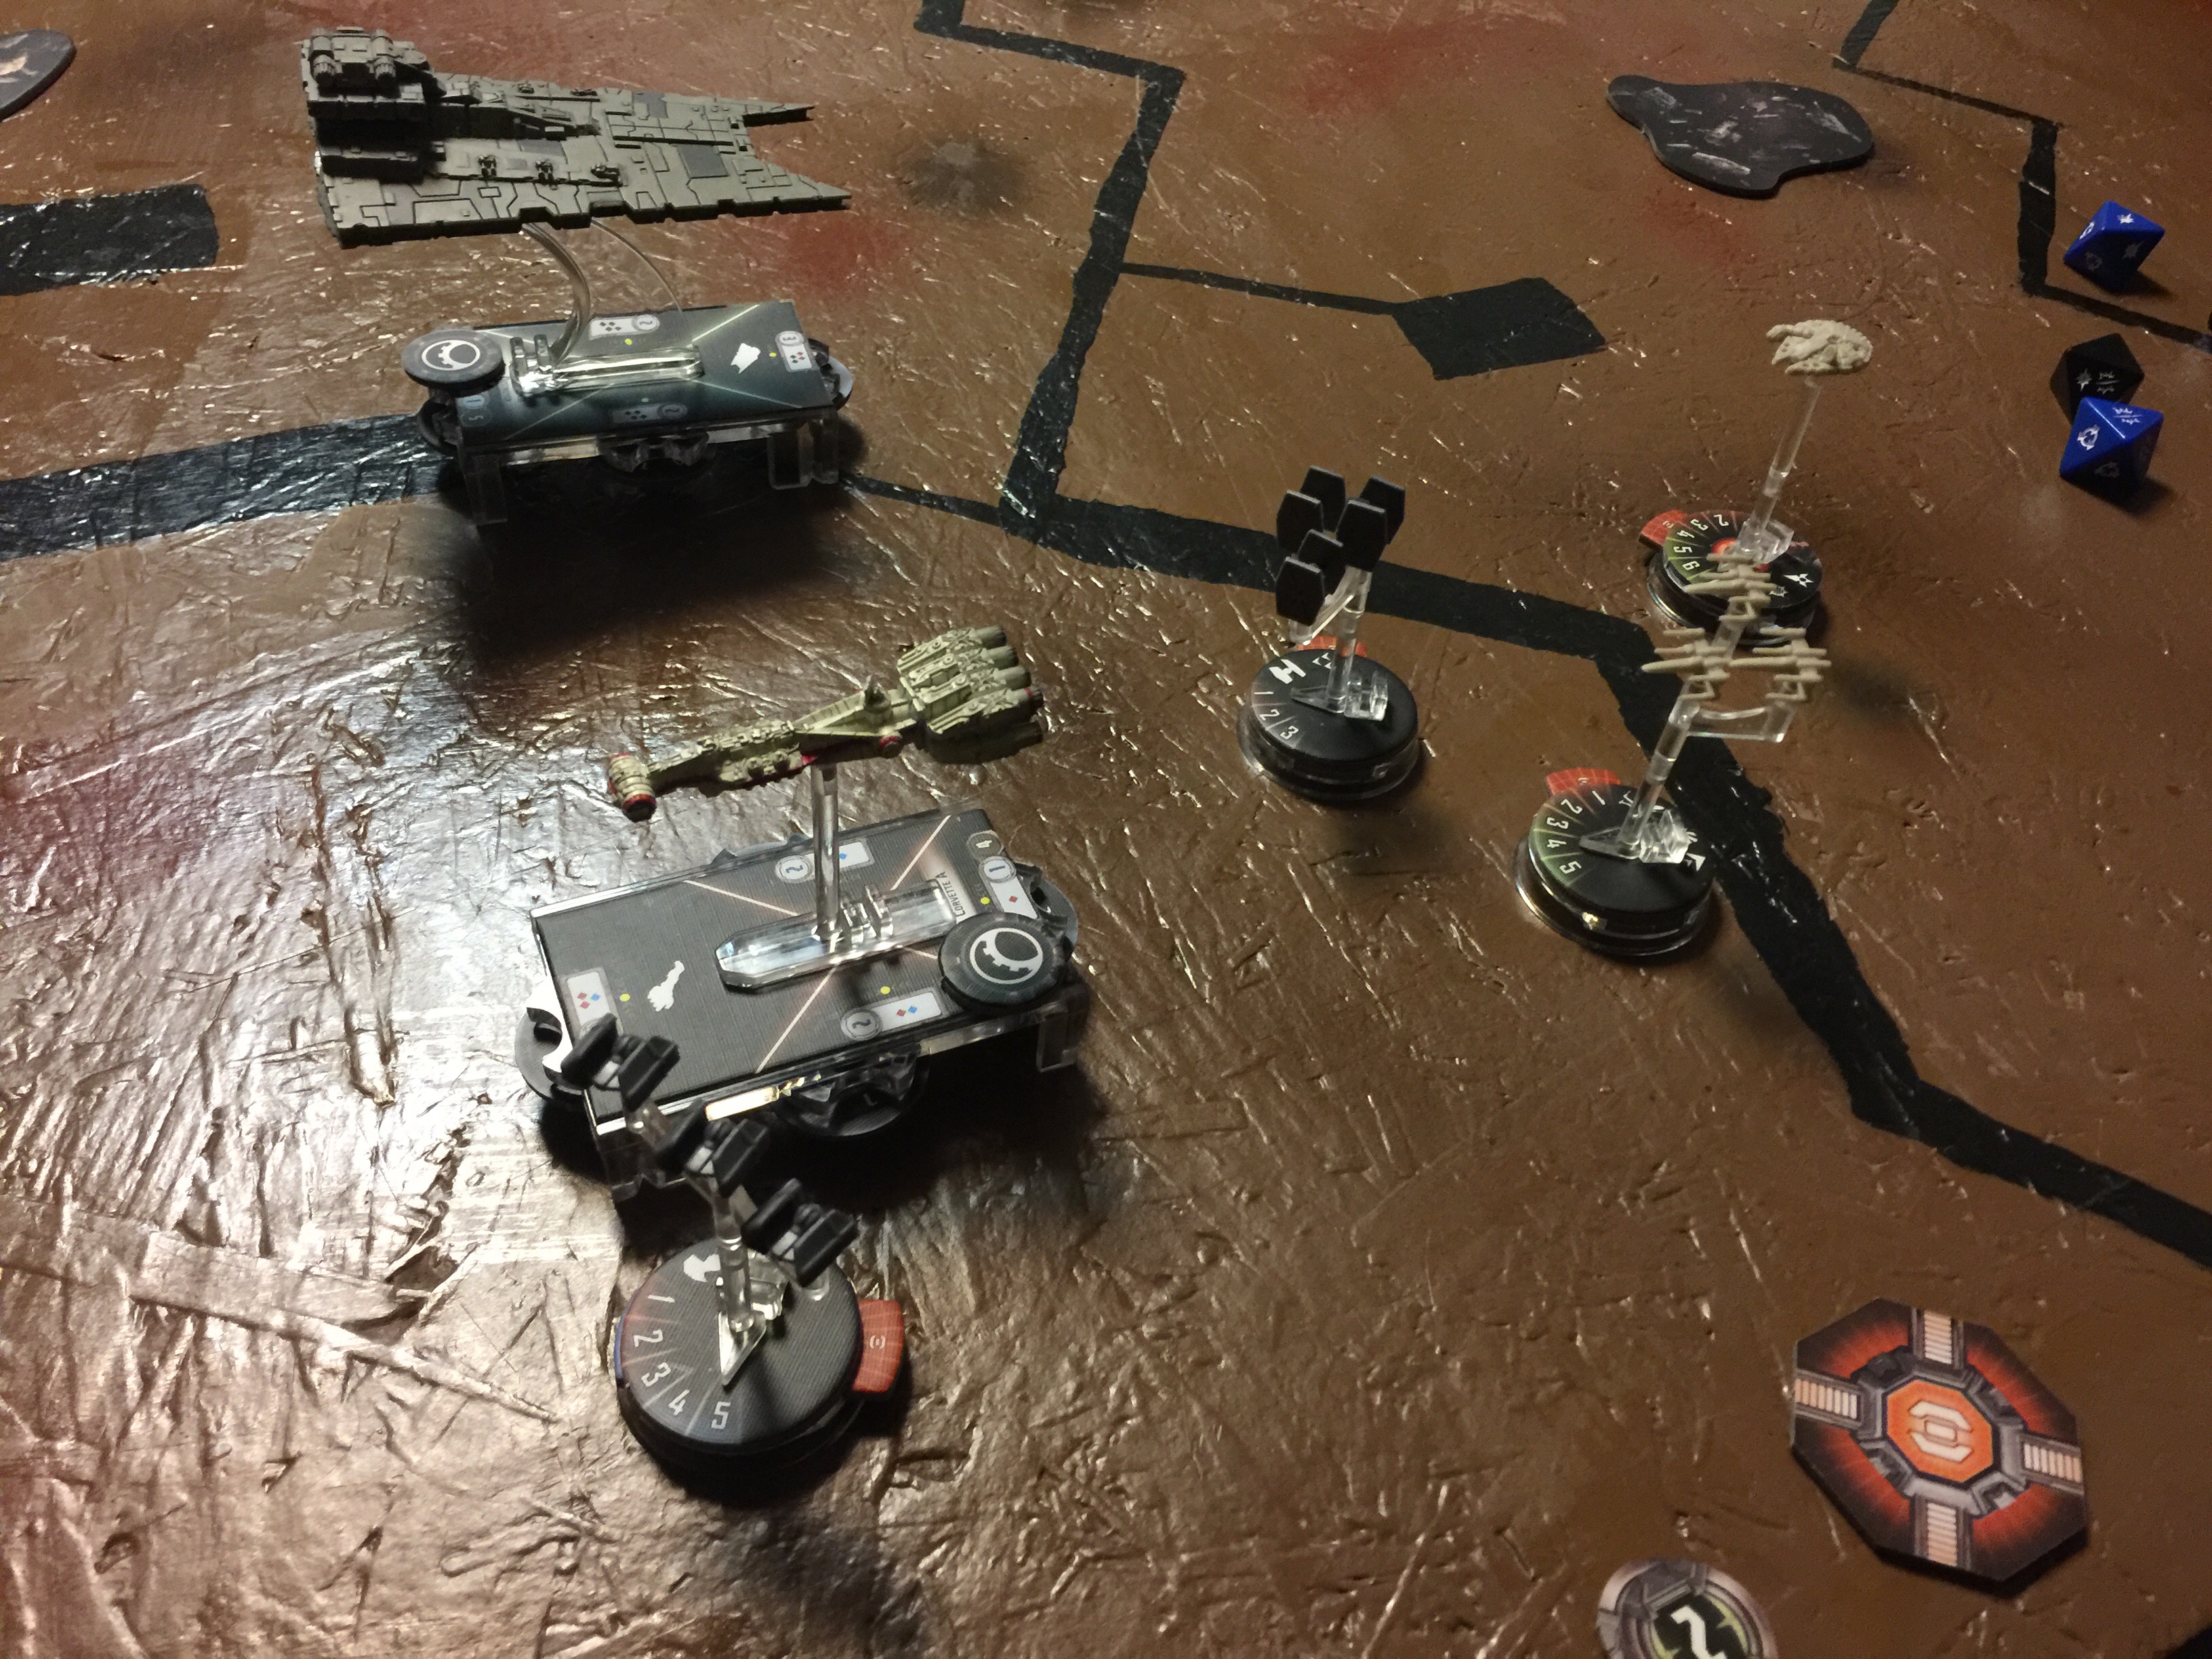
On our left flank a quick scrum developed. The advanced TIE fighter squadrons trying to score on the Corellian Cruiser. The TIE fighter squadron faced with Luke and the Falcon quickly was destroyed, easily outmatched. The captain of the Gladiator steered to far to the left and thus out of position to bring lasers to bear.

img_1285

On the Imperial left flank sensing a great opportunity, the Star Destroyer, TIE fighters, bombers and bask, sense an the MC30 and its escort easy prey. Now to get them in weapons range.

img_1286

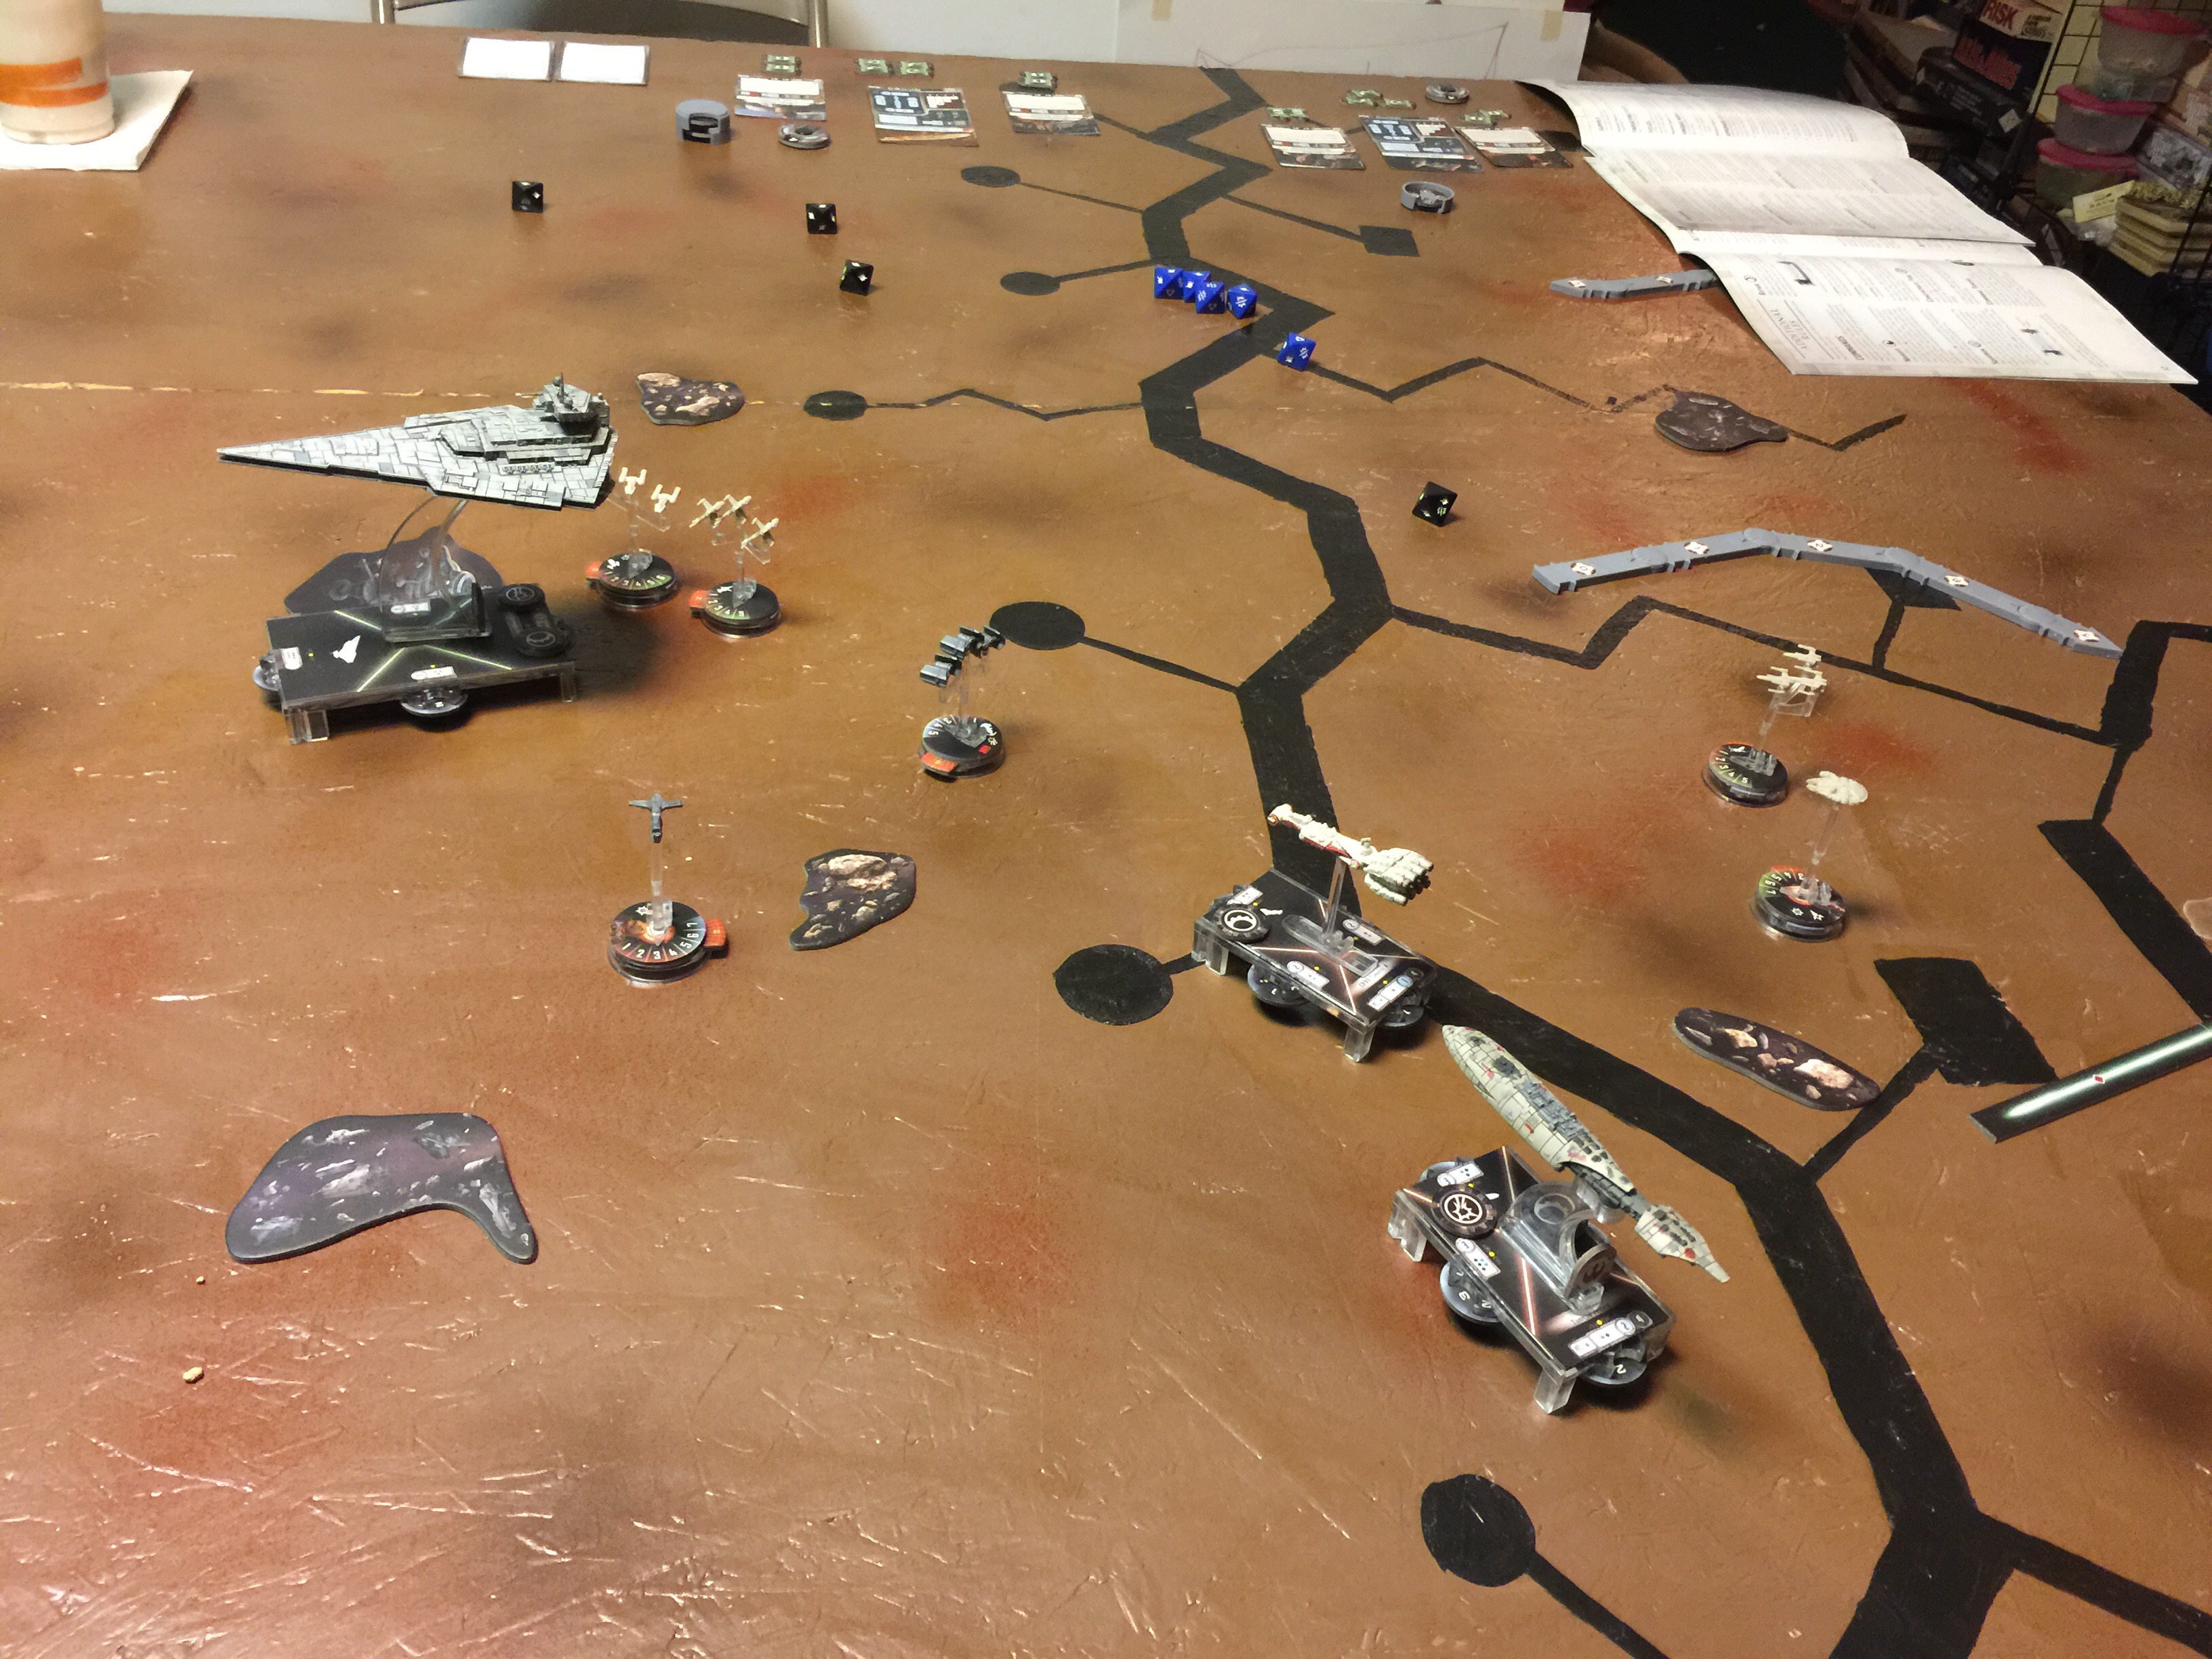
The MC30 however has a great speed advantage. The Star Destroyer can’t turn on a dime either. Having taken the bait, no target presents itself. The command staff starts to scramble as another TIE fighter squadron disintegrated.

img_1287

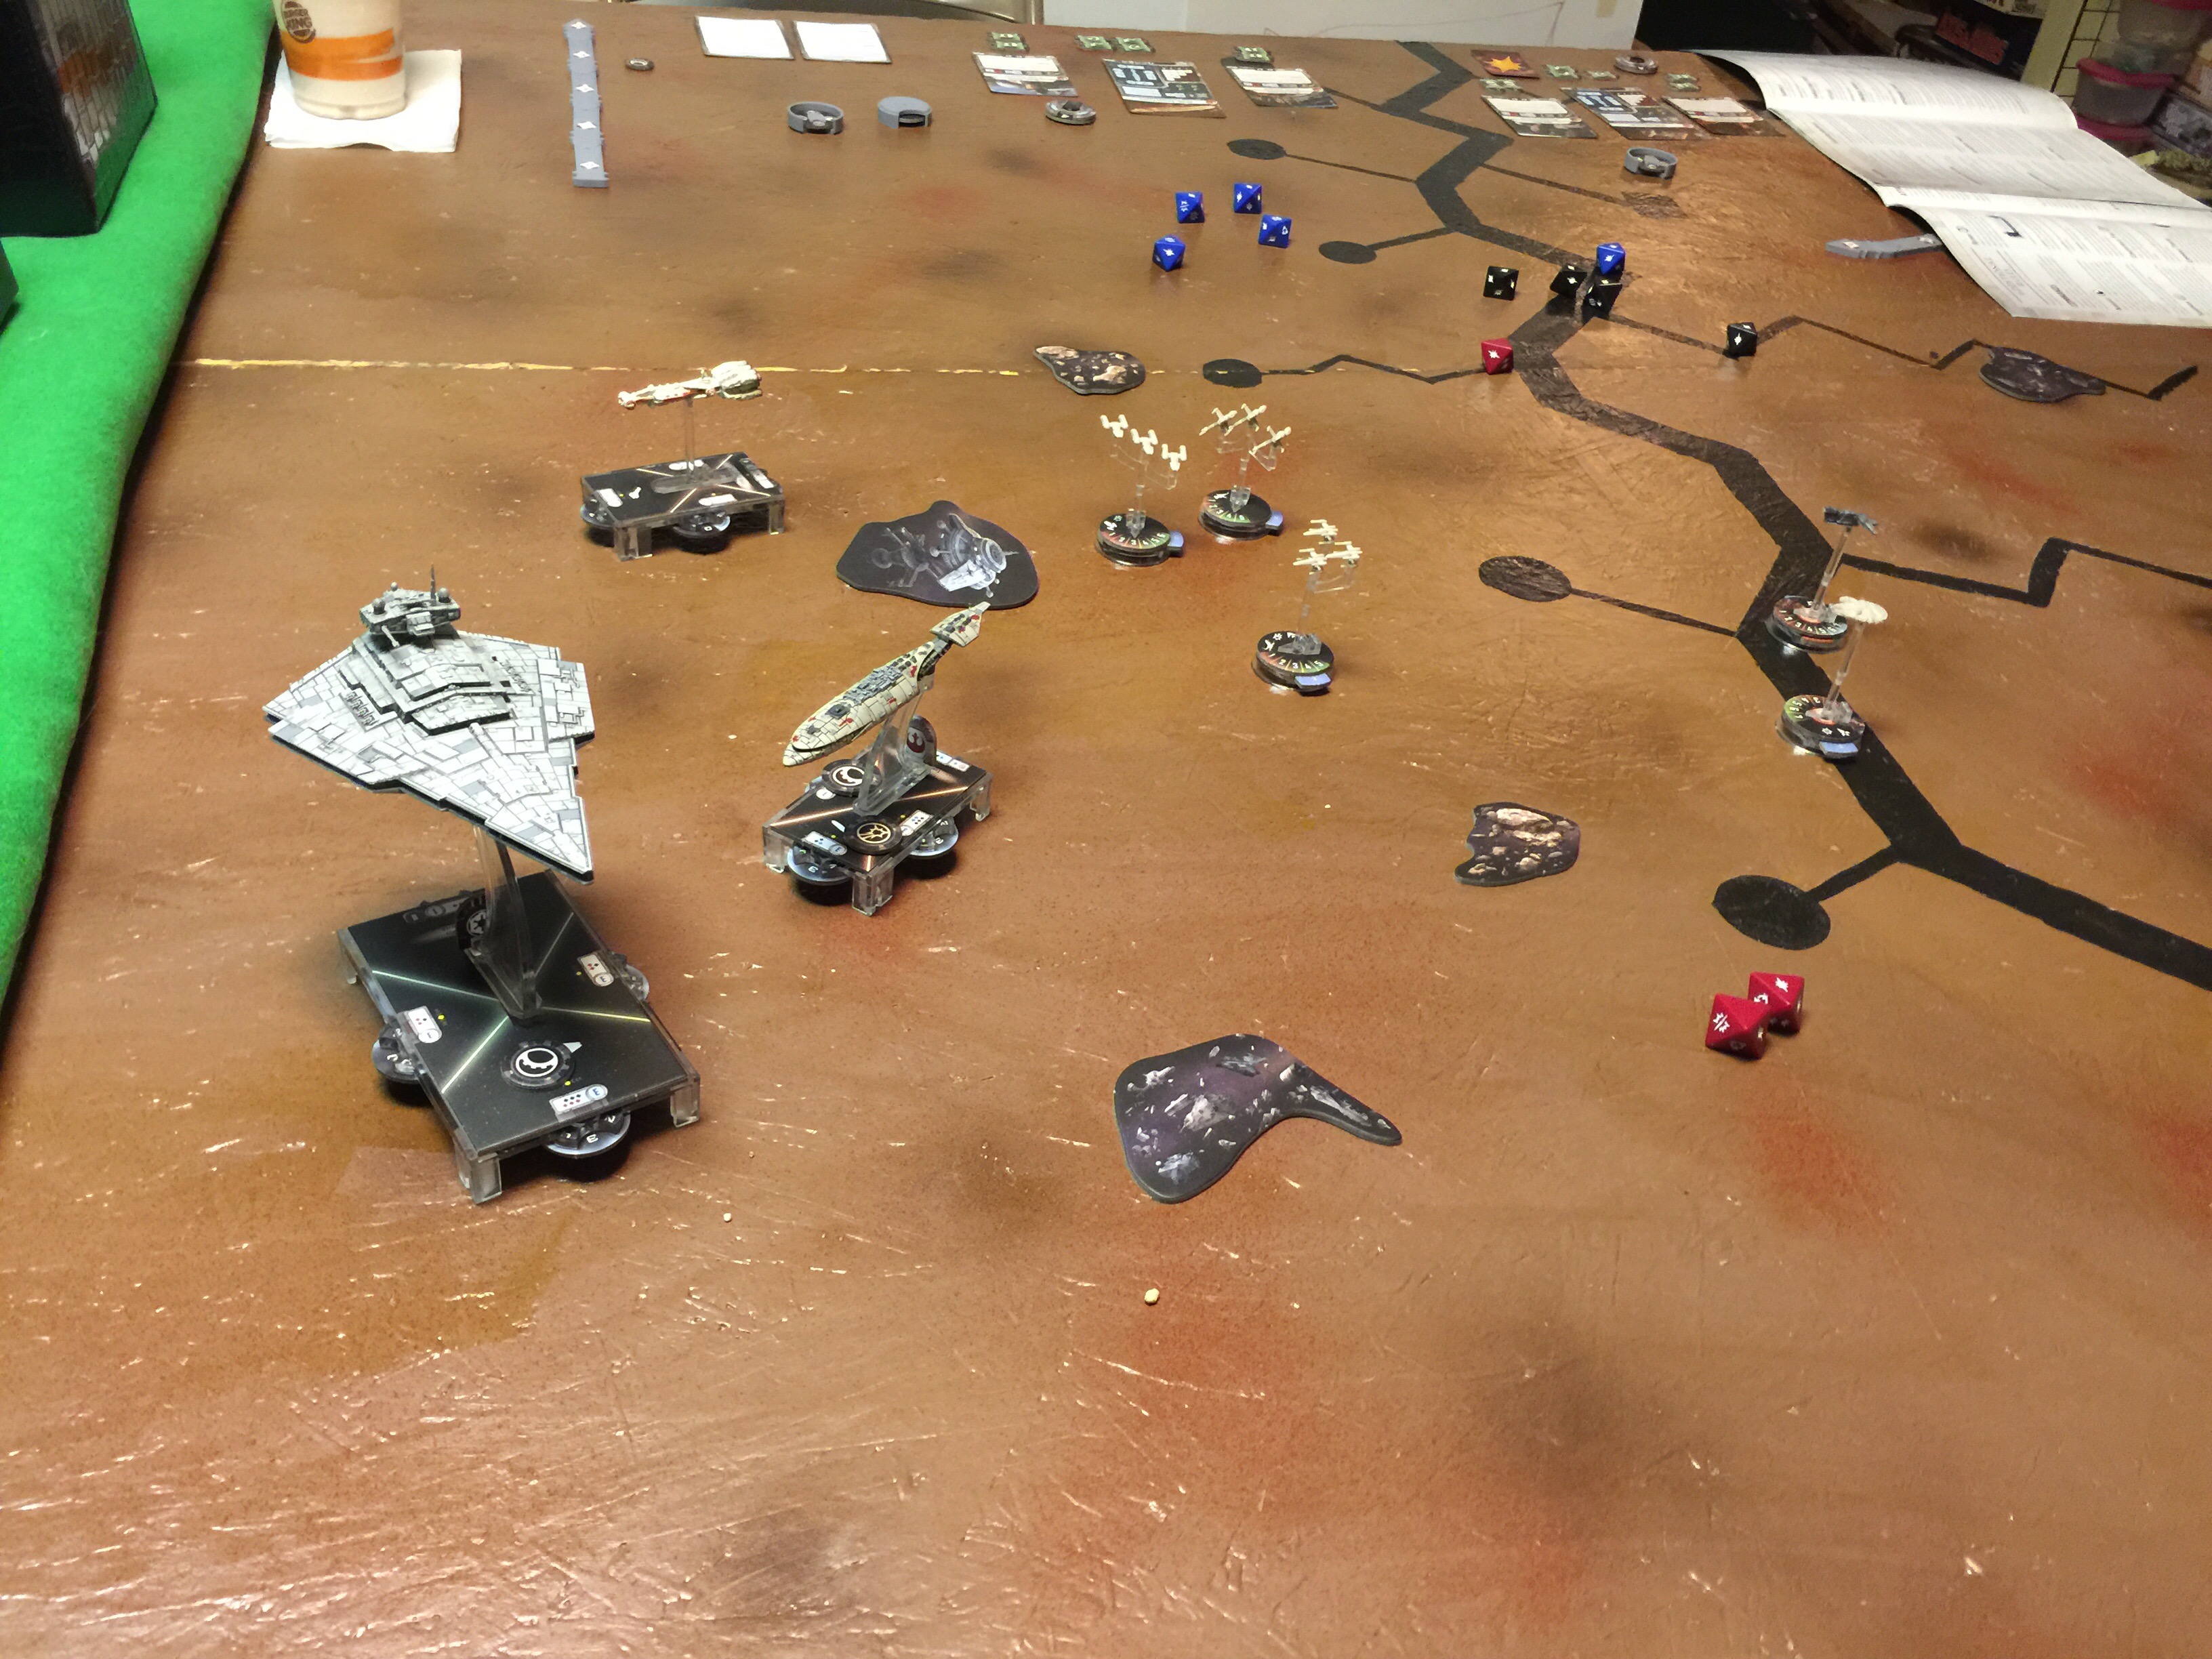
The unthinkable (to the Empire) begins to happen, with Y-Wings and B-wings, able to make an attack run, the two Rebel main ships able to get behind the Star Destroyer. The Gladiator is so far away it is unable to help.

img_1289

Pretty close to the final turn, the Imperial fleet in tatters, starts to quickly make the calculations to jump to light speed. No prizes for Lord Vader today. On whose shoulders will it fall to deliver the bad news. Least no capital ships were lost….

In the end, Luke Skywalker was one away from being a casualty. The Imperial Star Destroyer in the end had lost shields and was taking hull hits, another turn of damage and it would likely be gone. Bask was pretty badly damaged so he needed to run. The Imperial Gladiator was untouched but so far out of it, it wouldn’t get back in the battle. On the Rebel side, their capital ships were done shields so they could star taking hull hits but the Empire would need a concentrated volley to take one out. Not to be.

Can’t wait to play again!

Posted in Star Wars : Armada | Comments Off on Star Wars Armada : Little dust up