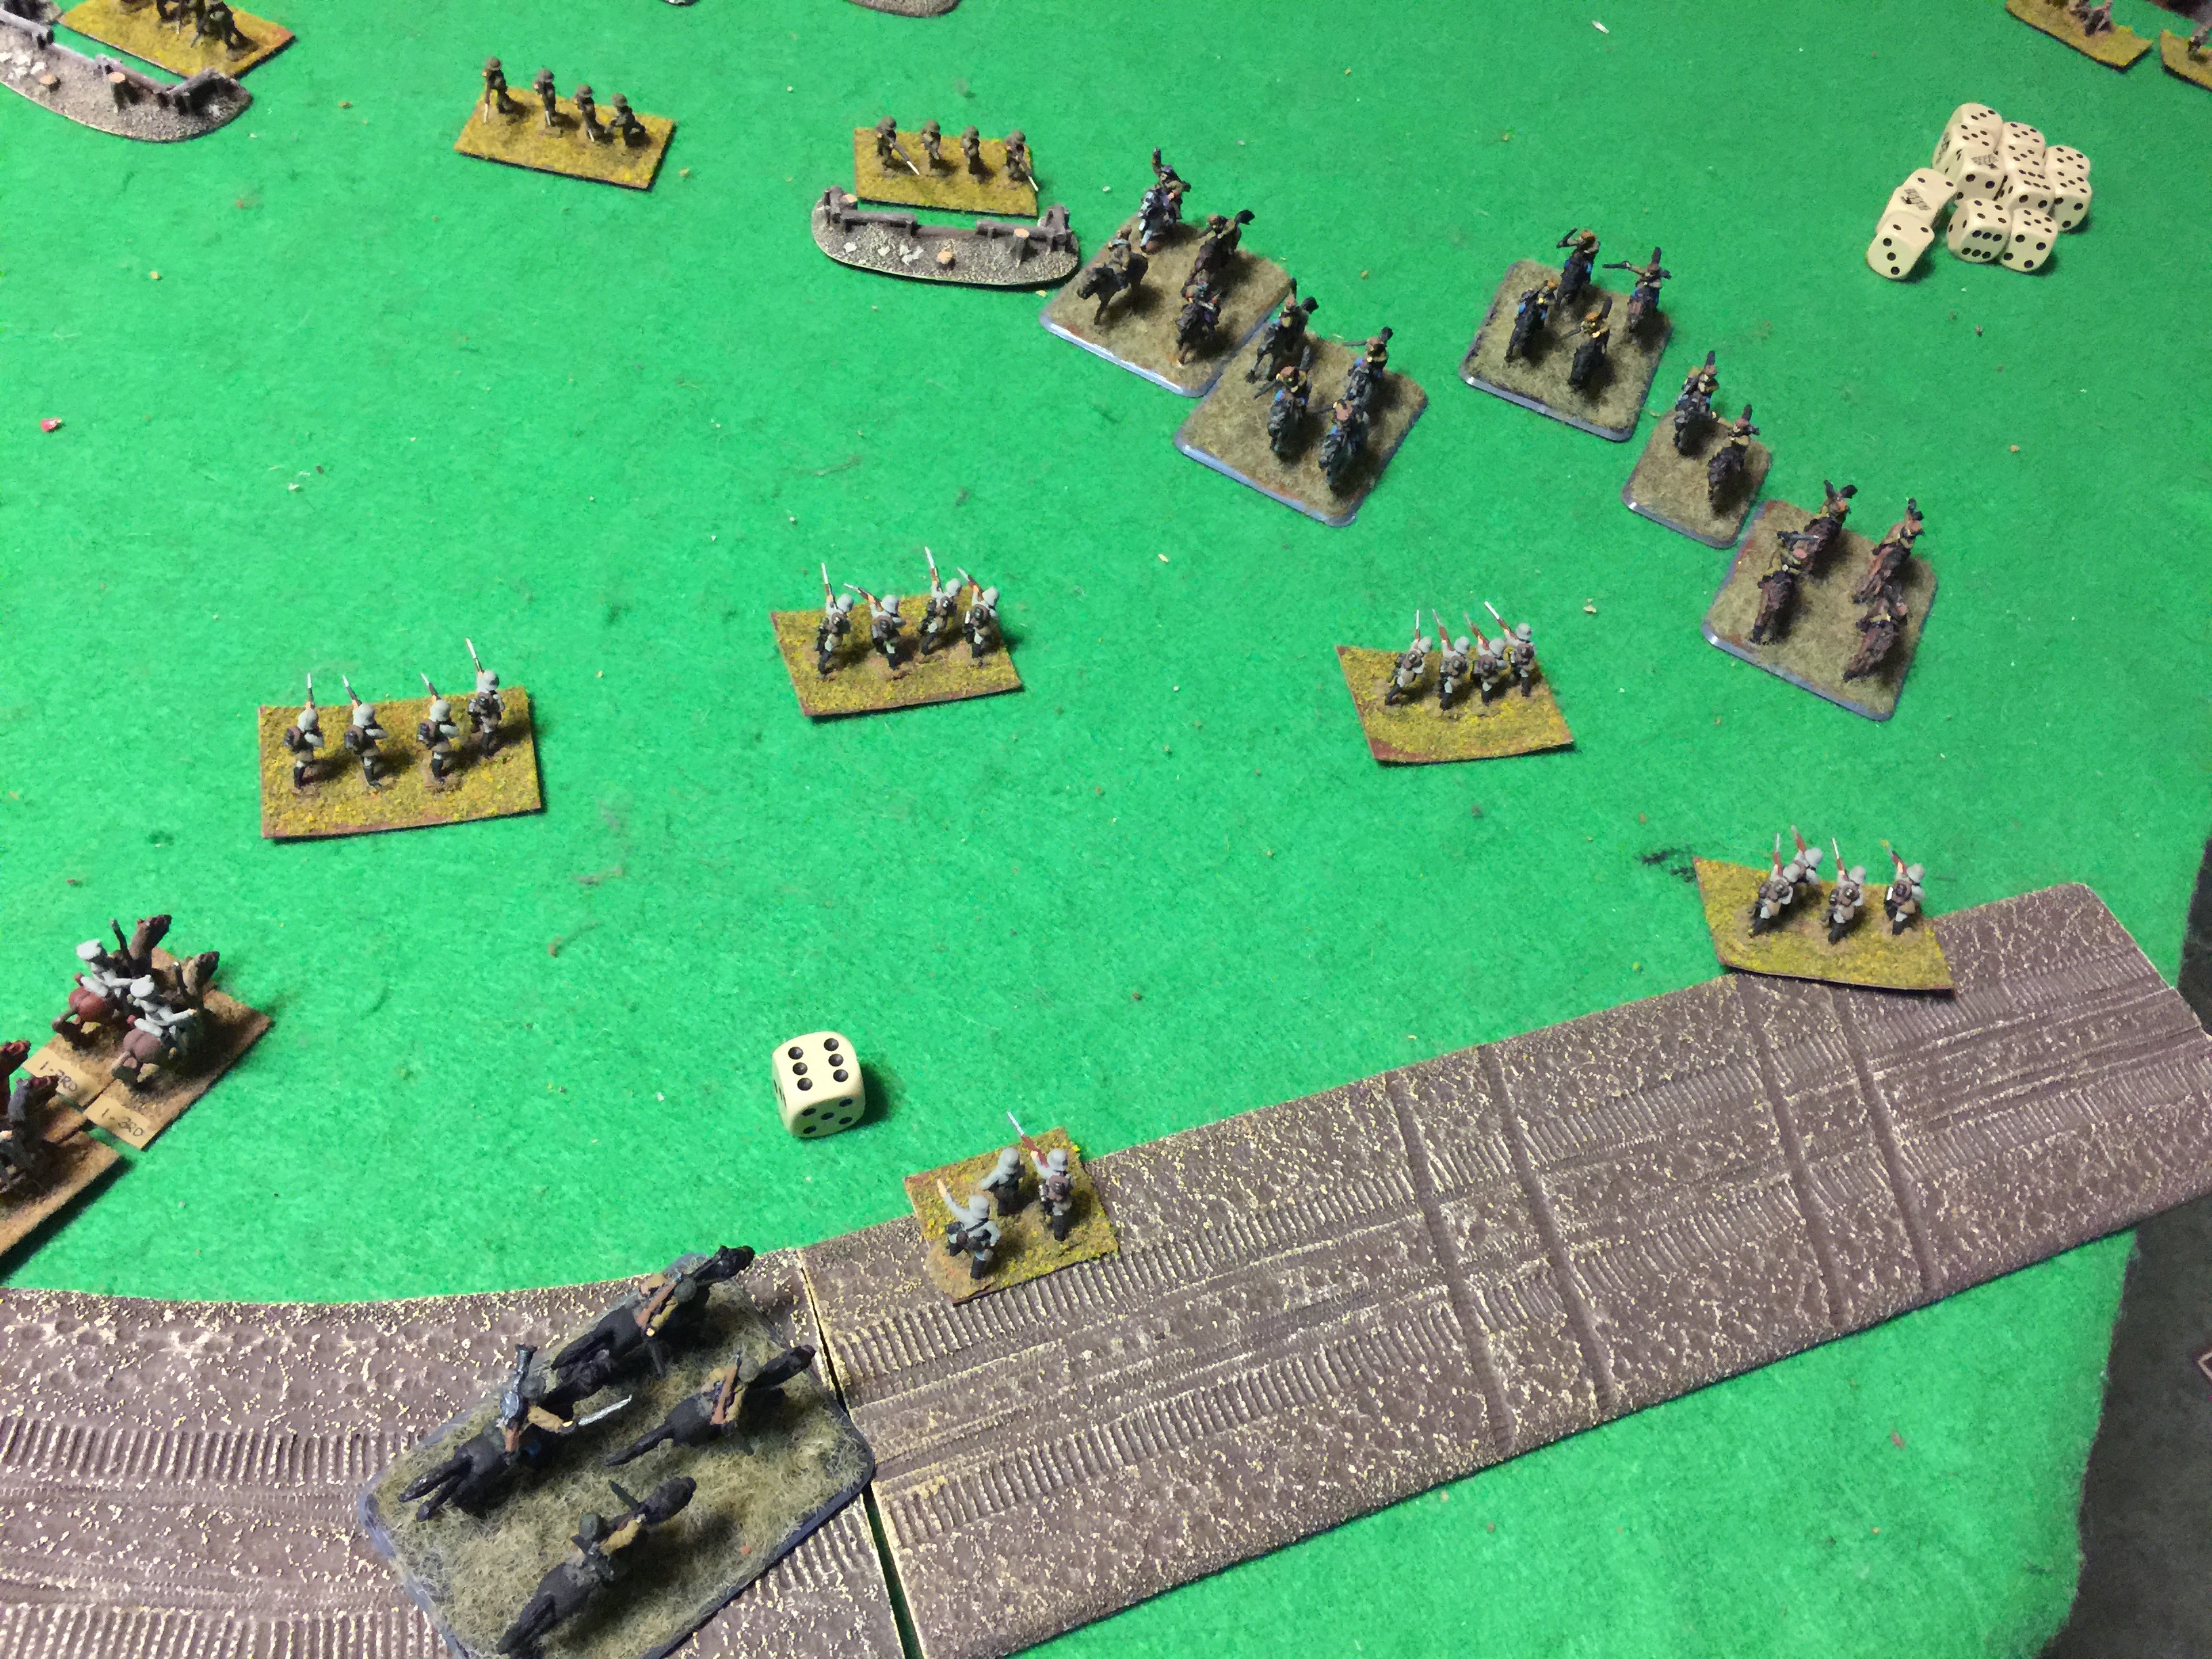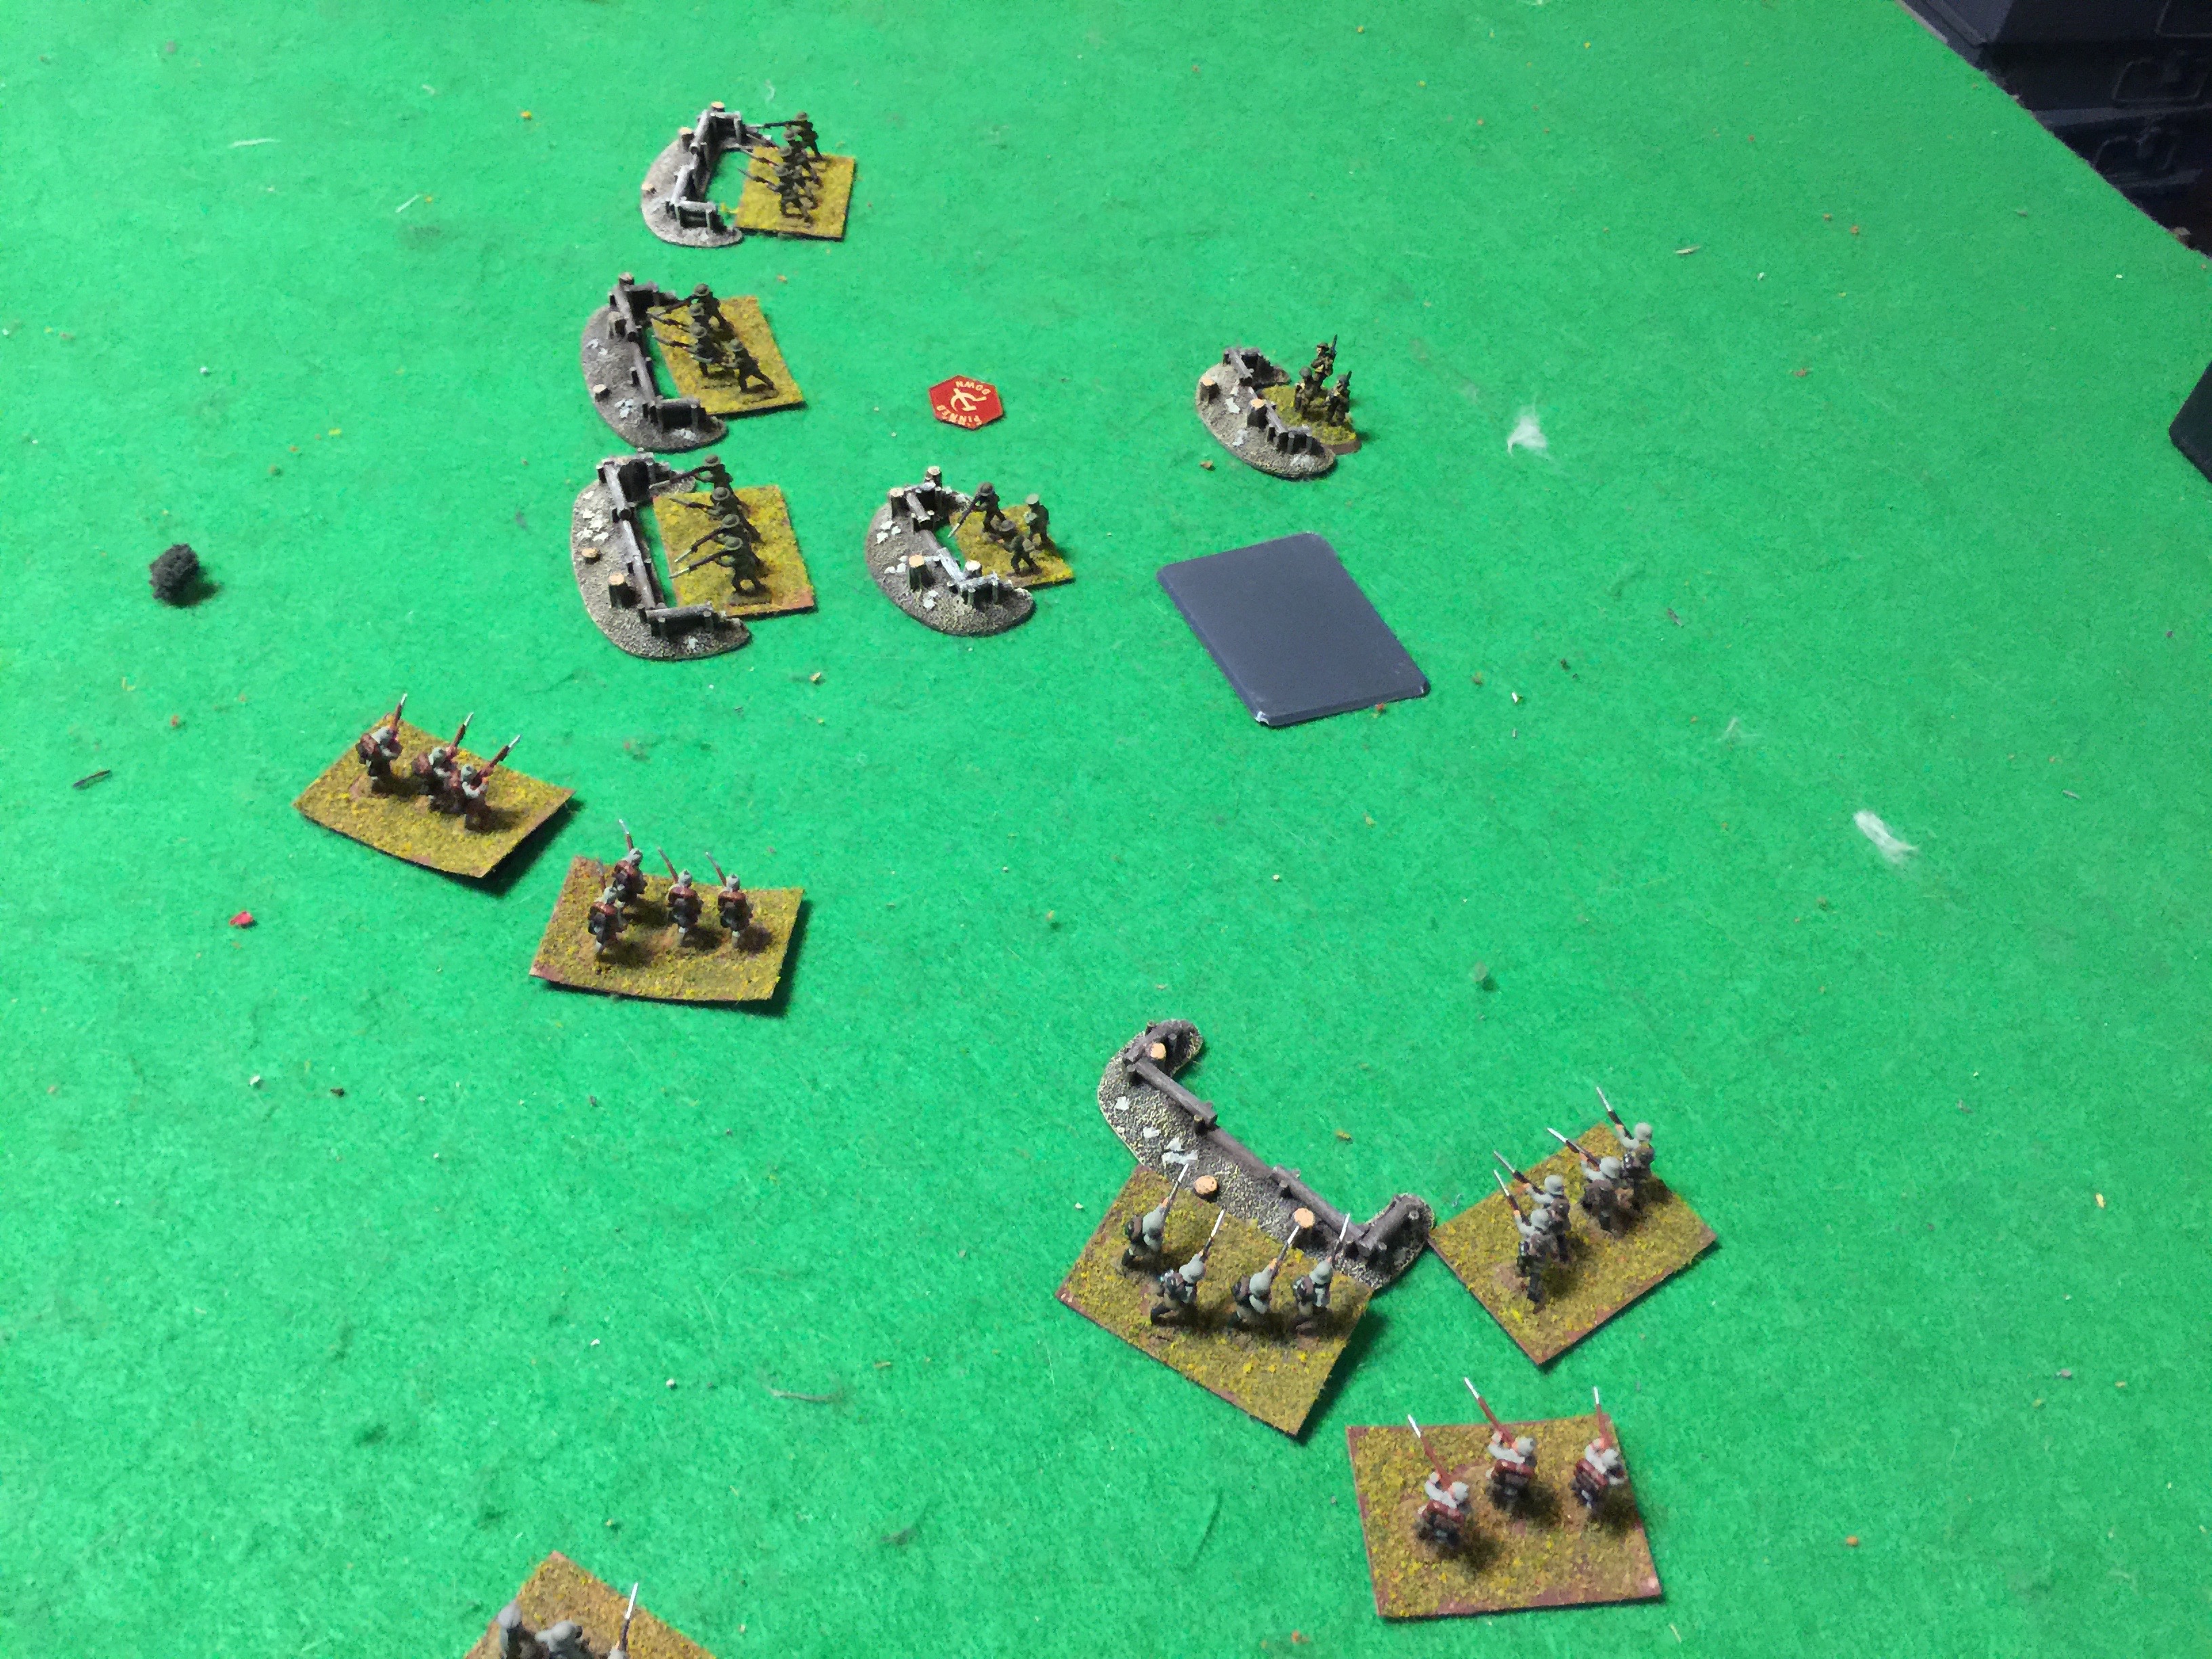
D-Day on D-Day

June 6th, important day in history and once again we gathered at Deaf Ear Records in LaCrosse WI to game.

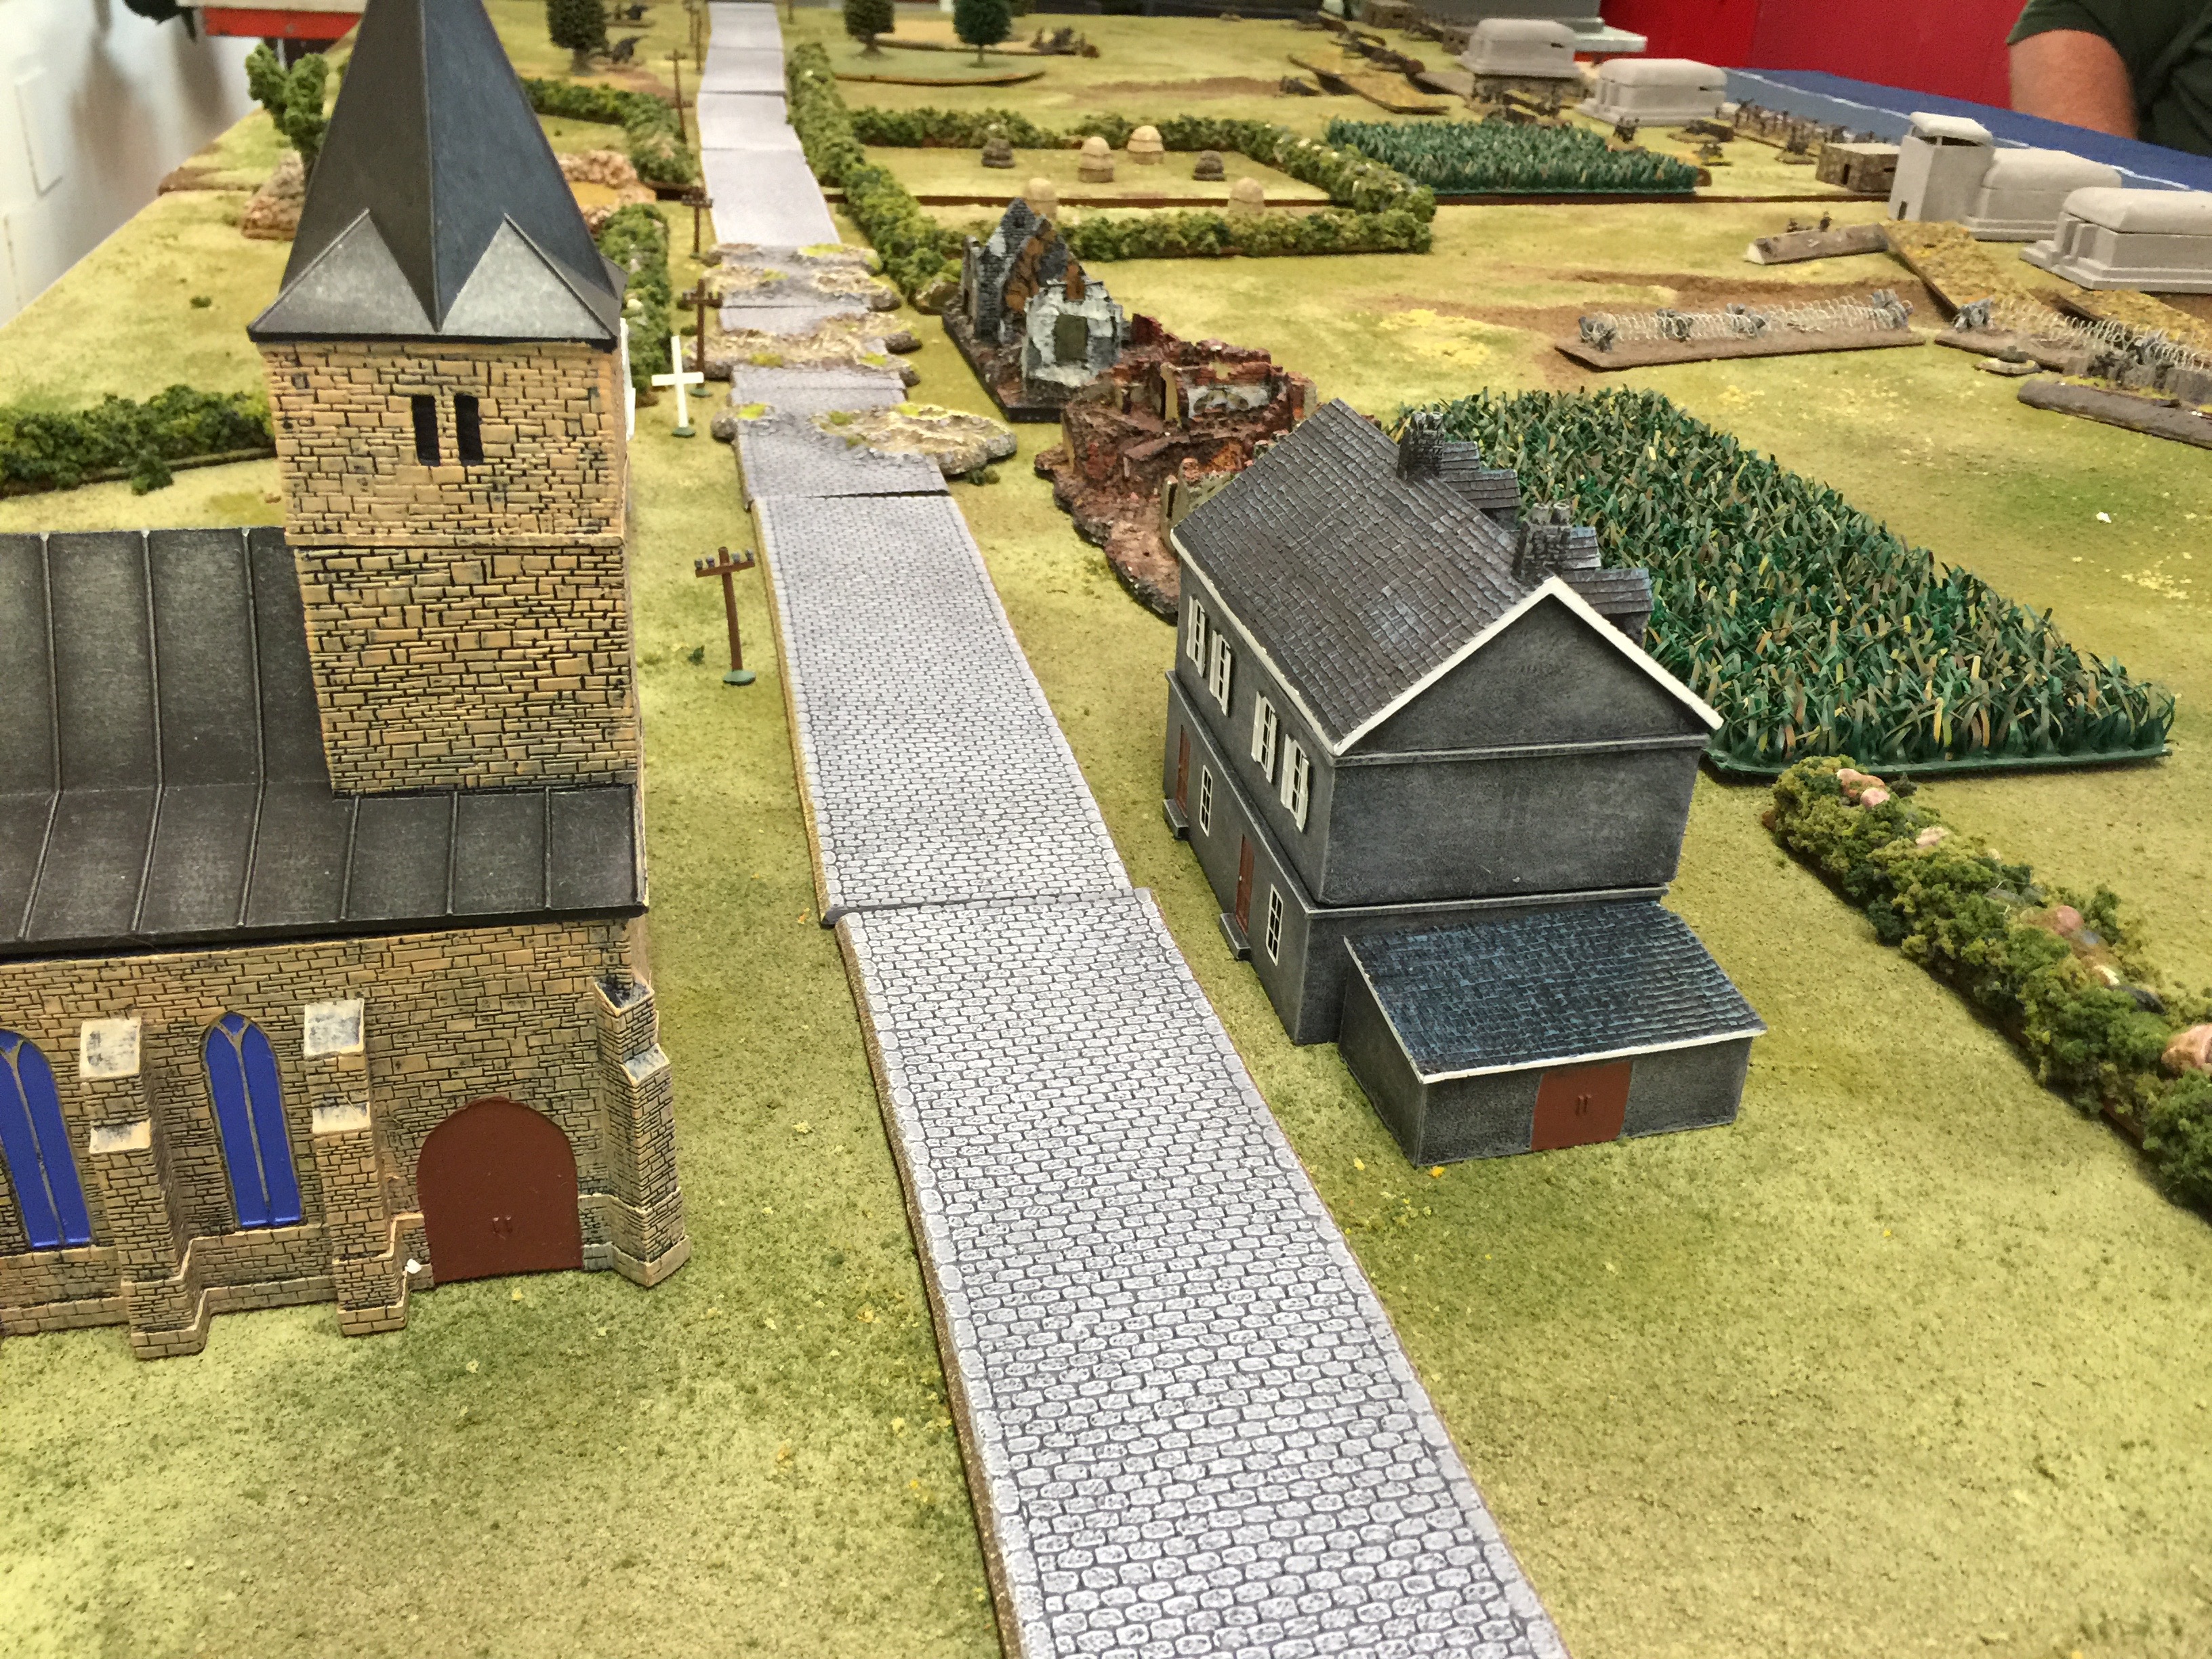
Bill got his wish and we put on a D-Day on D-Day. Bill in particular put in a lot of work putting together the special table and the wire to make it happen. Across the guys, likewise a bit of new lead here in there and especially landing craft. I think you’ll agree the table is a real visual treat.

IMG_9733


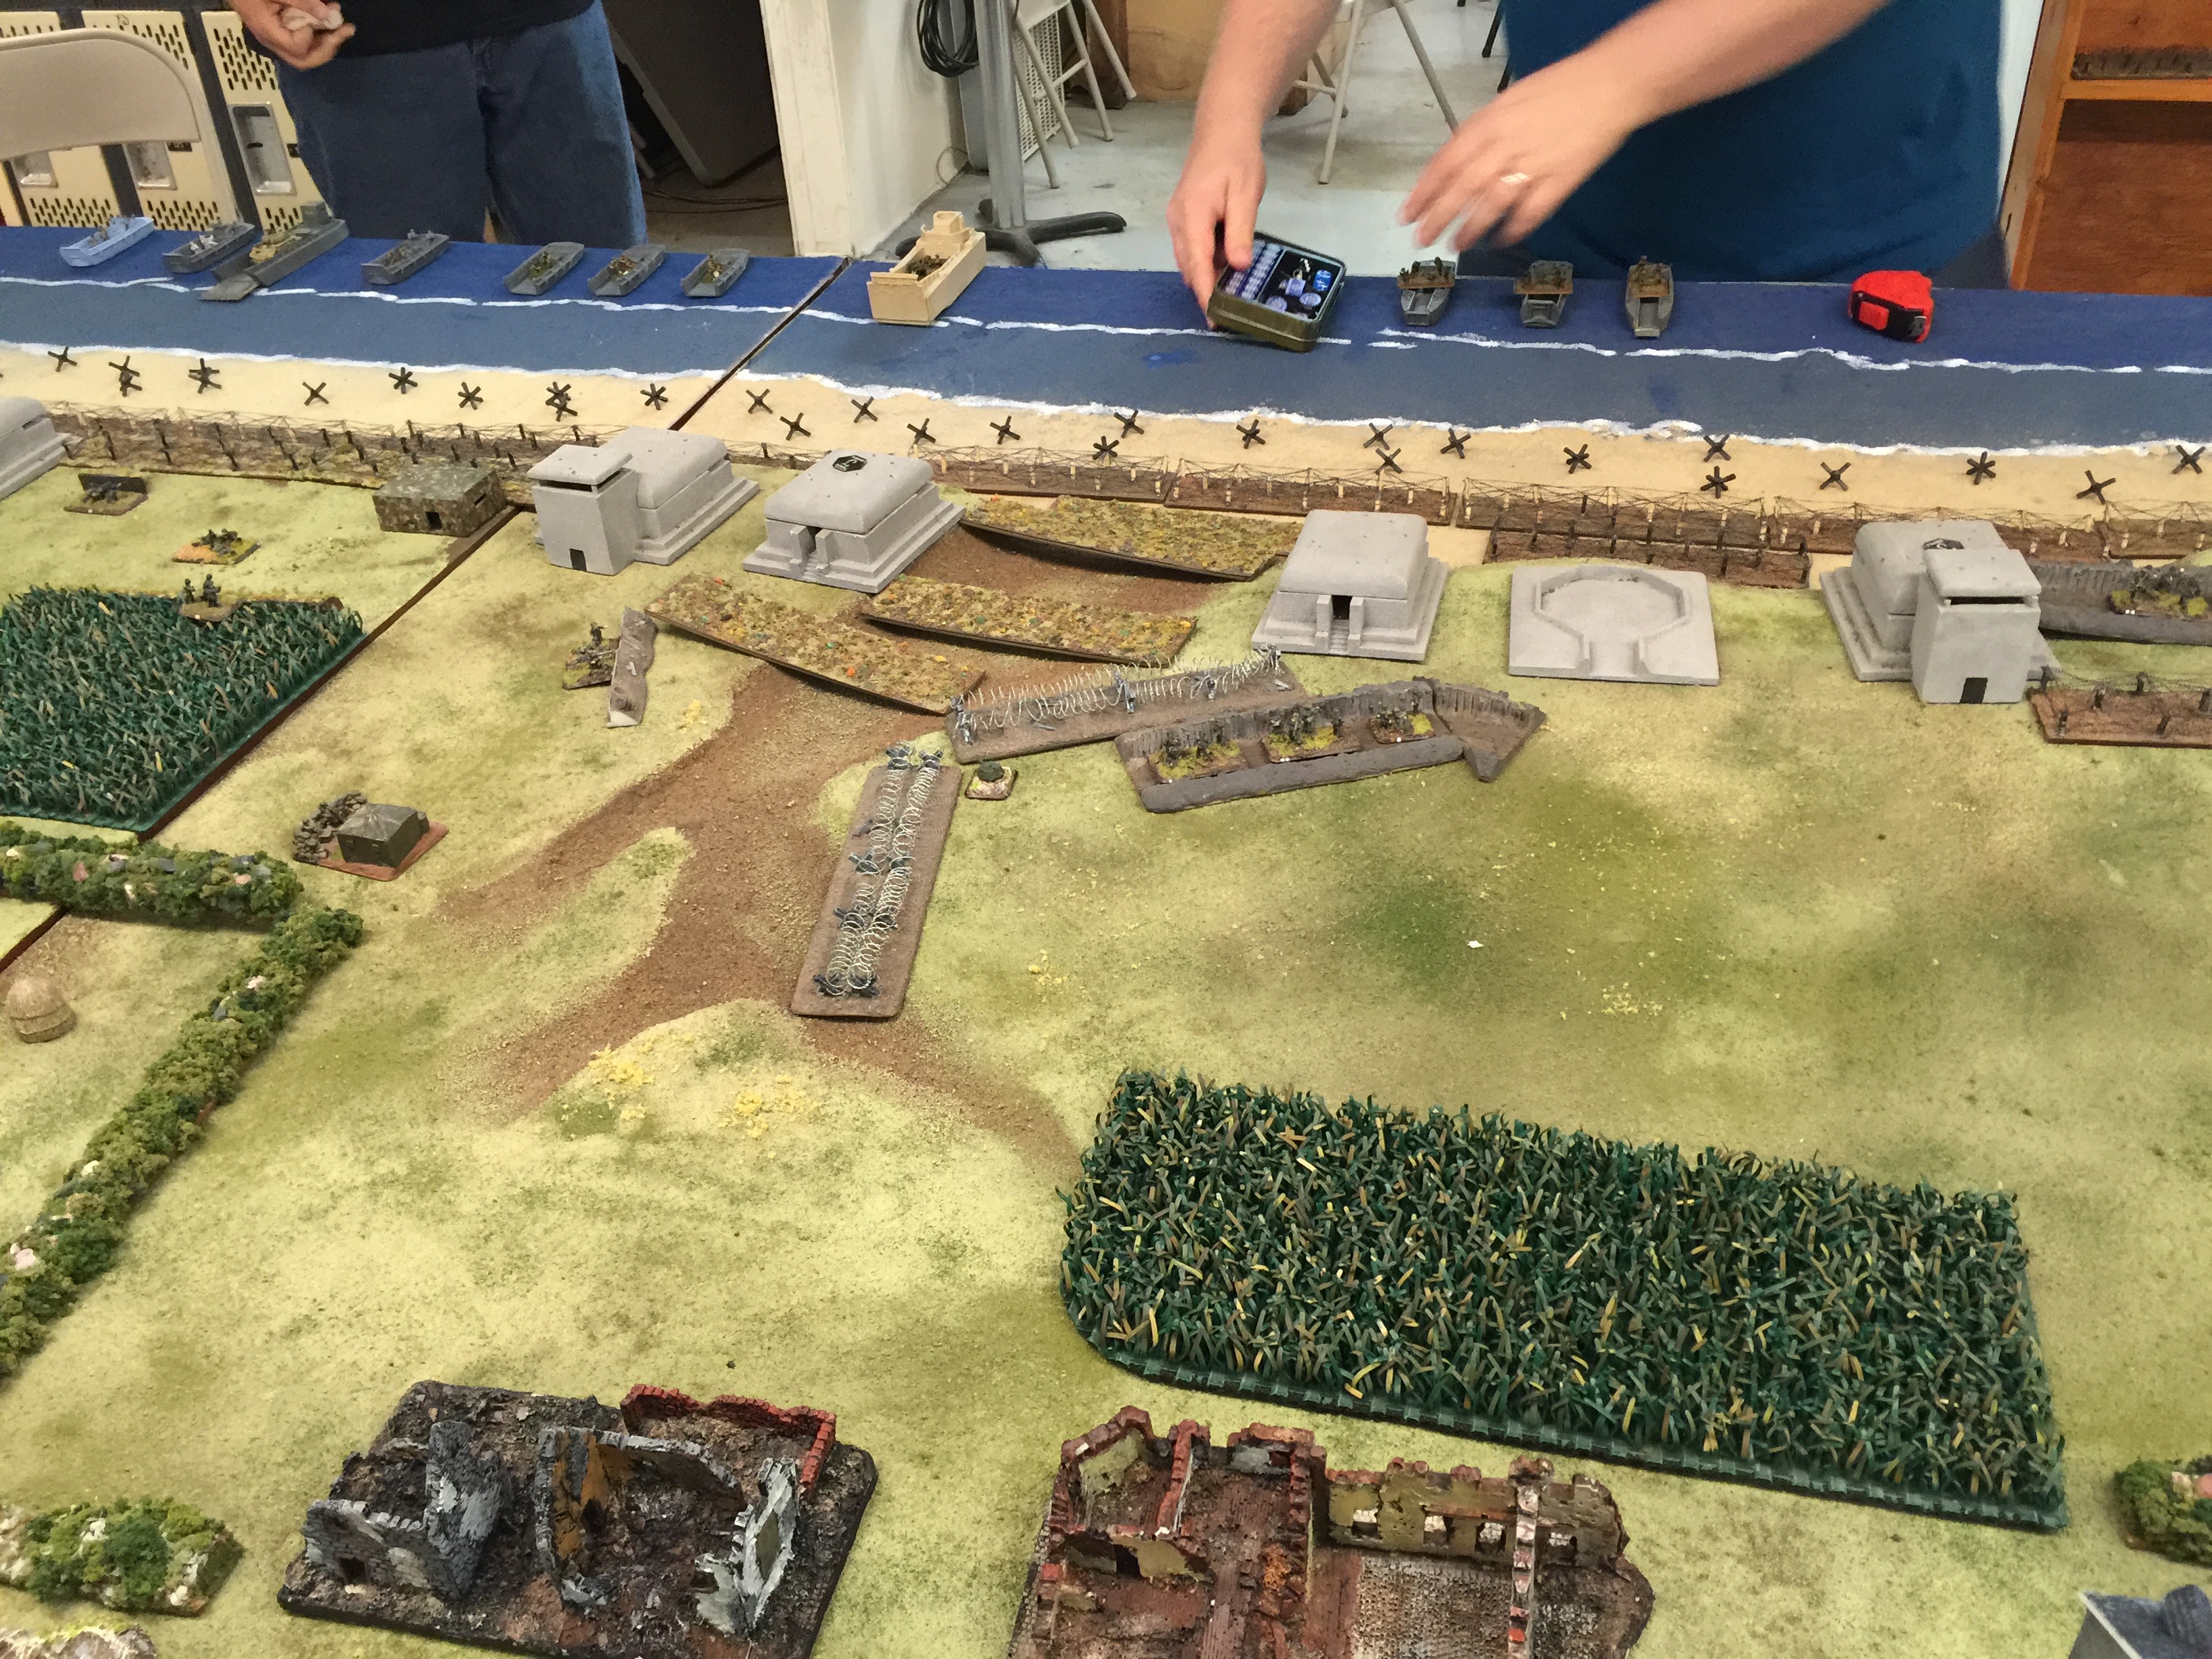
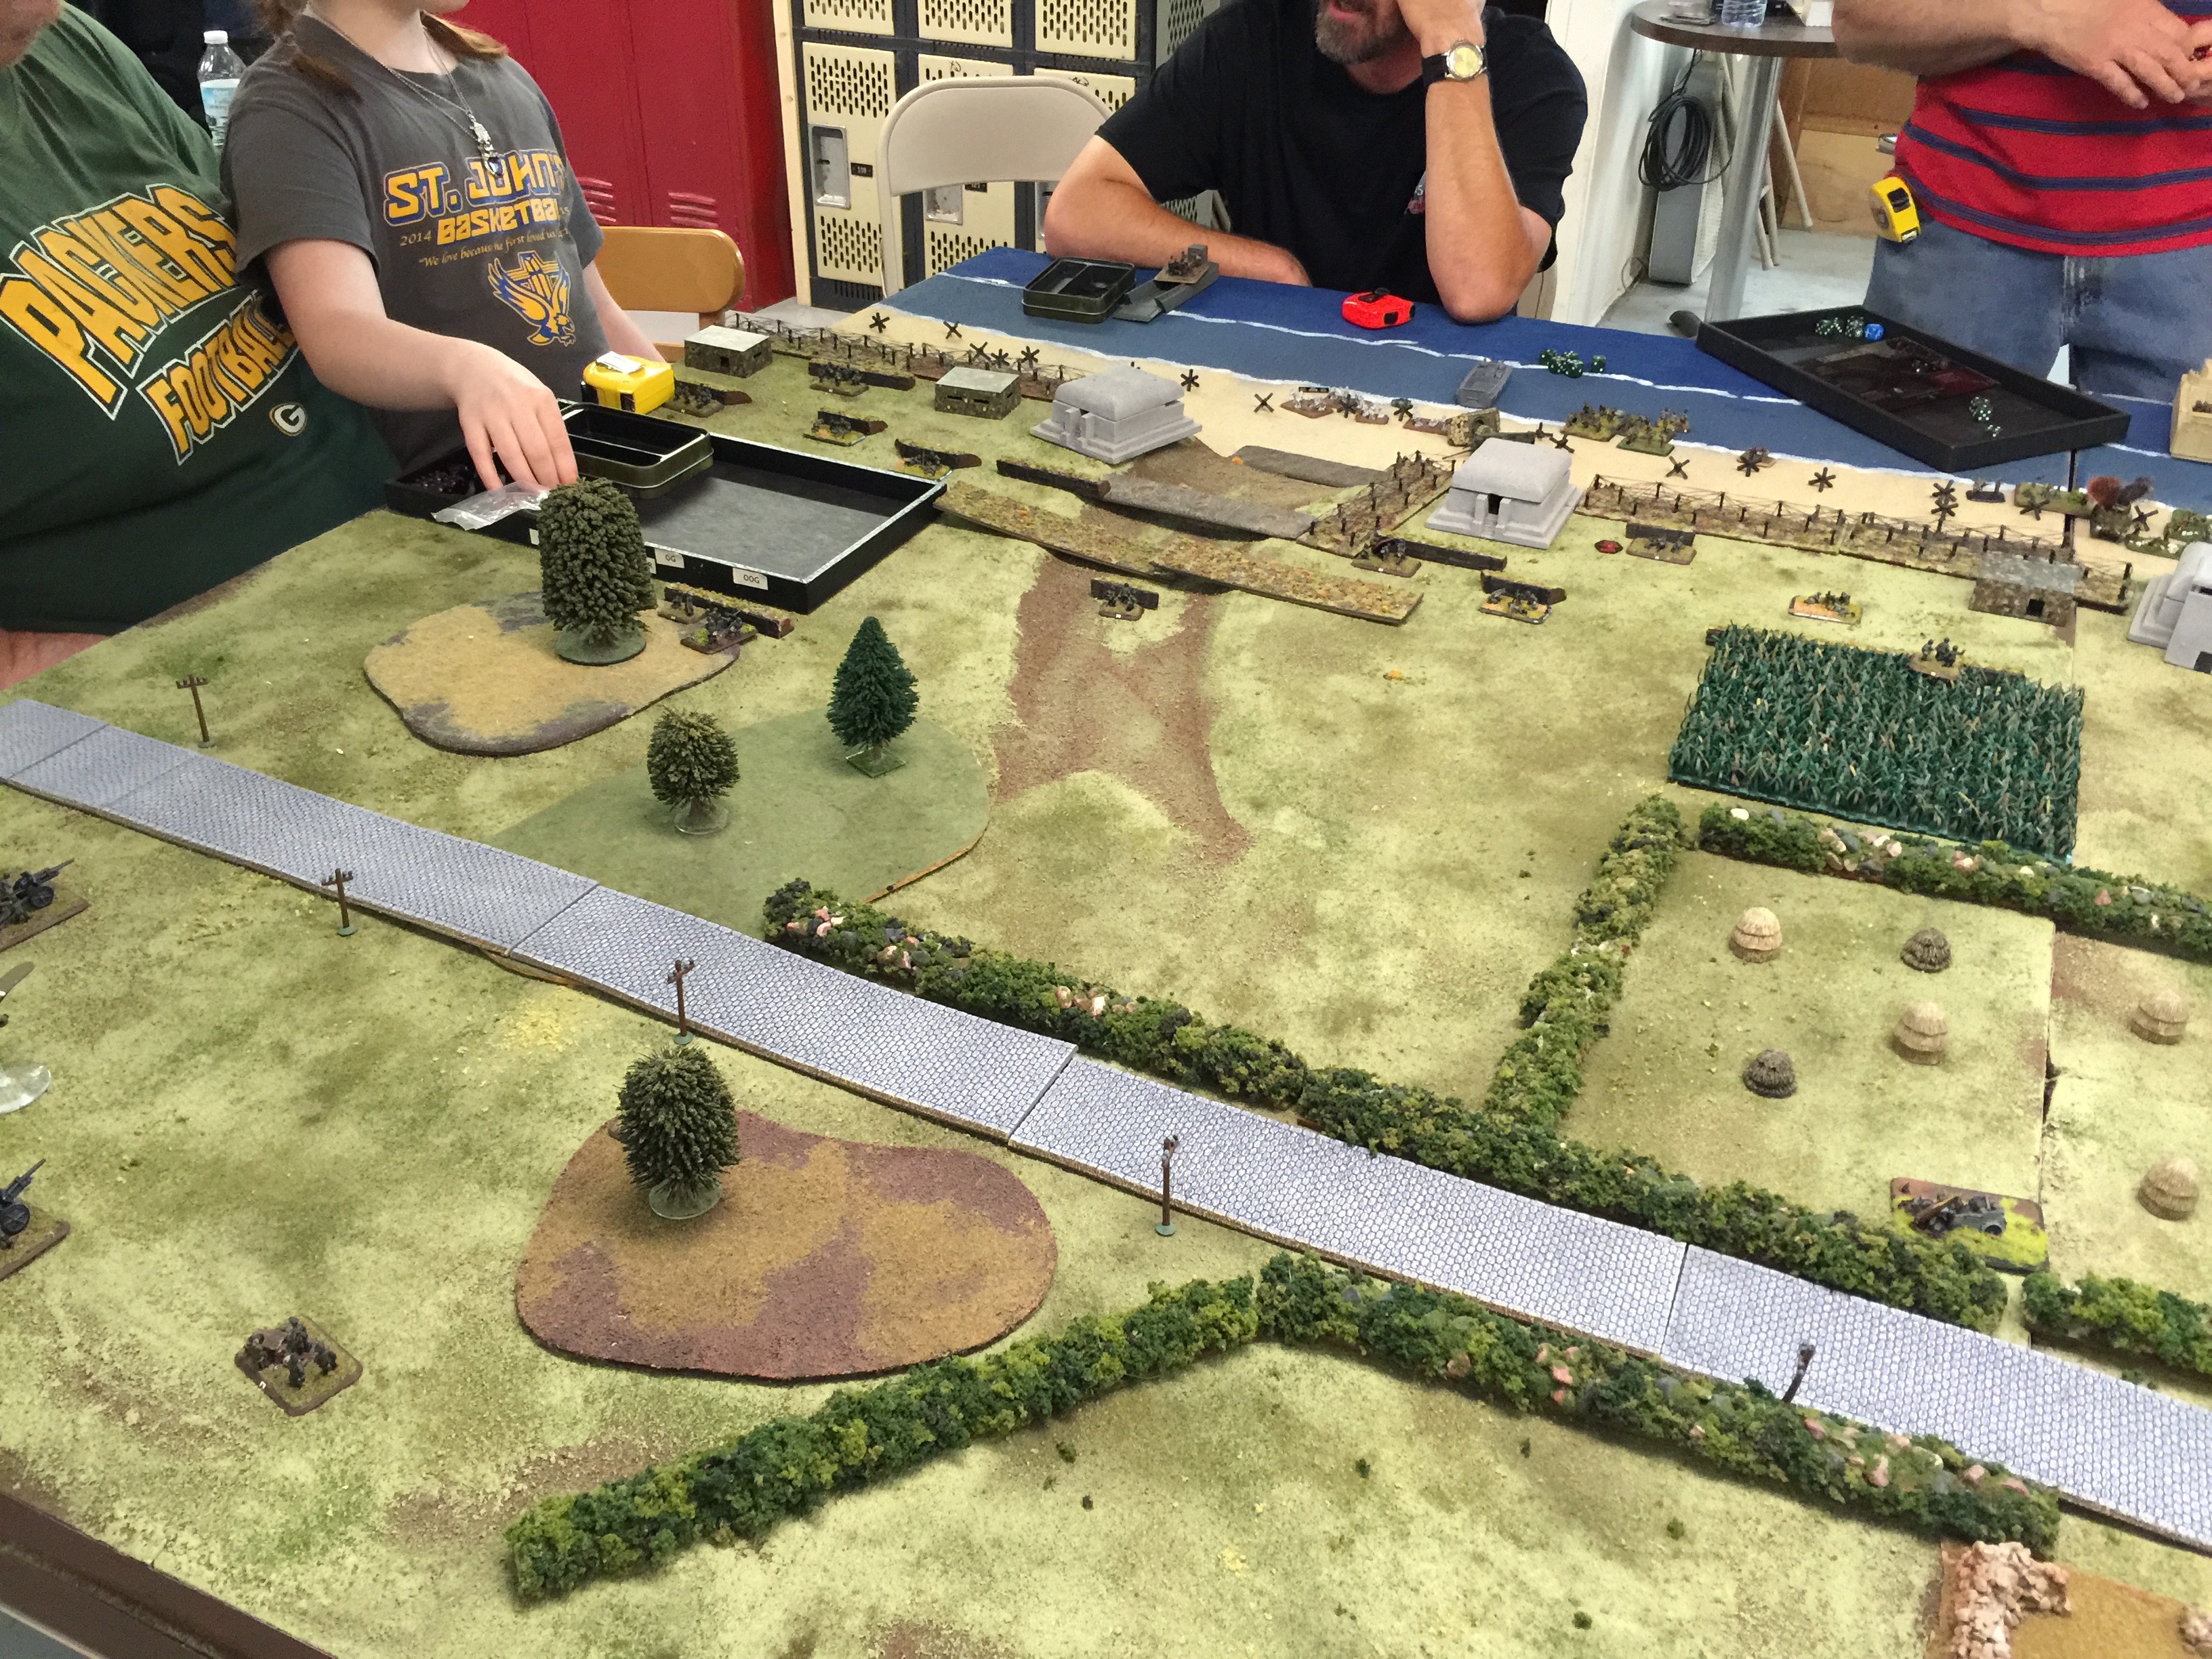
We had two 4×6 tables put together so the length of the beach was 8 feet with 6 foot of depth for the break out.
IMG_9736

We had 3 a side, with Mark, Chuck and myself playing German and 3 on the Allied side with 2 playing American (Collin and Bill) and Keith playing British. Keith drove all the way down from the twin cities to make the game. Really nice guy and certainly hope to see him again, not to mention builds the prospect of getting some future games going on up in the cities.

For sides, the Germans each had 1000 points picking from the Atlantik Wall book. The Allies each had 1750 points and picked from the Overlord book. For the landing craft rules and such Bill had a couple copies of “Das Book”  which was instrumental throughout the game but otherwise we were playing solidly v3 Flames of War. For me it was the first time using Flames of War for an amphibious assault and it seemed to work really well.

IMG_9737

On the German side we decided to have Chuck and Mark both field Festung (Omaha) companies and I’d be the relief picking from the 21st Panzer for the counter attack. For me I’d be acting as delayed reserves and instead of successful rolles of a 5+, 6 with the rolls starting on turn 3. I prepared for a long wait but still, was quite a pleasure to watch the action unfold.
IMG_9738


The Allies had their job cut out for them. They could scale the “cliff”/”hill” edges with infantry but vehicles had to go up these breaks in the hill, like this one near the center of the table. Plenty of land mines and wire to deal with so as the landing craft started to make their way ashore they’d have their work cut out for them.

On the bombardment Mark lost a good number of teams (5? 6?)  and Chuck really lucked out with the loss of just 2 teams.

For defenses, going from right to left Chuck had an 8cm mortar, HMG, 2 7.5 Paks and the an HMG and then various MG teams here and there making up two platoons all total. Mark on the German left flank had something similar but I didn’t get a chance to write it down. Both of the objectives were approximately in the middle of the table.

IMG_9739

With the initial wave hitting the beach, it was a good collection of infantry, some pioneers and shermans here and there. A few landing craft got delayed coming in but over all the Allies were able to get an effective force on the beach on the initial turn to start to get after all the wire.

IMG_9741


With FoW you have two options on wire, either try and get through or try and gap it and thus remove. Closest Keith rolled well and gapped effectively from the get go. Unfortunately then these units had to weather the initial fire from everything Chuck could throw at him. In the middle of the table Bill came on with a couple of Shermans, to accompany his infantry and one was taken out. The above picture is from the bottom of turn 1. Off in the distance you can see Collin likewise came on with Shermans and infantry that successfully was able to gap 2 sections of wire creating a nice opening for him to flow through.
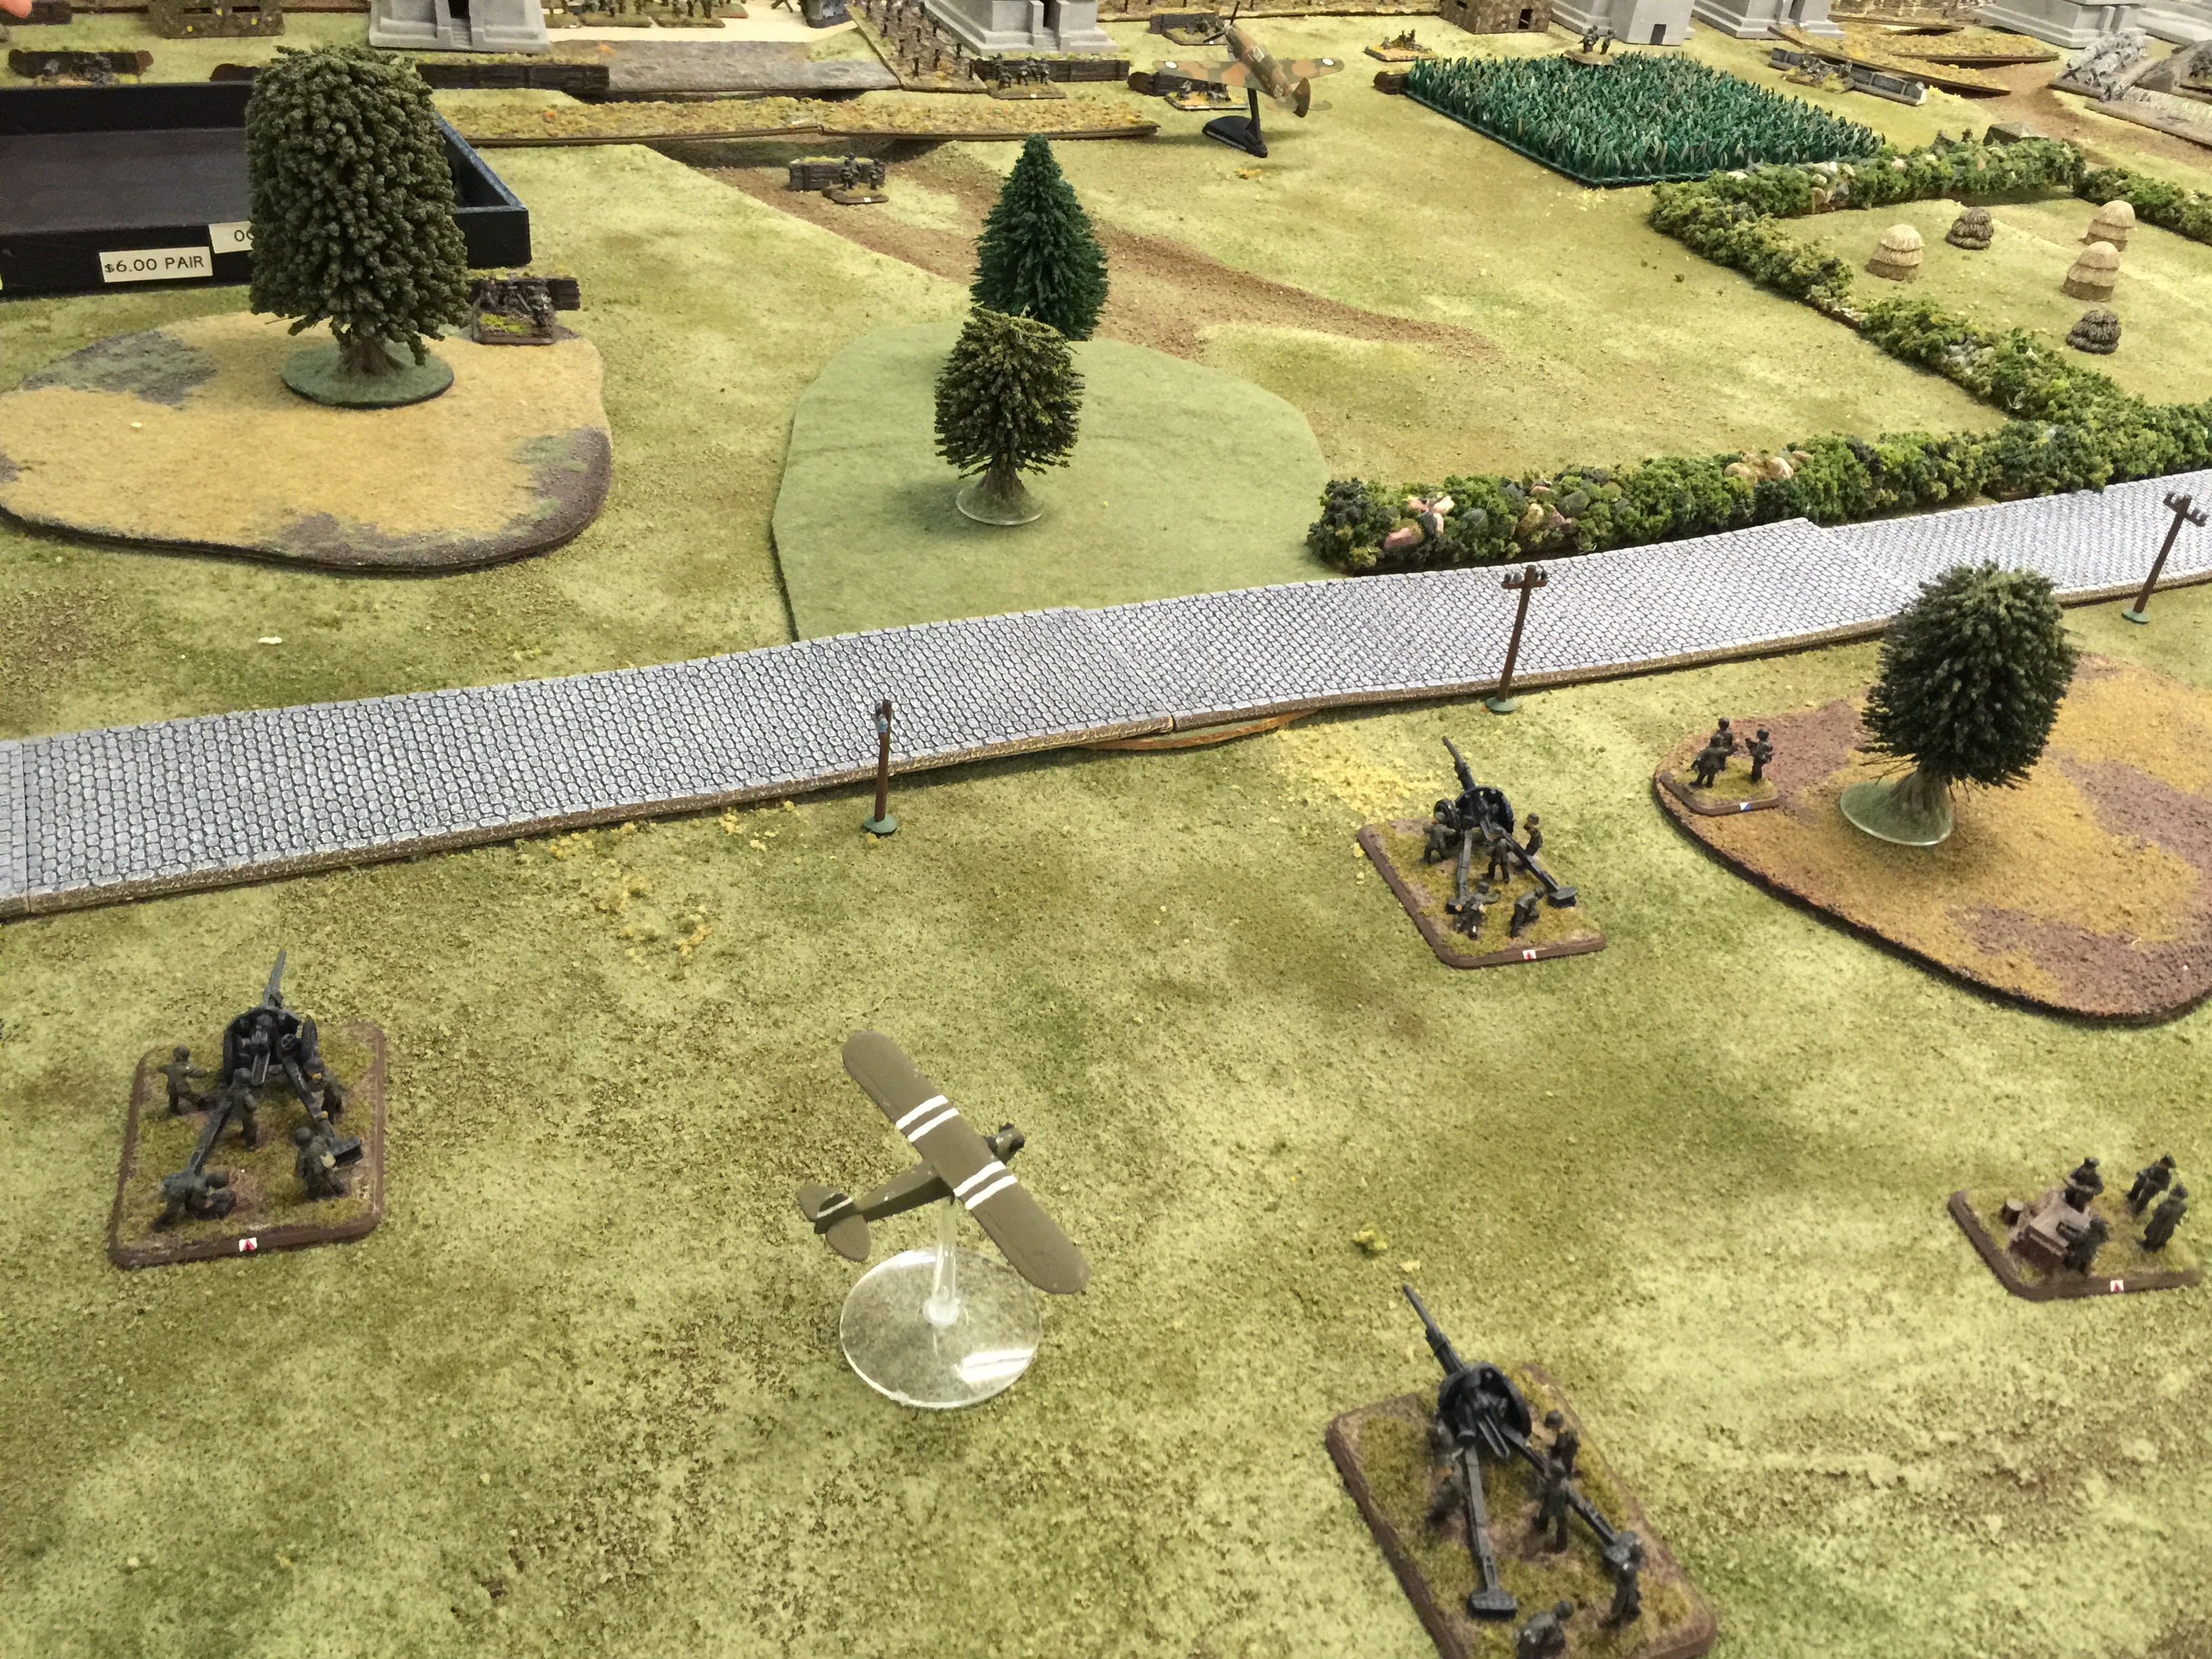
IMG_9742

On Marks side behind the lines, he had the only bit of German artillery which immediately attracted the naval bombardment fire. In the course of two turns it was down to two guns.

IMG_9743

Collin also had air, P47s to support him. With the Germans being almost entirely down on the beach the air really didn’t have a place or a use until later on in the game when German  reinforcements would arrive. Even then special rules required a 6s for air to be available since it was presumed they were “busy” elsewhere.
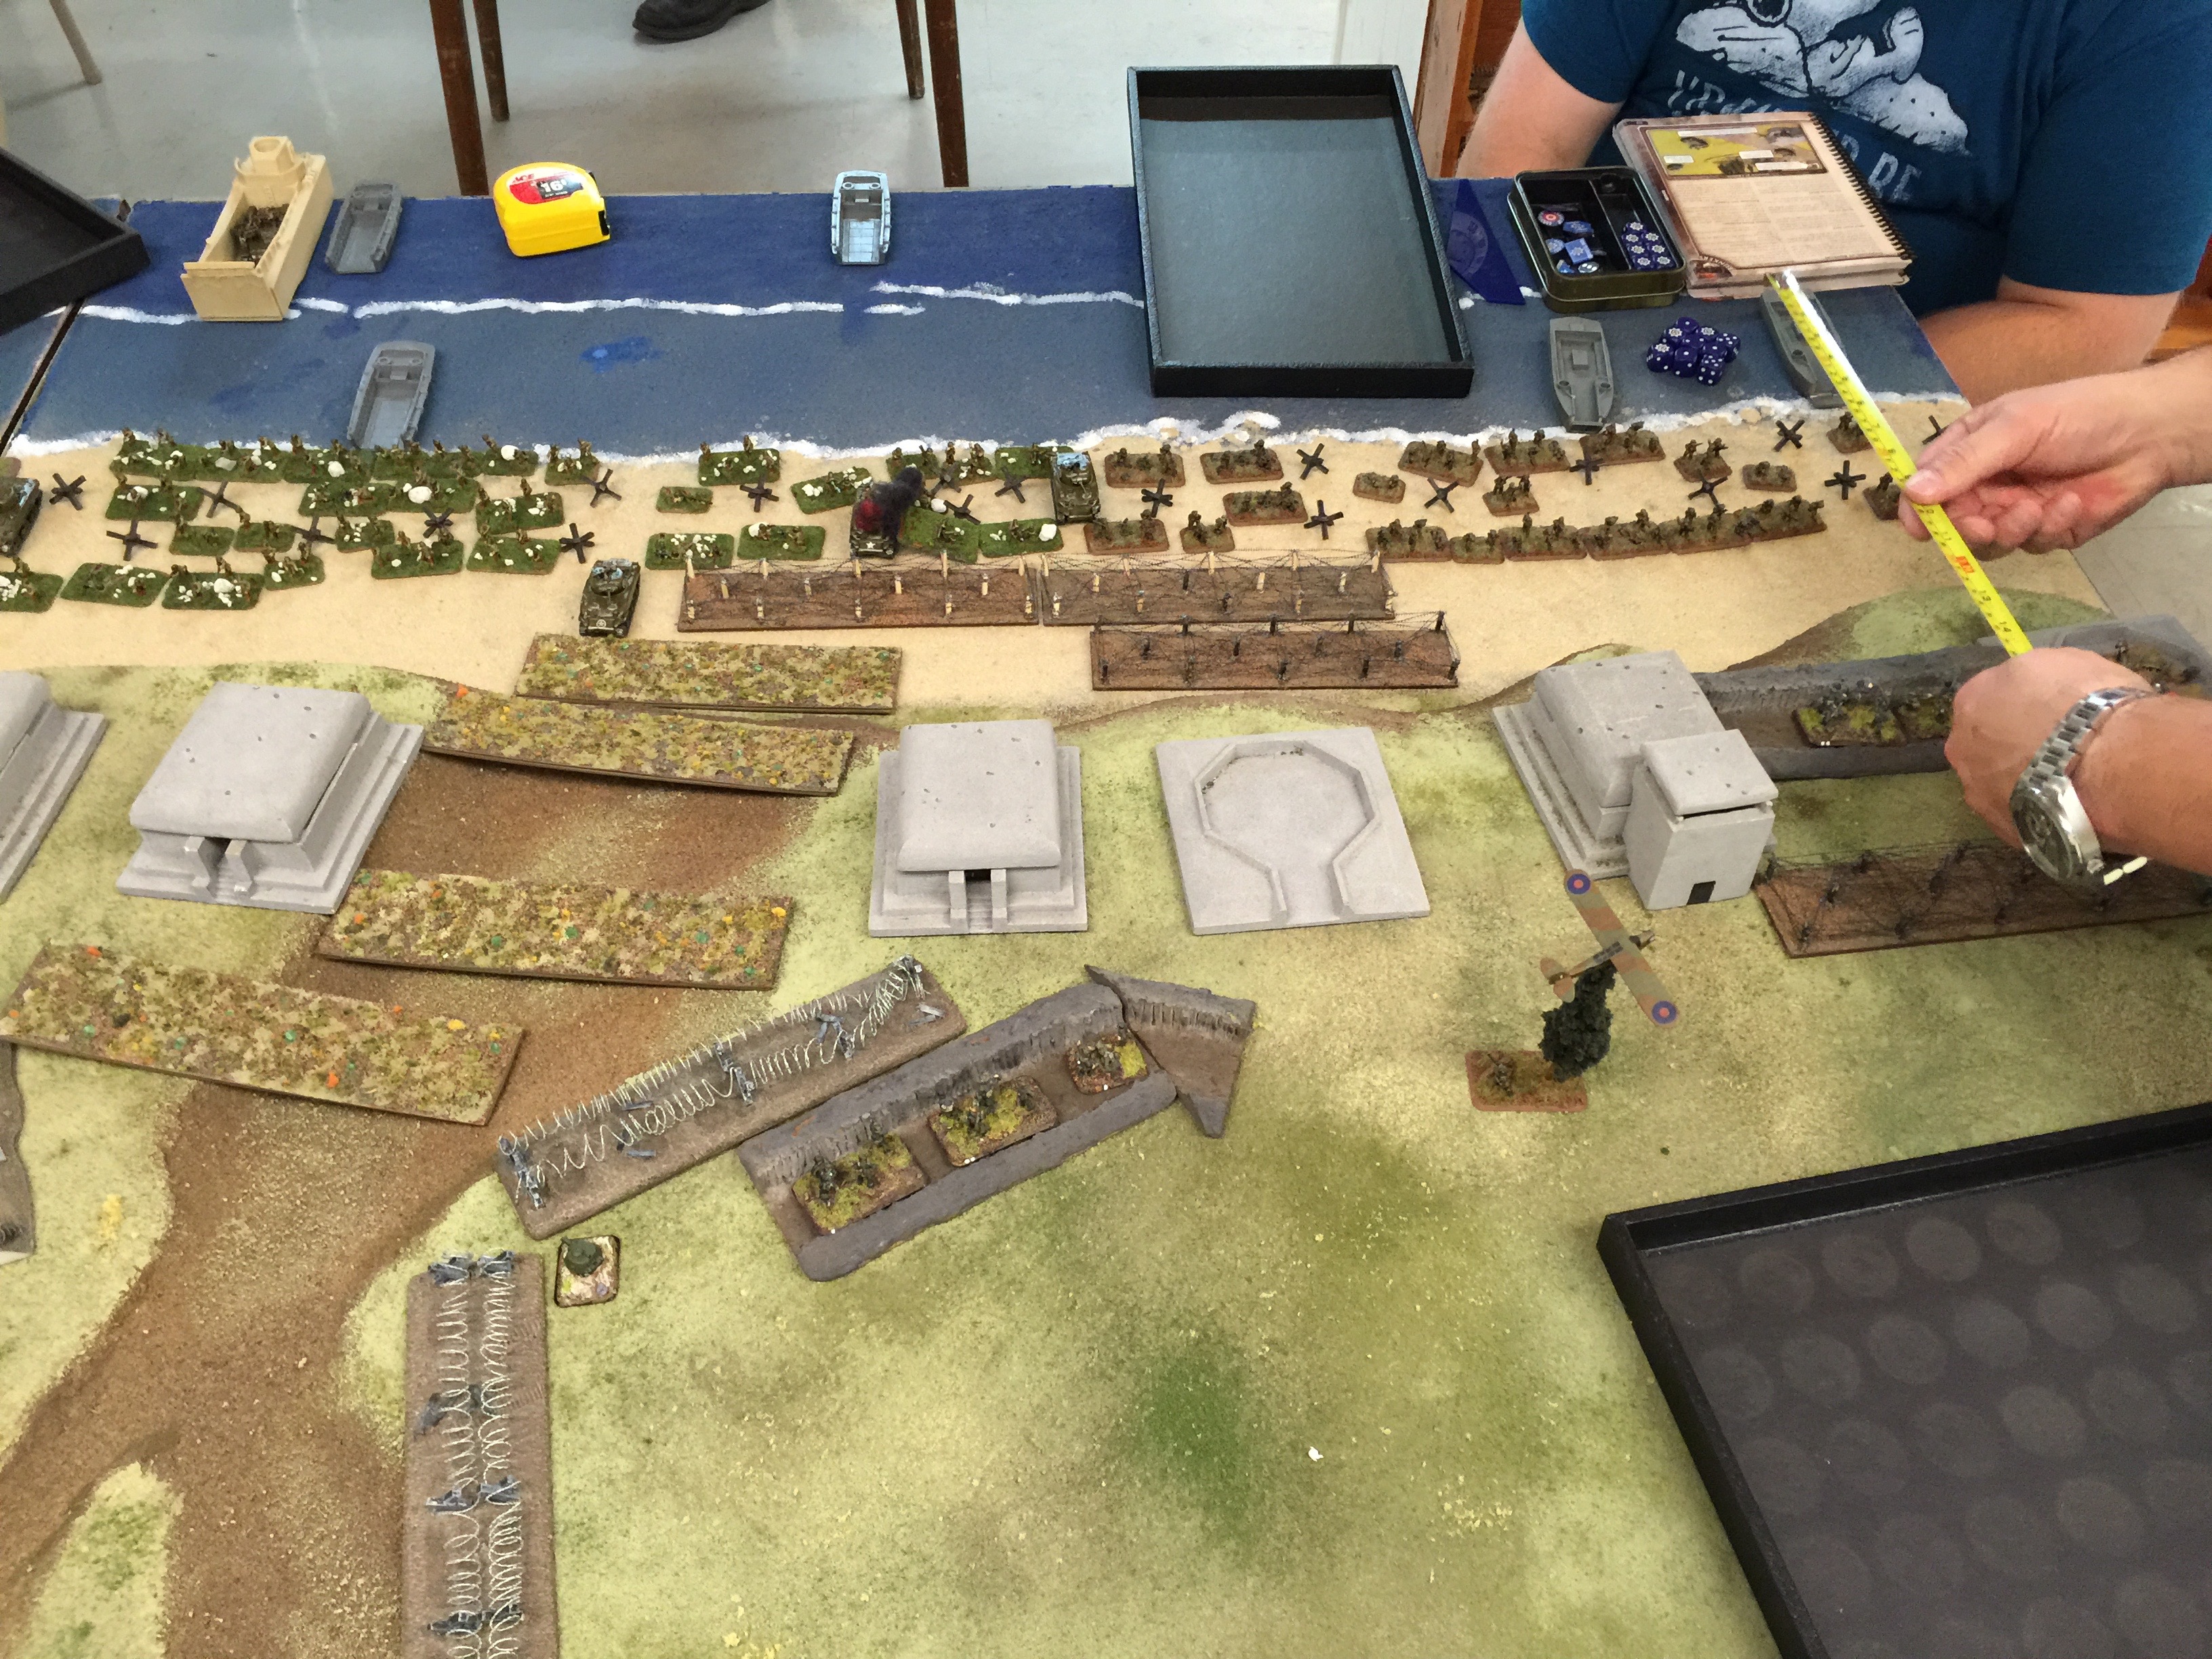
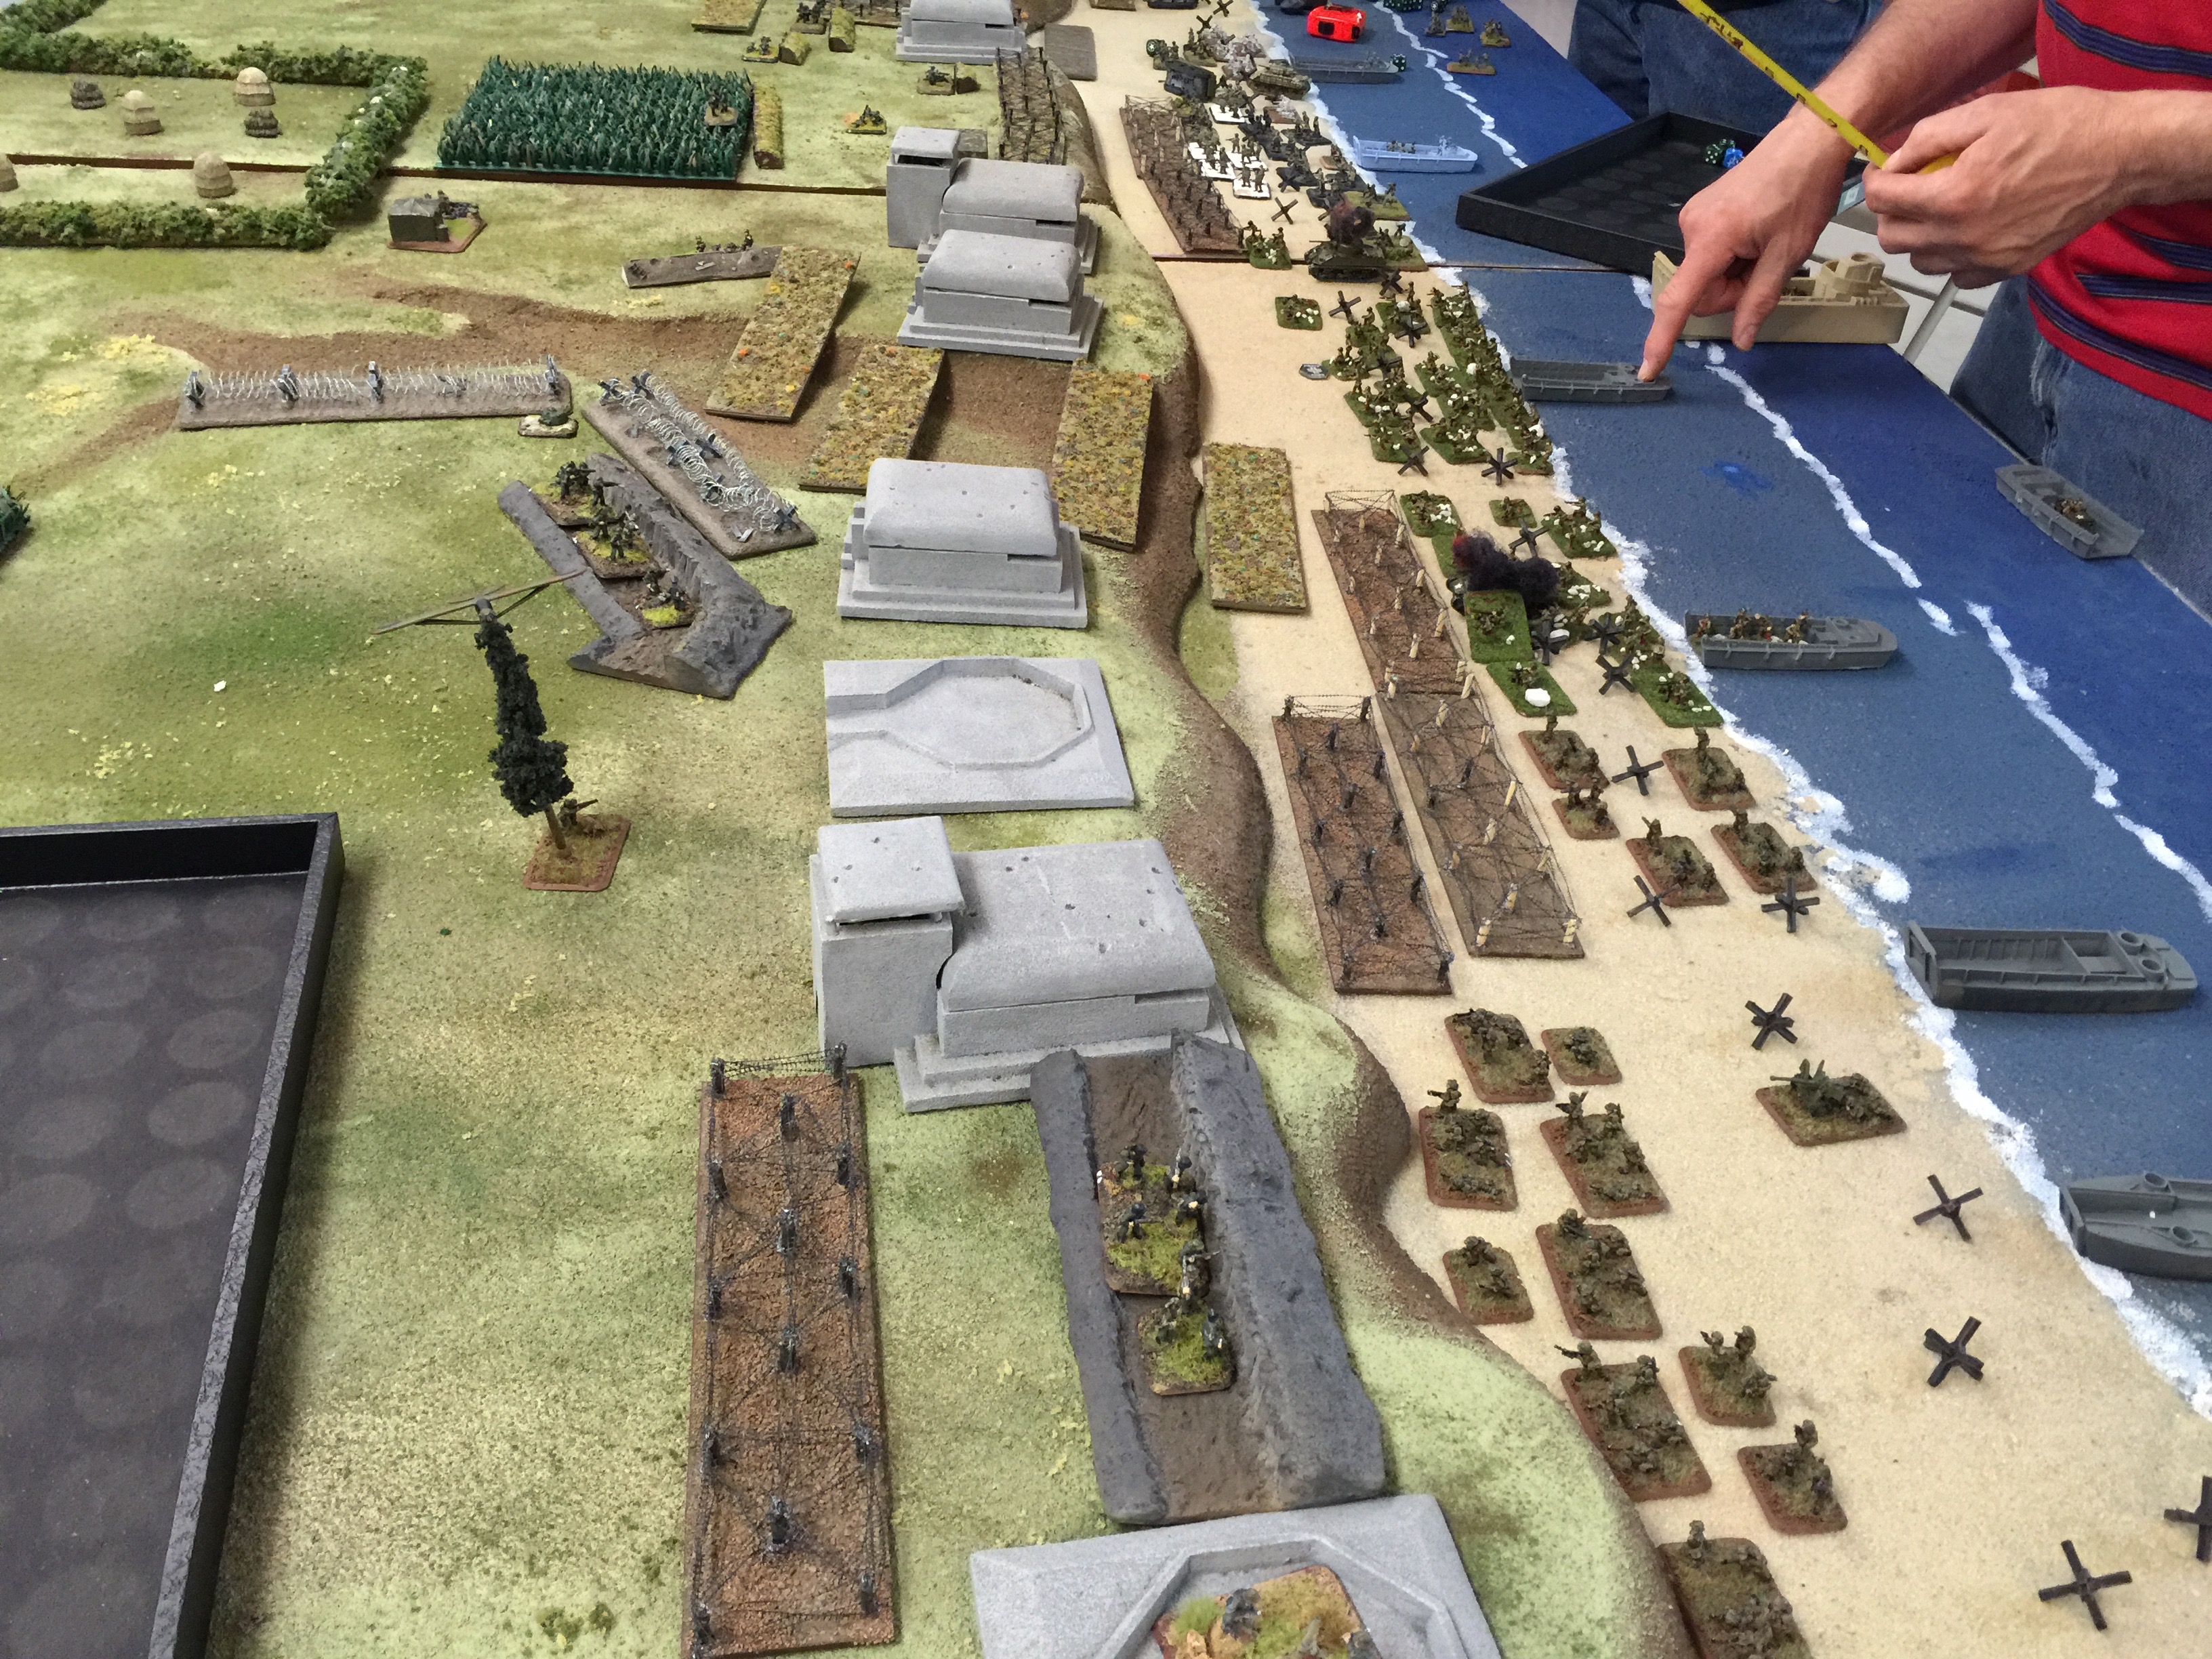
IMG_9744

IMG_9745

Next the allied infantry pushed further ashore in the spots they had gapped the wire, in hopes of assaulting the various bunkers and pillboxes. This is where the tactics employed by the allies evolved through the course of the game. The initial early assaults were thrown back, with the German emplacements being within 16″ of each other, they were able to fire defensive fire in support of the assaults. (Special rule, it’s in the book) The allies were having a hard time pinning the bunkers but often did. Still between vet and trained infantry, out in the open at 3+, 4+ to hit, throwing back assault attacks was pretty common at the beginning of the operation.

IMG_9746

On the German left flank, Collin was having an a rotten series of luck. Between Mark’s daughter who was rolling for him and rolling really really well, and the bad rolls that Collin was having, Collin’s men just couldn’t keep a toe hold. After two turns there were a few platoons picked up due to failed morale rolls.

IMG_9747

About this time, the Allies remembered to use smoke. to prepare positions. Putting this down in prep for an assault gives defensive fire at +2 which really helped tip the balance towards success in those cases where the bunkers and pill boxes could be masked from support through smoke as well as through pinning fire.

Sounds simple, it wasn’t and my hats off to the Allies for being able to put it together.

The waves of further material and men continued to flow in.
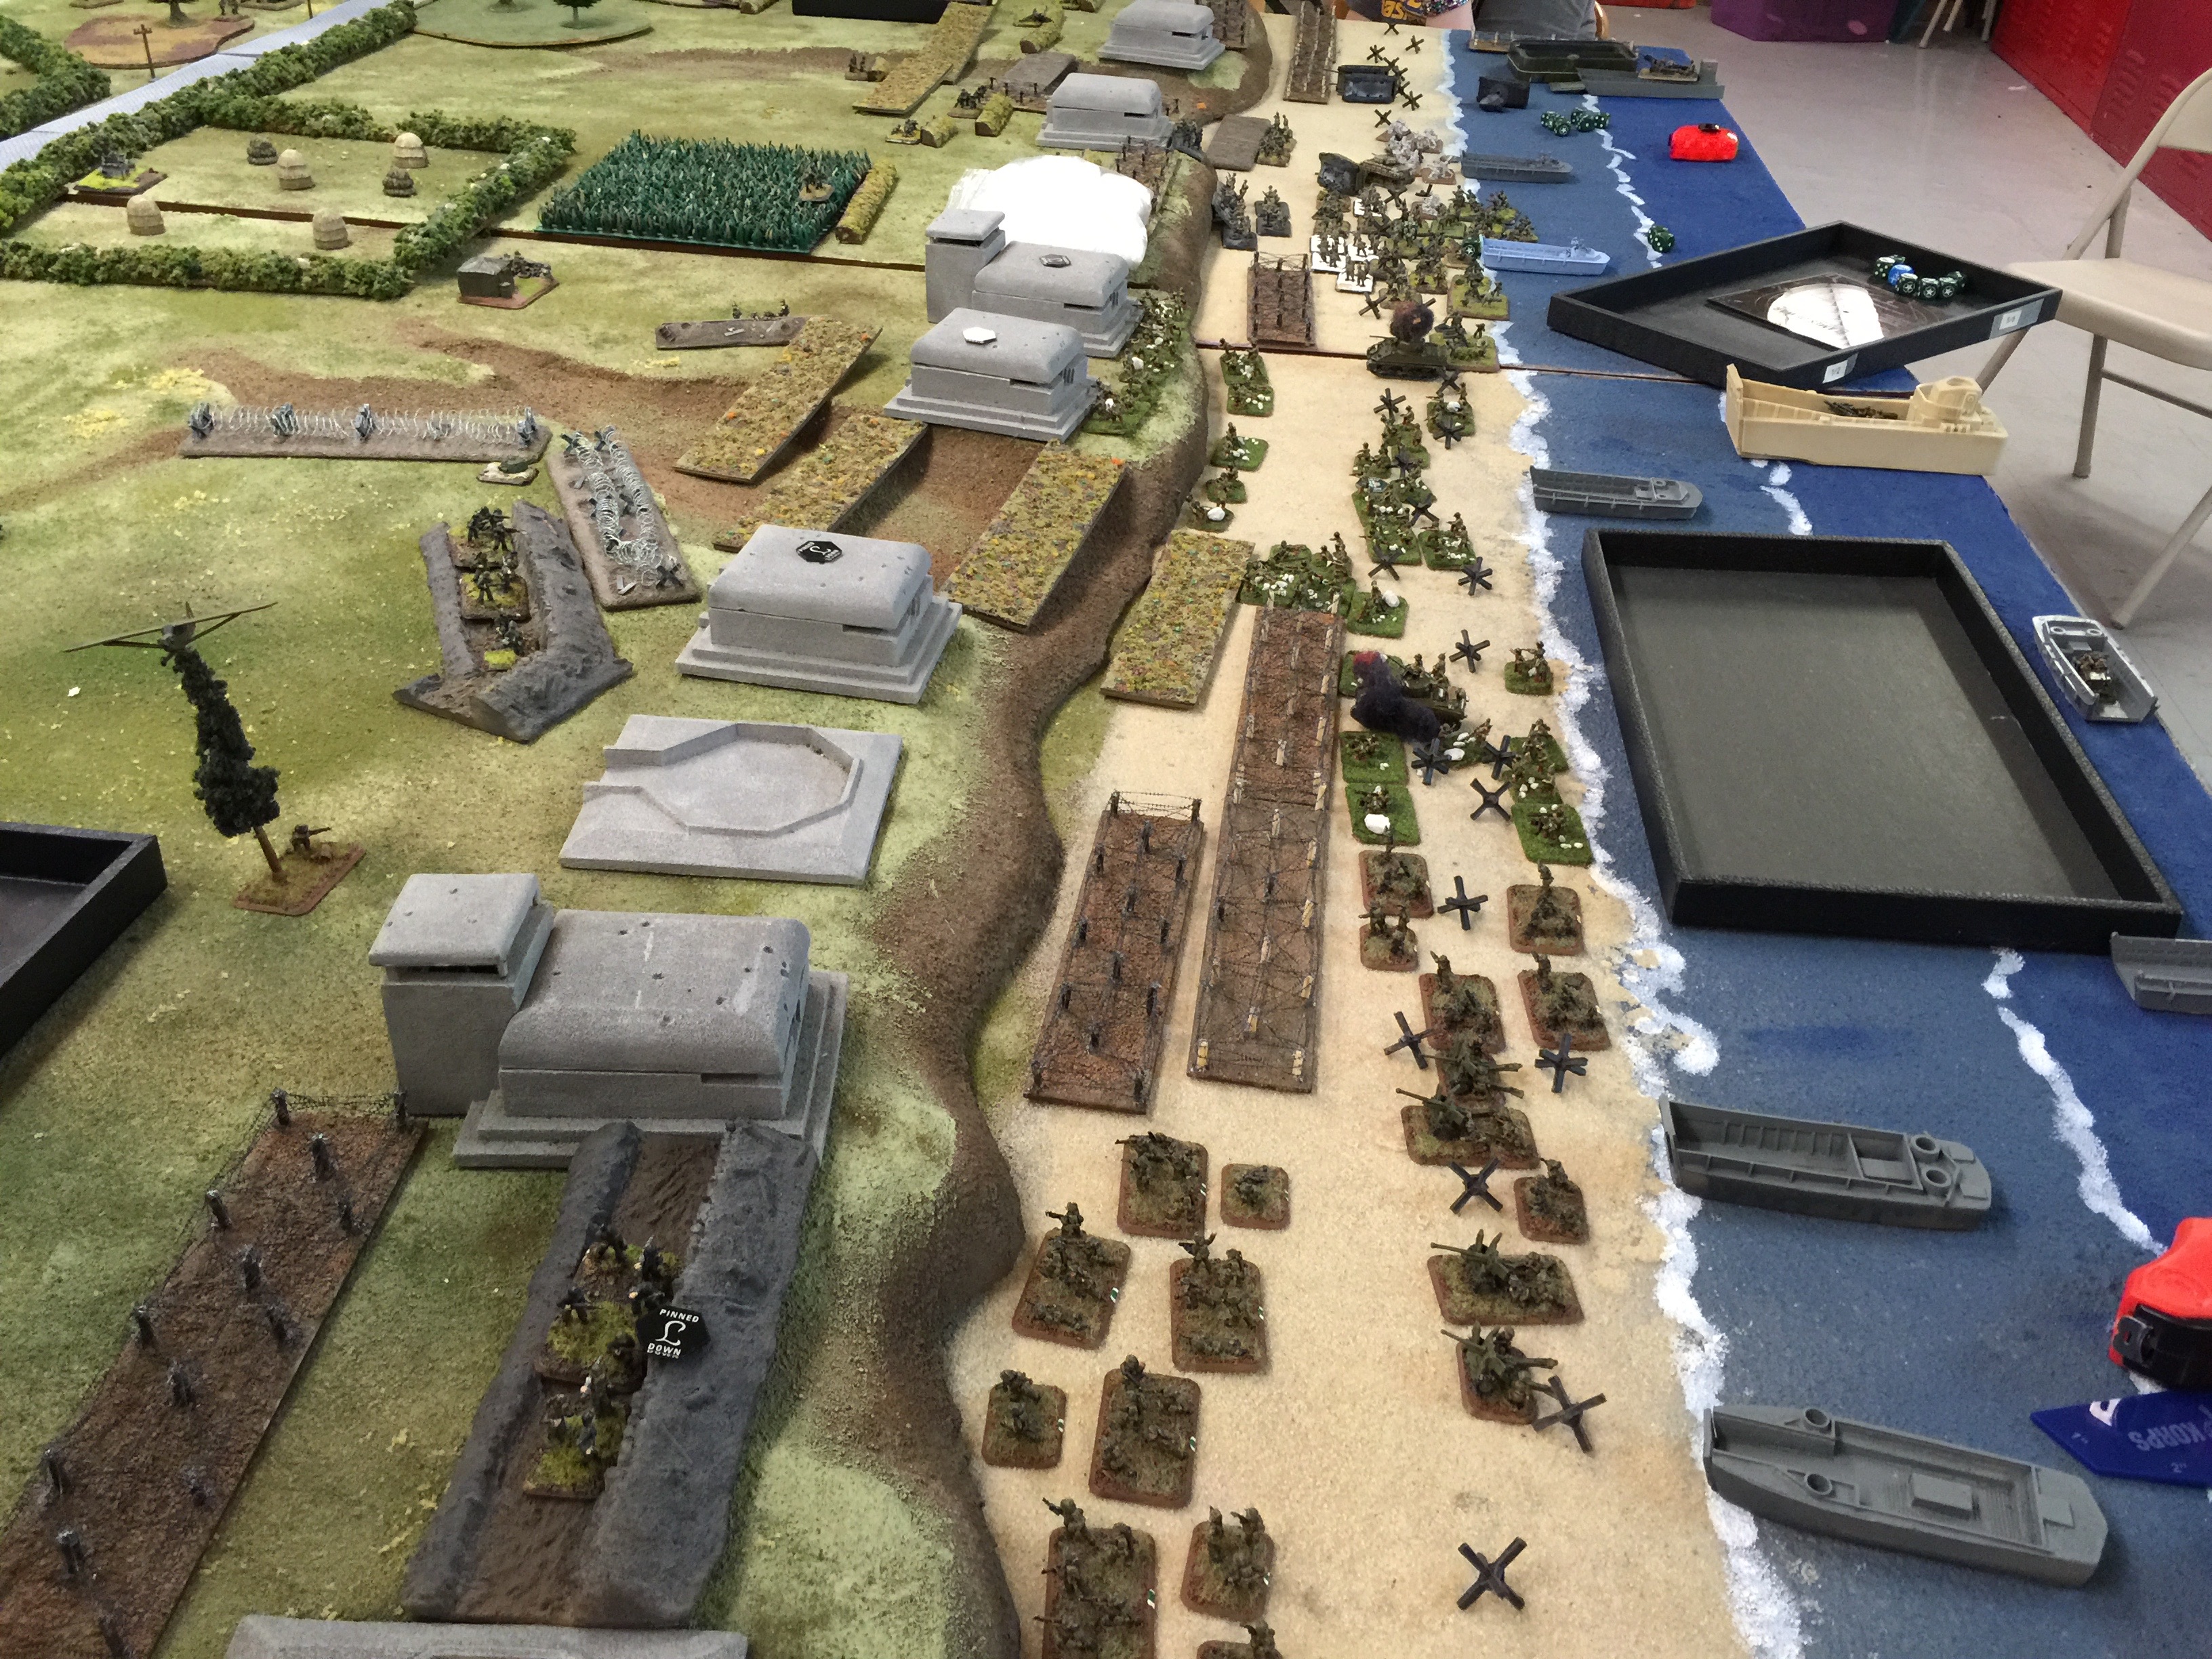
IMG_9748

Here you can see Bill off in the distance assaulting two of Chucks pill boxes, one with an HMG team in it and one with a 7.5 gun in it. While Chuck was pinned all over the assaults were thrown back.

This was also I think from turn 3 as it Keith was able to get a set of anti-tank guns ashore. Effective little beasts!

IMG_9750

Further down the shore on the same turn, Collin likewise  trying hard.
IMG_9751

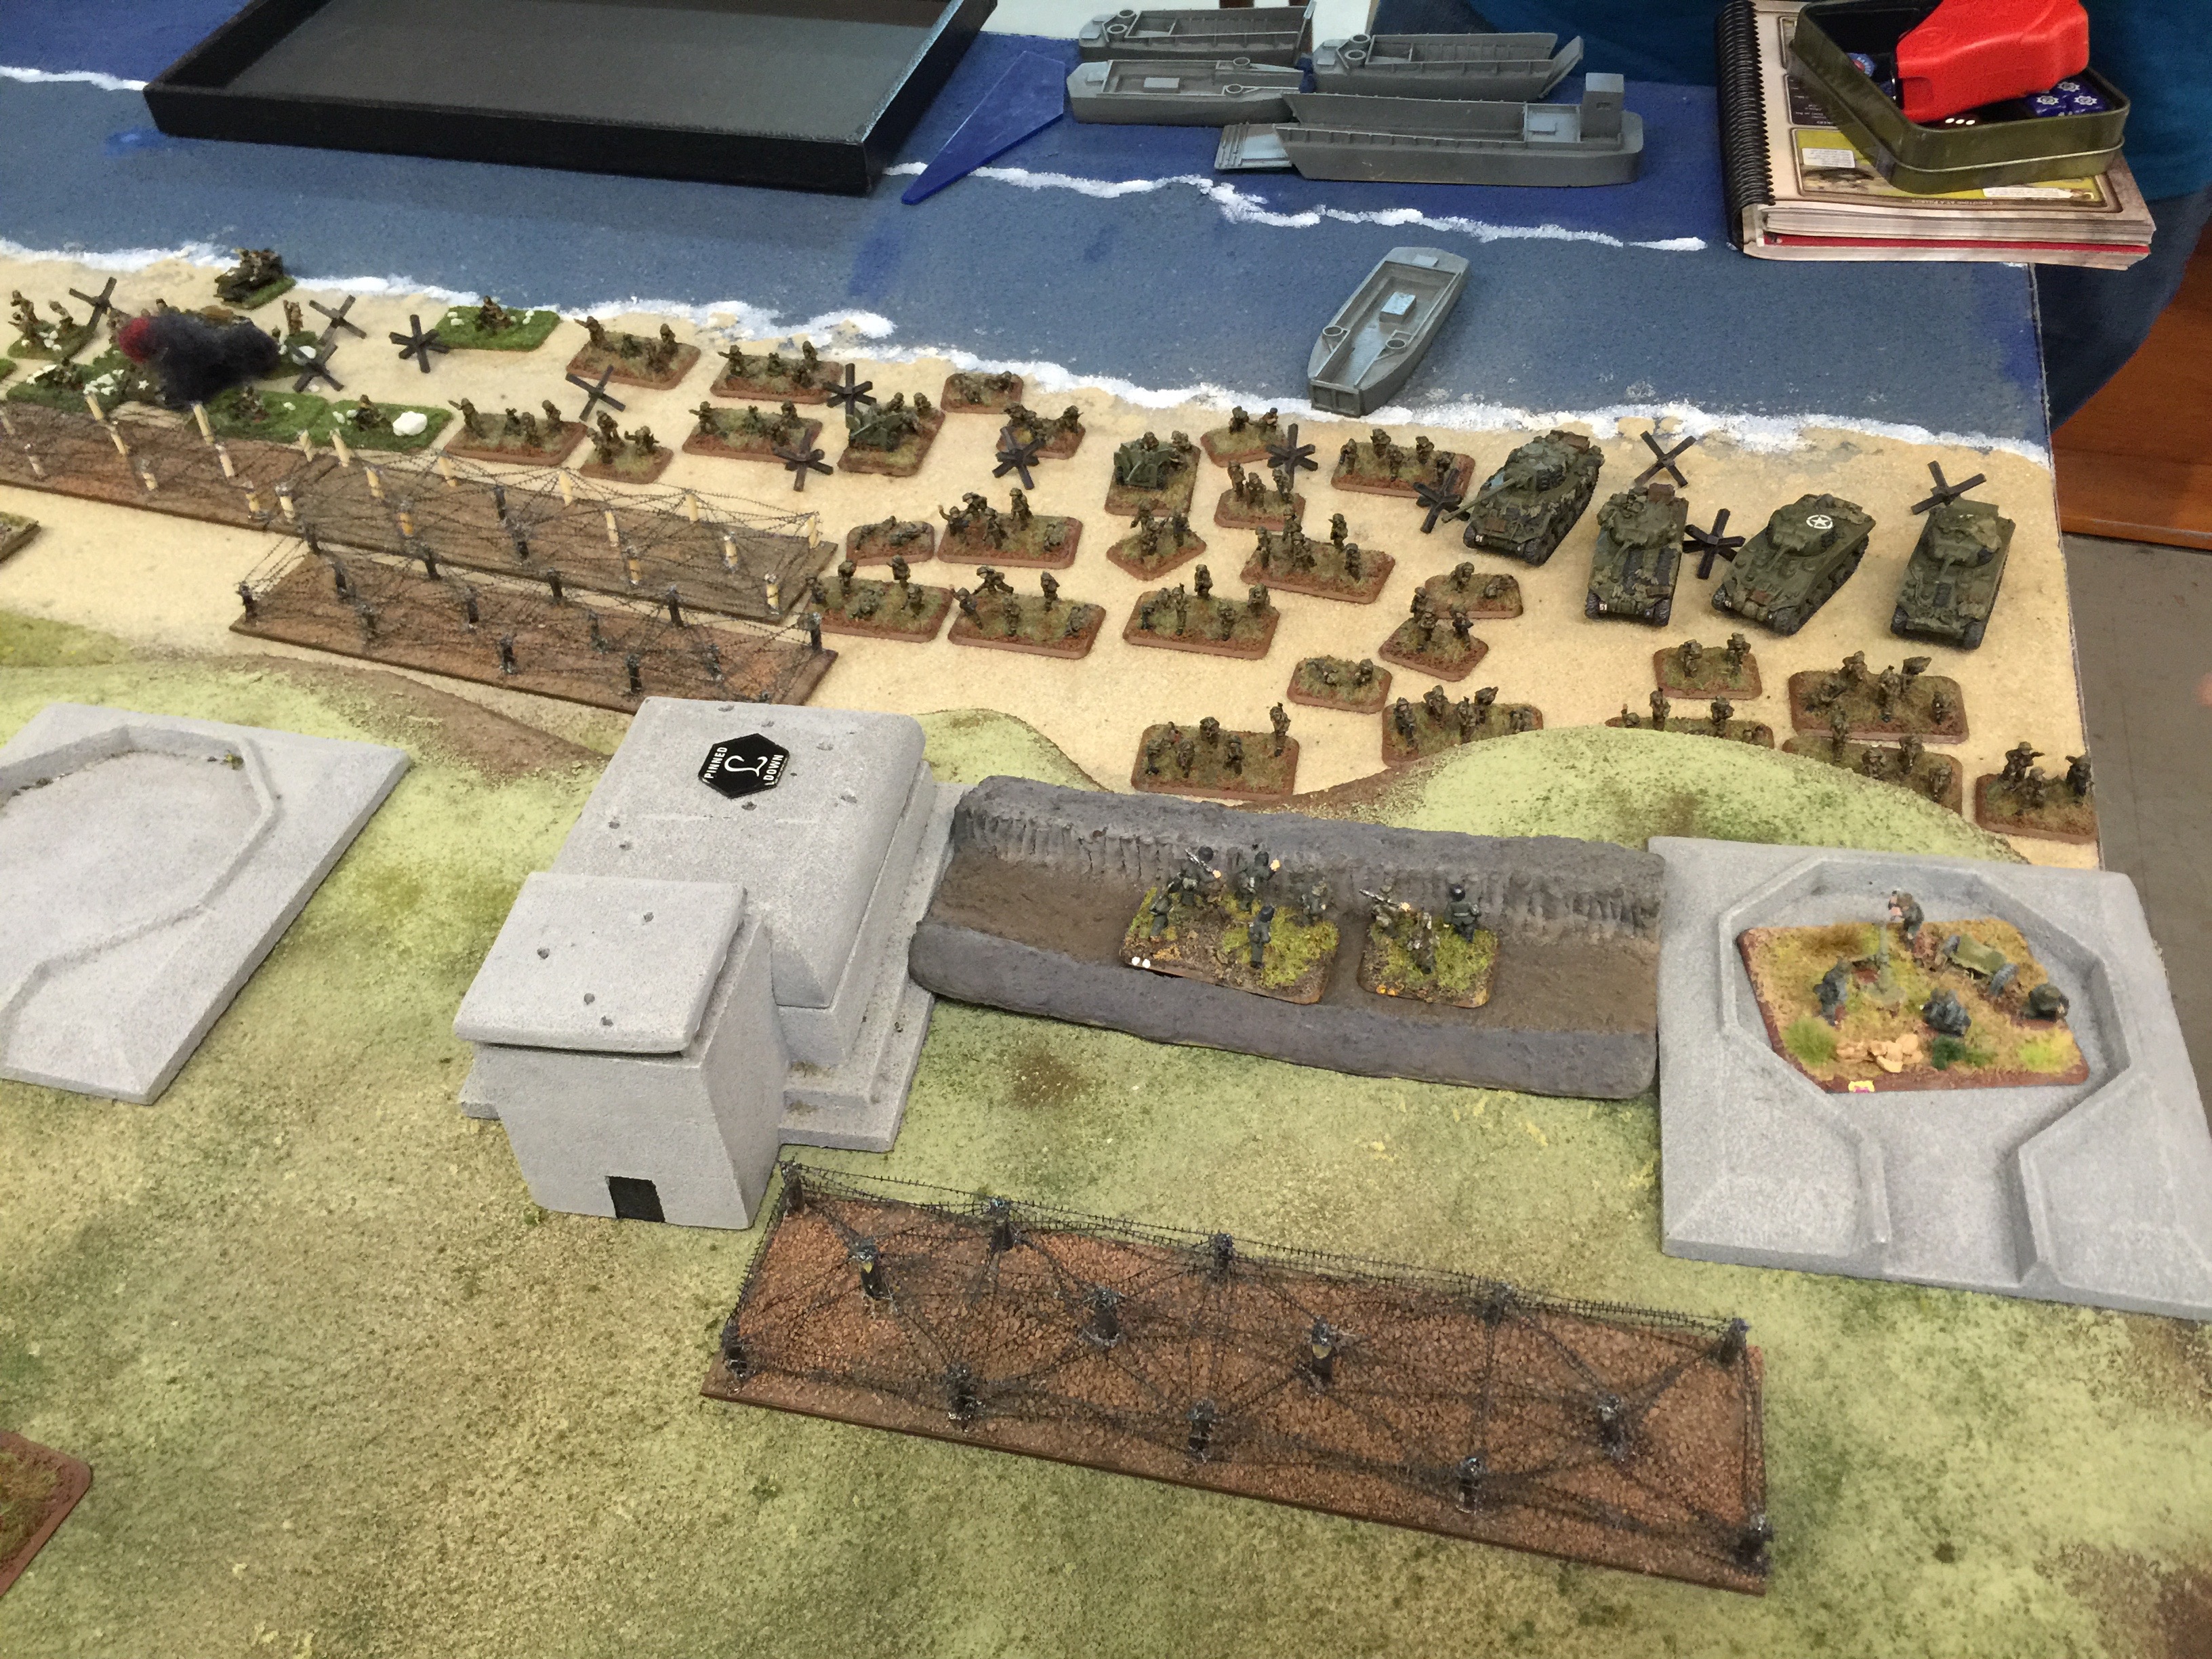
And the next turn, (Turn 4 I think) Keith landing Shermans now and another wave to assault up the hill. The tanks would be in a slight pickle as they couldn’t assault up the hill and would have to head down the beach a bit to go up one of the breaks.

Still no German reinforcements to be seen.
IMG_9752


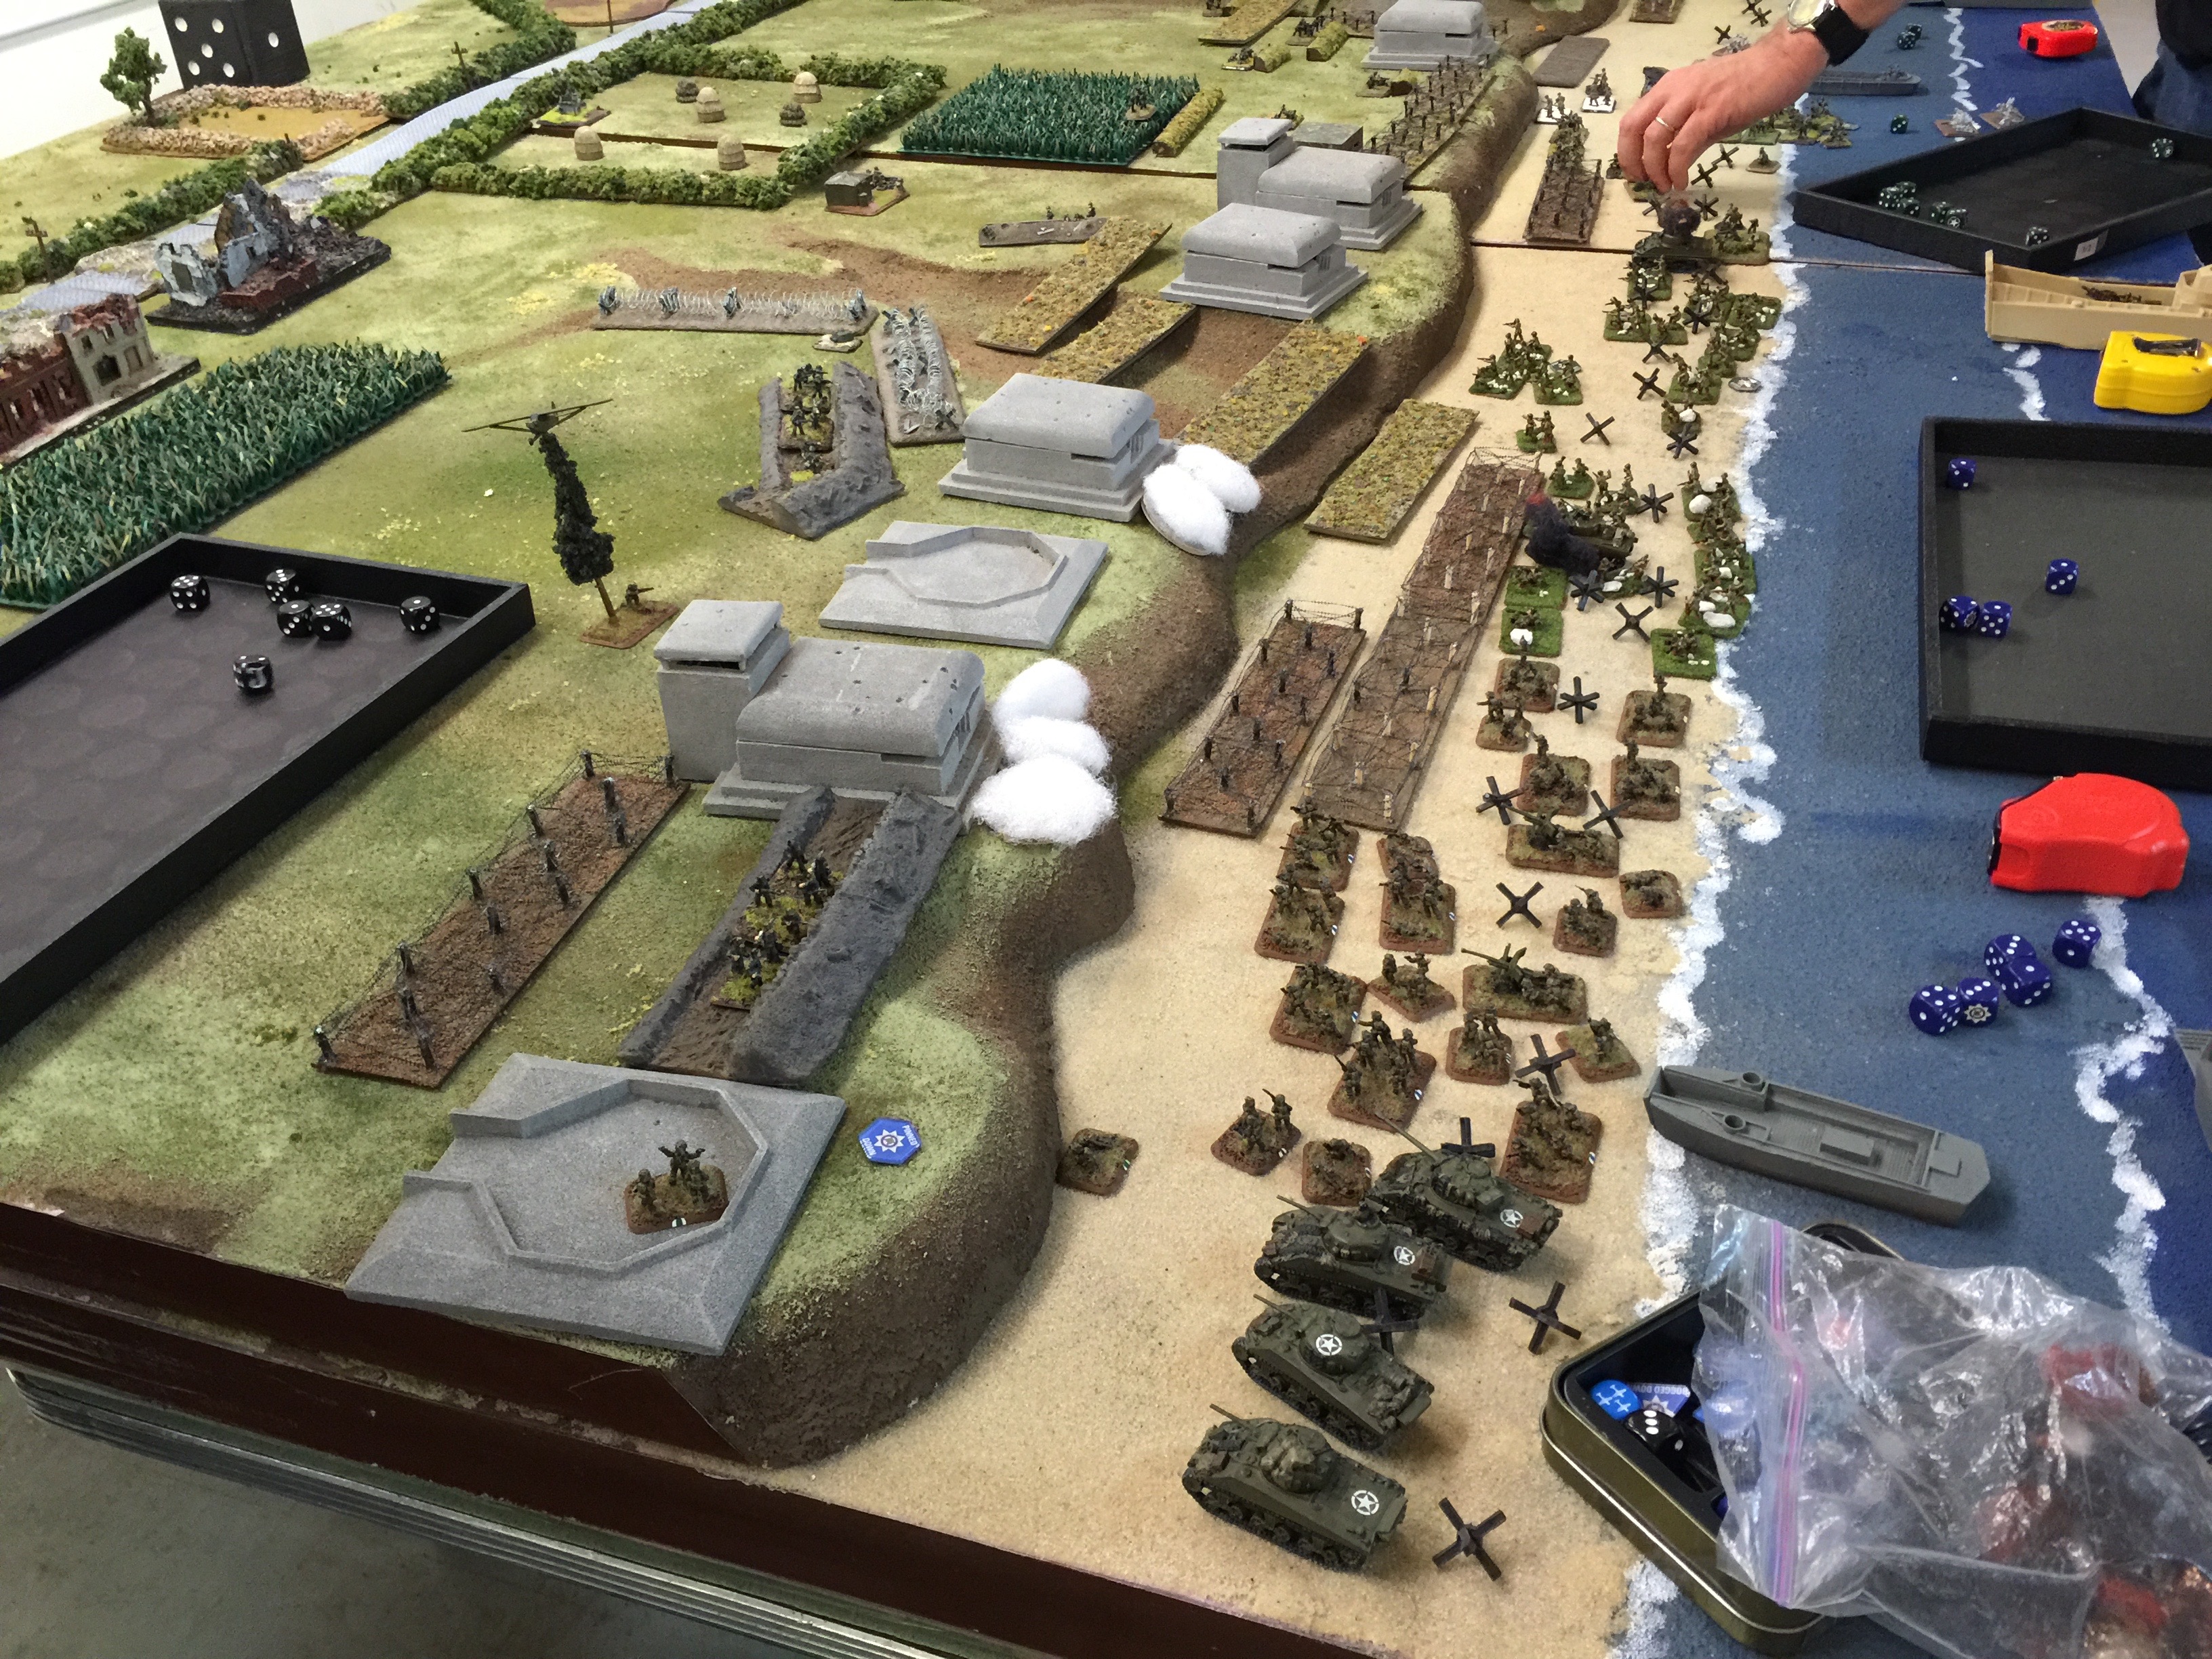
Another view and it captures an important moment. Keith had a hero (I’m not sure which one) but they made it up on the hill and were in one of the tobruk pits. The 8cm mortar that had been there earlier… was no more. The first little break in the German line.

Also you’ll notice that Keith and Bill are starting to use generous amounts of (effective!) smoke on the bunkers.
IMG_9753


Meanwhile on the German left flank, Mark’s daughter pretty much had stopped Collin’s force. The thunderbolt spent. Great die rolling will do that! Certainly Mark’s operational direction helped :-).

IMG_9754

Turn 5, the German line still holding. We’d see our first German reinforcements this turn, and I’d bring on my first platoon of Panzer IVHs. Meanwhile down on the beach, Keith pulled gathered more Shermans on shore and setup for the assault.
IMG_9755

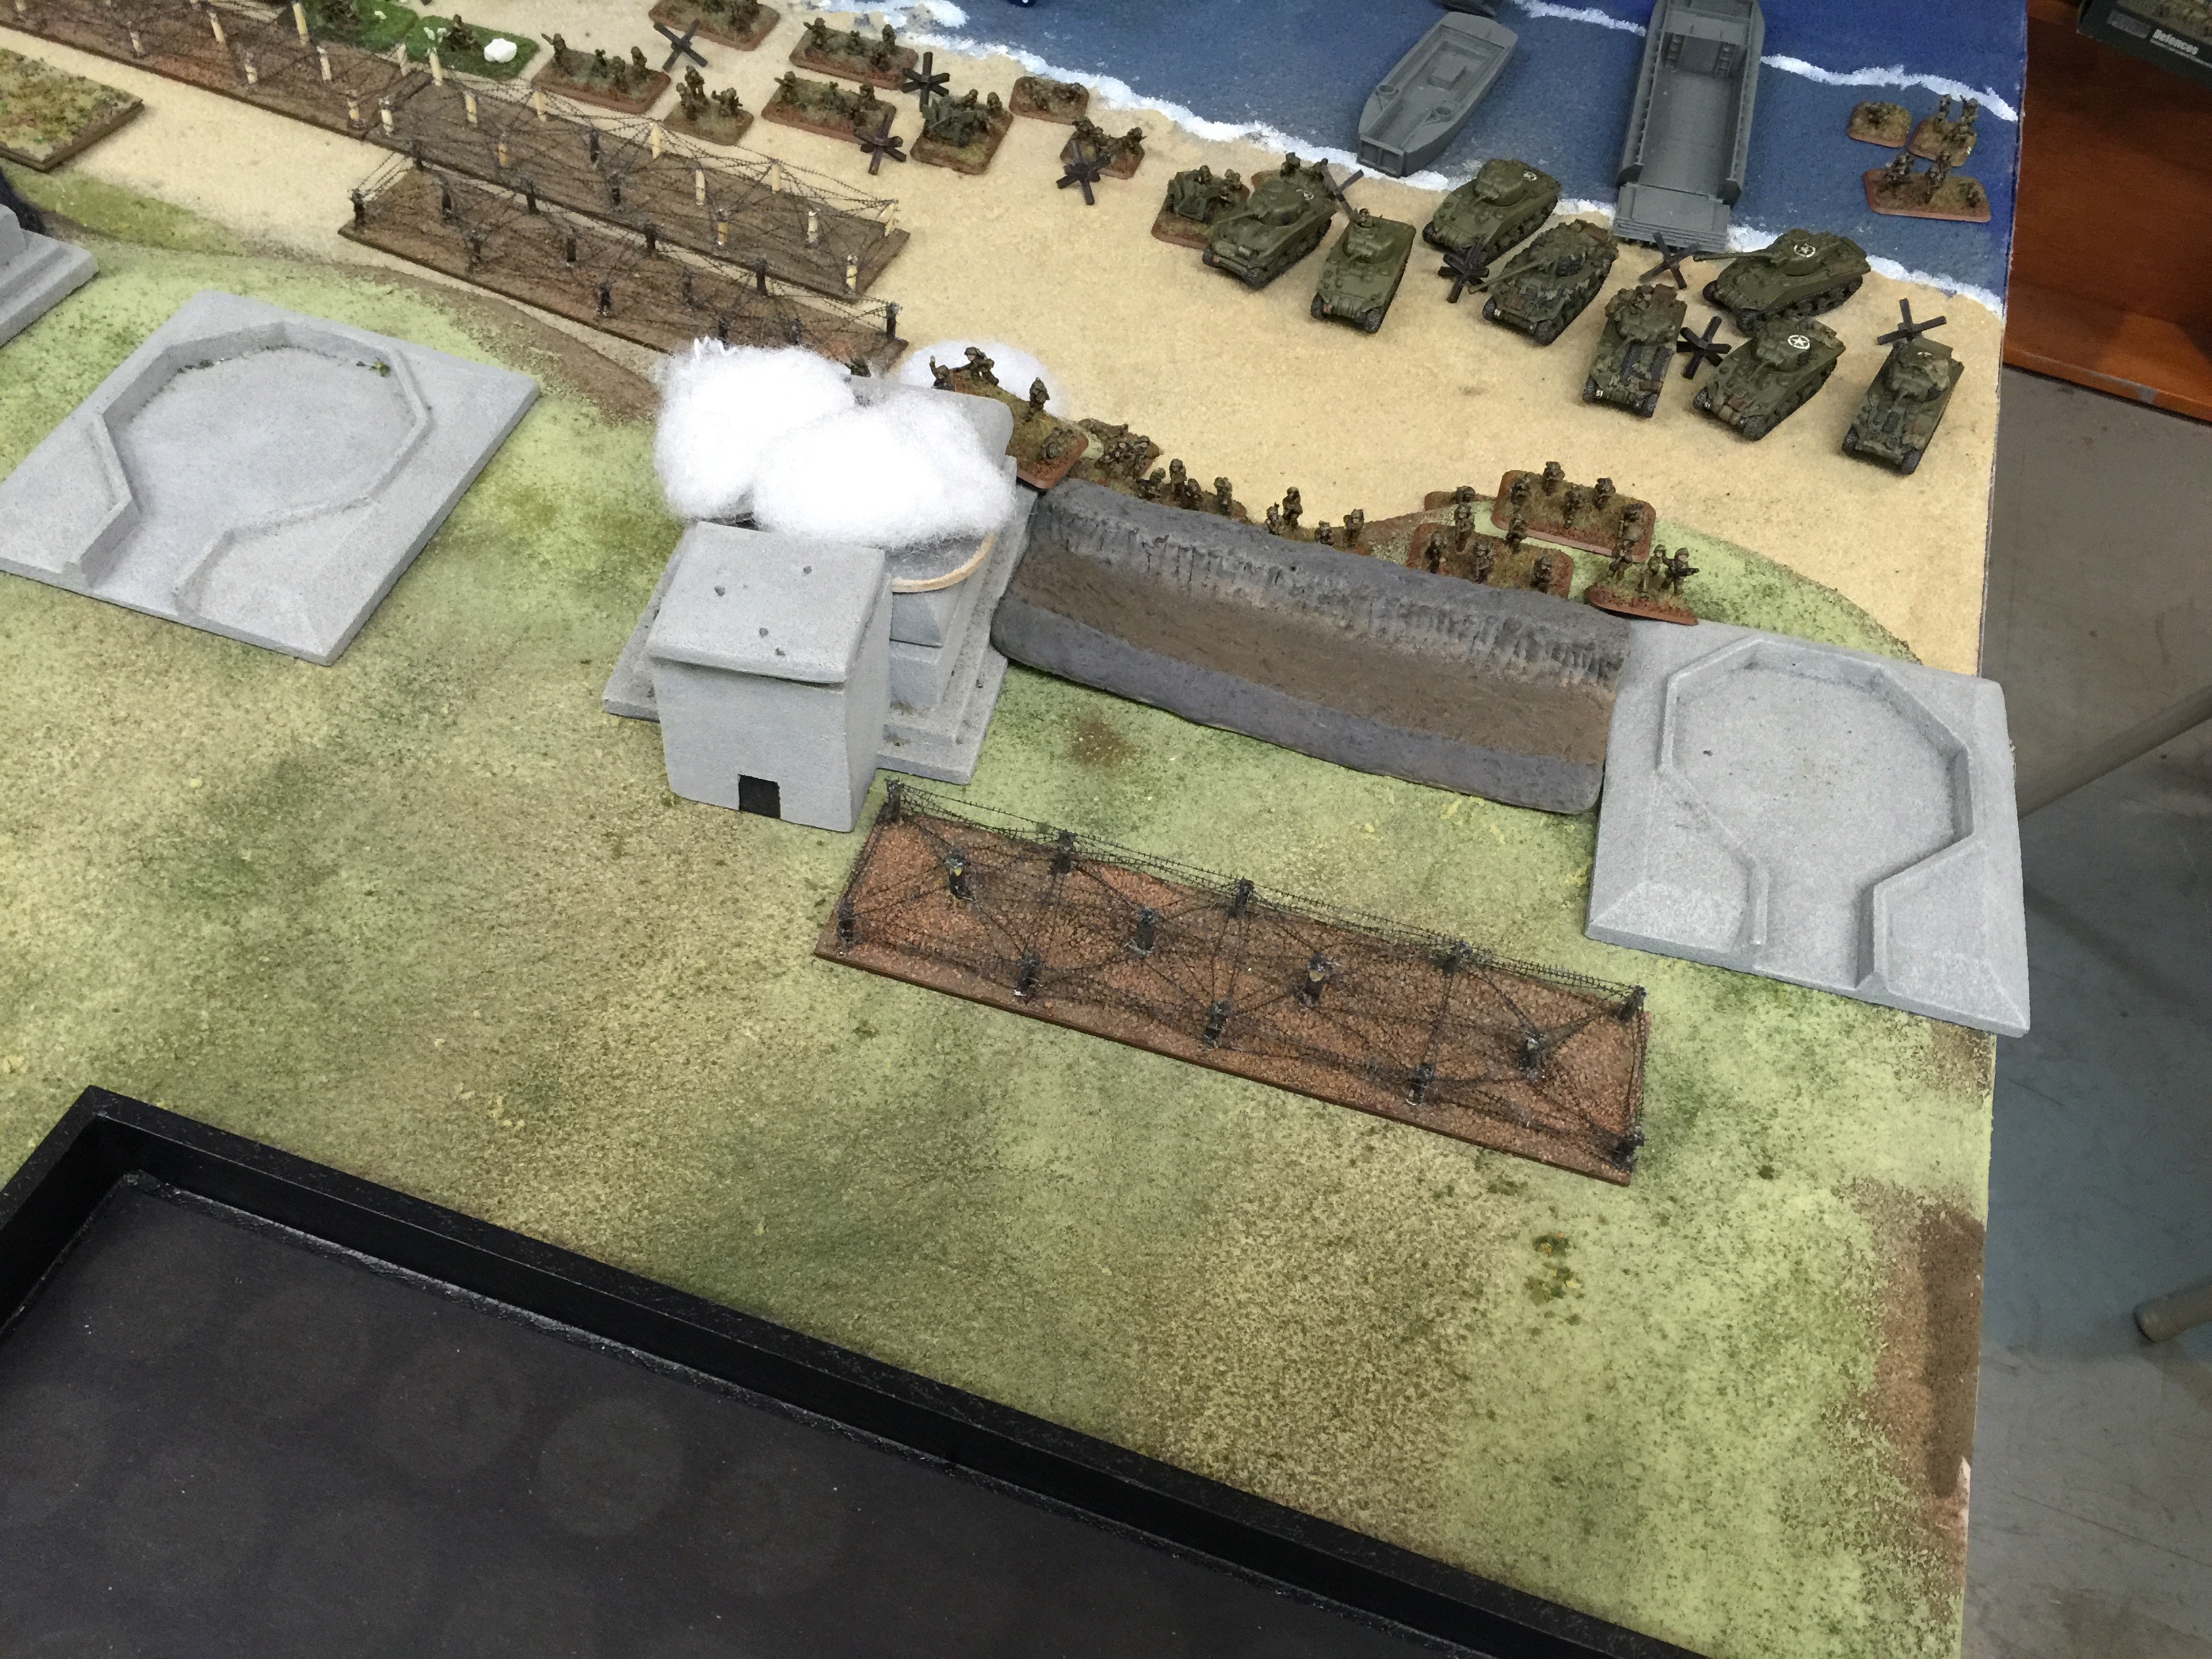
And here it comes … with the bunker smoked, the line pushing forward, this time Chuck just couldn’t hold them back and the position fell. Well done Keith!

IMG_9756


In the next turn pretty clear our flank was turned but things were far from over. There were four minefields those tanks would need to drive through if they were to get up the hill and clearing those would not be easy.

IMG_9757

Here come the reinforcements! Granted it took the “pity” rule of having 3 reinforcement die to roll, still failing to get a 6 and getting one anyway due to the rules.

IMG_9758

Top of turn 6, more assaults. One of the 4 mine fields was gone cleared by Bill’s pioneers, 3 more to go. To come up this way, assuming one could get past the bunkers, a trench on each side and an R-35 turret in support as well, tough approach from head on. Keith however was pressing from the flank.

IMG_9759

Bottom of turn 6, I brought on my 2 armored quad 7/1 AA guns. The air and artillery having something to shoot at underscored it’s need. Meanwhile down on the beach it seemed like just a matter of time and Americans and Brits would be streaming up the hill.

Over on the far left with Collin having spent his forces and Mark unable to really abandon his position to come aid in support, it pretty much equalled game over for that part of the table.
IMG_9760

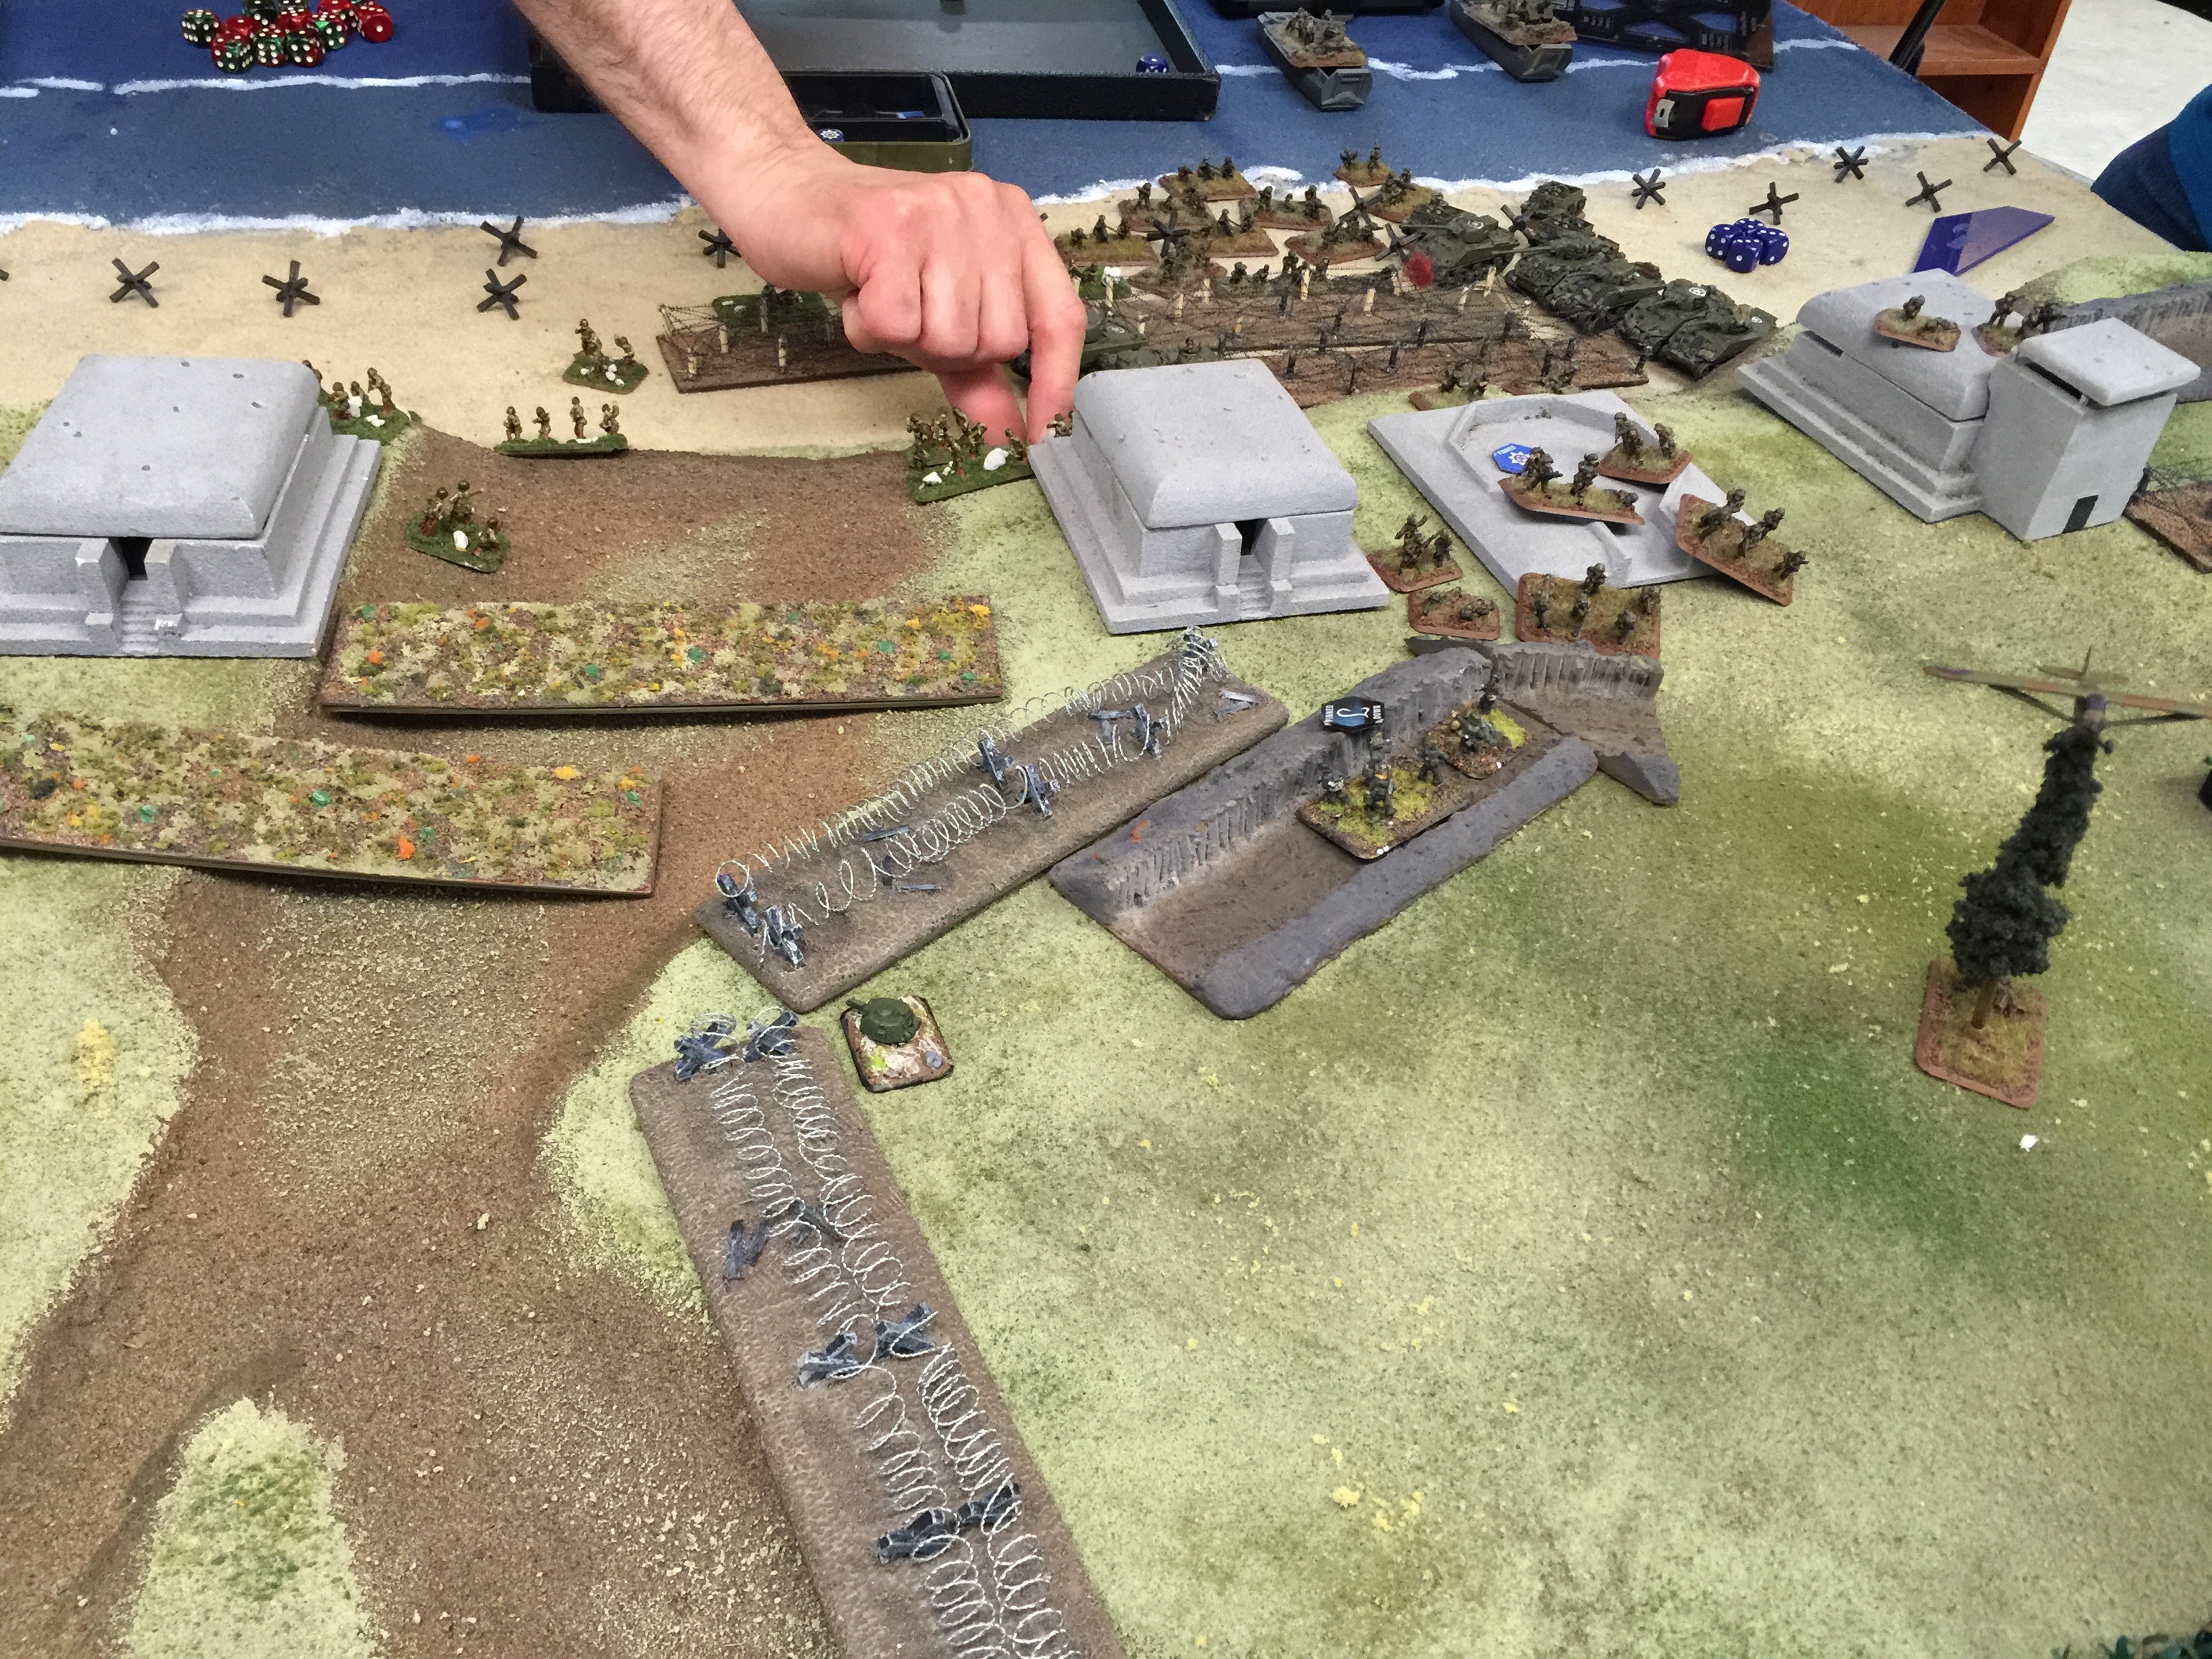
Top of turn 7, and the assaults starting to happen. A trench, and two bunkers about to get a whole lotta love. Likewise Bill was able to gap yet another line of mines.

All of these actions would end up being successful, it was now down to me to throw back the Allies through a counter attack. Did I happen to mention I had just 1000 points?

IMG_9761


Another German turn, a bit more reinforcements, this time another Platoon of Pz IVHs. Without infantry, artillery or air support tho, this was getting to be a desperate situation.

You can see on of the objectives in the upper left of the picture. It’s right by the bushes, that red looking thing.
IMG_9762

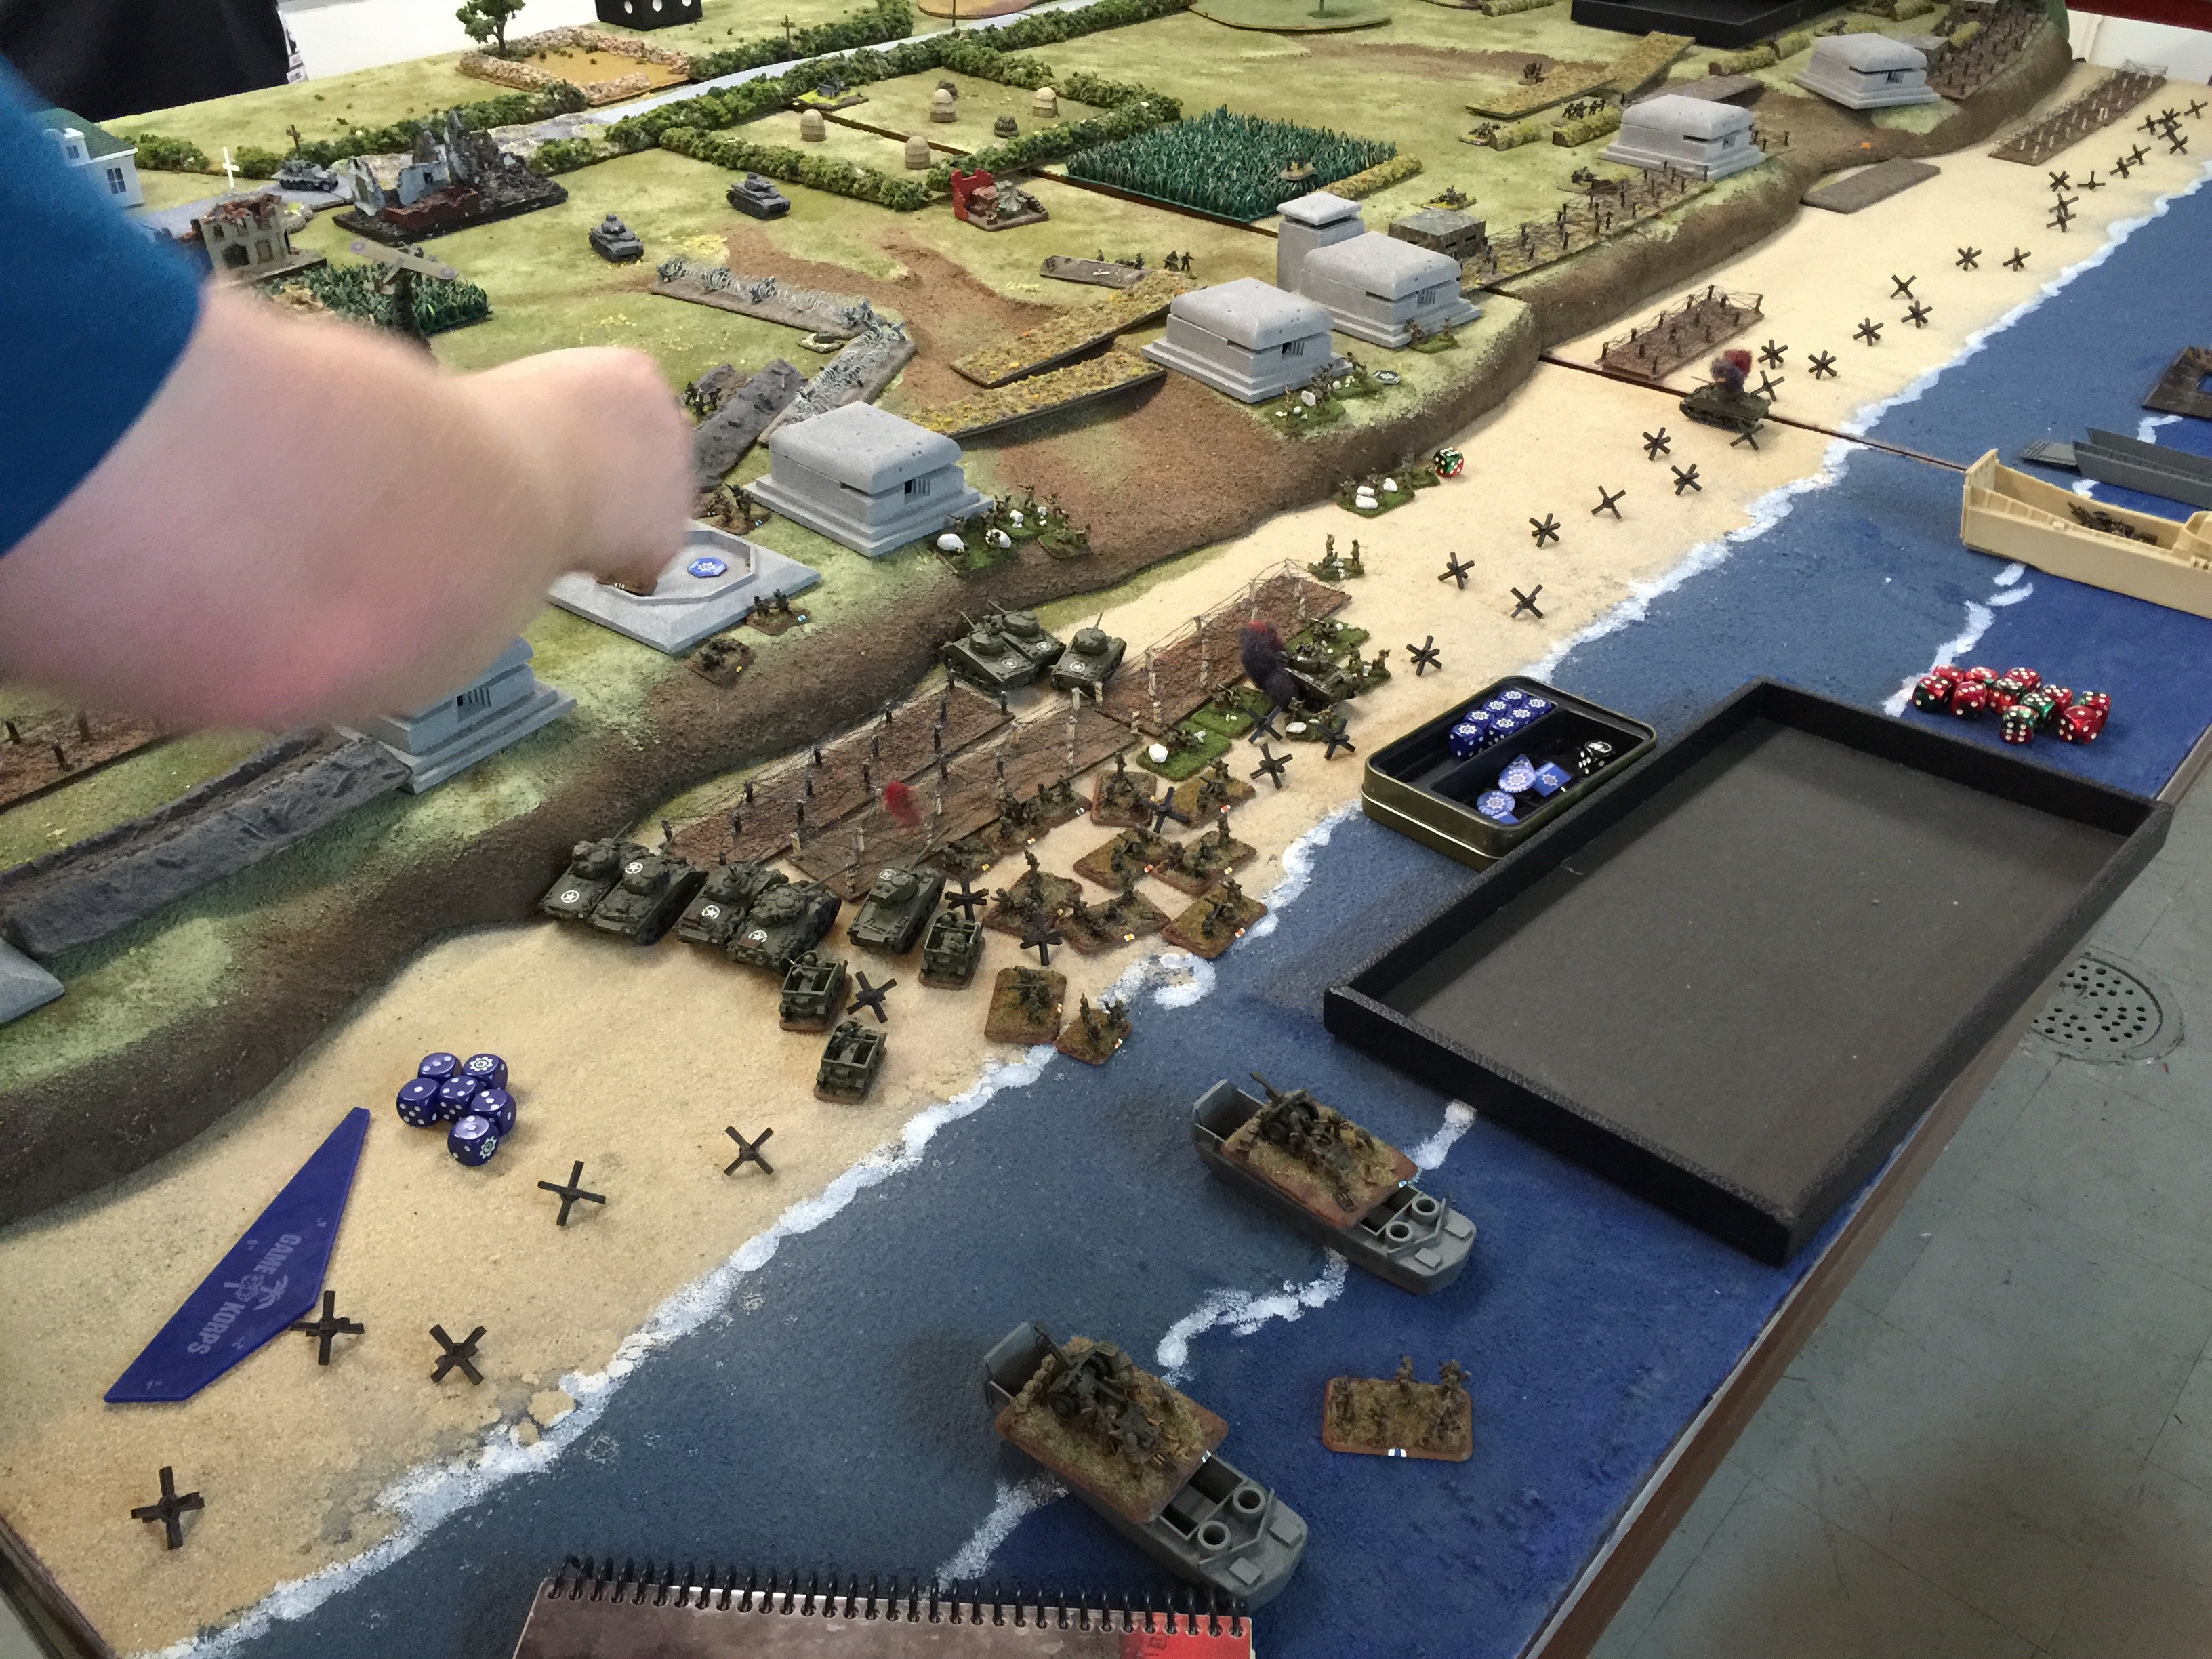
Last turned that we played, turn 8, Keith moves up a first set of Shermans to peek up the route they would have to go. Bill’s force was pretty much spent at this point but a wide swath of bunkers was cleared, another wave would quite effectively be able to move onto shore and push.

You’ll notice that Keith had 8 25lbers off shore firing from their boats.

For the bottom half of turn 8, I put on my one and only platoon of infantry approximately on the center of the table and moved to cover the other objective. My tanks more or less held a defensive line and started to fire into Keith’s infantry that was in the trench. No change in situation and if we hadn’t called it at the end of 8, the next few turns were likely to feature a fun tank battle. Still I think the Allies were in the drivers seat. While they had till turn 12 to reach the objectives, the question would be would their material hold out. For us Germans tho, two Panzer IVH platoons, 2 quad AA guns and 1 6 stand infantry platoon isn’t much to hold off what we were facing.

While the question wasn’t settled to me it was a leaning Allied victory. They clearly had a beachhead and further waves would be able to push and make it ashore. Historically since the Germans really didn’t counter attack effectively this sure felt like a good historical result. Hard fighting, and finally a breakthrough.

Posted in FlamesOfWar | 6 Comments

Across A Deadly Field Play Test

We gathered last night to play test Across A Deadly Field. This is the recent ruleset that was the work of John Hill the author of Johnny Reb as well as a number of other sets of rules including Squad Leader. Sadly John just passed away a few months ago. The second expansion book, will be out any day now which I believe Dean West helped out to finish.

As there were four of us, and we’re all long time fans of Johnny Reb, we were eager to see how this one would play. We decided to play the “Tain’t no militia” intro scenario from the rulebook.

We pulled down these handy quick reference charts as the Osprey guys, while printing nice pretty books, they really don’t provide essential charts to give a player what they need for on the table top. Without these charts you’re doomed to having to flip through the book as there isn’t even a index. Charts

IMG_9703

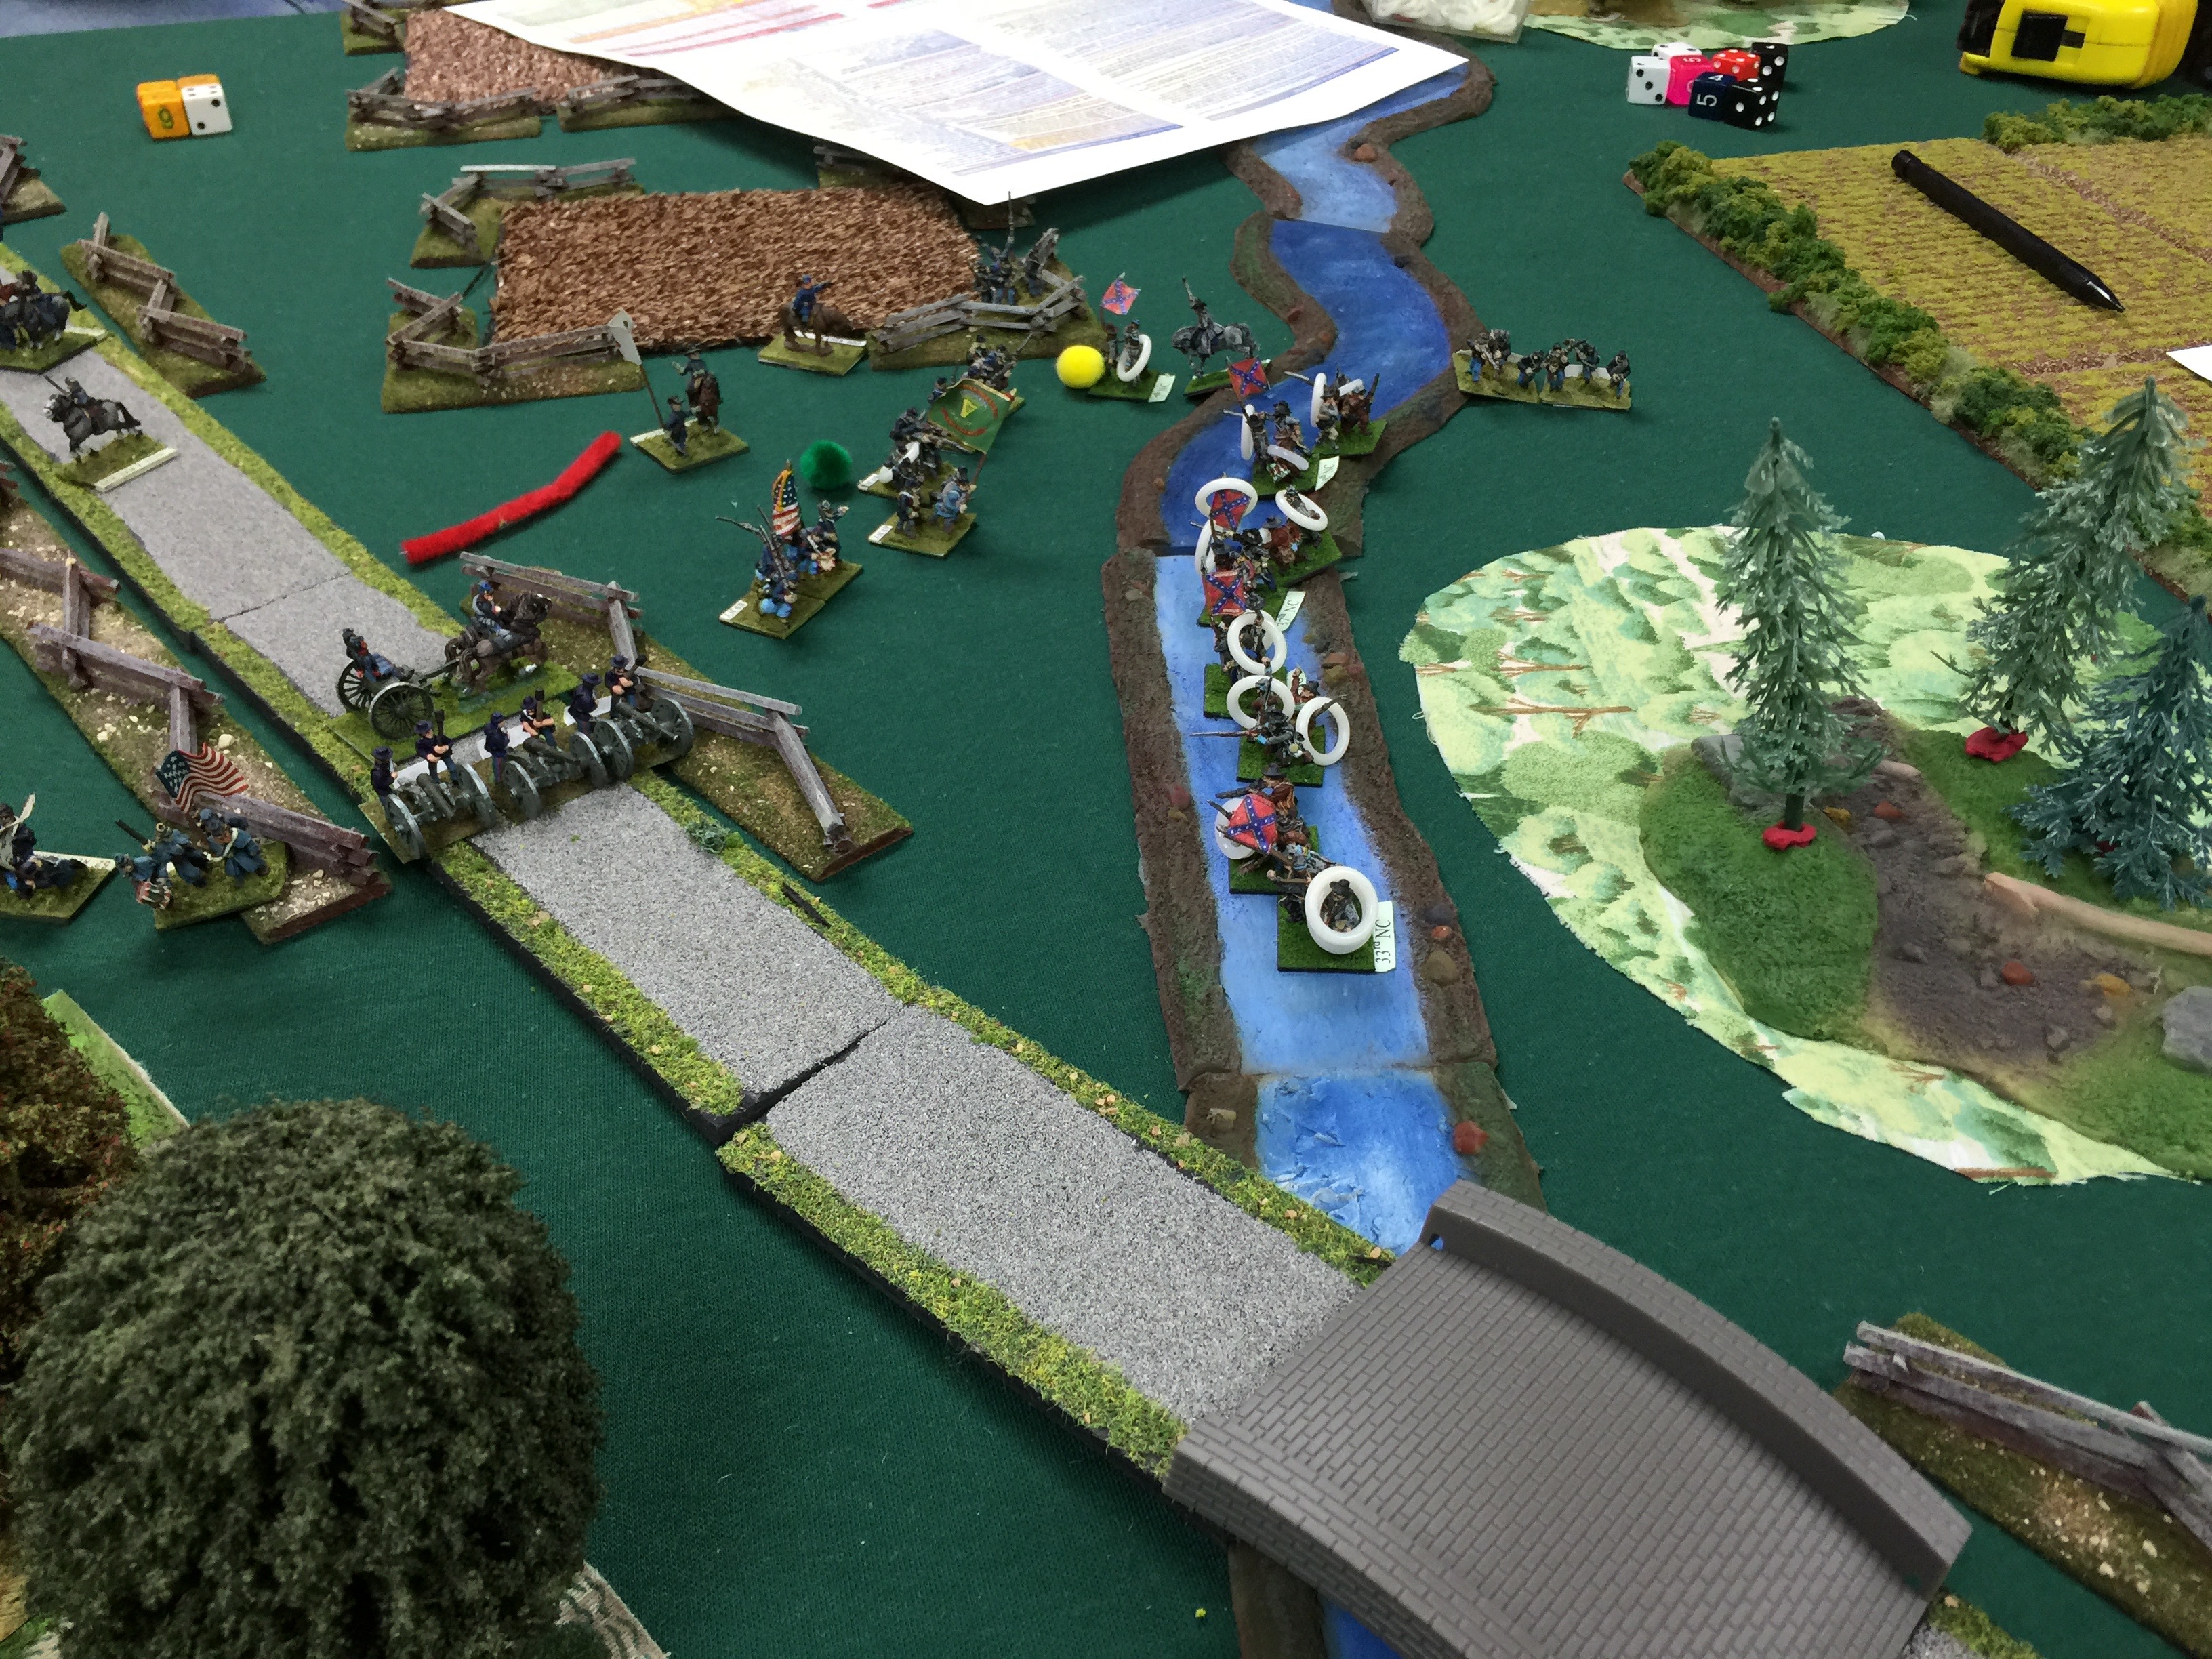
In this game, it was one of the initial actions at Gettysburg where two brigades from the 1st Corps, 1st Division were tasked with holding off some of the initial Confederate attacks. Here you can see the Reb artillery on Herr Ridge.

First problem, with the table set it as it was, it was much larger than the scenario setup called for. Unknown to the Union players the Reb artillery couldn’t advance off the ridge and thus we had to double basically everything in order to make the scenario work.

The first thing you’ll notice if coming from Johnny Reb is that the Across A Deadly Field regiments are pretty small. 4, 6, 8 figure regiments are pretty common. In the game you can either have 2 or 3 stand regiments. In Johnny Reb usually you have 4 stand regiments with 12,16, or maybe 20 figures.

In Across a Deadly Field, there is a large collection of artillery and muskets modeled in the rules. These are well explained and by the looks of it add a lot of flavor. Except, the firing table then sort of loses it. To fire it’s roughly 1 figure equal to a fire power factor. You add or lose 6 sided dice based on range, point blank, short, normal and long and then have pluses or minus to the roll based on cover, infantry formation and so on. So a 4 figure elite unit firing for the first time with enfields at normal range might be something like 2D6 (normal range) + 1 (elite) + 2 (first fire).  The outcome of the fire might be a moral check, moral check with minuses, to loss of some number of figures.

If as a 4 figure unit, you’d basically have 2 stands of 2 figures. Lose two figures and you’re base moral goes up. A lot. You’re also down 50% and called a depleted unit which then you get a bunch of limitations.

So back to the game. I took a brigade of Rebs and Chuck took a brigade, and we squared off against Eric and Aaron who each had a brigade of Union boys.

IMG_9704


As we were using Johnny Reb III based lead, we had to made due best we could to fit figures into the system as the scenario called for. My 3 regiments were 10, 10 and 8 figure with the two 10 figure units being rated trained and the 8 vet. Chuck had 5 regiments, 4 with 4 figures and 1 with 6. Most of his stuff was rated elite.

Our job was to push the Union back so I came at it from the left flank and Chuck from the right with our artillery on the hill, plinking away from long range.

IMG_9705

In this game, it’s a you go, I go setup. The side going is the active player and the other side is the reactive. This means that when a unit uses an action and you get 2 actions when you are the active player for each regiment, the reactive player has the opportunity to use an action to “react” to the unit that is active. So if they fire at you, you could return fire. If they move, you could fire at them. They move, you could turn to face or rally, but you can’t move. There are limitations, you have to be able to “see” the unit you are reacting to, or at least have a commander that can see then yell at the regiment to do something.

In theory this seems like a good system. You must choose wisely or burn your action to early and get stuck by a later unit that might come up on your flank or change and be unable to do much in response.

The down side is the reactions. We had one situation where Aaron had a union infantry regiment on Chuck’s flank. Chuck’s action was to move forward, all Aaron could do was fire, he couldn’t opportunity charge. Maybe we read the rules wrong but that just seemed odd.

Add command figures, regiments in command gain benefits. Out of command, moving costs 2 actions, in command moving costs 1 action. That worked and made sense. What didn’t make sense to us was there didn’t seem to be a commander casualty rule when a commander gives benefits as part of a charge. Consider a commander on the side receiving a charge, he can be unattached and give morale benefits.

IMG_9706

This is our Confederate line across from the Union. With the center Union regiment disordered should be a great opportunity to charge their lines, right?

Well.

So Chuck at this point charged with his whole brigade as a “group”. The rules allow you to basically group regiments together for fire and charges.

Aaron at this point was faced with a choice, fire now, or hold, chance passing a morale check and if he passes get a 4D6 point blank shot. He decided to go for it.

So Chuck came forward, he get’s to the 1 inch point, Aaron then starts to make his morale rolls for each unit. Given Elite status with a base morale of 3, and just enemy infantry close by for a +1, 2 of the 3 regiments just need to roll a 4 or above and they get their point blank shot. Pretty easy really.

The 3rd disordered unit has an additional +2  for being in disorder so 6 or above and it gets to fire point blank too.

All 3 pass. Aaron tallies up the fire power factors and it’s like 15 all total. (2 6 figure units and then the 6 figure unit in disorder gets 1/2 fire power factors for being in disorder) So 15, +1 for Elite and -1 for firing at Elite + 4D6. The result is a 3 figure loss. So at this point with some going back and forth in the rule book it wasn’t clear what to do. We we apply the hits across the line? Do we apply the hits all on one unit? We couldn’t find guidance on that one. We ended up applying 3 hits across the line which for all of Chuck’s 4 figure units gets them dangerously close to being down a stand.

Then comes the impact of the charge. This is a tally of base morale with then good and negative modifiers figured up and added to the respective side’s 2D6 die roll with the higher side being the victor or in the case of a tie a melee. So for Aaron, we figured it was base morale of 3 (elite), -2 for leader nearby and then we again hit a what do we do sort of moment. Of Aaron’s 3 units, 1 is in disorder. Do we impact everyone across the line with a +3 modifier for that? Do we add everything then up per stand for the charge and divide by 3? Again we didn’t see what we should do. We just added a +1 by the following logic with +3 / 3 units, it’s 1, so add one. For Chuck, no leadership but units in support so 3 base morale with -3 for the units in support for a base zero. Chuck and Aaron roll and Aaron ends up winning by 4. Chuck gets pushed back and suffers a further 1 figure per unit loss and now it’s down to depleted stands across the line of his brigade.

It’s game over at that point.

IMG_9707

So on the charge, it wasn’t clear how to execute it for a group. The one example in the that talks about a group charge doesn’t actually talk about the impact and how that’s resolved. Another head scratcher I’m afraid.

With the table talk after the loss of hold fire and opportunity charges seems significant. The small units while great at the possibility to do large actions, are extremely brittle. They’ll last maybe a turn or two engaged but otherwise effectiveness is gone. For small units, just getting a hit is hard unless you combine fire. Even then with combined fire, it’s kind of unclear how to apply hits.

With brittle units might be result in faster play but I’m not sure that was needed.

All in all, I personally like how the rules read and I think I can see the mechanics trying to be modeled and how it was trying to address some of the short falls of Johnny Reb. The rulebook seems less than clear in spots or we mis-read or mis-interpreted what could be pretty fundamental things

I think we’ll give Across A Deadly Field another try yet before a final decision. Need to get out on some fora and ask questions.

Posted in AcrossADeadlyField | 16 Comments

v0.10 Great War Add on

In this update I’ve essentially gotten the Ottomans, Russians, and French to the point were they are able to be play tested.

The Germans need a little work for their support hardware for Mortar Zugs and Artillery but otherwise the core of what needs to be there to make a 1914 or 1915 German based list.

Beyond that a few typos and a rearrangement so that in the case of “insanely large” platoons one can buy a smaller understrength formation.

GreatWarAddon-v0.10

Next up is finishing up some of the supporting German Zugs and Batteries and then lists for Gallipoli.

Posted in Flames of War Great War, FlamesOfWar | Comments Off on v0.10 Great War Add on

Flames of War Great War Add on update

Kind of a smaller update today to my Great War add on. I noticed that some tables had floated off the pages they were supposed to be on. I fixed a typo or two and added a few things in the German Army section including some charts for the Infantry and Cavalry formations.

GreatWarAddon-v0.051

Posted in Flames of War Great War, FlamesOfWar | Comments Off on Flames of War Great War Add on update

1915 Germans vs Russians – FoW Great War

As I’ve been working on additional lists for Flames of War Great War, their WWI variant, it was high time for a play test with some of the new stuff.

Tonight we setup a 900 point 1915 Russians vs Germans game. On the Russian front things weren’t all dug in with trench warfare. To the player you’ve some choices to make including the selection of new to the Russians mortars (the Germans already had them since the start of the war), and then the usual smattering of machine guns, artillery, cavalry and how much infantry to pick up.

On the Germans side it’s a wide selection of hardware. Given the historical side of German units the immediate problem is full strength confident veteran platoons with 16 rifle teams are spendy.

The Russians decided to pick up 4 platoons of infantry, a Maxim machine gun platoon of 3 MGs, 2 cavalry platoons and a 2 gun M1902 76mm battery. It’s all confident trained but the artillery is confident veteran.

The Germans decided to get 2 half strength zugs, 2 machine gun zugs, and a cavalry platoon with 2 stands upgraded to lancers. It’s all confident vet.

We rolled up a fighting withdraw scenario with the Russians defending. How historical :-). The objectives were essentially 1 on the Russian left flank, and 2 over on the right flank.

For figures WWI Battlefront and “others” stood in for the Russian save for some Peter Pig WWI cav. On the German side, again a mixture of Battlefront and “others.

IMG_9645

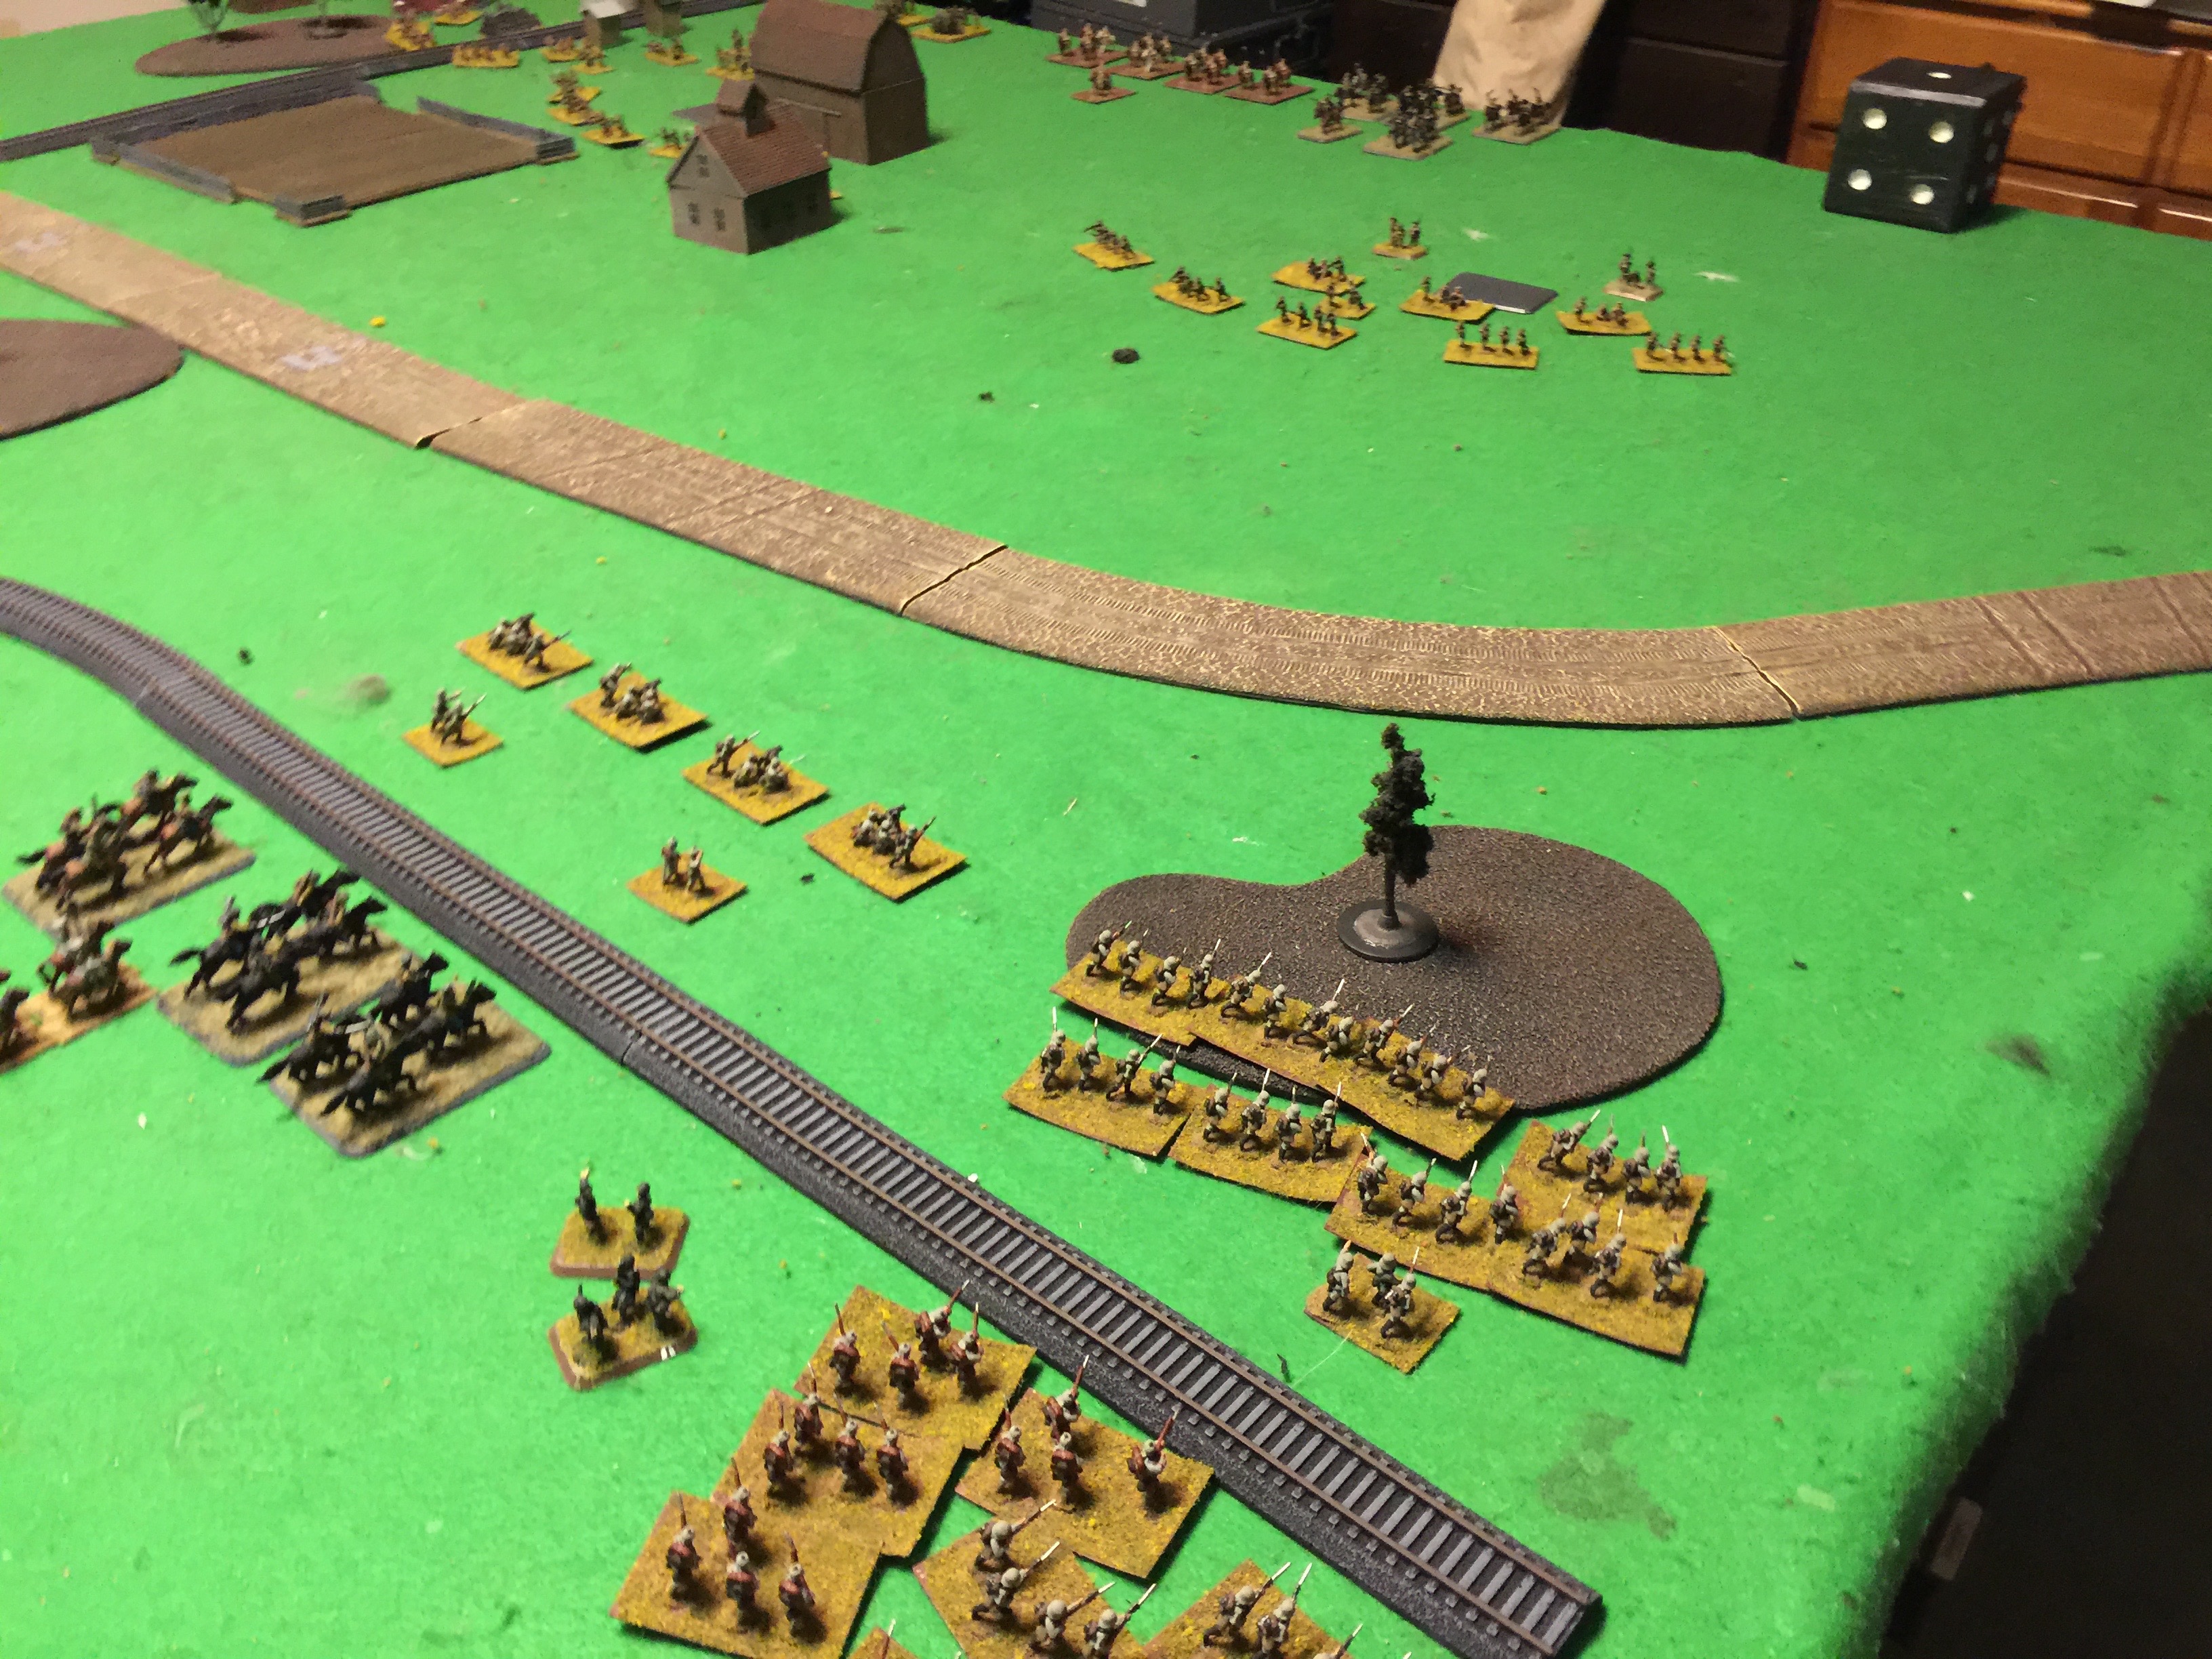
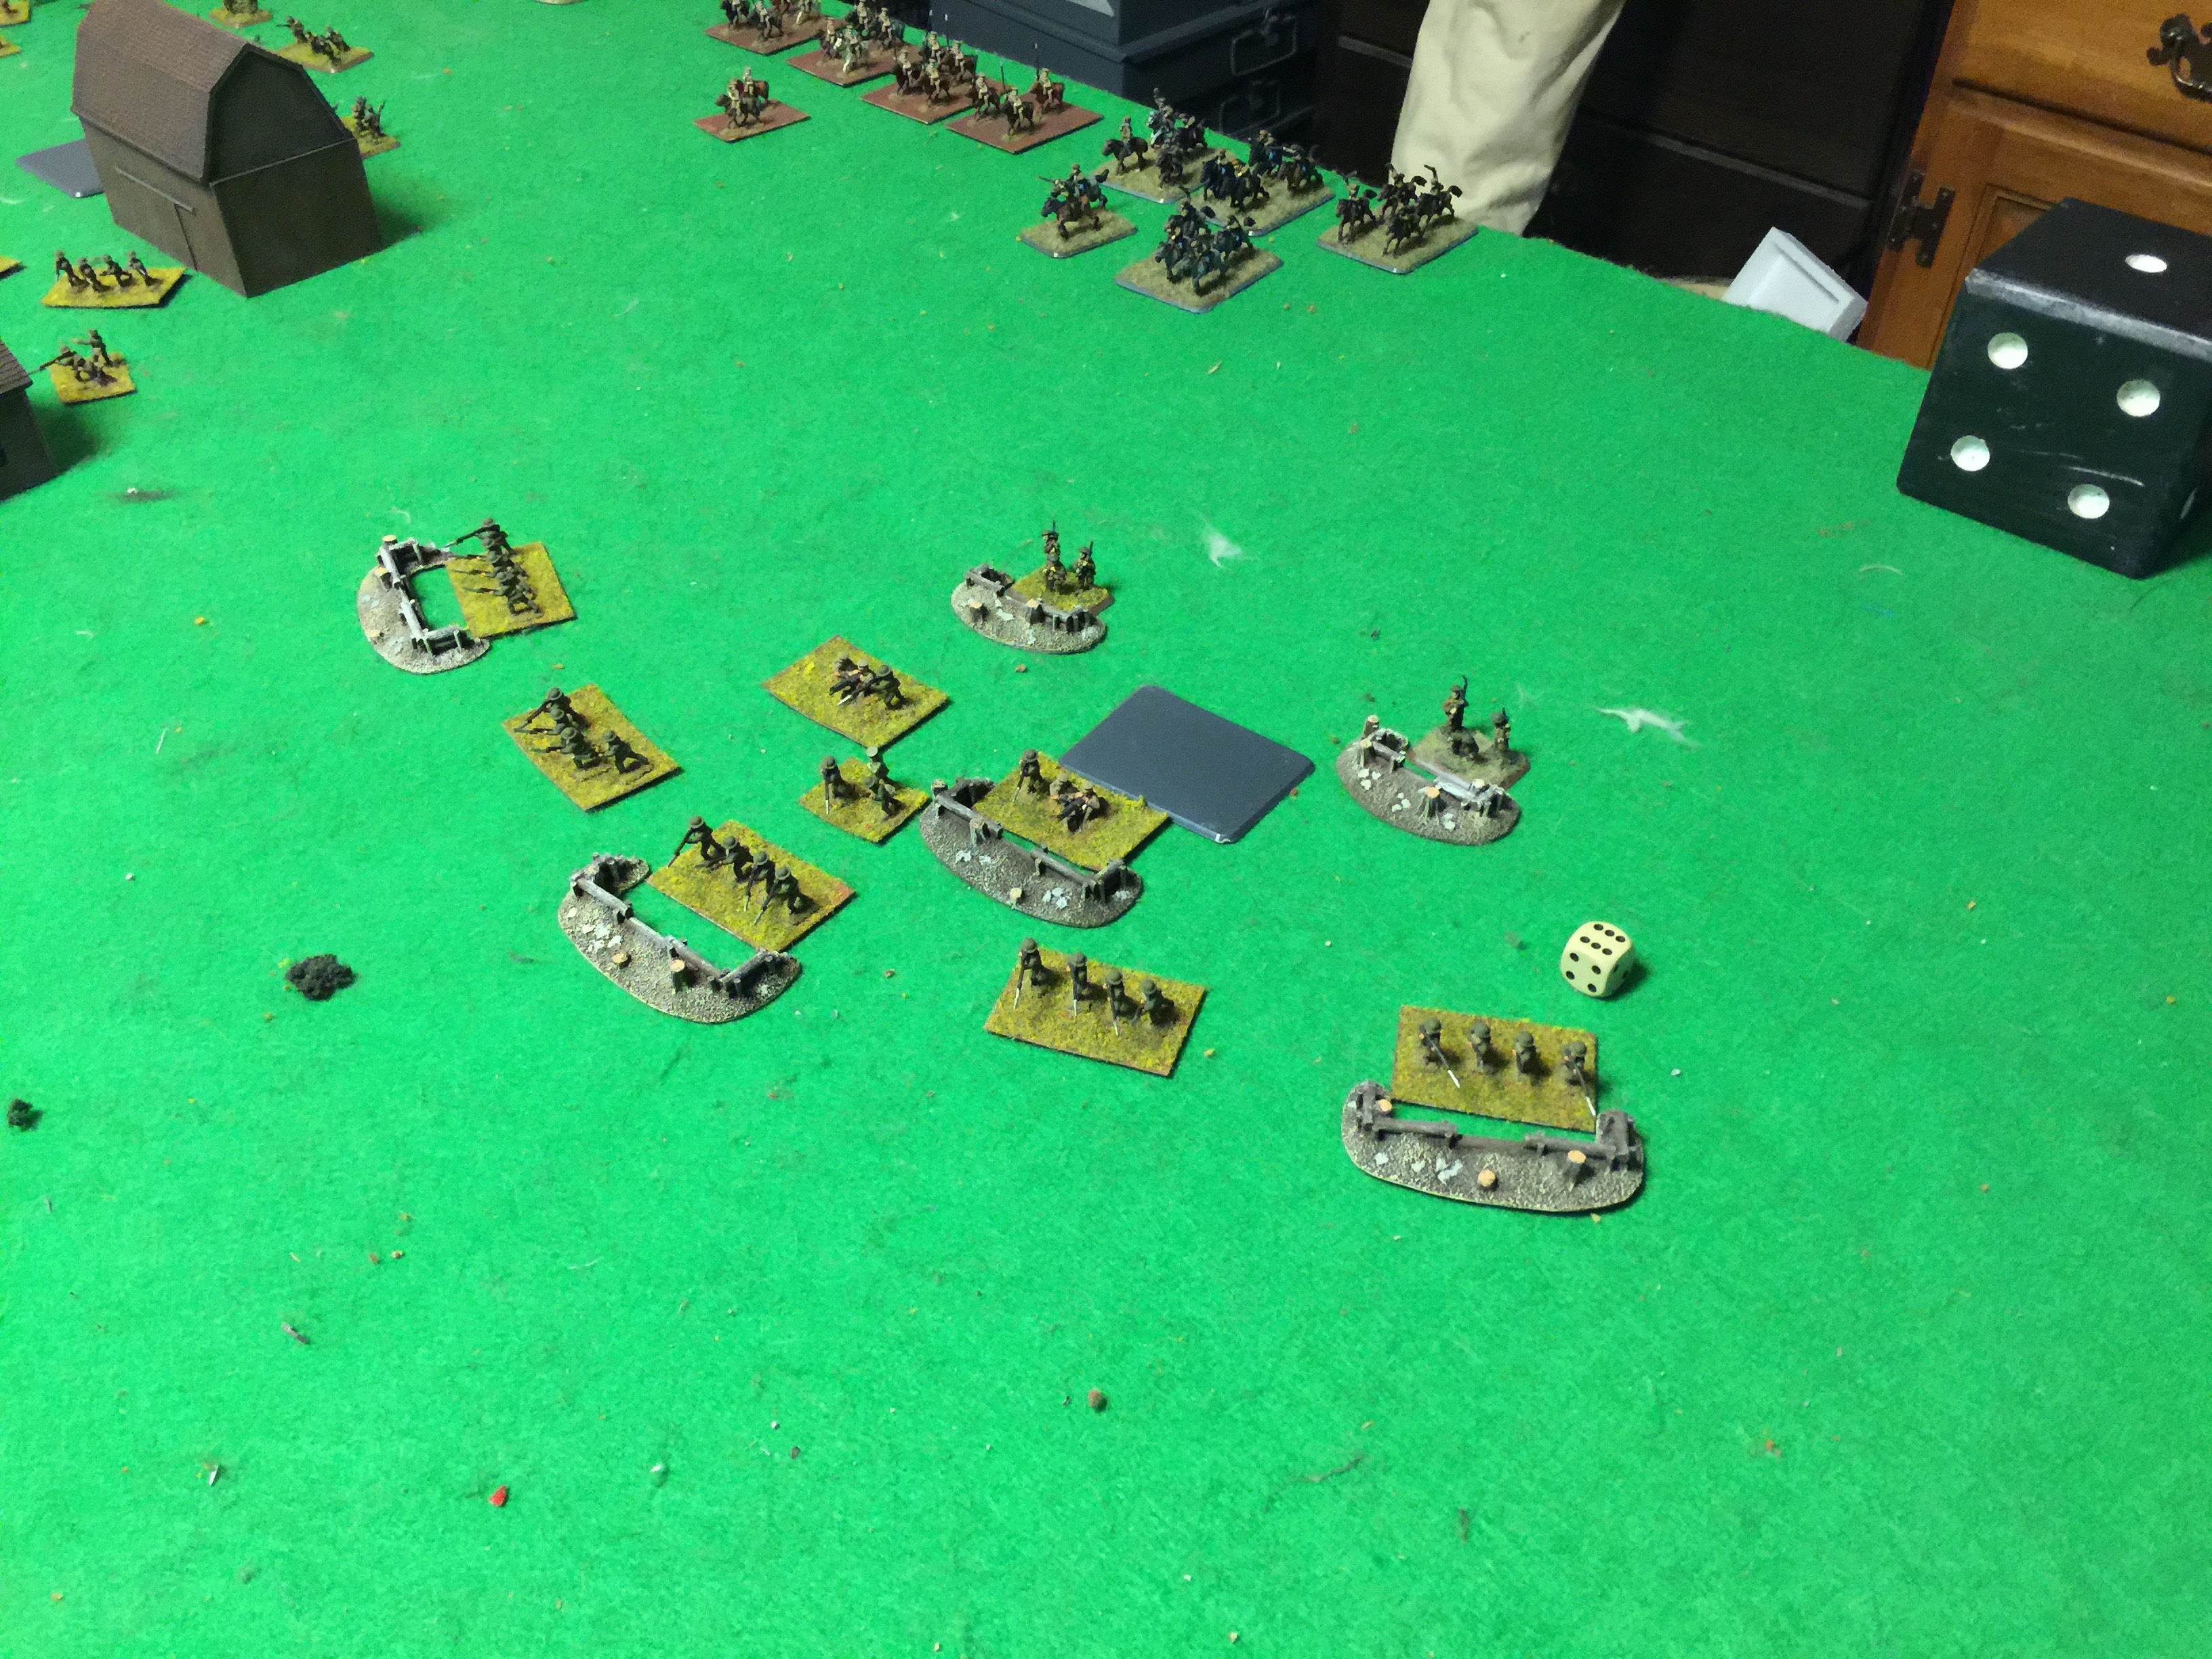
The Russian line starting to deploy. They decided to have their cav in the rear. Three of the 4 infantry platoons were guarding the two close-ish objectives on the right flank with their 76mm guns over on that side as well. On the left, one infantry platoon to guard the objective backed with the 3 maxim platoon. All of it, starting dug in.

IMG_9646


The Germans considering their objects decided to attack the left flank. Putting one platoon of infantry and their cav behind the raised railroad tracks. Then their 2 zugs of machineguns right up 8″ in on the edge of the deployment zone and the last platoon just behind the trees.

IMG_9647


Turn 1 starting with the Germans, pressing forward. The machine guns blazing away and the infantry platoons moving up and the cav holding back but getting into a position to tromp by the machine gun position.

IMG_9648


Good shooting starting off the bat with the German machine guns taking out one of the Russian guns but not enough hits to pin.

IMG_9649


Bottom of turn 1, the Russian cav reacts and heads over to support the flank. The Russian machine guns open up but over 16″ either way for all targets and with poor shooting takes out one of the one coming German infantry. The Russian artillery able to see the German machine gun position tried to bring down, is successful but not able to land any hits given only two guns.

IMG_9650


Top of turn 2, alas I hadn’t changed the turn marker, but this time infantry and cav all move forward. Hopefully that ol man took out that tractor beam or this is going to be a very short assault … err …

At +1 to hit the Russian Rifle platoon is targeted by the moving infantry and the German machine guns again target the Russian machine guns. This time good shooting again and another Russian machine gun is gone and enough hits to pin them. The infantry even take out a stand.

IMG_9653


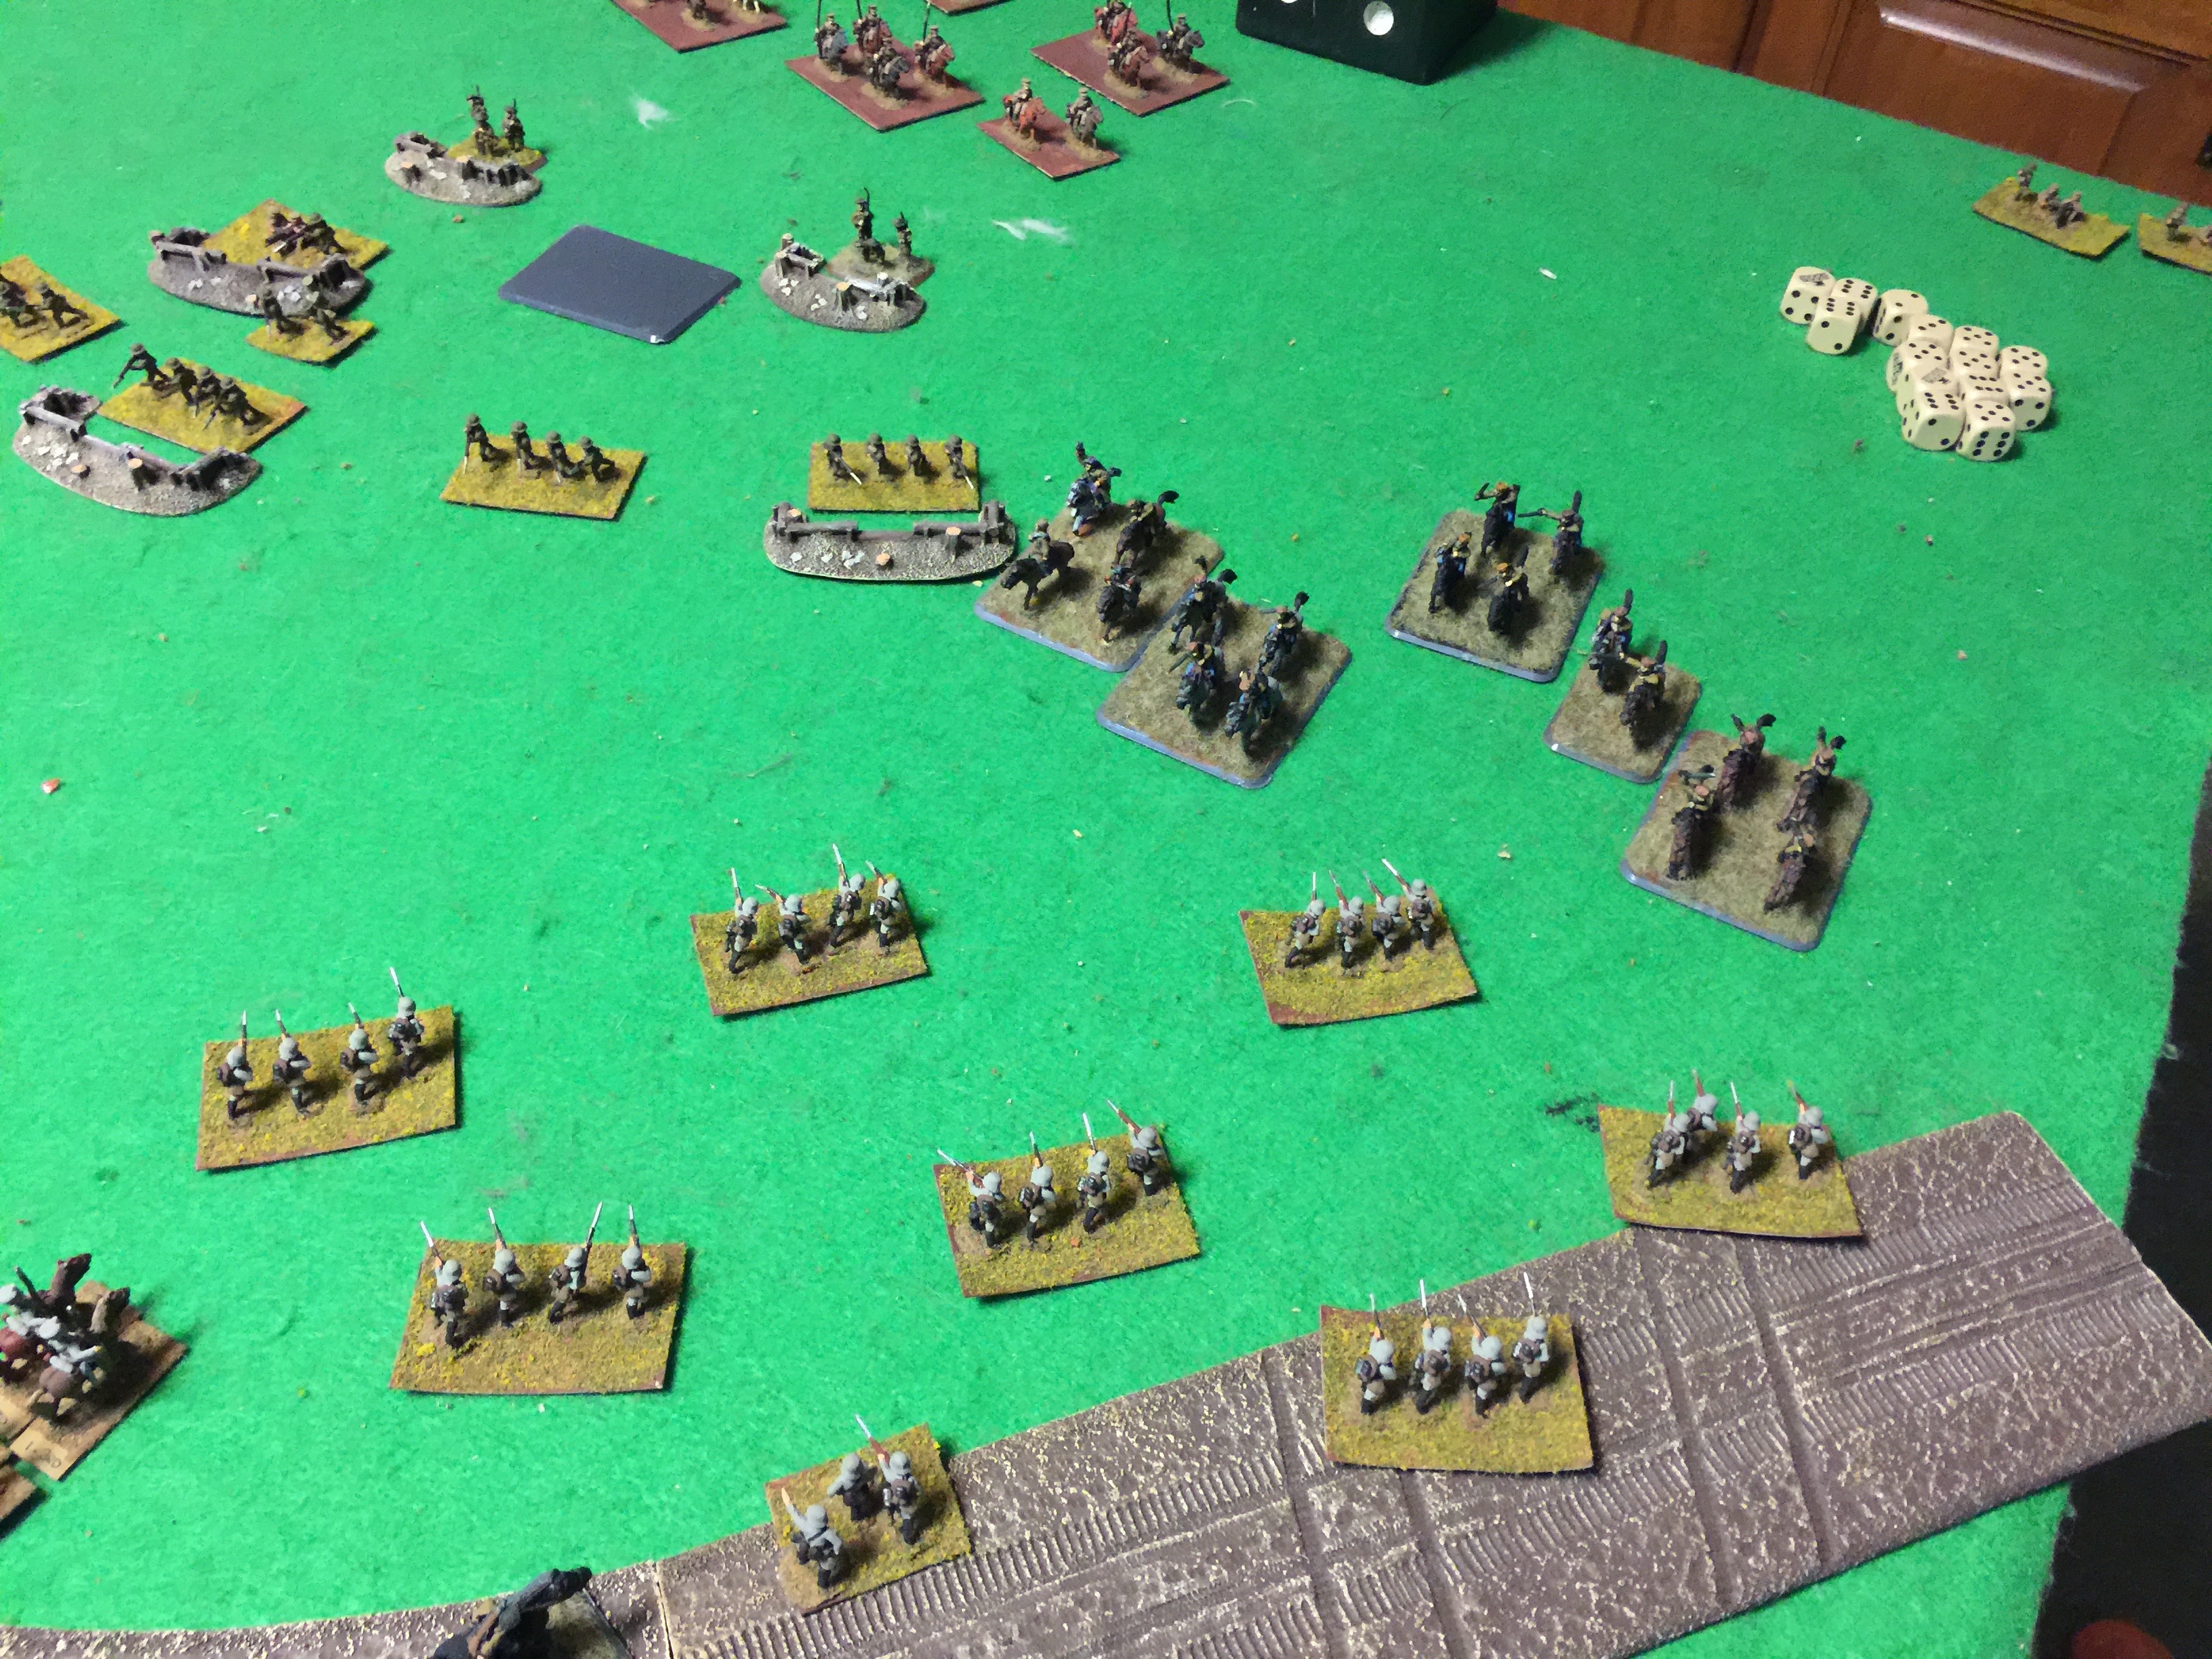
Bottom of turn 2. What’s a Russian Cossack to think about German infantry moving out in the open… perfect target, that’s what he’s thinking. So charge! And time to test out the new cav rules. With movement in the previous turn cav can move up to 20″ as part of a charge.

Meanwhile the Russian infantry start to put some shots into the lead German unit and take out a 4 teams. The Russian artillery lands on some of the German cav as well as the other infantry platoon, taking out a cavalry stand.

IMG_9654


The Germans need to roll their motivation for being charged by cavalry. They make it, so we go into assault with the Germans issuing defensive fire and taking out 2 stands, not enough to turn the Russians back.

A little back and forth and the Russians lose the assault to better German dice. The German infantry while victorious, goes pinned for winning and survives it’s motivation being under 50%.

IMG_9656


Now it’s time for the Germans with top of turn 3 to move in. The charge, with their unit that contains 2 lancers. (Lancers get +1 on the assault) The German machine guns this time finish the job on the Russian machine gun platoon and take it out entirely. The German infantry manages to impressively get 5 hits on the dug in Russians but no other effects.

The Russians make their motivation test to stay against the charging cav. The defensive fire takes out one of the lancer teams. But but .. it’s going to be glorious.. they’ll sweep these Russians out of their position and drive them off … right?  Right?

Several die rolls later in the assault, with the lone lancer rolling a 1 on it’s assault, the Russians while losing a stand, completely destroy the German cav. It was literally good die rolls vs very cold die rolls, so yeah Russians deserved to win that one and go back into their foxholes.

Bottom of turn 3, the Russian needs to retreat a platoon and take from their right flank. Nothing going on over there so they pick an infantry platoon.

IMG_9659

With the move their last cavalry platoon charges up after the pinned German under strength platoon. The Germans roll their motivation to stay, fail and run and the Russians occupy the ground.

Top of turn 4. Germans need to unpin their machine guns and face reality of Russian cav cutting off their attack on the flank.

IMG_9660


The machine guns remain pinned failing their roll. The Infantry open up on the Russian cav and remove a stand.

Bottom of turn 4, the Russians need to remove a platoon and again choose an infantry platoon on the far right flank that out of the fight anyway. The Russian infantry opens up in support of the cavalry taking out a team and the Cav which does what they were created to do, charge!

IMG_9662The Germans make their motivation roll and blast one more stand out of their saddles and then the assault gets going. After a couple of rounds, the Germans win the assault.

IMG_9663


It’s starting to look good for the Germans. With the Russian cav out of the way, that objective is looking like it could be taken.

Bottom of the 5th, the Russians infantry on the far right flank moves to support the left flank. It’s a long run! The Russians once again drop artillery to pin the German machine guns but again accomplish no other damage. The Russian infantry does their best to open up on the German infantry out in the open, taking out yet another stand. Can they hold?

IMG_9665


Top of turn 6, before the Russians get to remove an objective the Germans machine gun the heck out of the Russian infantry pinning them but no other results. The Germans Infantry push in to the assault. Immediately they take out a stand in the first round before likewise suffering a loss themselves. As it pitches back and forth both sides make their motivation rolls but veteran vs trained troops, it goes as you’d expect.

IMG_9667


Only the Russian company commander is contesting the objective. The Russians need to make a company morale roll, they make it. They pull off their artillery this time, otherwise easy turn for them.

Top of turn 7, the German machine guns are out of range and have to move forward. The German infantry remains pinned failing their roll. Between the cut fire from the machines guns, and the pinned infantry, 8 hits go onto the Russian company commander pinning him but he doesn’t fail any saves.

It doesn’t matter the objective that the Germans have fought for on the Russian left flank comes up and there’s no way for the Germans to be able to take the remaining objectives on the Russian right flank.

A bloody fluid affair to be sure with victory just out of reach of the Germans. 4-3 Russian victory.

For an initial playtest, I’m quite happy how it worked out. Even the new cavalry rules didn’t seem to disappoint  by being too much or too little.


Posted in Flames of War Great War, FlamesOfWar | 1 Comment