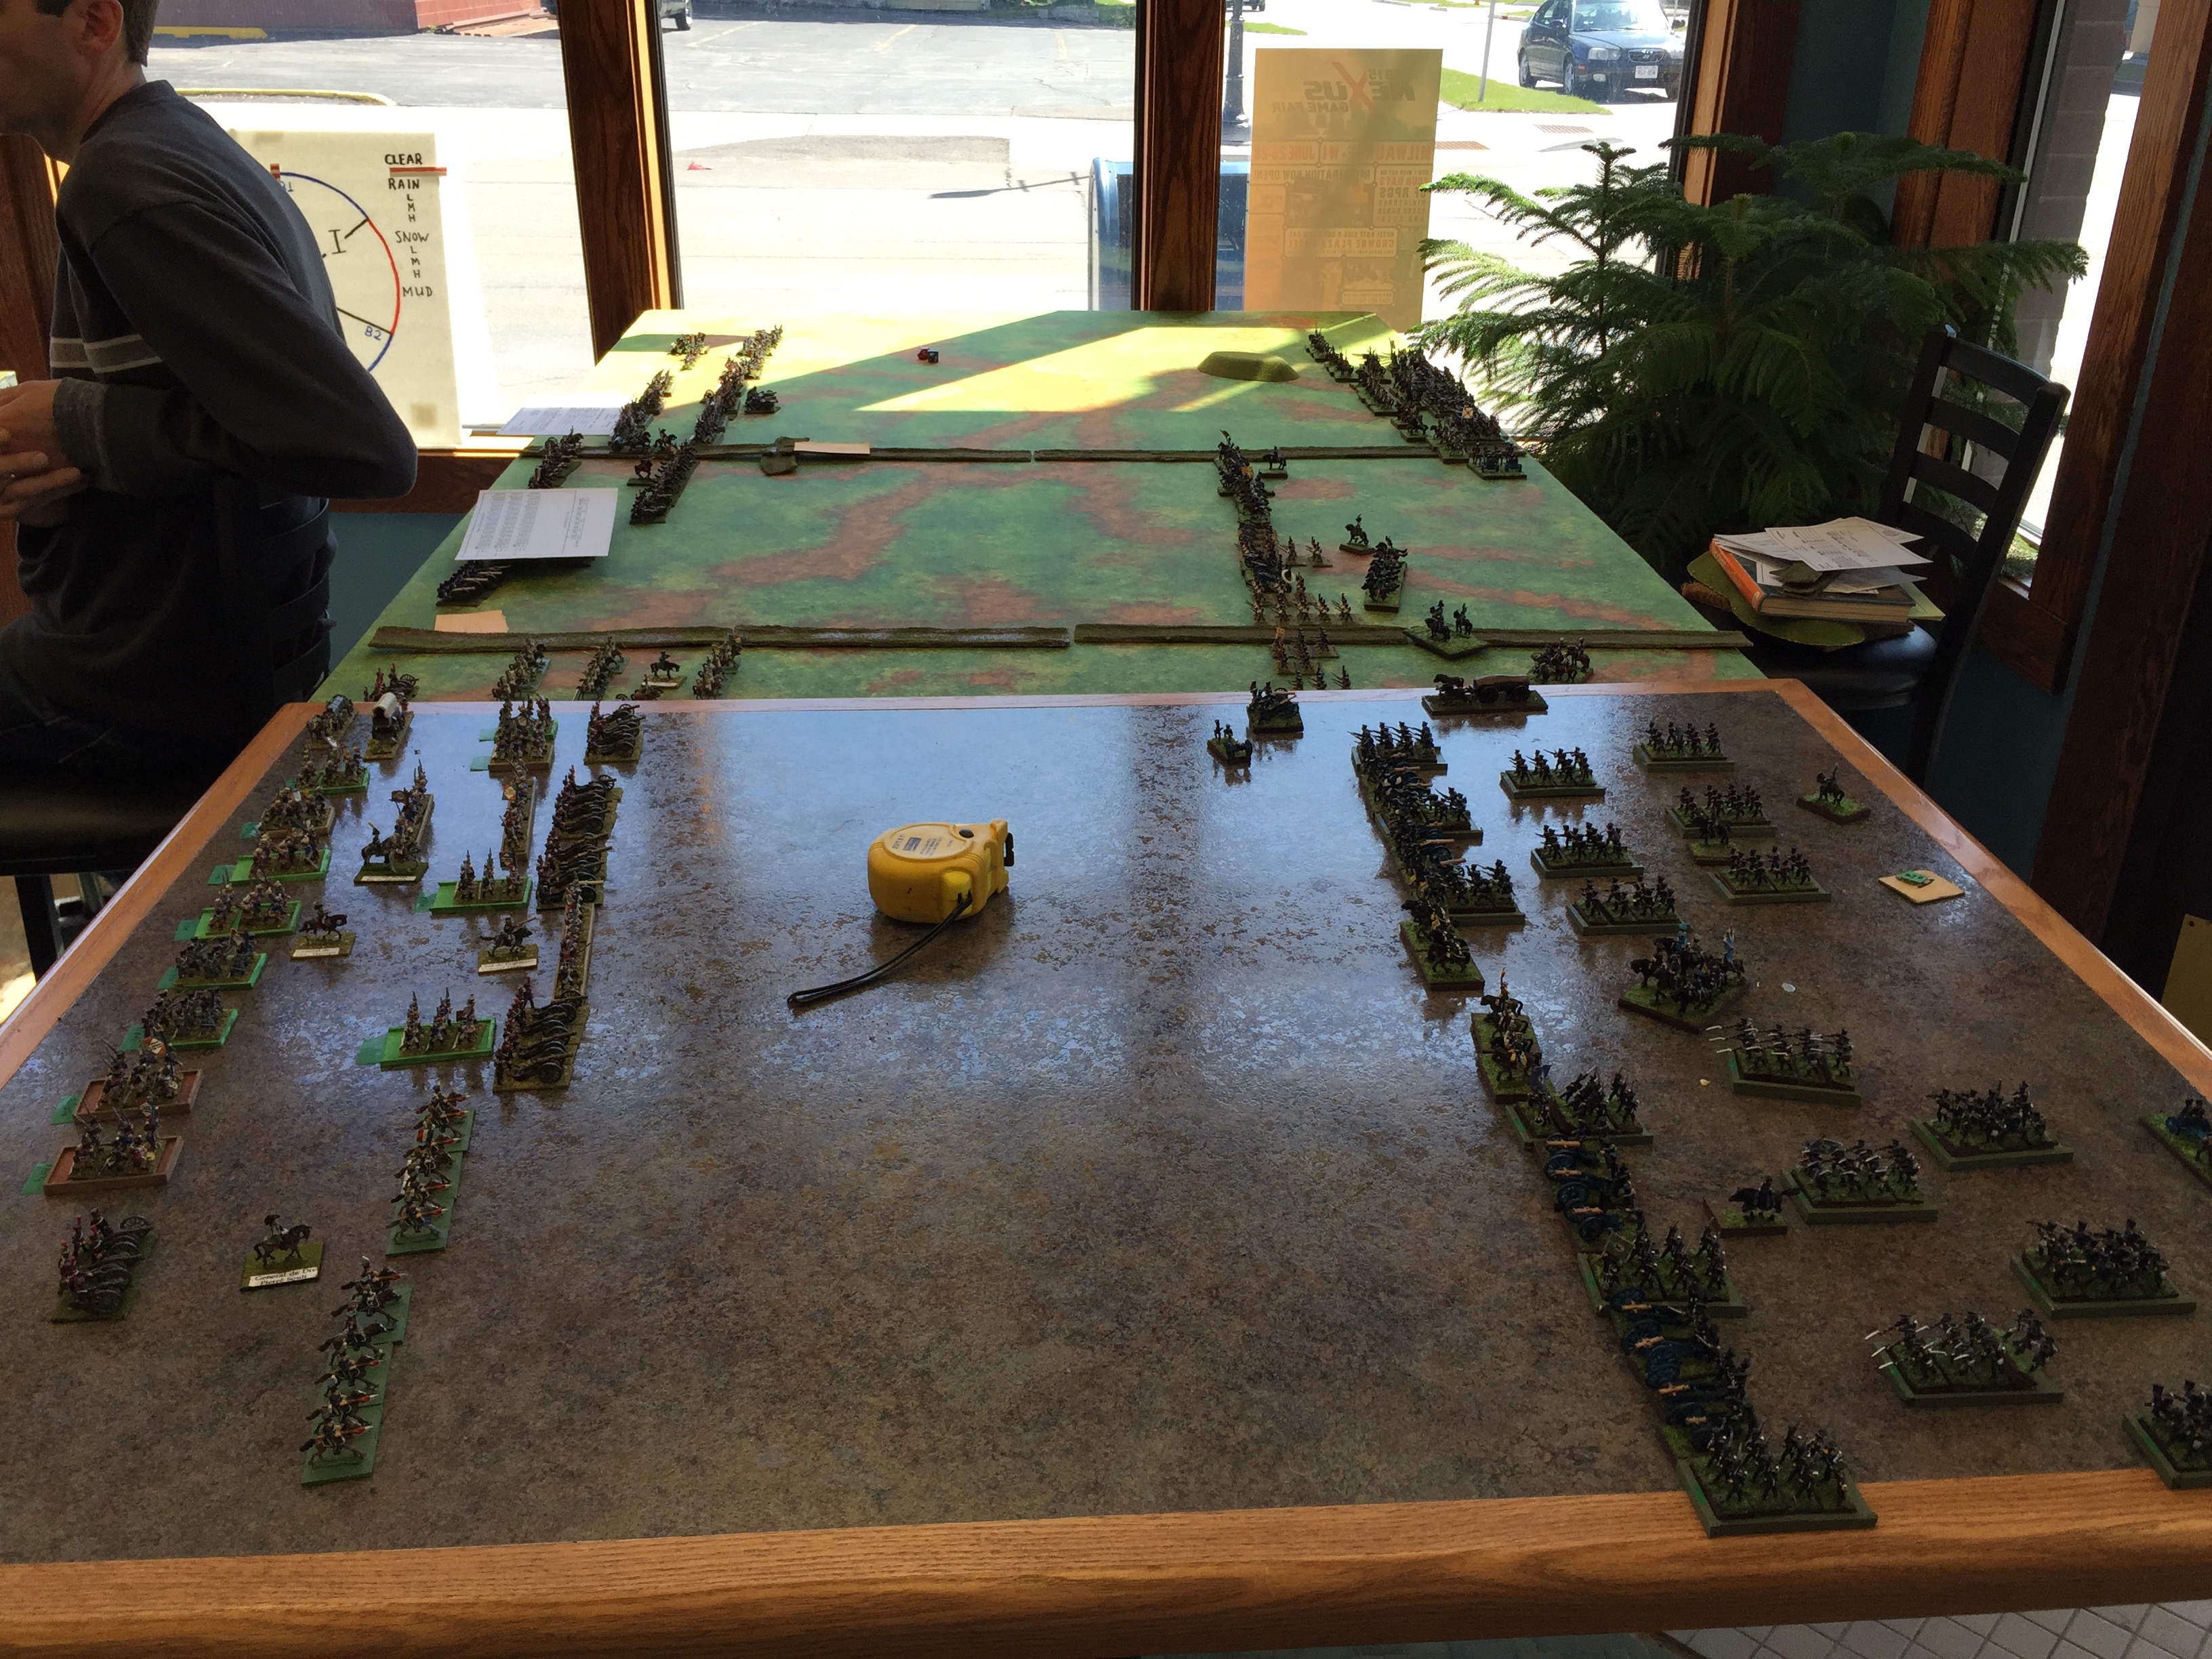
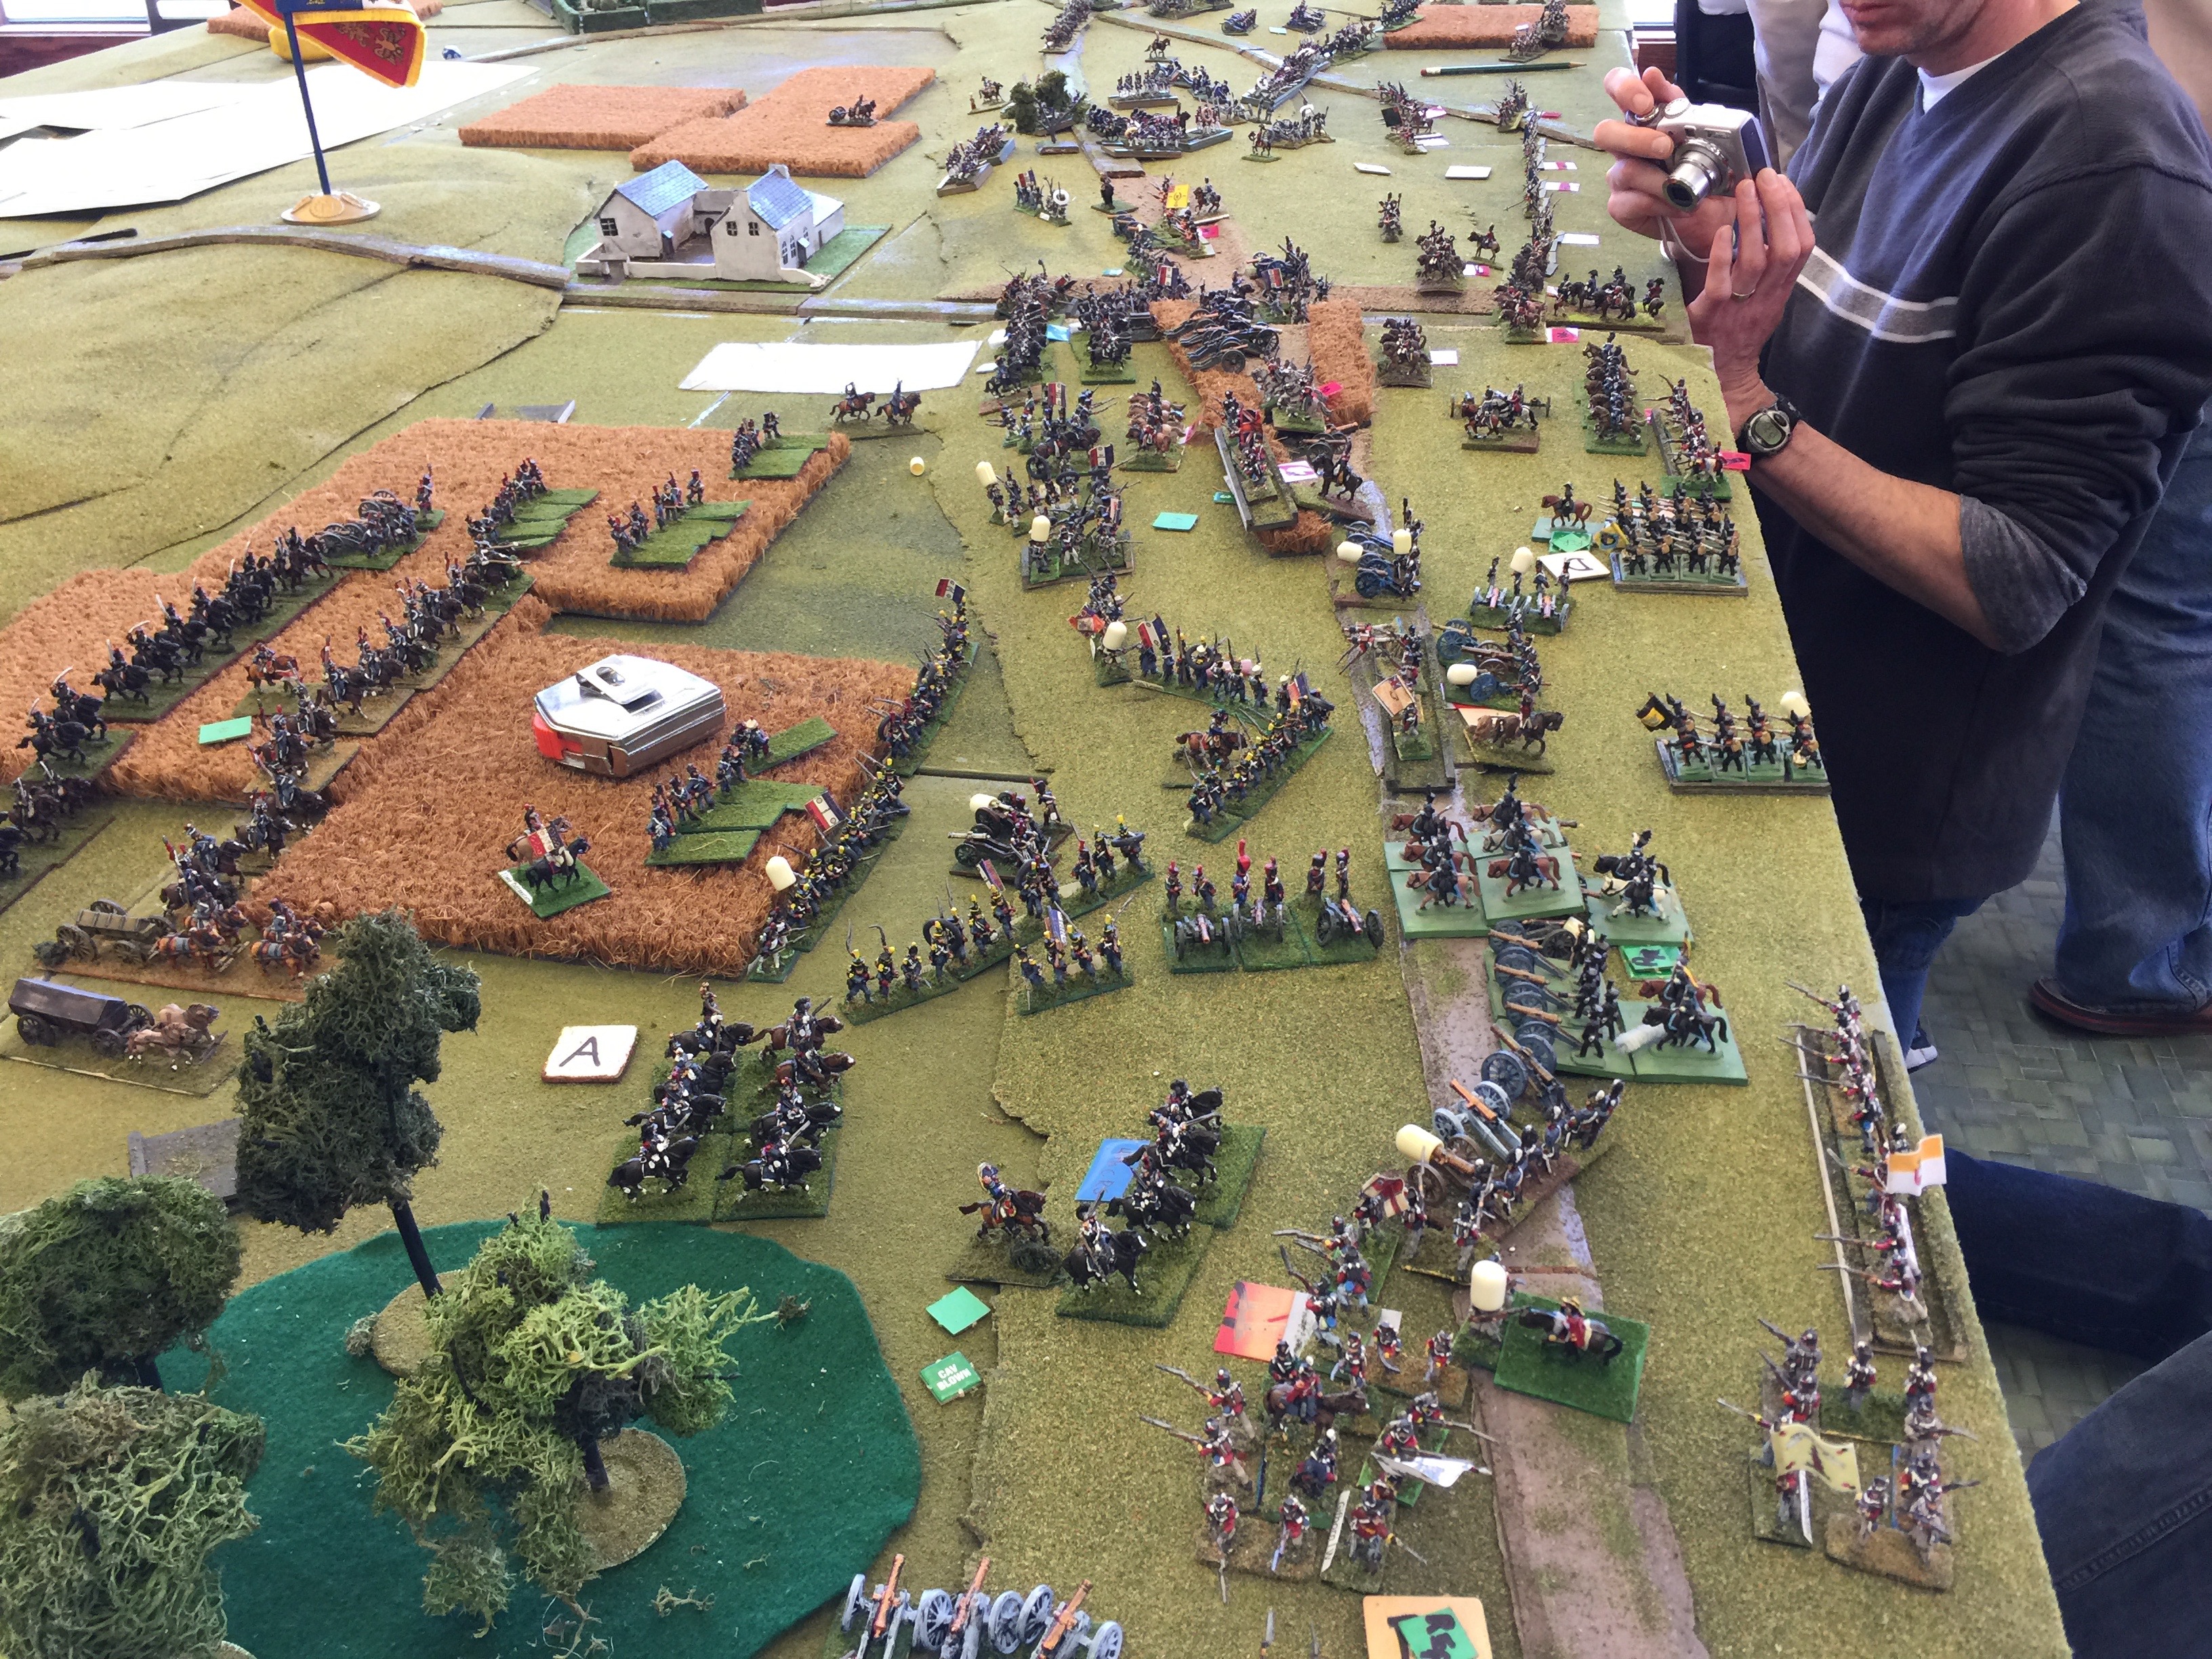
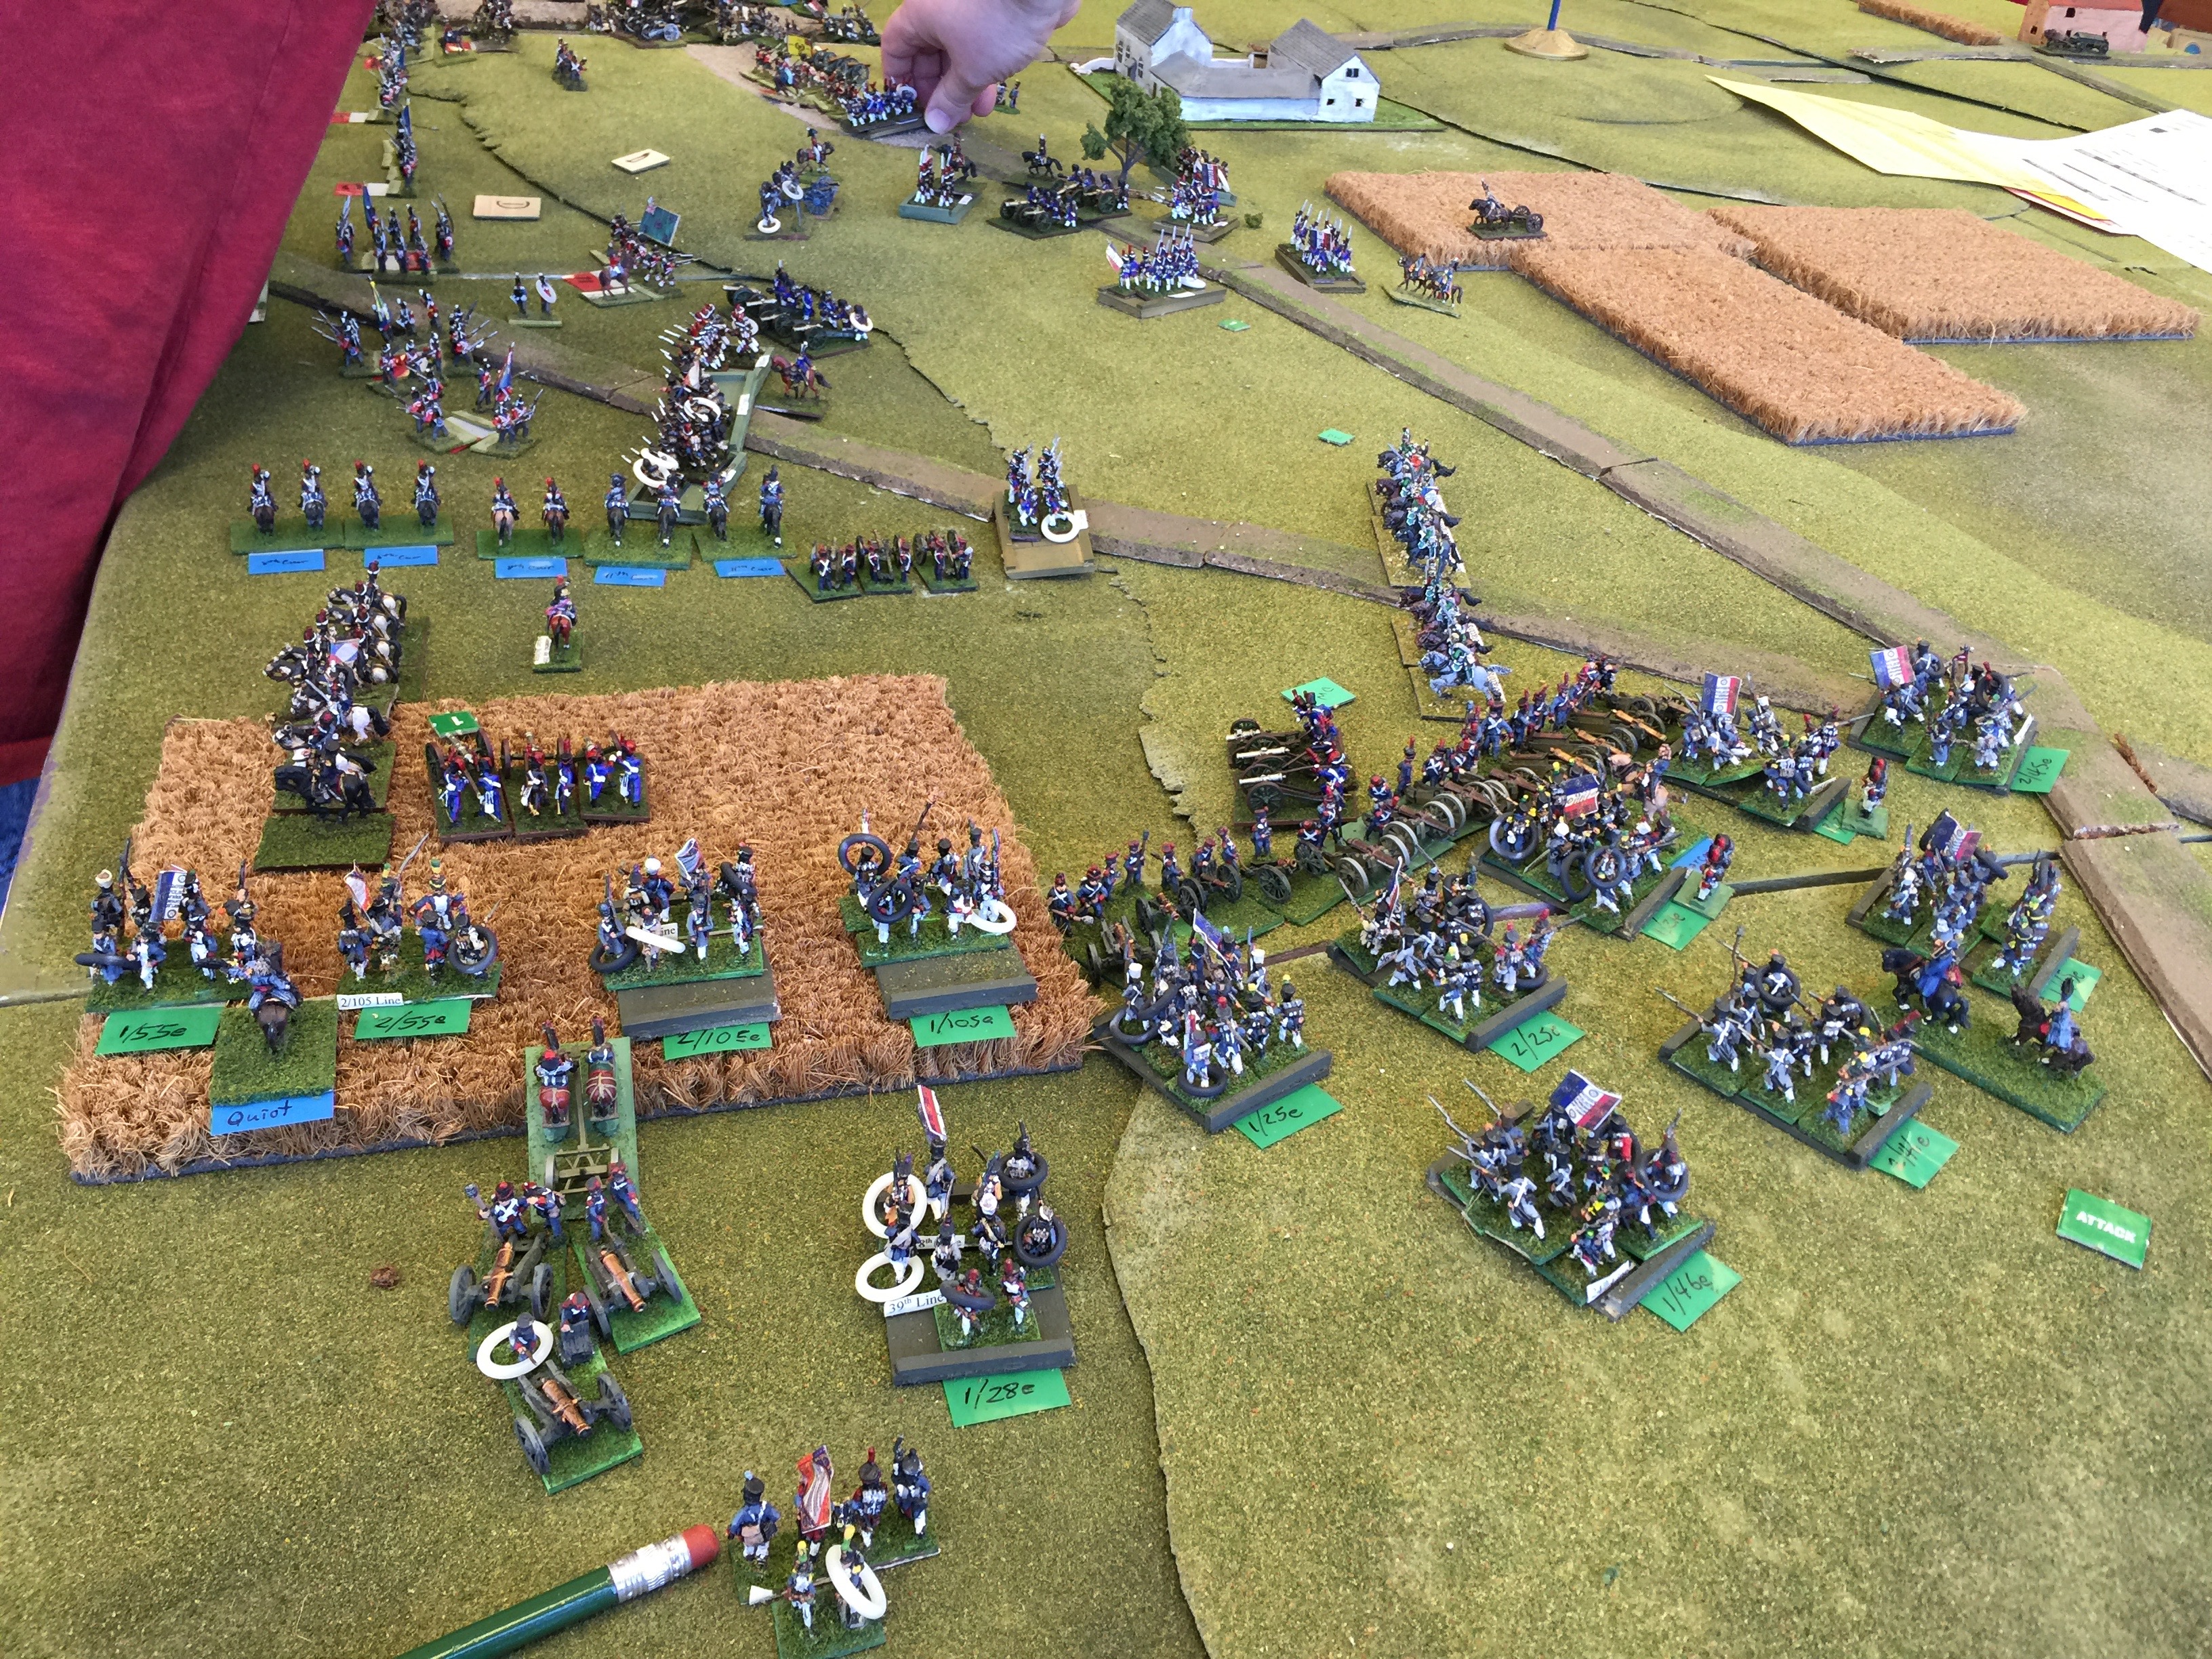
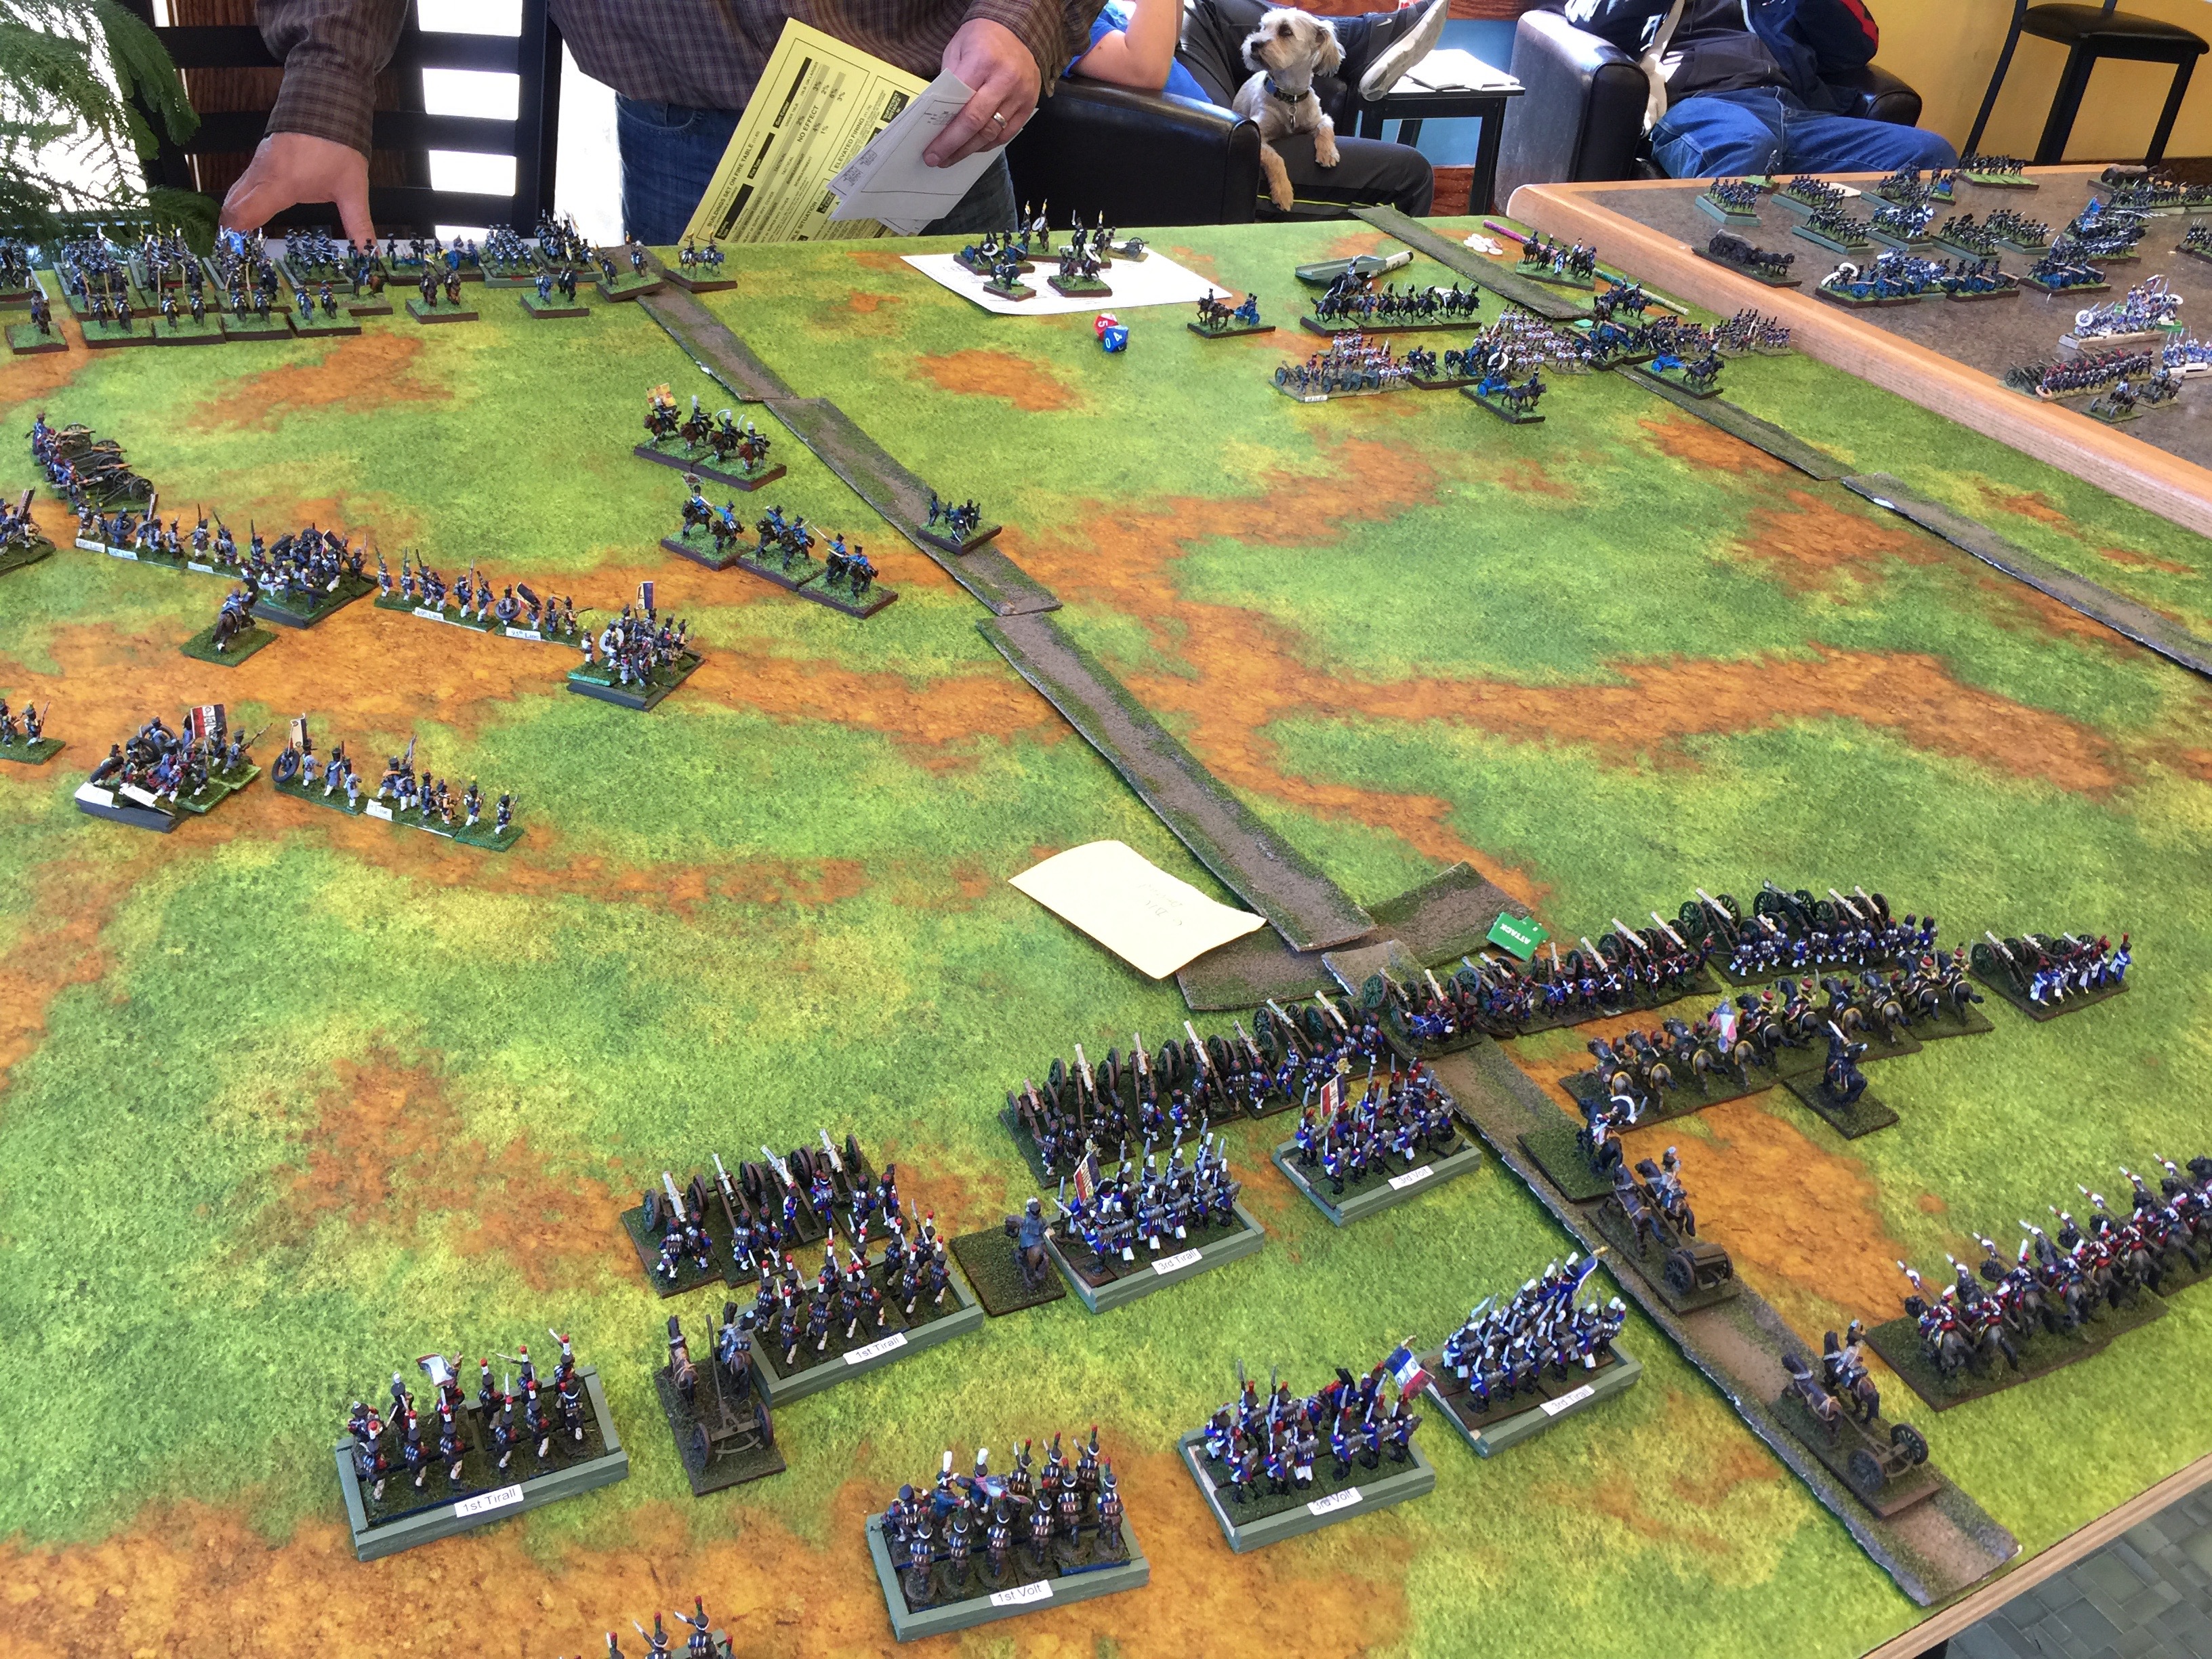
Great War Add on v0.05

Here is v0.05 of my Flames of War, Great War add on. As of this version the French and Ottomans are essentially ready for initial play testing.

Rules additions:

  • Artillery
  • Cavalry
  • Aircraft

GreatWarAddon-v0.05

Feedback, AARs etc are most welcome.

I do have some initial German formations starting to take form for early war as well some late work equipment which includes aircraft. The Russians are coming along. I’ve also started on some early research for the Austria-Hungarians. Australians, English and French for Gallipoli is also very high on my radar.

Posted in FlamesOfWar | 2 Comments

FoW: German Volks vs American Airborne (2200 pts)

This past Saturday at Deaf Ear Records in LaCrosse WI, we had 5 people on hand. This allowed us to do a mini-tournament style set of games. Bill, Chuck, Matt and Collin all got there before I did and got the tables going.

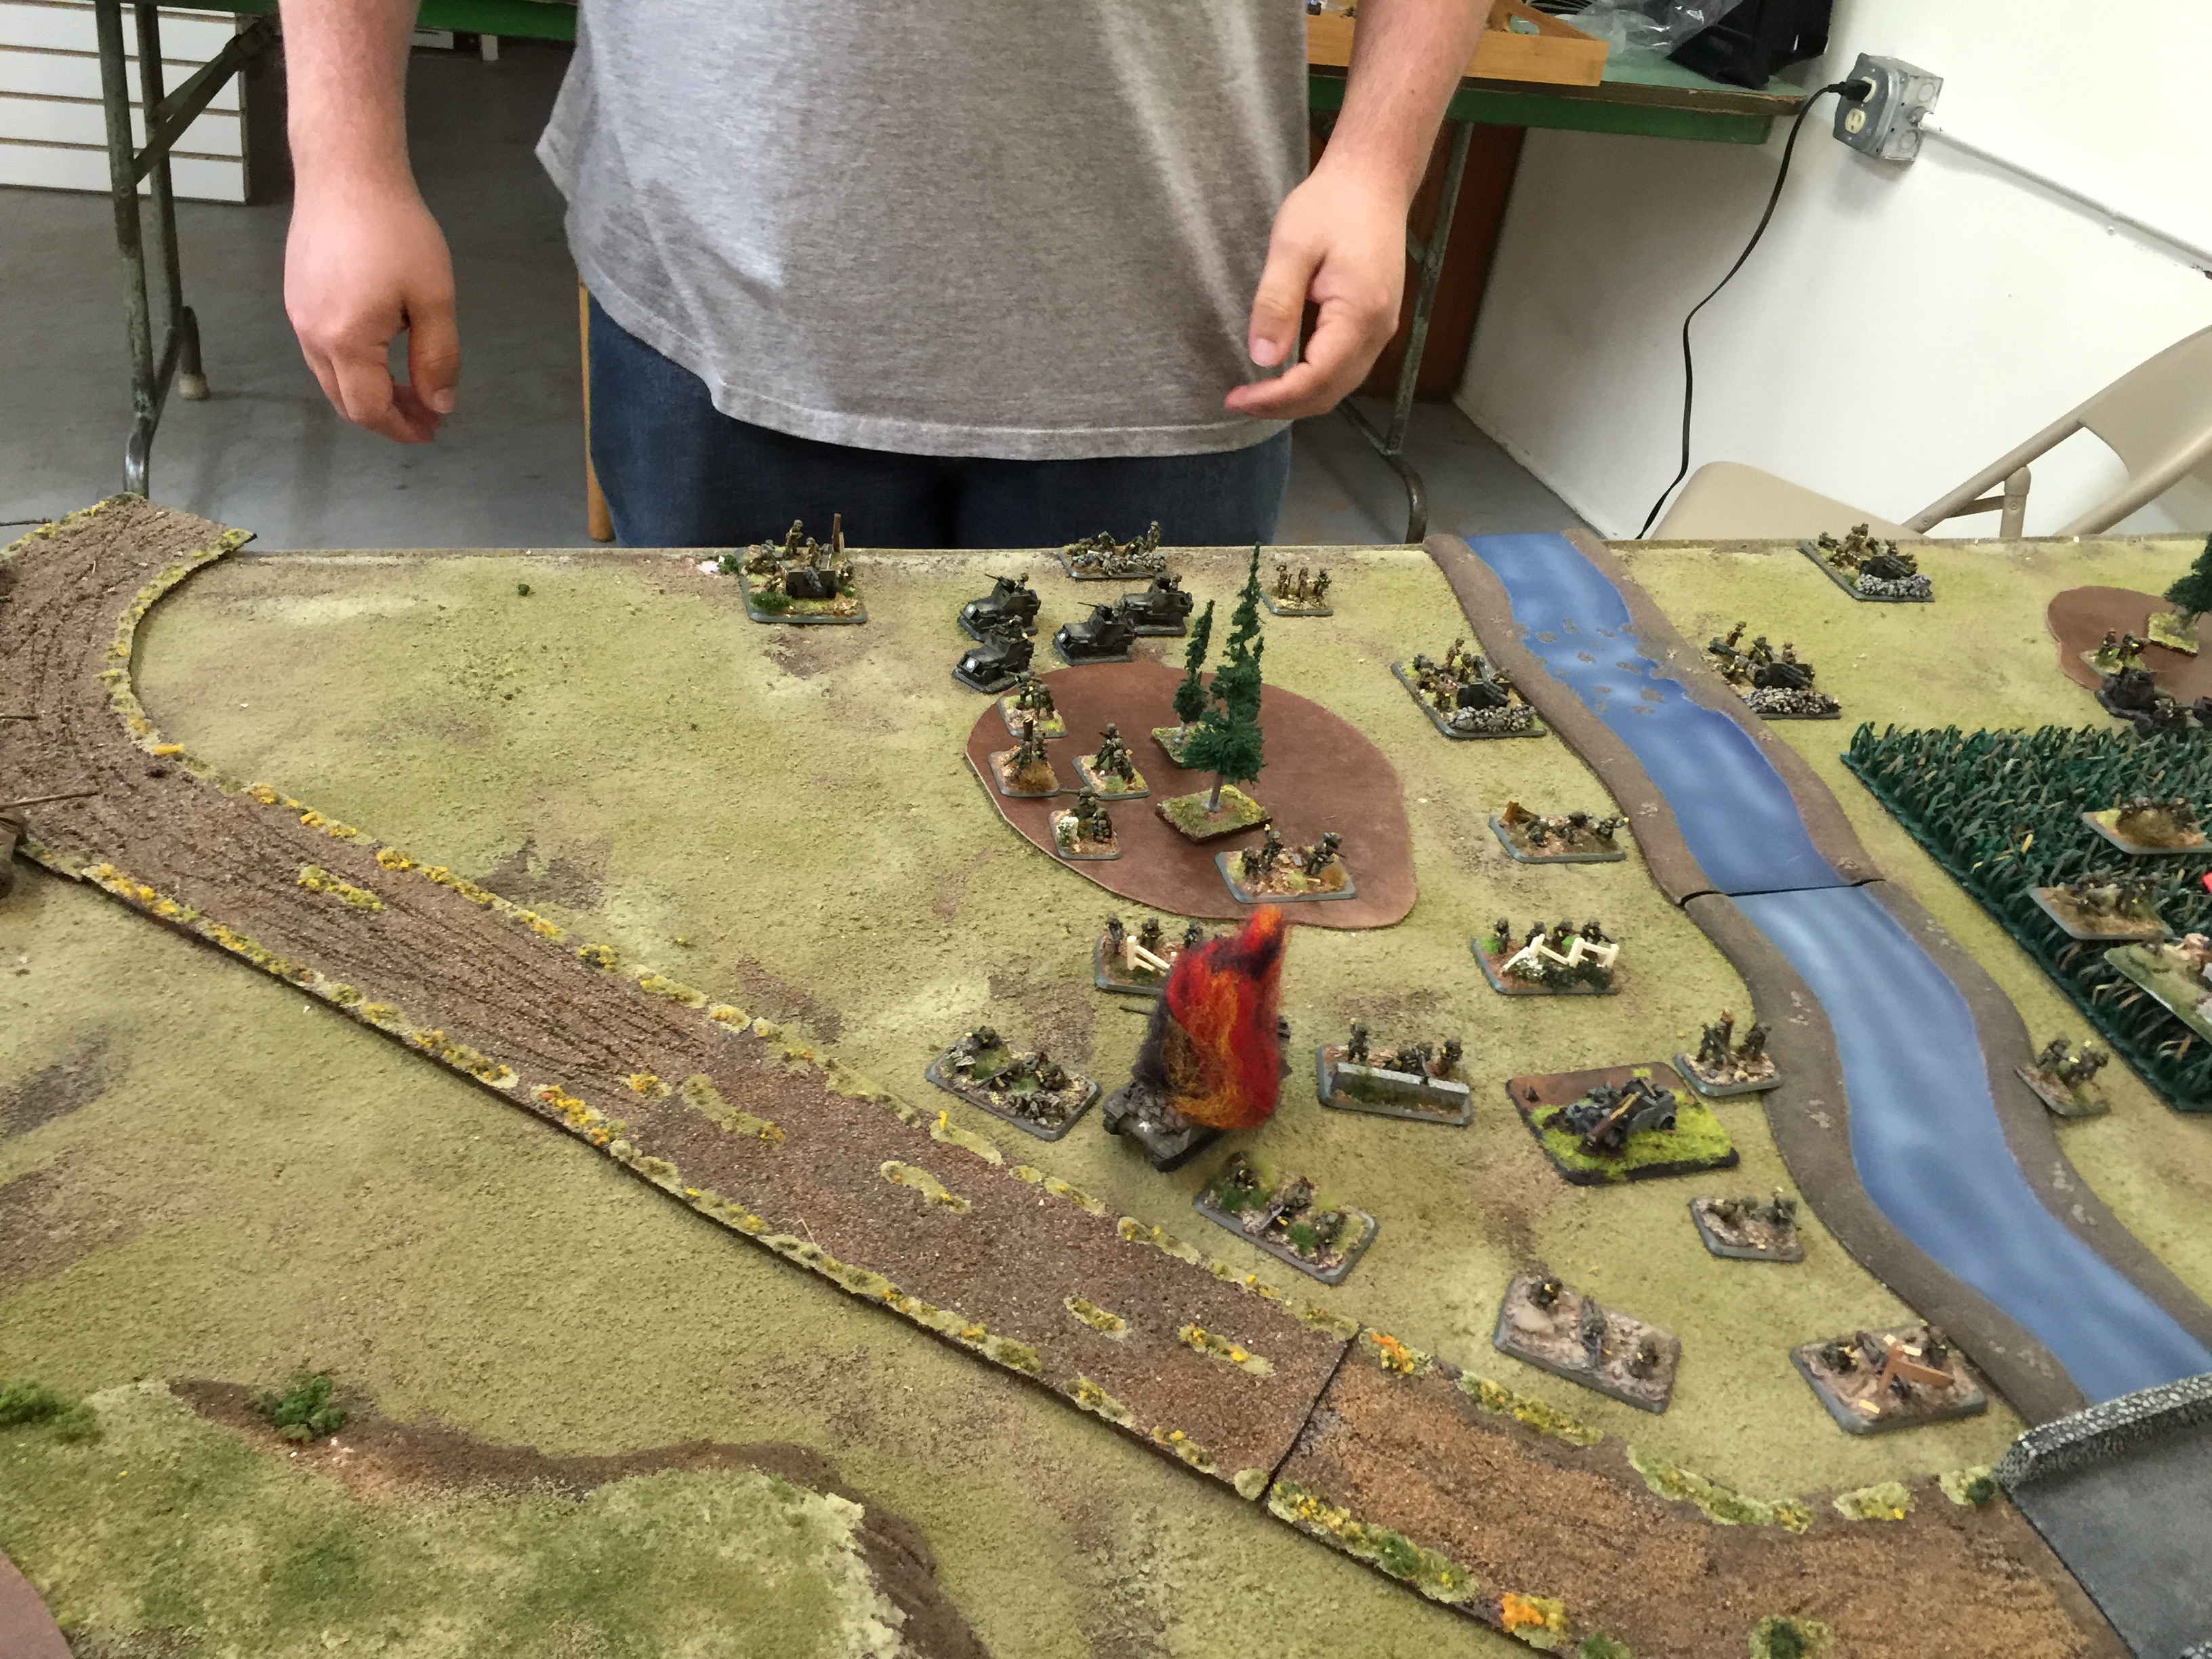
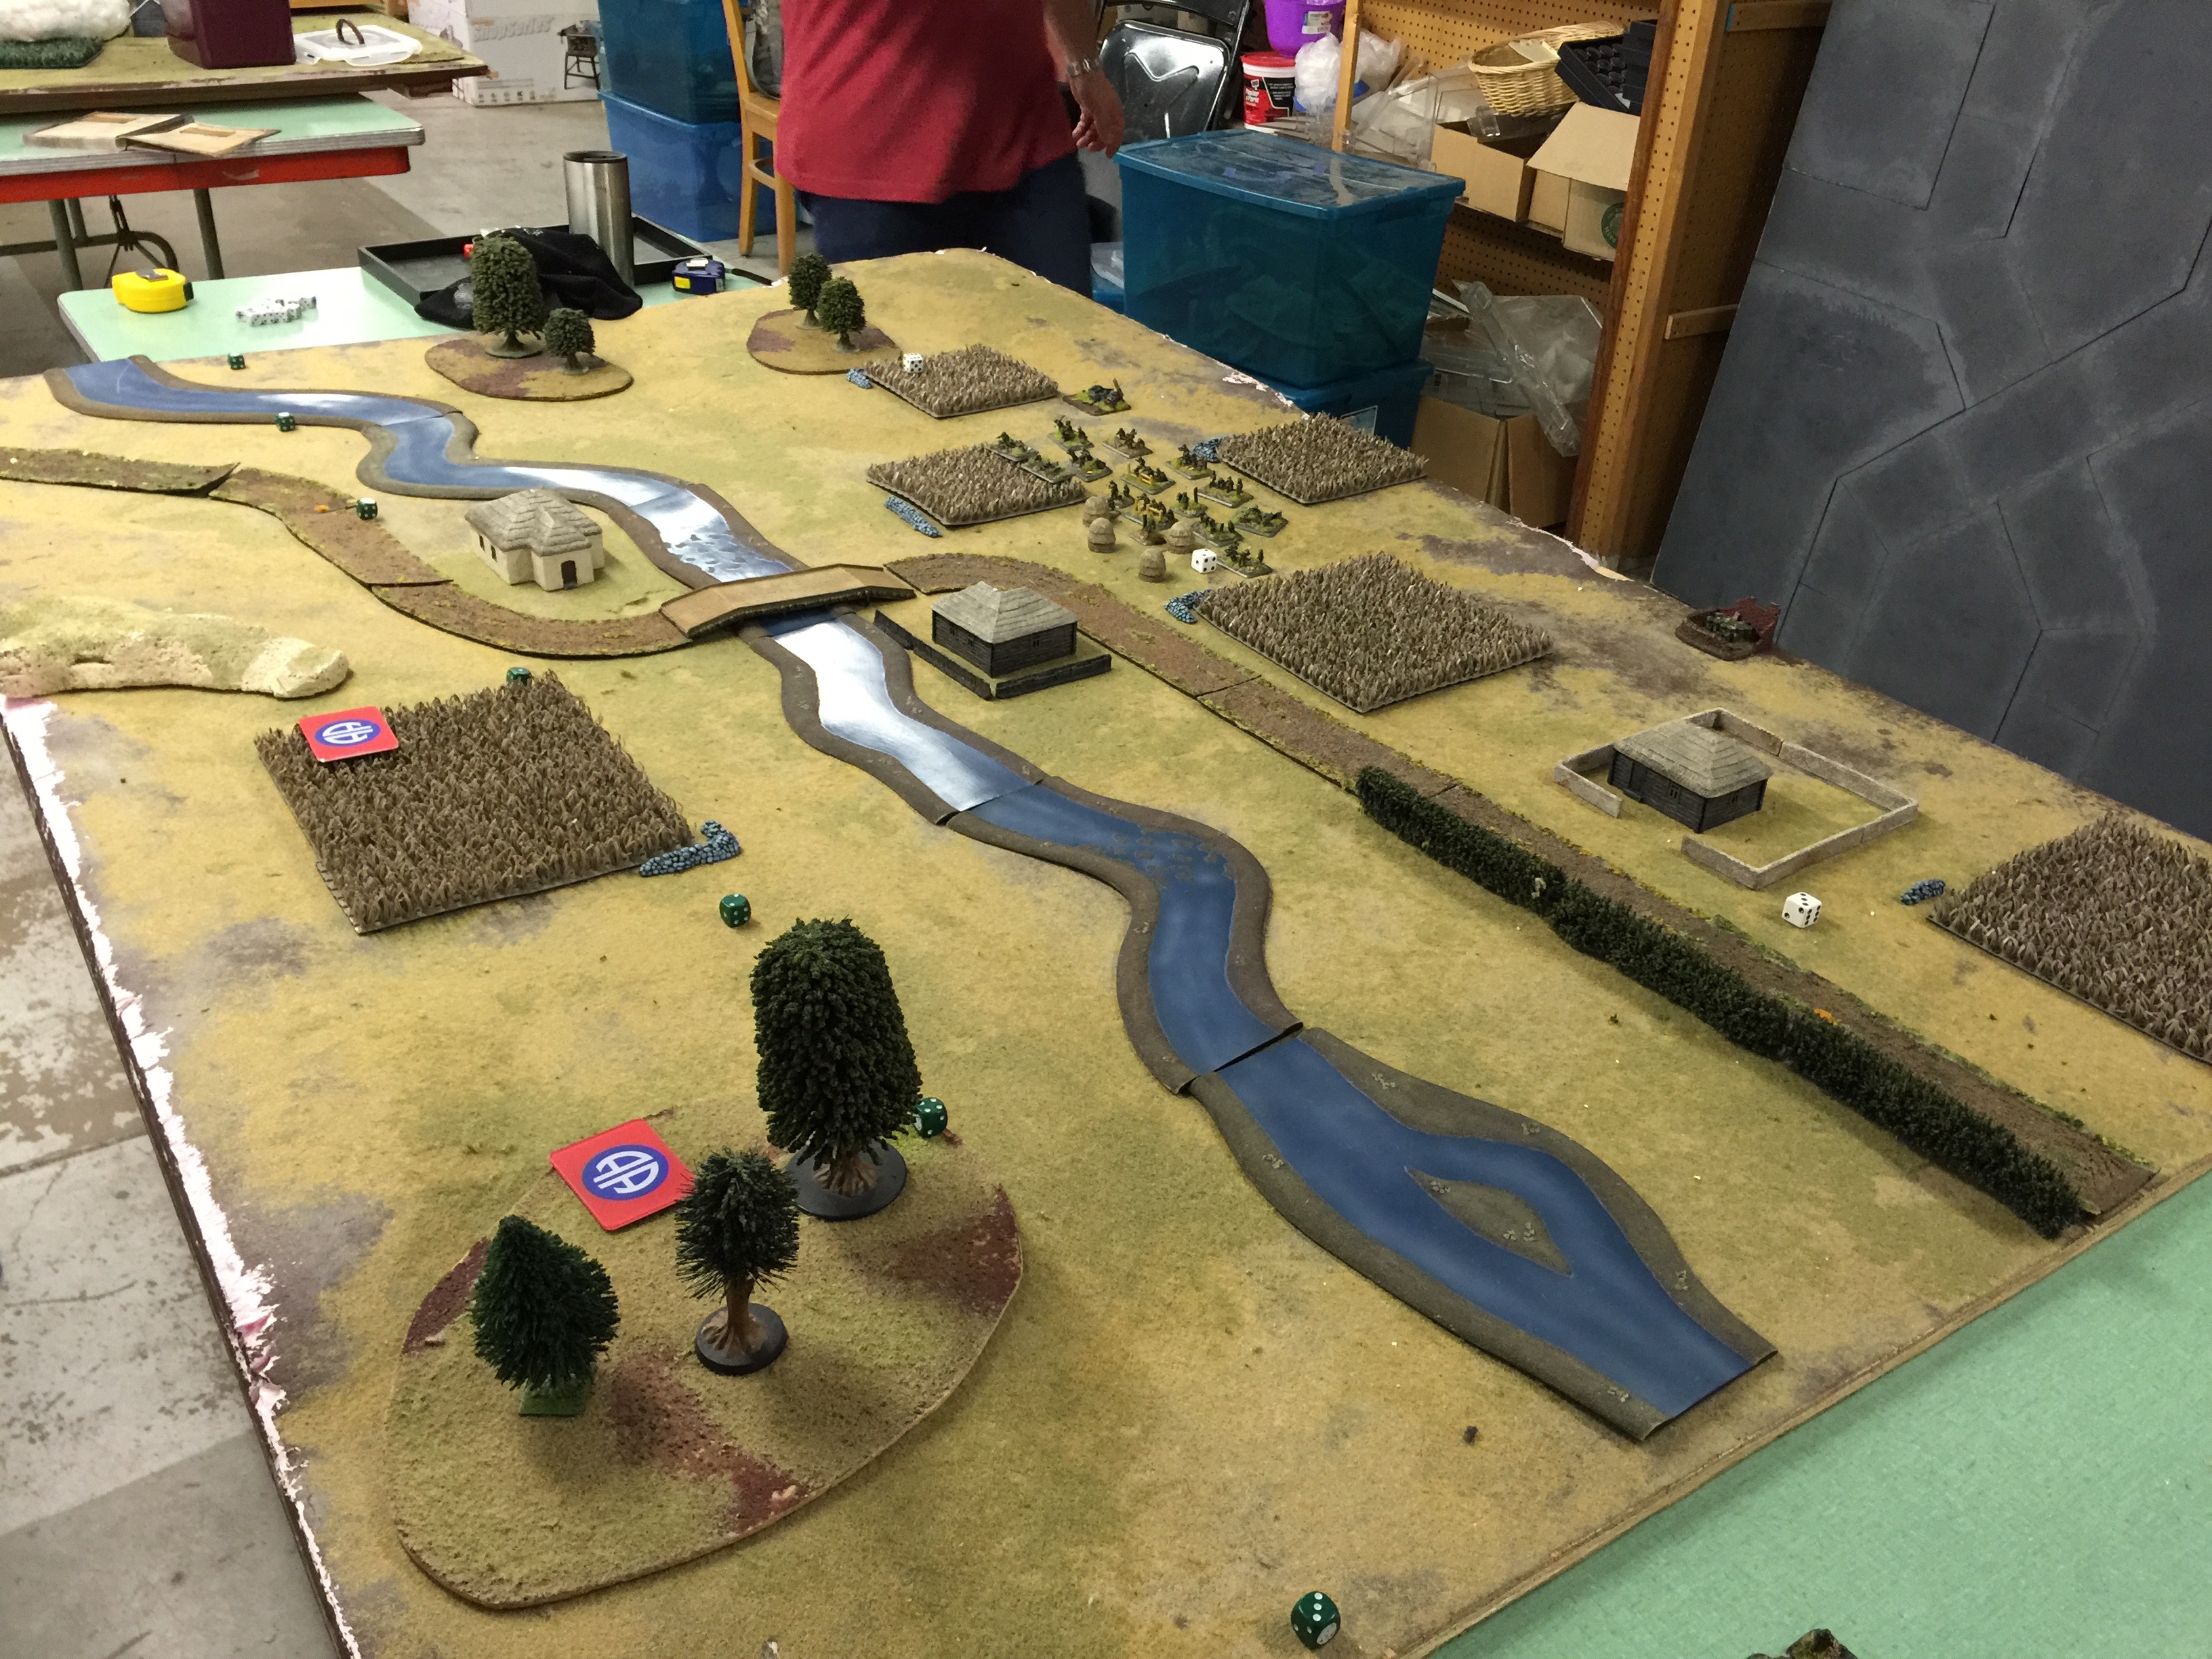
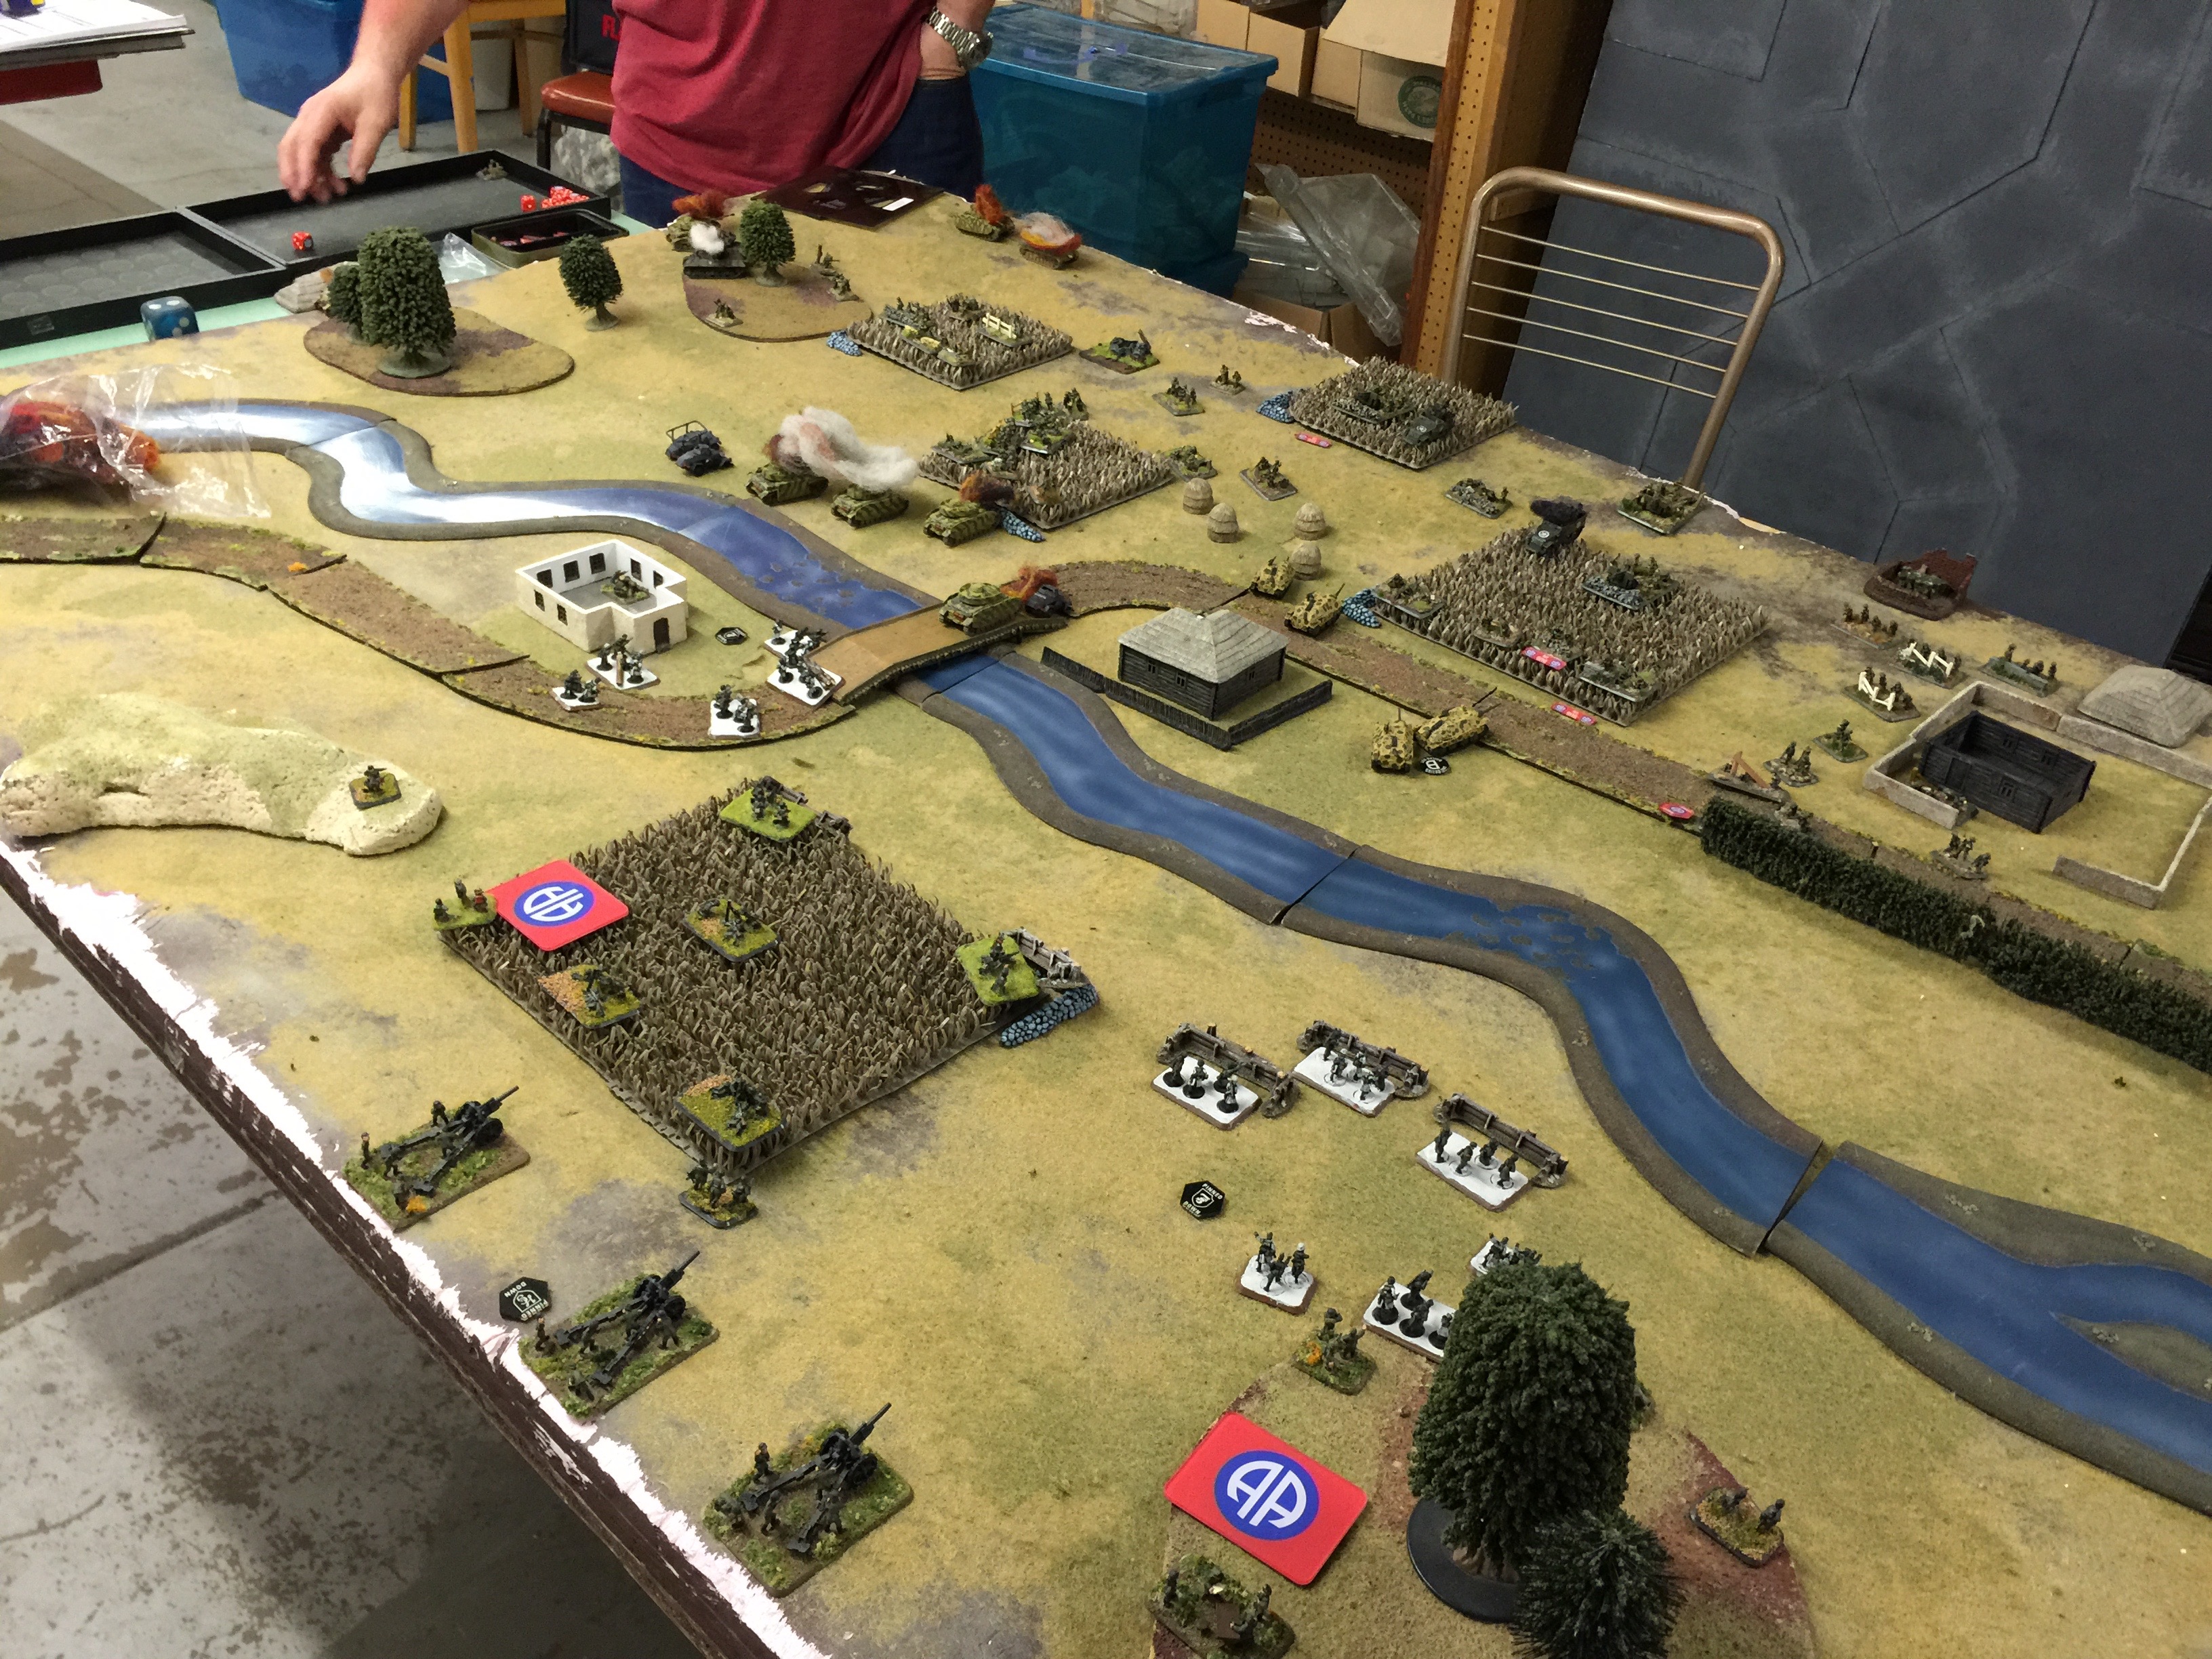
IMG_9525


This little one featuring a town off on the side and a bit of water somewhat offset from the middle.

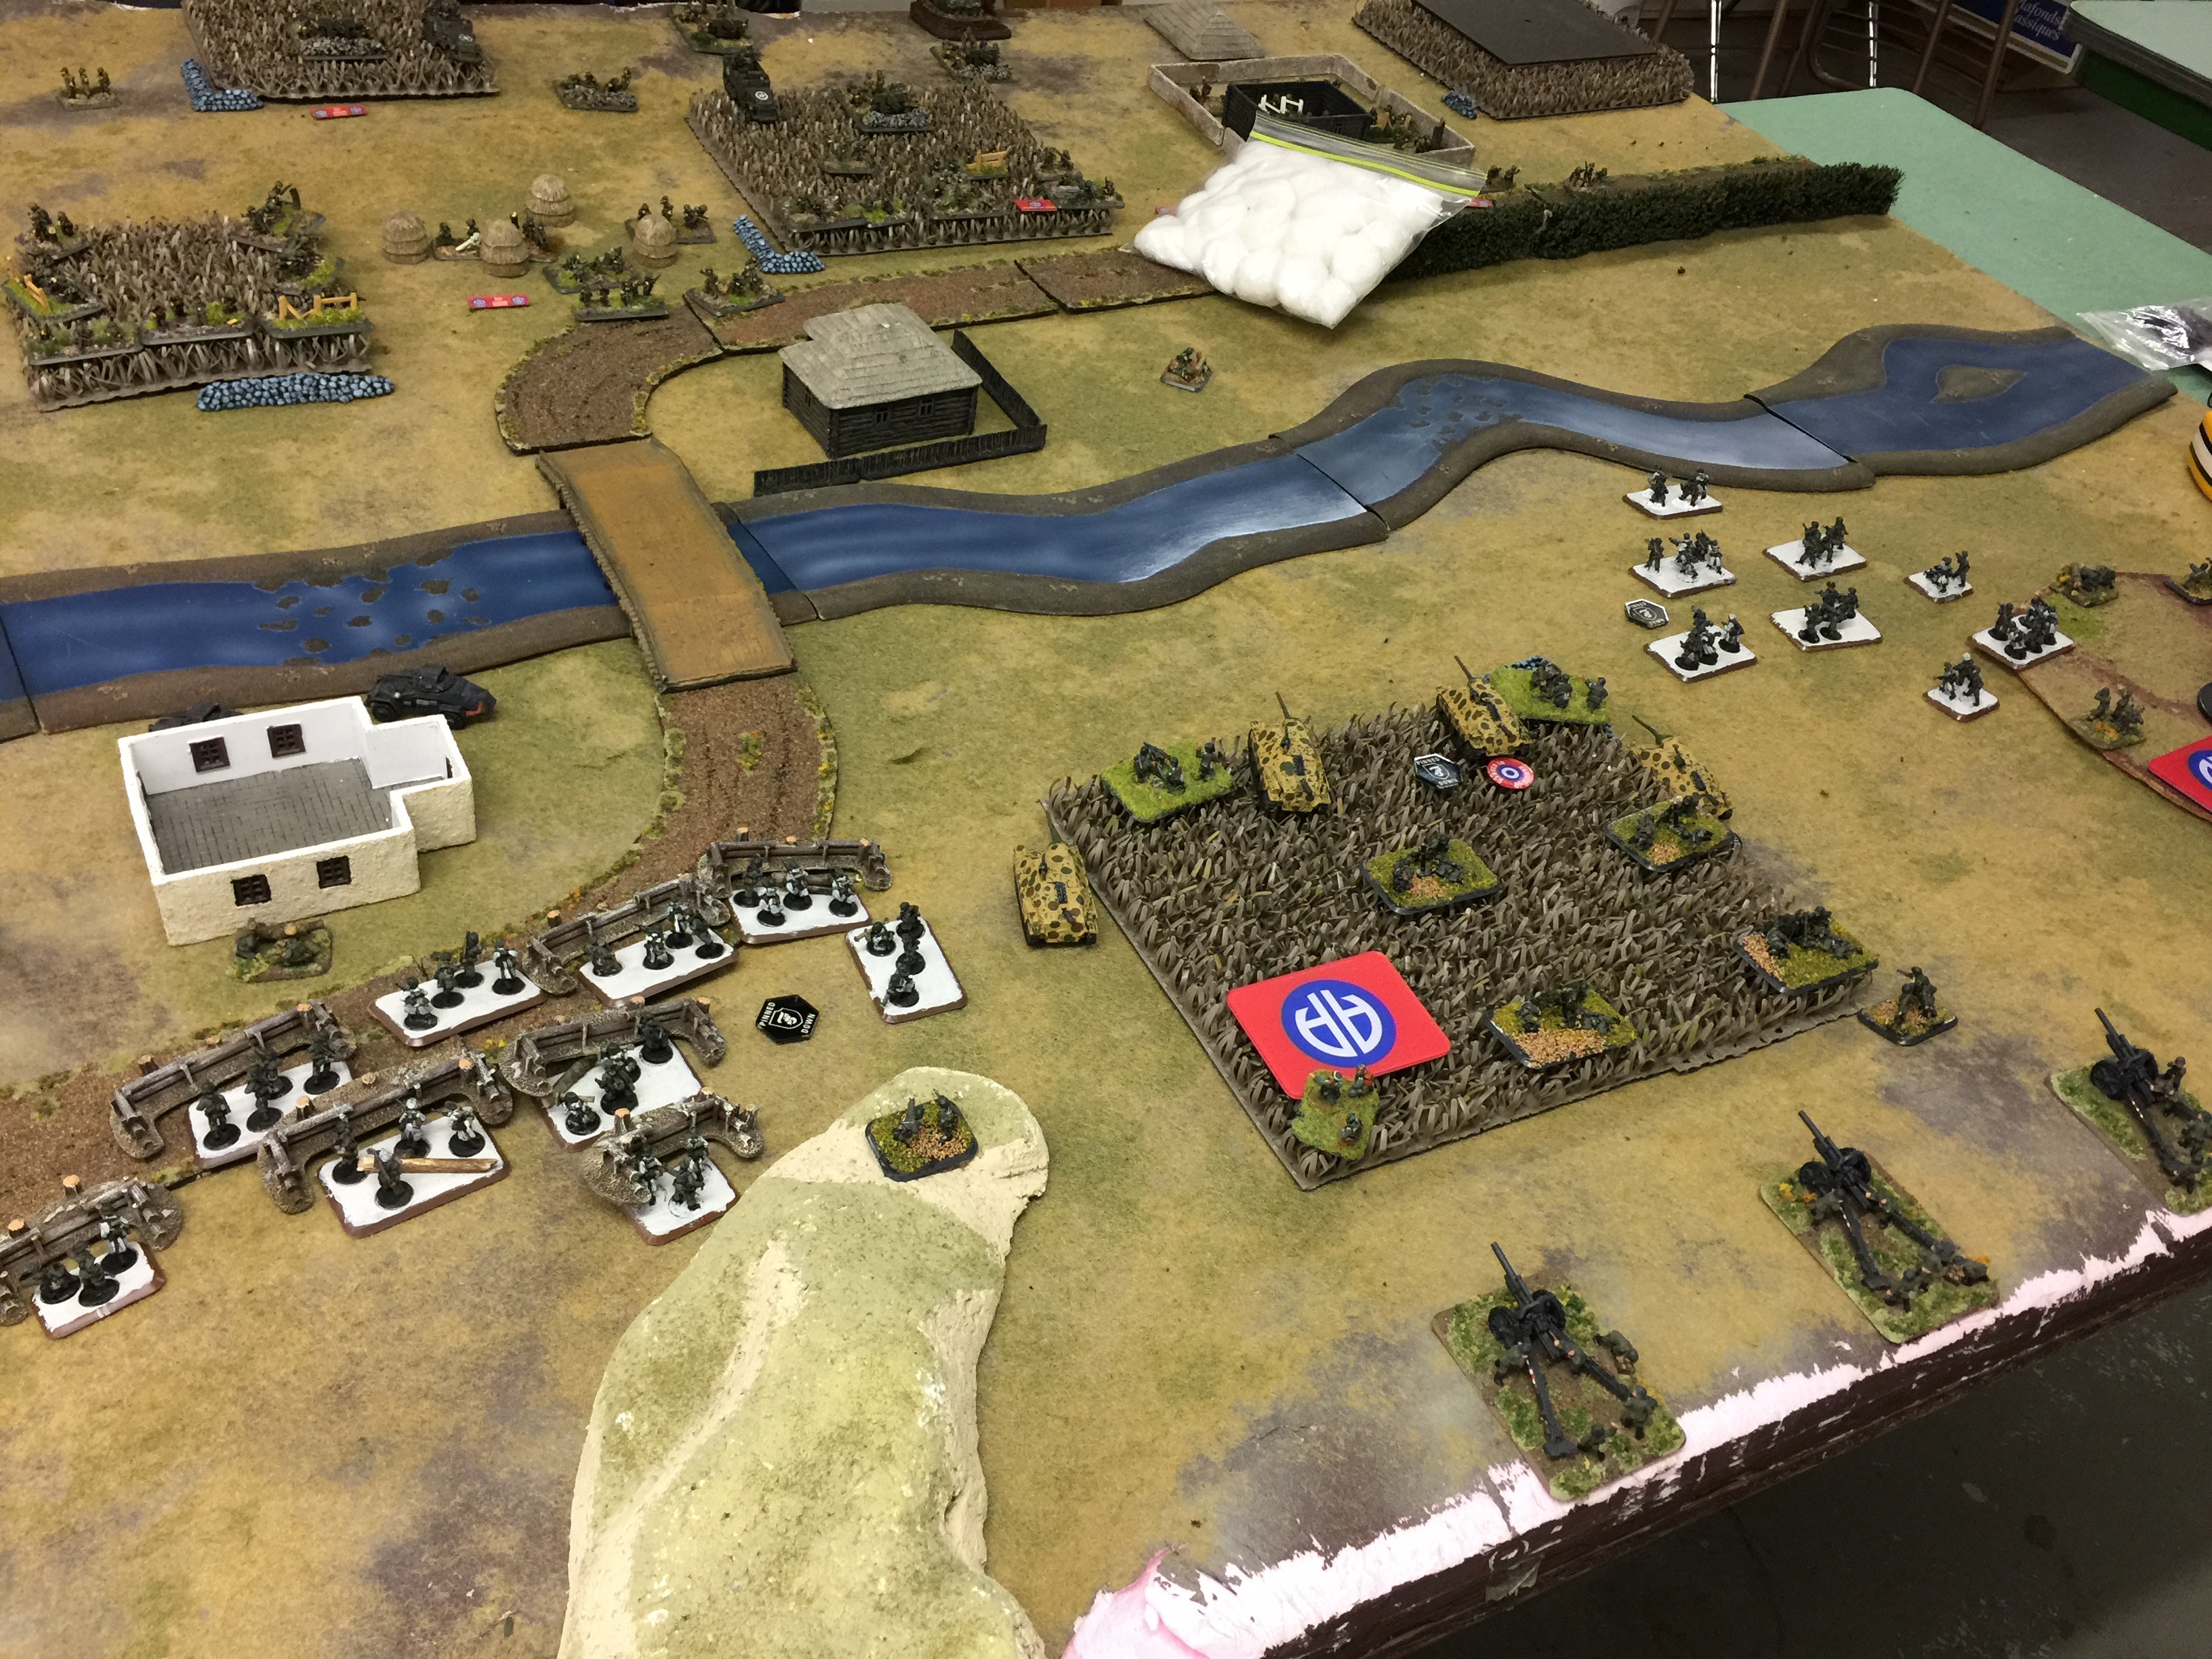
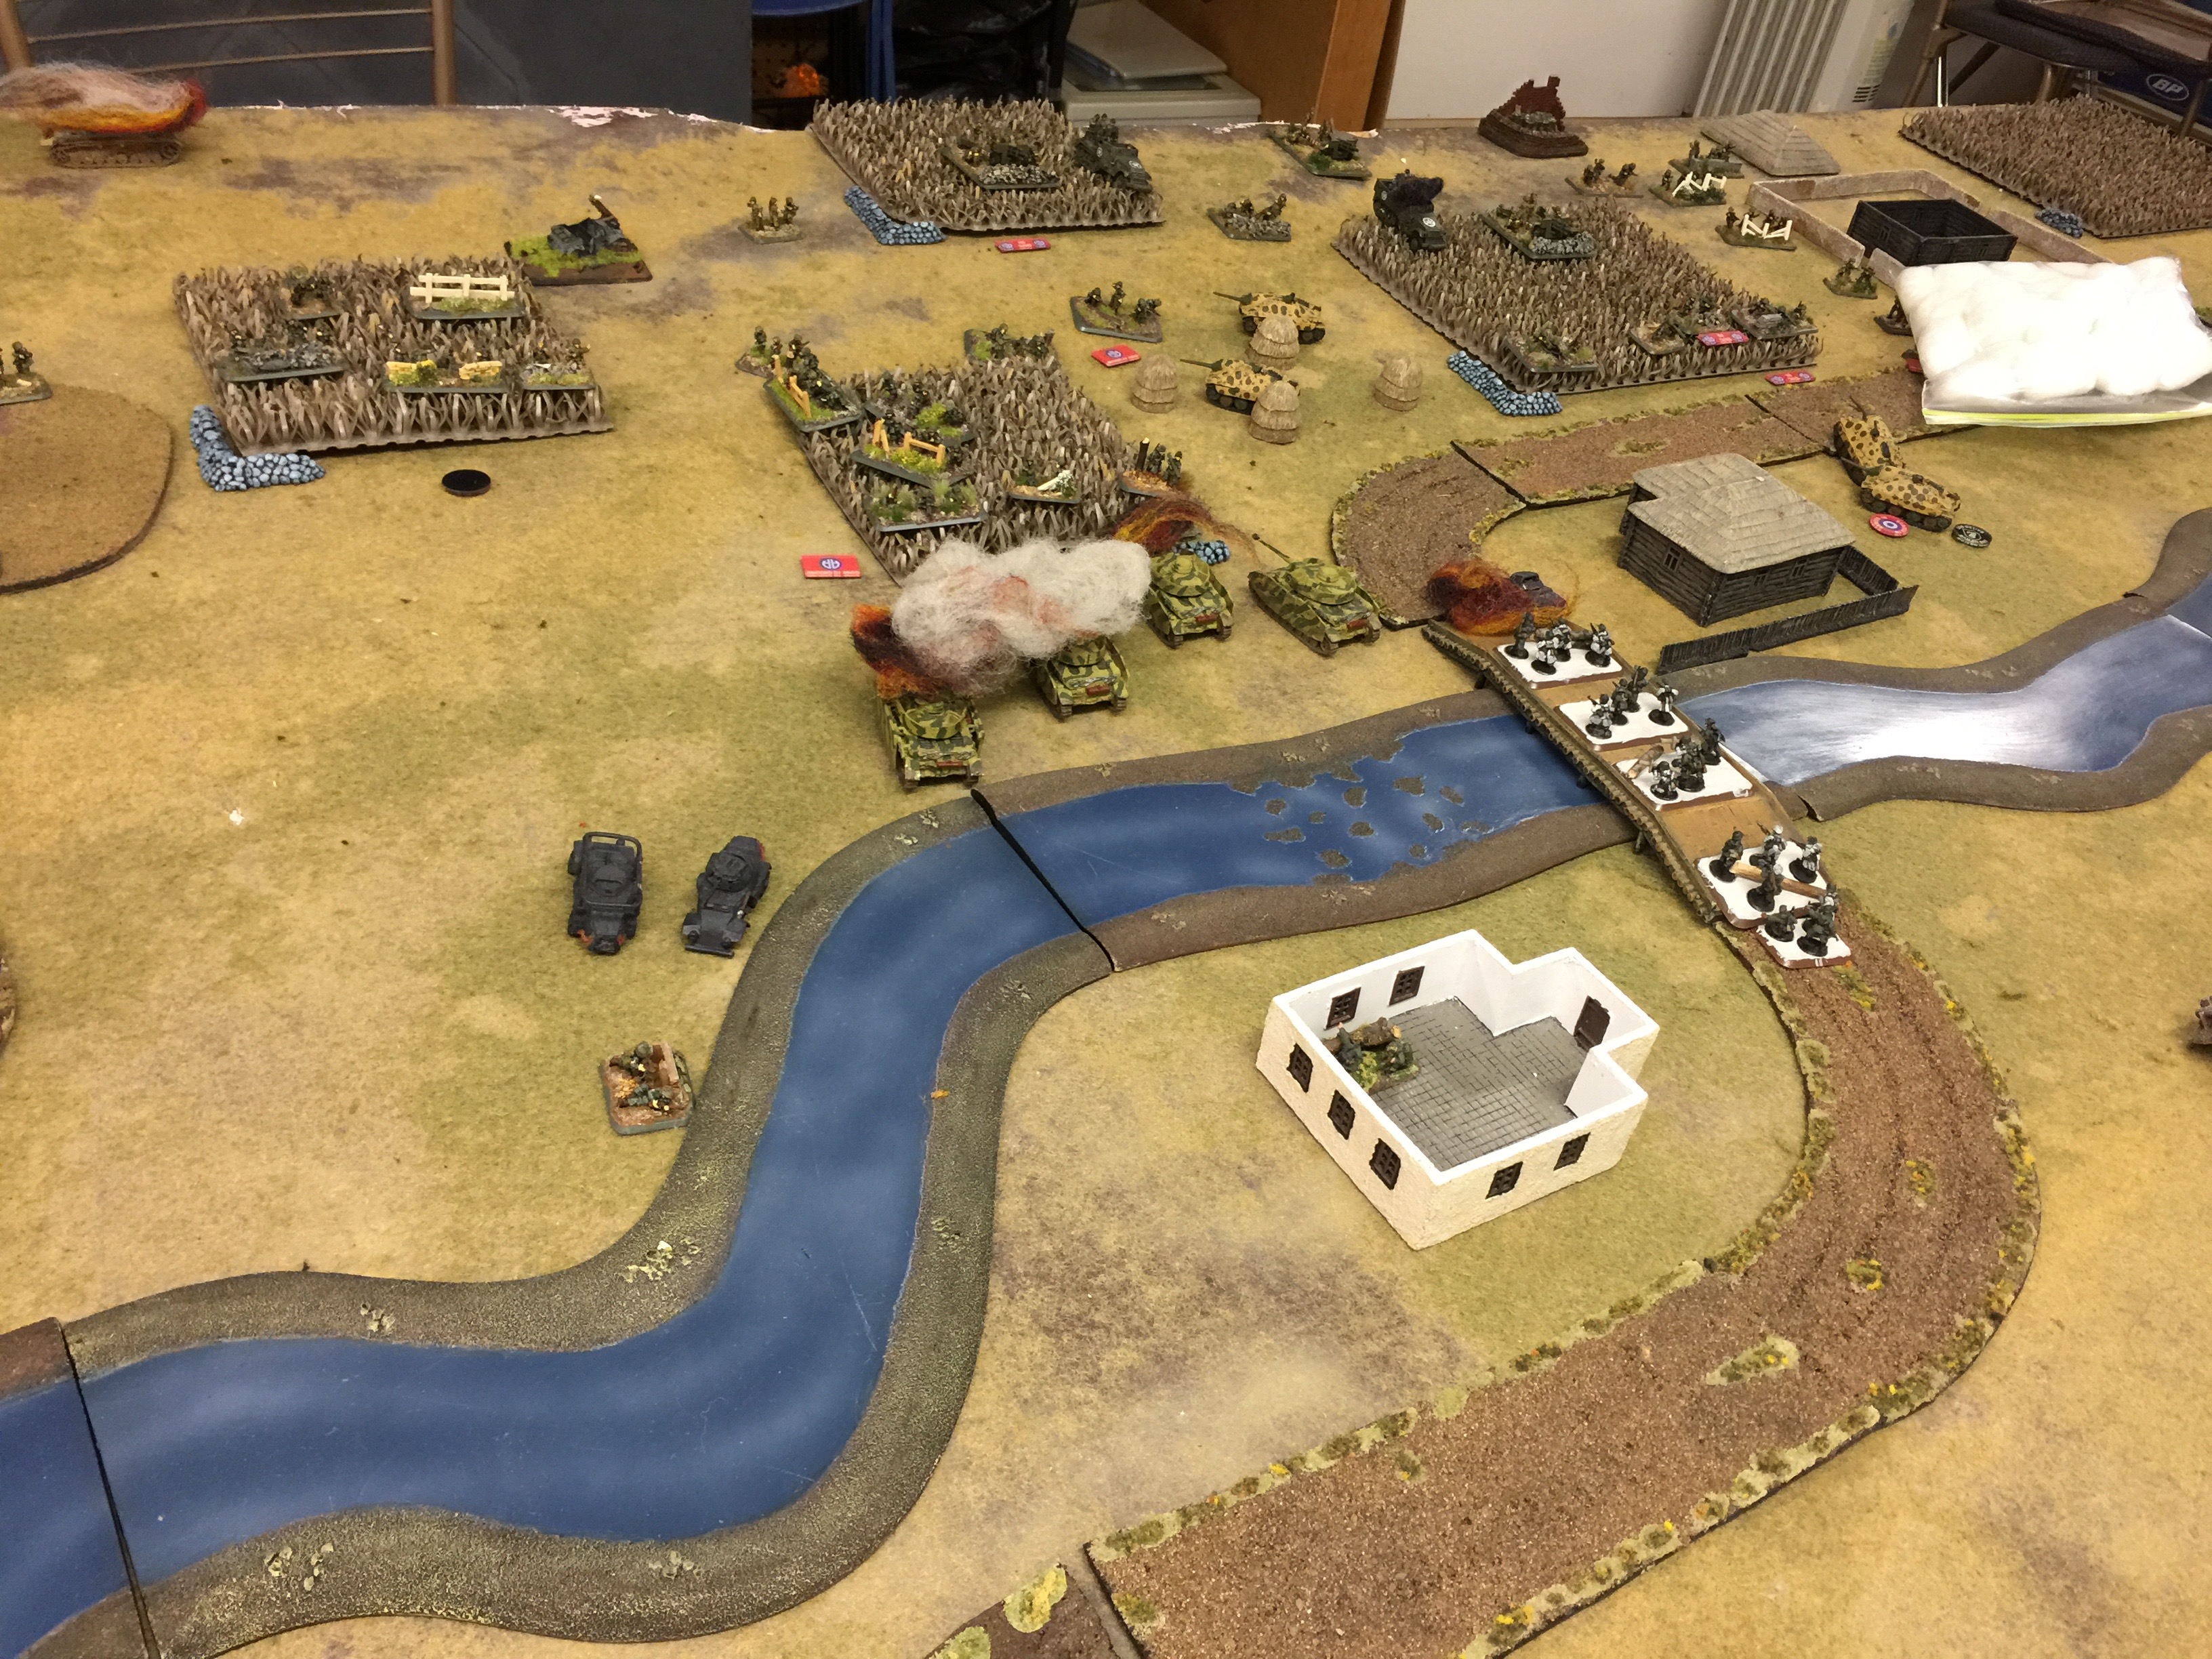
IMG_9526

This one, was still being setup when I snapped this picture. Since I had to get moving to pull my army I couldn’t dilly dally.

Chuck acting as tournament director for the day rolled up the scenario, Cauldron and then we paired off with 2.5 hours to play the match. Matt running Chuck’s American Airborne and I were paired up and Collin with more Americans against Bill’s Germans.

This time I went with a Confident Veteran formation of Volks instead of the Reluctant Trained that I did last time. I picked up a sniper, an ME262, a machine gun platoon, 4 Panthers, 3 Hetzers, a scout platoon, a 3 gun 105 battery besides just the required stuff.

Matt and I rolled off, he was the defender and I the attacker.

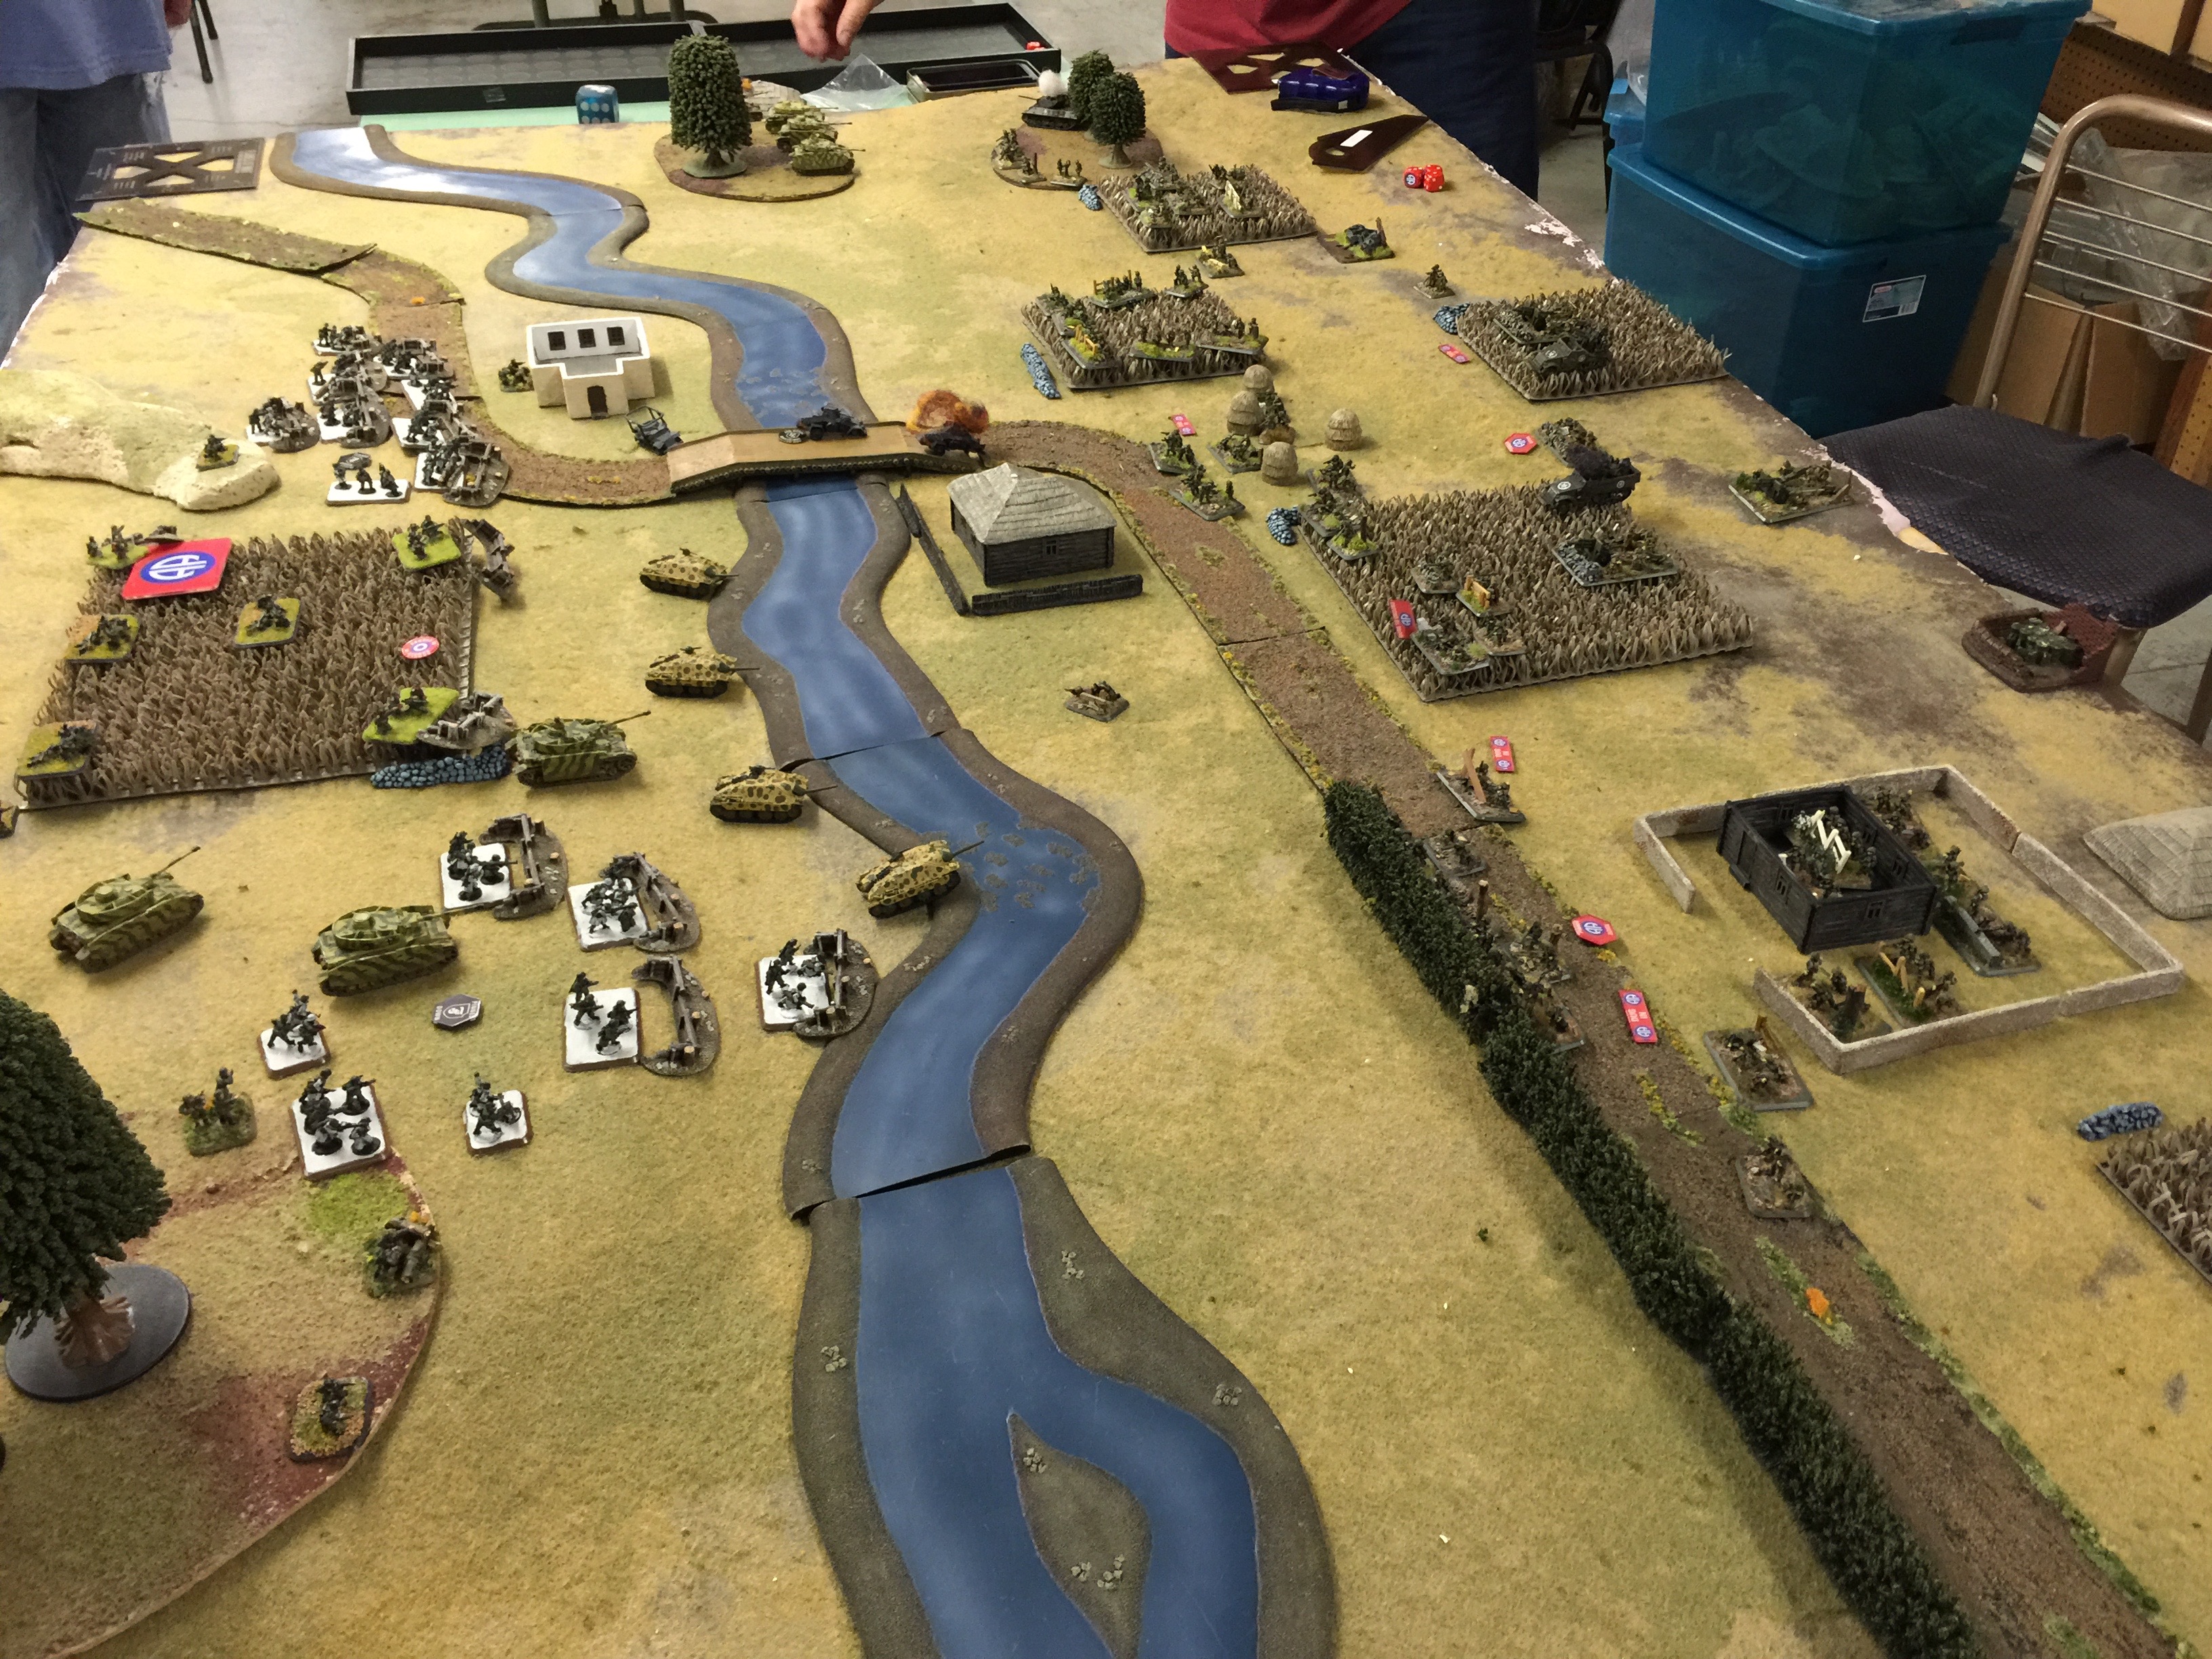
IMG_9527

Given the setup the “box” he was in was on both side of the water. With this one, both sides have to start with half their stuff. Matt had to deal with being stretched across the water. He placed his armored jeeps on both sides, a small TD platoon and then copious amounts of straight legs.

For me, I started out with my scout platoon, machine gun platoon and my panthers. The panthers are setup just to the left in this picture, just out of view. The machine guns are in the field across from the Americans and one of the objectives and last the scouts are just up the hill in the town. Not a bad placement for a random roll.

With Cauldron the defender goes first. Thankfully as the attacker I get to start dug in. For Matt his reinforcements would come from behind where my machine gun platoon was. Likewise for me my reinforcements I choose to come from the side where the town was.

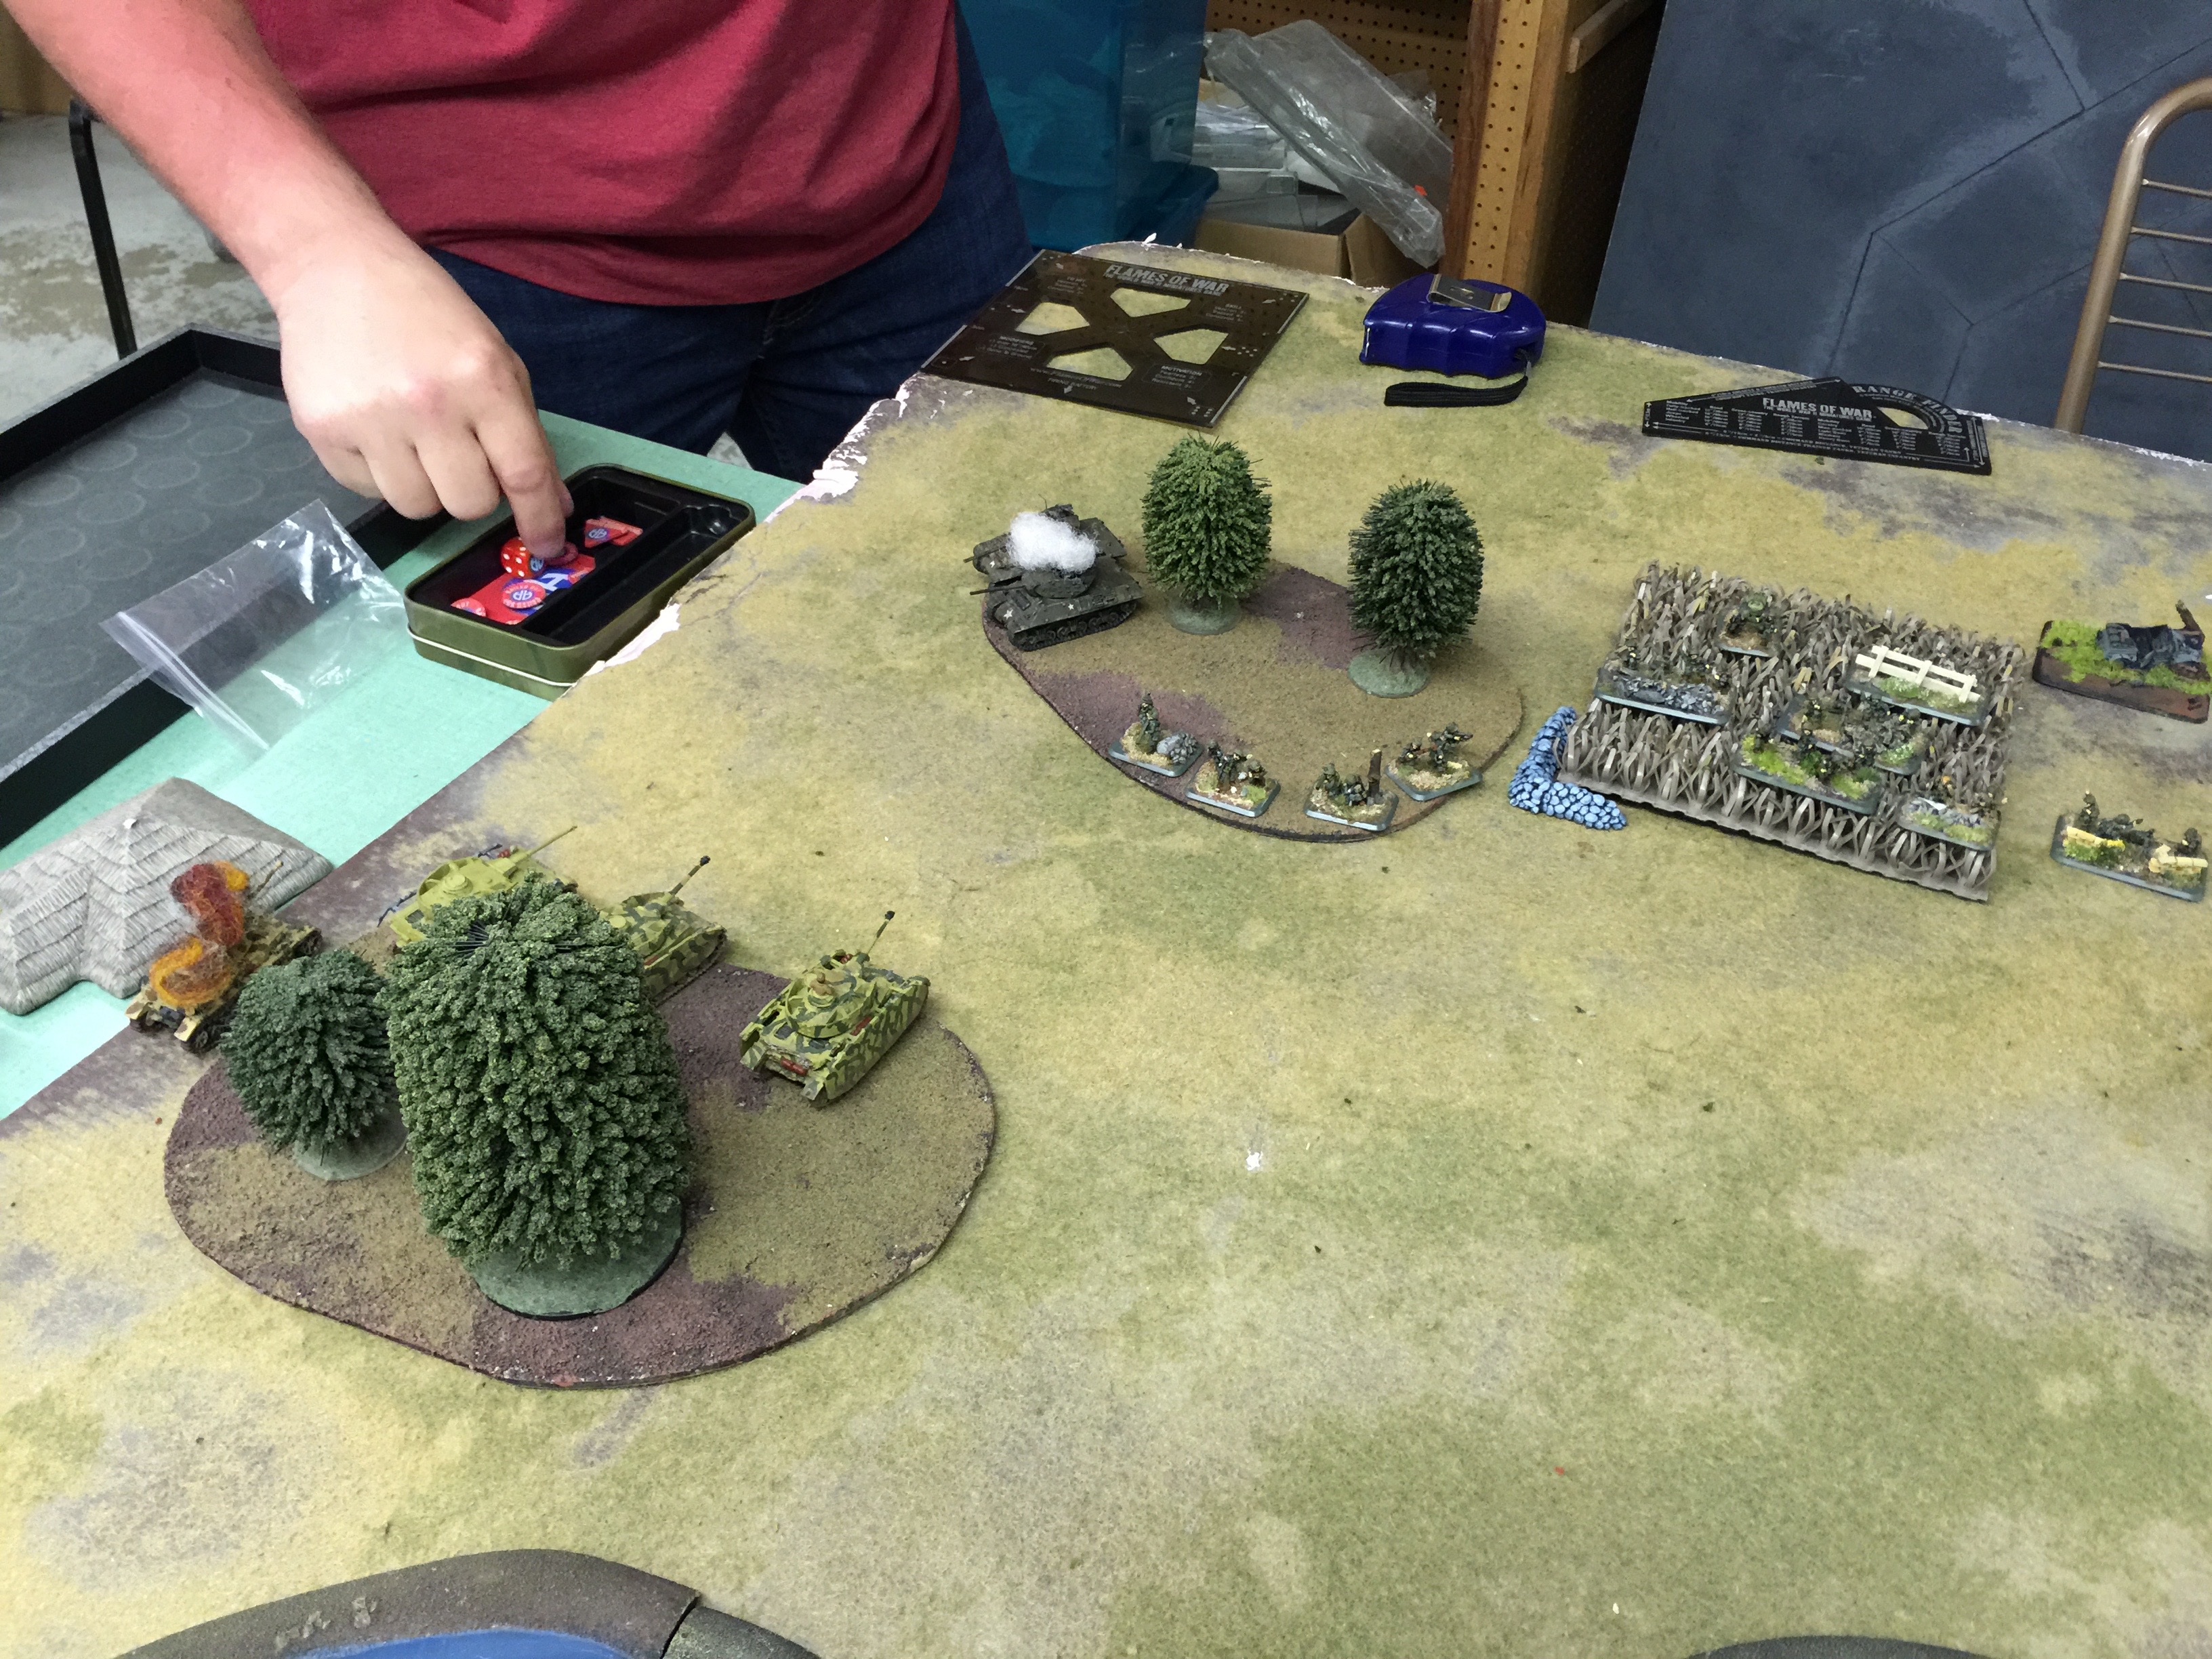
IMG_9529

Top of turn 1, Matt issues lots of small arms fire but thankfully his LMGs don’t score enough hits to pin me. Likewise he sprung his ambush which was the TD platoon. The one M-10 you can just barely seen in the frame on the left. He went ahead and railed away at my panthers and bailed out one.

IMG_9530

Bottom of turn 1, thankfully I did make the reinforcement roll and picked my 105 battery. I did my best to rush up the observer and just move the guns on.

I went ahead and picked on the tank destroy with the Panthers that just don’t seem to want to be in a picture. Once again they are off on the left. Two of the panthers in the platoon shot at the American artillery taking out the staff team and two guns with some really good shooting.

Likewise my machine guns opened up but my scout platoon kept quiet and held their fire. I figured there was no reason to expose themselves from being gone to ground until I started to receive reinforcements.

My shooting was quite good and I knocked out a couple of stands of American LMGs pinning them.

IMG_9531


Turn 2, Matt pulled in his armored jeeps. Nasty little buggers those things. While the scout platoon was gone to ground he still landed a few hits and I lost a stand from in the town. Otherwise a fairly uneventful top of turn 2.

IMG_9532


Bottom of turn 2, my second set of reinforcements I picked my assault platoon and immediately had them run down the road. It was starting to feel like I could eek out a victory with a bit more prep work and use these guys to assault the position.

IMG_9533

Top of turn 3, Matt brings down his air with the intent of dropping a bomb right down the middle of the road. Sure he’s have to acquire since everything was within 2″ of the builds, but still, I had no AA and if he makes that roll, that bomb could make quick work of me!

Over on the other side of the table, Matt started to move a few of his bazooka stands to chase after my Panthers. Having made quick work of the American TD and with reinforcements arriving I felt it was time to get going and start to shift the focus of the attack fully on this side. of the table

With Matt’s air he did acquire me so amazingly I escaped a close call.

IMG_9534


Bottom of turn 3. I made another air roll and reinforcement roll. The hetzers came on this time and made a bee line for the action. With luck, they’d be brewing up jeeps. (They didn’t, sigh)

The assault platoon moved in closer. I started to figure next turn, would be an eventful one!

IMG_9535

Here we are turn 4. You can fully see my panthers shifting and likewise more Americans with Bazooks thinking those kitty will make a good target.

Matt rolls his reinforcement roll and makes it, bringing on an anti-tank platoon. 57s and more bazookas. Great. They come on roughly behind the panthers, and for one Panther, within 16″ at that for some pretty nice butt shots.

On the other side of the table Matt moves his jeeps away from the hetzers and down the road into town. With all that infantry out in the open and lots of vehicle machines, tacka-tacka-tacka….  he would take out a couple of stands.

IMG_9536

The anti-tank guns likewise would score one panther. Matt also did receive air this turn and came down on my not-quite-dug-in-because-we’ve-been-busy-105 battery, taking out one gun.

Then Matt decided to assault with his jeeps into my infantry out in the road. We went a couple of rounds and thankfully with a larger platoon since it had some panzerschrek teams assigned I was able to last just long enough to take out all 4 jeeps, tho there was very little left of the platoon. They did make their motivation roll to stay around.

With that, we were effectively out of time, given I’d taken out 1 platoon of Matt’s that would be the game.

We did have one rule issue where we were unclear on what was in the Tank Destroy rules updates. I remembered from the fora they had removed the recce status but couldn’t for the life of me remember more than that. So the disengagement aspect of the TDs was wrong for the game. Would Matt have successfully gotten away? It’s a good question as I’d still have had a roll, just not with 4 shots. Do highly recommend getting a copy of Lessons from the Front off of flamesofwar.com as well as the recently released errata. Well worth the read, which does include updates for some of the early war rules.

Regardless was a fun time. Would have very much liked to have stayed longer and taken in a second game, but it wasn’t in the cards for me. Next time!

Posted in FlamesOfWar | Comments Off on FoW: German Volks vs American Airborne (2200 pts)

Waterloo

As the 200th nears for the epic battle of Waterloo, who could not be inspired to be a part of a massive recreation of the battle using lead? A couple of years ago our game group in Rochester and another group over in the Appleton/Green Bay/Osh Kosh areas had tackled Gettysburg using Johnny Reb III. This time, Waterloo using Empire (V).

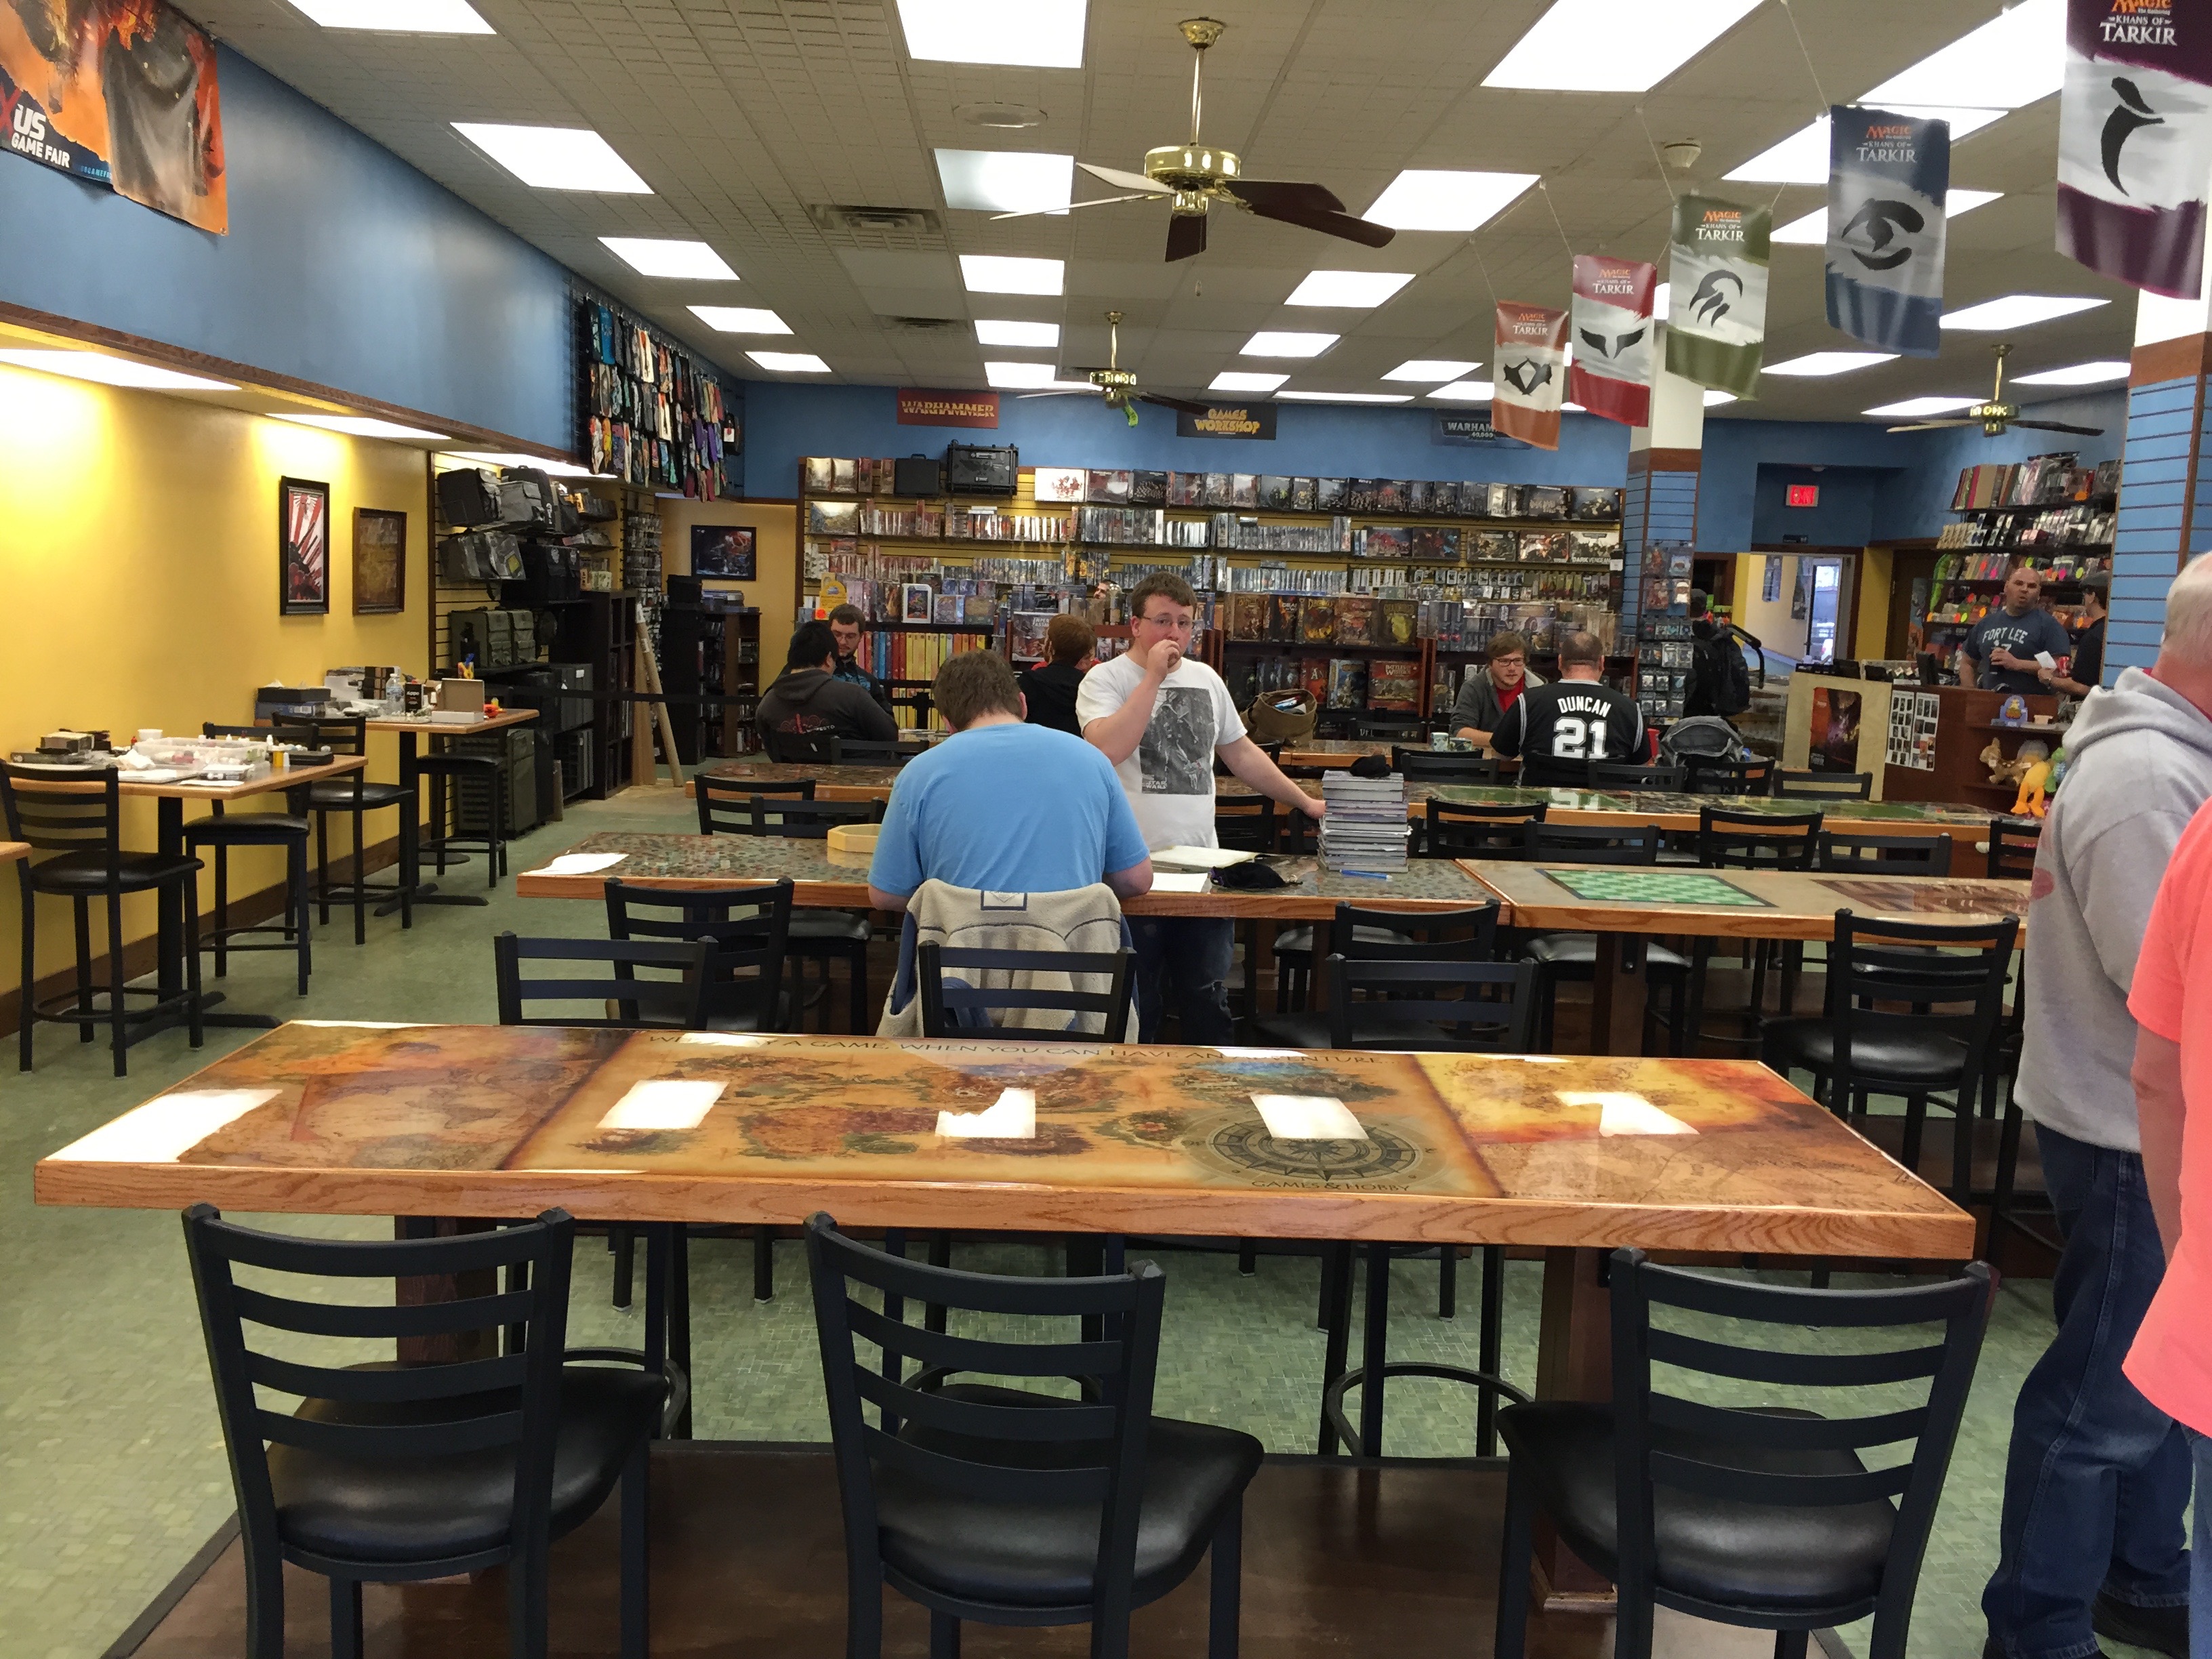
For an epic battle, you need an epic table and we had not only that but an epic location in Adventure Games located in Osh Kosh WI. It is a seriously nice game store.
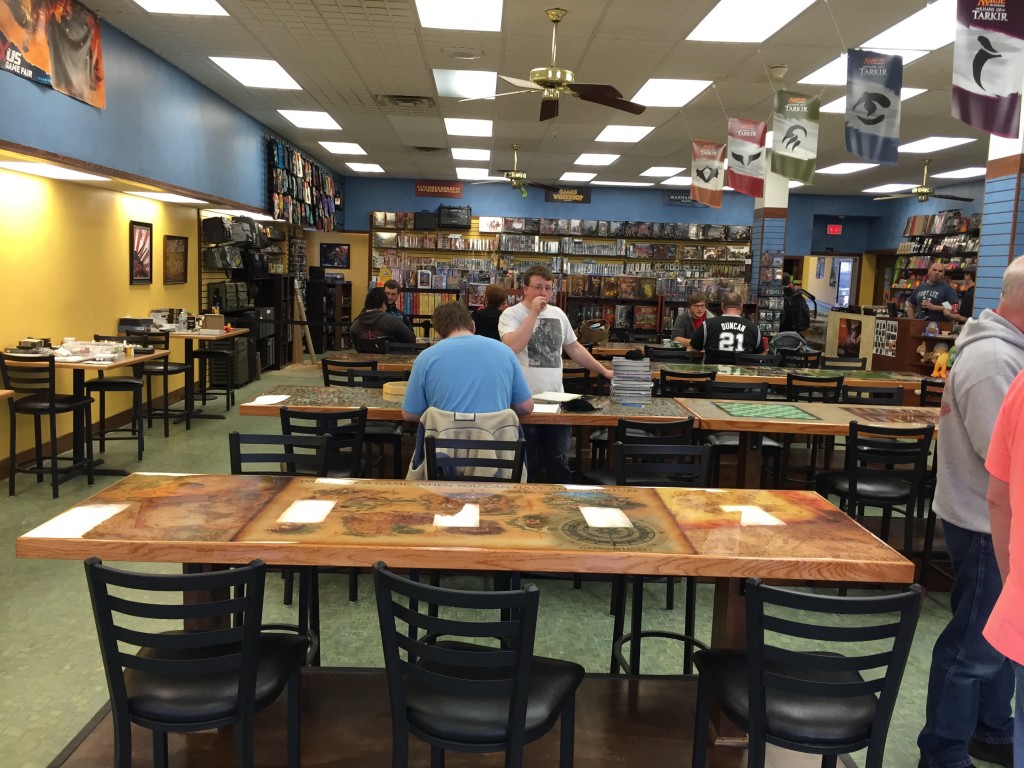
IMG_9446

Those of us coming in from Minnesota, arrived on Friday afternoon. The locals had already gotten the table pretty much setup. Next was the unboxing and organizing of all the armies we would be controlling. Across the Brits, French, Dutch/Belgians, and Prussians we needed and thankfully had lots of hands.
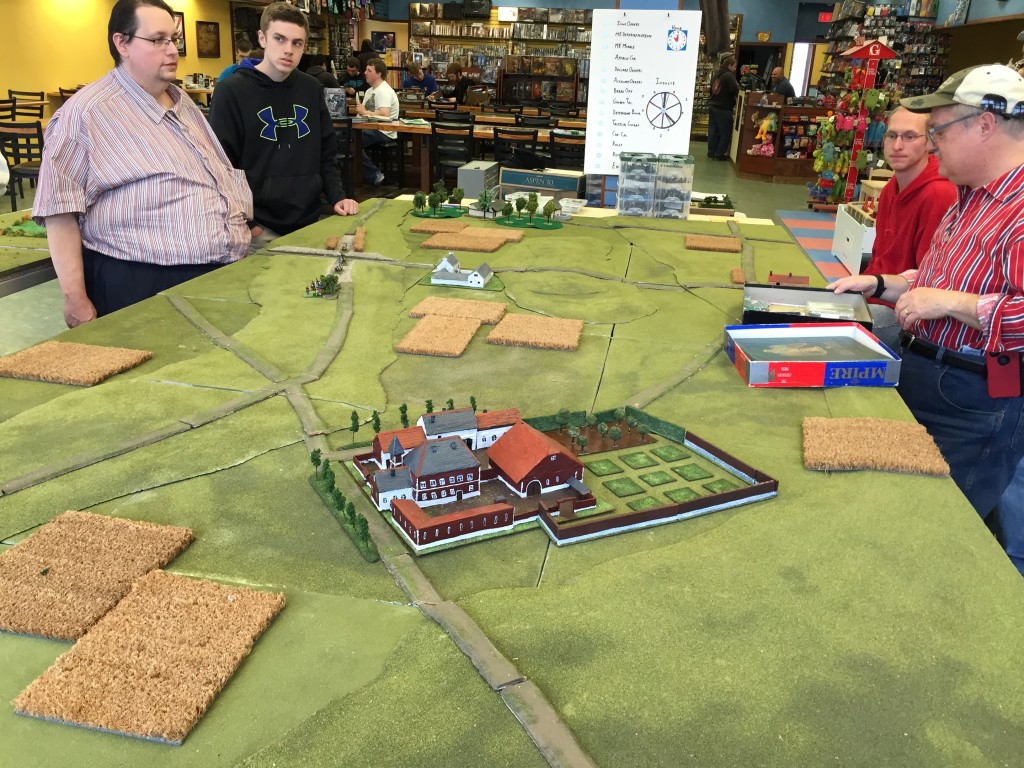
IMG_9445

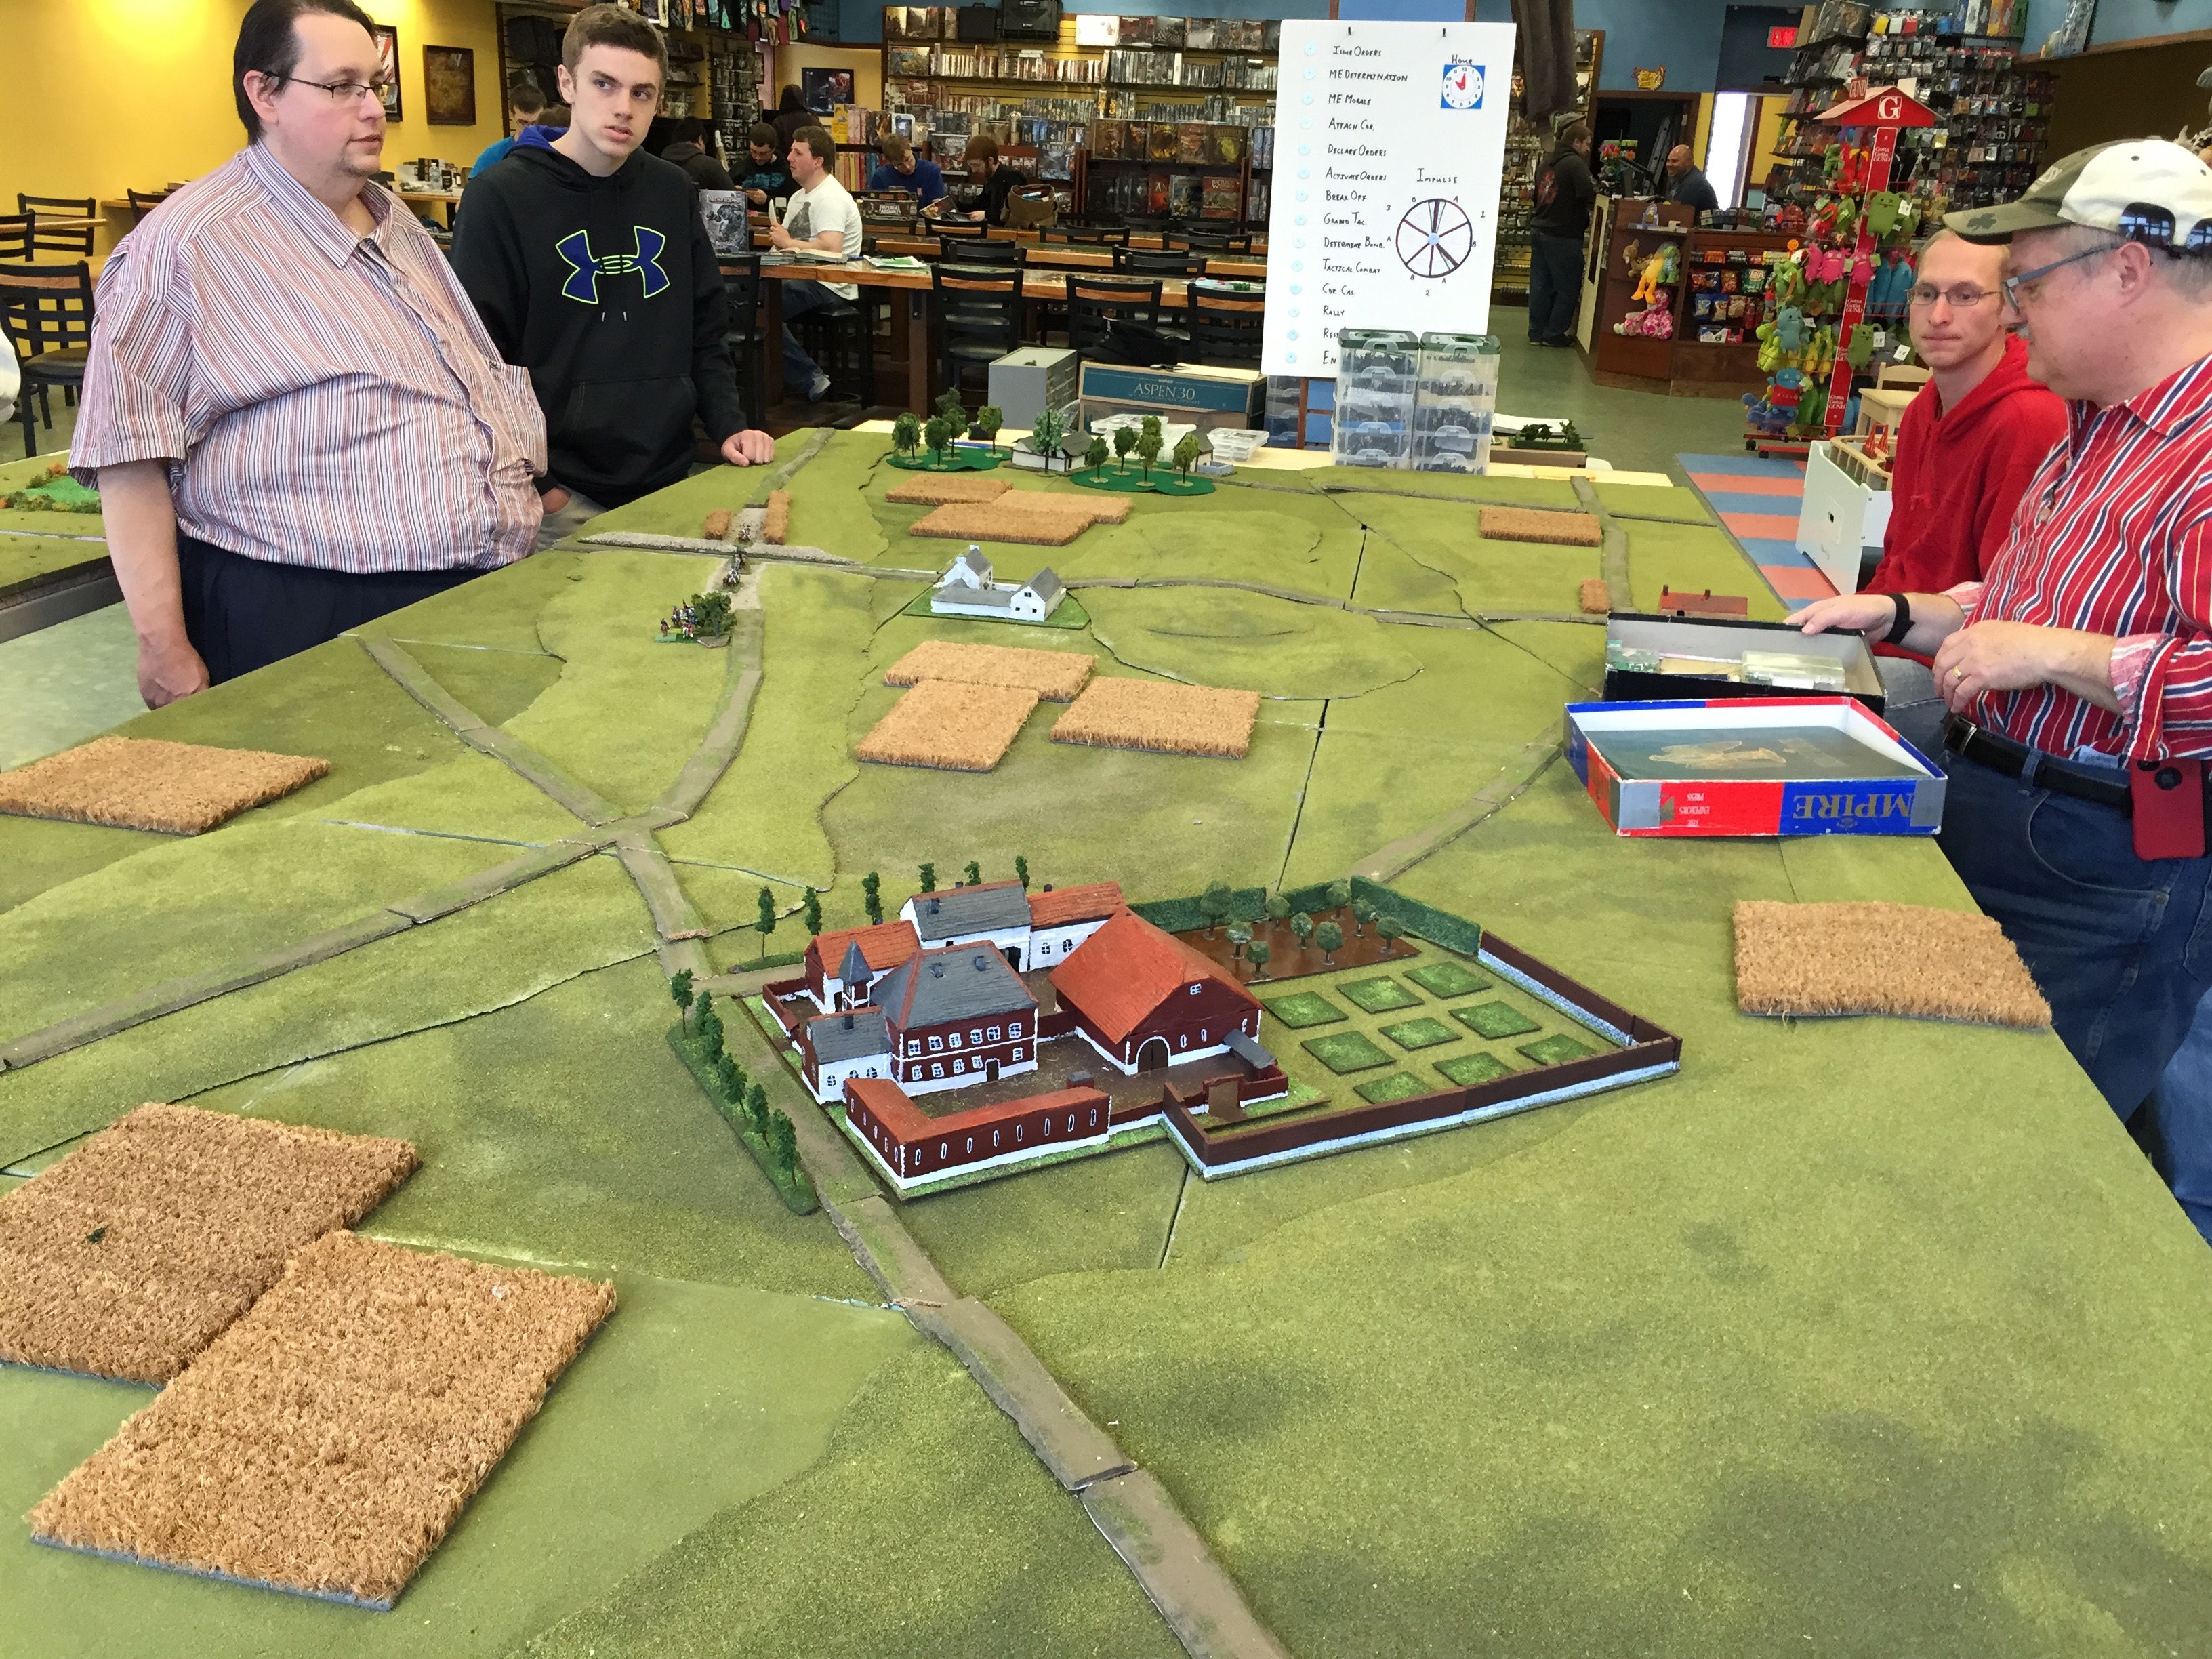
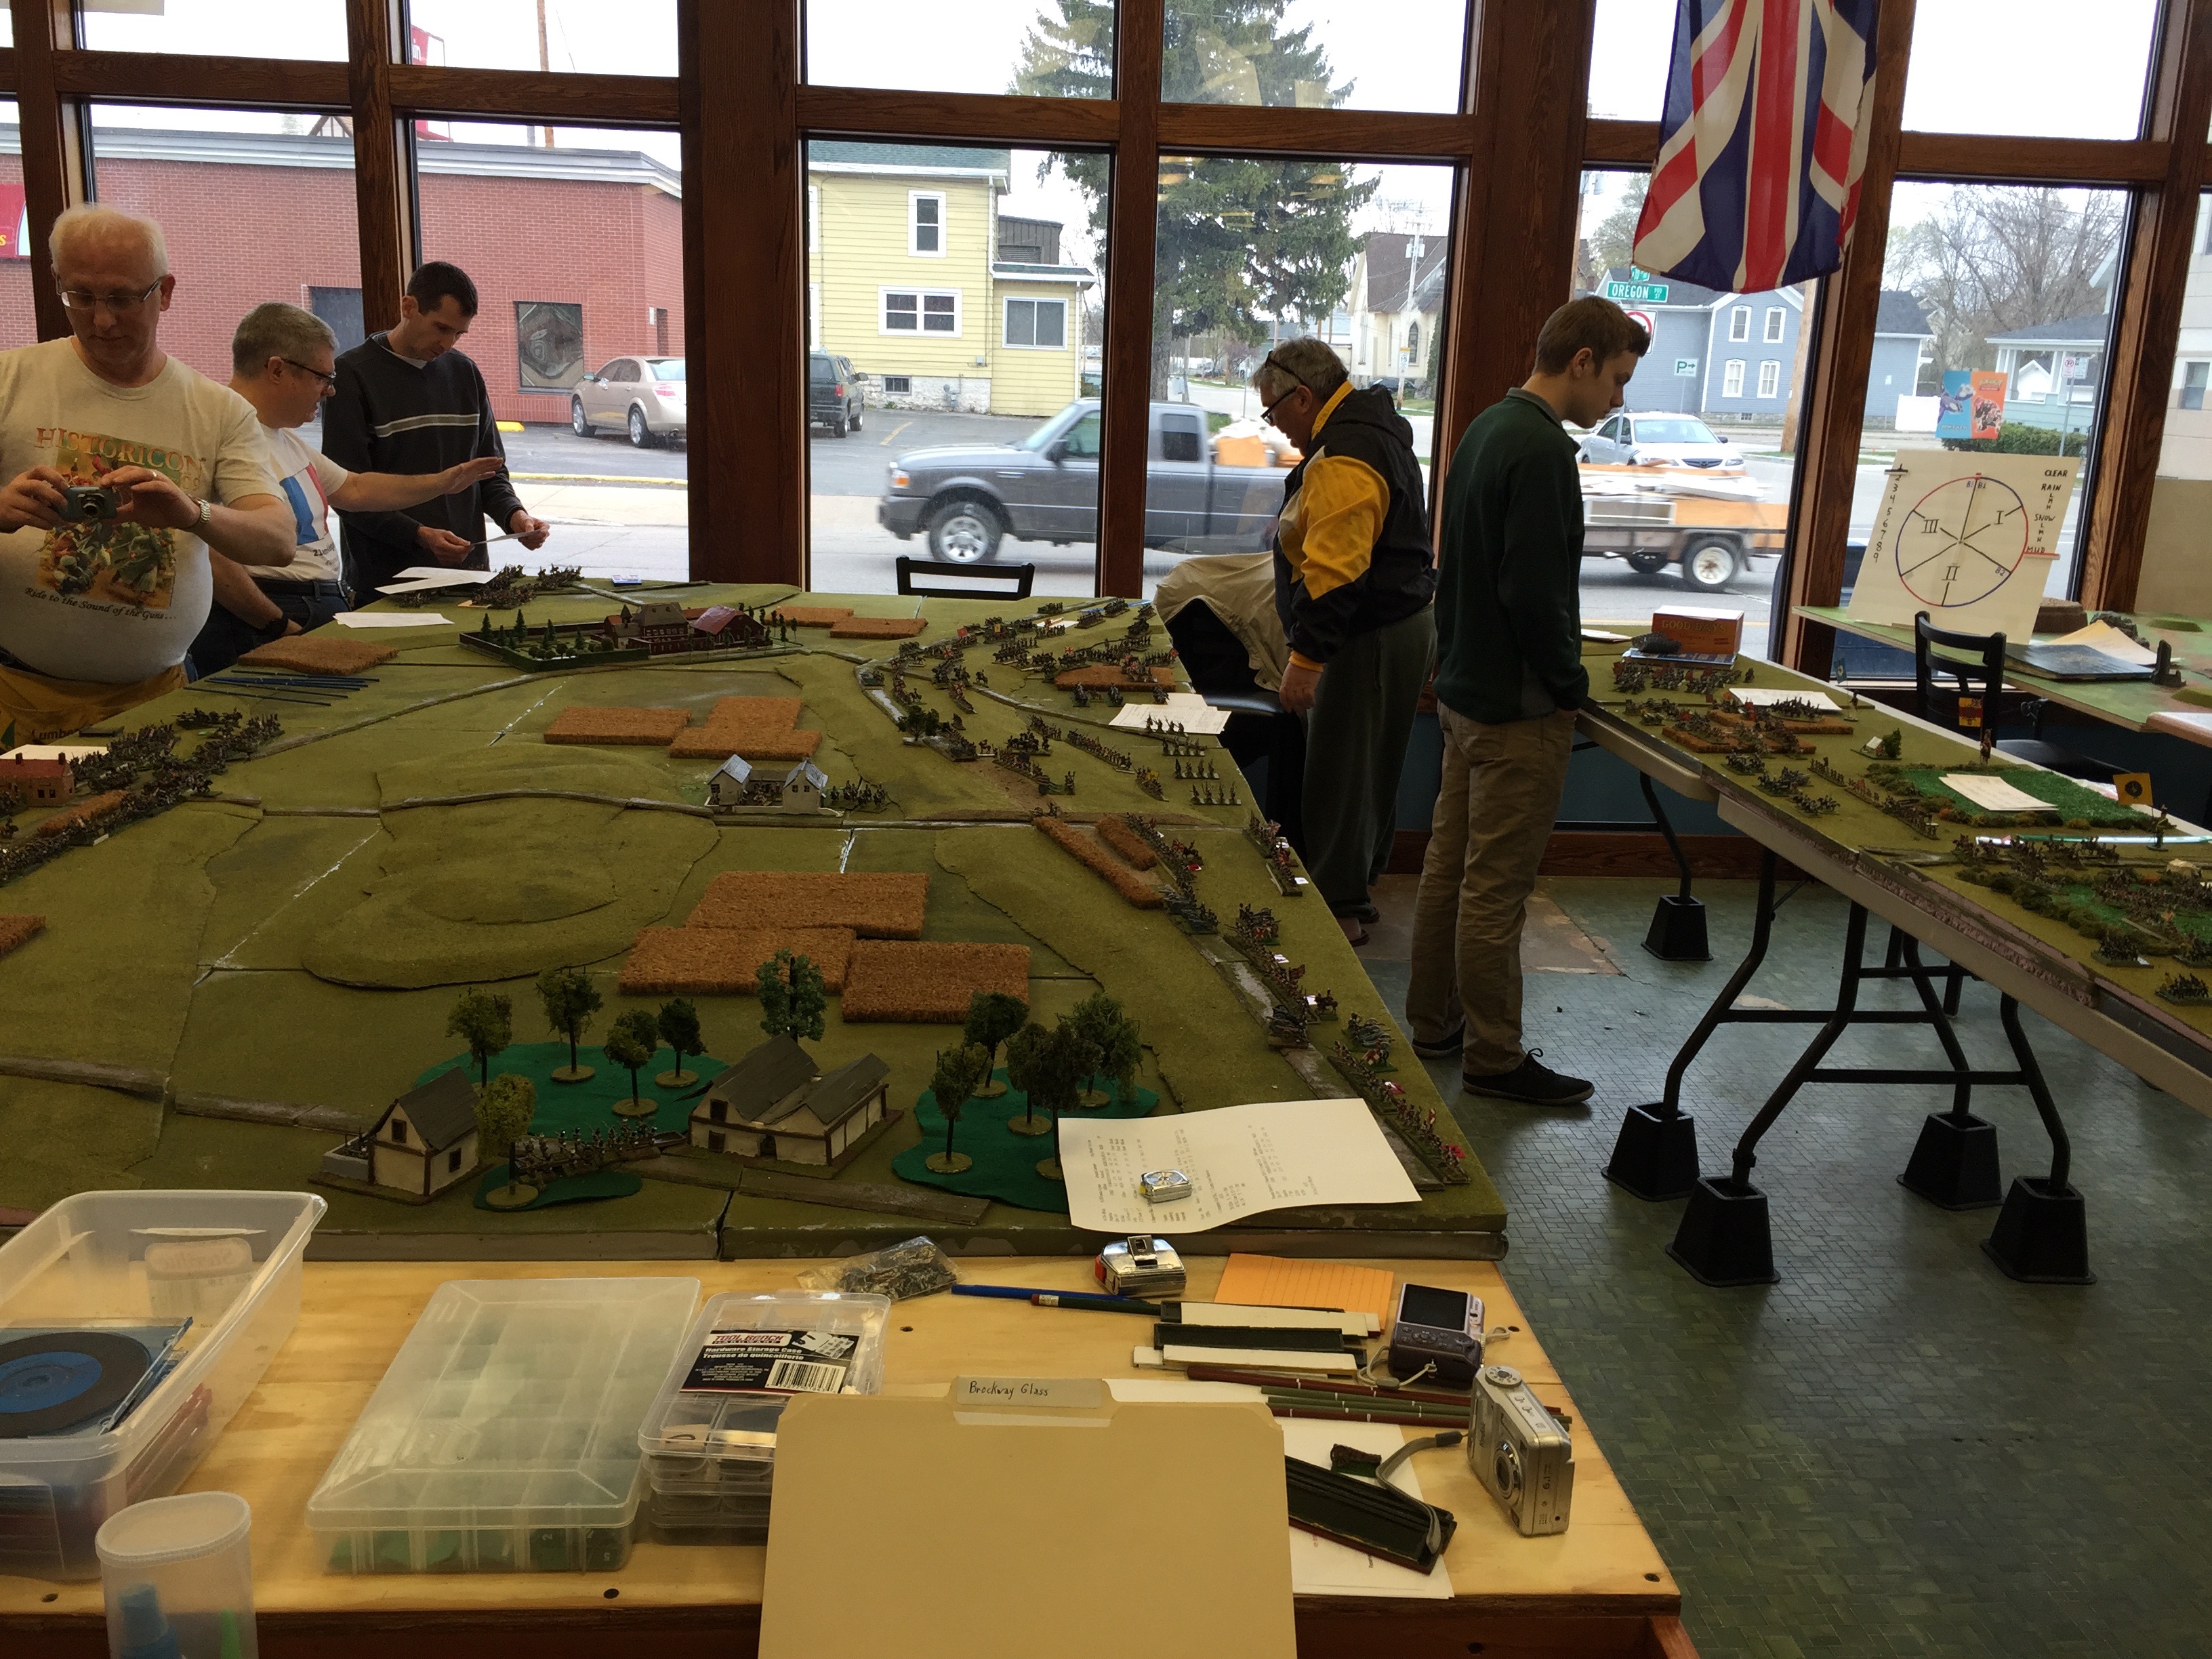
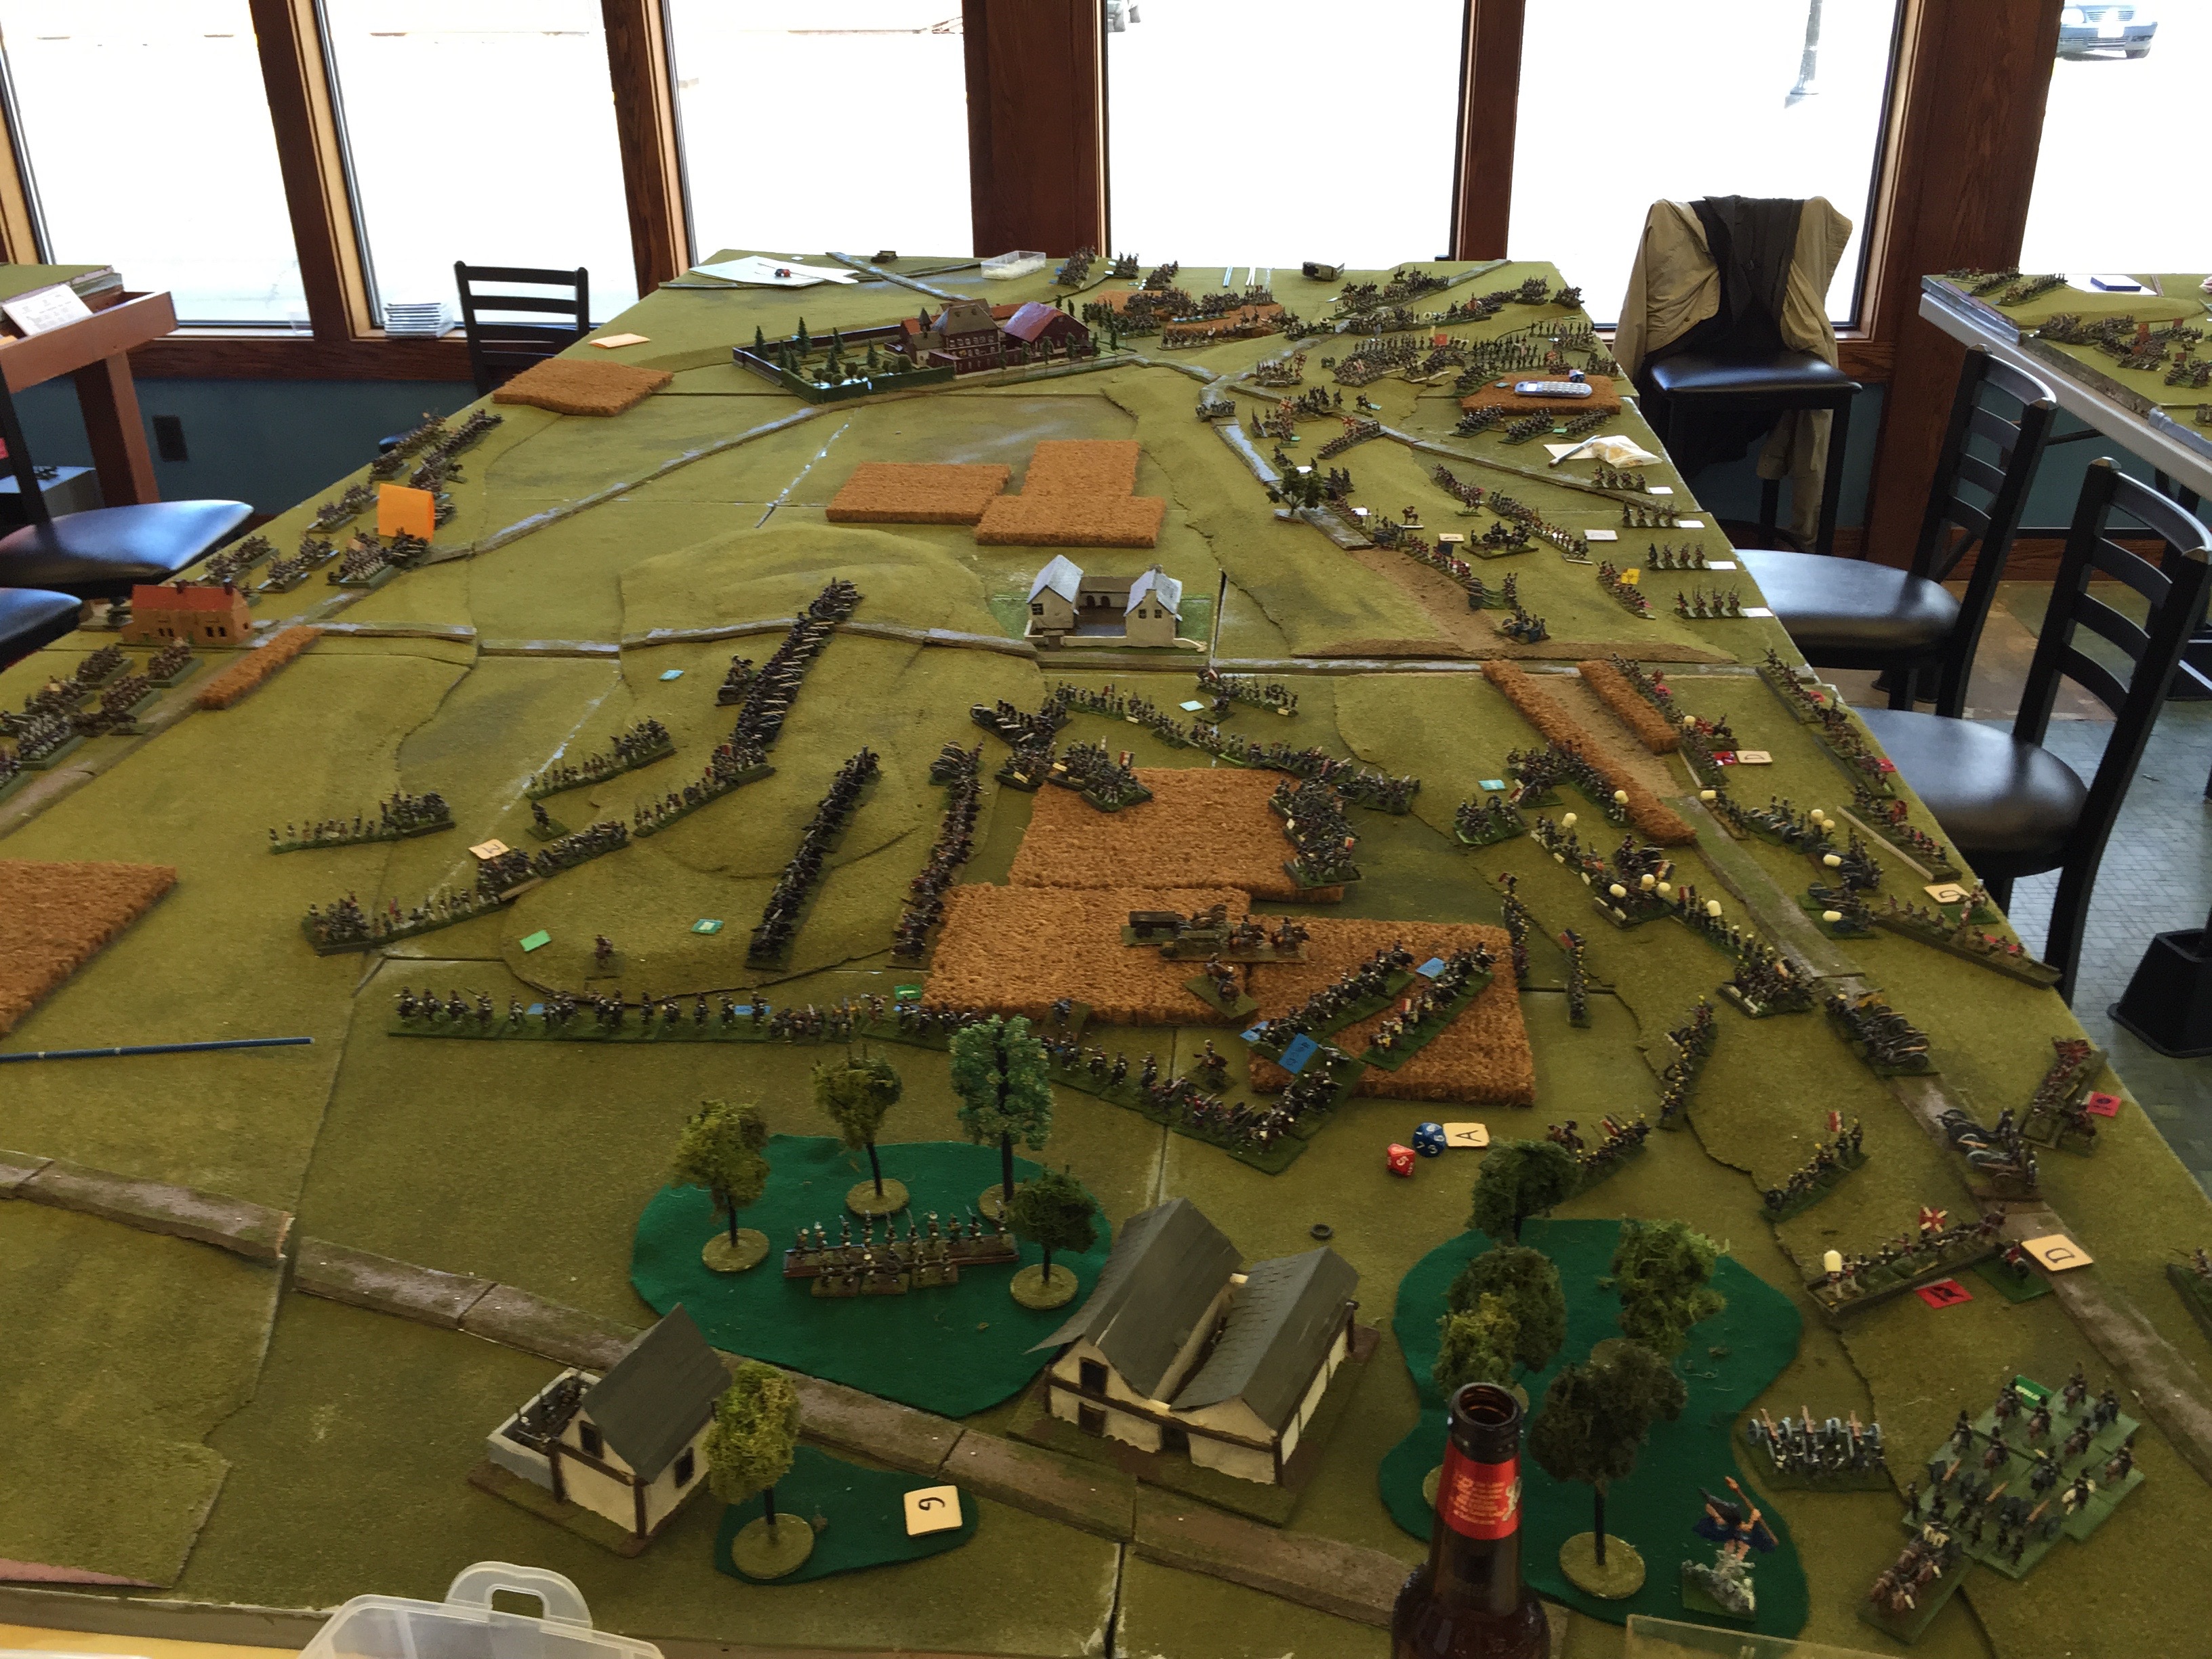
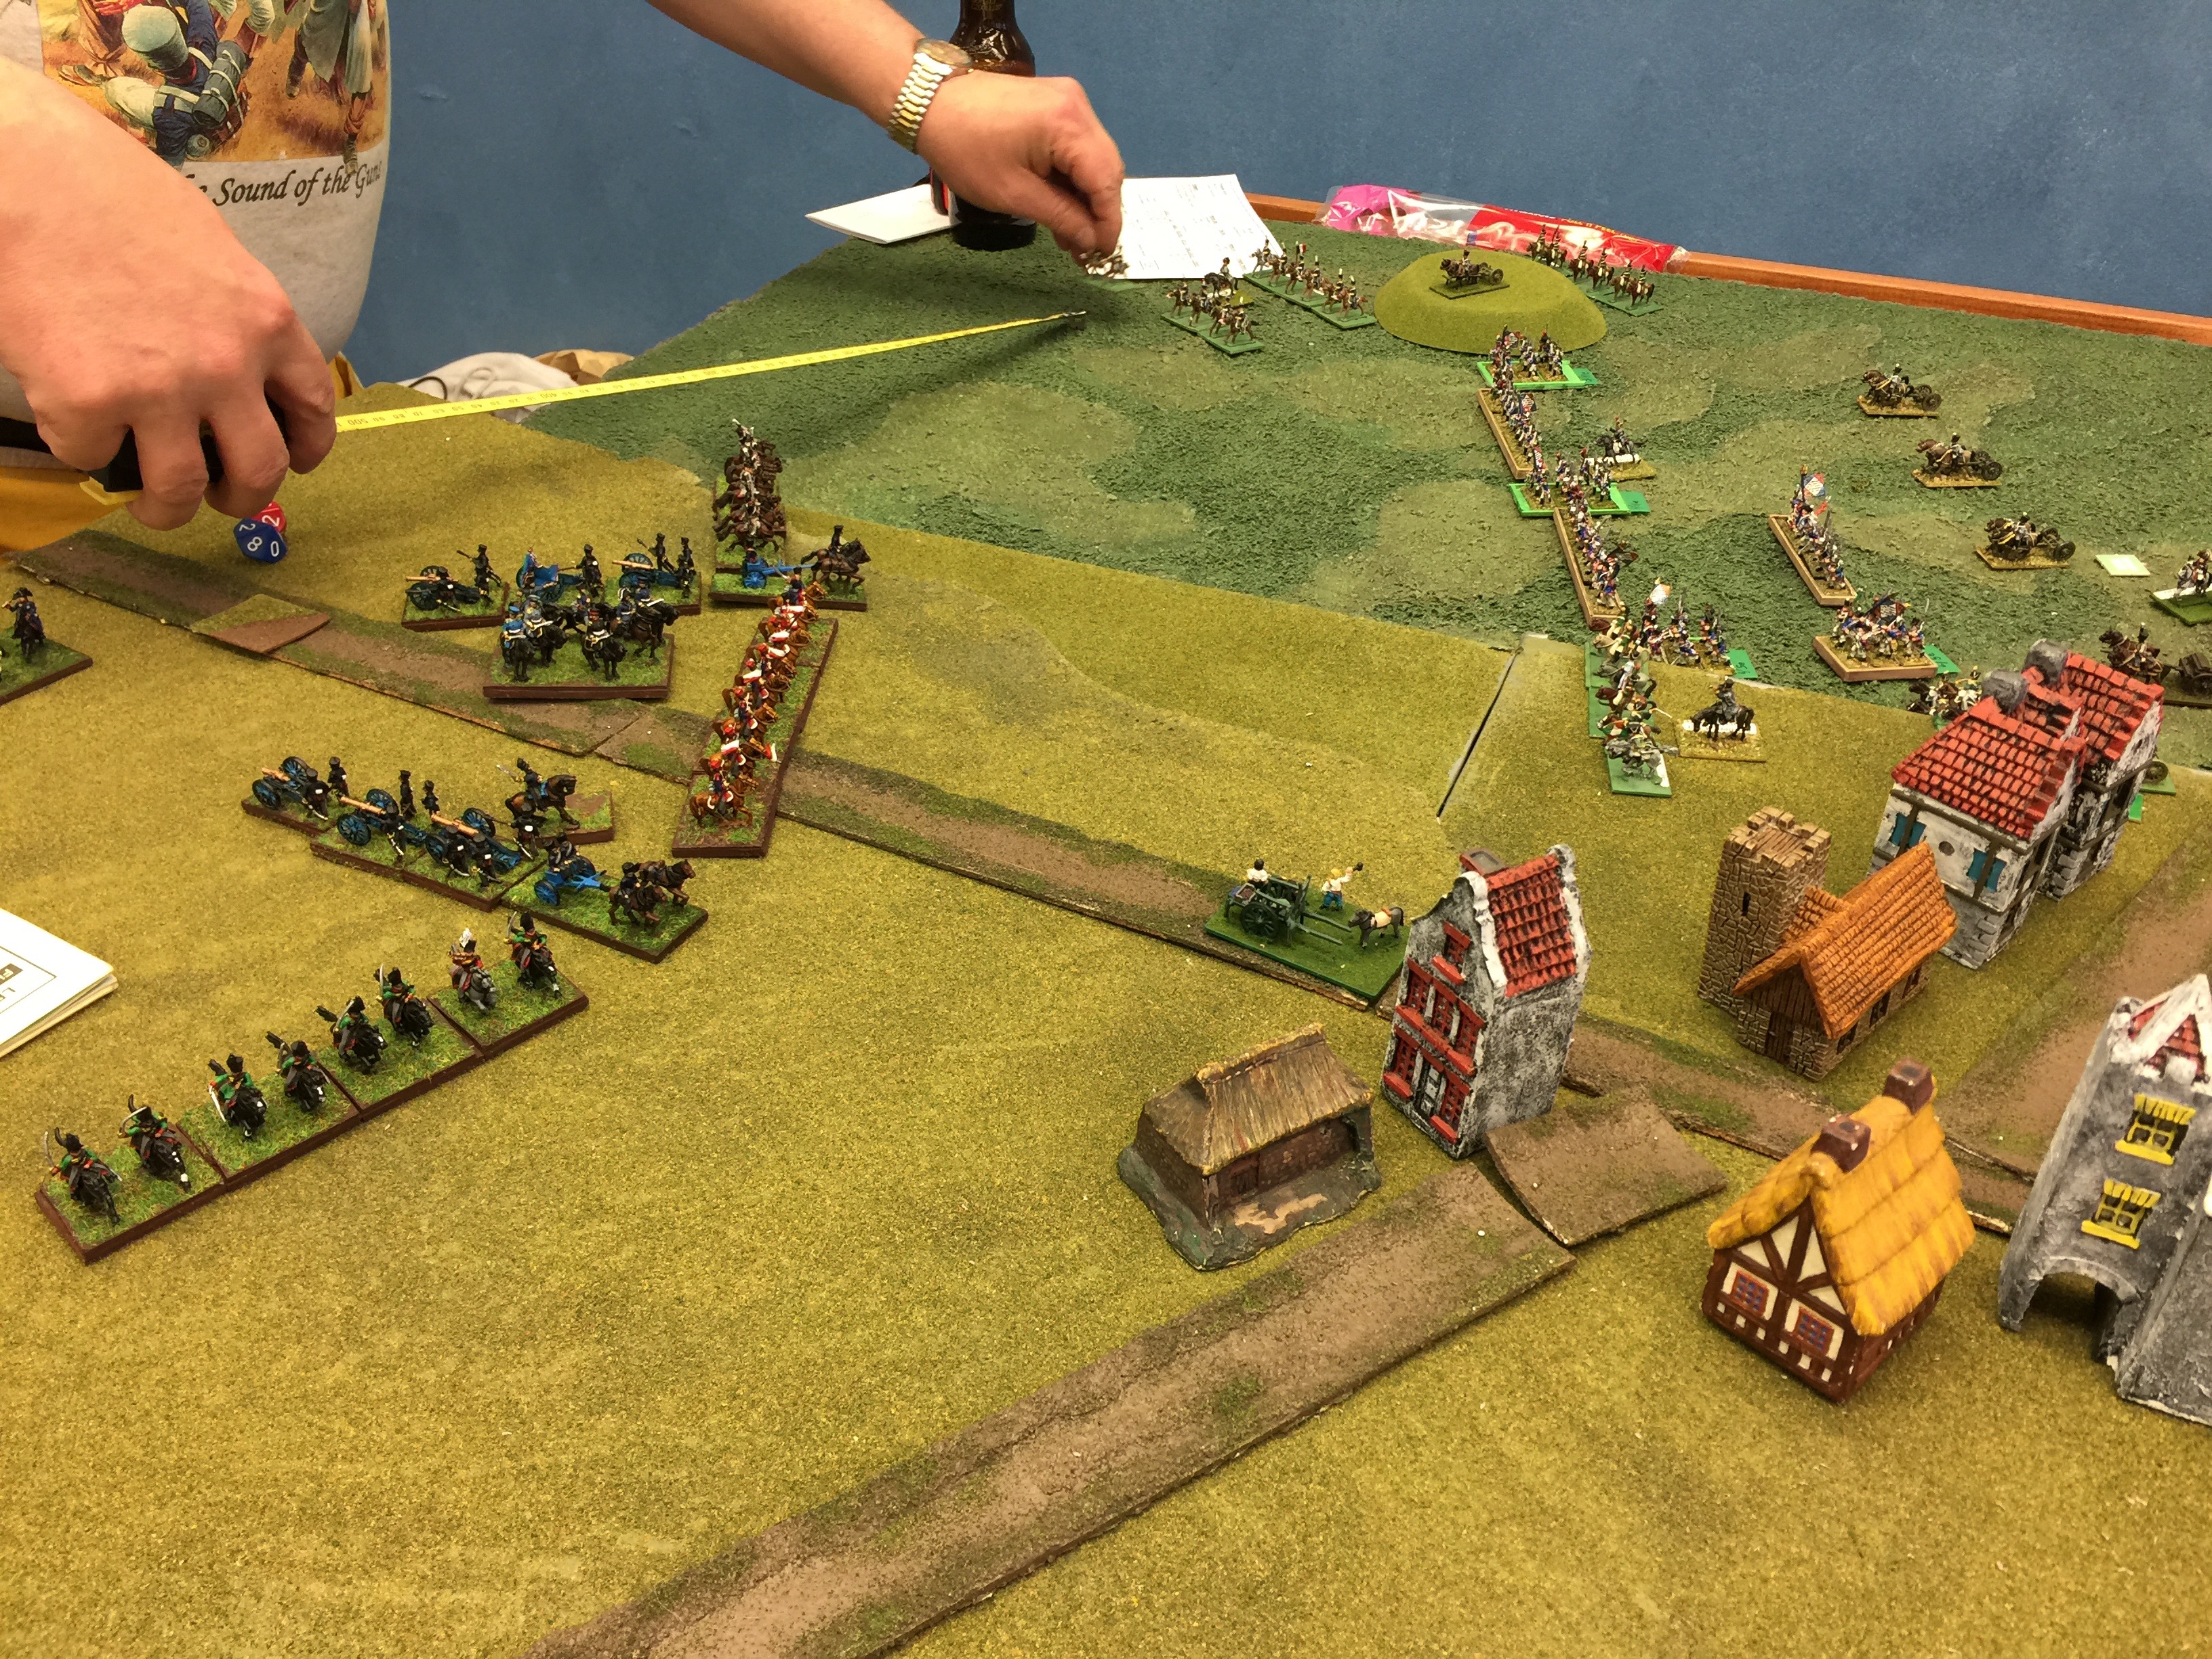
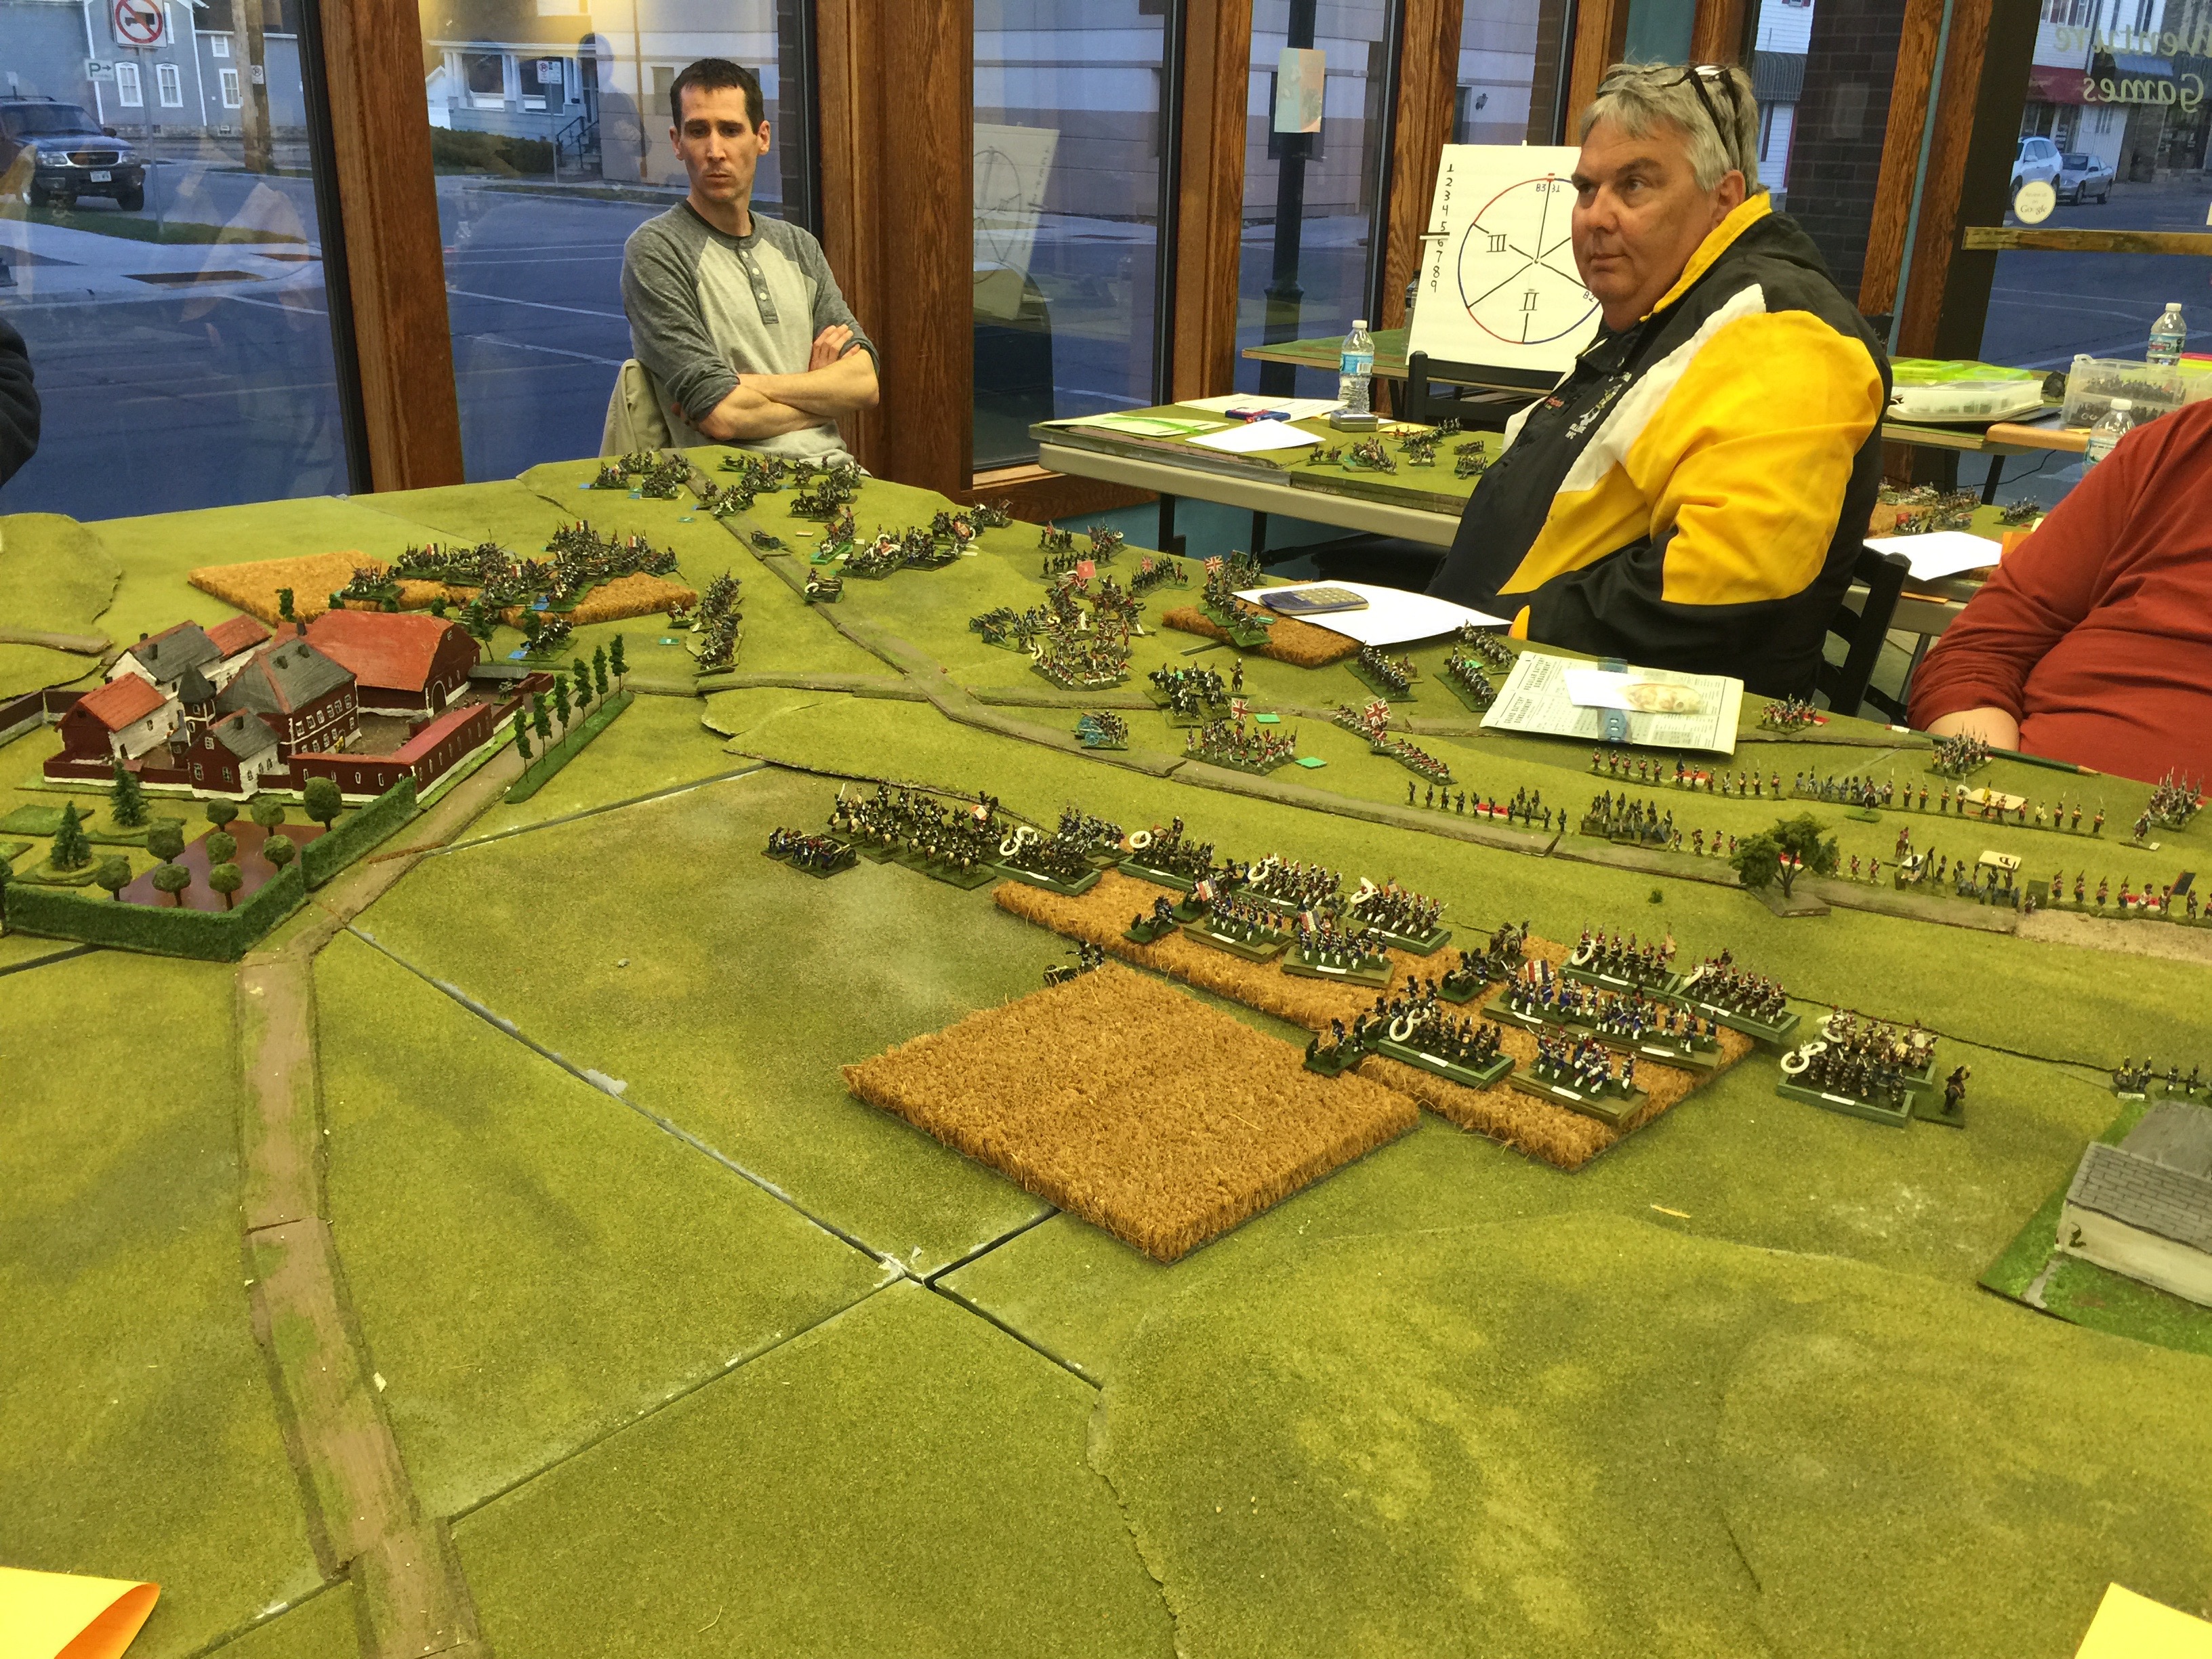
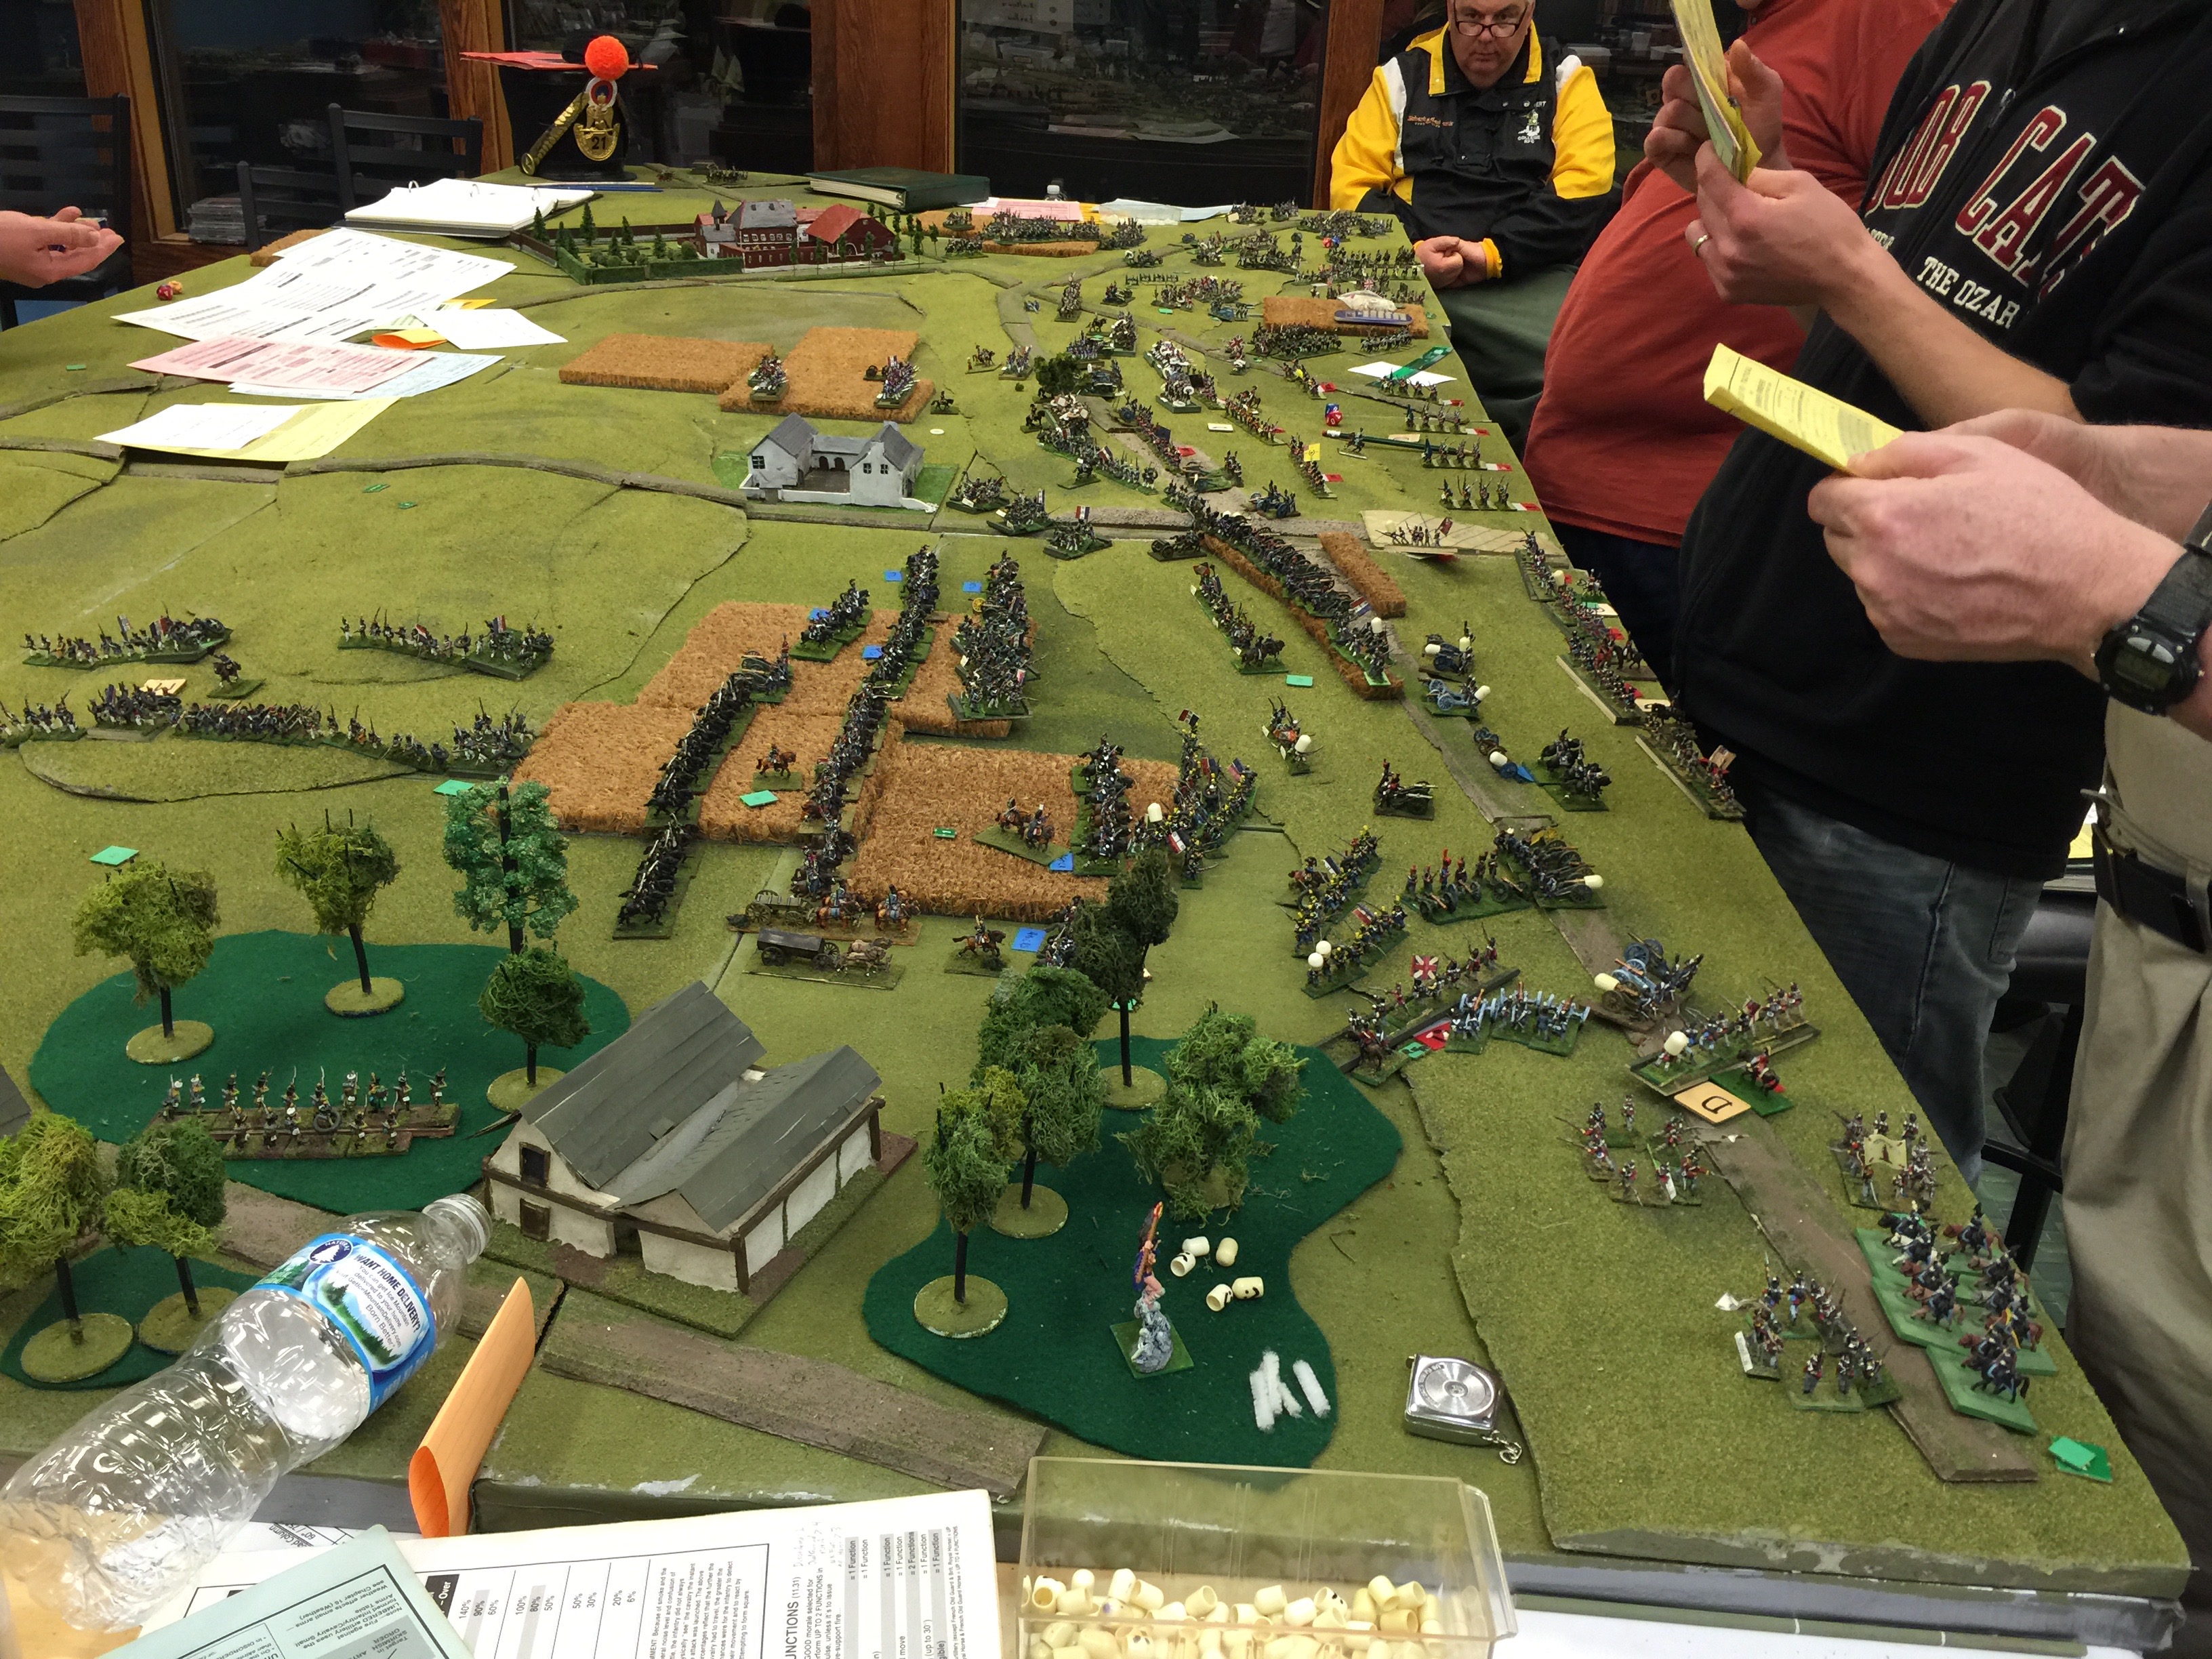
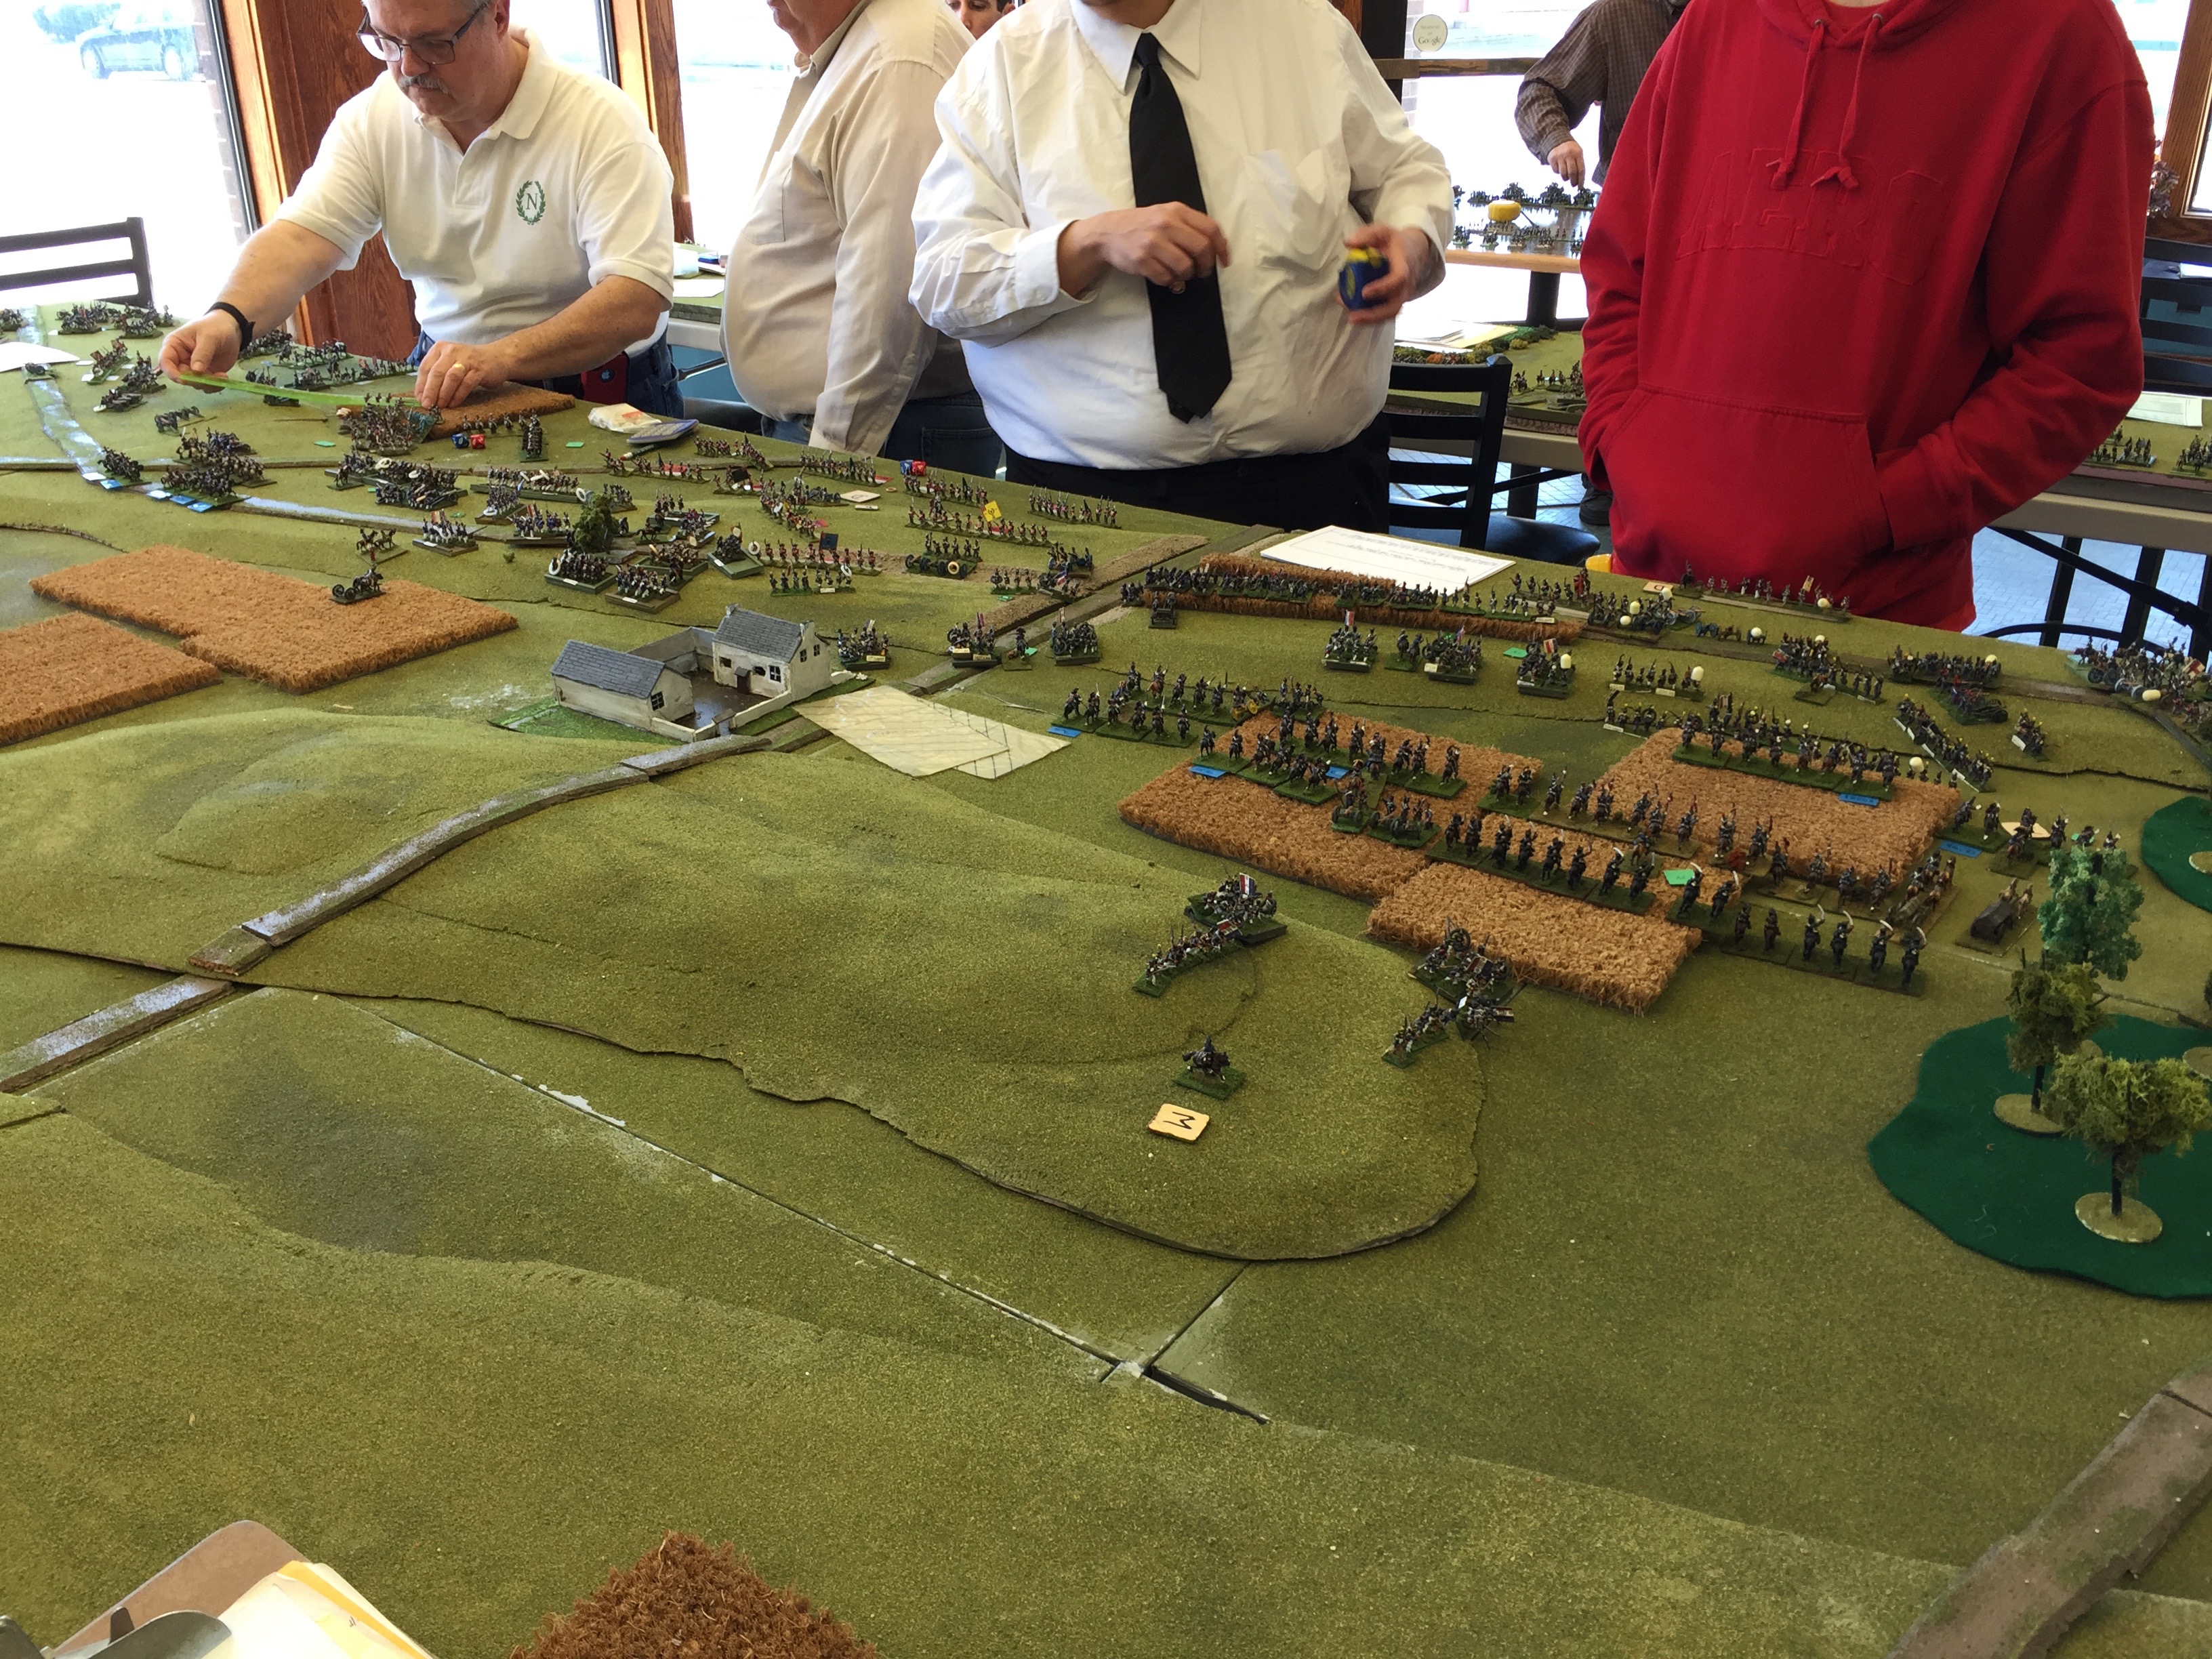
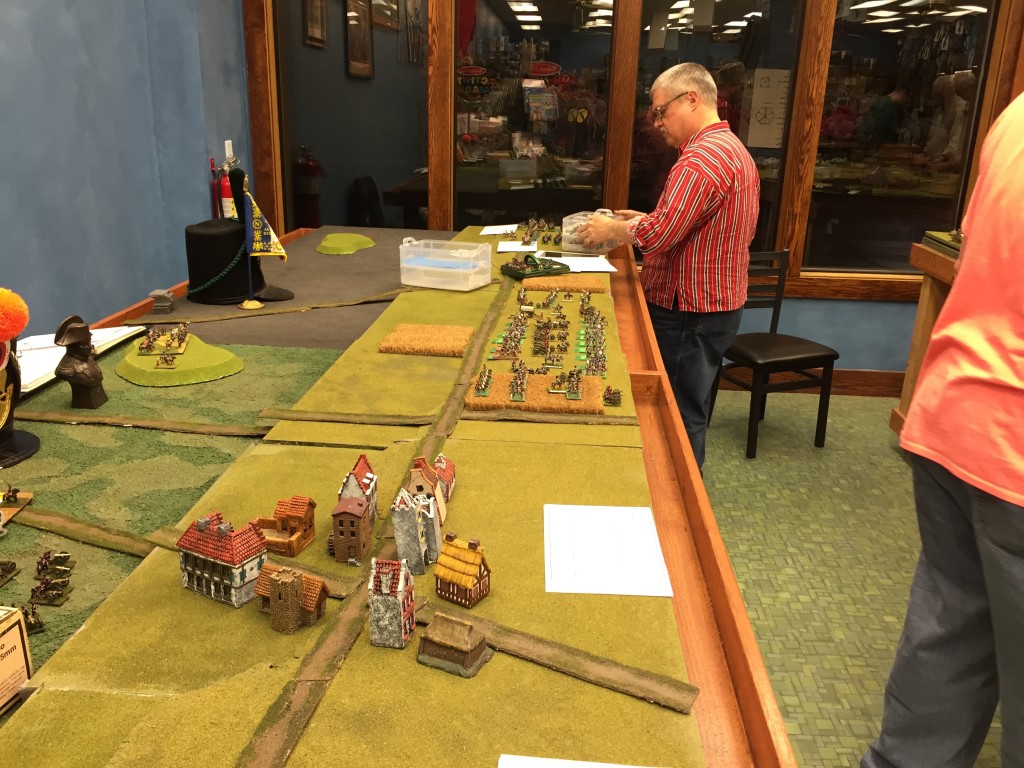
Here we’re oogling what will be but 1 of 3 tables setup for the game. Both on the left and on the right were yet another table (tho not quite as wide) to give depth to the game. On the left in the foreground is Dan Wideman who was serving as Wellington. On the right in the picture Michael Mathews who commanded the 1 Corps and Ney. On the table the closest built up area of course is Hougoumont which was scratch built. Off in the distance the white is la Haye Sainte and way on the table edge on the far end is la Haye/Saxe Weimar/Papelotte.
IMG_9450

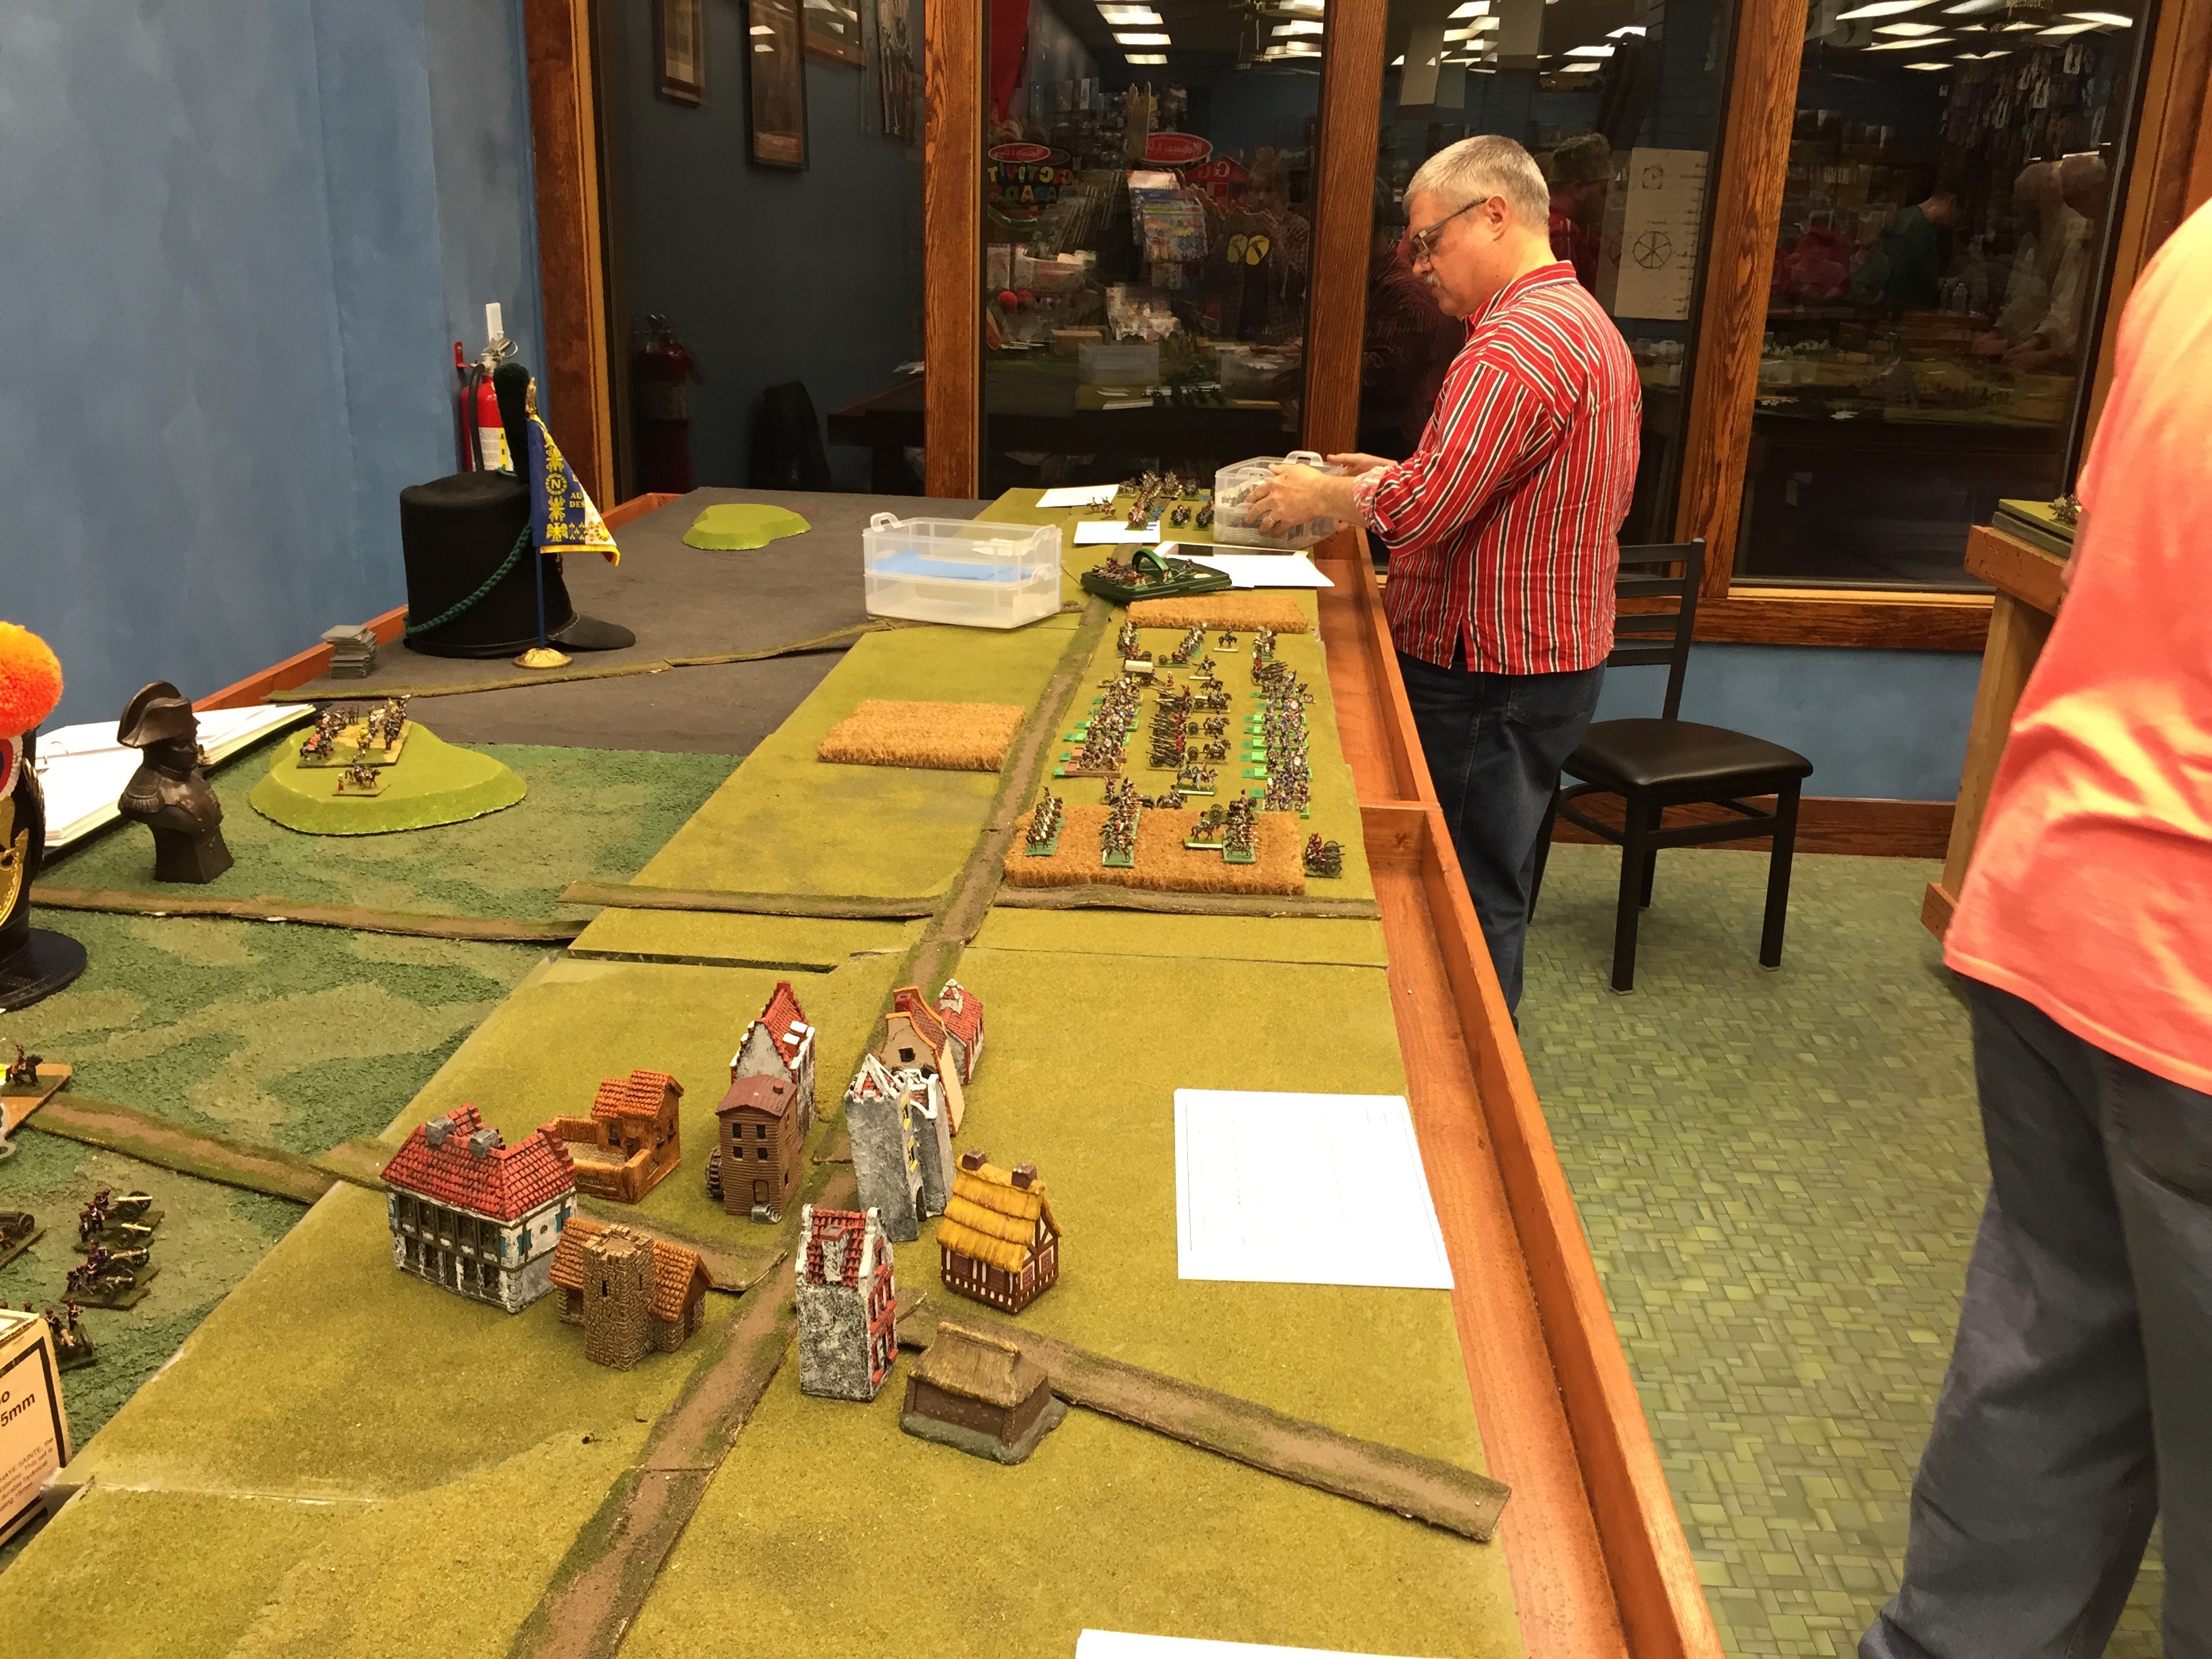
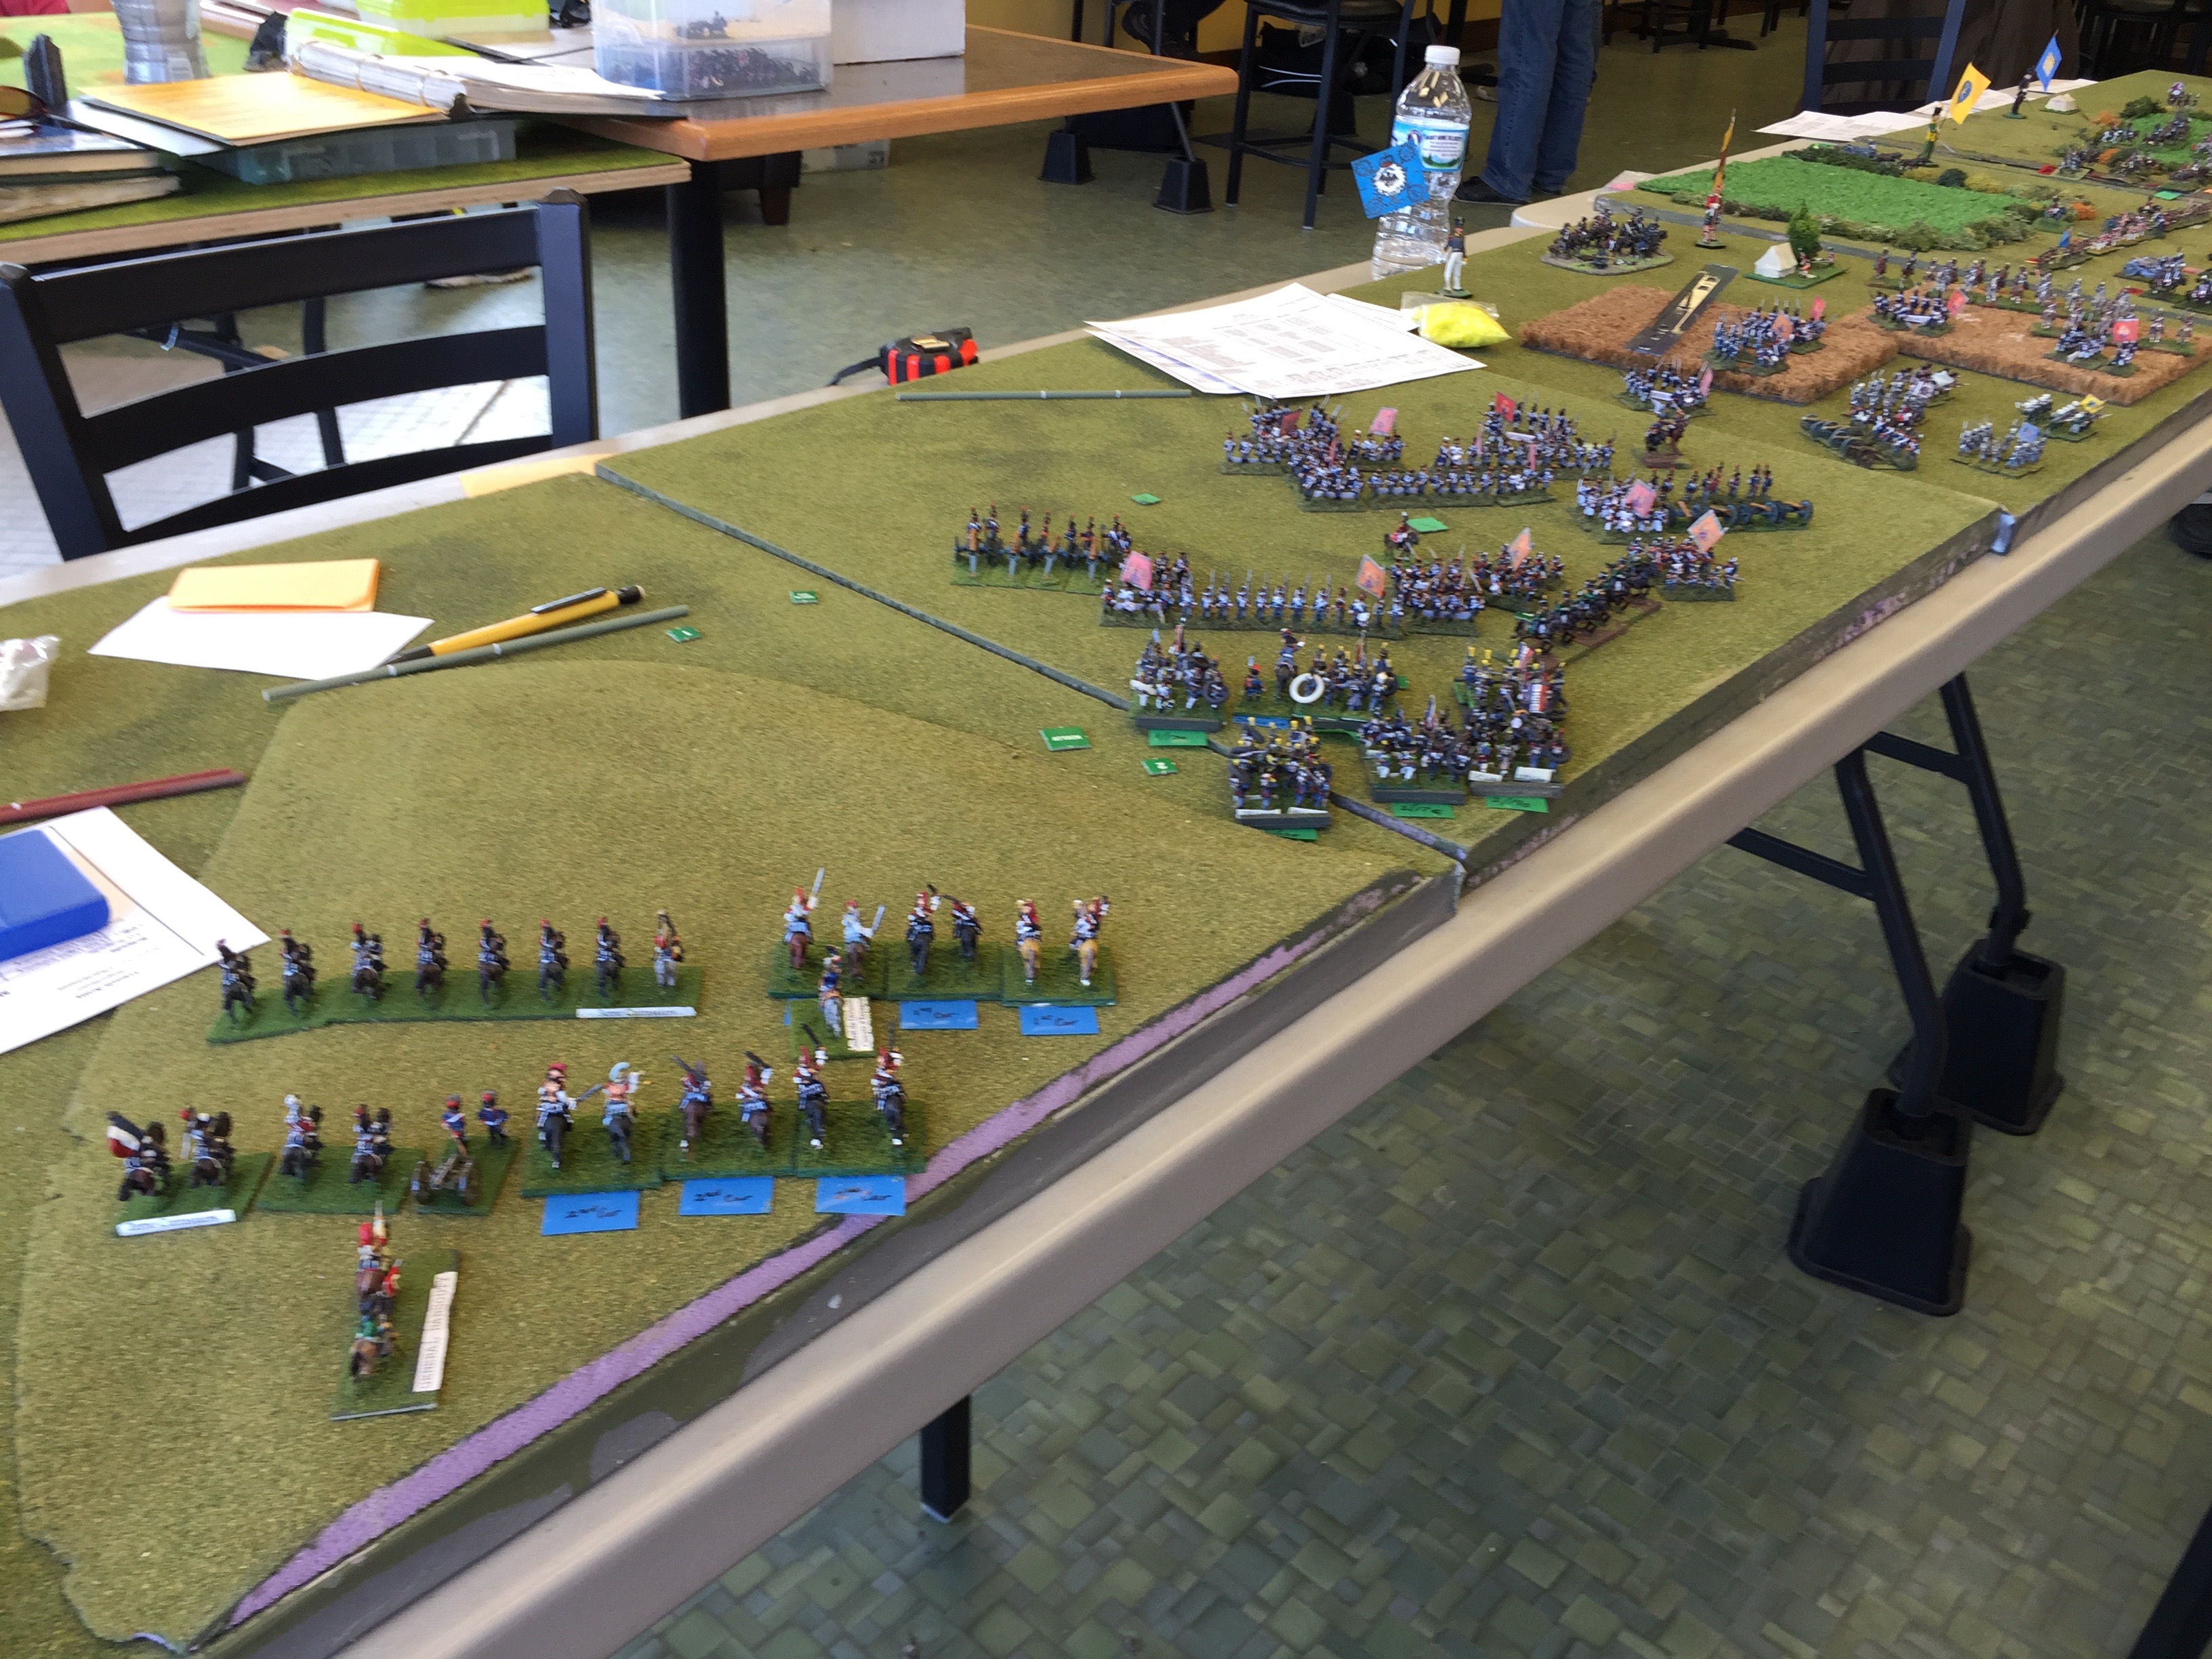
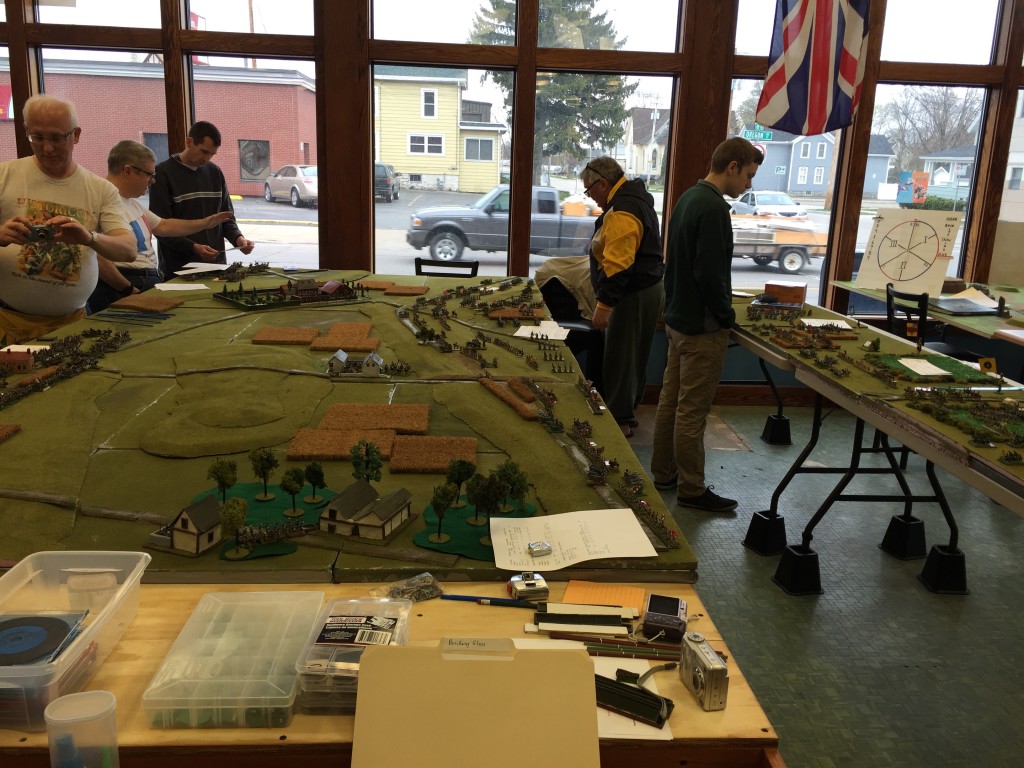
Here is the “back” table. This was the table behind the initial French line.  Likewise there was a similar one behind the Brit line. The last thing we did was to deploy our holdings for those things that would start on table. In my case, I was running the French IV Reserve Cav. I’d start behind the II Corps and more or less screen the flank and watch the rear just so there wasn’t any Prussian surprises.

While we had historical army lists, we did not know what the arrival times for the Prussians would be. Likewise both sides were given the leeway to go with their own deployment.

For us across the line, from left to right it was I corps with the III Reserve Cav swinging around to the left of Hougoumont. The II Corps and my Cav were to attack on a line just to the right of Haye Sainte and to the left of the woods around Papelotte.

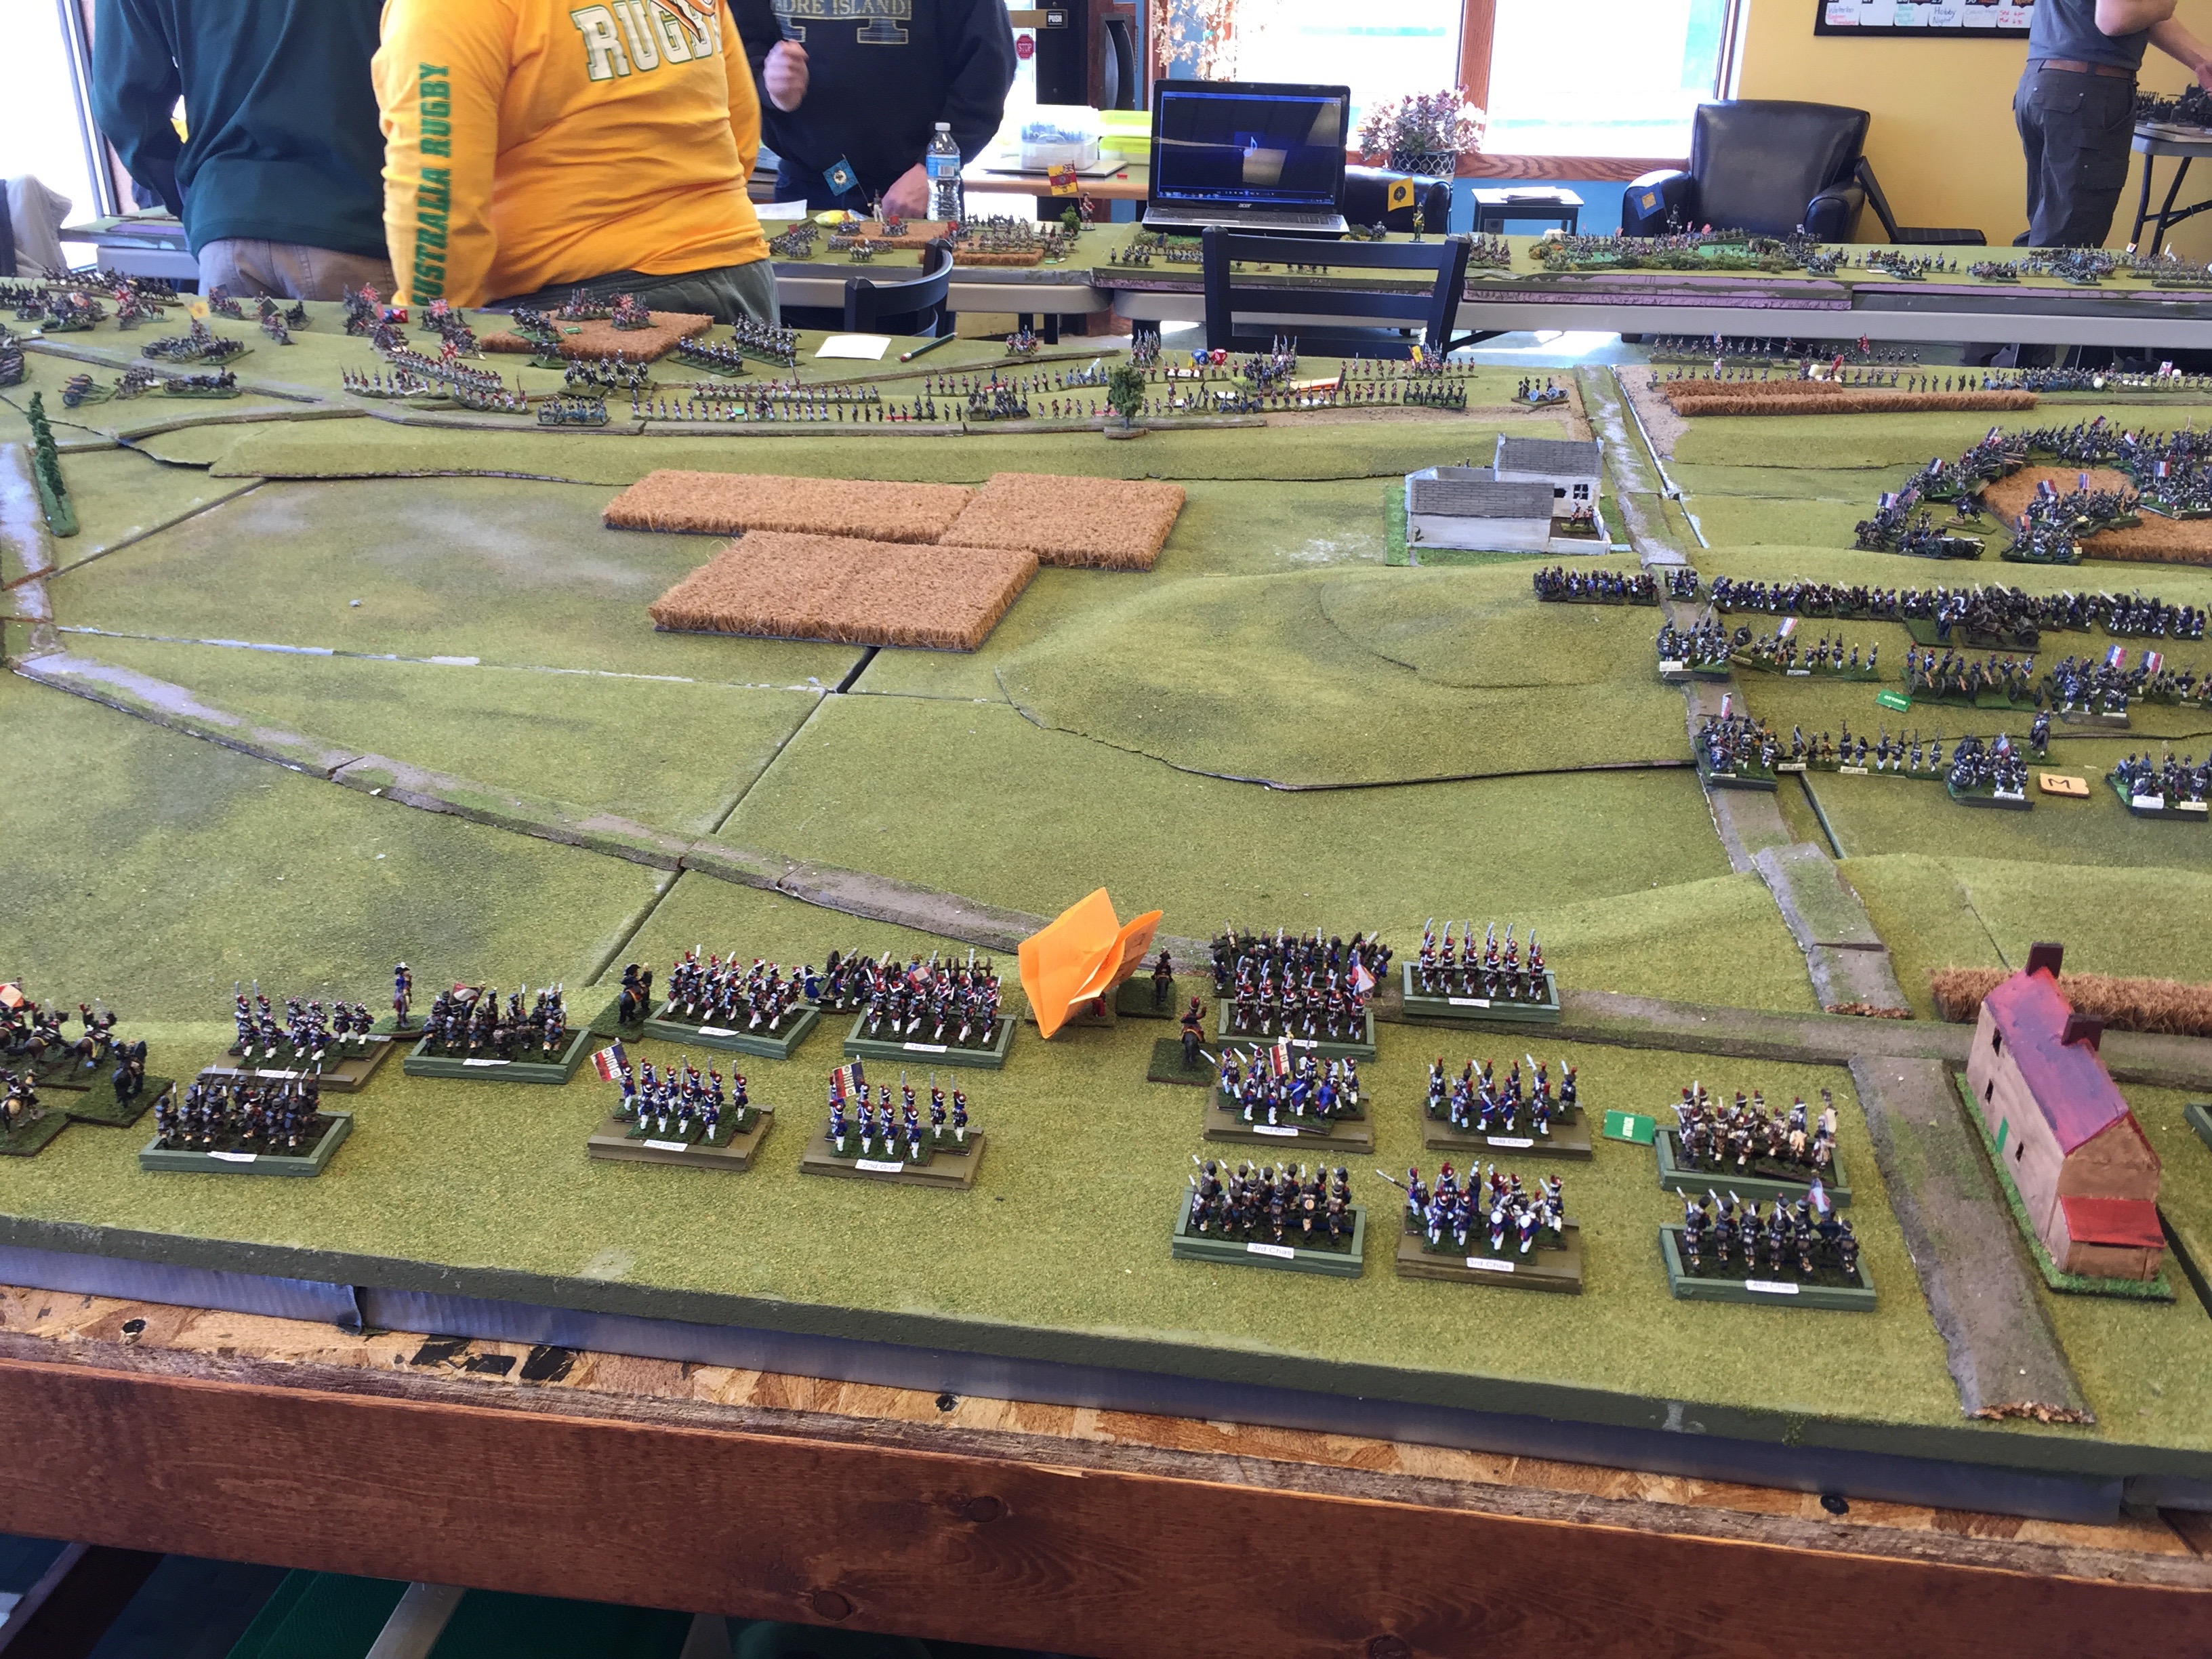
The French Guard was held in reserve as was the VI Corps. With that we called it a night.

It begins….
IMG_9452


9:00am, not especially early we started. Many pictures to be taken and lots and lots of die rolling ahead.
IMG_9461


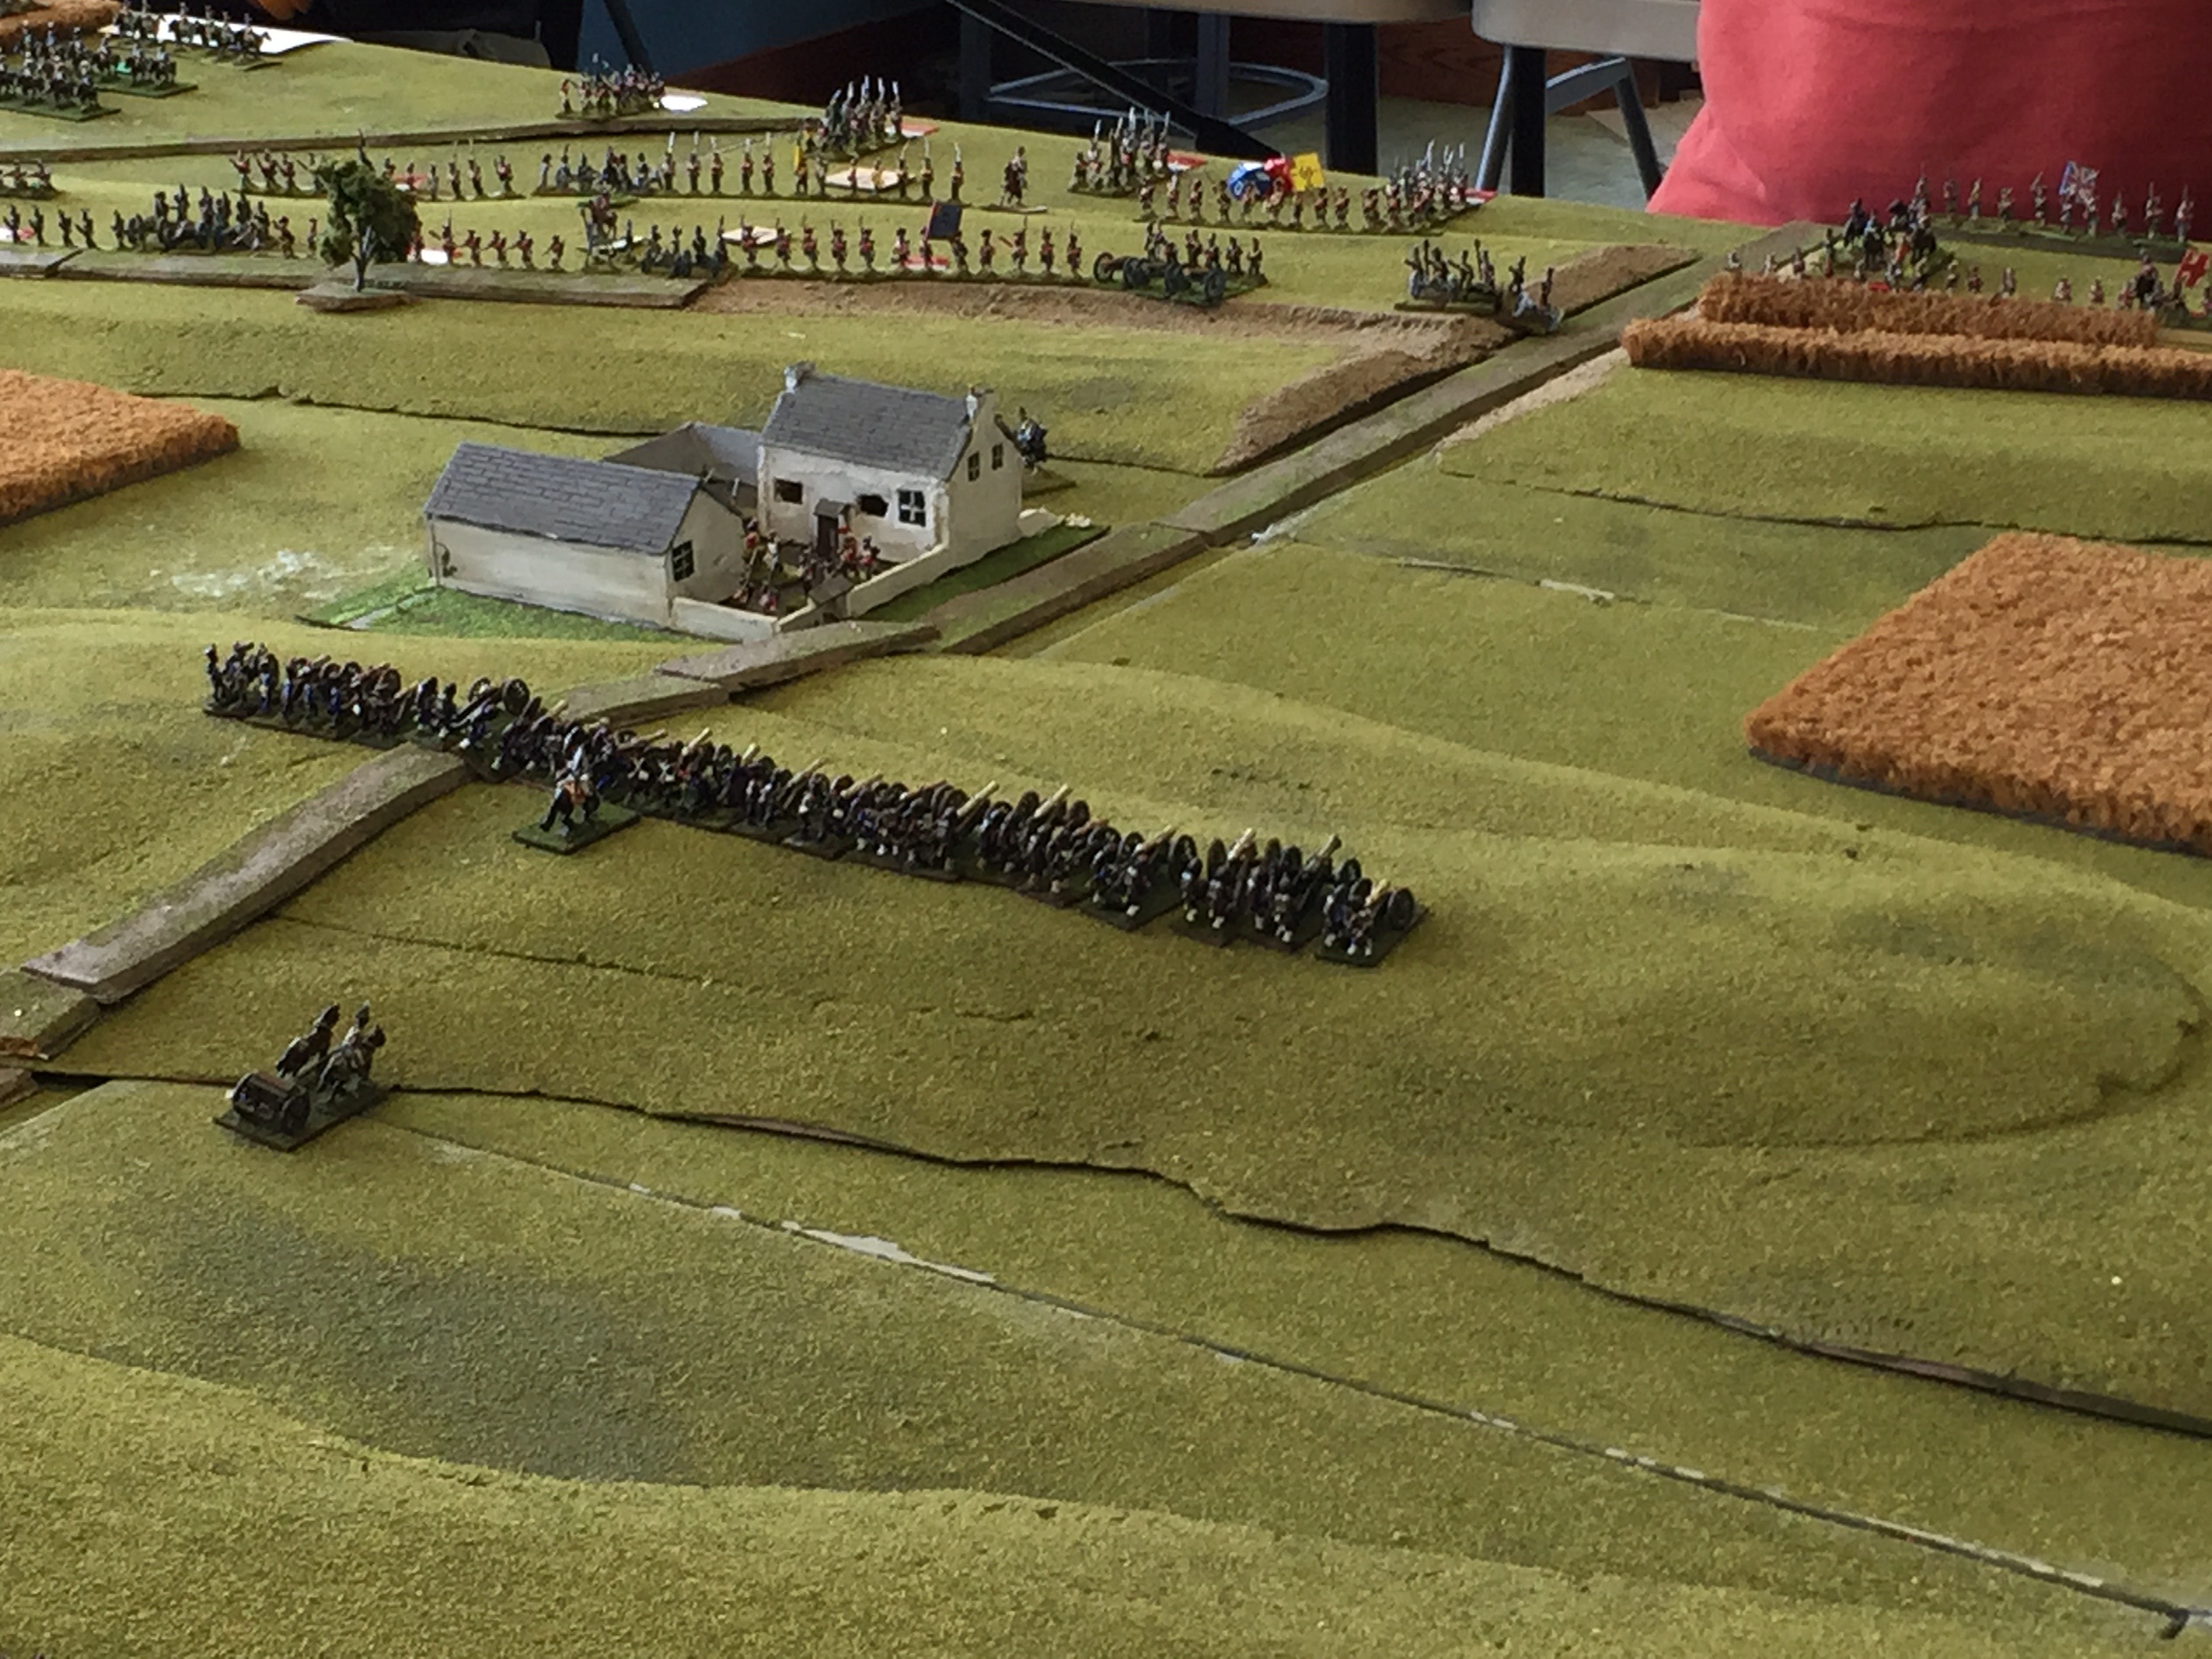
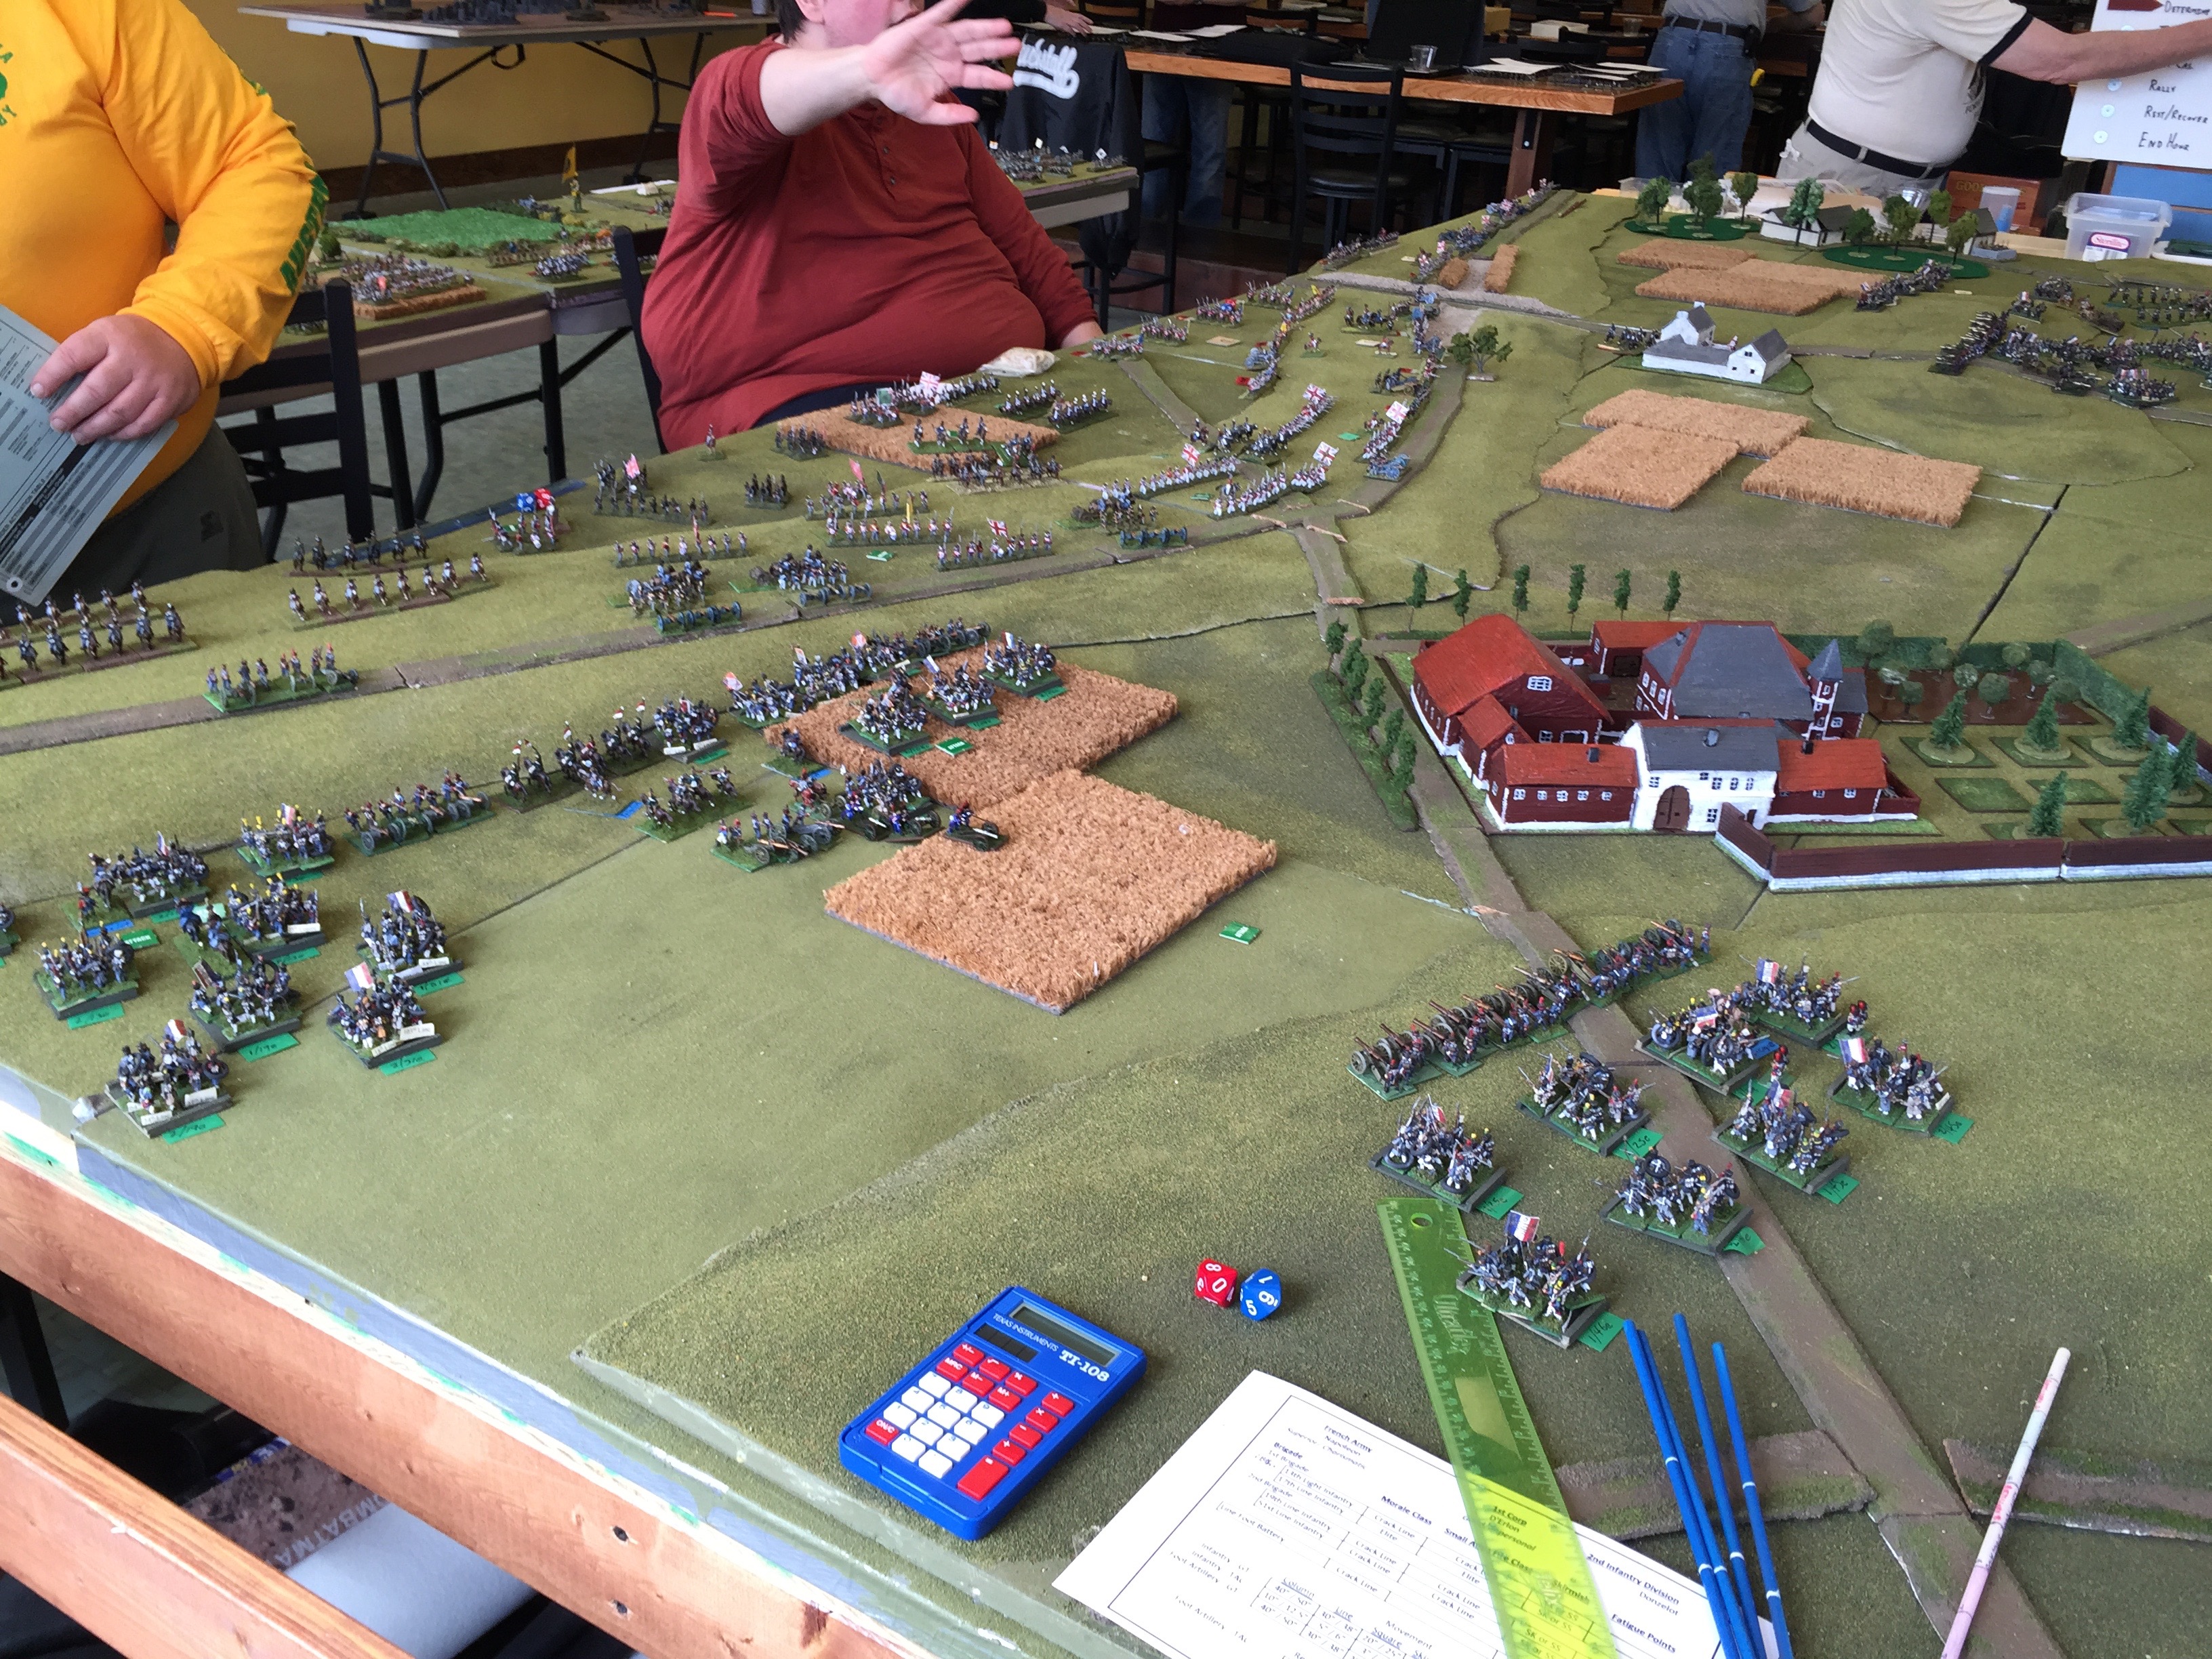
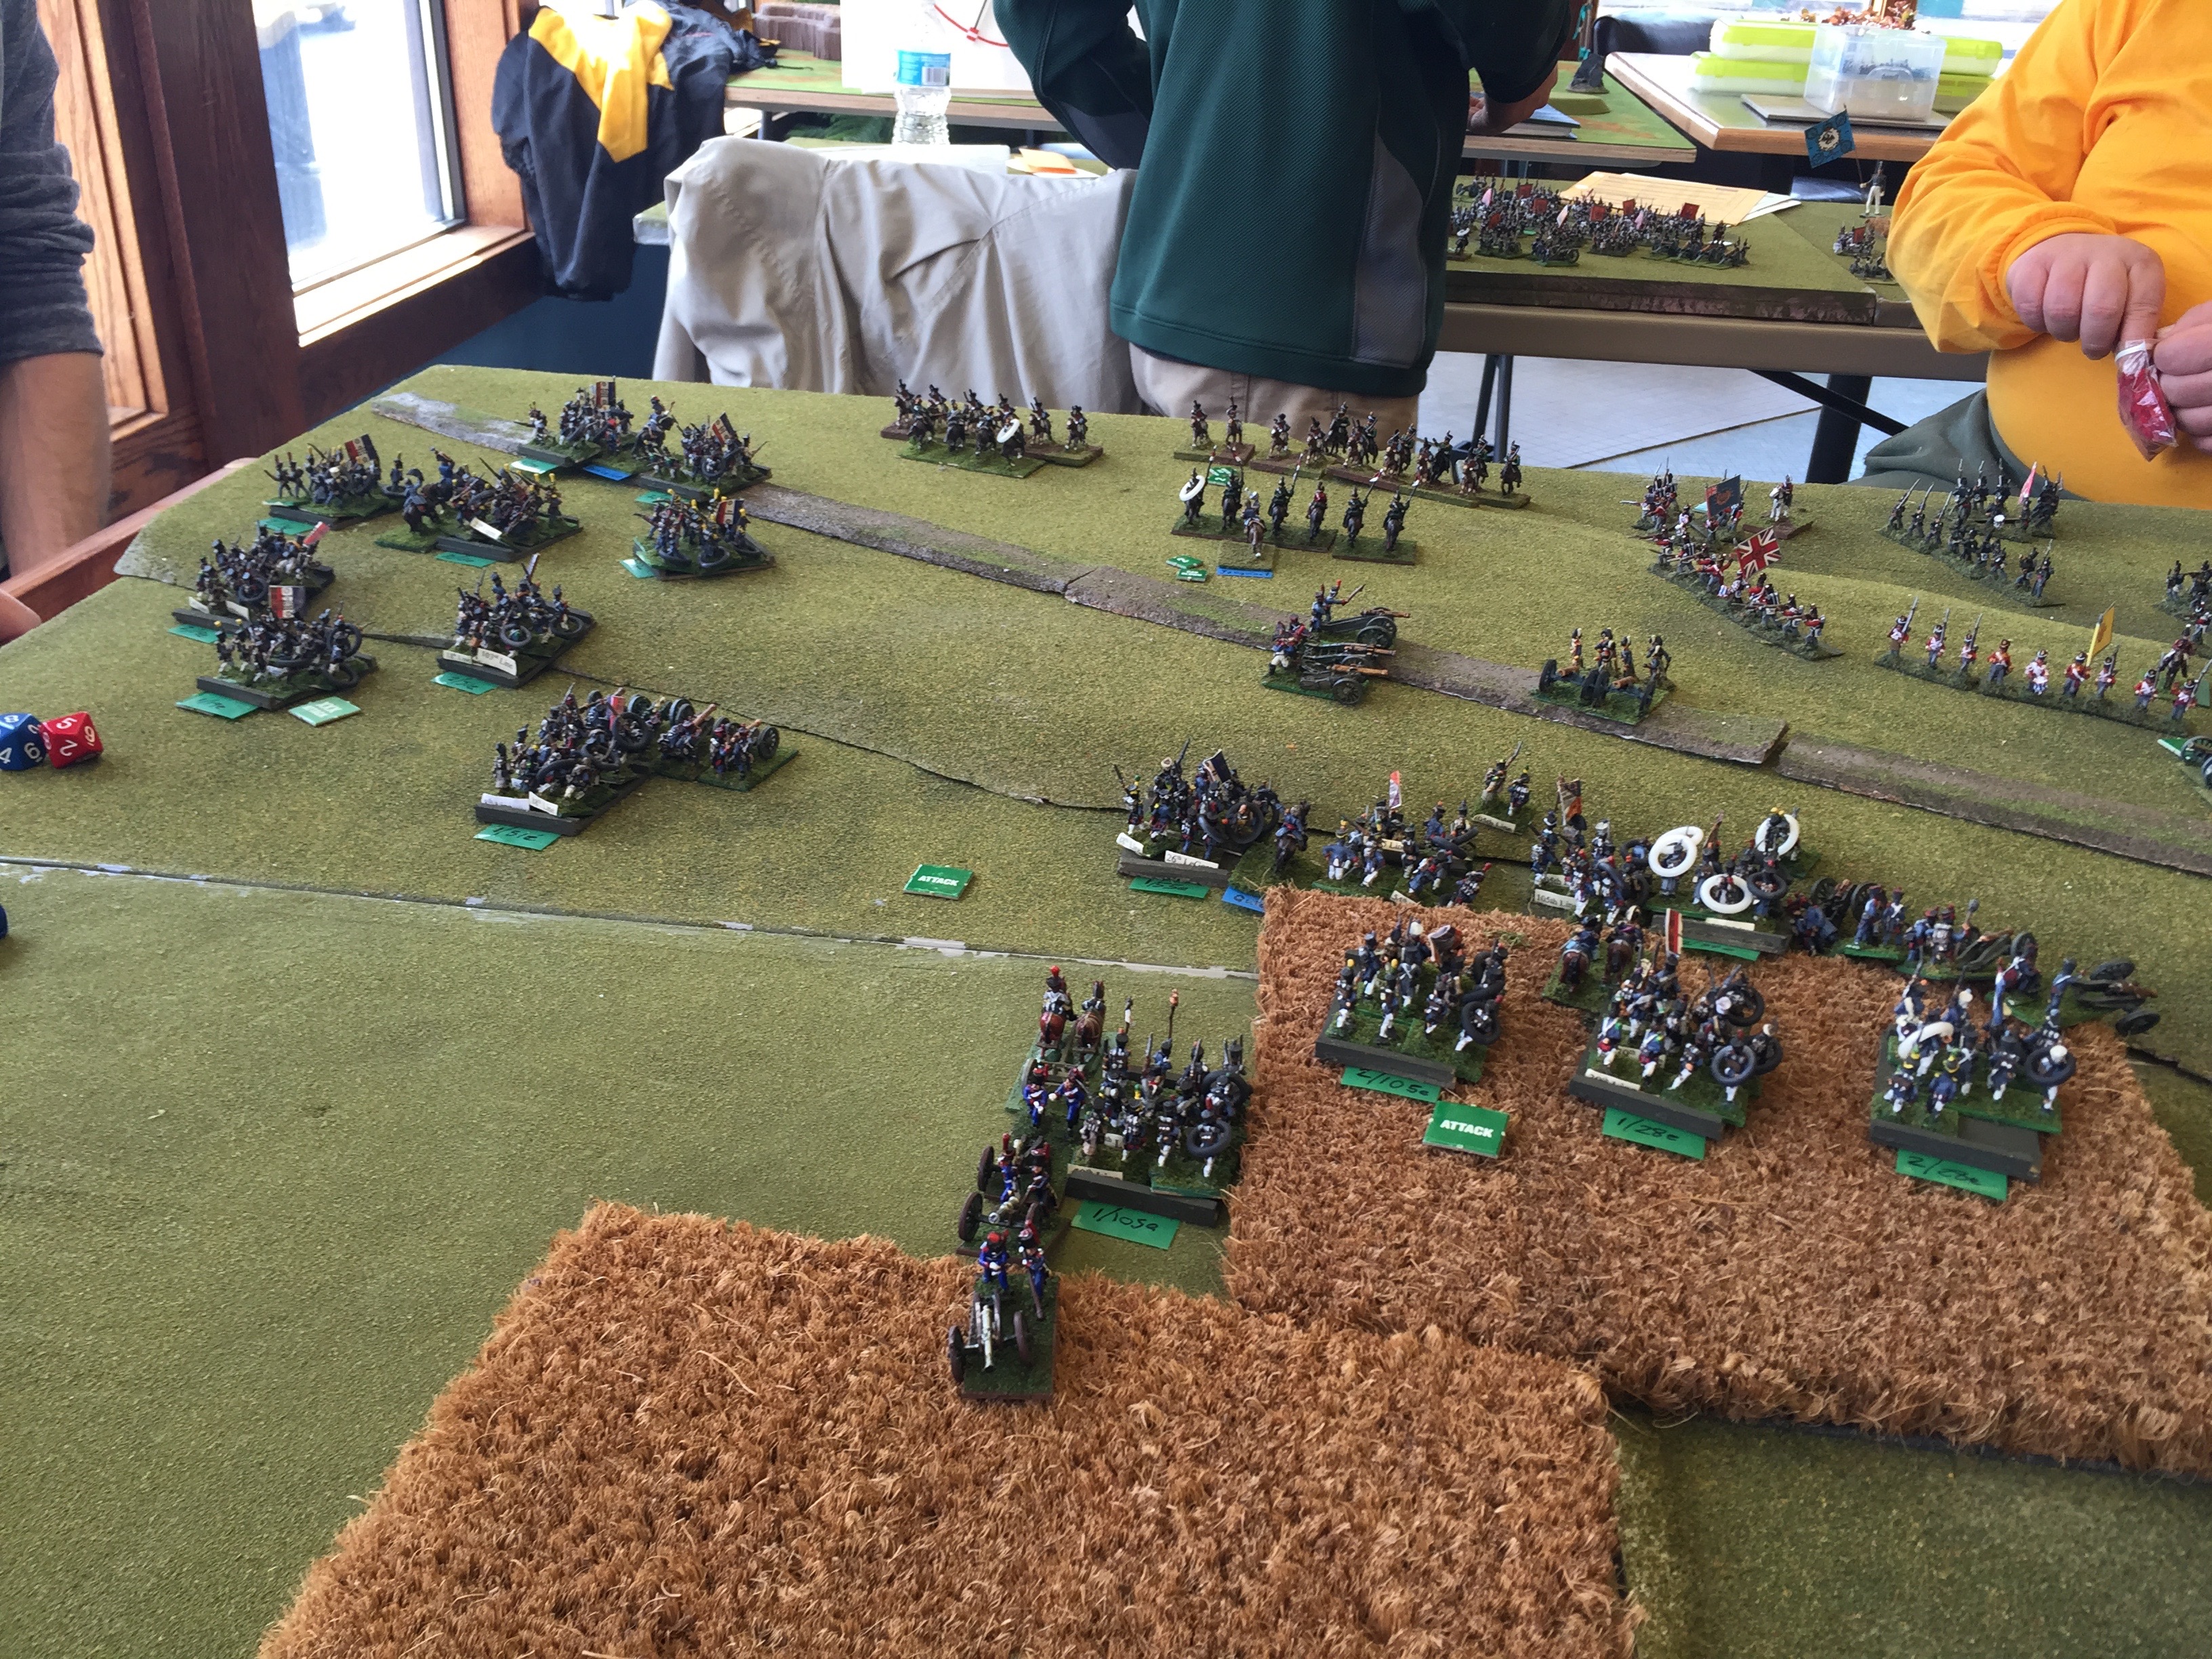
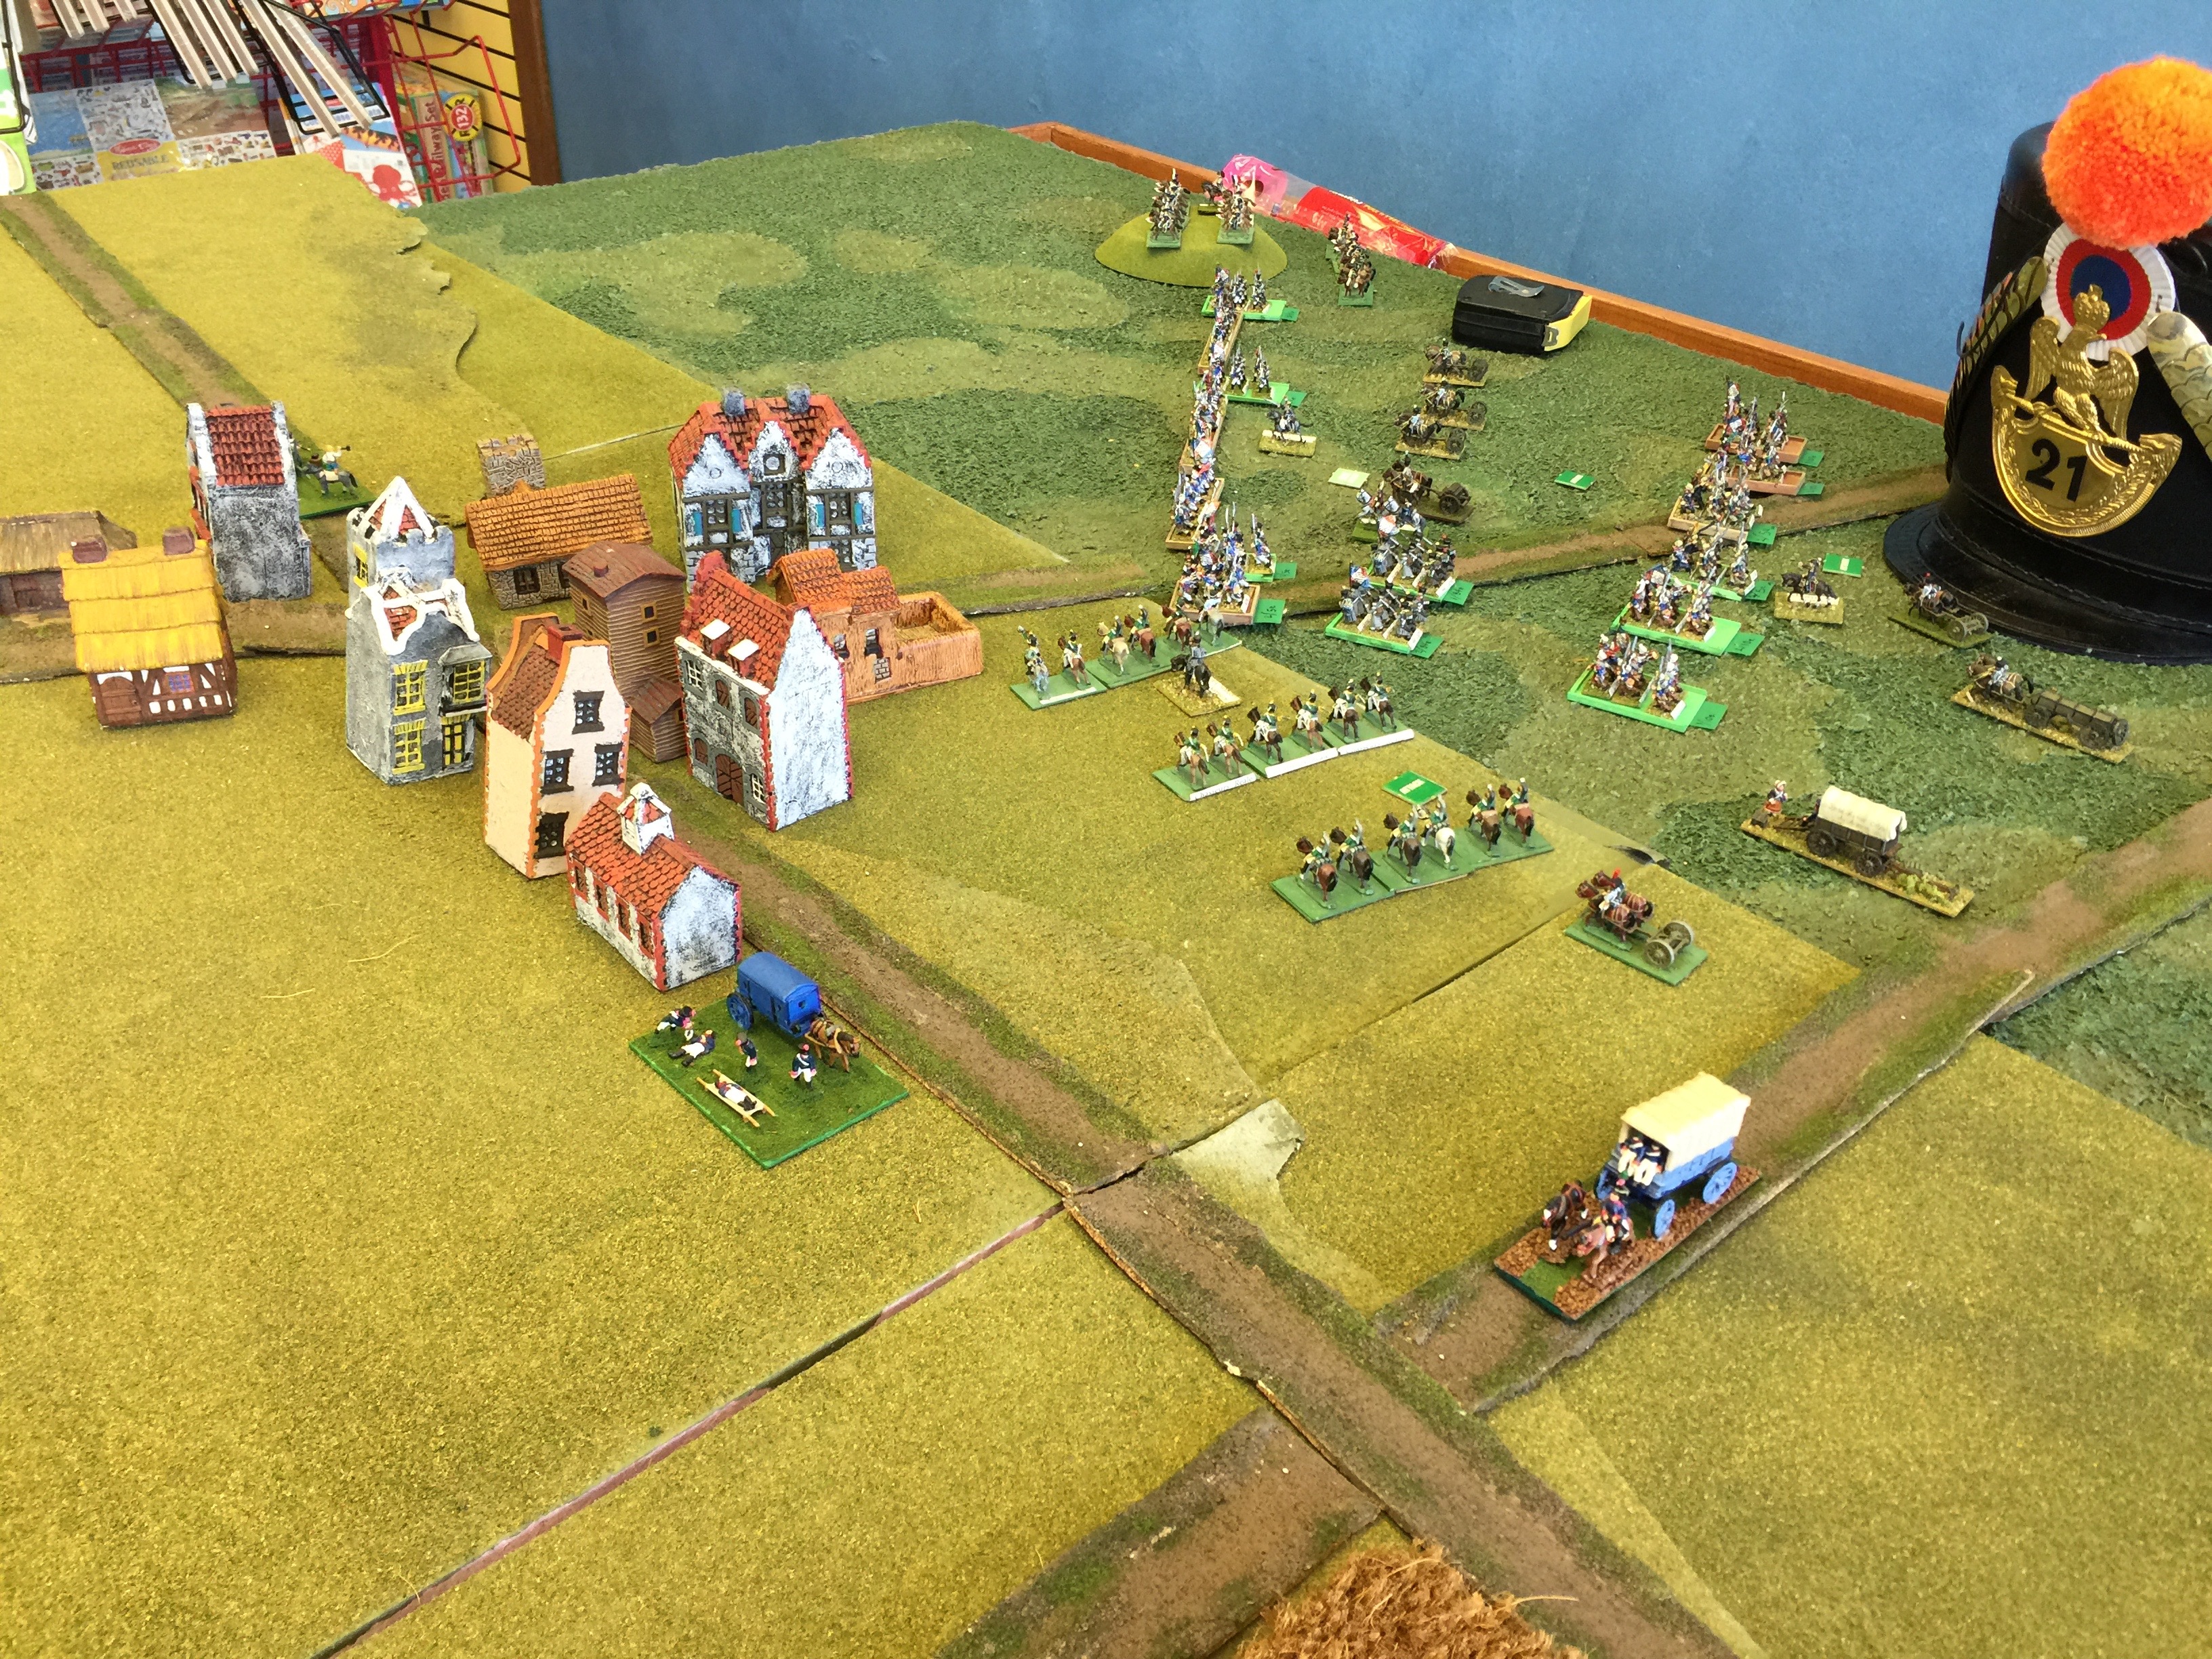
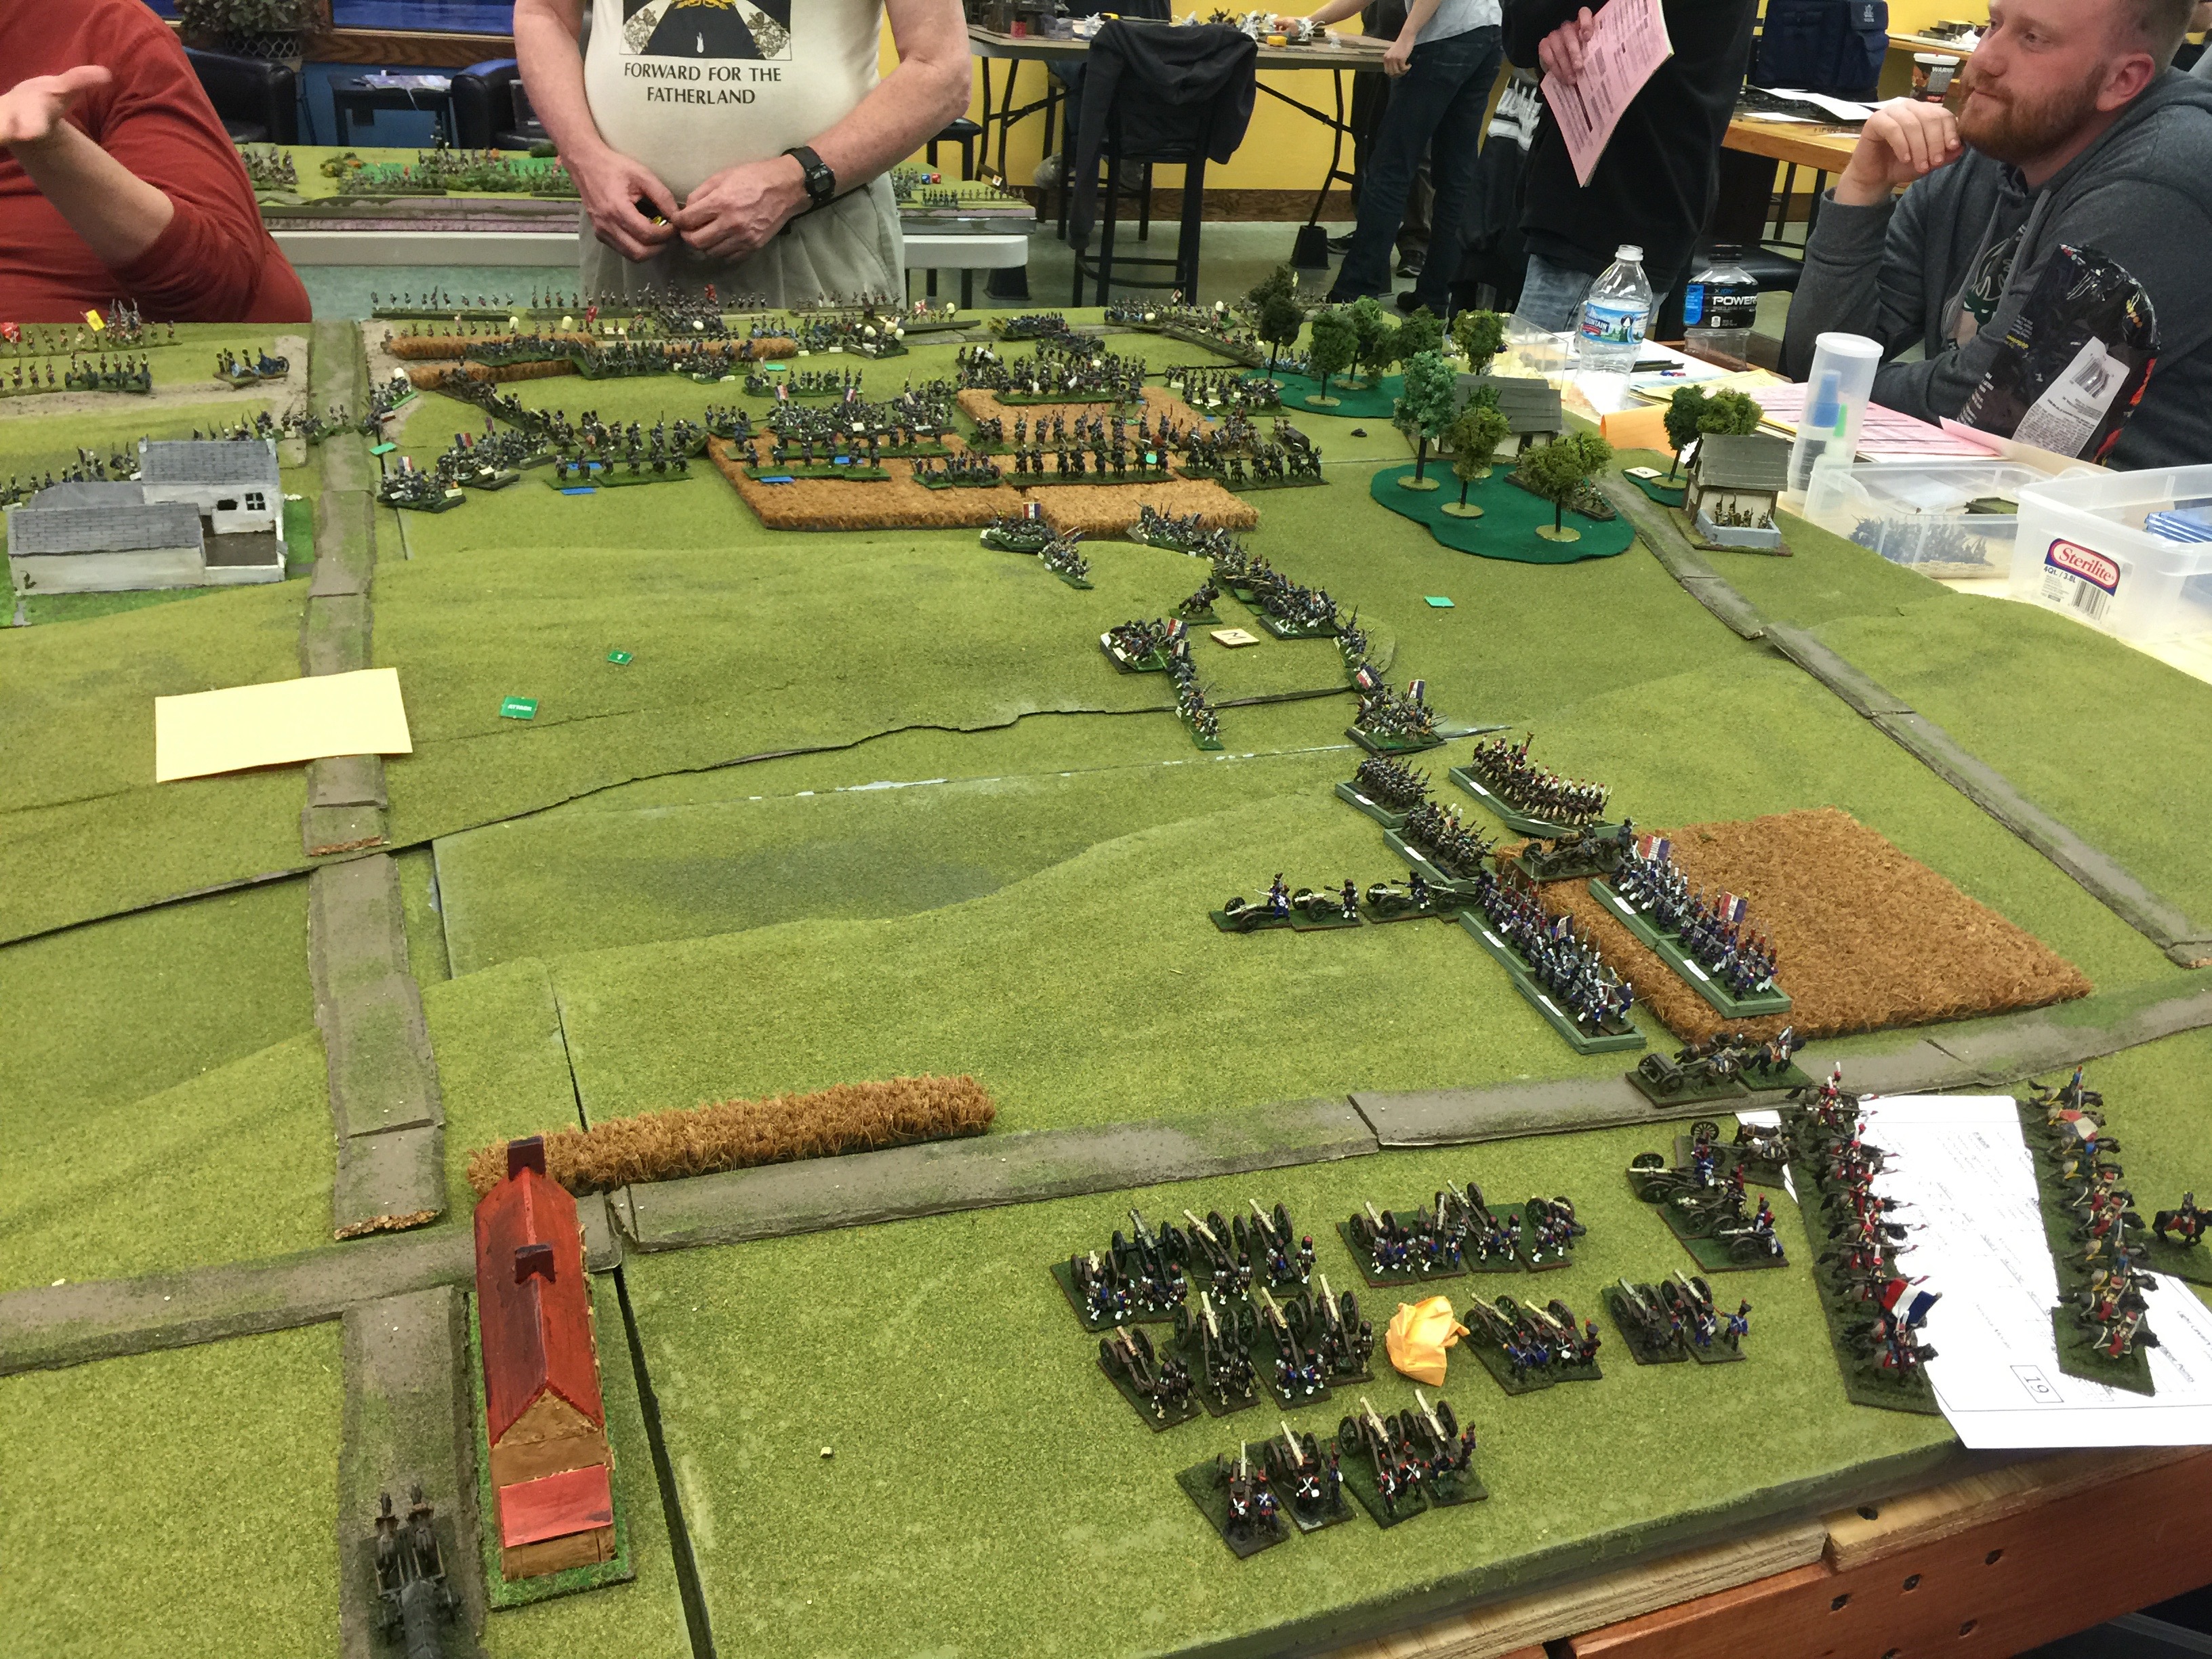
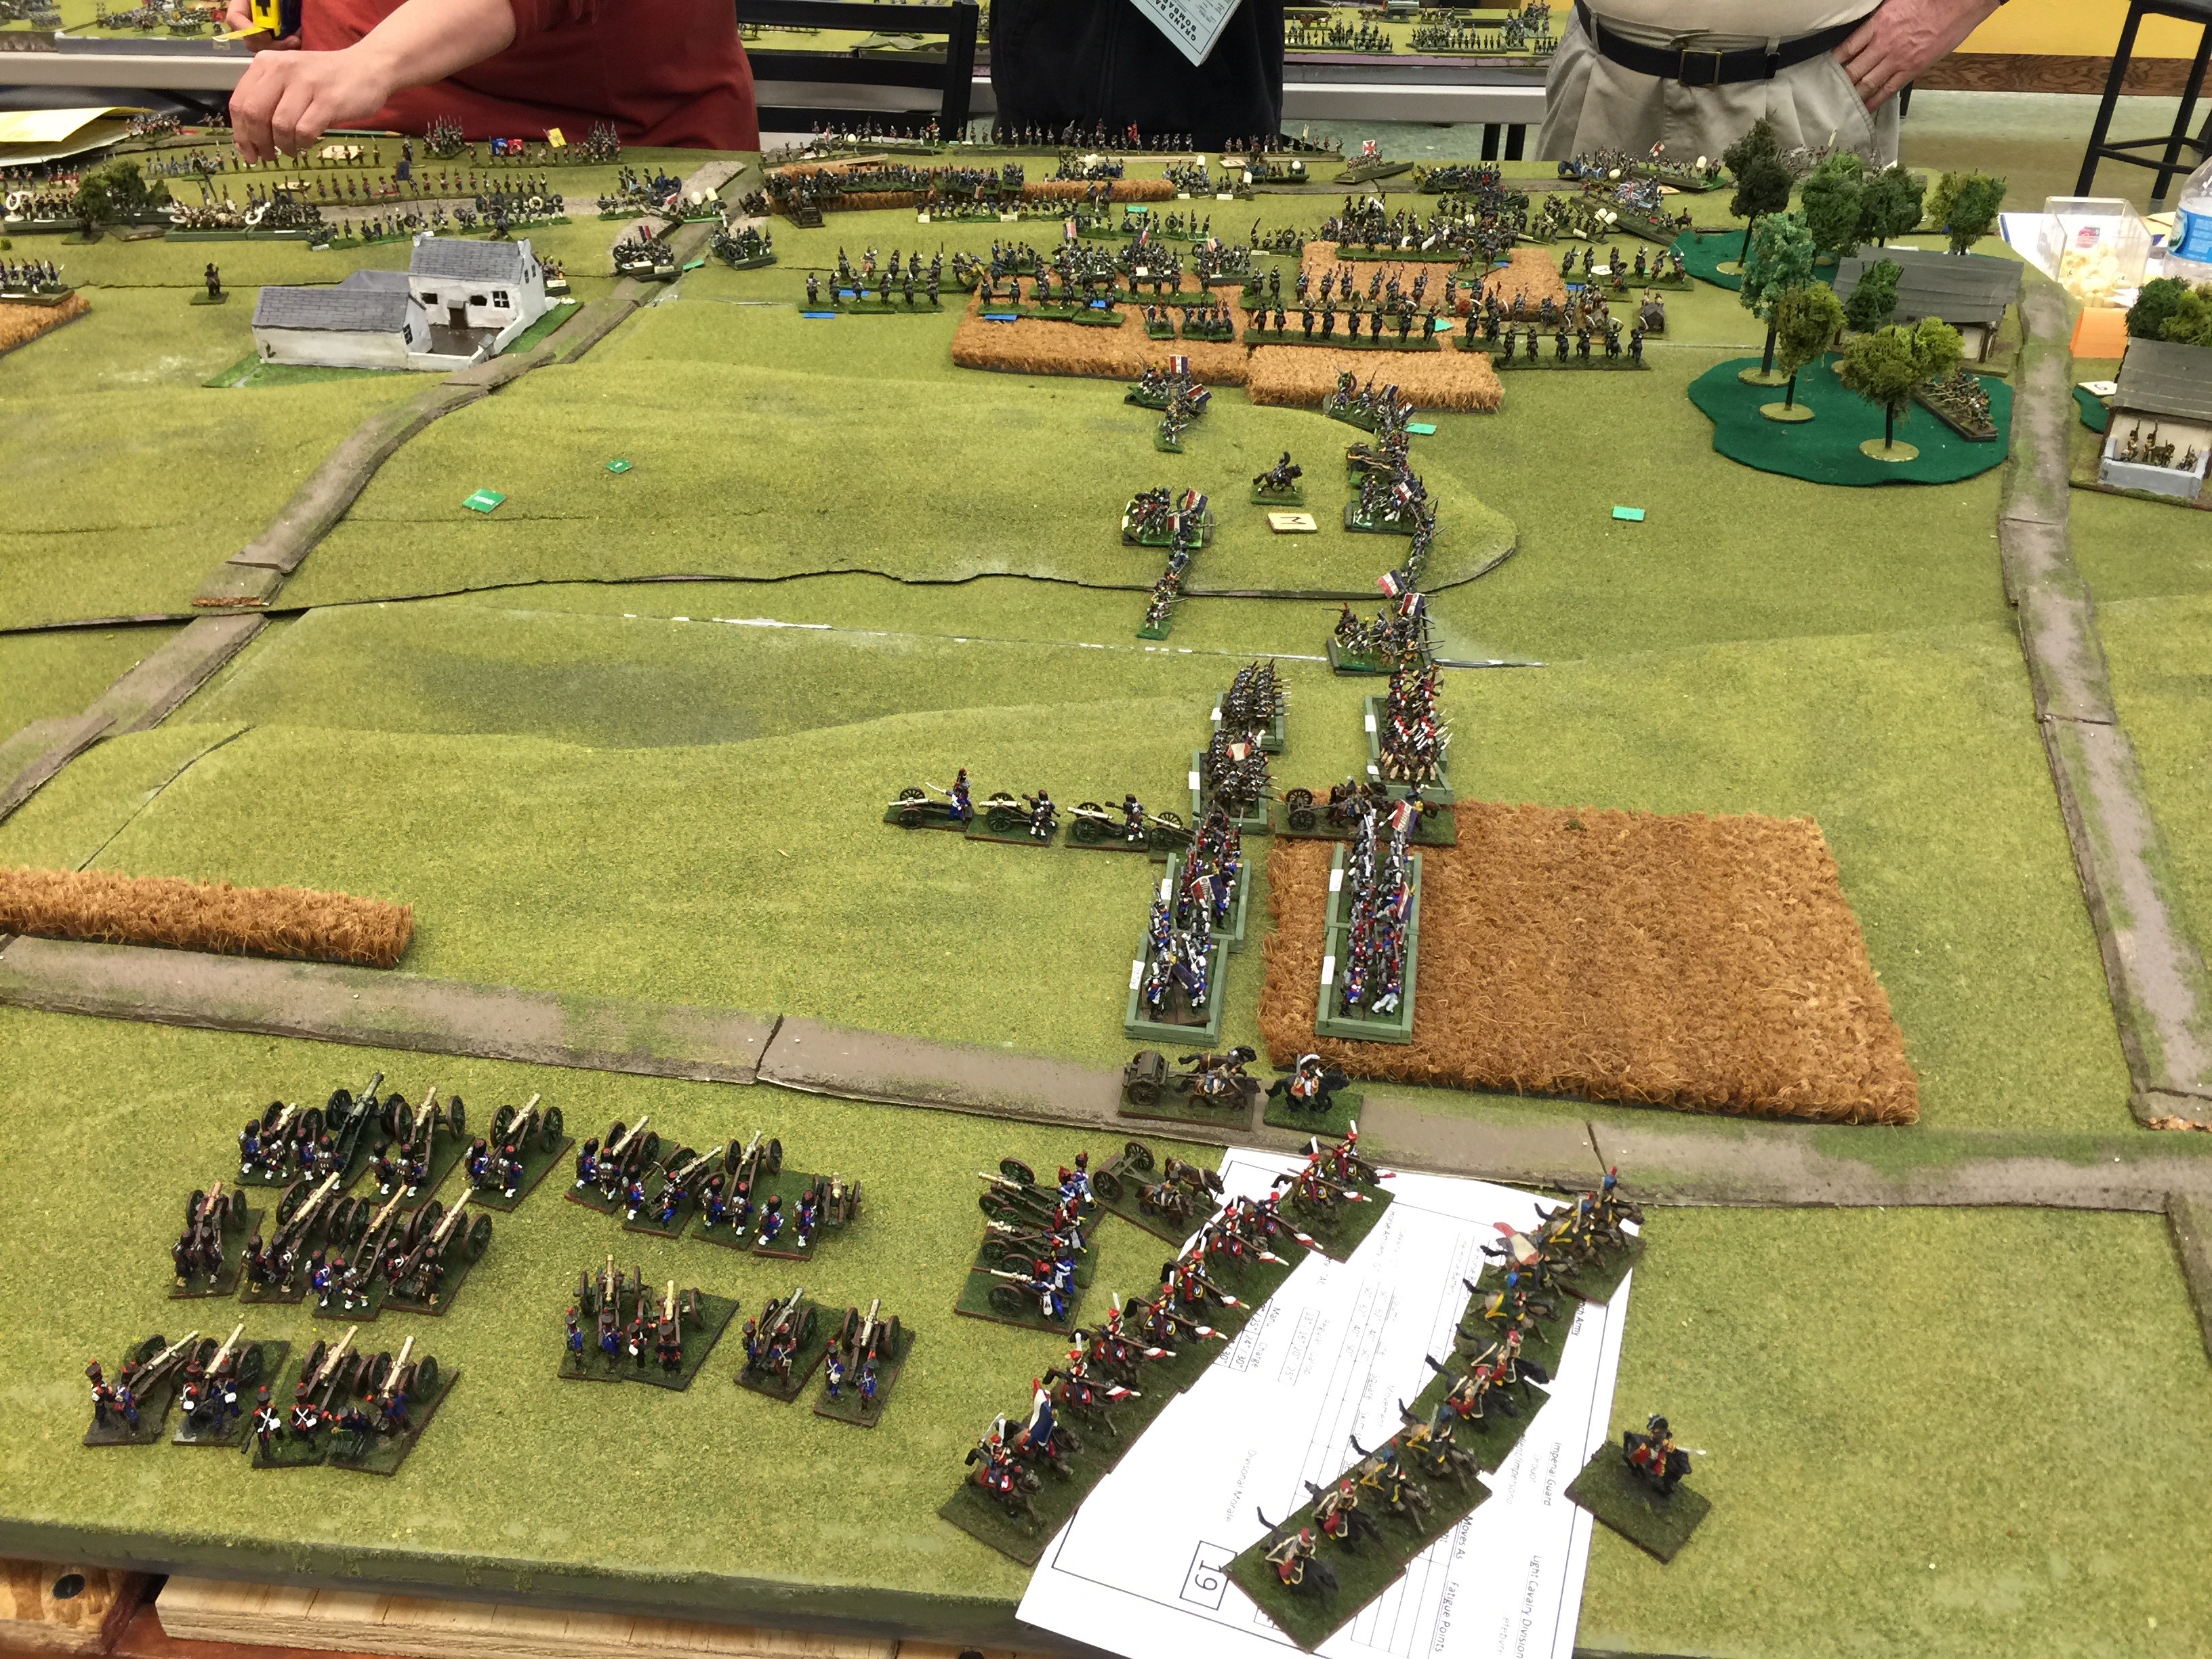
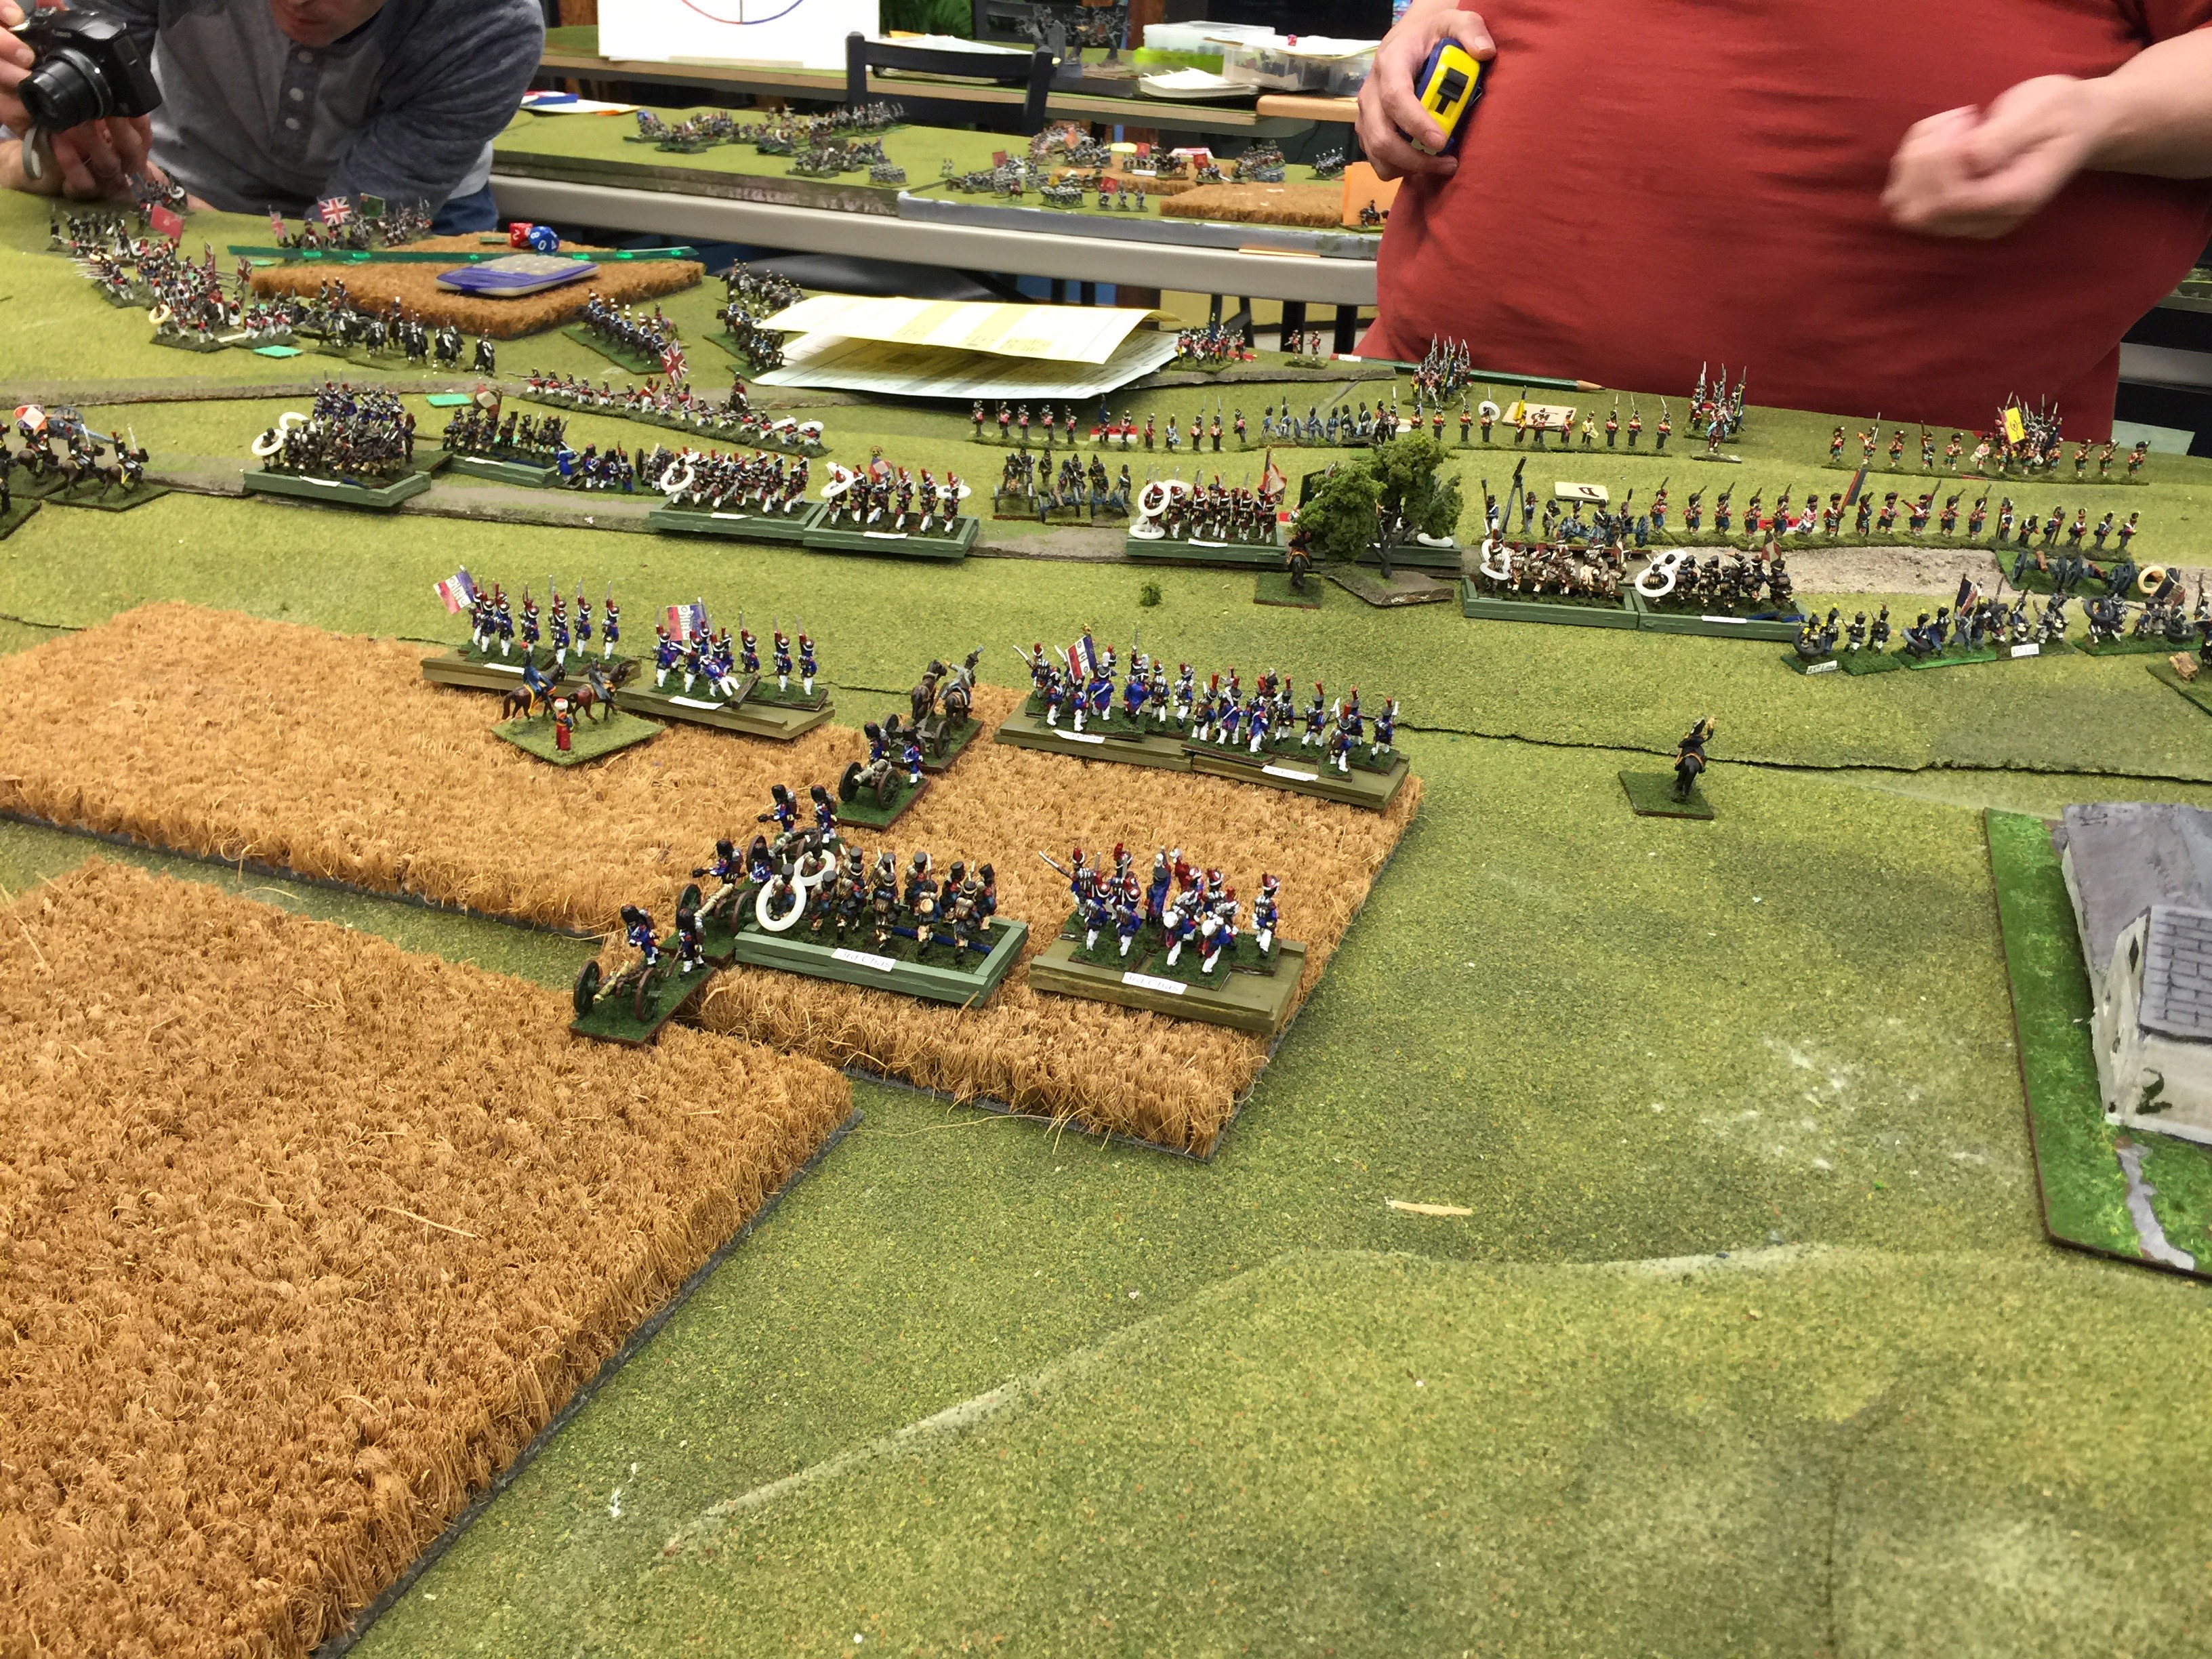
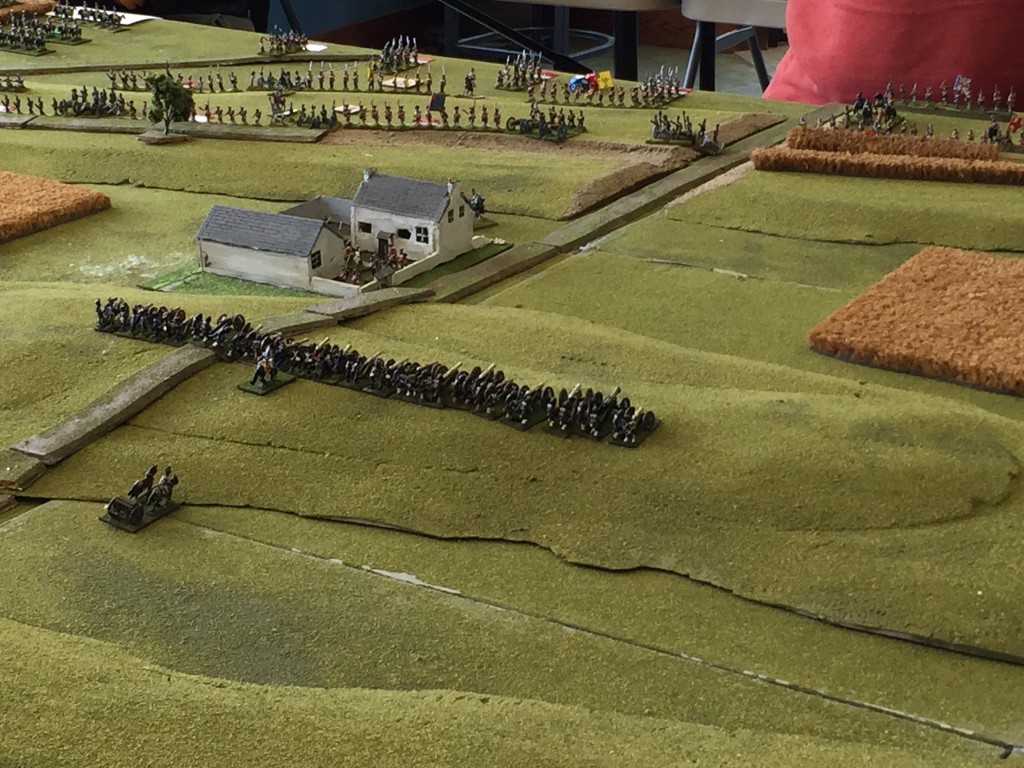
Napoleon ordered the artillery forward on the road and have the artillery deploy as a grand battery and see what we might be able to prepare. As historically happened the majority of the Brits took cover on the backside of the hills so the direct targets were few. The garrison in Haye Sainte took quite a bit of love and some cav you can just barely see attracted a cannonball or two. With the ground being muddy (as it historically was), we delayed moving forward to meet the long red line.

From what we could spy off in the distance, Wellington was probably in the middle. Brit cav was no were to be seen. We didn’t see the Dutch/Belgians, the Hannovarians nor the Brunswickers on the main battle line. Indeed the poor troops were all behind the main battle line which meant we would have a tougher time ahead to punch a hole through.
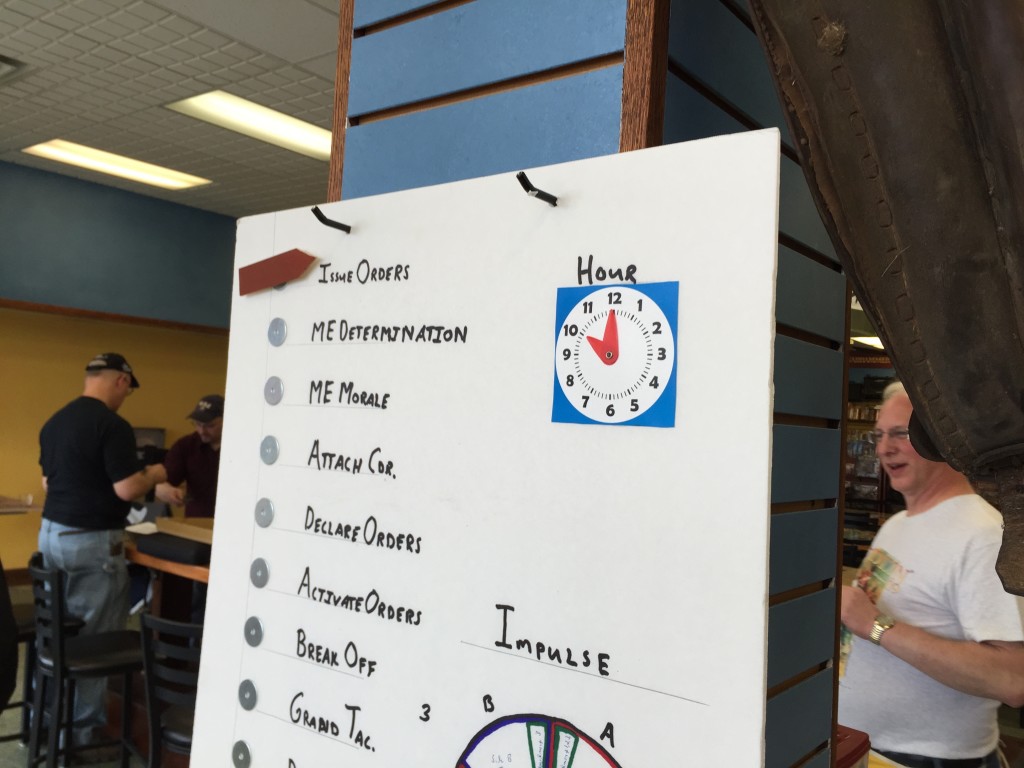
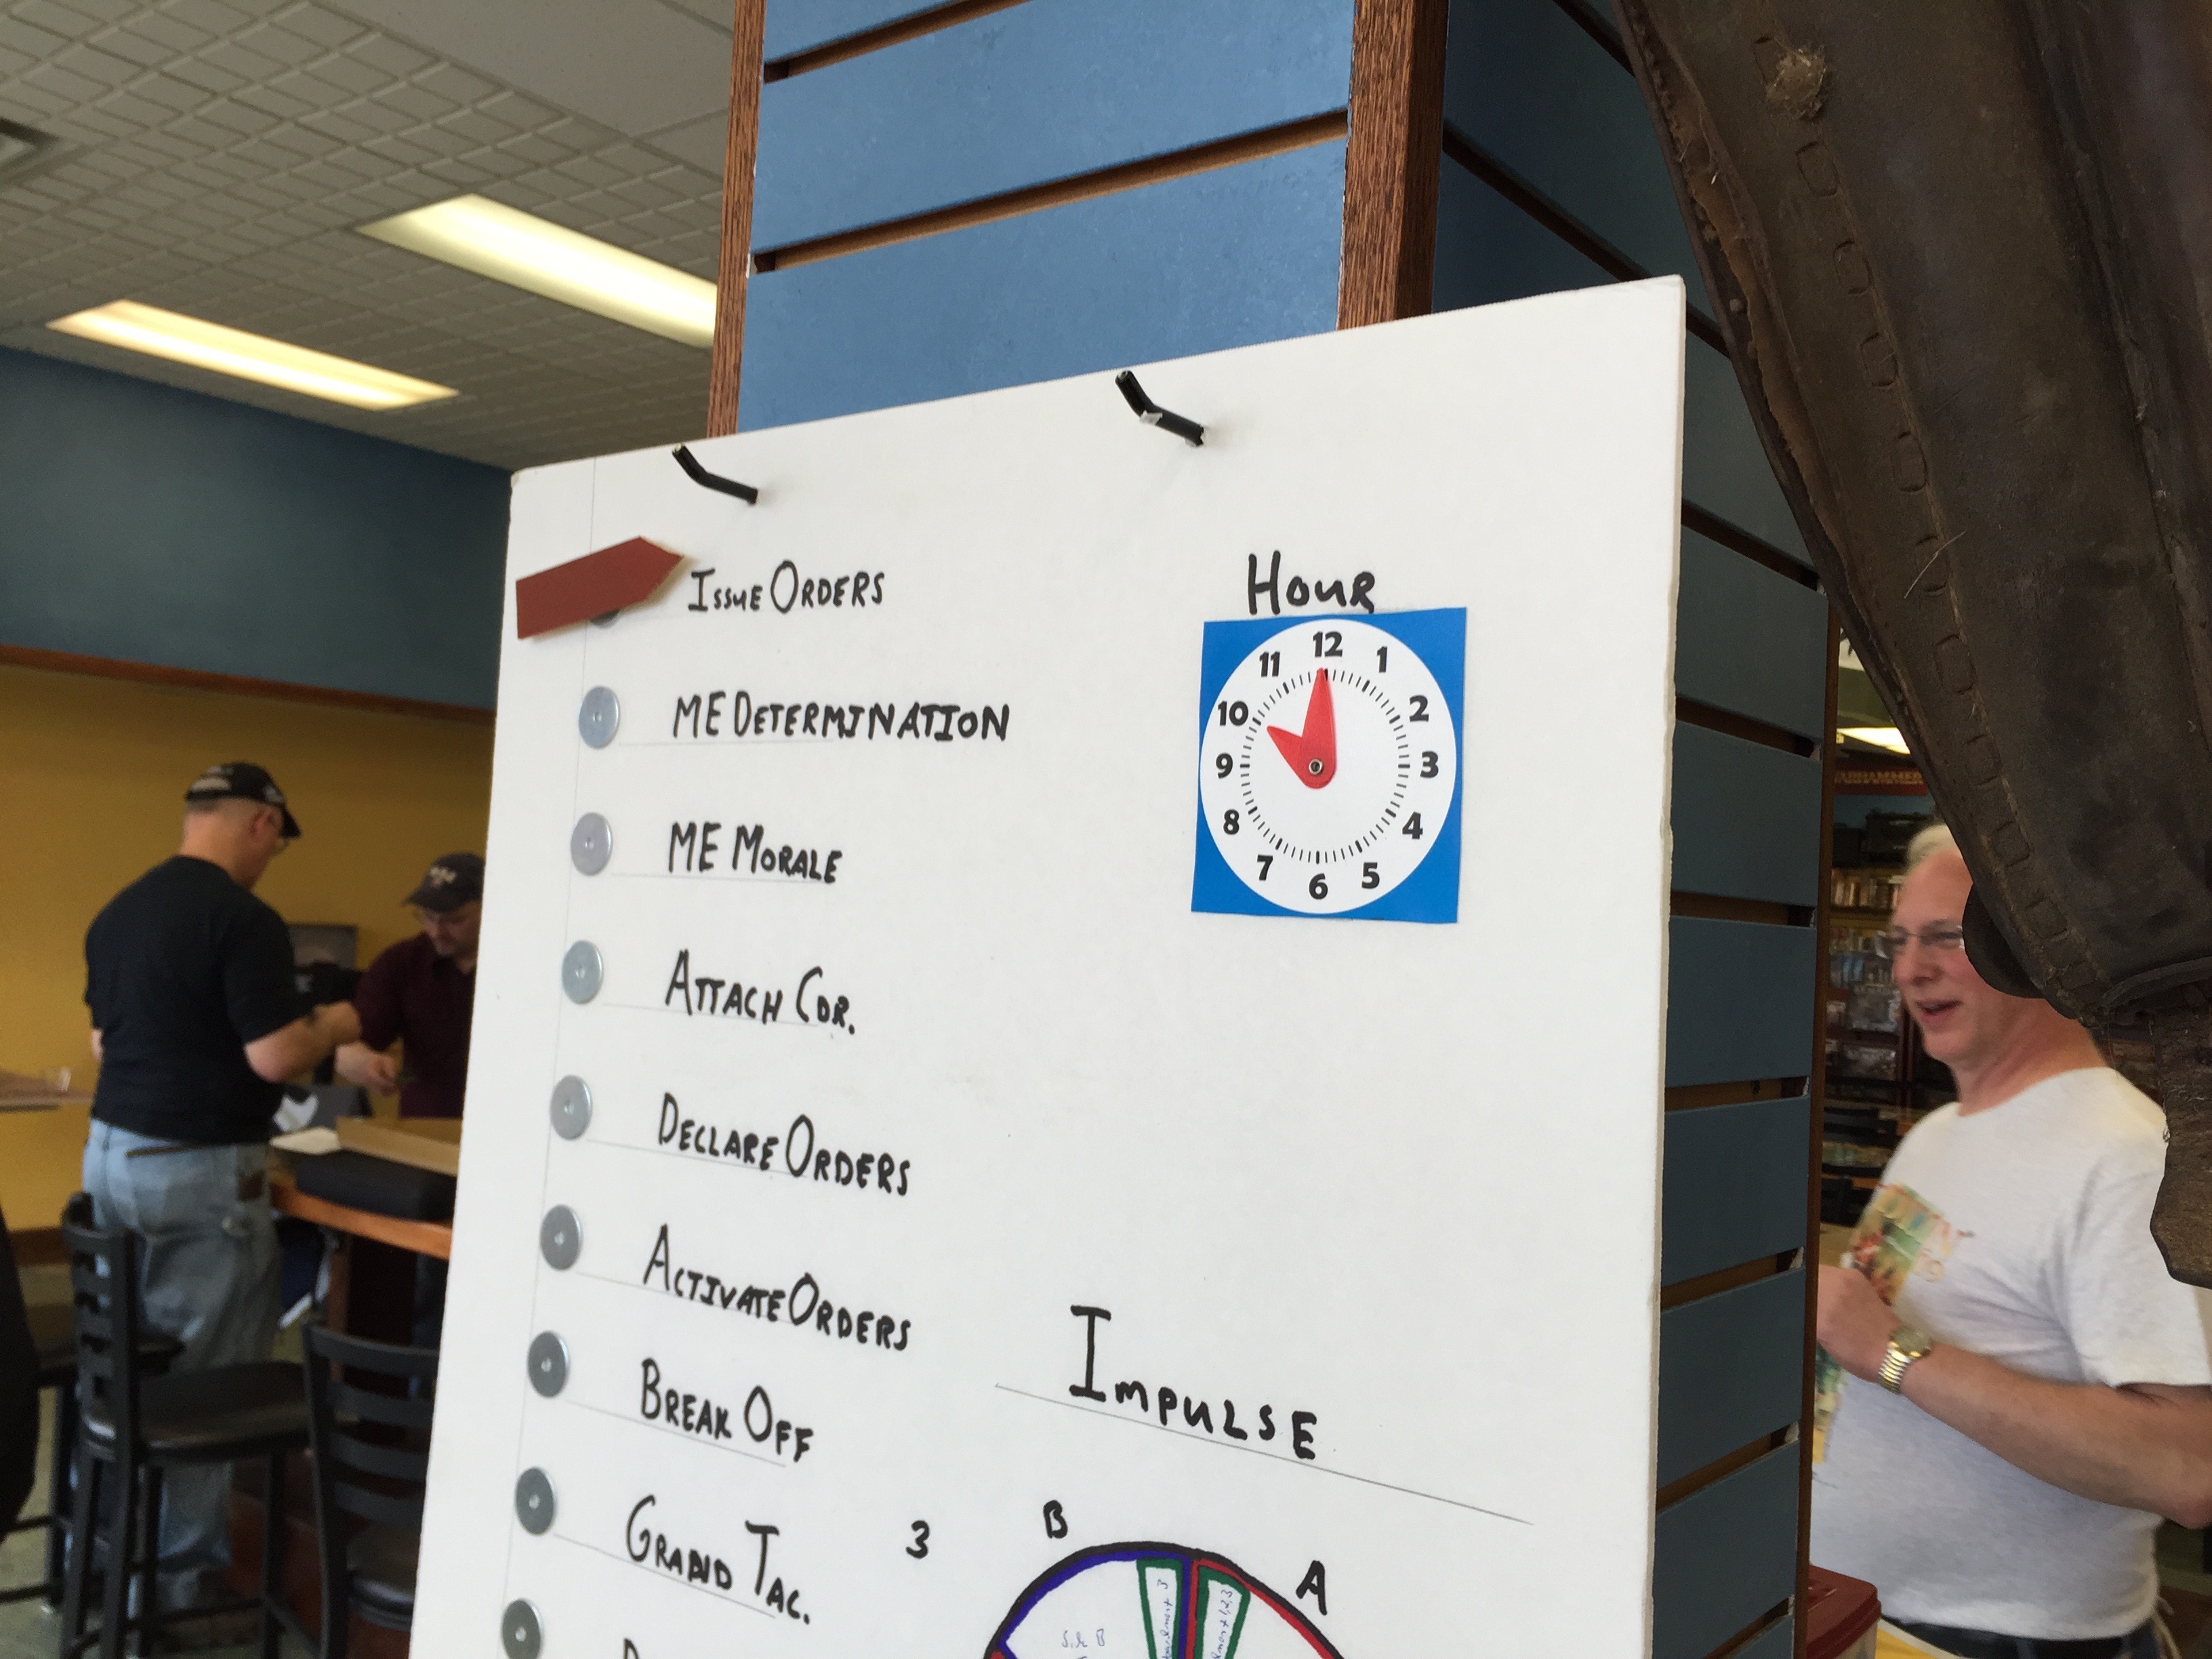
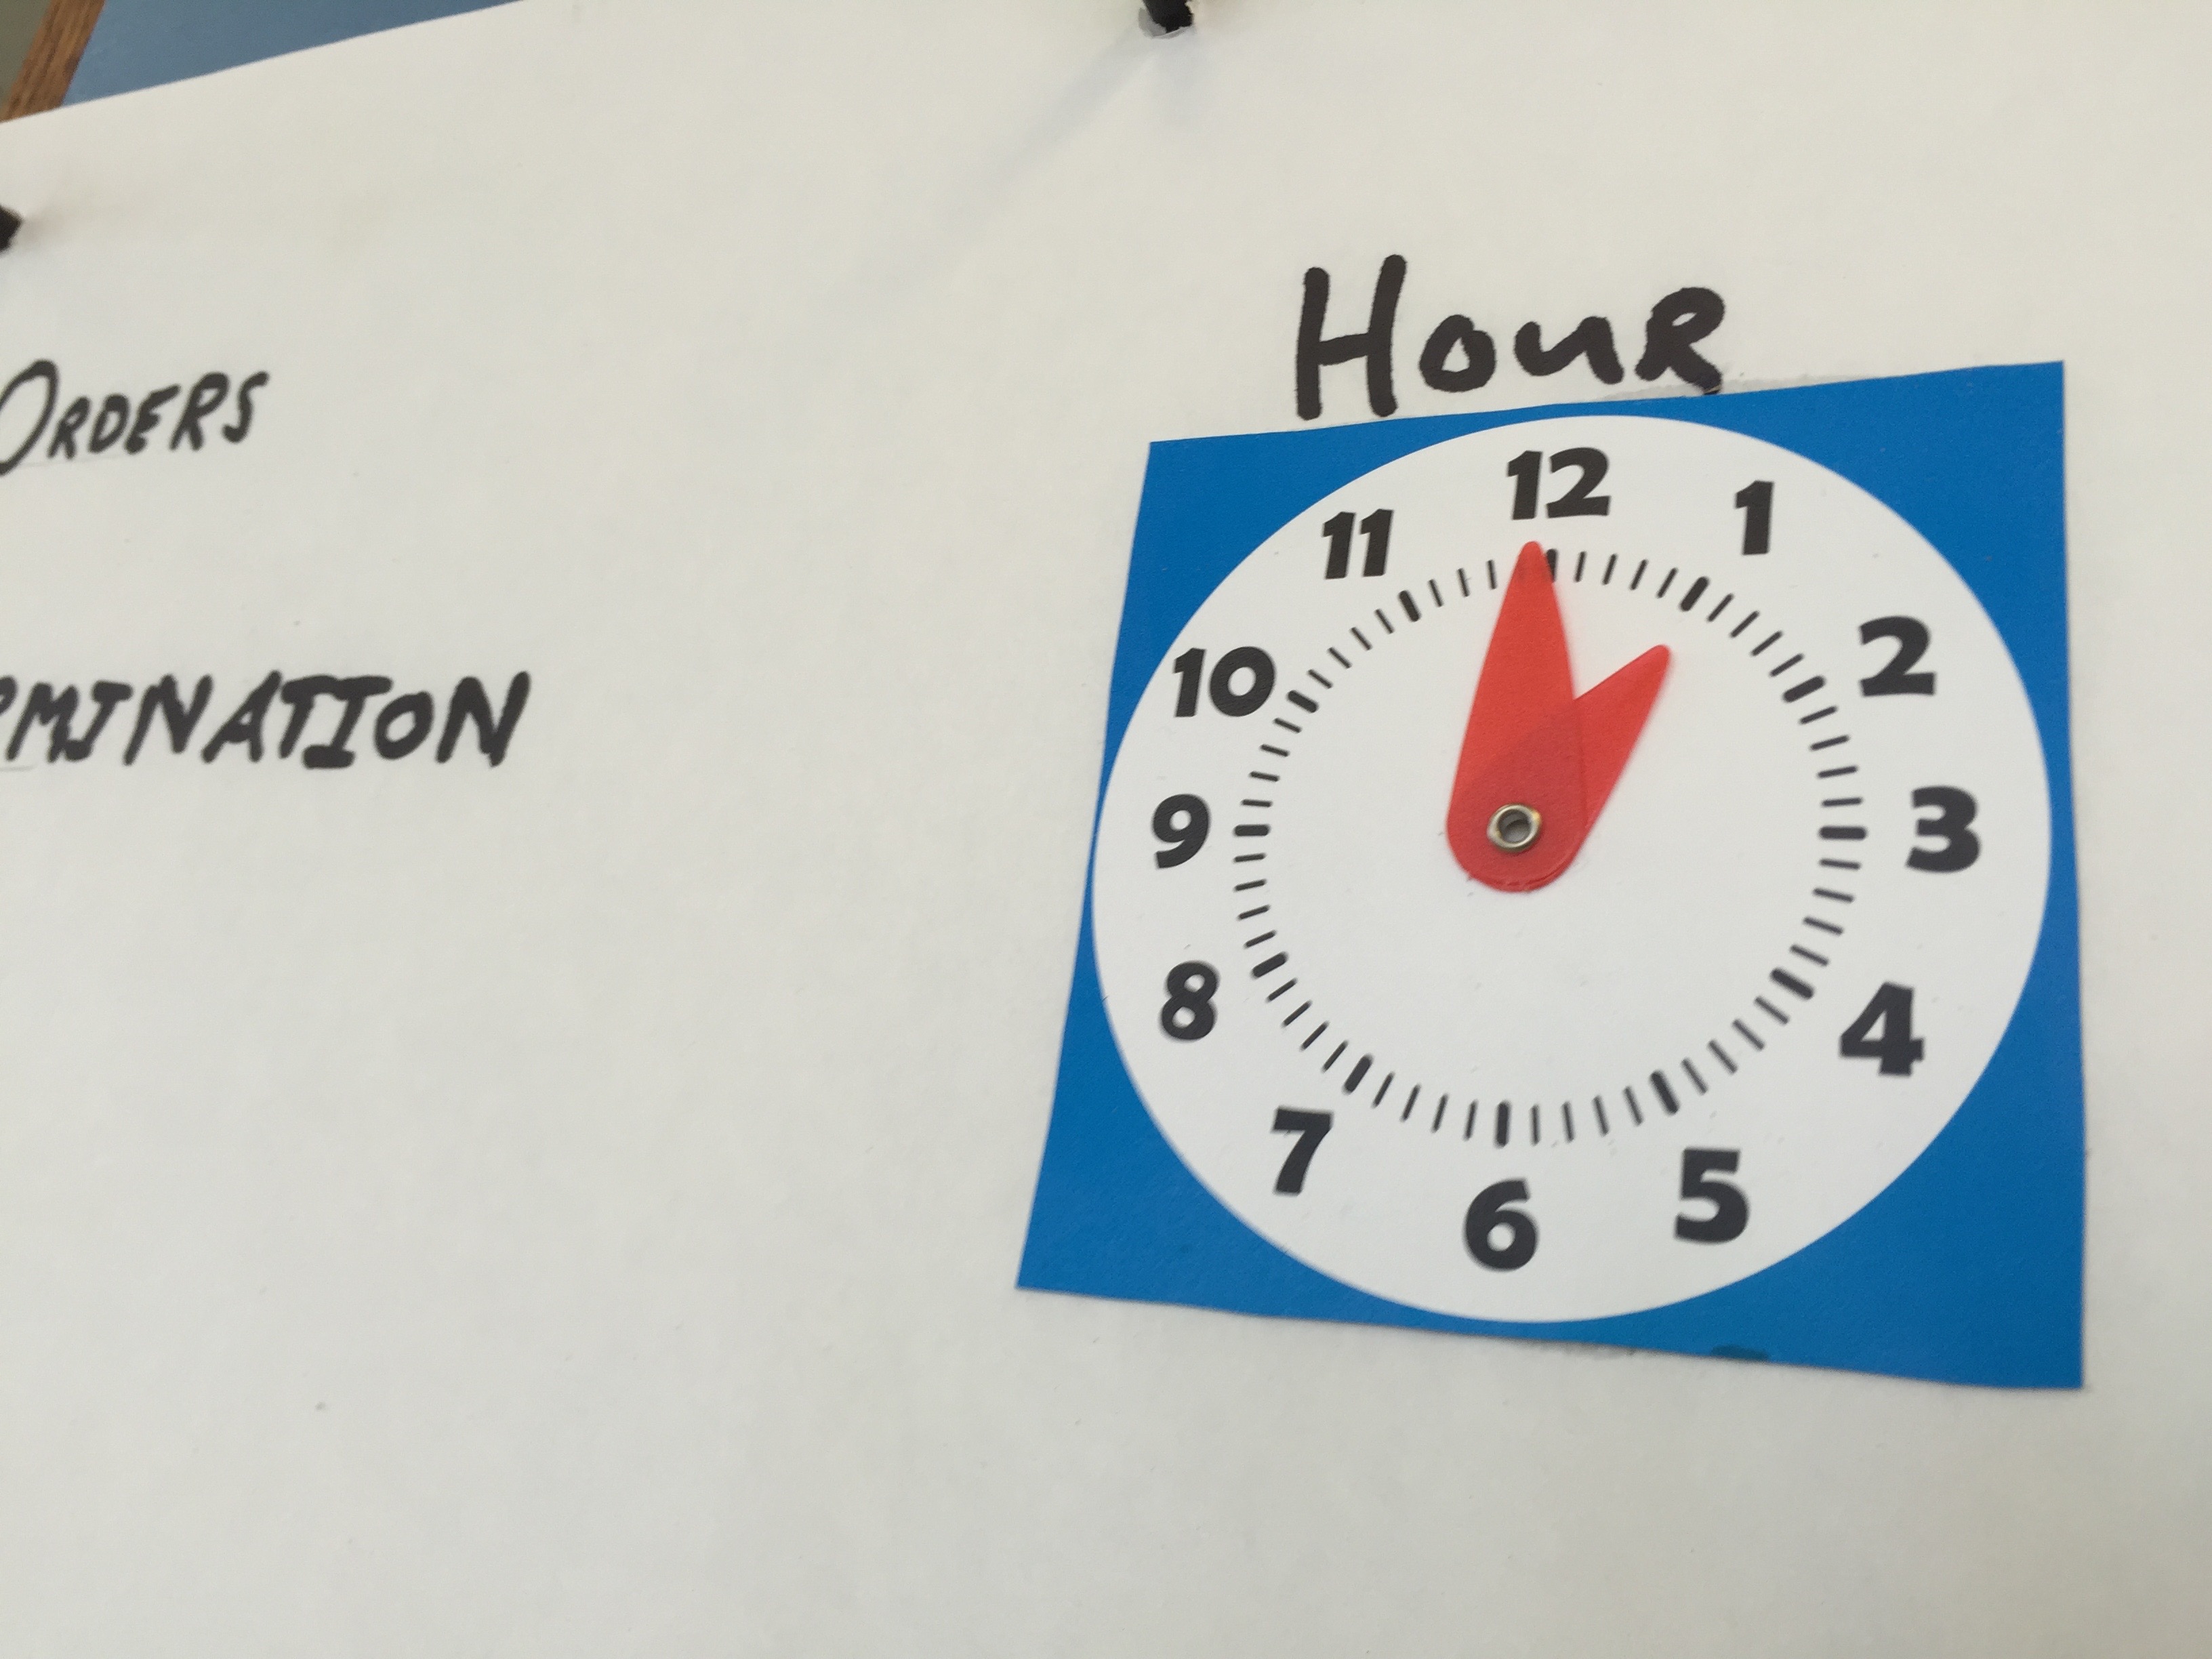
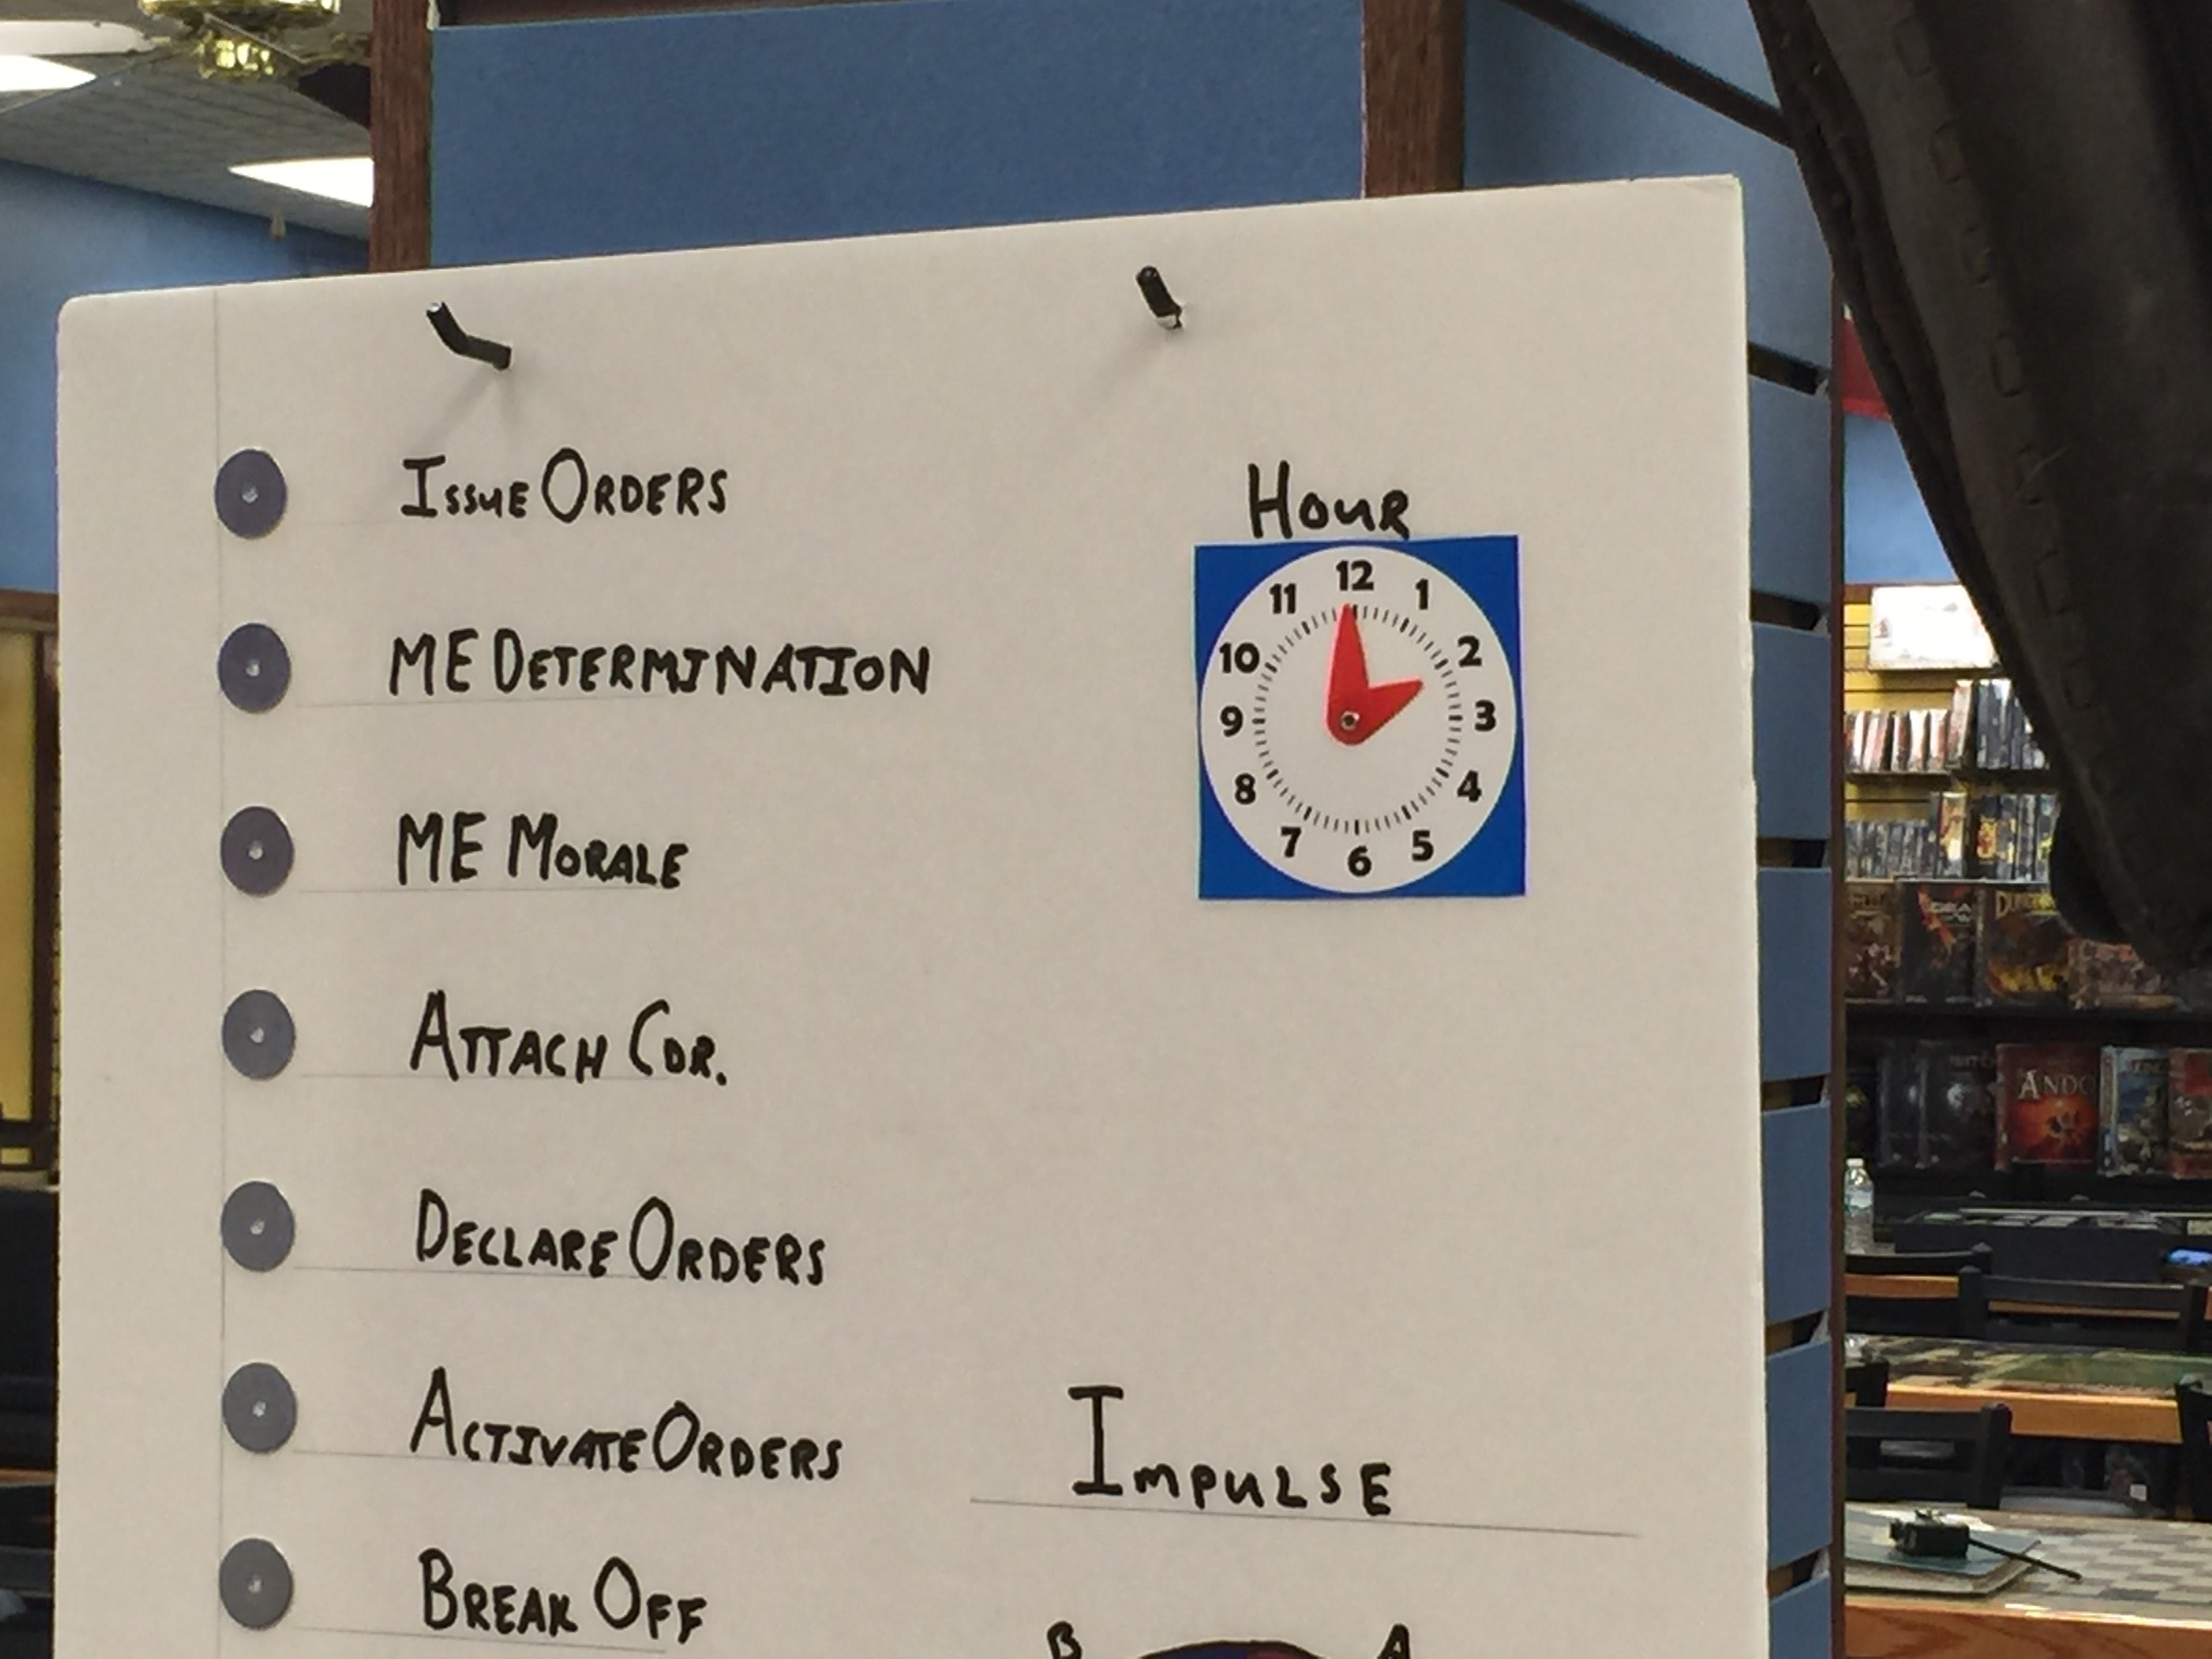
IMG_9463We had these great markers for keeping track of where we were in the game. Not sure who made them, (Dan?) but they were great. As you can see the bombardment from the grand battery was at the 10am hour.

IMG_9467

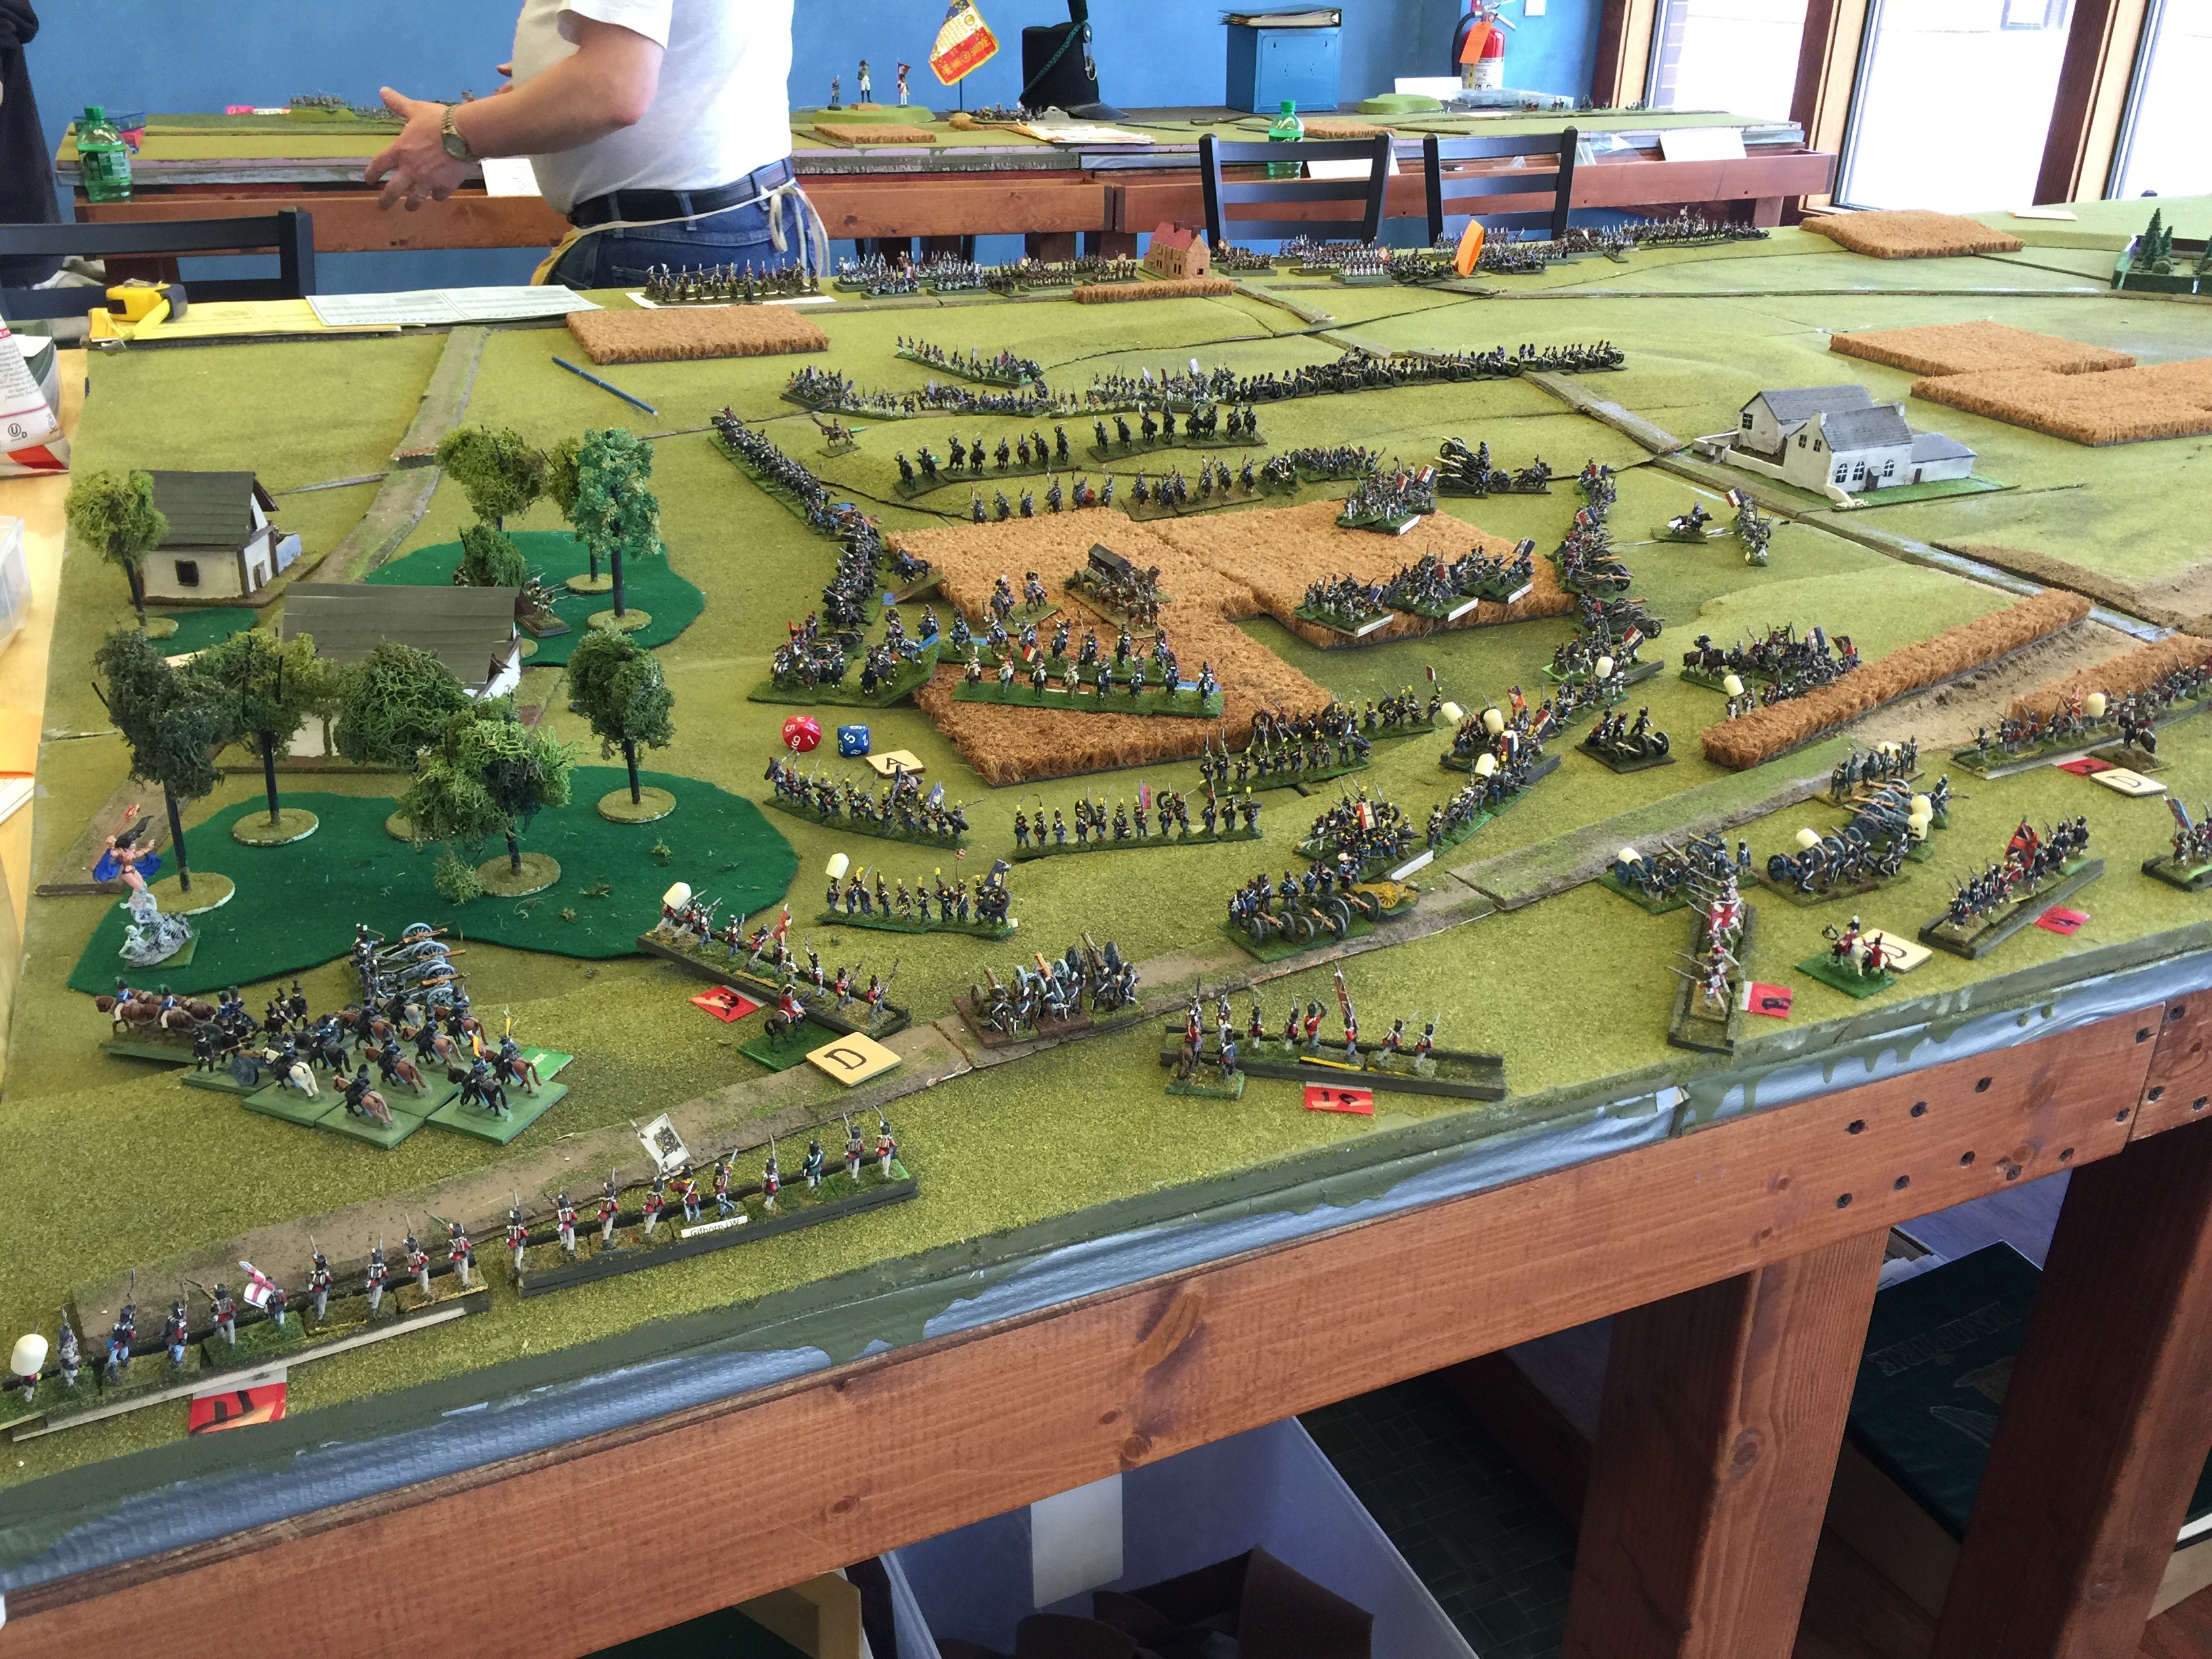
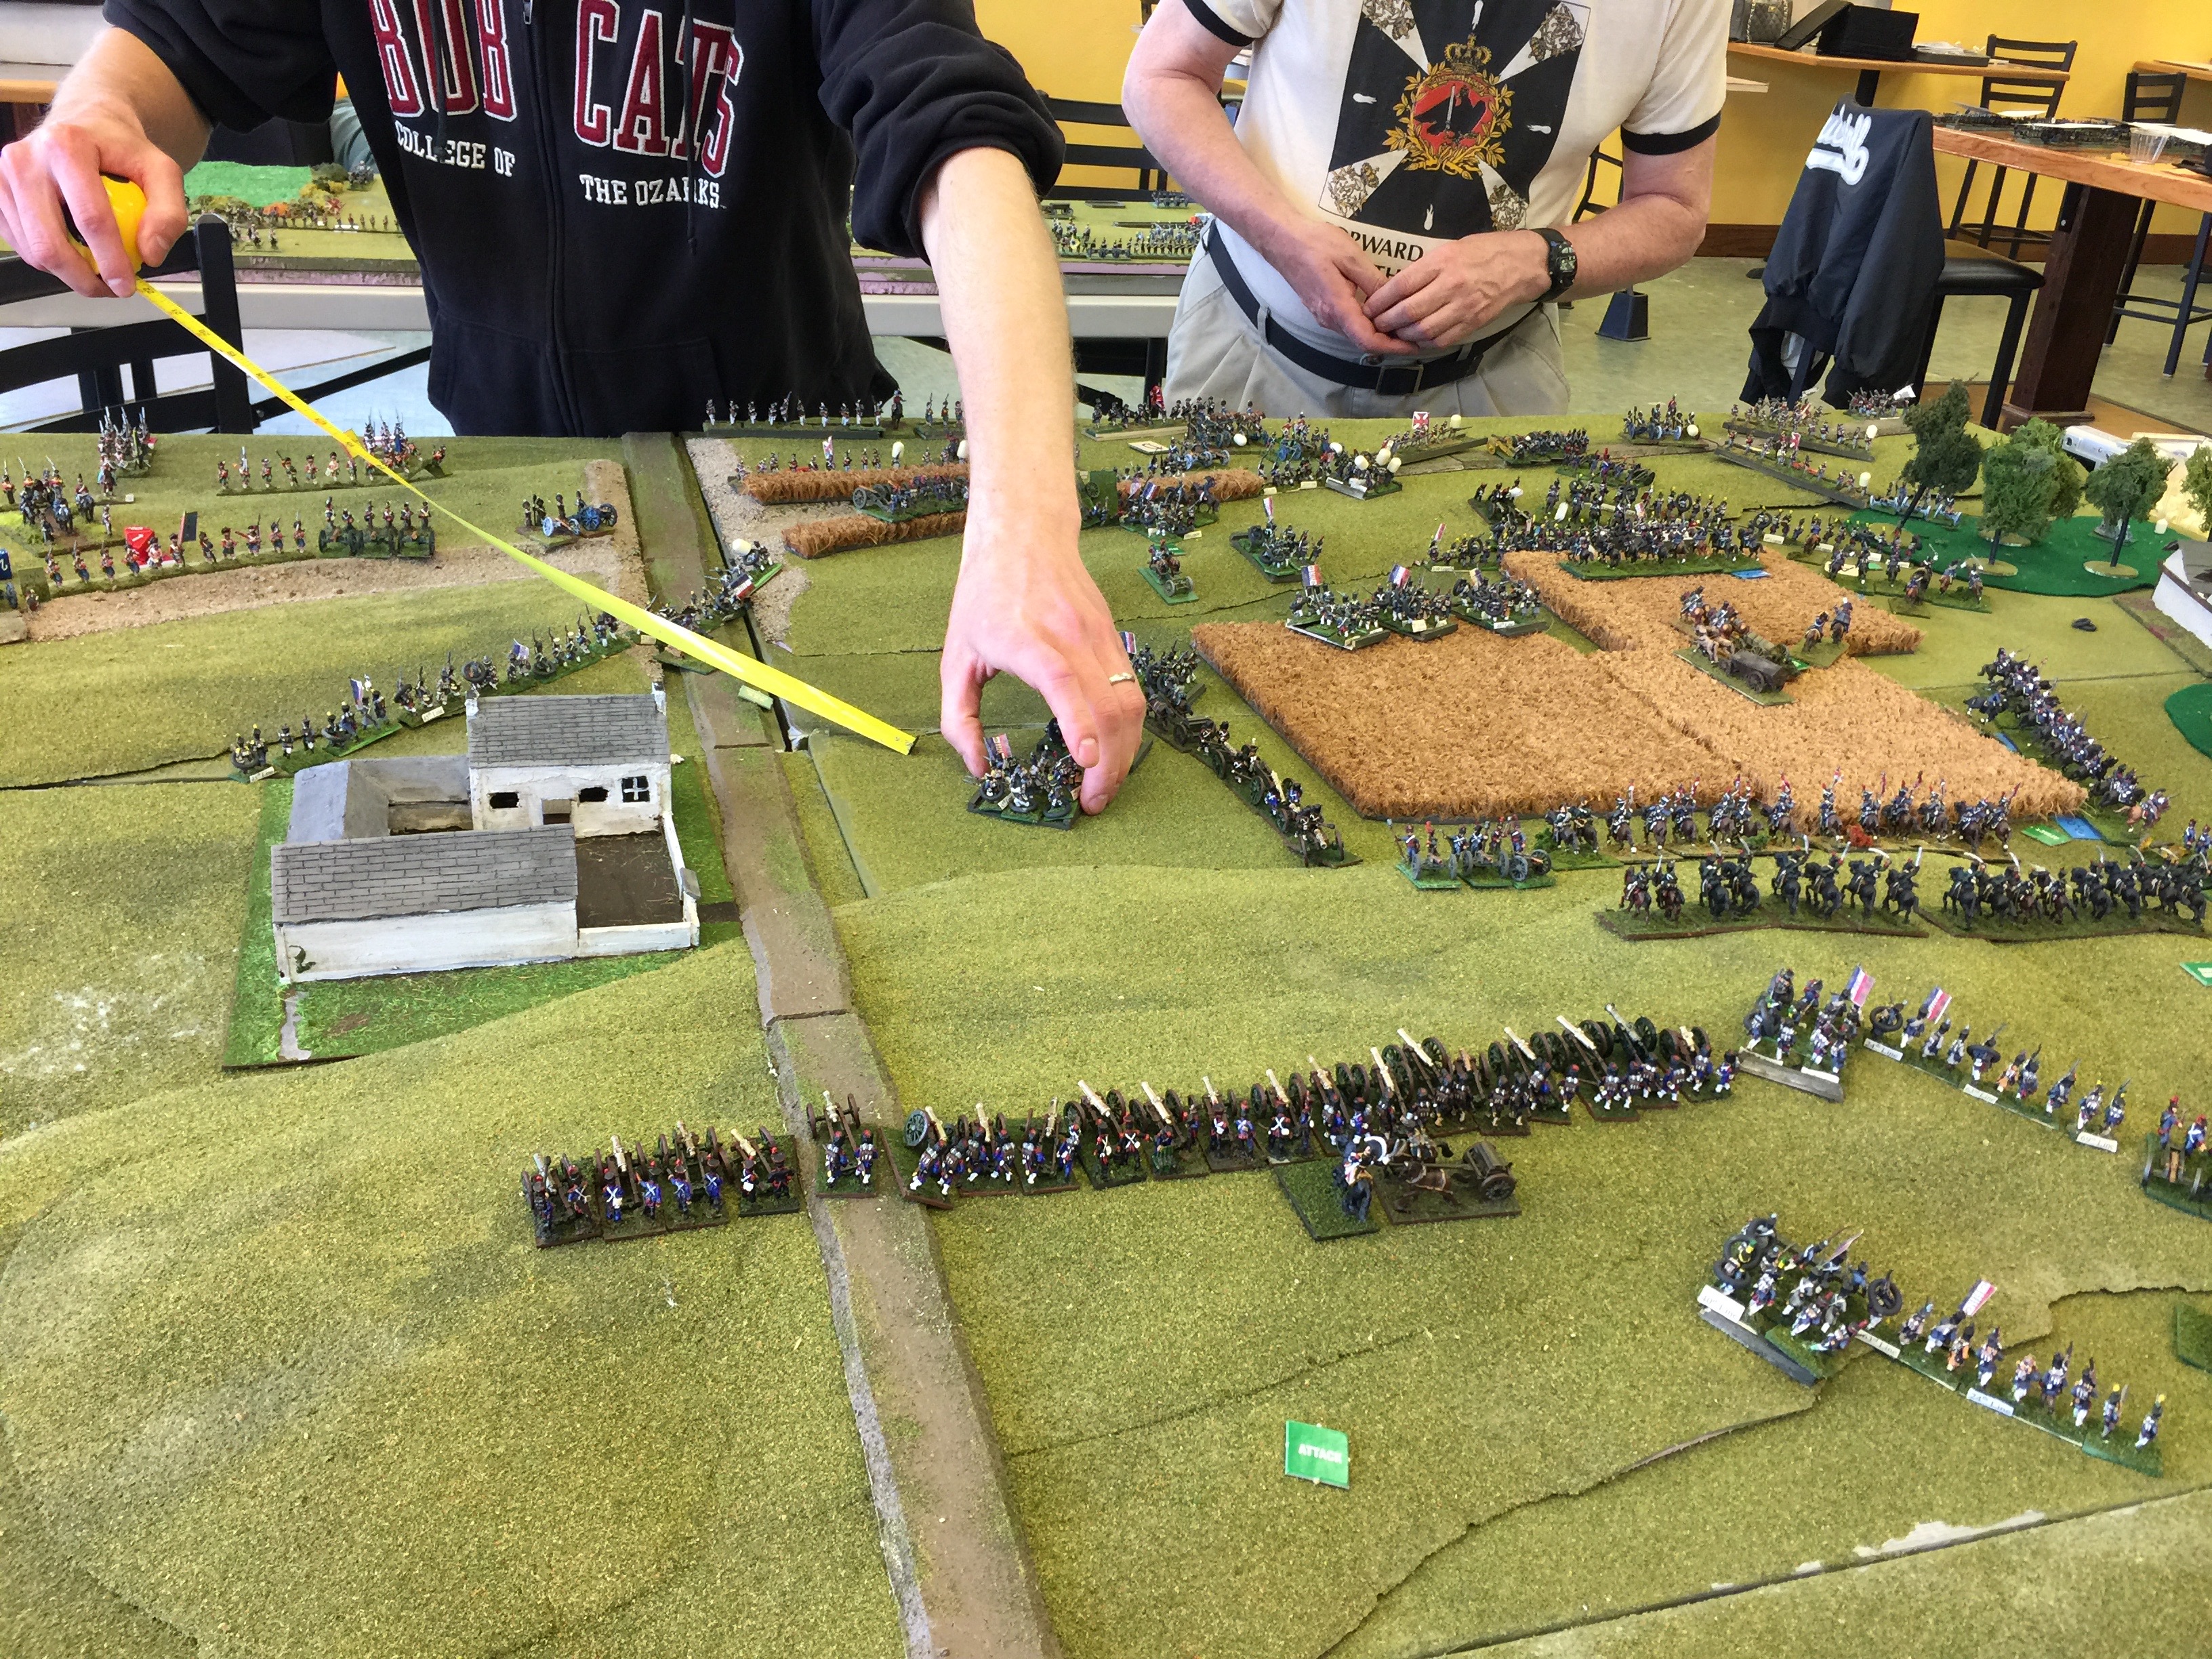
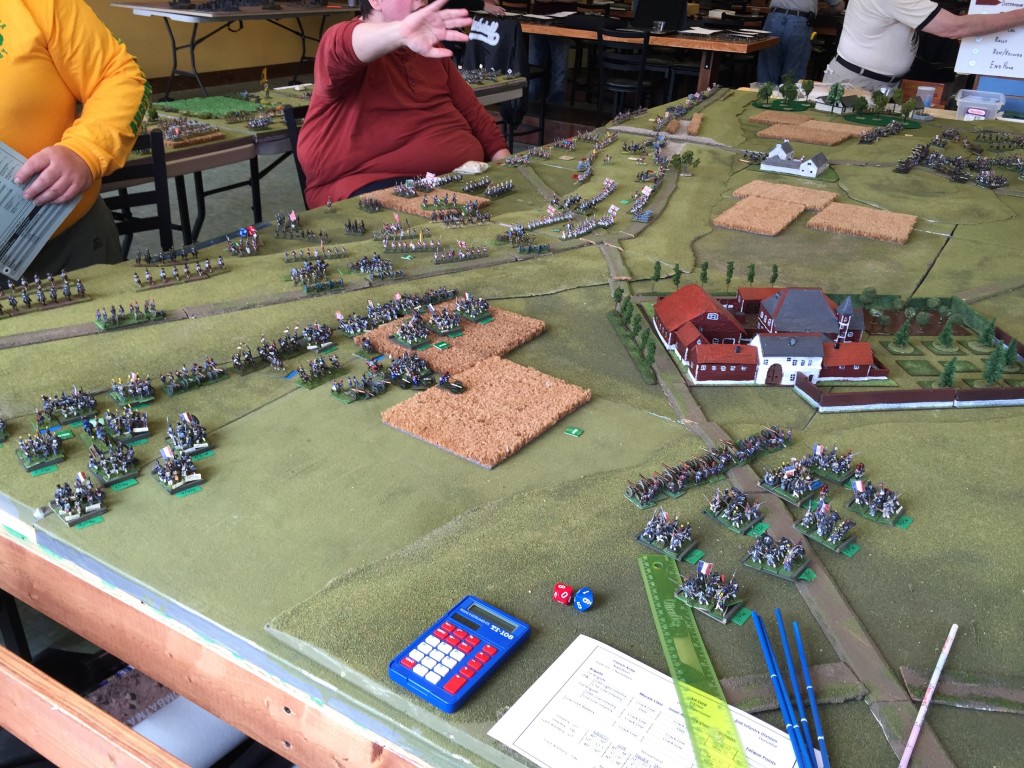
Here we are on the right flank of the French line just after our first movement at the 11am hour. The cav screening is my command and the line of infantry moving forward was Andrew and Aaron running the II Corps.

On the left flank on the table behind were the Brunswickers. Could we make it that far?
IMG_9468

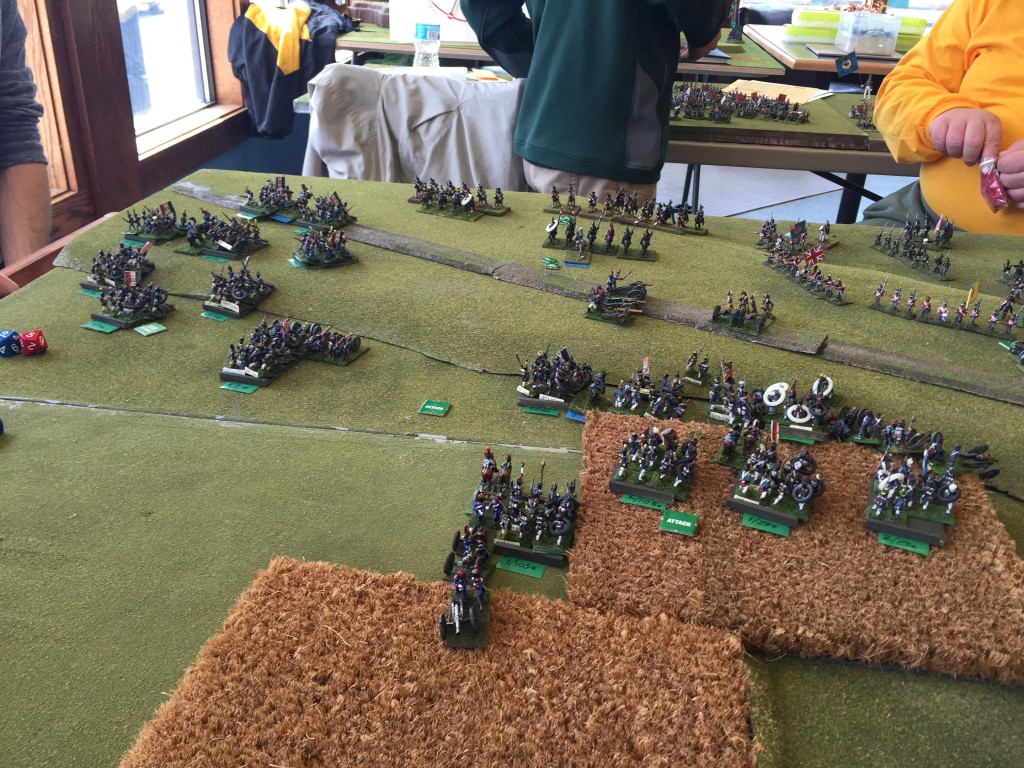
Wellington obviously NOT wanting his picture taken as the French I Corps made most of their grand tac movement. Unfortunately a division of French is seen here in place… I believe they didn’t make their activation roll and thus didn’t get the memo to get a move on it.
IMG_9470

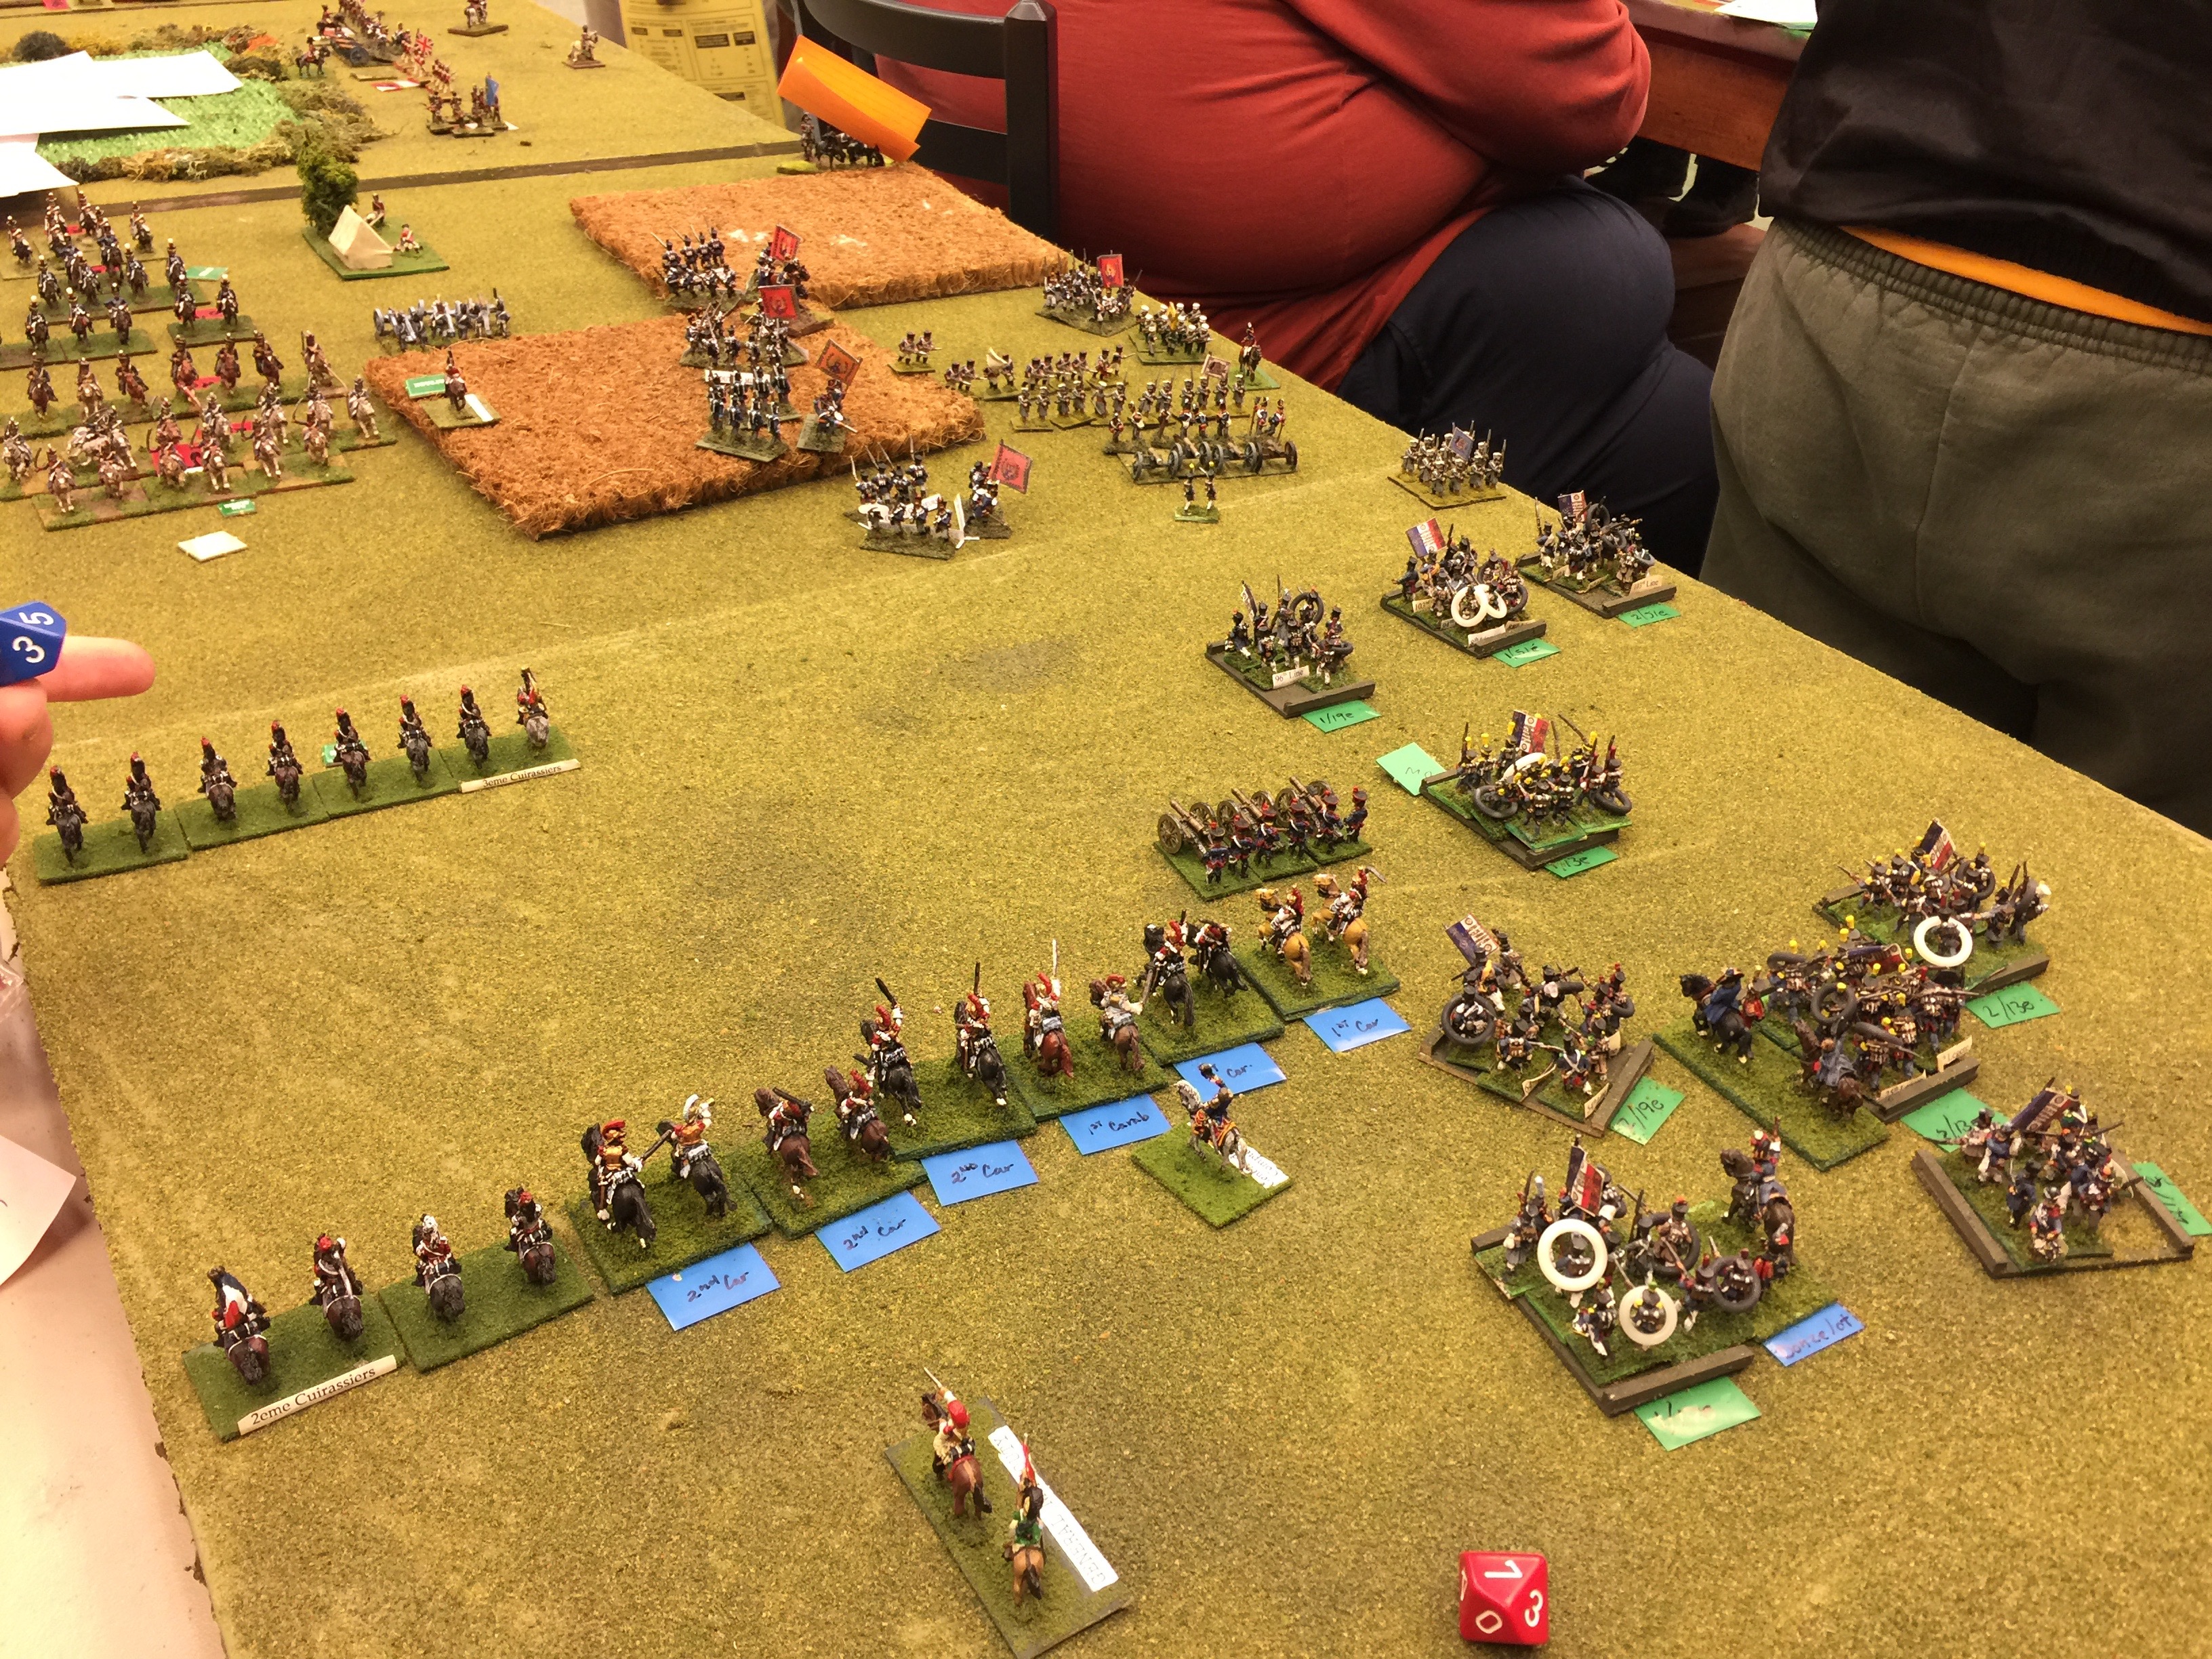
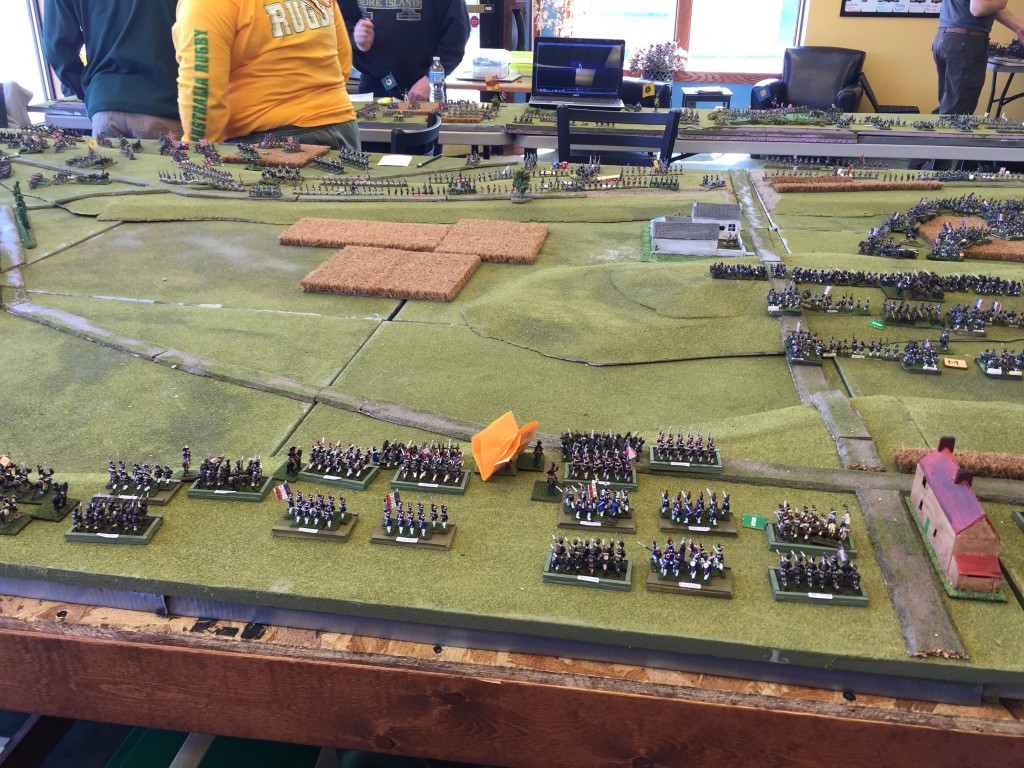
On my side for this initial hour I wasn’t engaged so that would be it for my Cav for the hour. On the left flank however things heated up quickly with the French on the move and very quickly getting into the heat of the action that started with a few Cav scrums between Mike and Todd. Most seemed to go in the favor of the French.
IMG_9473

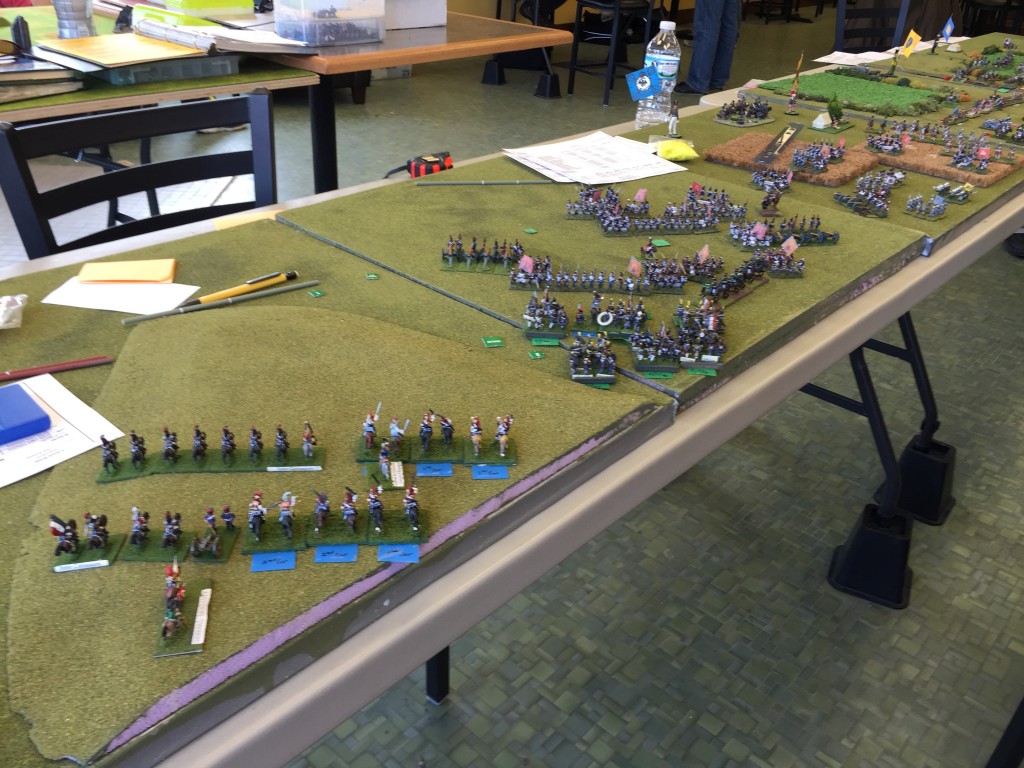
As part of the grand tac I sort of forgot to mention that the Guard moved forward. Ah, a vast formation of the best troops in Europe and for a Napoleonic gamer it’s quite seldom you’ll ever play with something like this. Napoleon, aka Chuck was one lucky man.
IMG_9481

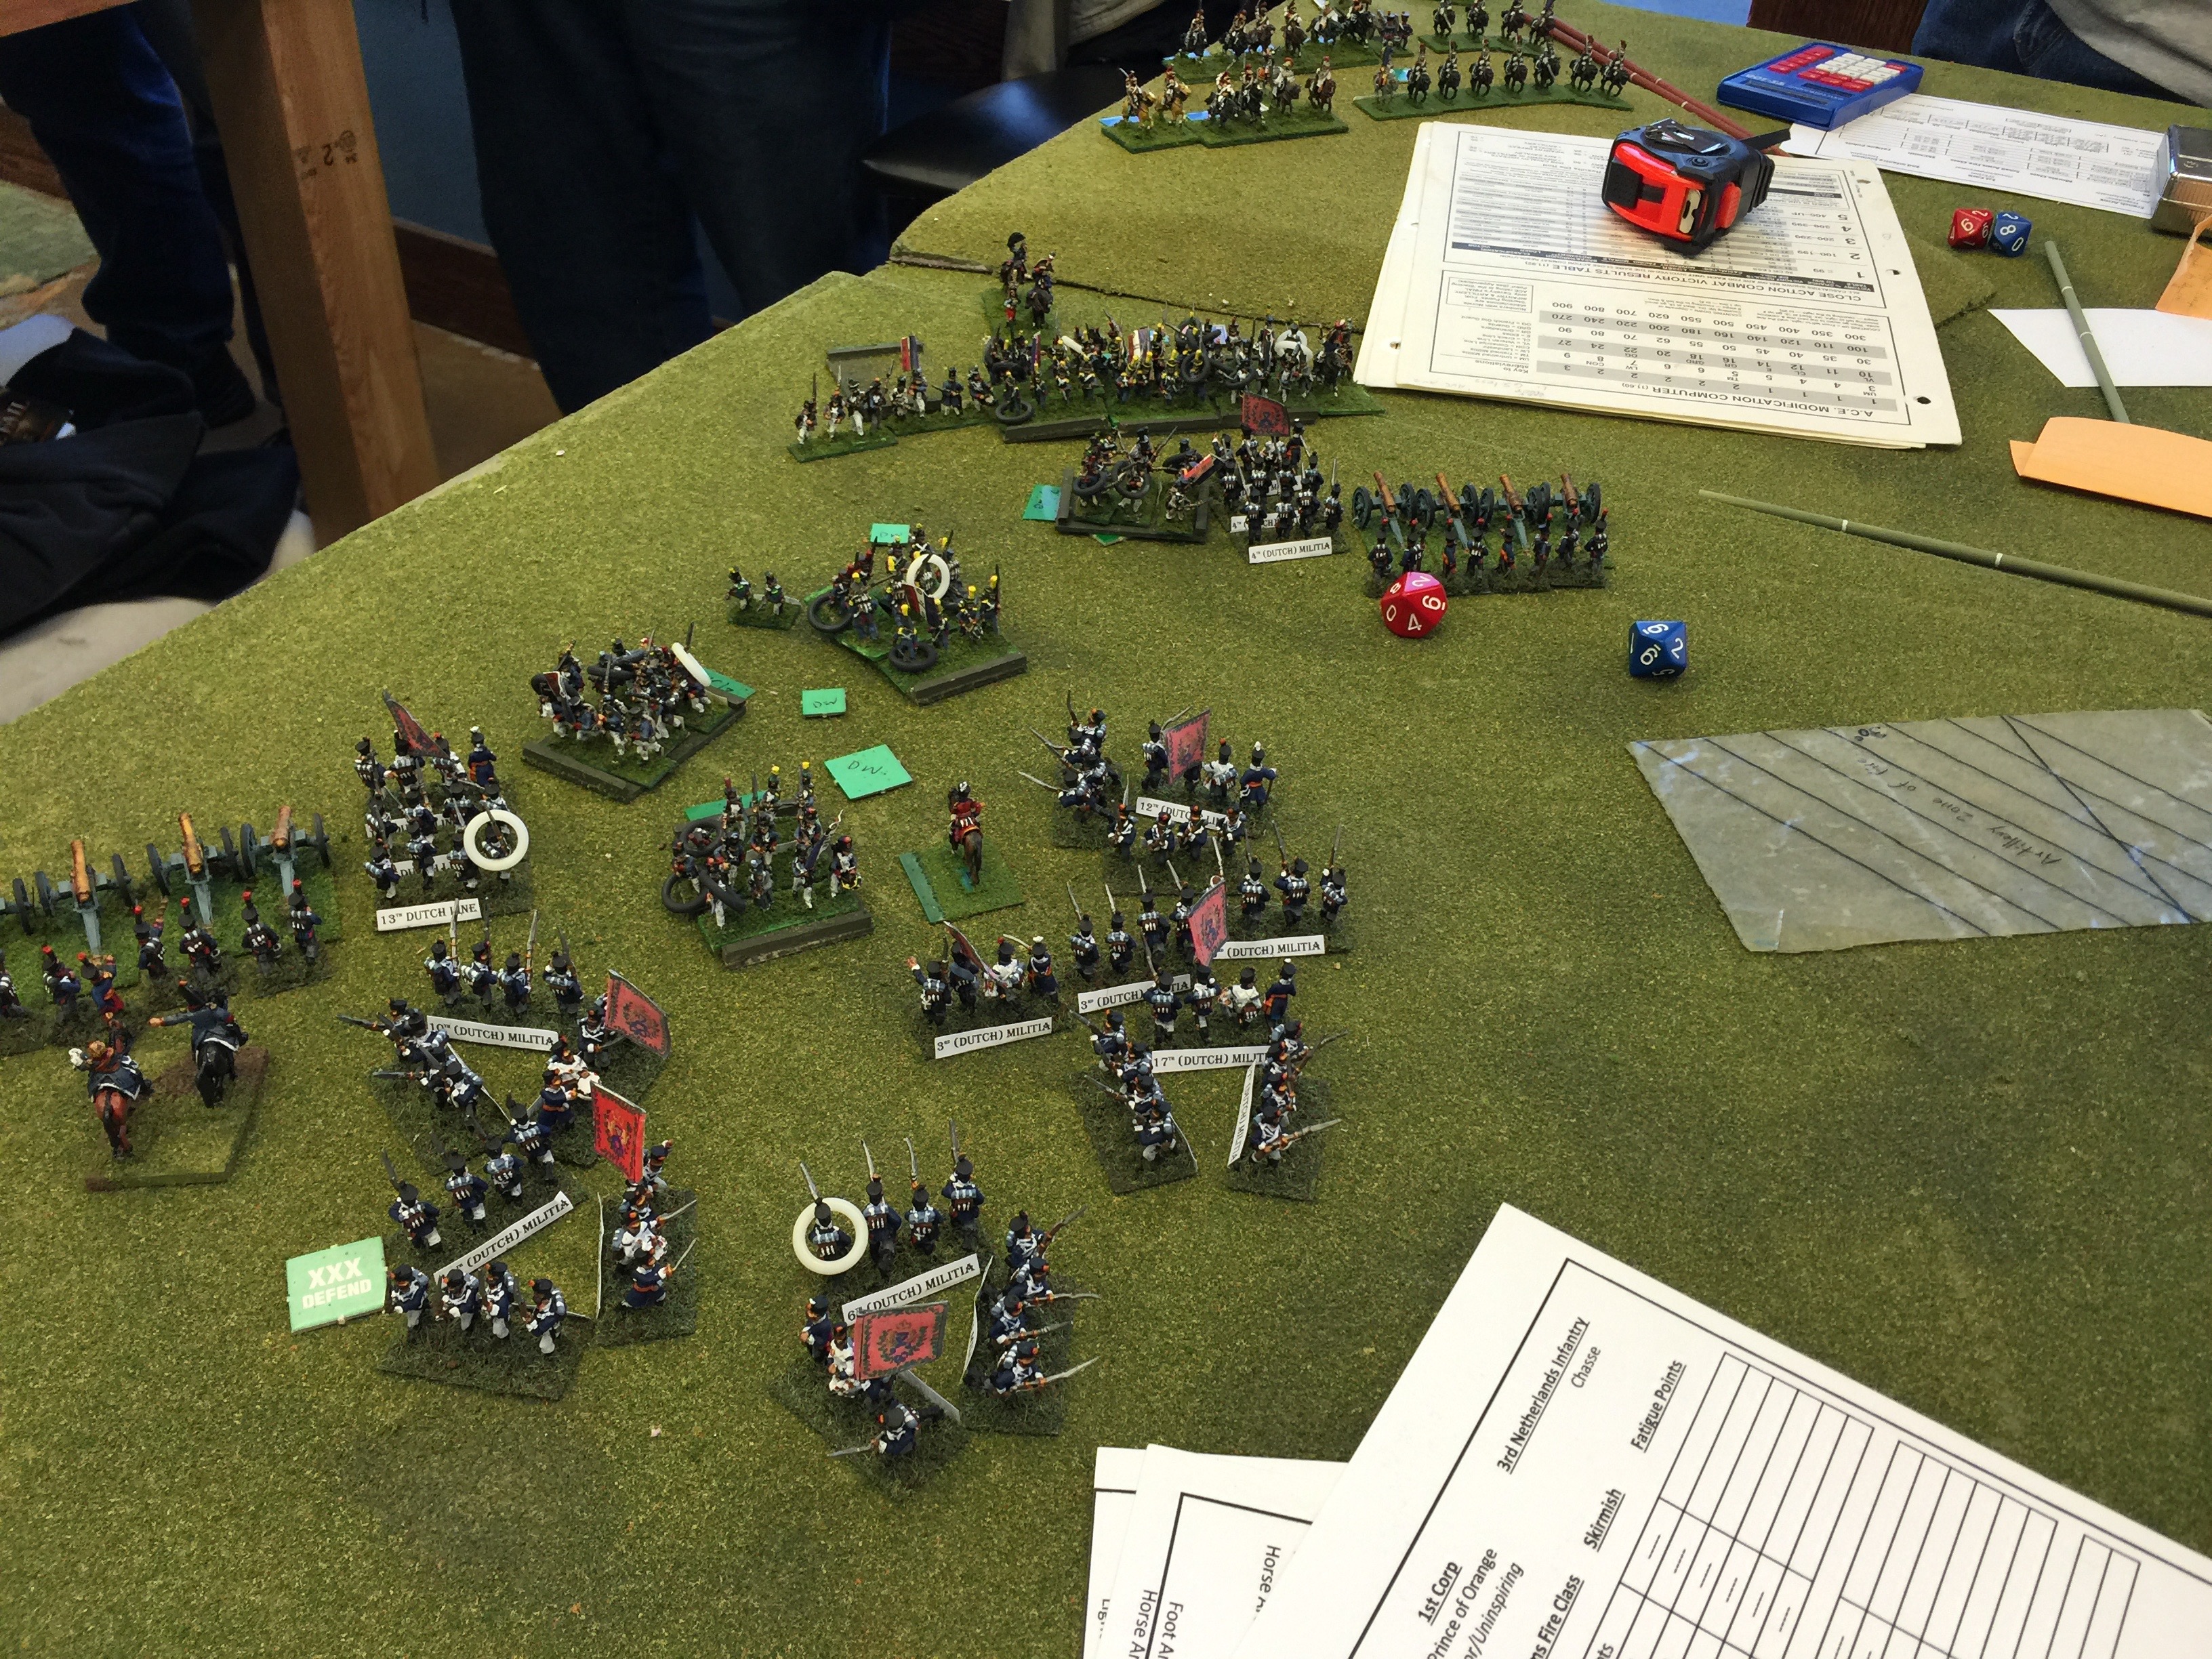
Through the course of the noon hour the French III Reserve corp and part of the I Corp was to get around the Brit flank and into the rear. There in the defense the Dutch/Belgians were to be found…. and they didn’t last long. As this was clear across the table alas there are stories of glory here that will someday have to be told over the fire. It did not seem like much was going to stop the French line on this side.
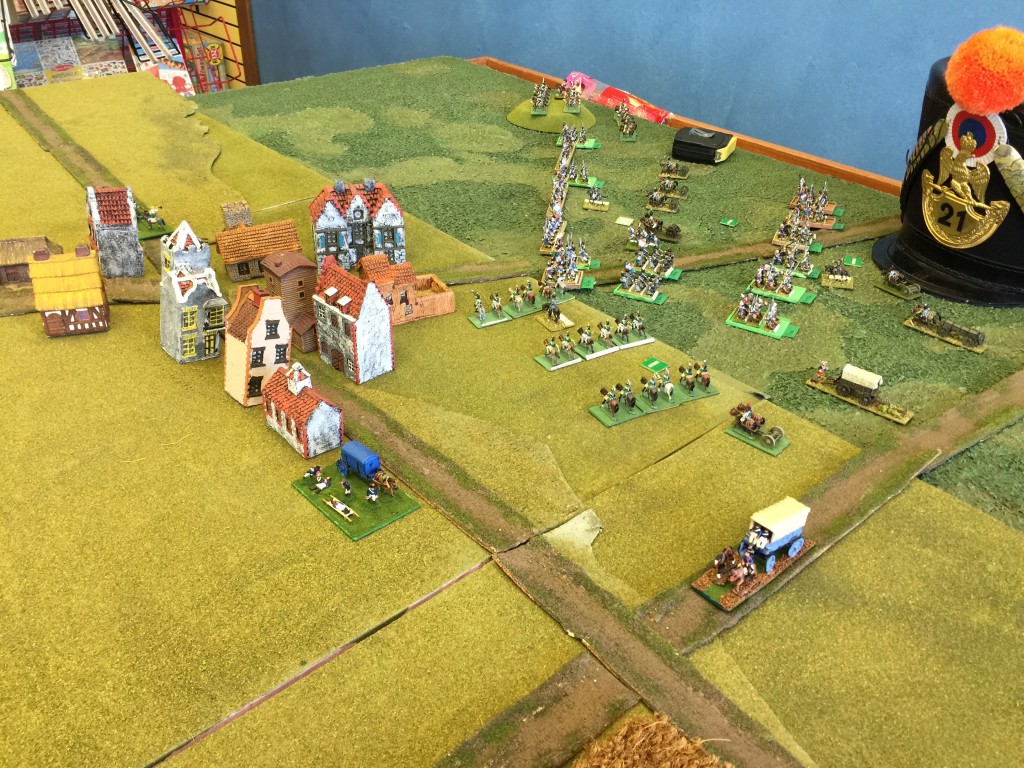
IMG_9483

Behind the line, The French VI Corp deployed in anticipation that the Prussians would be hear any minute. … any minute…. did I say any minute? Alas for those playing the Prussians they didn’t make their early die rolls to enter and thus those that had volunteered to run them had what was a very long wait. All day in real time on Saturday and into the night they would wait… but not arrive until Saturday evening.
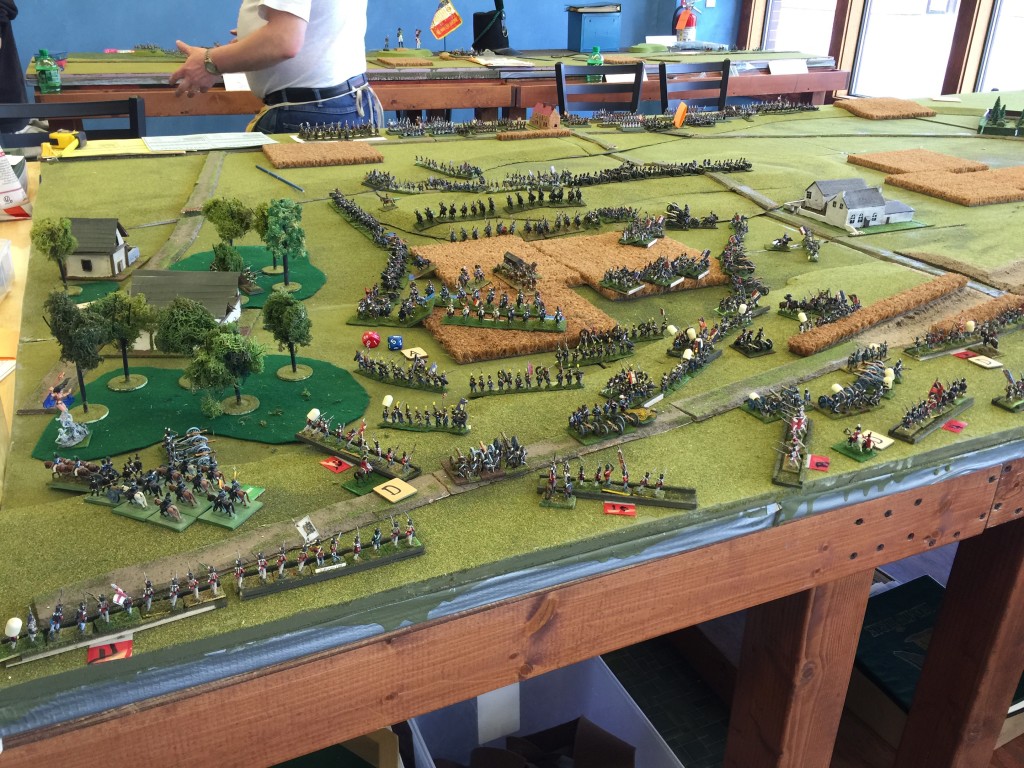
IMG_9484

Meanwhile on the noon hour we would get engaged with the Brits on the French left flank. Through the impulses it was a very tough slog. Both Andrew and Aaron would make the march up the hill and engage across the line. In the picture above on the right side you can see the historic sunken road. There was much fire traded across that road.

My one annoyance with the whole game is I thought I had heard on Friday or maybe early on Saturday you couldn’t charge across the road. So I avoided it. Later on Sunday there were to be several charges (in both directions) across the space. But! It displays some historical reflections of what really happened in that the French reported it was impossible to charge across, but the British reported they successfully charged across it. So! While a lament, it works for me. It was as it was.

Back to the battle, Andrew would slowly work his troops and guns  and dispatch a regiment or two of Bob’s line infantry. Aaron would I believe do the same across the hour. I wasn’t paying great attention as again I wasn’t engaged with my Cav tho I wasn’t far behind the lines in hope I’d have the opportunity to charge up the hill.
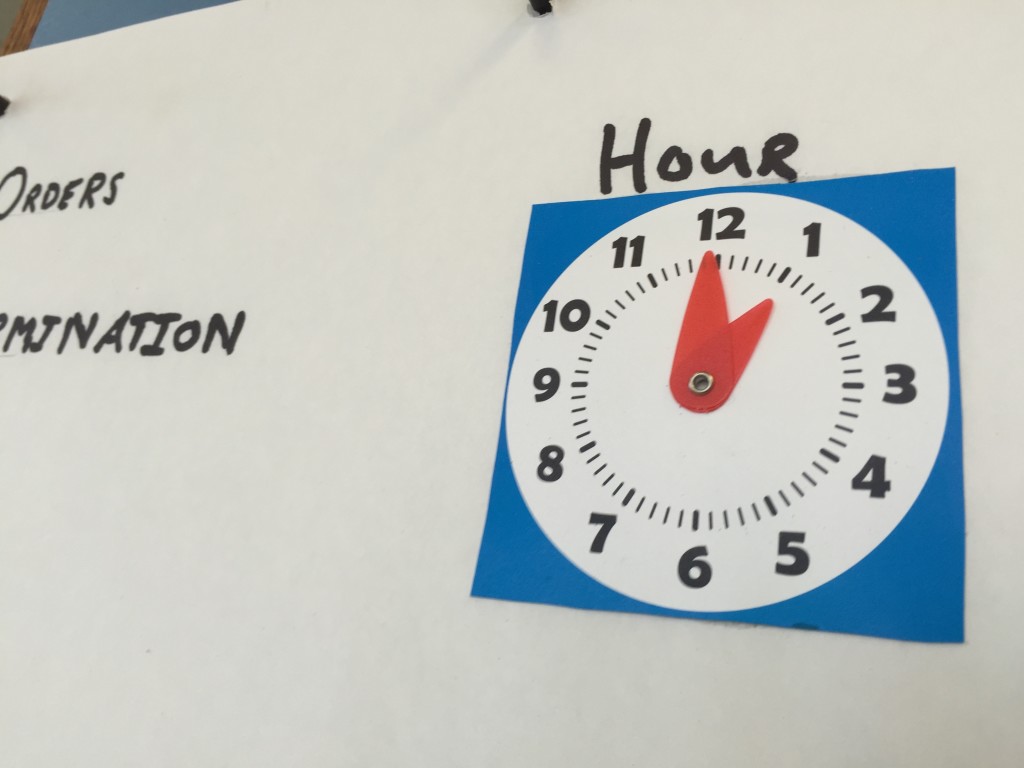
IMG_9486


1pm would roll around and across the line each of the impulses were getting quite complicated.
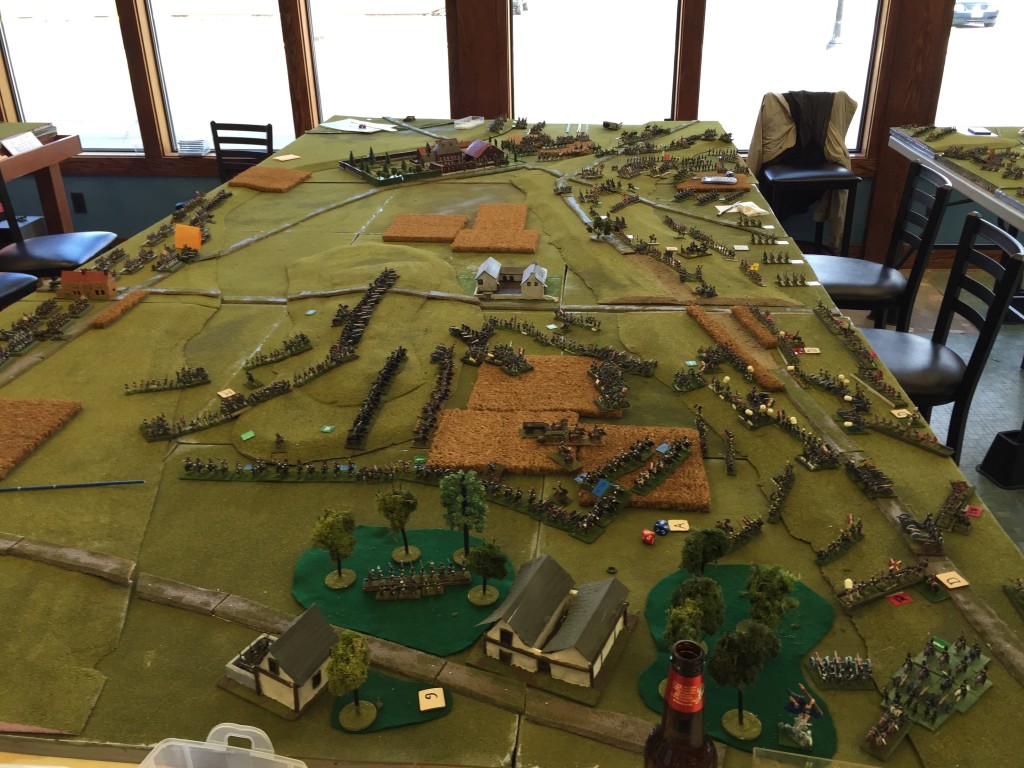
IMG_9487


Across the vast field you can see the French battle lines pressing in to the British far off in the distance. The Guard still holding back ready to rush toward either direction should either side falter and here on our left flank, we just weren’t making much headway tho Aaron and Andrew both tried their best.
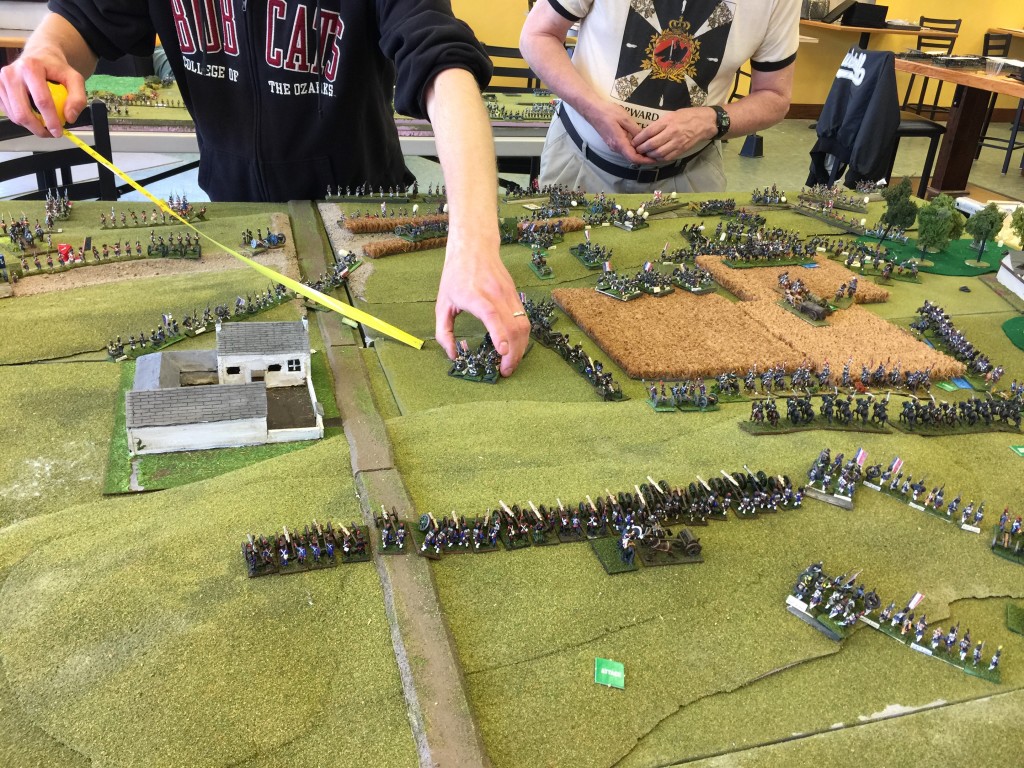
IMG_9488

Aaron started to spill toward the center and started to get engaged with fire across the sunken road. If you look close you can see Andrew start to the top of the hill in places while taking his lumps gaps were starting to appear. Meanwhile my Cav was finally engaged.
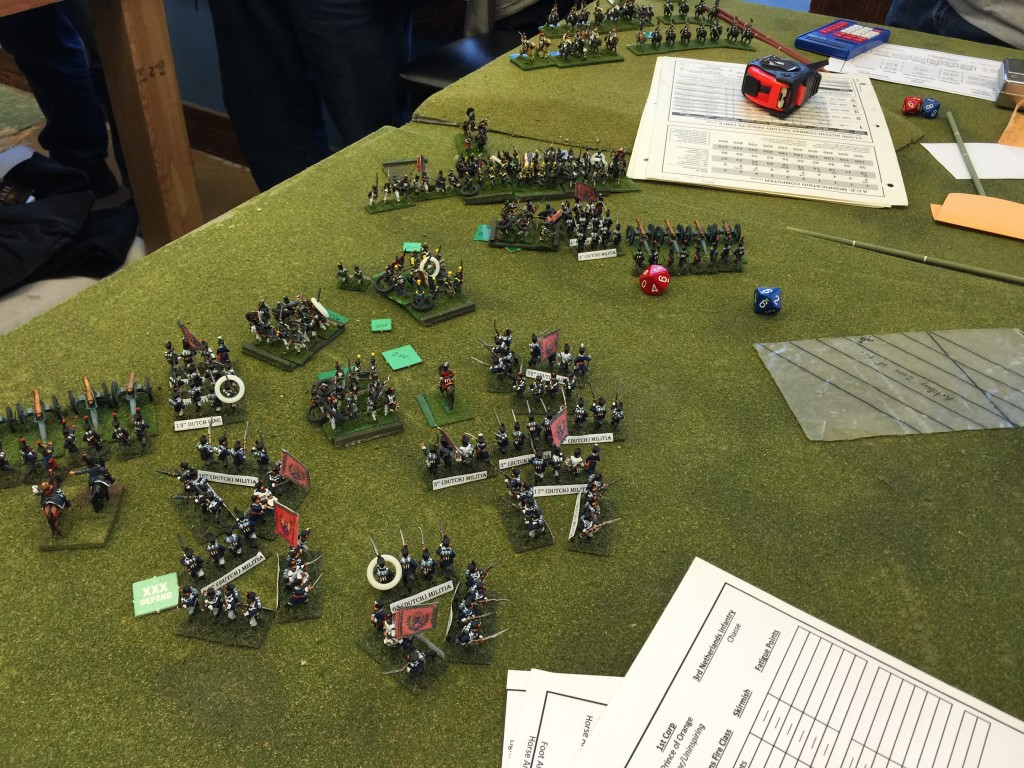
IMG_9489

On the French right flank and behind the British lines the remaining Dutch/Belgians were forming square…uh … triangle to defend against Eric’s III Reserve Cav Corps, while the other Eric was running the French infantry back here and pressing forward. The lightning bolt wasn’t quite gone but it seemed like it was starting to wane. Much further and certainly Wellington was be getting close to enveloped.
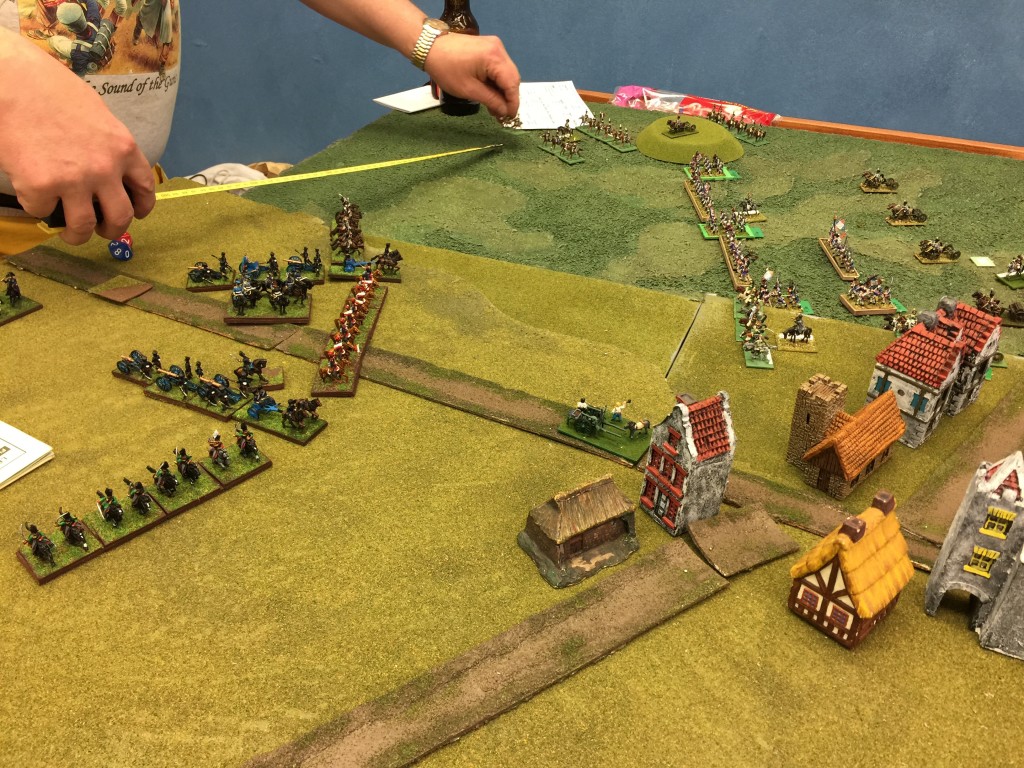
IMG_9490


Prussians! Initially their front cav entered on the French back table on our left flank. The VI Corp engaged and pretty quickly pushed them back.
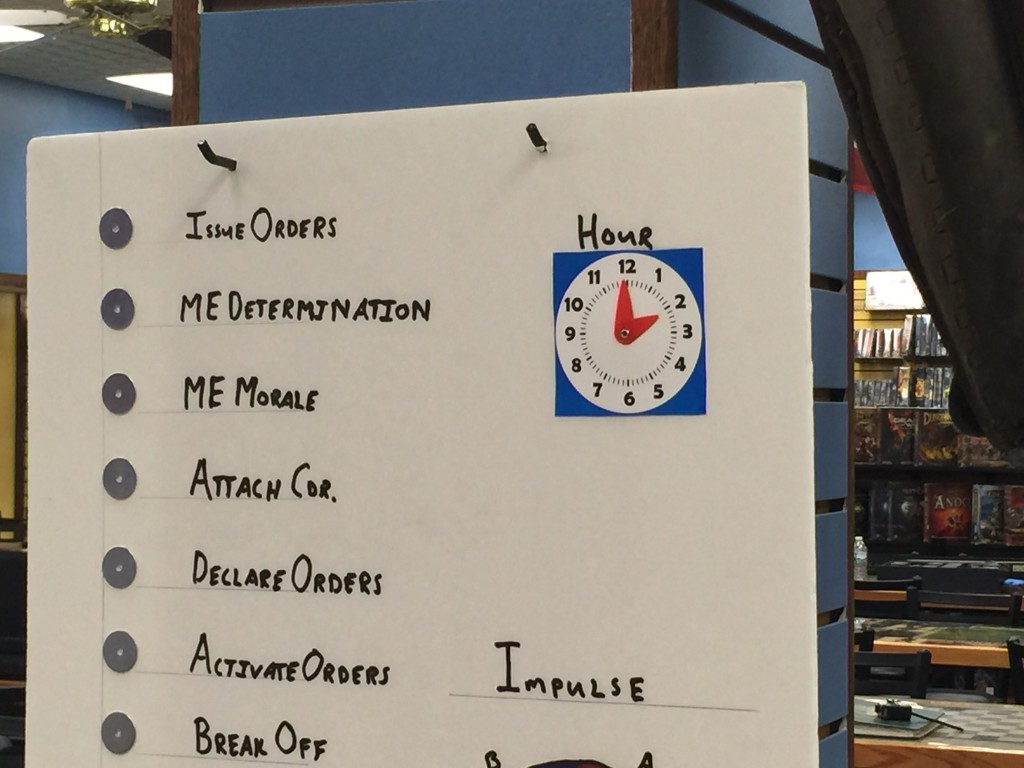
IMG_9491


2pm!  It’s not looking good for the Brits.
IMG_9492


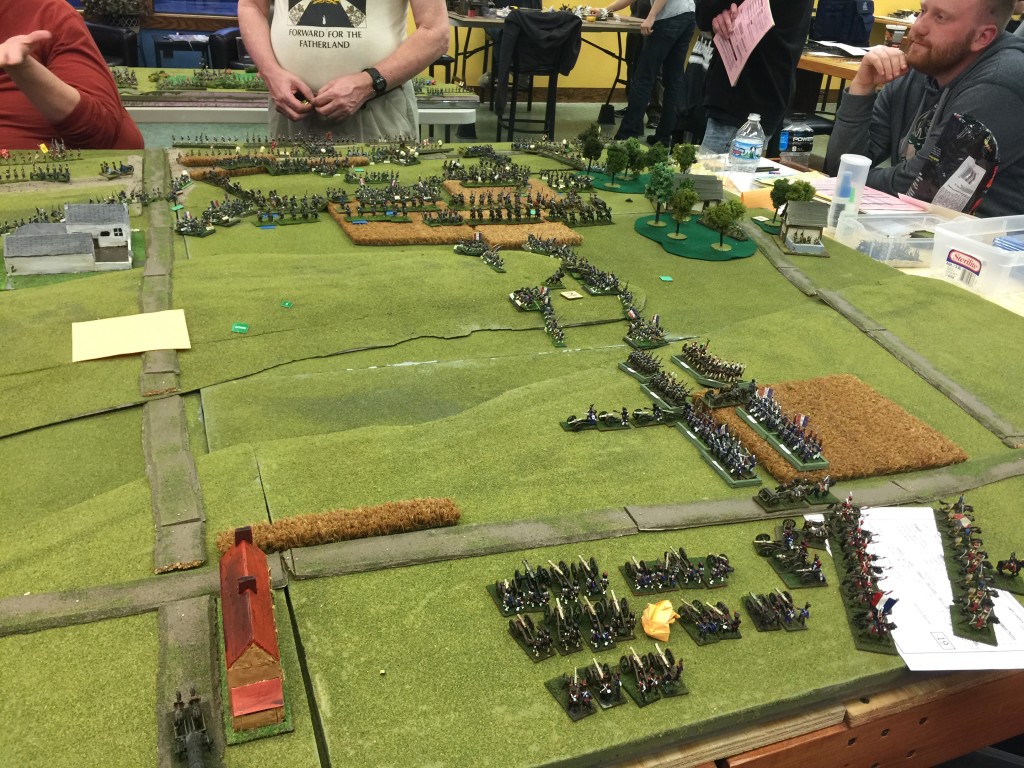
The Grand Battery unlimbers off the hill and towards the left and part of the Guard moves to the left, “just in case” the Prussians were to arrive.
IMG_9494


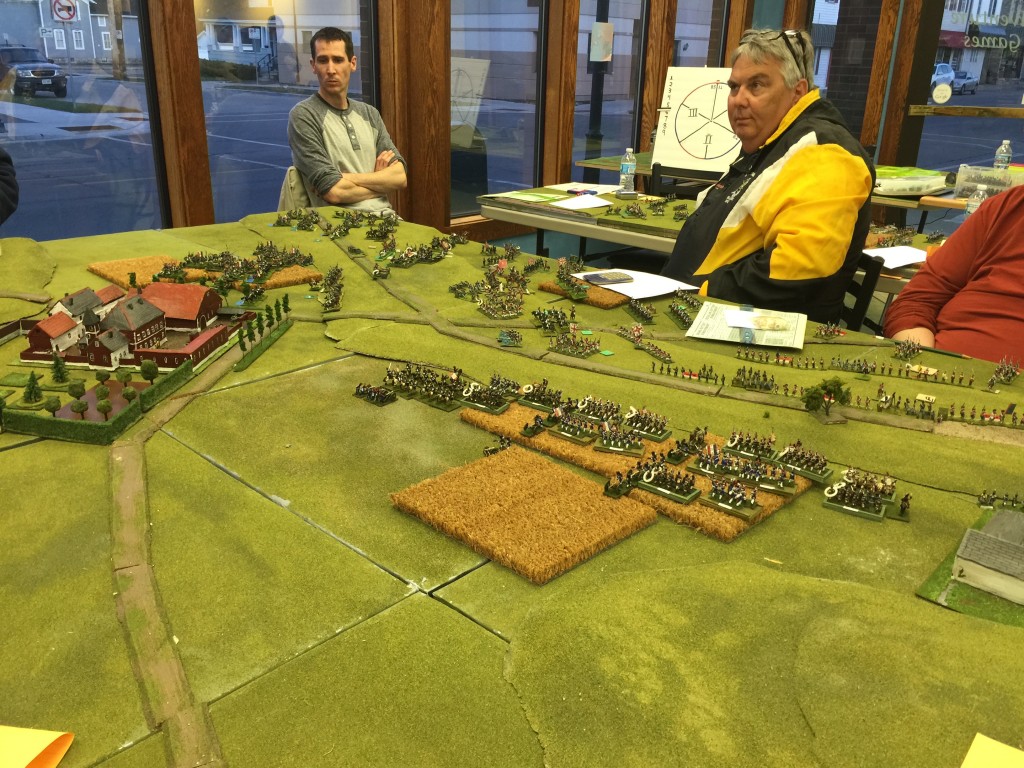
O hi! It’s Napoleon attaches himself to Guard Imperial and marches forward to engage the British center.
IMG_9495


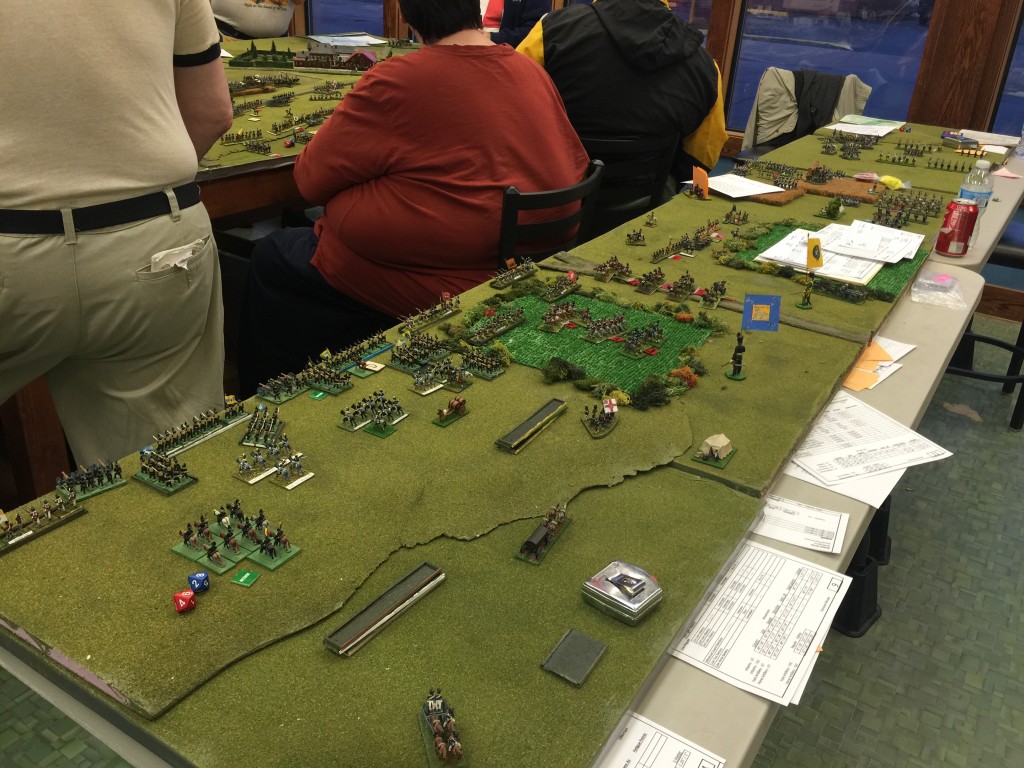
Meanwhile behind the British line, on the left of the picture was the Brunswickers that I was hoping to reach with my cav and off on the far side of the picture you can see the French battle line starting to meet British cav and the remains of the Dutch/Belgians.

In the center back here are more Brit cav (their best) and the Hannovarians there in the woods.
IMG_9496


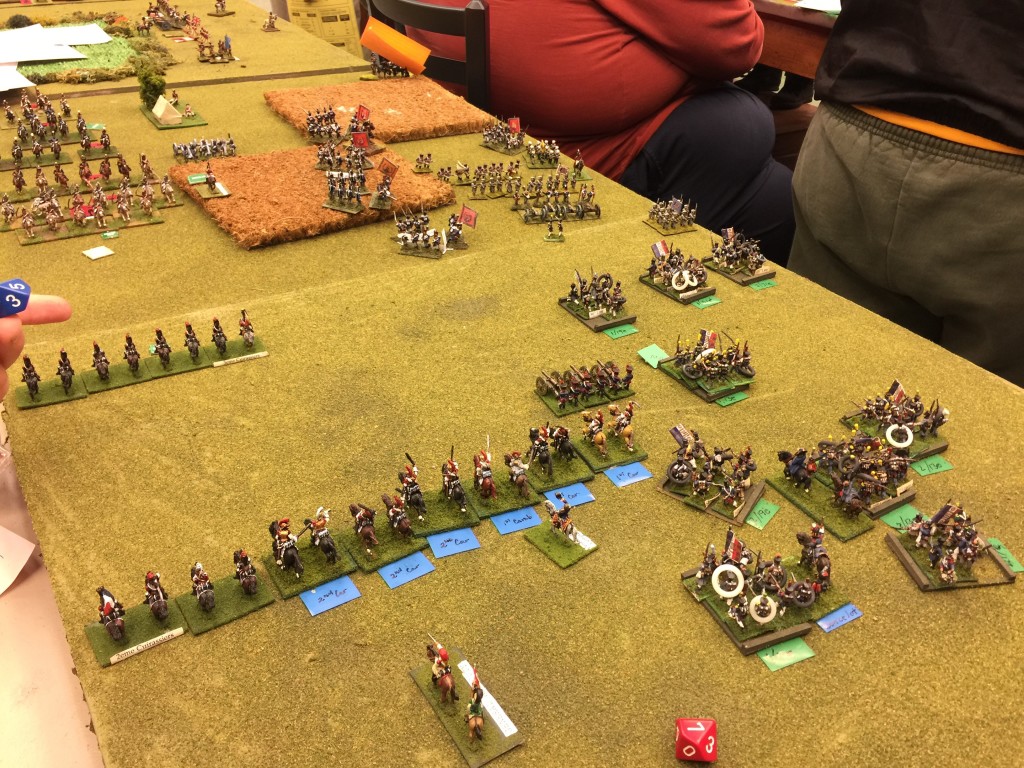
At this point it was getting busy for Eric so I took control of the IV Corp cav. The other Eric and I continued our push forward. I charged and discovered that this cav was actually reasonable, so much for easy victories.
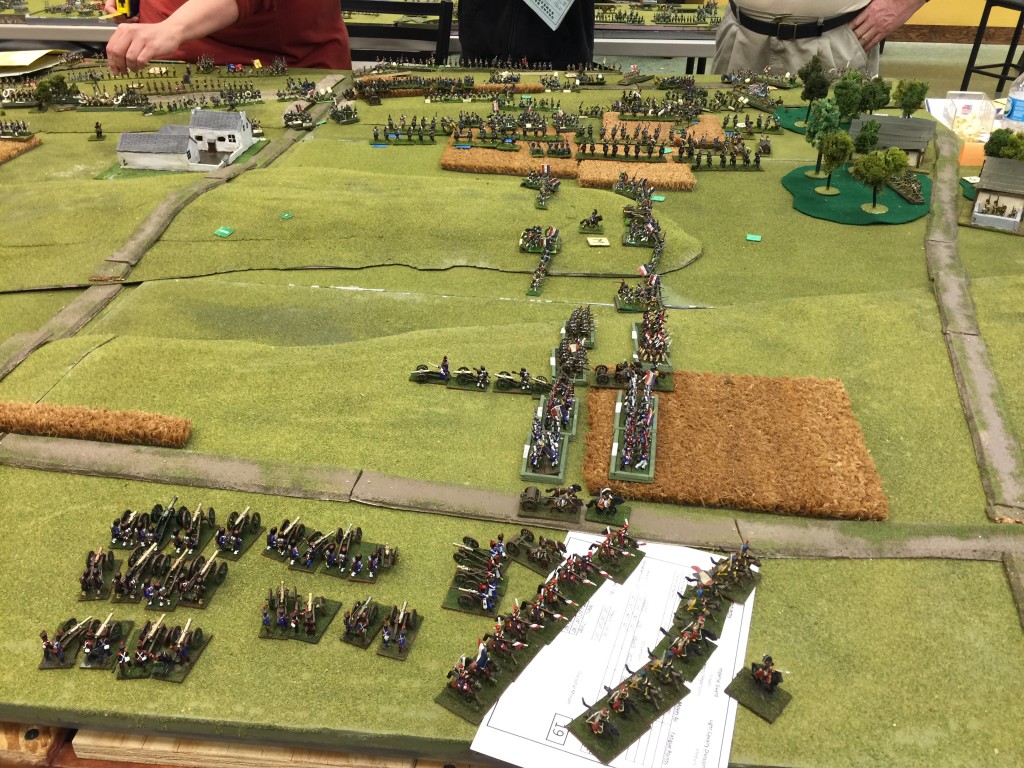
IMG_9497


Meanwhile on the French left flank holes were starting to open up and my cav was getting ready to start to make their move.
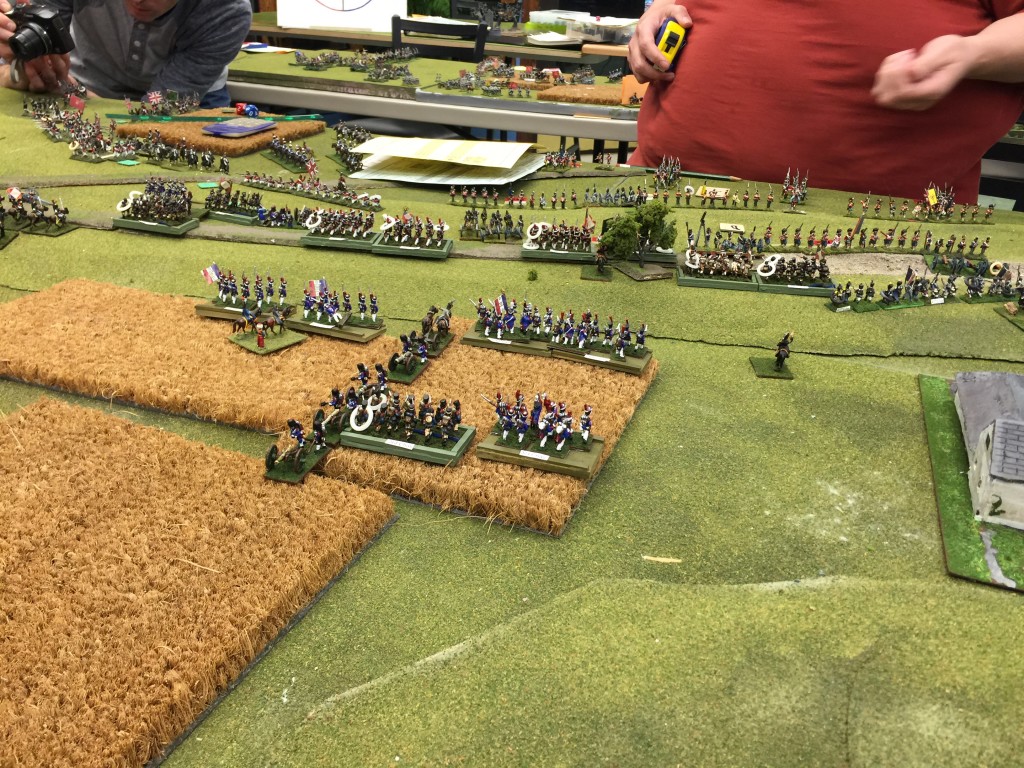
IMG_9498


Meanwhile in the center the French Guard was meeting the best of the British Infantry. The famed 95th Rifles being one of them, taking fire and immediately breaking. They didn’t even get to fire a shot back. That was amazingly impressive.
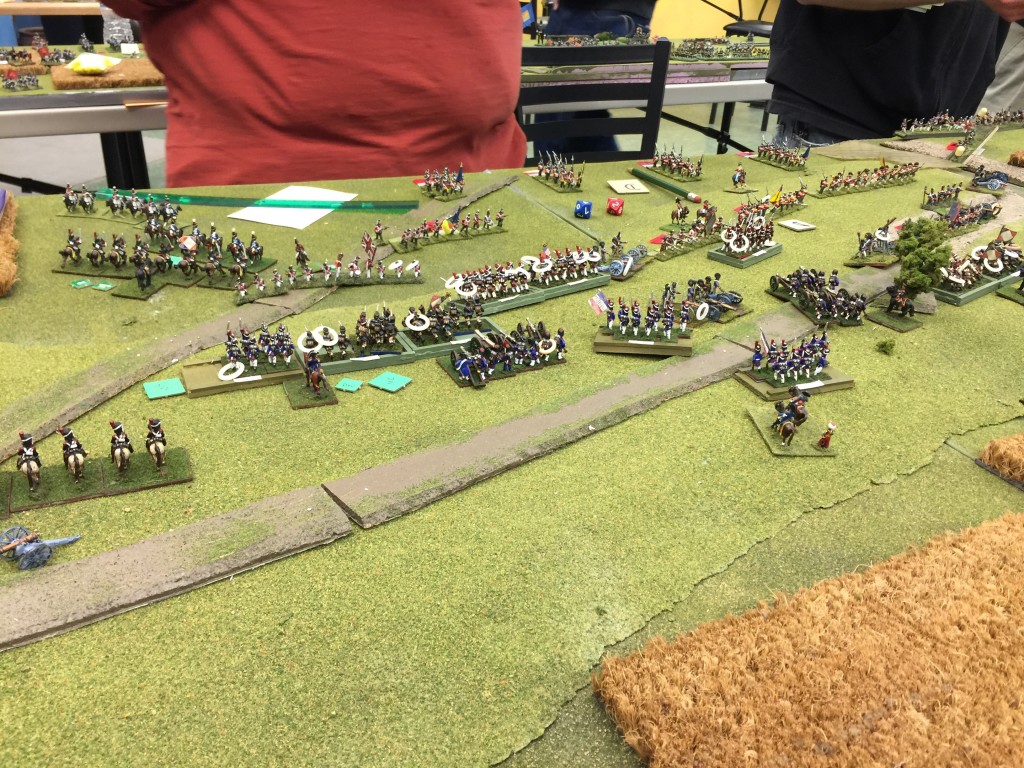
IMG_9500

More carnage! More carnage! Napoleon (the stand just back from the French line on the side of the hill) pressing the line forward. Indeed, between Mike on the one side and Chuck in the middle, Todd and Dan were getting hit back but Guards don’t exactly wear bulletproof armor either….
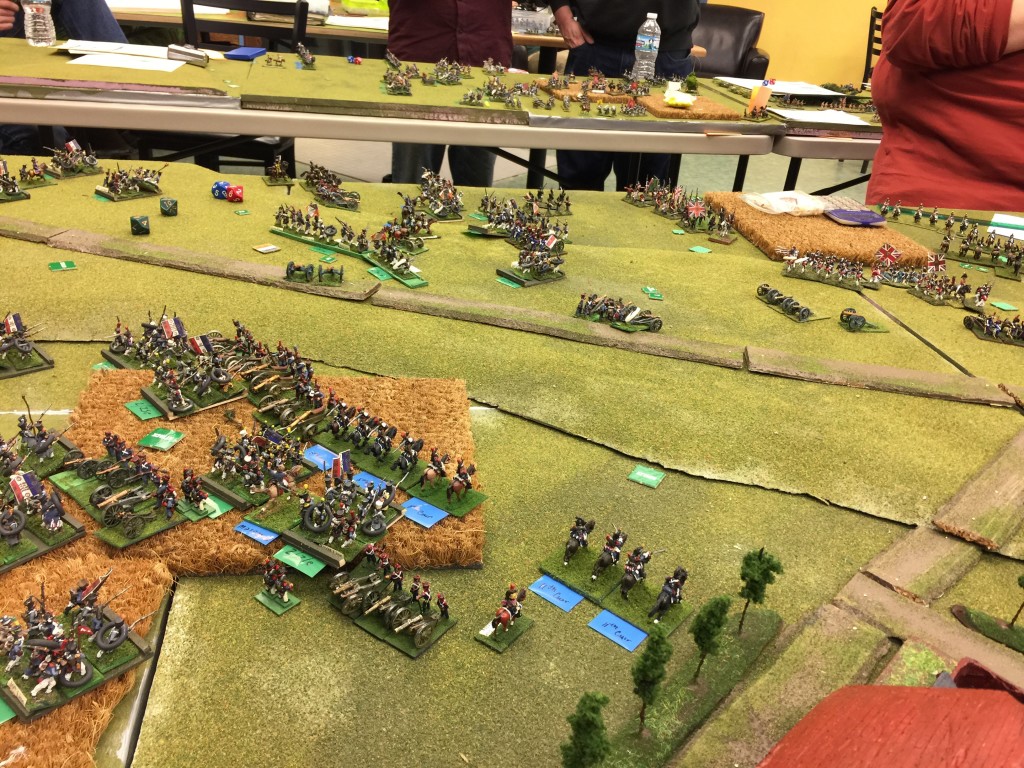
IMG_9501


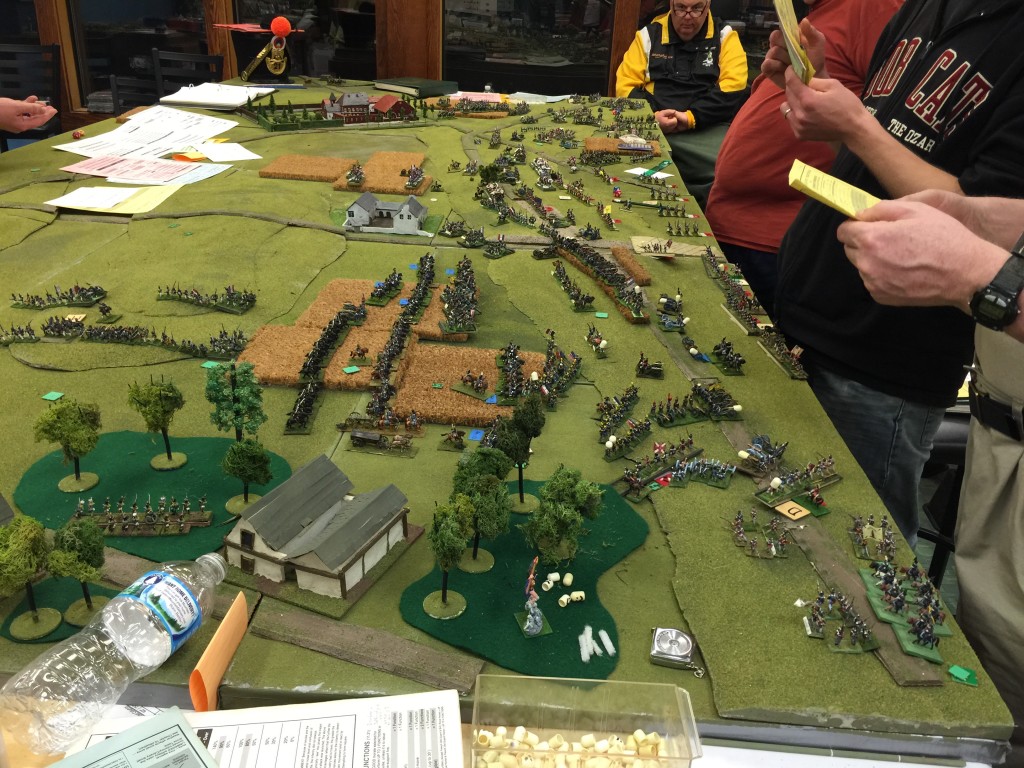
Here we see the other half of the III Reserve Cav. They would charge up the hill with the fresh French infantry and hill the Brit line pretty hard.
IMG_9502


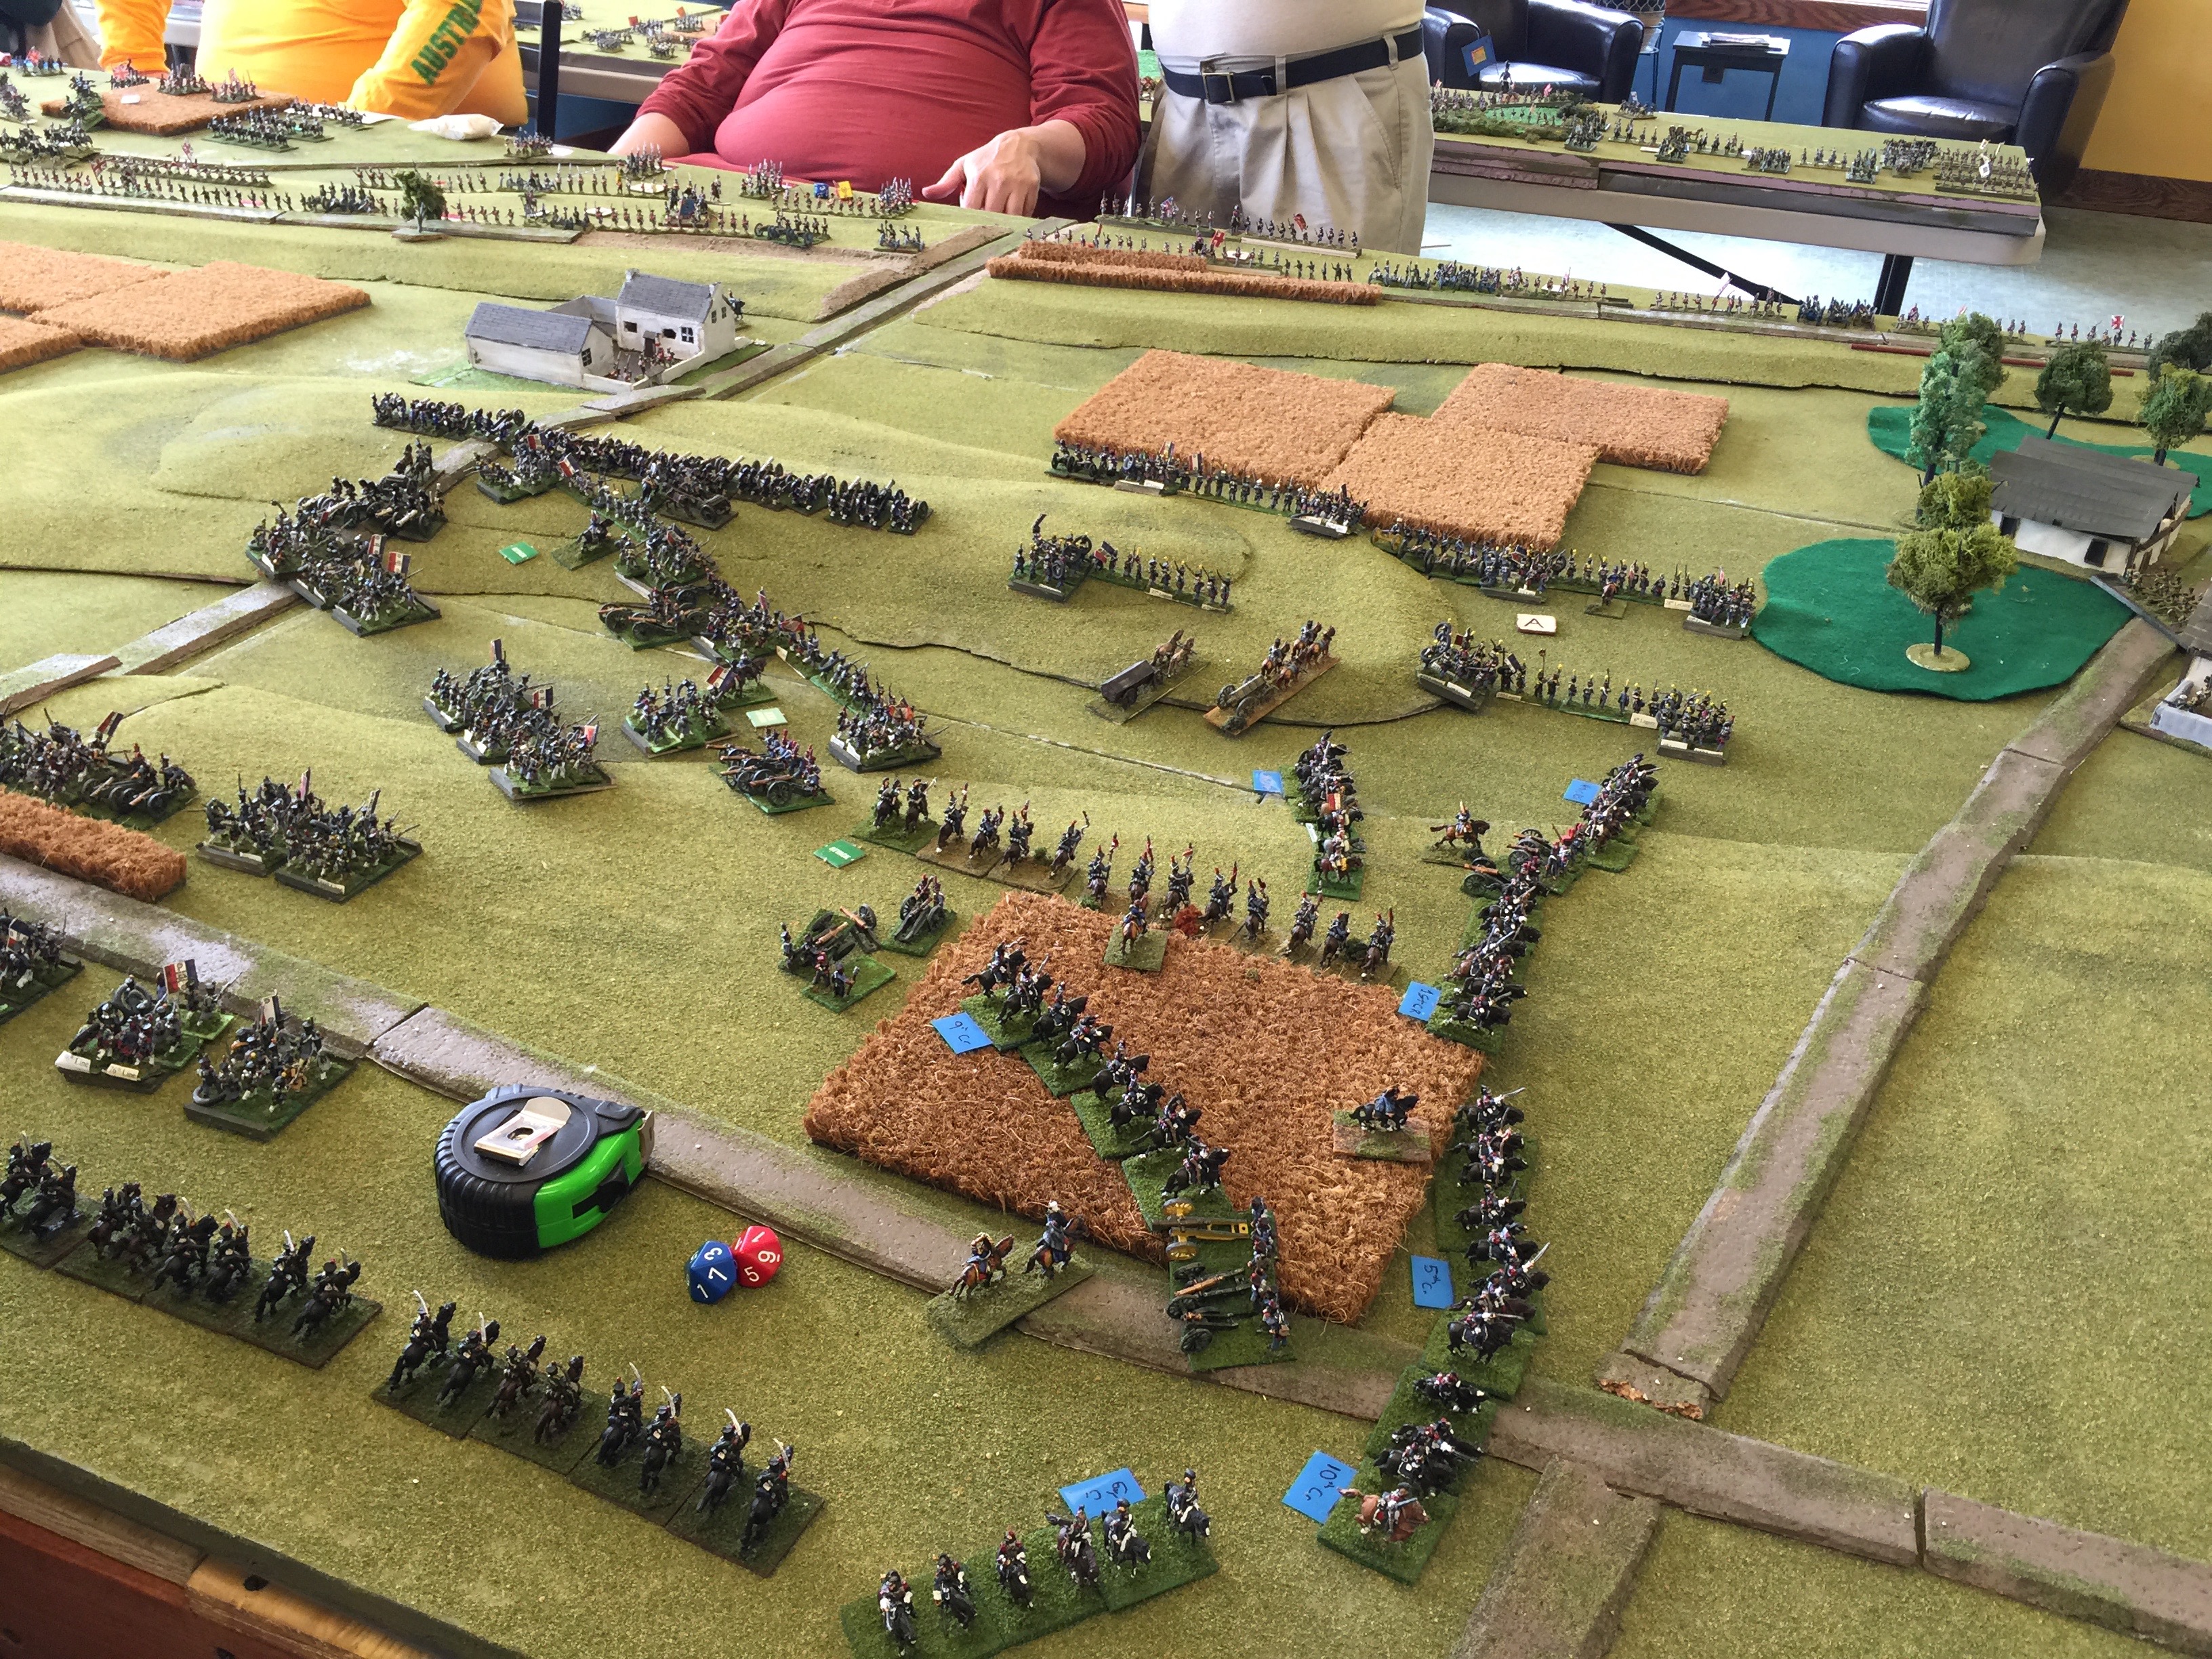
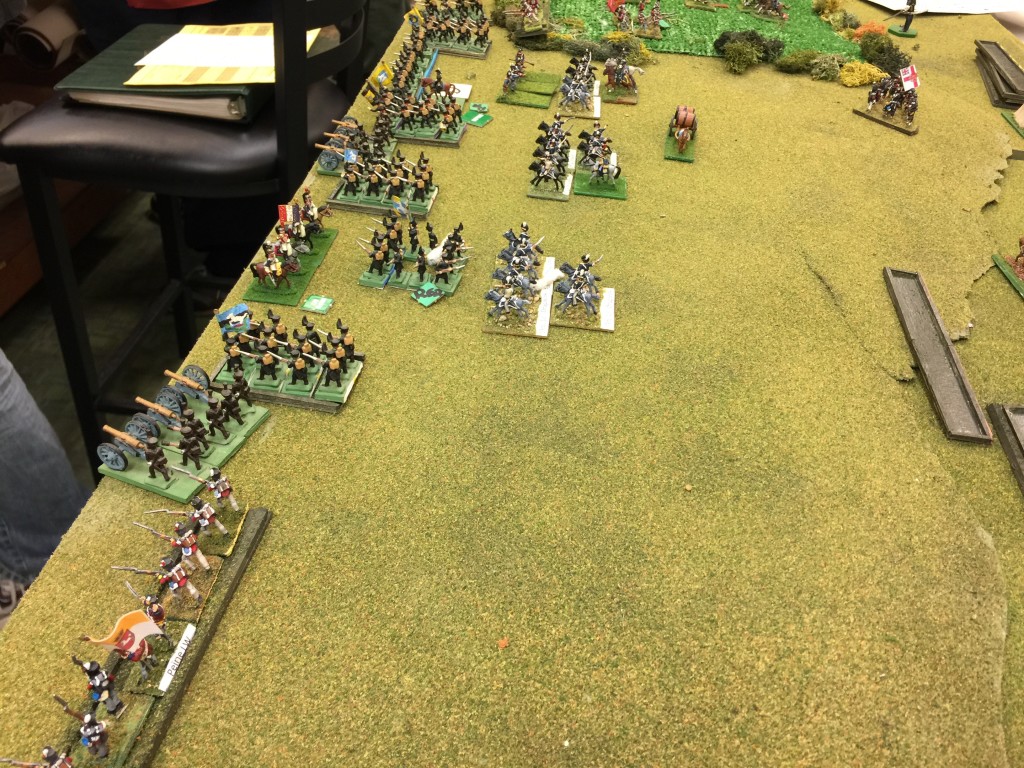
Meanwhile on the French left flank I started my charge with two cav squadrons. One stopped short of the first line of Brits who didn’t get into square with a really crappy die roll on my part.

The second cav squadron made it up the hill through the line of Brit infantry and into the Brunswickers. They stopped just short the only unit of Brunwickers that were successful at rolling to form square. Everyone had failed.
IMG_9503


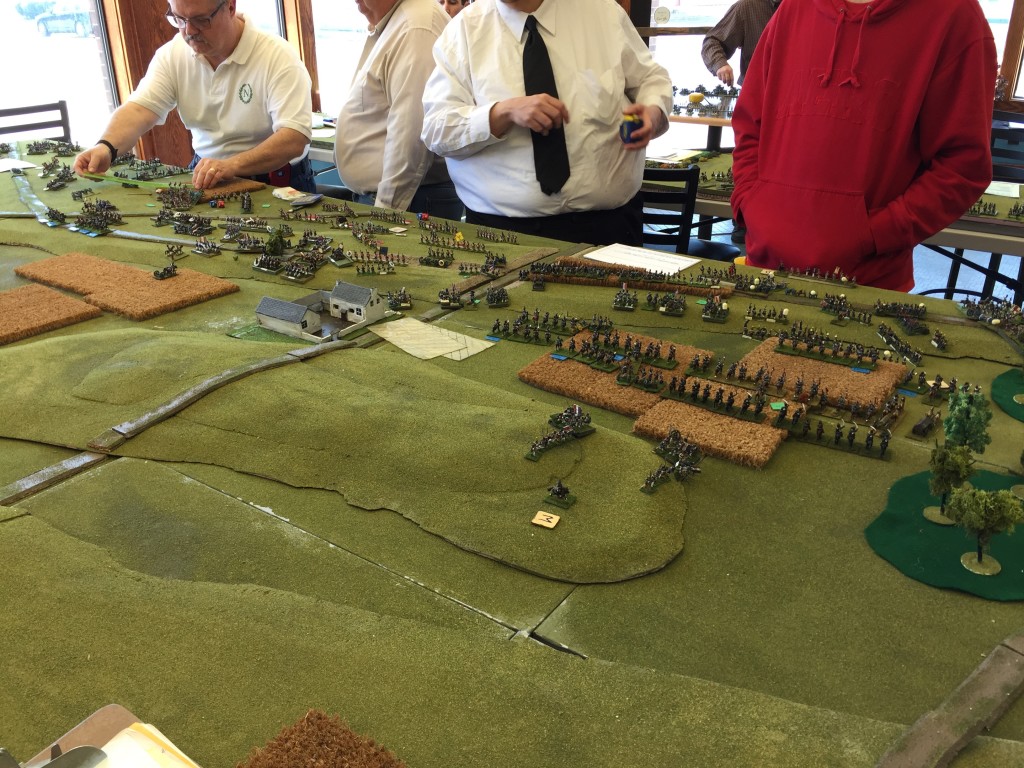
There they are! Well done men! Alas my die roll with the last impact against the squad we just sat there. And this was the end of the day on Saturday.

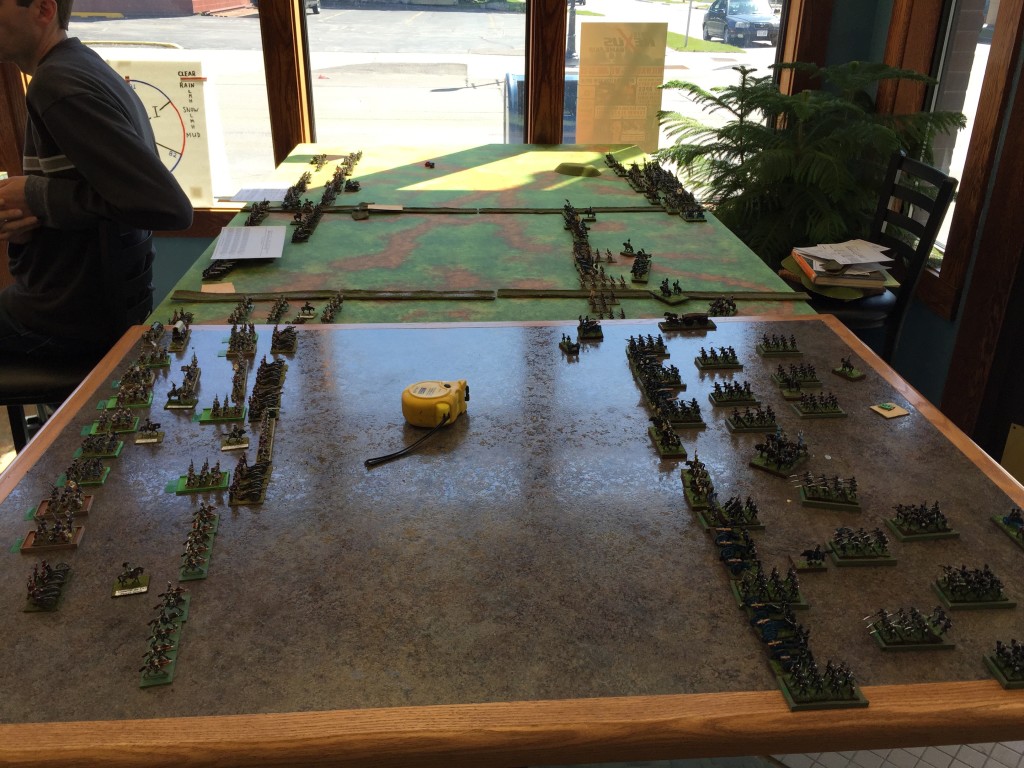
On Sunday we’d pick it up at 10am. The carnage continued. We kept playing tho I sort had wished we had picked up on Saturday night. To me the question was settled tho in fairness to the Prussian players who barely had gotten to do anything, we kept playing.
IMG_9504


IMG_9506


We moved the forming Prussian battle line and the French battle line to a slightly different table so they’d have more frontage. With the back french table it just wouldn’t have worked for either side. Too much stuff and too much need to maneuver.
IMG_9508


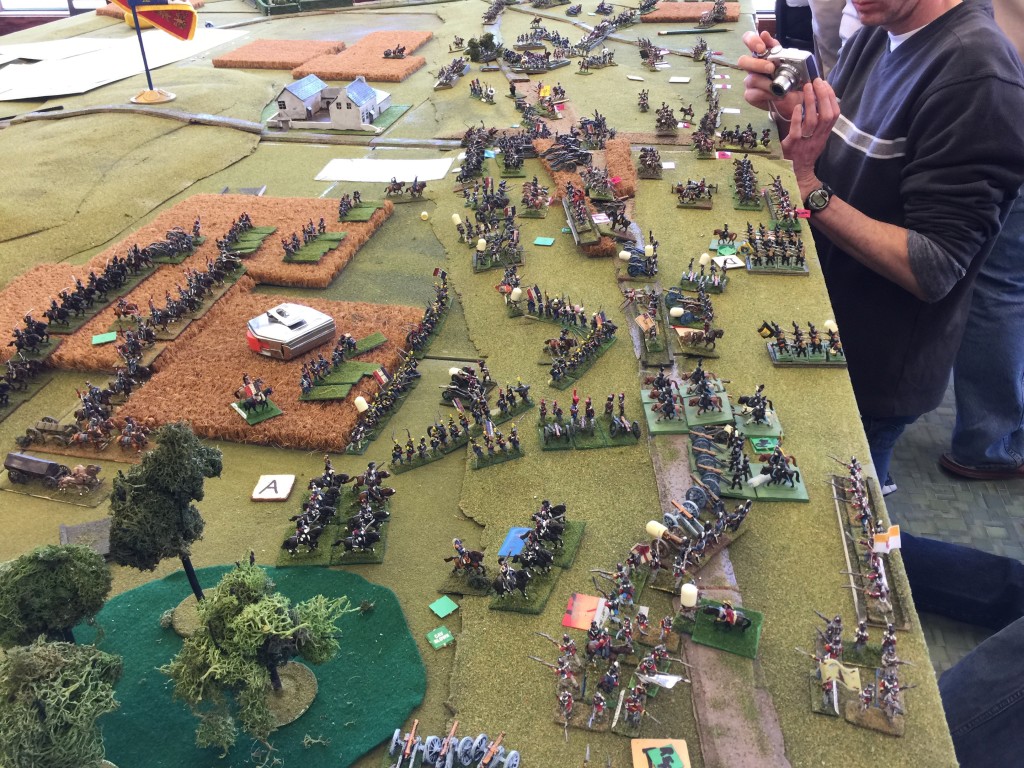
In the center of the British line Dan then committed his best cav to counter the other half of my cav that had I pressed up the hill. My front line hit his front line and amazingly it was a straight up 50/50 roll to see who would win. I lost and with that my cav was thrown back disordering everything behind it. From there least for that small part of the action it was to get worse. My ACE 24 cav was no match against 35 and 30 ACE Brit cav and as a result while one of his last thunderbolts, certainly kept the situation from being a full on route.

On the bottom of the picture, the Brunswickers were starting to help a bit and some quick thinking by Bob while losing another Brit battalion or two, was able to stop up the line. Tho another line of French cav wasn’t far behind.
IMG_9509


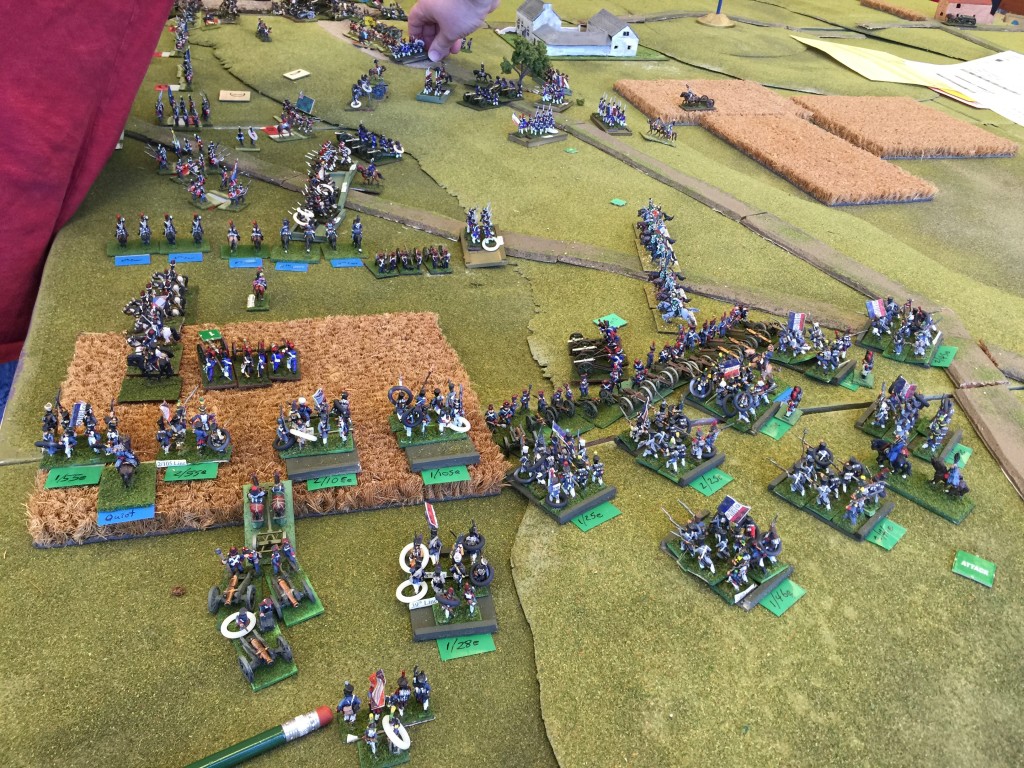
On the French right flank between the French guard and the I Corps the Brit flank continued to be turned. They put a lot of lumps on us but still another fresh French division was ready to spring ahead.
IMG_9510


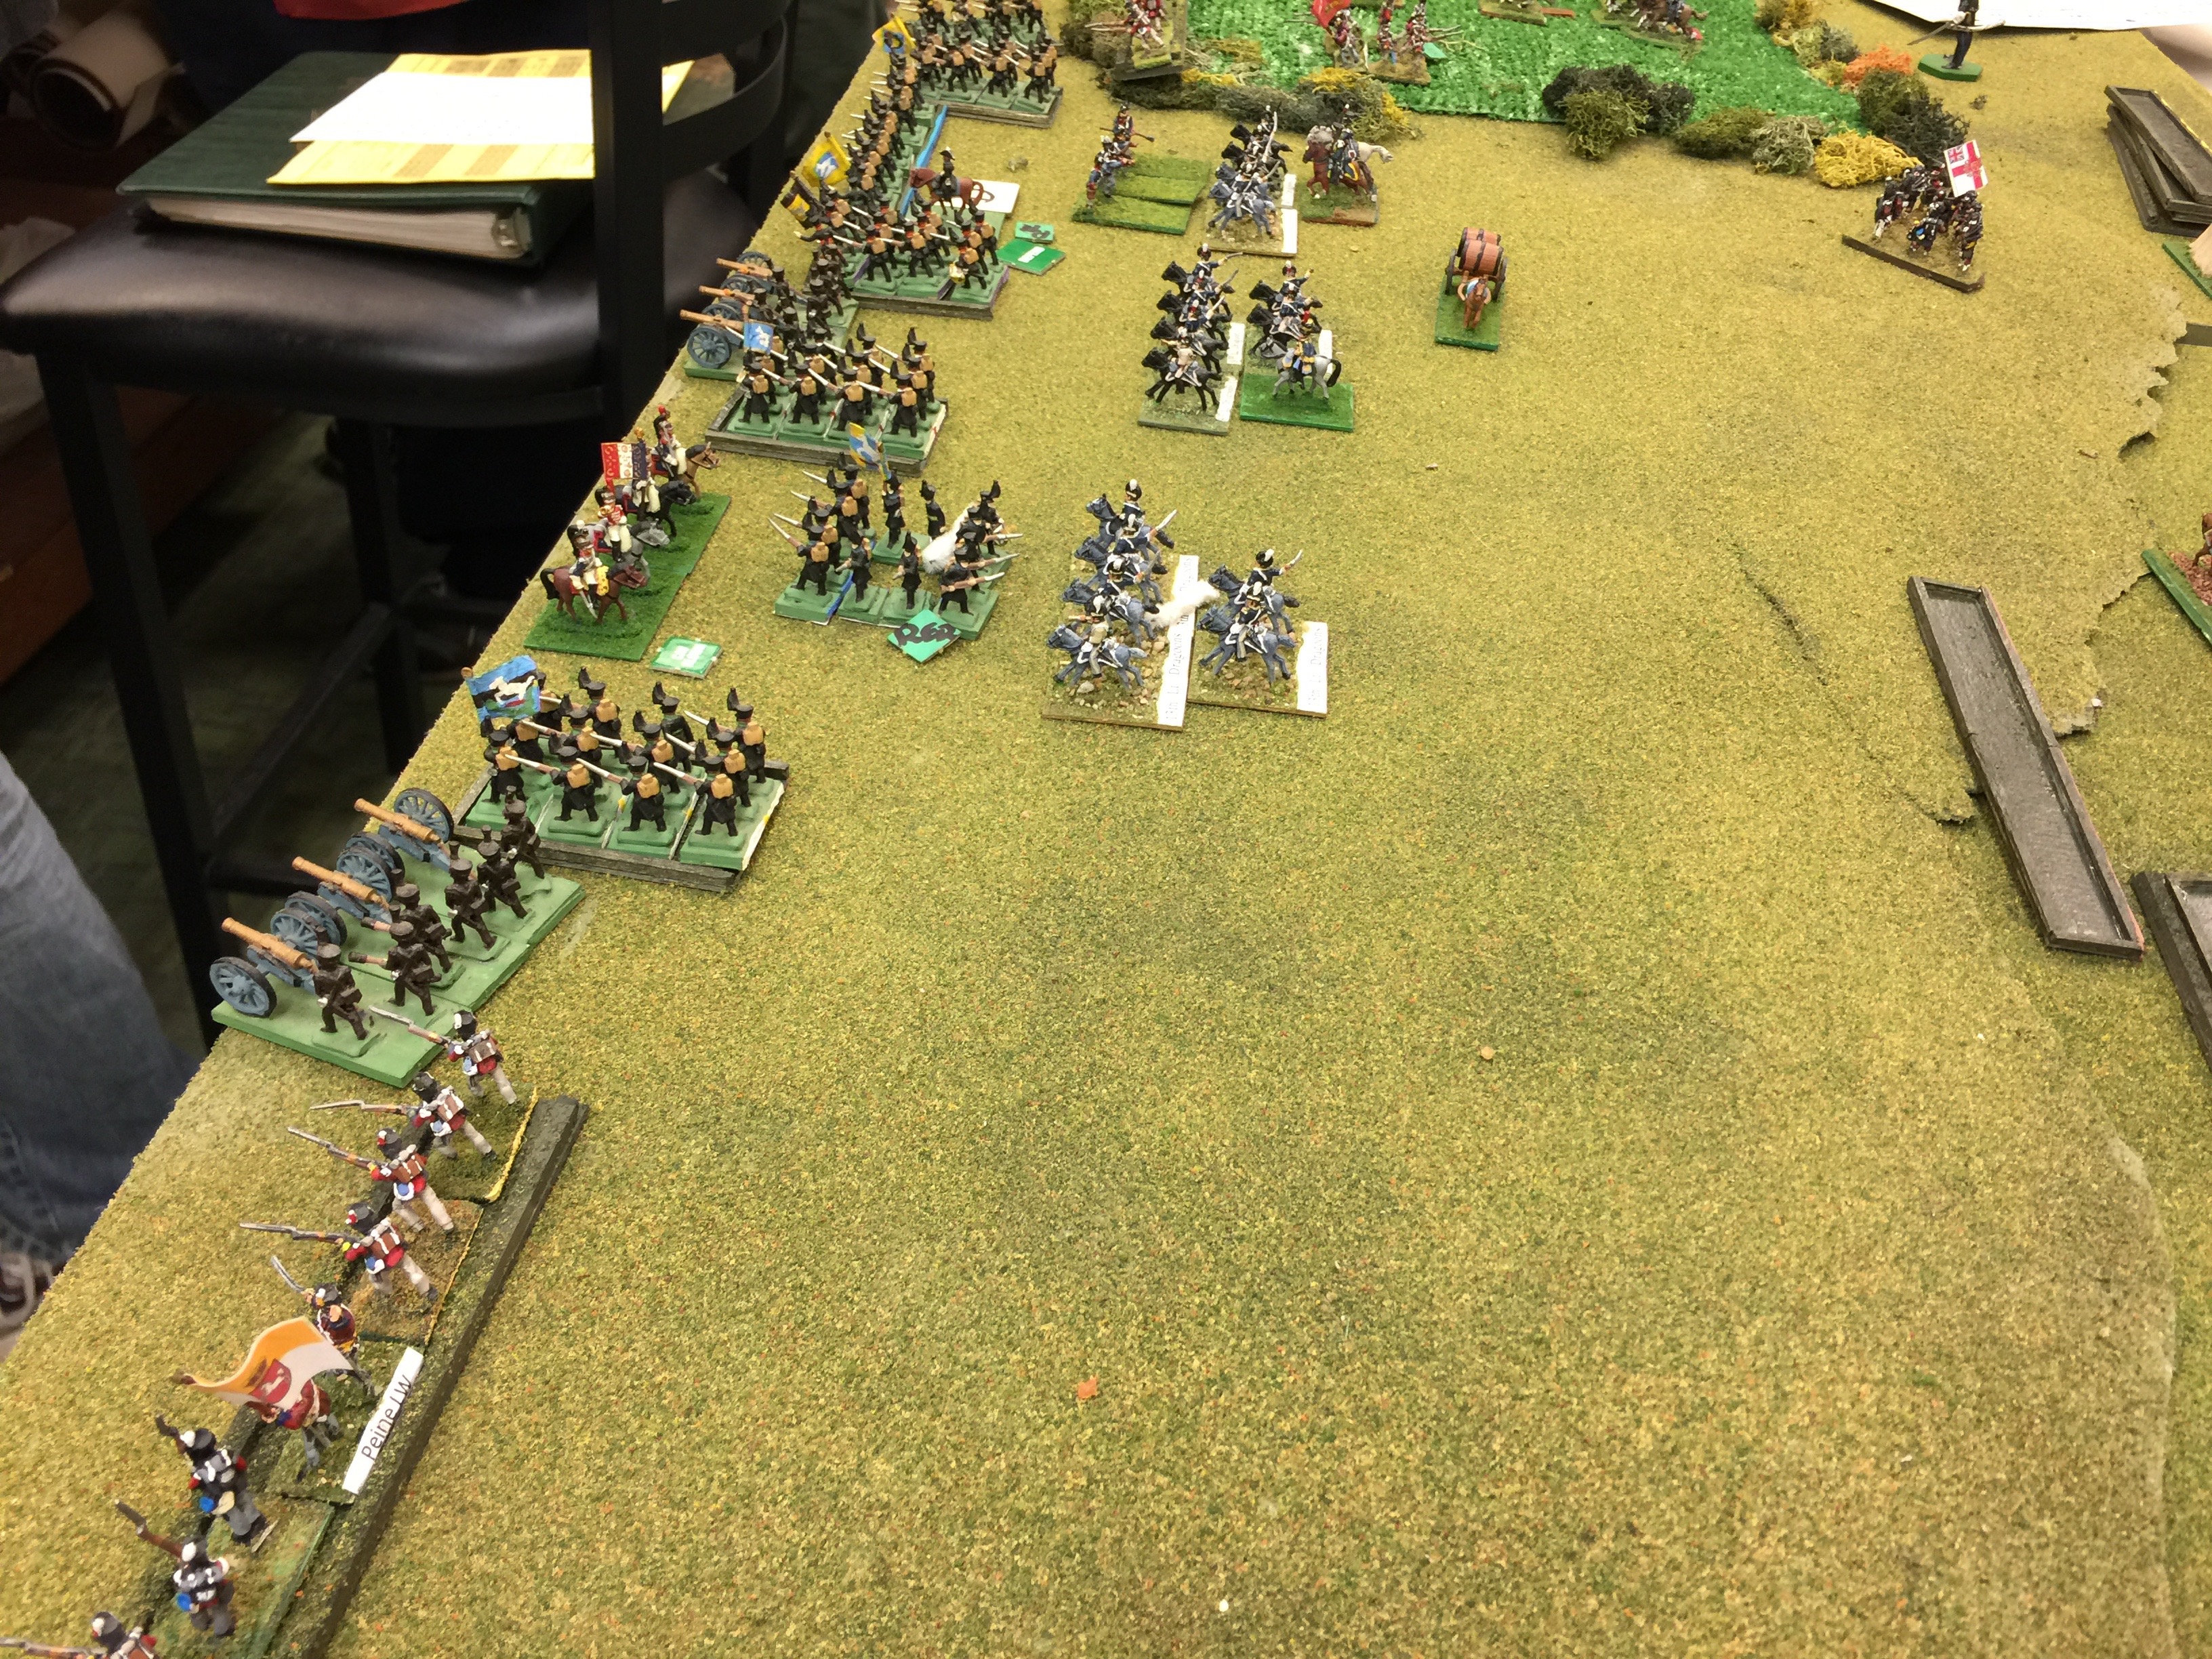
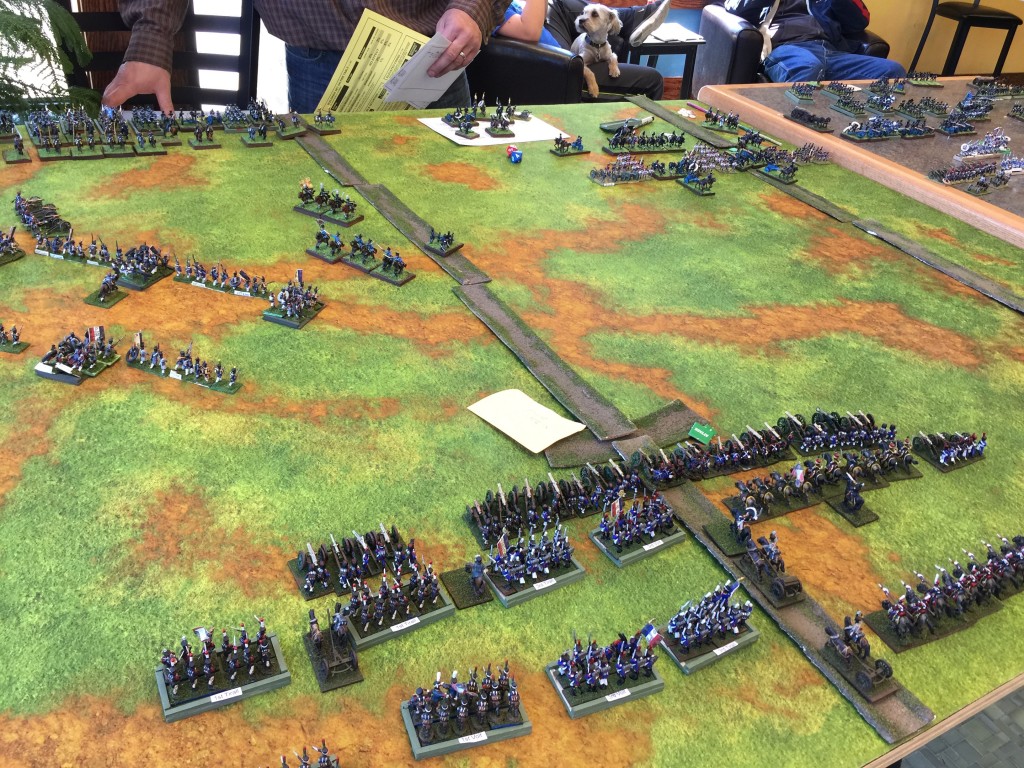
The last picture of this little battle blog, the French Grand Battery reformed facing the Prussians. The Prussians were held in check, no chance to unite with the British line.

In summary a very grand time. It was a mighty good weekend and I very much appreciate all the efforts from everyone involved. I’d say even Grumbles (the dog on the chair) approved. Thanks again to Adventure Games in Osh Kosh WI for opening early and staying late to host. You’ve got an awesome store Teddy!

I’d call it a French victory tho certainly Wellington wasn’t licked but the need to pull back was there. The French would take the field.


Posted in Empire | Comments Off on Waterloo

FoW – LW American Airborne vs German Volks (2000 pts)

For the weekly Flames of War game at Deaf Ear Records in LaCrosse, we started the day by setting up two tables in anticipation we’d have 2 games going. Earlier in the week it looked optimistically like 6 month show. We all spec’d out 2000 point LW armies. Hoping I’d be able to get in two games I went ahead and put together 3 different lists. Two out of NUTS and one out of Desperate Measures. I figured depending on who I was planning I’d pick a list.

With there being 3 of us that showed up at 10am, we decided on a 2 on 1 game, with Bill and I being German and Chuck being his American Airborne. Sadly that meant I had to refigure what I’d play with but with some quick discussion, Bill went ahead and pulled armor with his 1000 some points and I pulled volks infantry with mine. I had a good 100+ points left over which I passed onto Bill to use to put this forces together.

We rolled up a fair fight meeting engagement. Chuck choose the side on the right and we ended up being the attackers coming from the left. You can already see the objectives are out and Chuck had just placed his first platoon.

IMG_9415

The German objectives are the what almost looks like a shed on the very edge of the table behind that farmhouse surrounded by a wall. The second objective can be seen as the stand at the very top next to the field where Chuck has deployed his first platoon.

For forces Bill fielded two platoons of Pz IVs, a battery of 105s, and a group of armored 23x cars. In my case suffering from a bout of insanity I decided I’d go for a reluctant trained volks company. Surely  the lower point cost resulting in more stuff would even out …. right? So in addition to the core sturm and schutzen platoons I had a volks HMG platoon, and a volks mortar platoon with extra panzerschreks (5), volks hetzers and an Me-262 thrown in to boot. I likes me air! I may be reluctant, but I had stuff!

IMG_9416

Going back and forth placing platoons, here we are all setup. The Pz IVs are the only thing across the river. Still, not a major  problem with 2 fjords and the bridge, we figured we could prep, smoke and be competitive on the offensive assuming the reluctant troops didn’t pee their collective pants.

For both sides, nothing started out dug in which was sort of ok with the exception that on the die roll for who was to start first, we lost. Thankfully the lack of first turn air and artillery against us helped.

IMG_9417

Here’s the setup viewed from the other side with the hetzers in their starting position and Bill’s panzer IVs tucked up hugging the tree to hopefully keep anything in the air from seeing them.

IMG_9418

With the bottom of turn 1, dropping smoke to help mask for my hopefully successful river crossing, we moved forward on the attack from our right flank. On the left we dug in. With the HMG platoon and the mortars and the artillery we decided we had better things to do than dig in. tacka-tacka-tacka-tacka! With Chucks turn he had a number of units dug in so prep and pinning fire was important. In theory the hetzers and their guns could help but first turn they aimed after American 57mm anti-tank guns and go rid of 2 out of 3. Lotsa bazooks over there still….

IMG_9419

I also happened to get my Me262 on turn one. Sporatic air support.. might as well enjoy it while I had it. Bombs away for both the pin and taking out a stand or two. Still a little close to the 16″ minimum distance before the air would abort…

IMG_9420

With the top of turn 2, Chuck did some damage, taking out an HMG team with artillery and pinning my dug in volks.

IMG_9421


Meanwhile on our far left flank Chuck pulled out his tank destroyers and brewed up a Pz IV and had several stands of bazooks getting into position. Umm why didn’t I deploy one or even both of my volks platoons with Bills panzers? Cause I wasn’t thinking.

IMG_9423


Bottom of turn 2, great shooting by Bill and no more tank destroyers. That was it for armor that Chuck had. This is where in mid or early war you might as a tanker thrust your chest out and think you’re king of the battlefield. Late-war … ha, panzerfausts, bazookas, panzerschreks, everybody has your number.
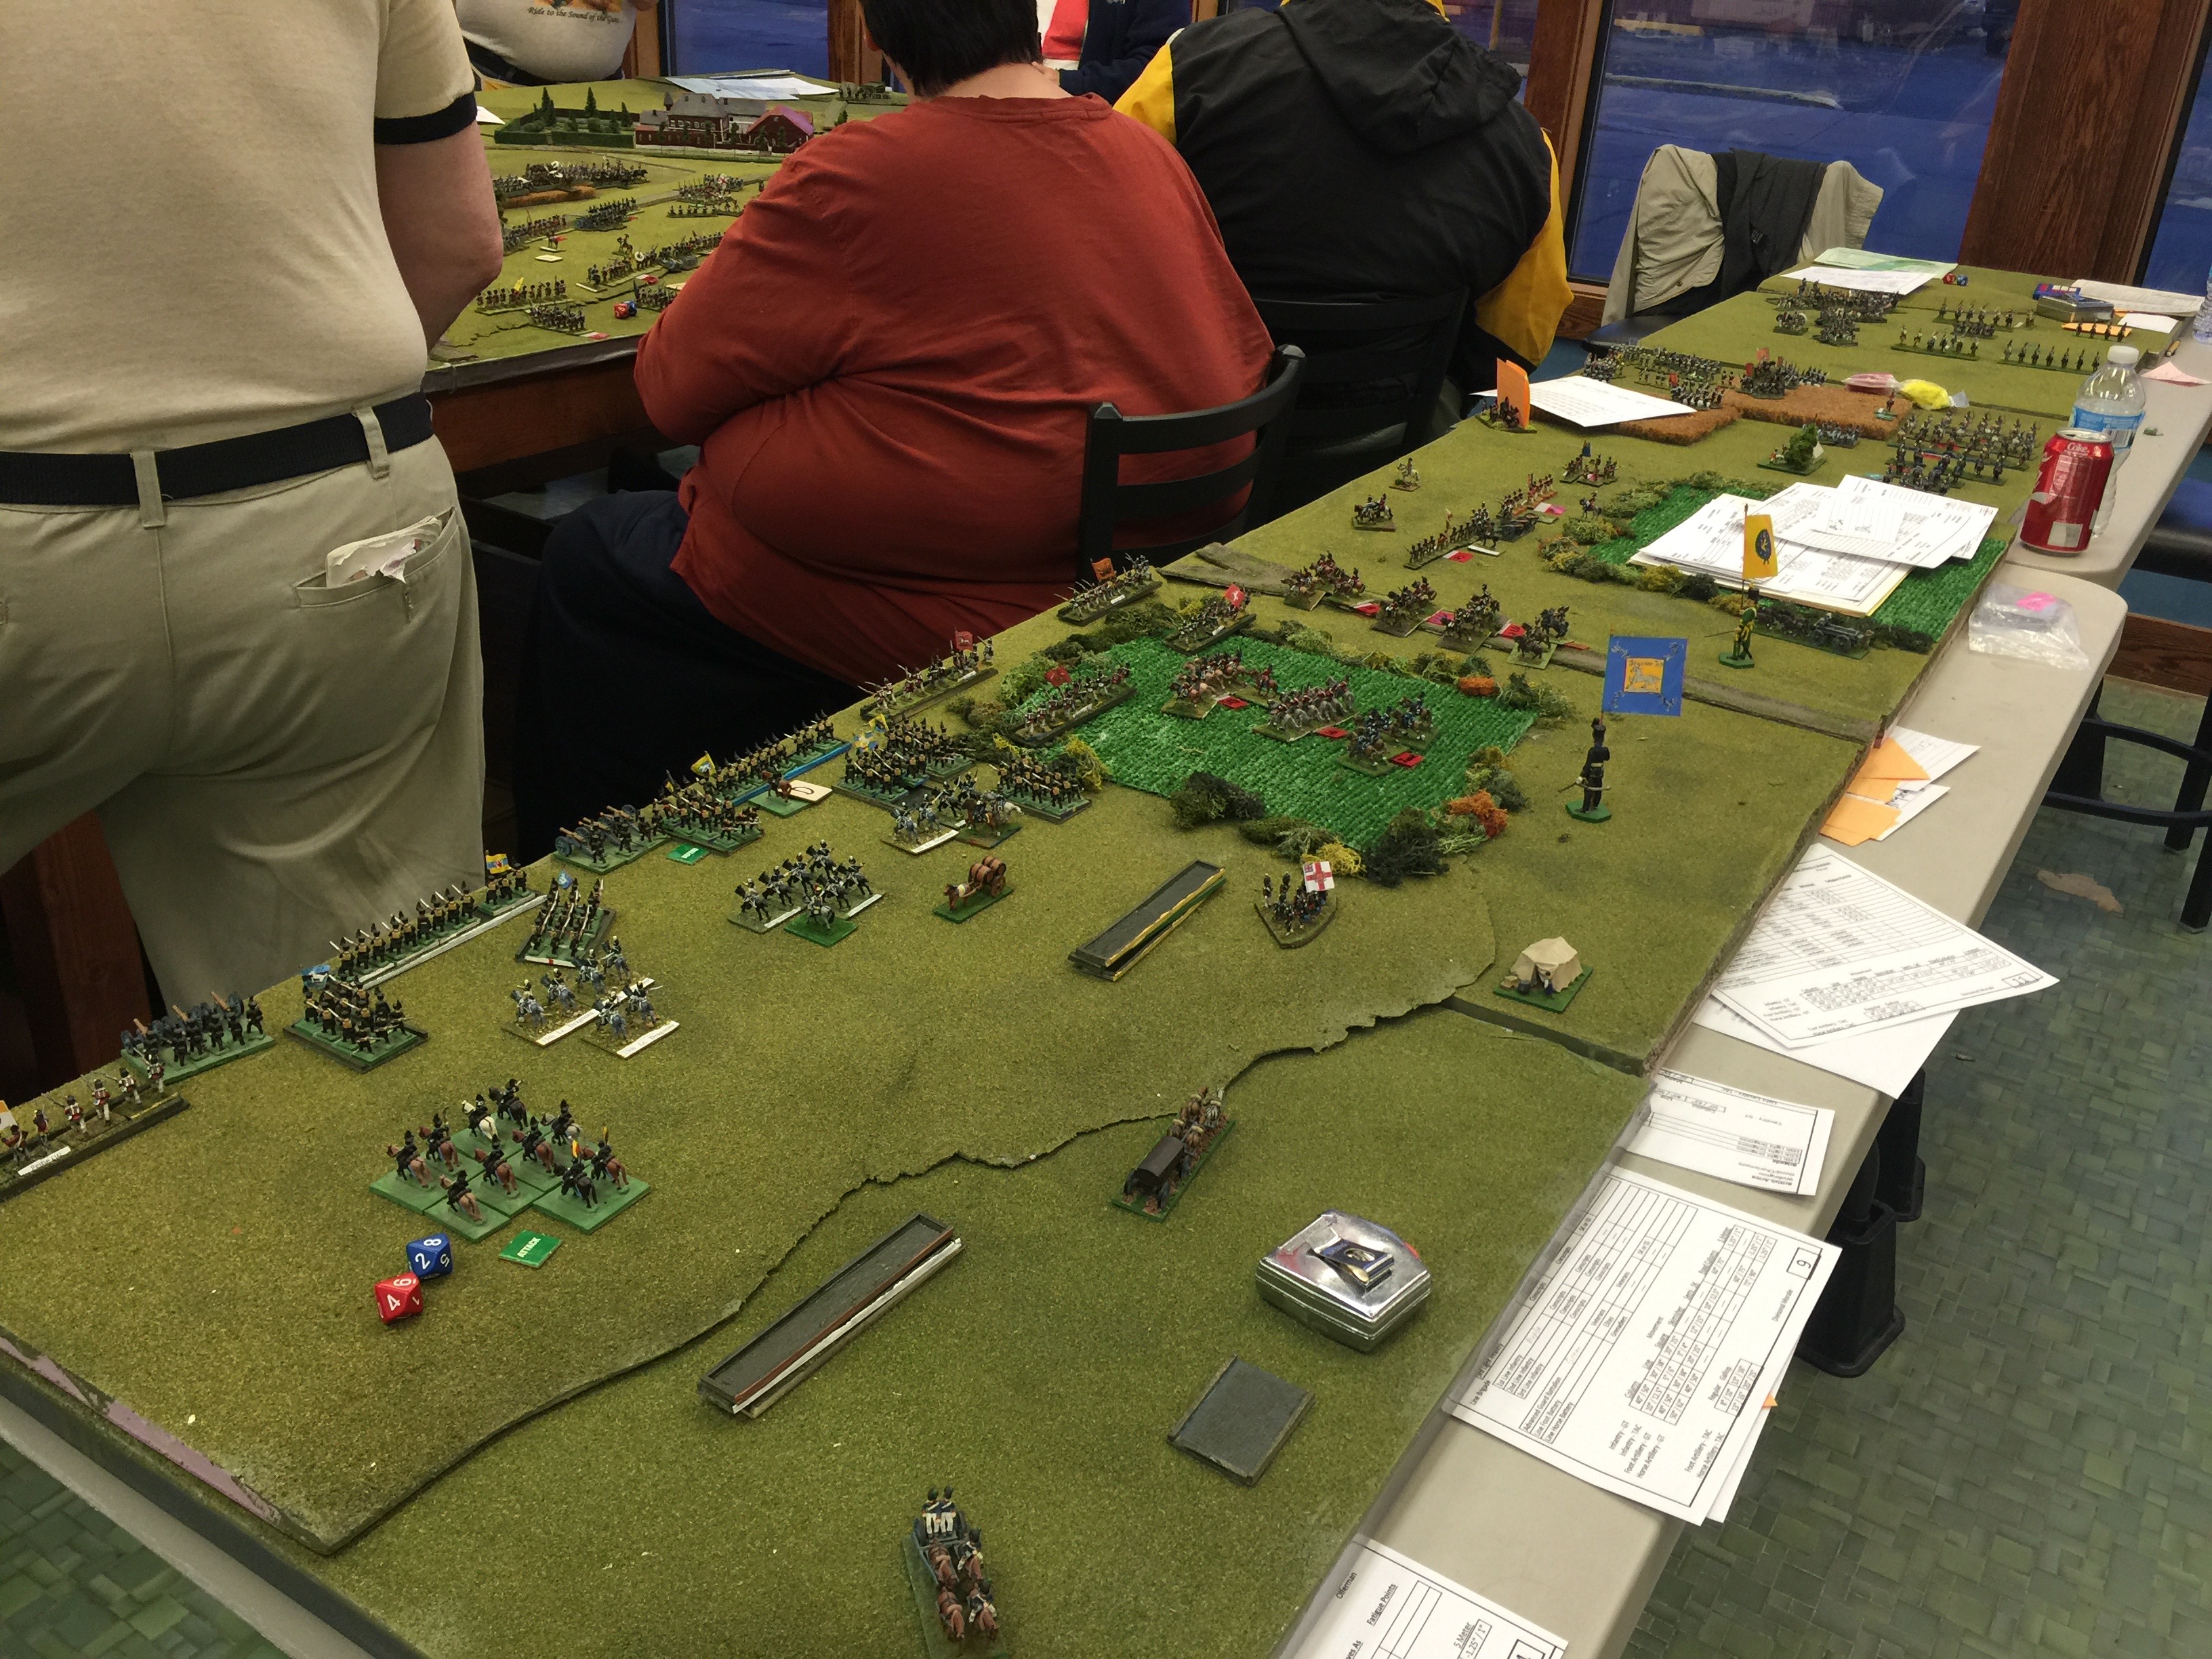
IMG_9424

Meanwhile on the right flank, after my very meager advance I dig in and figure I need to continue to prep the flank. Between air, artillery, HMGs, Hetzers, surely we can whittle down this flank in a few turns so the reluctant trained volks won’t get absolutely creamed crossing.

IMG_9425

O look! More air!  So at this point I’m going to mention Chuck was a really good sport with my beyond amazing die rolls for air in this game. Almost every turn he would successfully roll up a P47 and who wouldn’t with dedicated 7 dice of air support? I’d roll one die for intercept … 6~! It was like that for a good 3-4 turns straight when he’d try to pull in his air. This is why we roll dice.

IMG_9426

At the top of turn 3, Chuck took out another HMG stand and one of my mortar stands. He also pinned my right flank.

With turn 3 Bill started to pull in his second Pz IV platoon to cross at the bridge and see about attacking on that side. He also had his armored car on the bridge, one unfortunately was brewed.
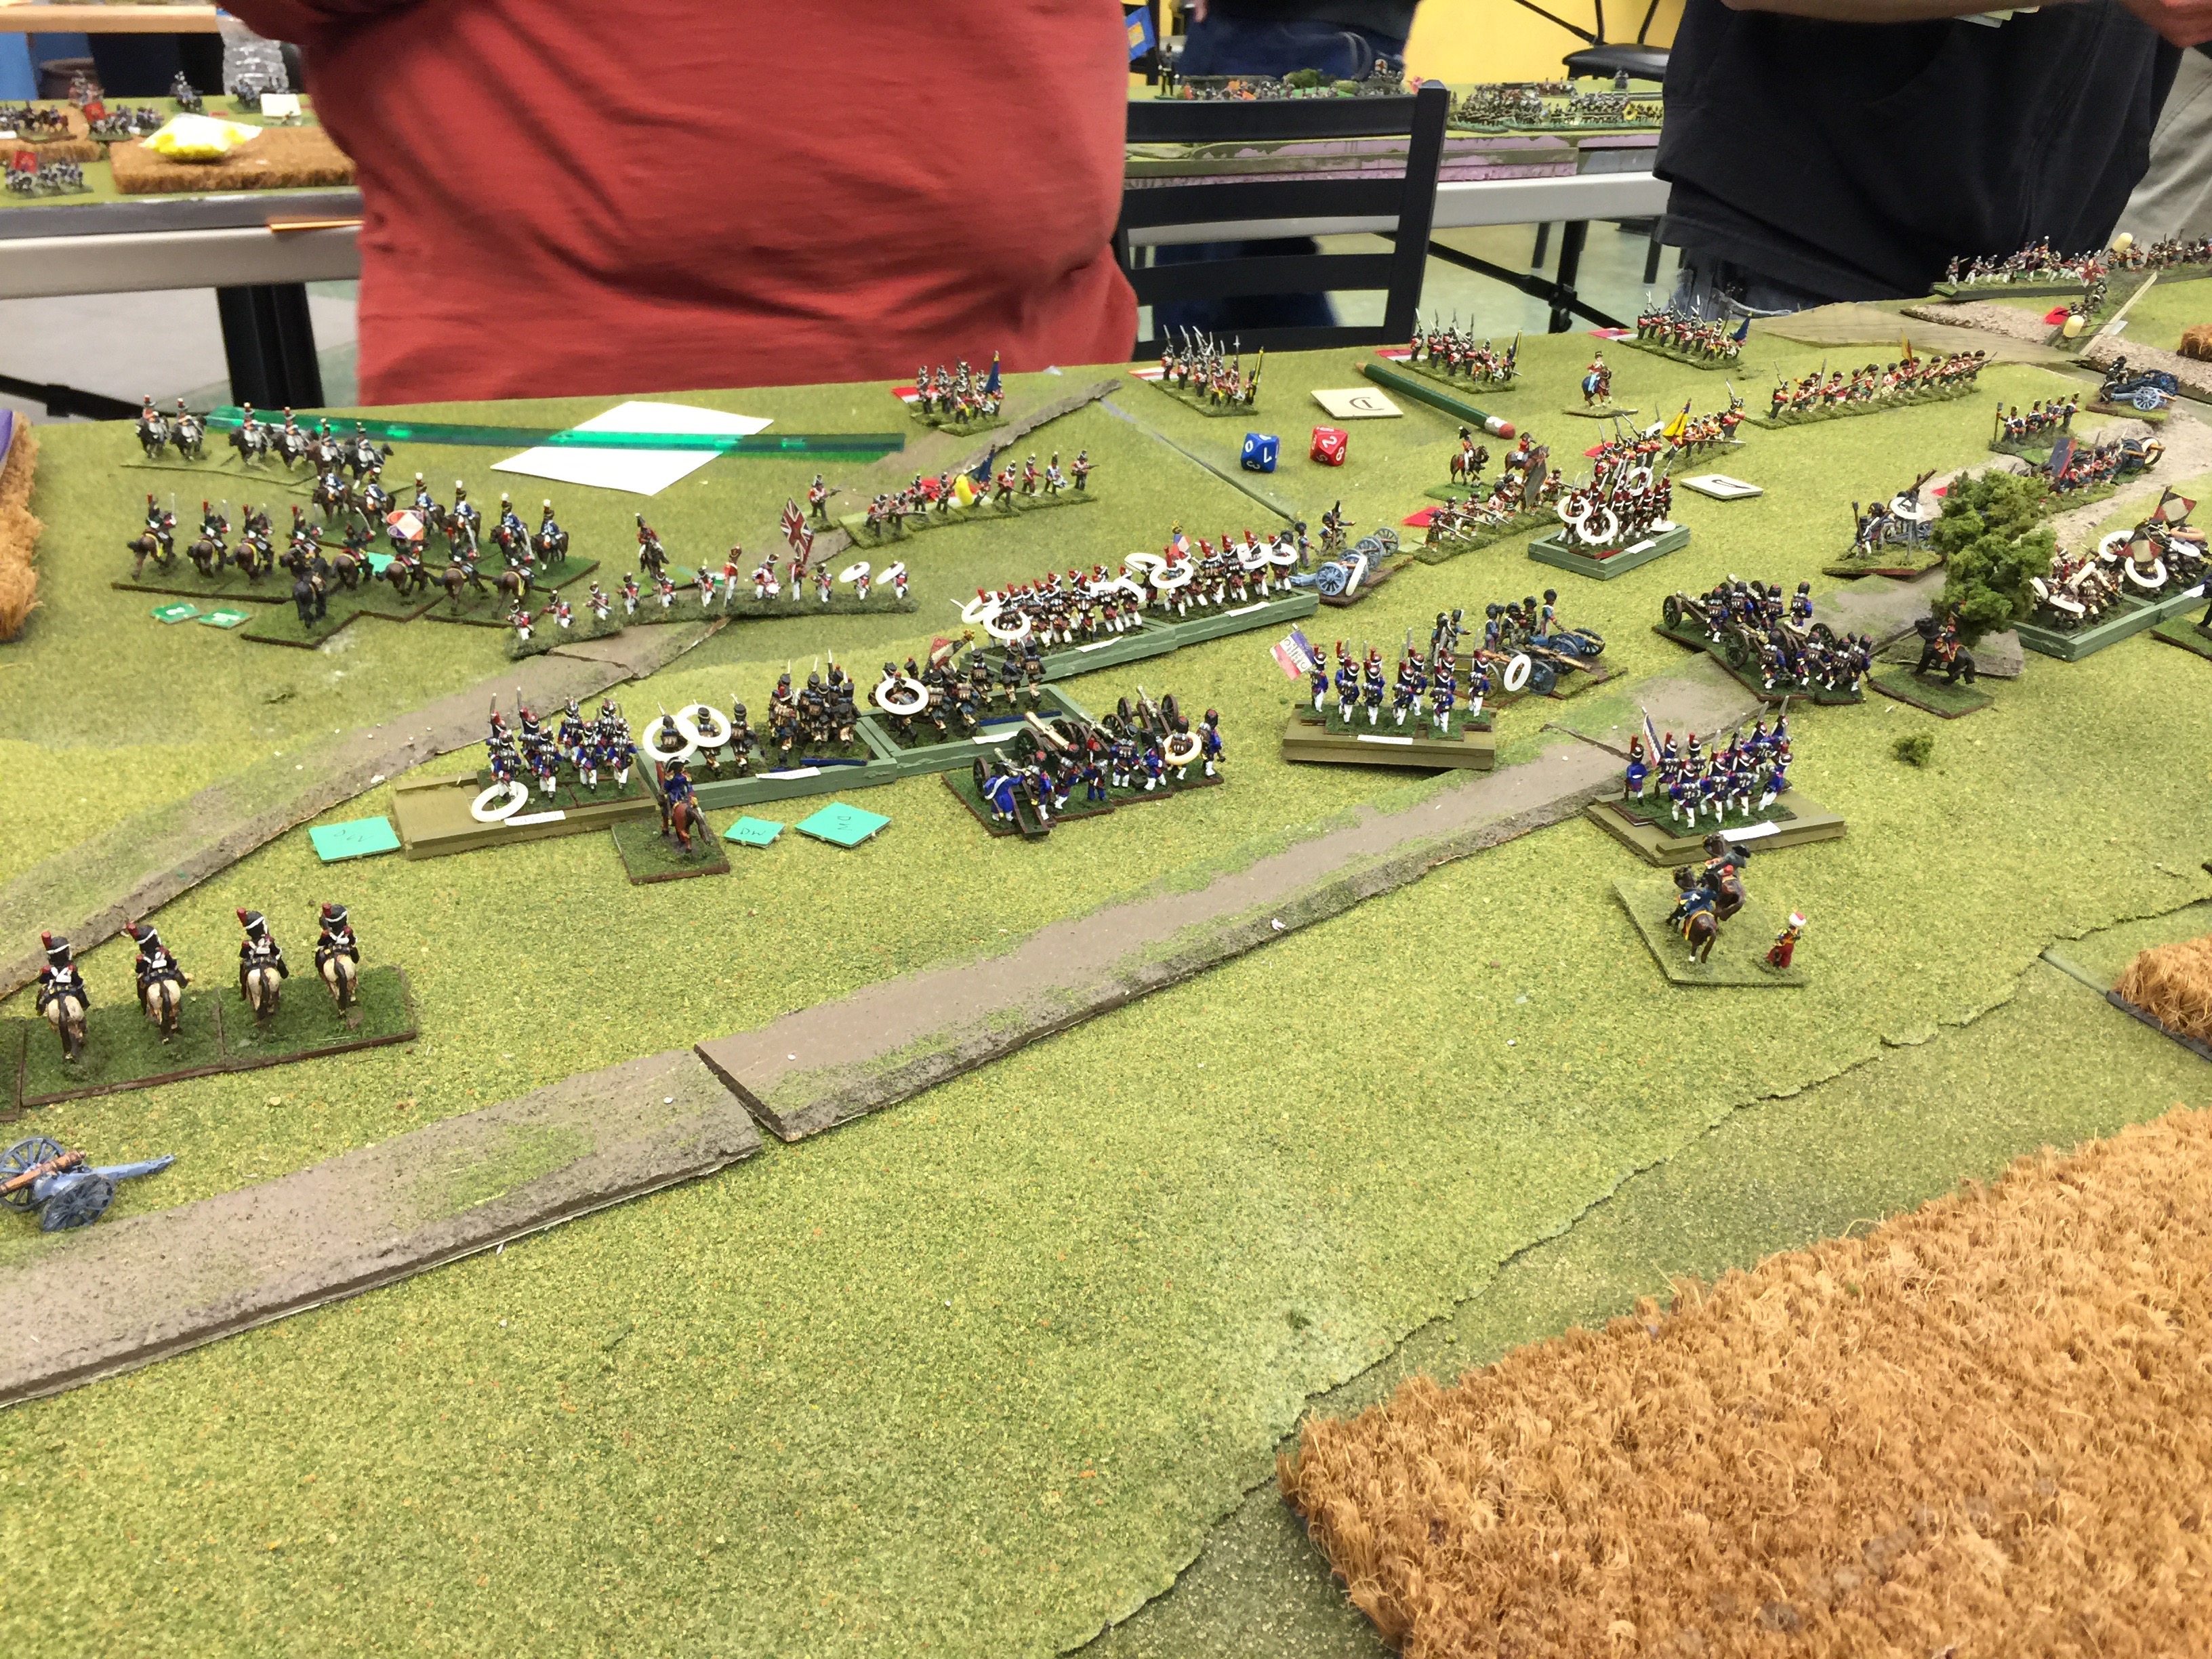
Turn 4 would be a pretty static battle line with more prep on our parts. This is was also the turn where I it dawned on me when you’re trained, you know how to fire. When you’re a vet, you know when not to fire. Chuck… he stopped firing. That extra one to hit for going to ground makes a difference. Tactically he also drew us, quite willingly, into the noose.
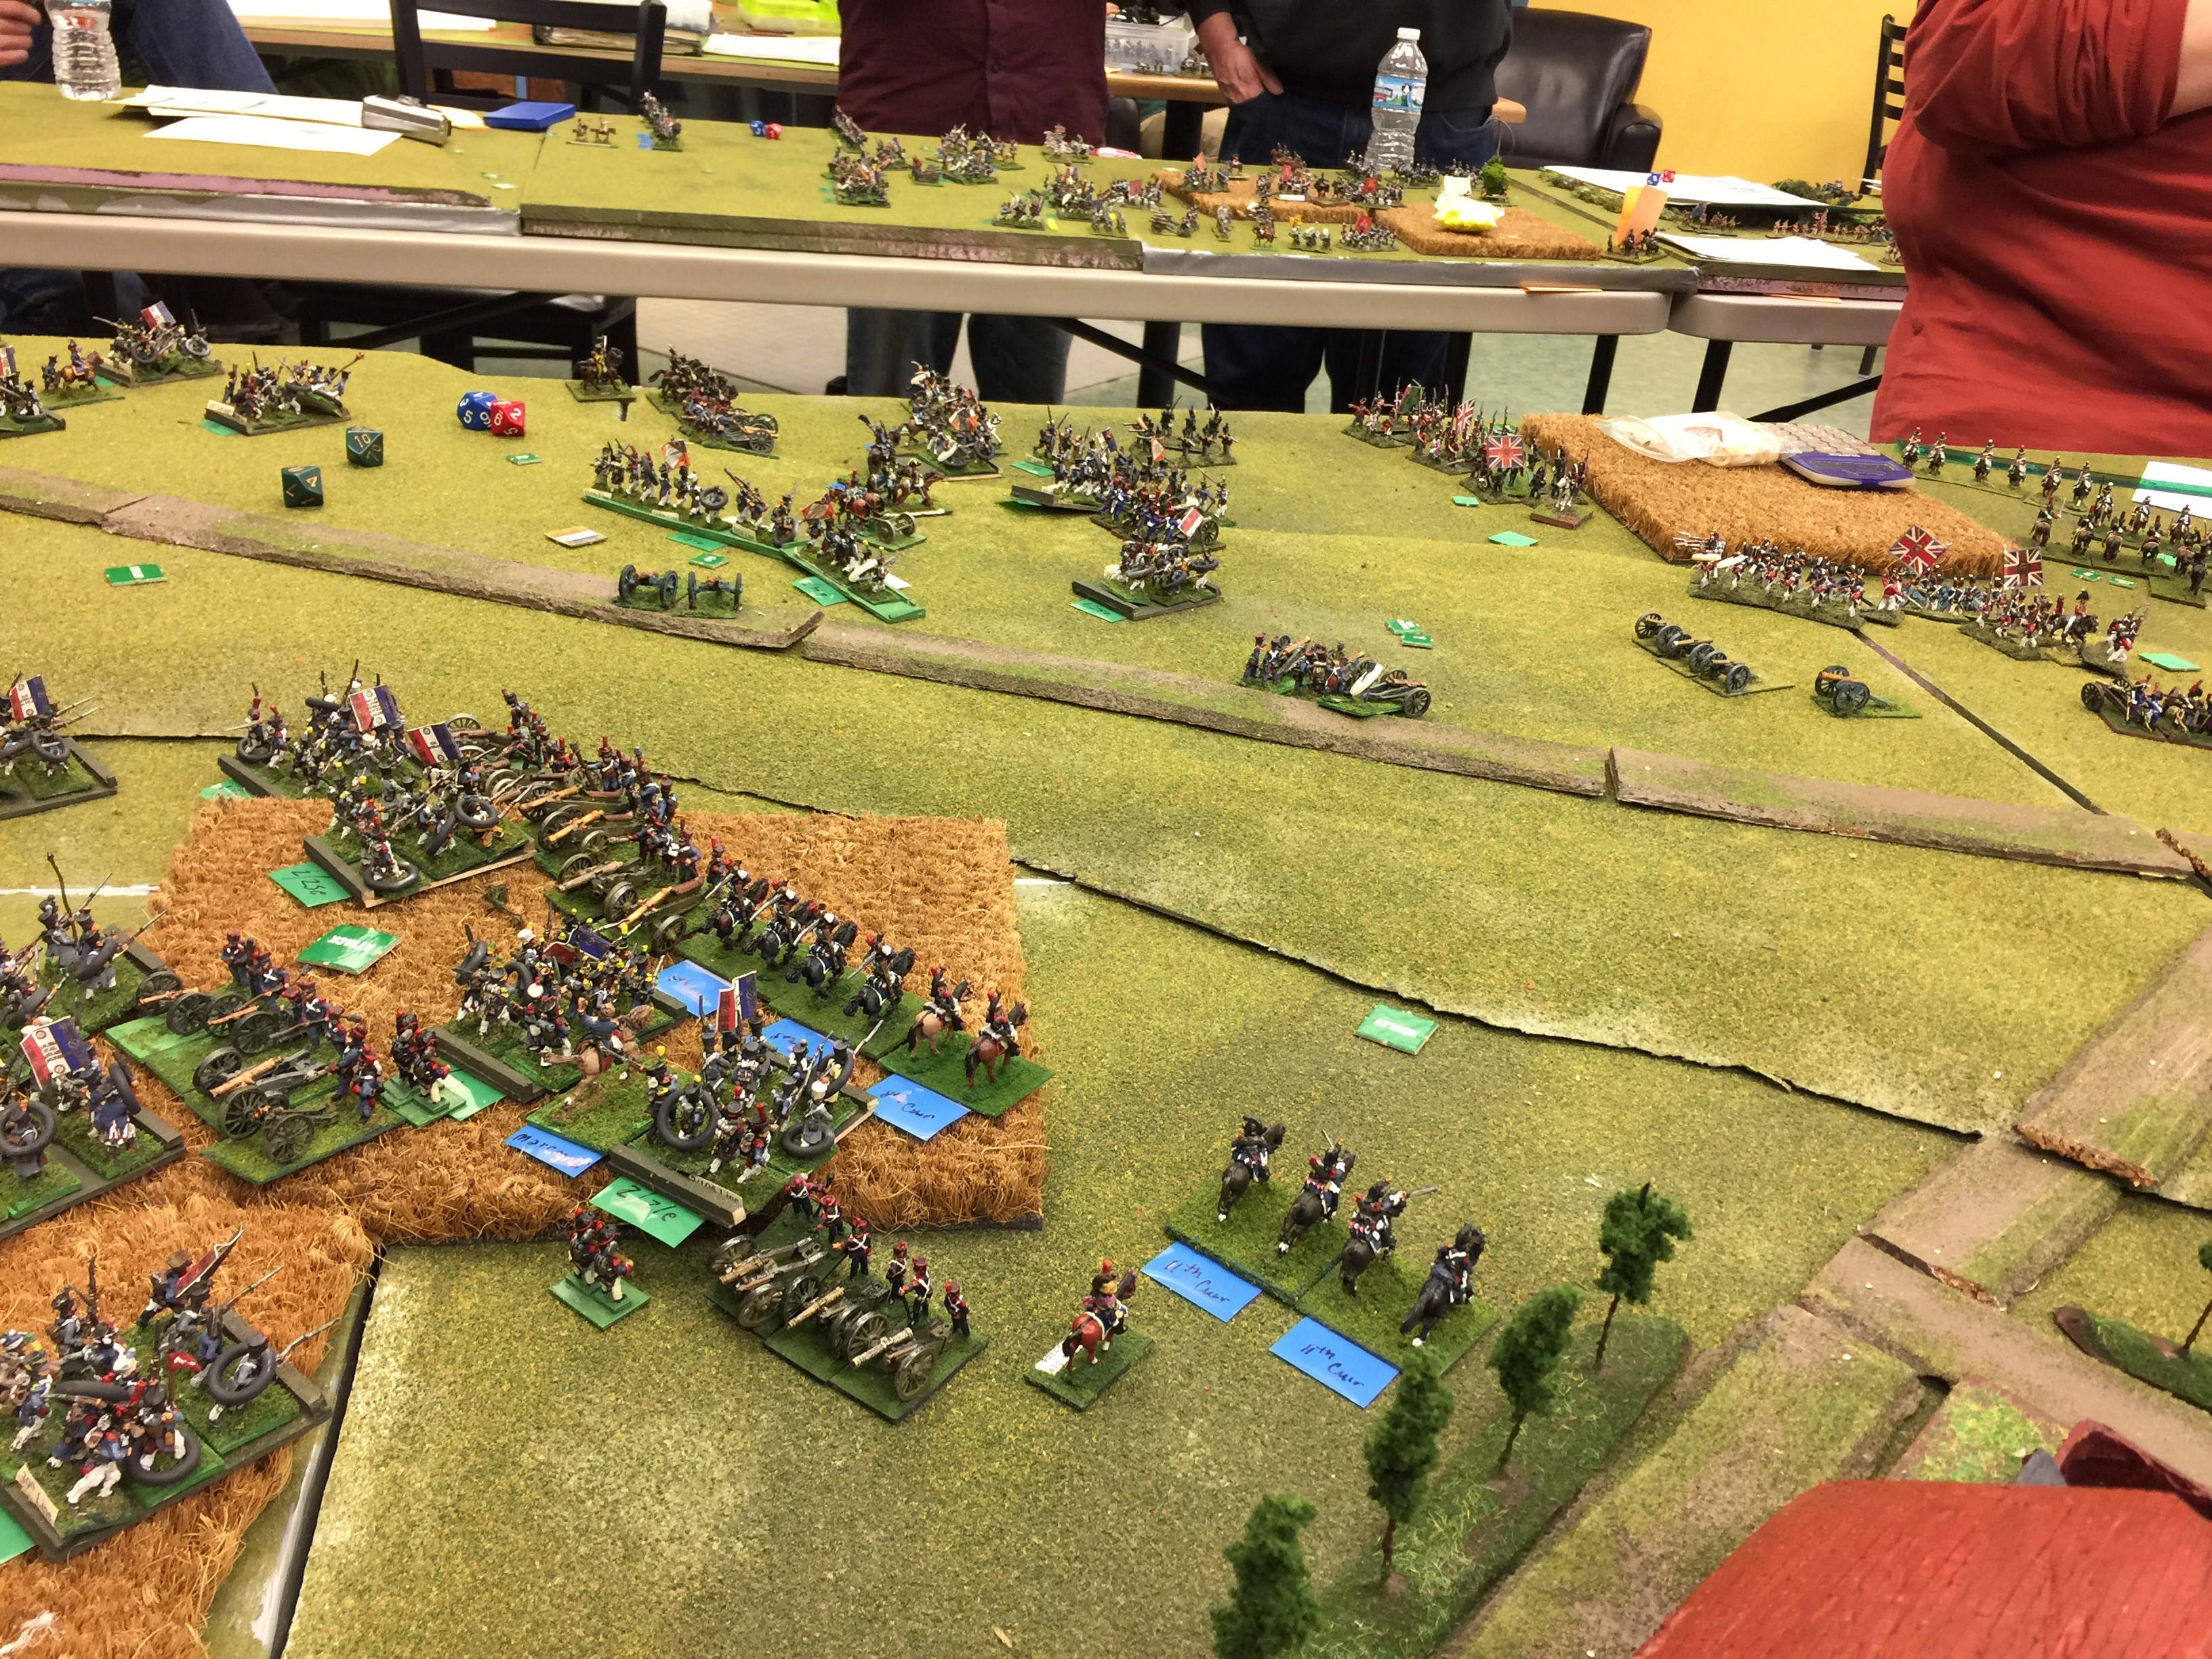
IMG_9427

Turn 5, I started to press forward on the left flank with my volks. With Bill smoking the field, Pz IVs on the bridge, armored cars helping out, we figured we could make it work. Likewise the hetzers on the right flank moved across tho I kept my infantry dug in, that side just wasn’t quite ready.

IMG_9428

But what of those PzIVs that had taken out the tank destroyers? Well they made loop trying to move in behind the American positions to get to the objective. It’s right there in the upper right of the picture, the crashed kubelwagen. Unfortunately the American bazookas … running right after. They brewed up one.. then another … and bailed another. Sigh.

IMG_9429

My hetzers made it across and at close range could started to take out some stands here and there. We just needed to break a hole. In the field there was an American HMG platoon. That especially needed to go. Further there were about 3 stands of bazookas in the field as well as straight legs and more bazookas around that hedge line. All needing attention.

Over on the left you can see Bill has made it across with his Pz IVs and the smoke is helping to make the fire. Unfortunately due to a sniper my volks over on that side were pinned and not moving and Chuck was dropping artillery down on the no longer dug in unit.

IMG_9430

A better picture. Alas my volks platoon was starting to get a little thing. Note the sniper by the river.

IMG_9431

So Bill decides to go full on John Wayne … (umm did he every portray a German?) how about full Arnold… Ve must charge mit uns Panzers! It seemed like a good idea at the time since the infantry was looking to be pretty useless, so close assaulting into the field was our best hope to make a hole in the American line.

Bazooka, bazooka, bazooka. Couple of hits and that ended that. Bill didn’t even make it into the assault with all the defensive fire.

IMG_9432

So lots of brewed up tanks. All the Pz IVs save for the company commander were gone at this point. Likewise my Hetzers were getting lots of bazooka love too. I just had one bailed out here in turn 6. Based on radio chatter I moved towards the center so I could support ze charge….  Now looking over  the results the situation was looking pretty grim for our attack.

IMG_9434

Turn 7, we’re not licked yet, able to recover my pinned status the volks slog forward onto the bridge. The smoke from the wrecks sorta covering their advance…. The hetzers stick to the plan, unfortunately now down to two vehicles with a second bailed.

The volks on the left flank also now go on the advance to start to get across the river. They’re looking pretty thin in the ranks too at this point.

IMG_9435

The last turn of the game. On the left flank, artillery and finally a successful air strike by Chuck that wasn’t intercepted by my Me262s reduced that platoon down to one stand. On the right flank a few more hits and the other volks was testing. Likewise effective bazooka hits and my hetzers are testing…

And we don’t make a single platoon morale roll. I’m under 50% for platoons left, Bill is under 50%. After 9 turns, it’s done. I forget if we made or failed our company morale at this point, but in the grand scheme it doesn’t matter, with a well deserved victory for Chuck.

Posted in FlamesOfWar | Comments Off on FoW – LW American Airborne vs German Volks (2000 pts)

WWI – Flames of War – Great War add ons

For those that enjoy WWI and I am certainly one, I’ve been working on putting together a series of add ons for Flames of War and their Great War addition.

Battlefront has said that they intend to expand the little booklet and add some armies later in 2015. While the chances are high my information probably will overlap with theirs I’m pressing ahead. The prospect of being able to play with French, Ottomans, Russians, and so on especially in other years like 1914, 1915, for instance is just too great to ignore and wait. Further I’ve added rules for cavalry for instance which were certainly in effective use on various front and at various times.

The link to my “live” book is here, it a pages doc but you should be able to print it out. It *IS* a work in progress and you’ll find I’m updating and adding to it generally every few days.

There is still much that I want to accomplish and cover in this book. My “eyes” might be too big for my stomach but that’s ok. I tend to ignore those that tell me things are impossible.

Posted in FlamesOfWar | Comments Off on WWI – Flames of War – Great War add ons