CD III – 1944 Germans vs Americans

Yesterday’s game-o-rama allowed me to play with both of my local gaming groups. Makes for quite a good time! For the second game of the day Eric planned a CDIII game in 15mm with the Germans on the retreat and the Americans trying to do their best to engage and trap a rear guard to keep them from escaping as well as trying to get to a bridge before they do.

IMG_9218

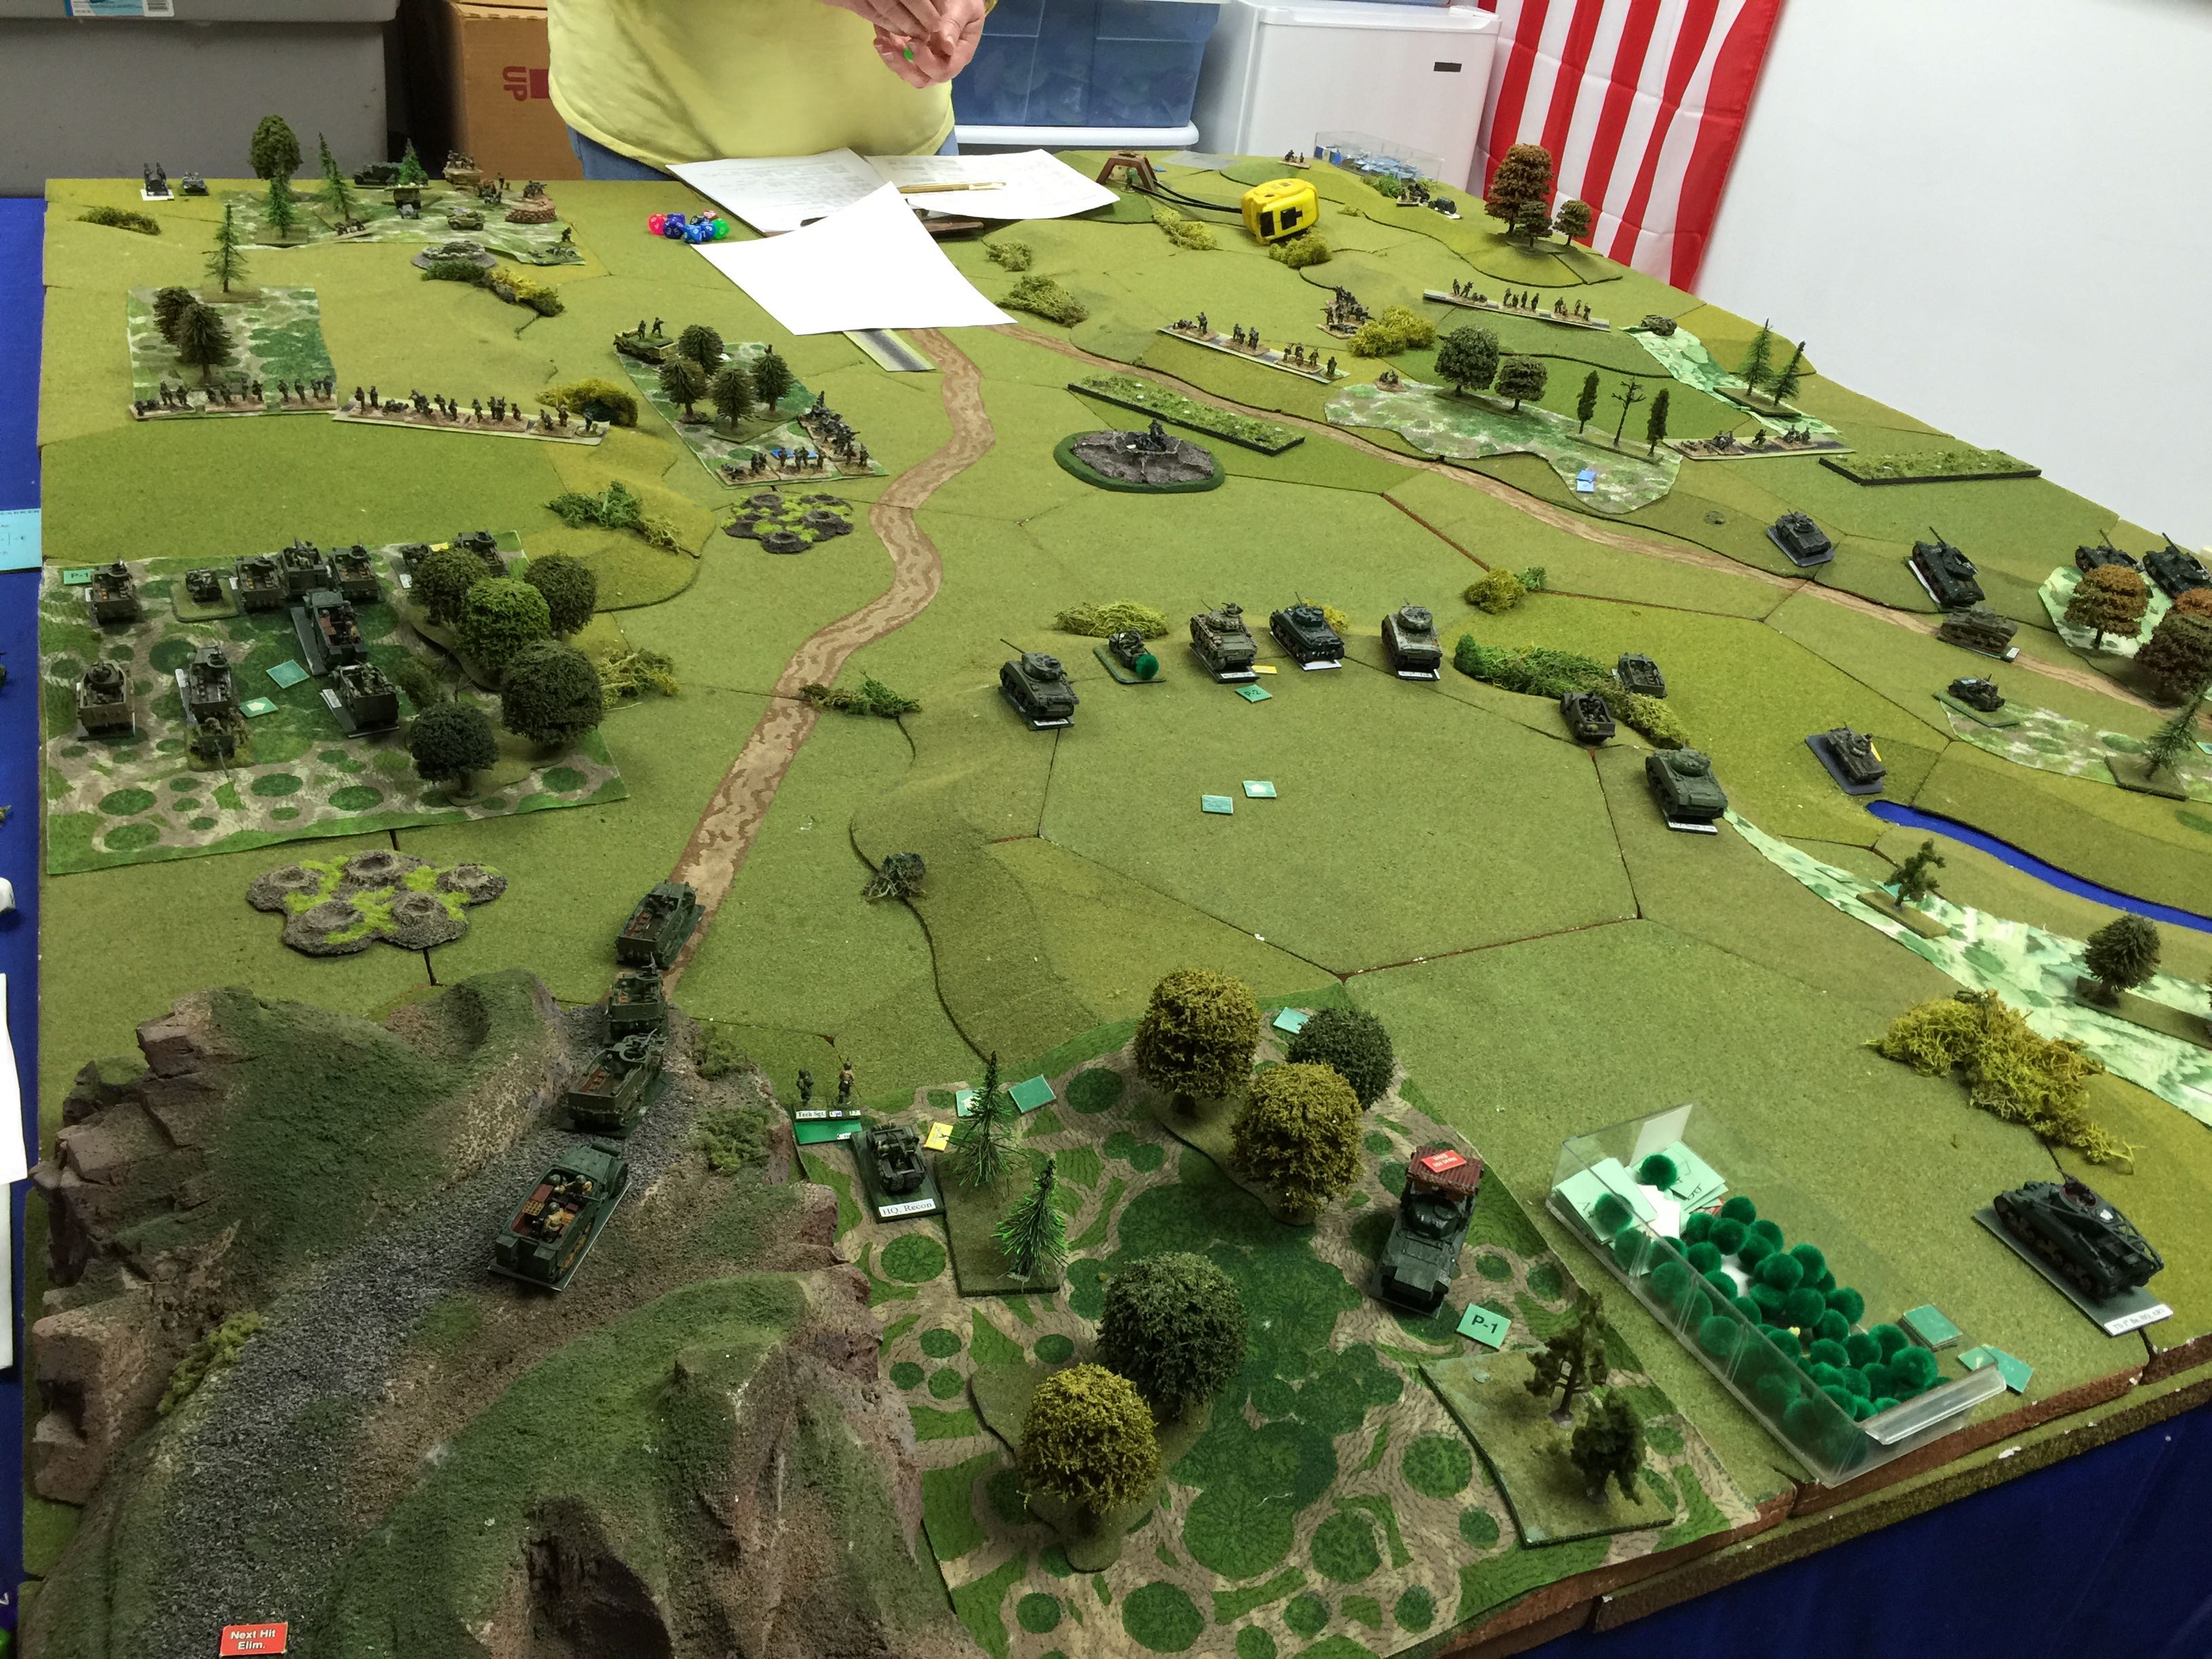
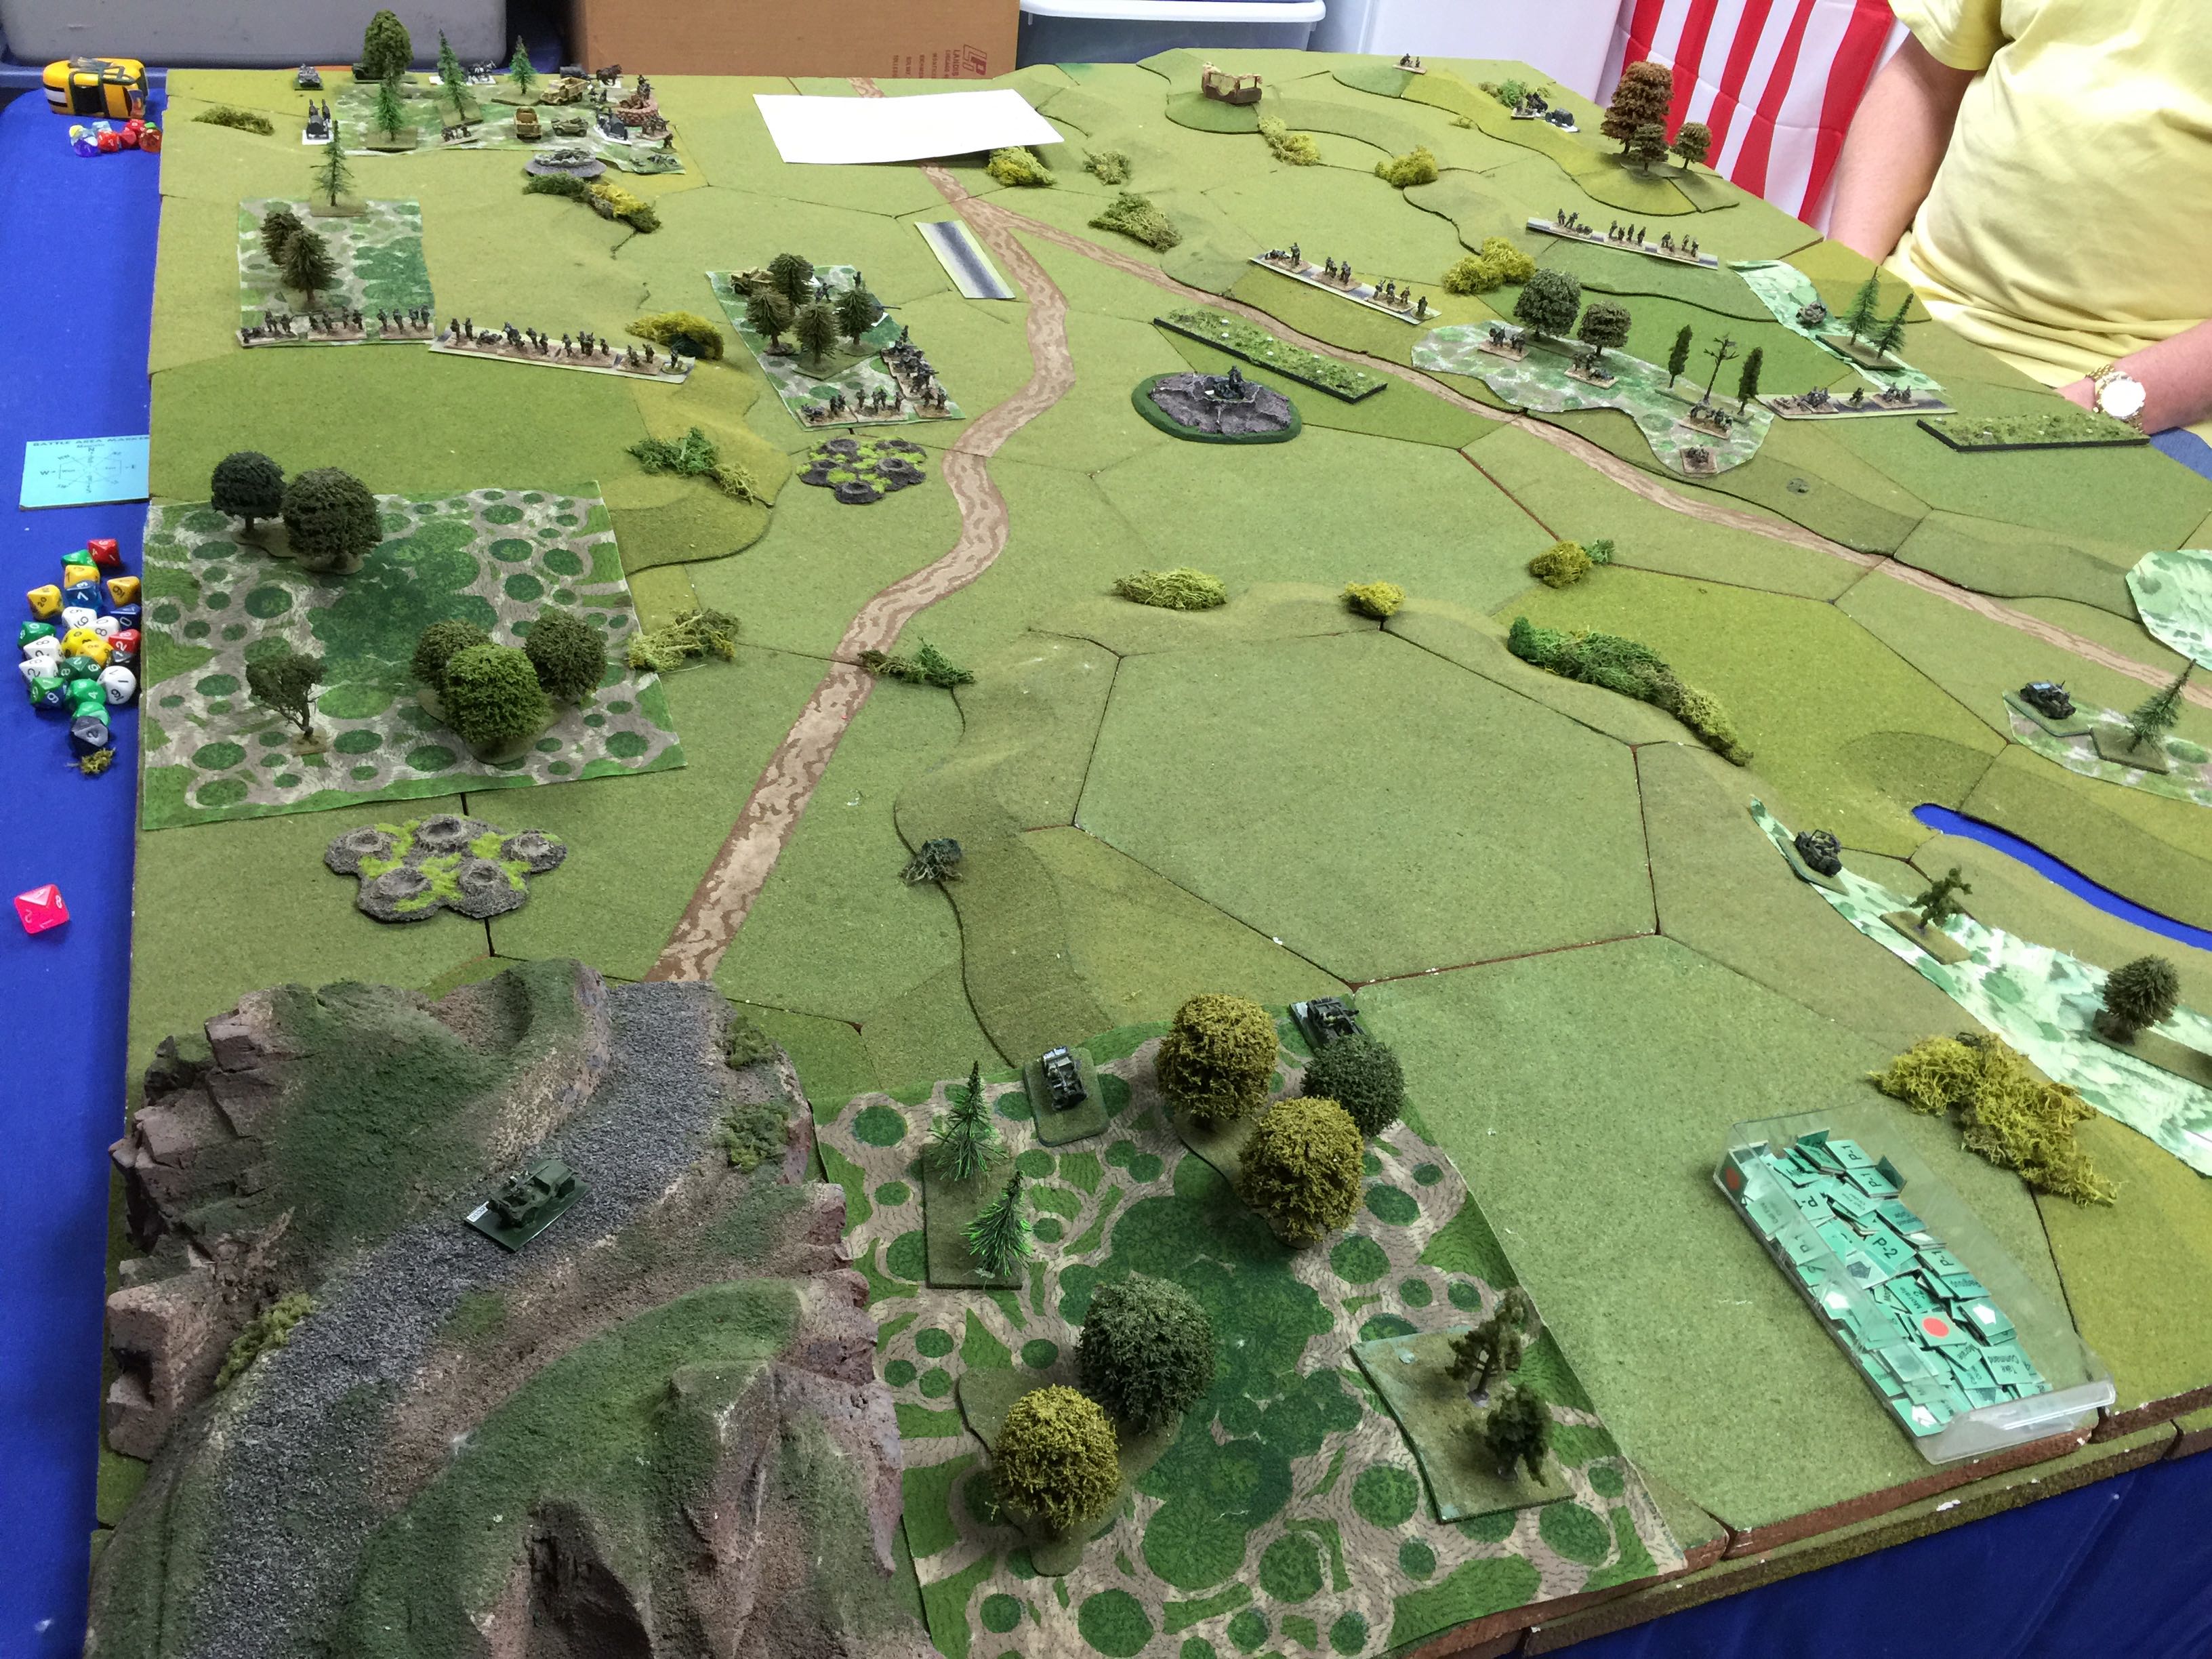
As Americans we had two roads to entry on and in this picture we’re traveling near to the far table edge. I figured our battle plan would be to attack up the left side of the valley. This would give the ability to work from cover to cover and bring down artillery as needed.

IMG_9219


My first companies of the battalion coming on table. Shermans and armored infantry. Eric running the armor and I with the infantry.

Not the best road to come in on as with enemy eyes the artillery could target the choke point and make us test for hits. Rolling was extremely lucky and through the entire set of about 3-4 turns that artillery was raining down on the road, only suffered one hit on a command jeep.

IMG_9220

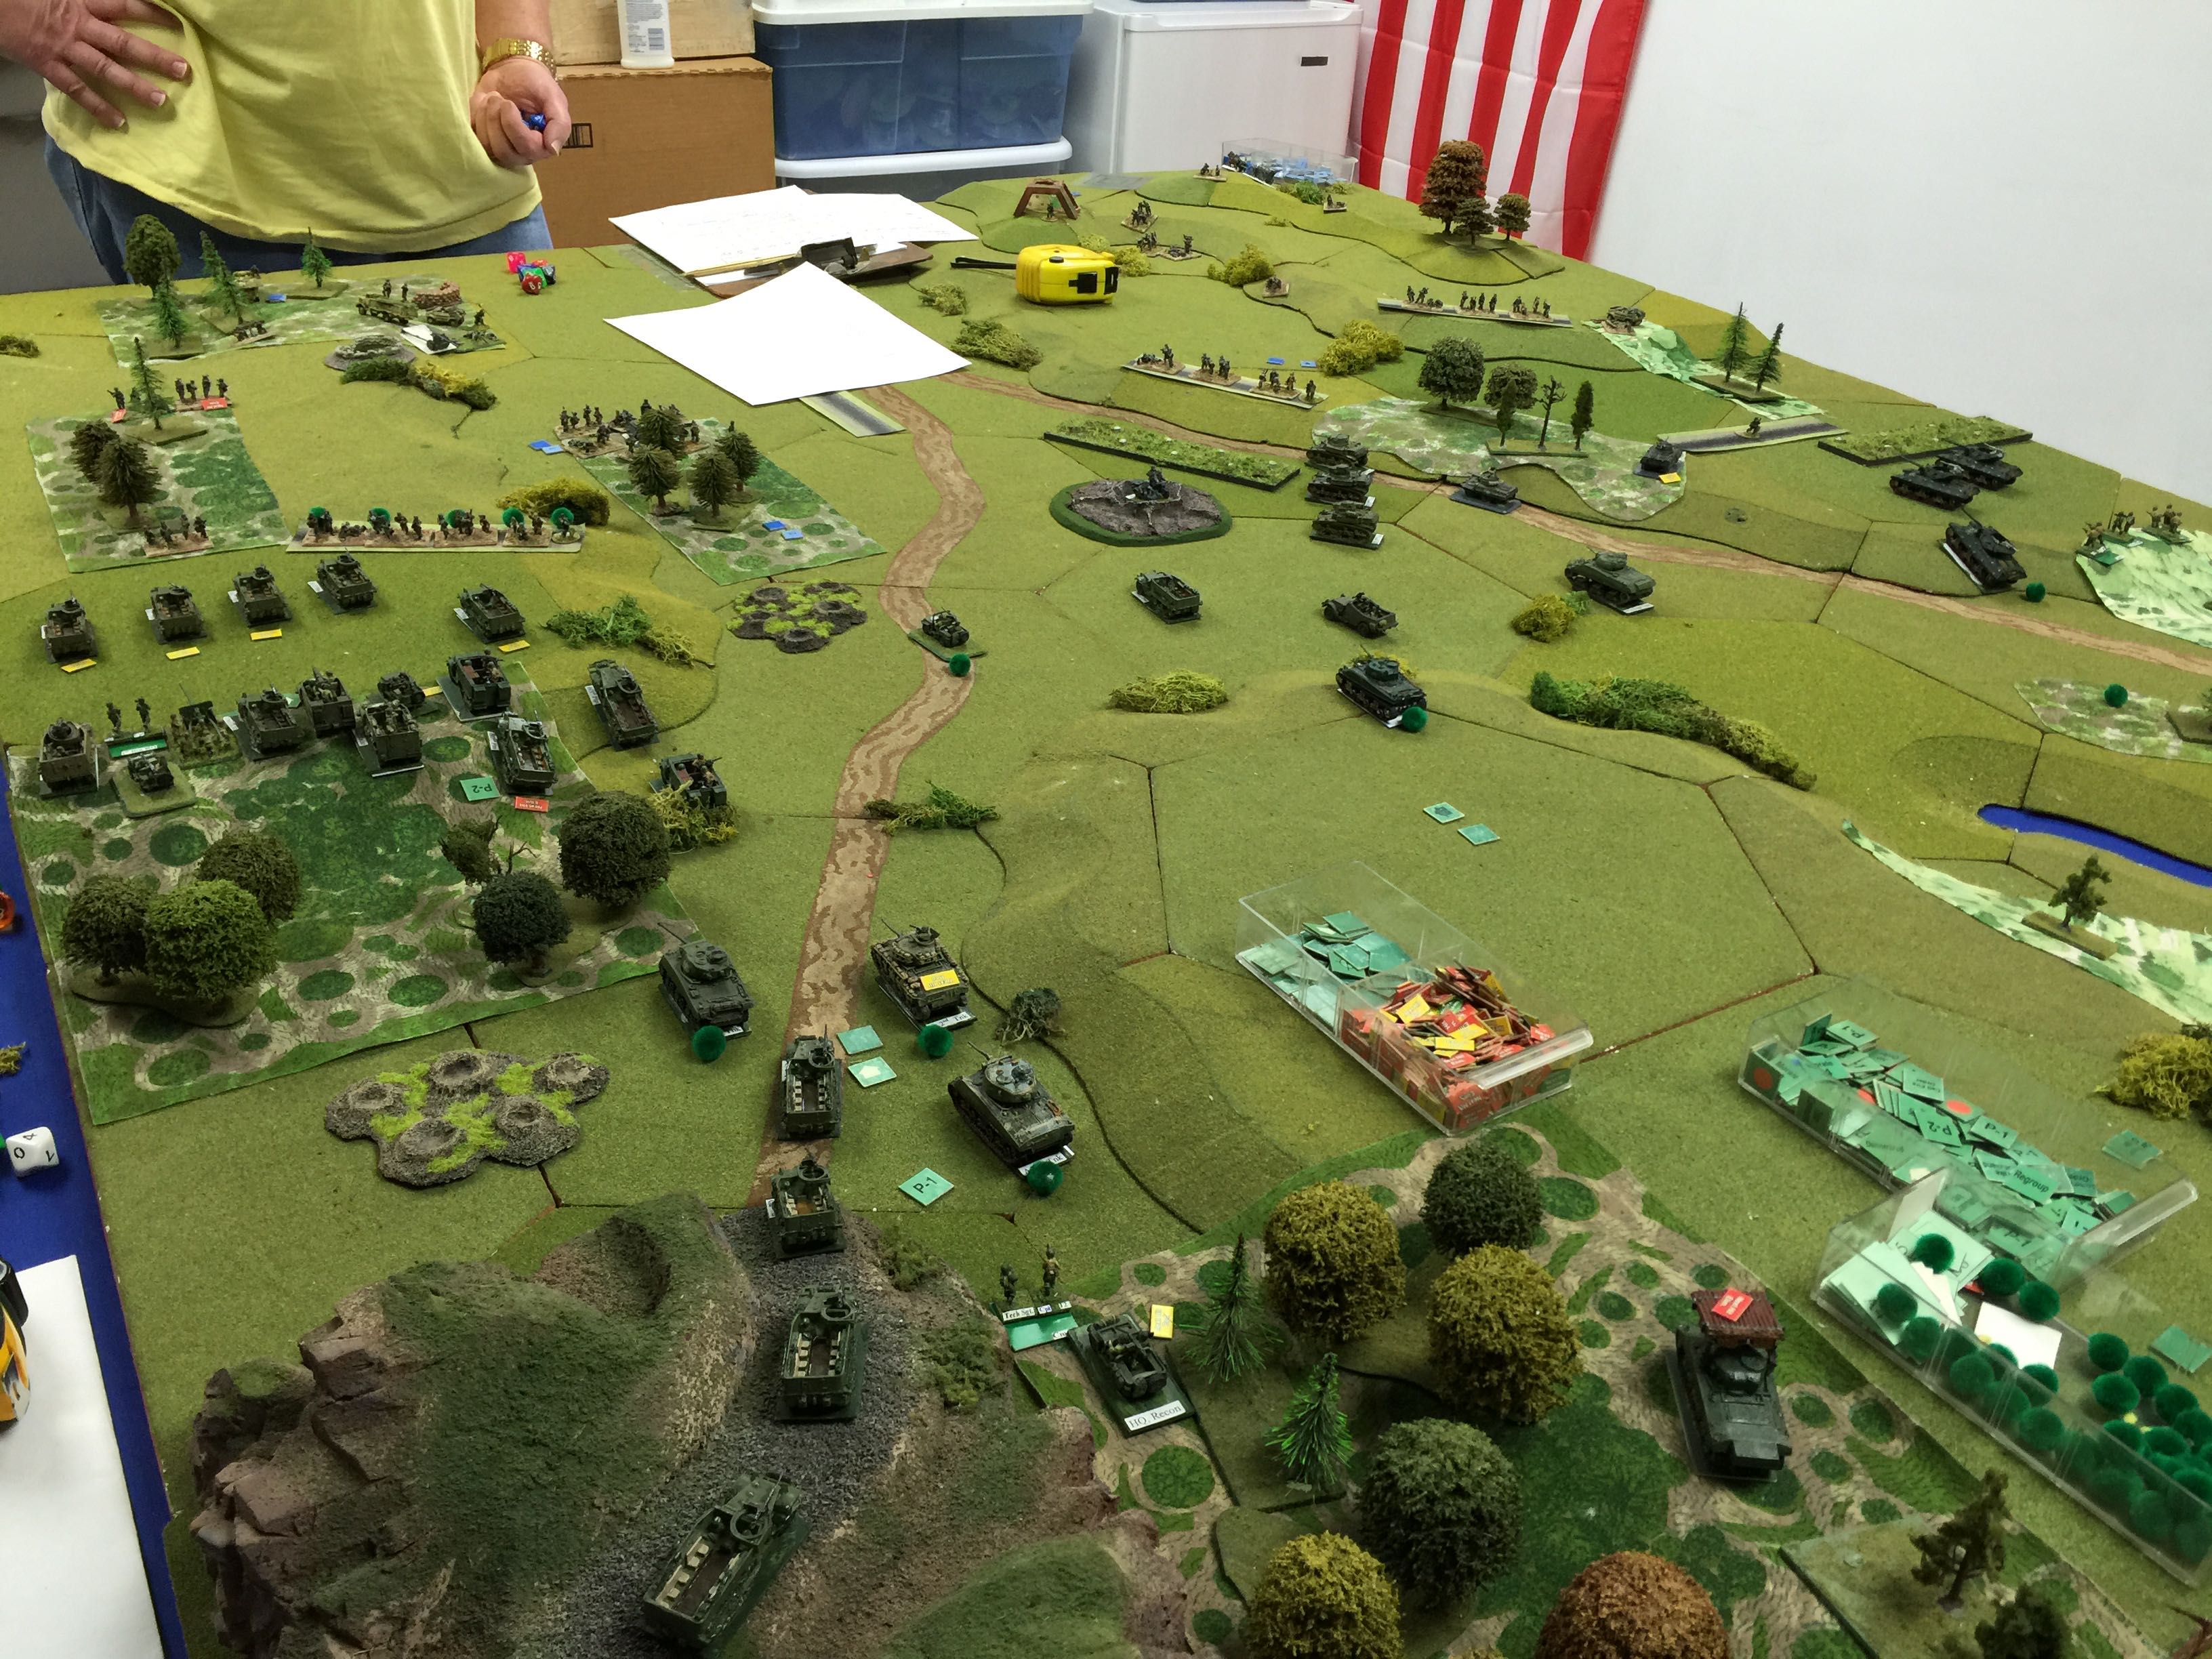
As luck would have it the tank destroyers would come in on the other road and the Shermans would run up on the central hill instead of following the infantry to stick with the plan.

IMG_9221

Here you can see the jeep that was hit (a recon jeep) and the choke point established as the next company, the battalion HQ came down the road. At this point the moral check for the first company to go through the artillery didn’t go well and they pinned taking refuge next to the trees. We knew nothing was in the trees since it had been under observation already. In the woods… well that would remain to be seen.

IMG_9222

Over the course of the next couple of turns, we’d recover from the pin and start to push into the woods establishing a battle line. Likewise over on the hill more stuff would show up but the Shermans were staying over there instead of sticking to the plan. While the infantry up on the hill in the trench wasn’t seen, the trench was. For this game special Eric wanted to try out adding suppression fire from CD IV. So I tried to pull in artillery on the trenches we could see to make them keep their head down when the push came to attack.

Over on the other side of the valley the Eric start to push up the side unsupported with infantry. I cringed figuring that Chuck would assault with his infantry and again open top tanks that probably wouldn’t go well. A fear but one that wasn’t realized.

IMG_9223

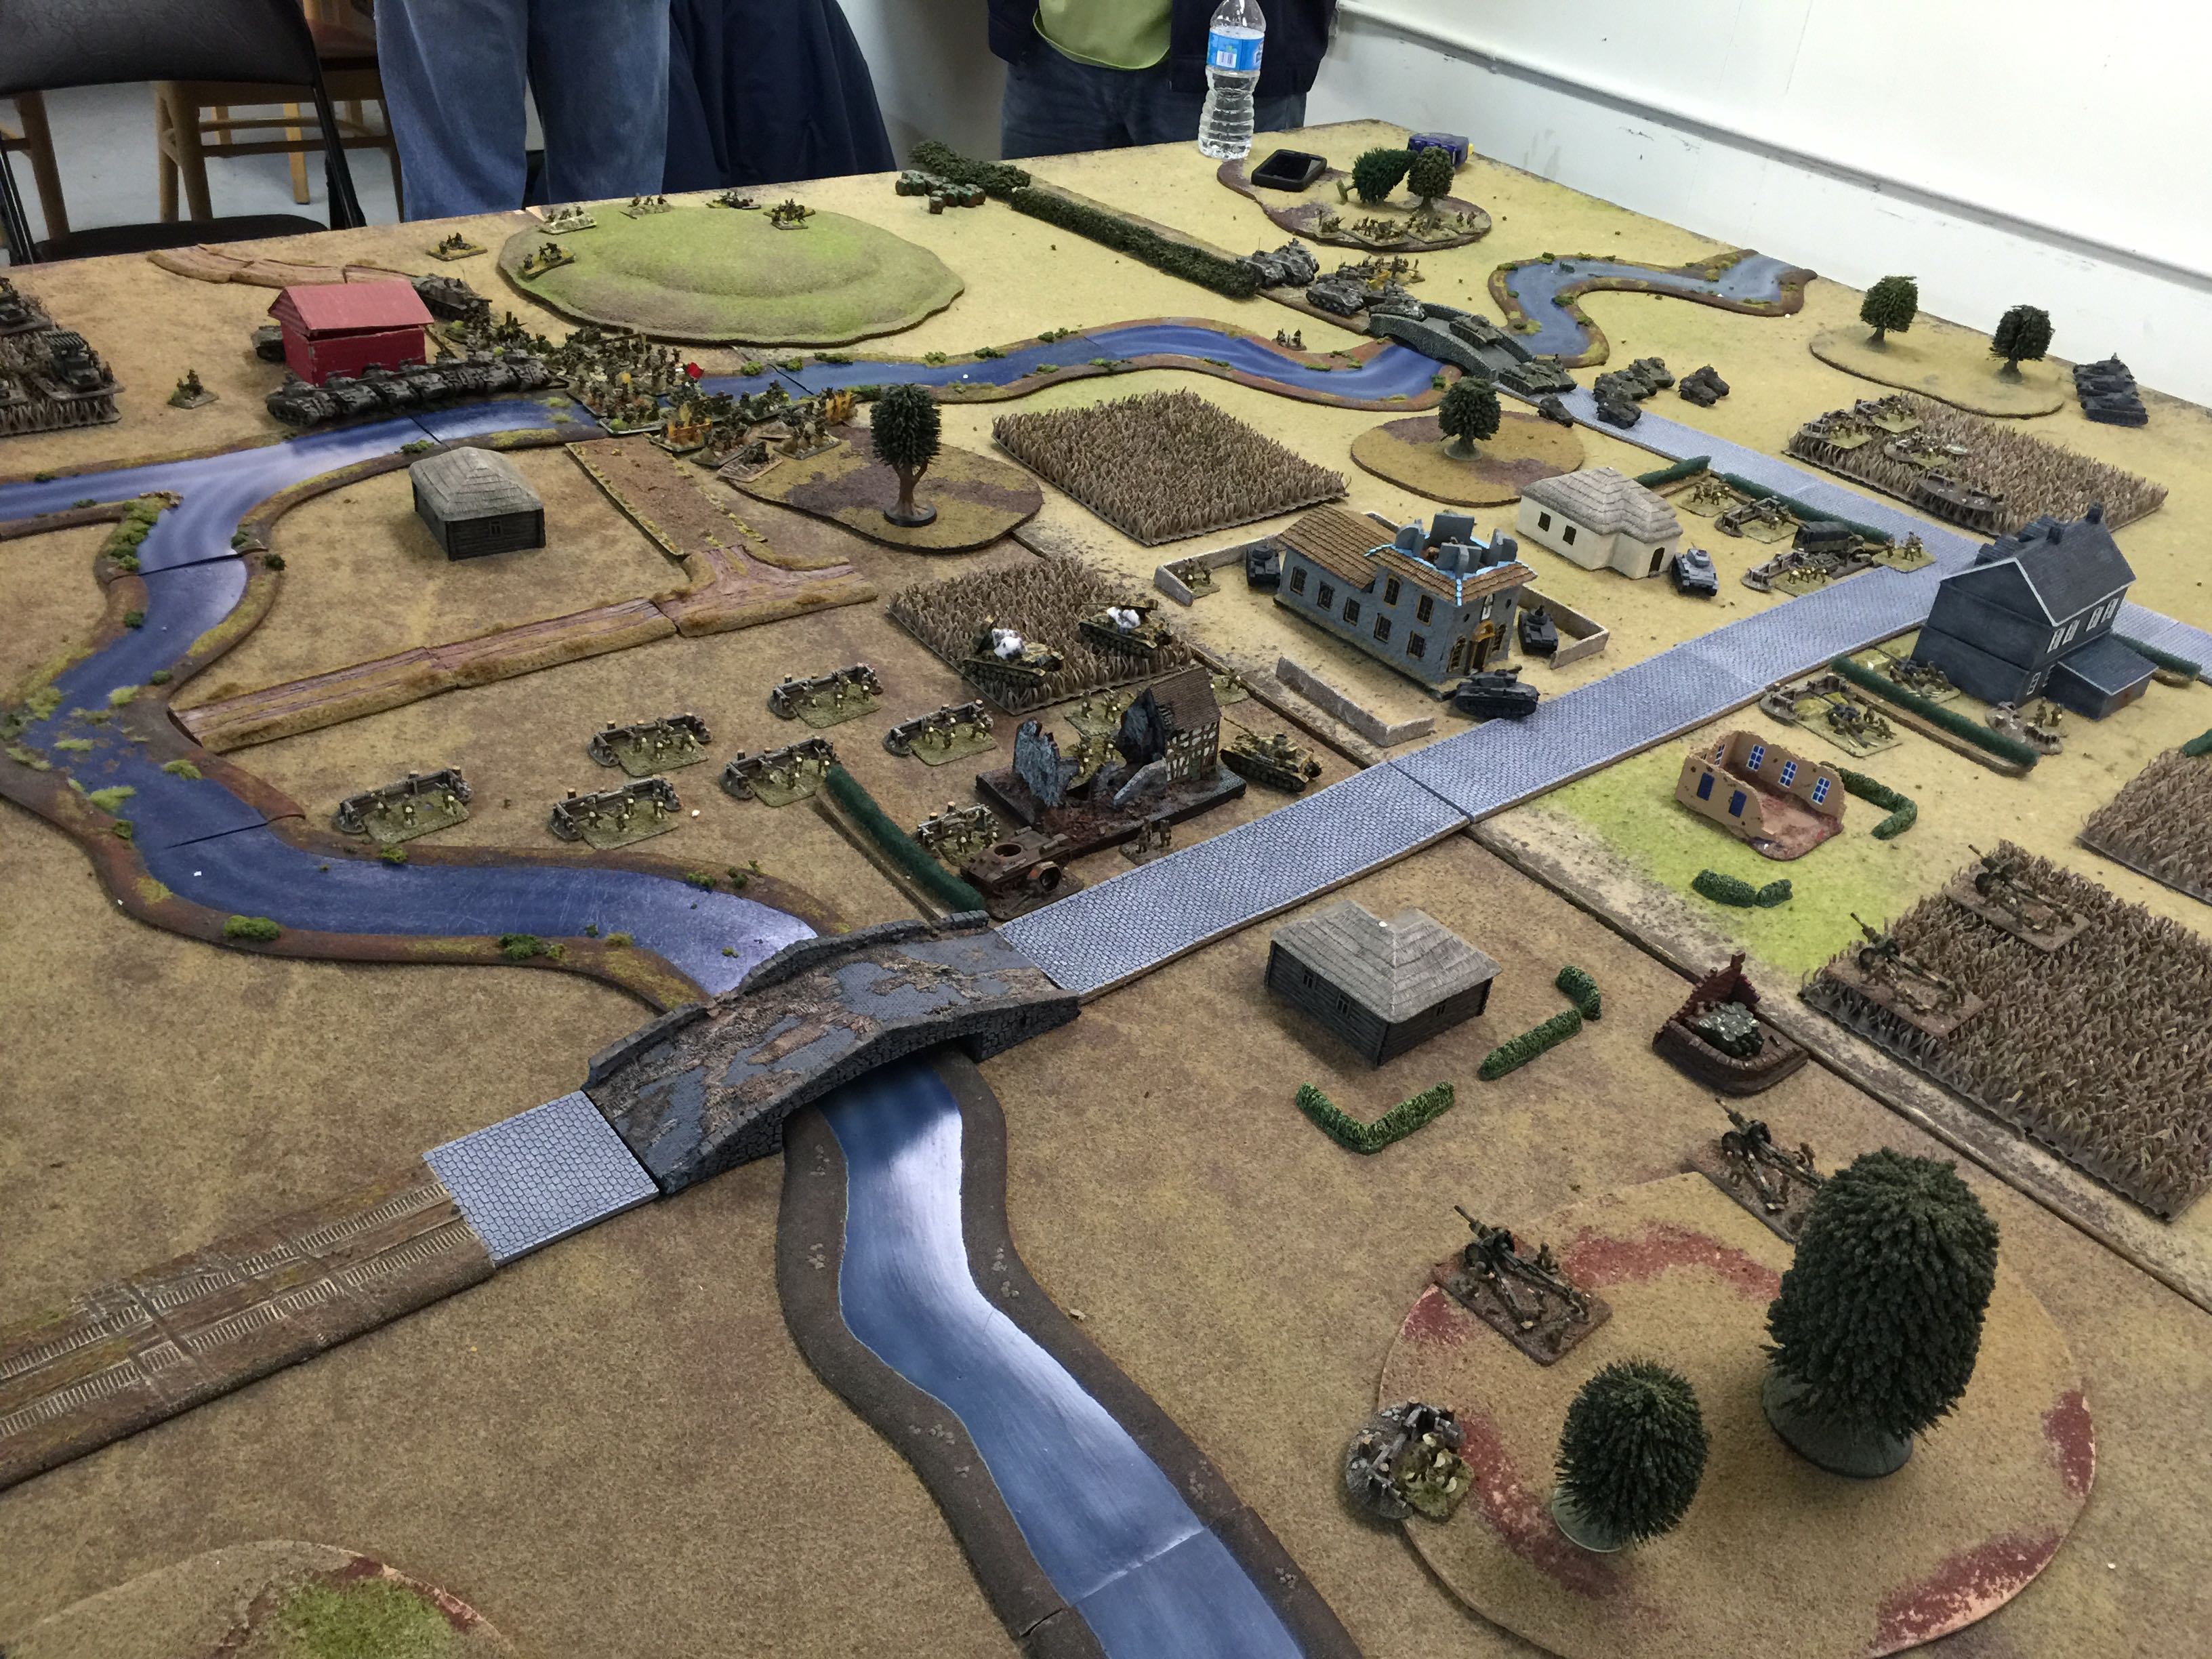
Another view but of the whole table.

IMG_9224

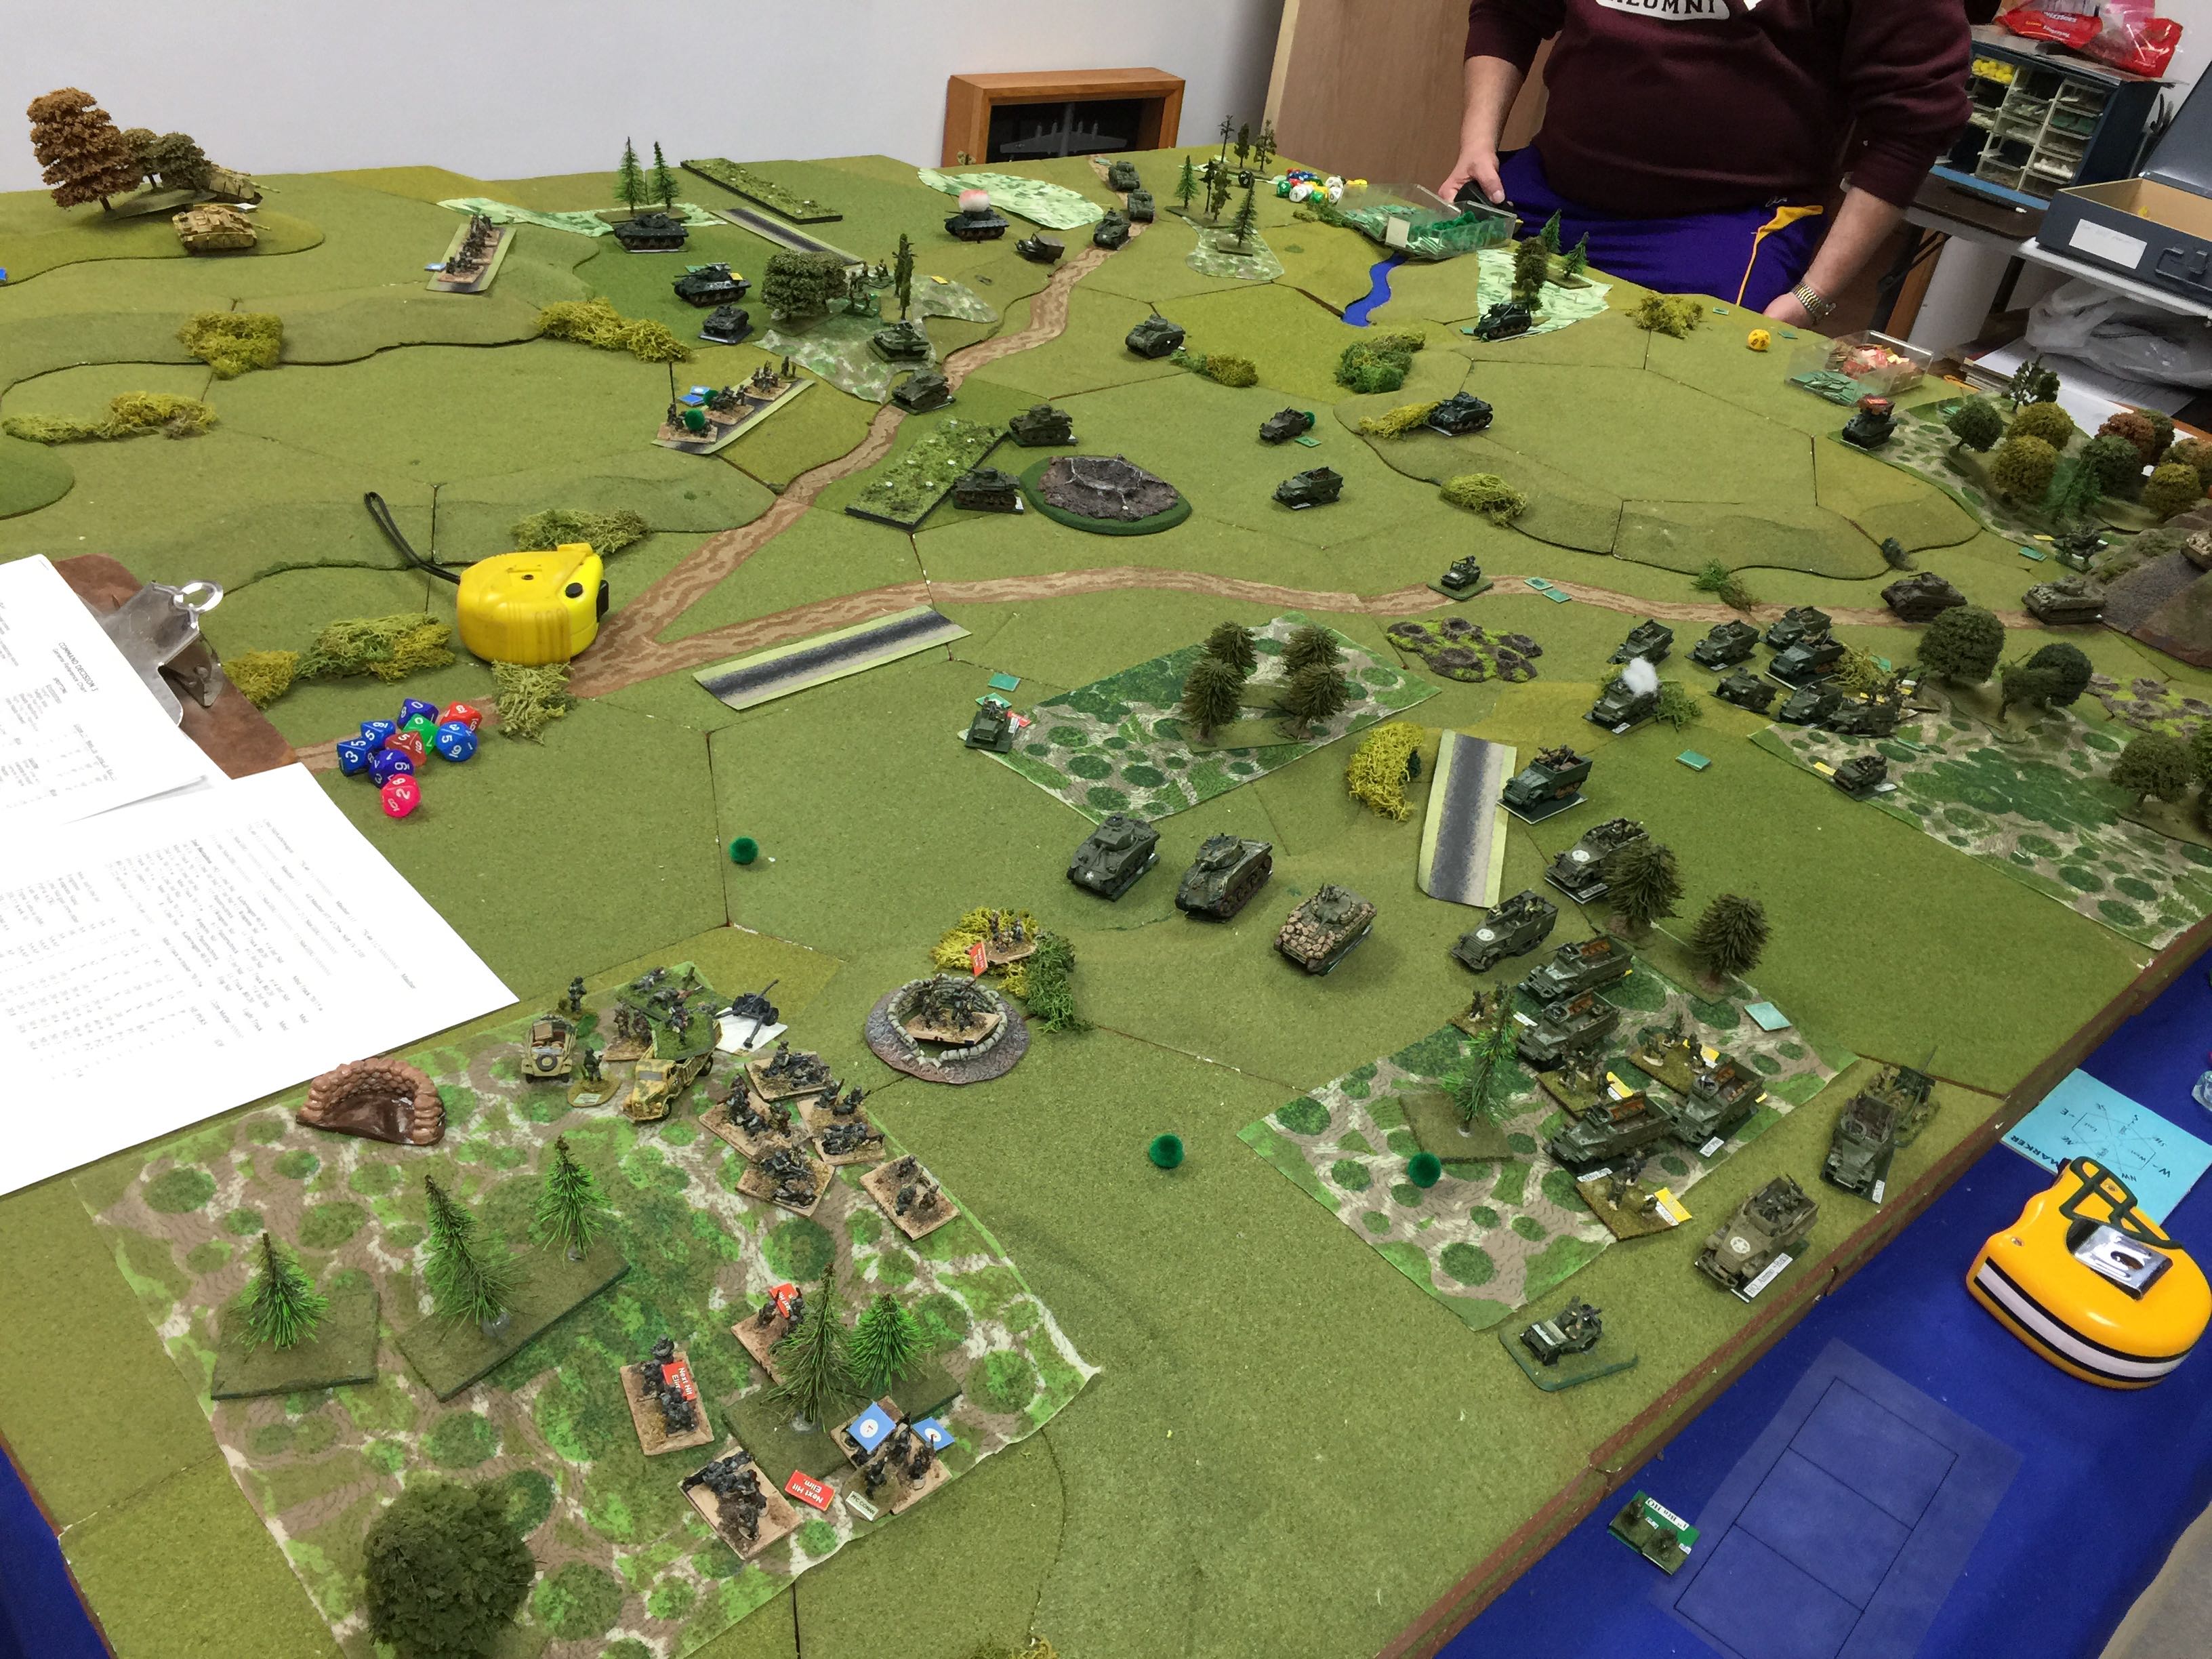
I pressed the attack using the following thoughts I’m in 1/1 armored half tracks. Rifle platoons shouldn’t be able to do crap. I move up, fire with machine guns and assault into the woods.

This is where a CDIIIism creeps in. Half tracks, bullet proof armored tho they may be are just an -3 to hit. Now sure it makes sense that like weapons stands or panzerfausts or panzershreks should be able to do nasty things, but a platoon of kar98s at 100+ yards shouldn’t be allowed a shot even at -3. Just saying.

Anyway it worked out that I took 3 hits to Company A, and between their fire and the fire from the HQ company we were able to knock off a couple of stands. Company B failed their moral roll and abandoned the attack and Company C was basically one turn away. We might take some lumps but I pressed forward.

Eric at the point reminded me the CDIII tactic of dismounting and advancing next to your halftracks.

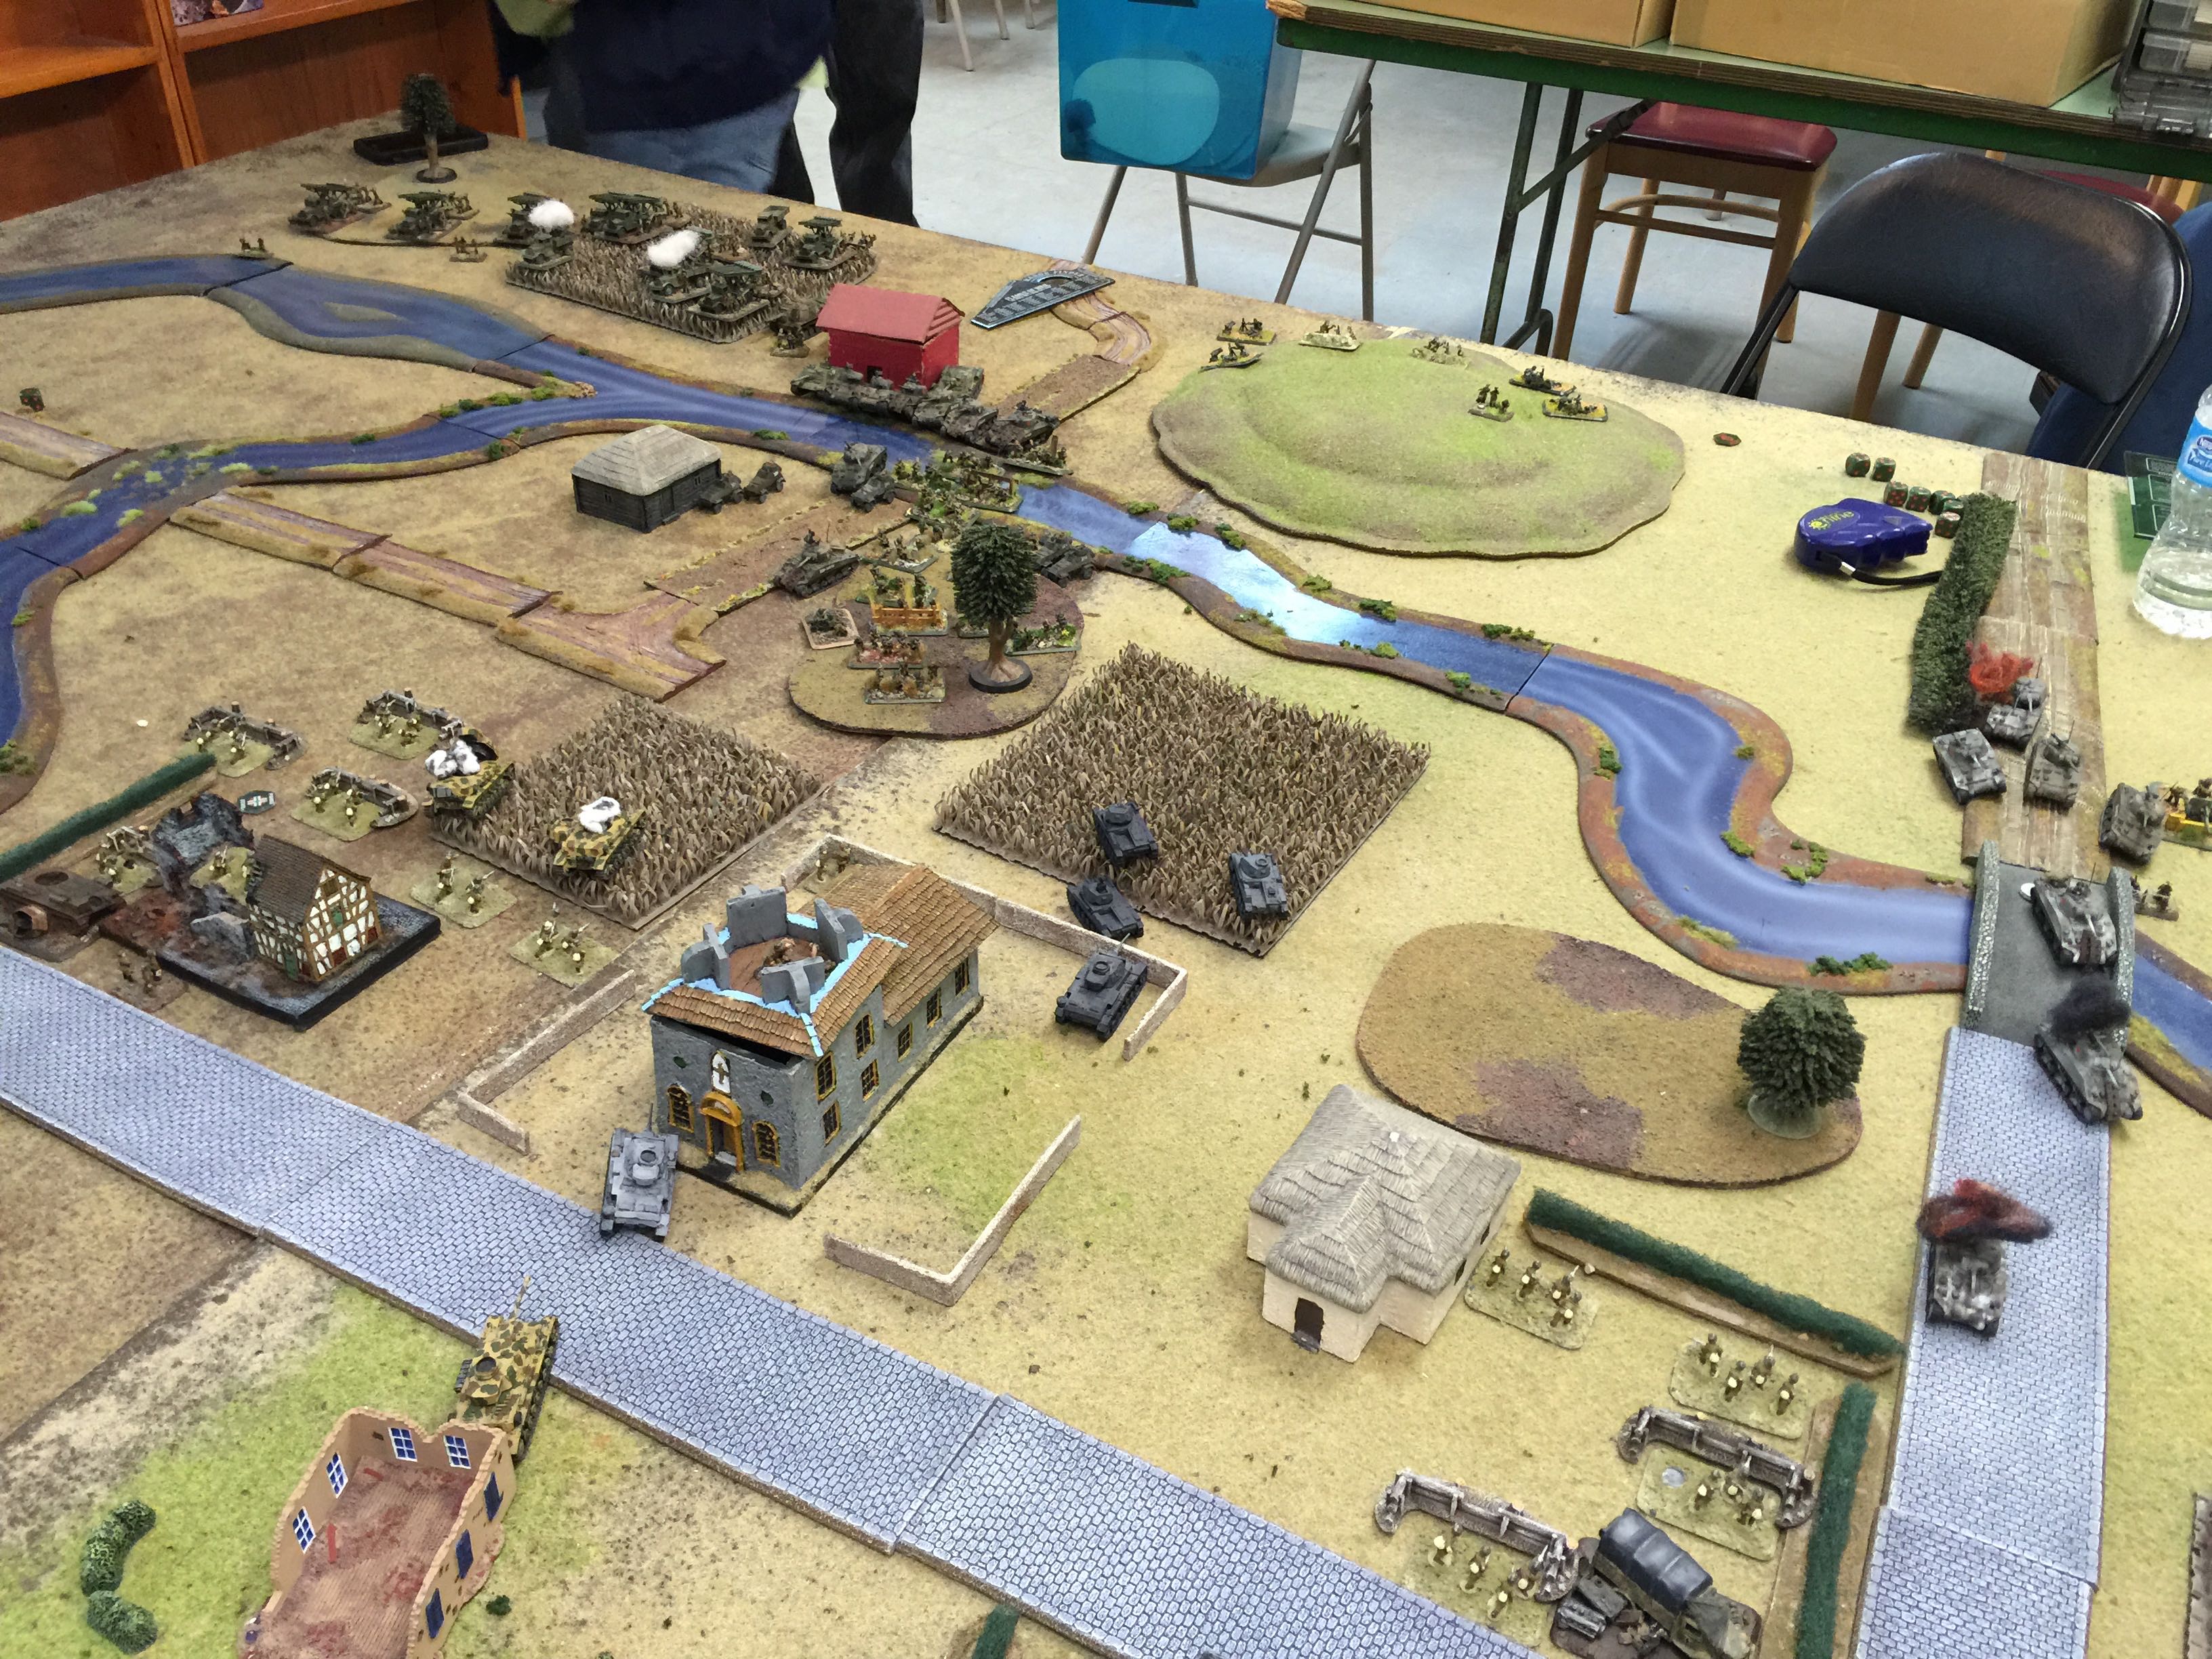
IMG_9225

Another view but of the whole table. You can see Company C on the road in the lower left. On the other side of the valley surprisingly the tank destroyers were doing just fine against the German dug in infantry, open top and all.

IMG_9226


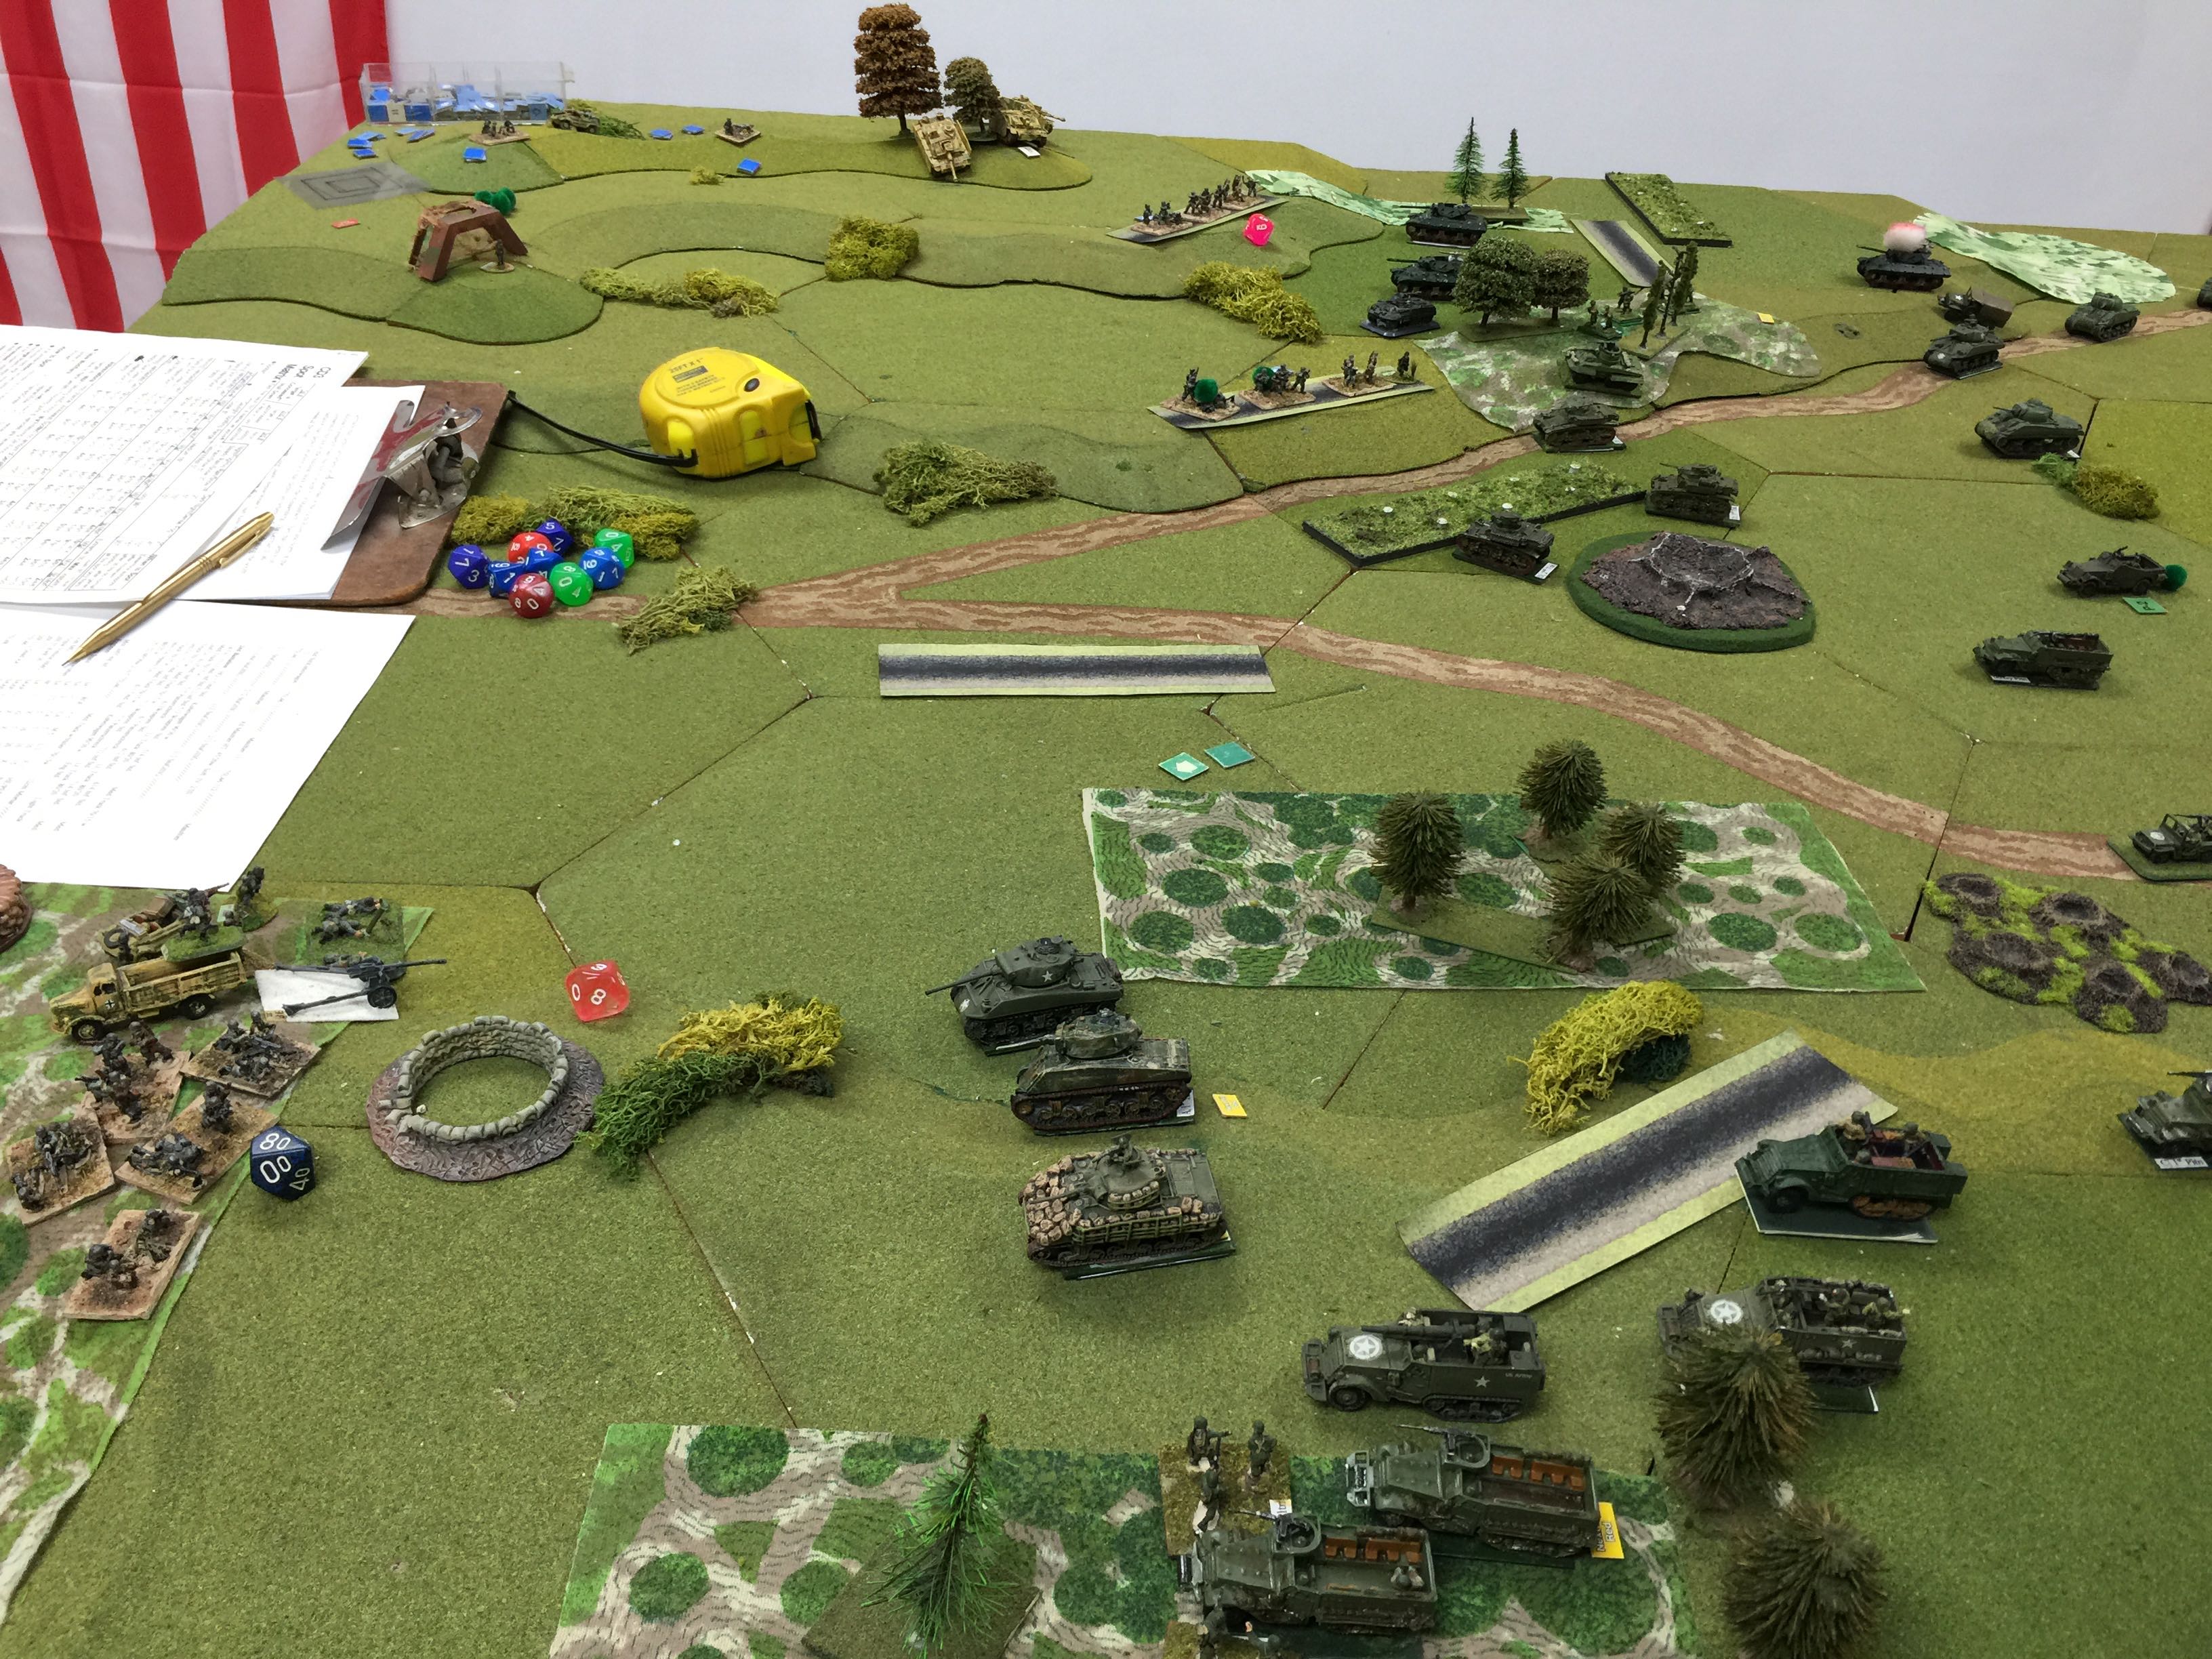
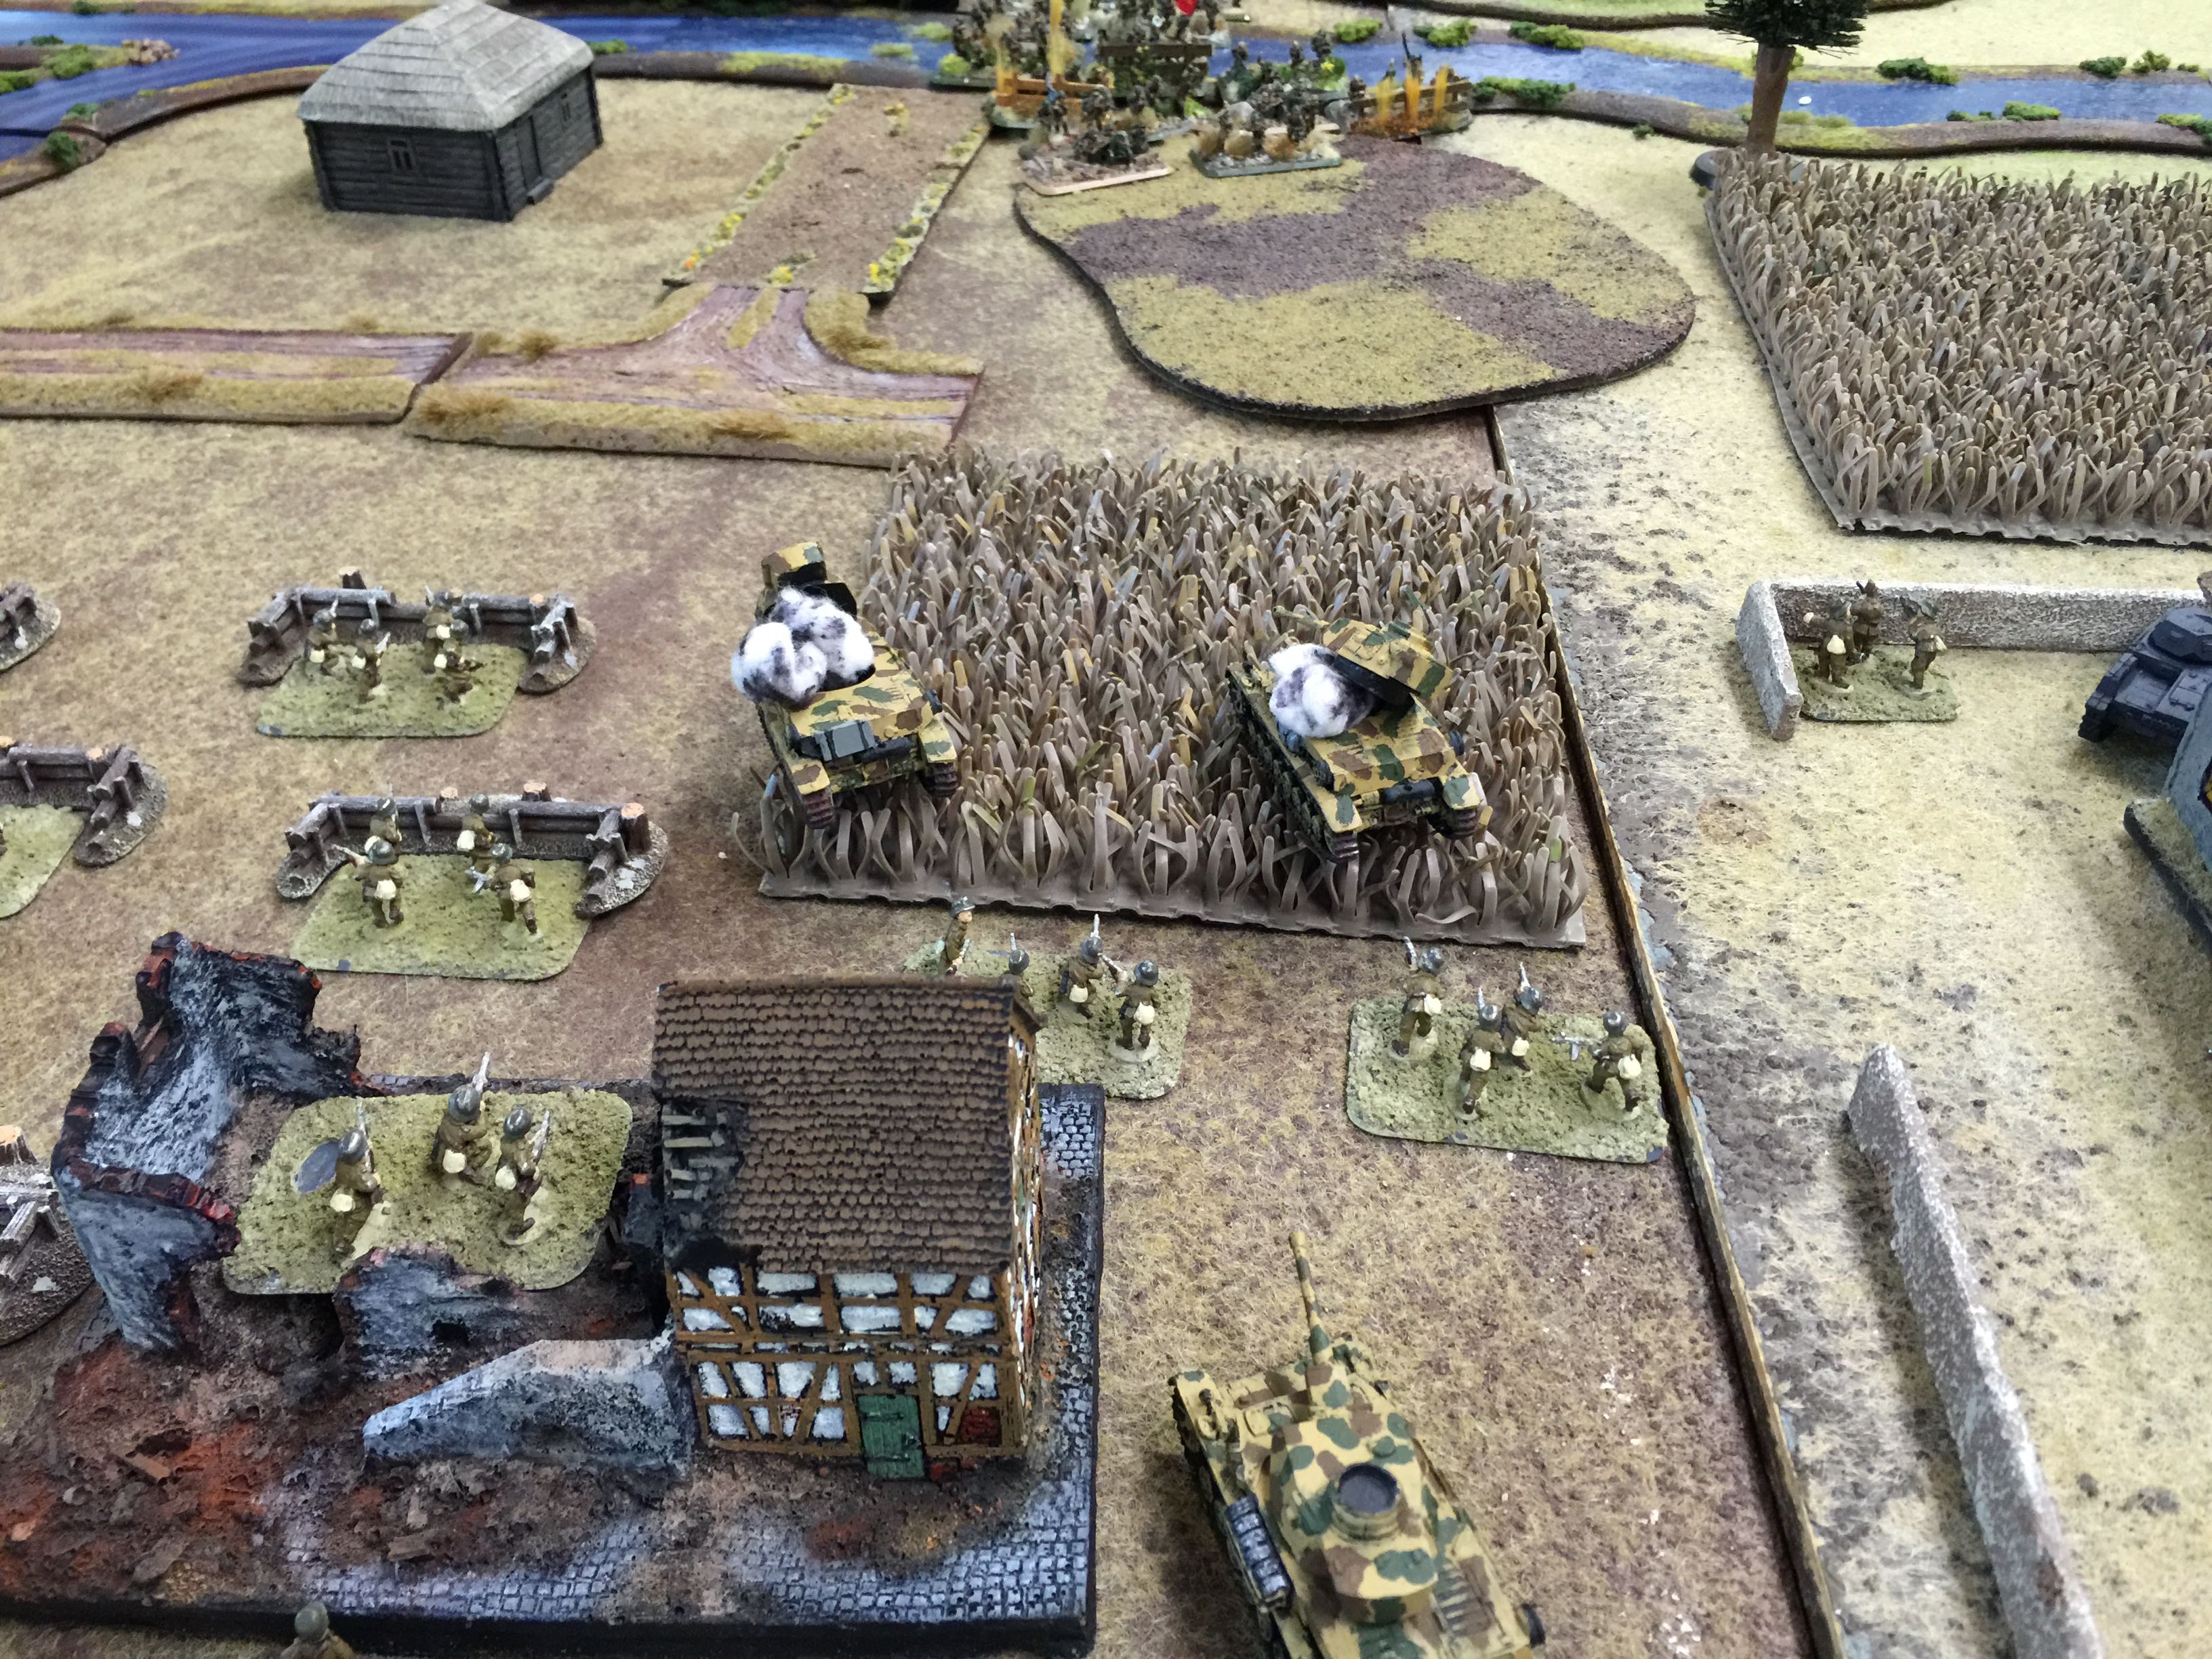
A view from the German point of view. My assault into the woods succeeding the round of opportunity fire affecting the those in the trenches such that those still alive were on the run.

A company of STuGs appeared on the other side of the valley but given the sight lines no firing to be done. Things were pretty much decided at this point. The Americans were on in strength and it was just a matter of spotting to the next set of trees and pounding them. Even then the road was clear at this point so a column could head down the road if coordinated with an attack on the woods.

IMG_9228


Last picture of the game. The STuGs fired off a few rounds at extreme range at the Shermans but with no results.

We called it at this point. 11 turns completed which wasn’t bad for being fairly rusty at CDIII.

Posted in CommandDecision | Comments Off on CD III – 1944 Germans vs Americans

FoW – Germans vs Russians – Fighting Retreat

It was a rare opportunity to get two games in today, one with the group in Lacrosse and the other with the crew in Rochester. Both WWII but different rule systems.

The first was a 2600 point game with Bill and I teaming up at 1300 pts a piece to go against Chuck Russian horde. Bill ran his Hungarians and I my Germans.

Bill picked an infantry formation with some Pz IV F2s, PaK 40s and 105s in support while I went all out with armor, Pz III Js for the HQ,  and then platoons of III L/Ms, Pz IV Gs (late), and Pz IIFs with priority air support from Stuka Ds.

IMG_9203

Bill just after setup was complete measuring out where the sides would be. We ended up choosing to defend the table edge on the right in this picture. We figured we didn’t want to be defending with the river splitting our defensive zone. With the fork of the river running to the left and the right as well, it would remain to be seen if any objectives would end up on the side of the river closes to where the picture was taken. That would further divide our forces but at least with a Fighting Retreat we get everything to being with and one platoon held in ambush.

IMG_9204

We’ve pretty much placed our forces at this point. Our objective we placed right next to the 105s seen in the bottom left. While Chuck placed his two objects both next to the cobblestone road with one on the left in this picture next to the bridge and the other at the junction on the right.

IMG_9205

All placed and ready to go. We held my platoon of Pz III L/Ms in ambush. Not much of an ambush really but decent tanks. Chuck as it turned out picked out a platoon of 120 motors, a formation of infantry, two platoons of lend lease Shermans, a platoon of SU85s, SU-152s, T-70s, 76 ATGs, BA64 scout cars and Katys to round out the list.

The Katys are to the left. A platoon of Shermans and straight lefts at the ford ready to cross on turn one and then at the far bridge, T70s, more Shermans, the BA64s and his ATGs. The SU152s are sort of by the Red house and the SU85s in front of the Katys.

Game on!

IMG_9206

The bad thing about lend leash Shermans and really the majority of Chucks forces were conscript. Starting out on Turn 1, Chuck started to stream across… except the Shermans who all failed their skill checks for ford the river. Ouch. The BA64s and the T70s lead off the charge on our right flank. Just a turn out from the objective… lots of drama to kick it off!

IMG_9207

Sadly 2 of my 3 Pz IV Gs (late) got brewed up right away. With needing 6s to hit and the extra +1 to the front armor due to range would have thought I would have had a better chance but given the sheer numbers of Shermans firing and the SU-85s, made quick of them.

IMG_9208

And on to the bottom of Turn 1. Dug in infantry shrugging off artillery and the 120mm mortars.

IMG_9209


So first off we picked on the BA64s and the T70s. Given their recon status the BA64s decided to disengage and follow the river, also taking them closer to my PzIIFs.

We sprung the ambush of PzIIIs, placing them just behind the field on the left in the picture above.

The T70s we hit pretty hard, double bailing a number of them out. Both formations we weren’t too worried about, it was the herd of Shermans tho. Those are what we’d need to defeat and quickly so we could shift our armor over to then secure the middle.

IMG_9210

Last I brought down my air aiming at Shermans. Ooh it is so nice to be able to swoop down and not have to worry about AA. 4+ to hit with Bombs and poof! scratch one Shermans. But just one Sherman … sigh. On to turn 2!

IMG_9211


Chuck further pushed hard with his Shermans and the tank battle raged on the right flank. Thankfully given the conscript status, long ranges, hens and chicks movement, made it really tough for Chuck to hit. Further Chuck pushed hard with his really lucky T70s that recovered their bailed status and ran down the road to go after my PzIIIs that that had ambushed him and to start to vie for the an objective.

At the ford, infantry continued to stream across and the poor skill checks resulted in the first Sherman across.

Meanwhile at the bottom of turn 2, I pulled my lone Pz IV G over to help out with the Shermans as well as my 2inC Pz III. Bill couldn’t get the one PzIV of his unbogged. We once again had air and this time they went after the 76 ATGs.

Luck was with us and we knocked out a 76mm ATG, T70s and started to whittle at the Shermans. Next turn we’d have to pull off our first platoon as part of the scenario rules to retreat.

IMG_9212

Another shot at the end of Turn 2. See the total devastation off in the distance? No (!) not the artillery template… a destroyed and lots of doubled bailed T70s. O and a couple of armored cars too. 🙂

IMG_9213


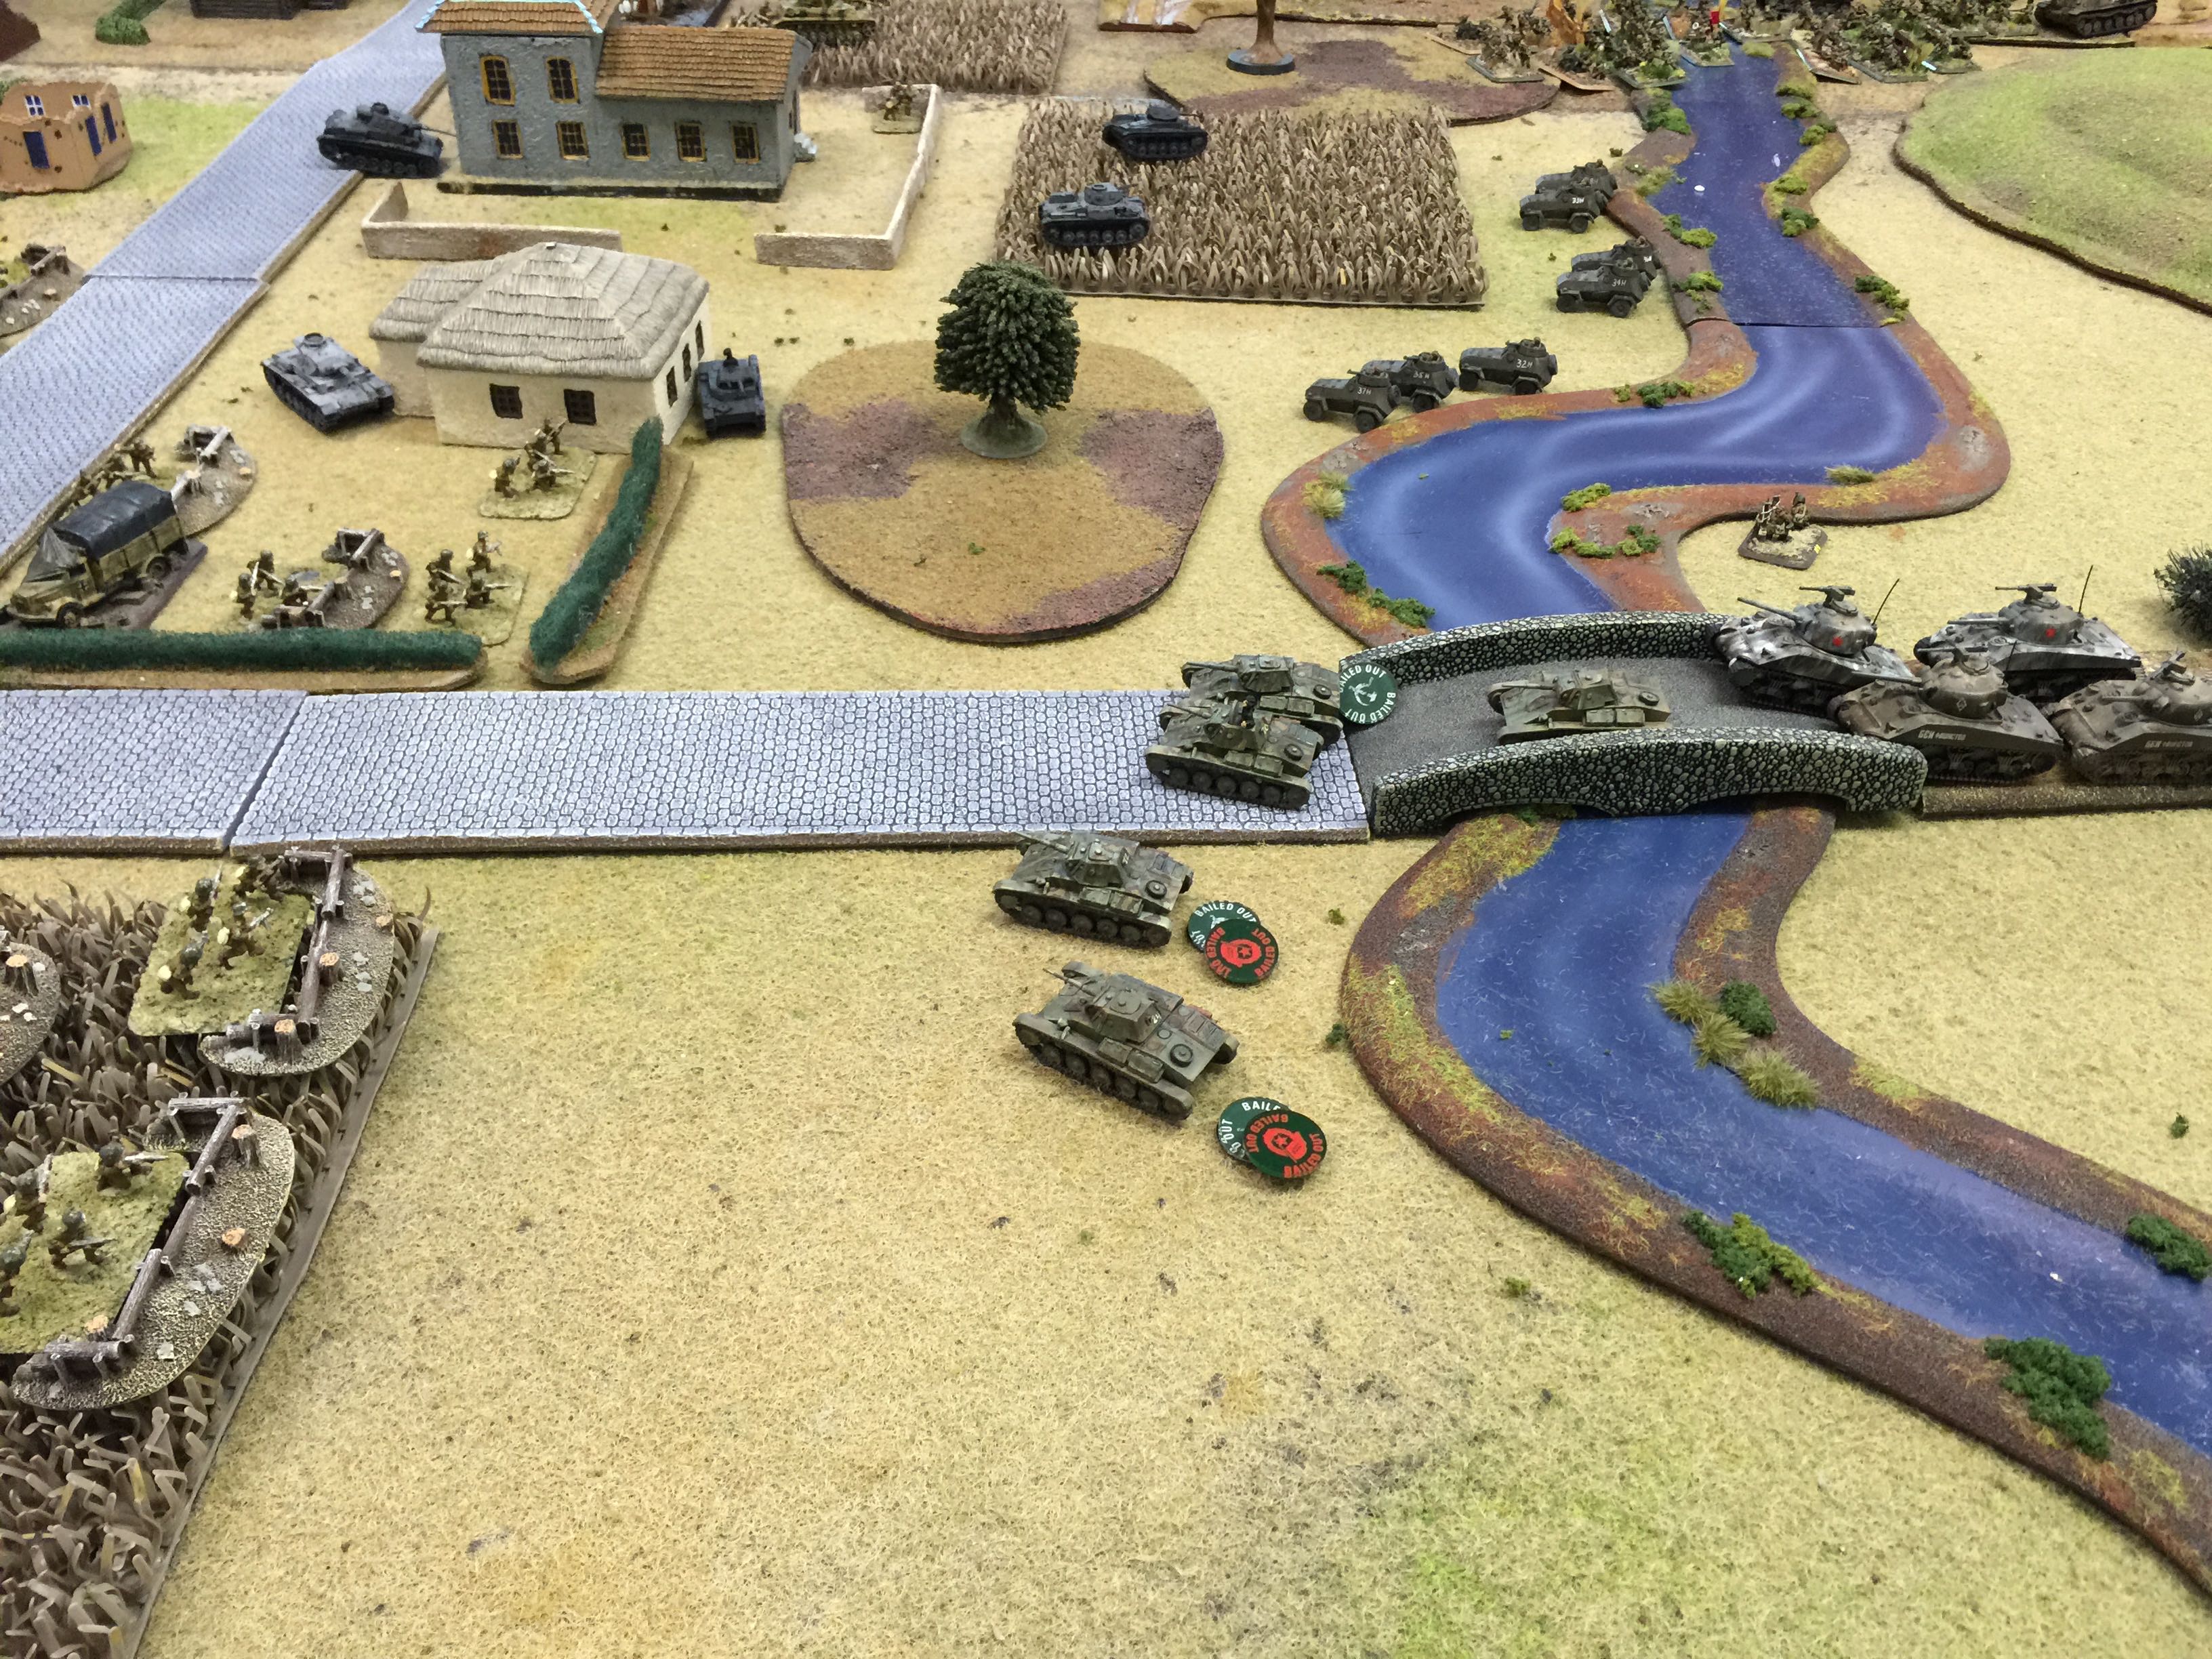
On to Turn 3. Chuck failed his rolls with the T70s and they end up disappearing. The Shermans with now 3 destroyed in total fall back across the bridge and we Axis types breath a slight bit of relief and I start to contemplate shifting back to defend the next push down the middle.

Chuck gets another Sherman across and his infantry continues to plow ahead. Chuck starts to use his SU152s at Bill’s infantry. They may be dug in, but you can’t dodge those shells when they do hit and you miss a save.

IMG_9214


We decide for our first unit to retreat, to pick up Bill’s Pak40s. They’ve done their bit. It’s a hard choice. We need everything so it’s hard to loose anything.

We start to get ready for a push against the middle objectives. I take a shot at Chucks BA64 and they once again disengage and once again follow the river linking up with the Russians building their toe hold across the water.

IMG_9215

Top of turn 4. You can see Bill’s effective artillery working against Chucks AA and Katy’s from turn 3. They are down to one AA truck at this point and then in theory my air will start to hit this side of the table too.

IMG_9216


Now Chuck starts to spring forward with the recce. ( I think we screwed up here because shouldn’t those BA64s be taking a turn to recover from their disengage?)

Anyway, stuff happens. Chuck rolls forward and assaults with his BA64s. Bill and Chuck go back and forth a few rounds, Bill loses a couple of stands and just couldn’t quite get rid of the armored cars until finally Bill fails his motivation test in the assault and has to fall back. So much for our prepared positions!


IMG_9217


At the end of the assault. It just didn’t go well with a 2 to pass the motivation. Even have a Panzerknacker just wasn’t enough.

At this point with more Shermans having crossed and our armor not in position to hand it, coupled and an air attack at the ford that didn’t do much, we looked at the clock and had to call it a game.

The central objective was certain about to be strongly contested, but it was more than possible we could have gotten into position to continue to keep the Russians at bay. At the bottom of turn 4 we had pulled of an infantry platoon. For turn 5 having yet another  platoon to pull would have been down right painful.

Very good game with lots of drama. I was very well pleased with how well it went. A challenge to attack with conscript Russians, yet for the Germans, not quite enough men and material, having to counter attack and then counter attack again with mobile forces in hopes to throw the Russians back.


Posted in FlamesOfWar | 4 Comments

Statistical Comparisons of FoW & CD WWII rulesets

Across the game table I’m sure you’ve been part of or witnessed a conversation about something either being easy or hard in various rule systems. In particular around here there’s been some comparison going on between Flames of War and Command Decision, since there are a couple of us that play in more than one game group.

Here in Rochester we’ve played Command Decision for a long time. I was introduced to Command Decision III while it was being written. Our group was lucky enough to have some connection to Frank Chadwick and helped beta test the rules. We’ve also played Command Decision IV which is the current version. Command Decision is D10 based.

Over in LaCrosse they like to play Flames of War, which is currently in version 3. While I own version 1 and 2 of the Flames of War there just was never anyone around here to play against until I found the group over in LaCrosse. Flames of War is d6 based.

So let’s compare how easy or hard it is to do something in both CD as well as Flames of War. I’ll stick to middle of the road rated troops. In Flames of War that’s Trained Infantry. In Command Decision Regular or Experienced are middle of the road. There are 3 ratings in Flames of War, 6 in Command Decision.

I’m going to include CD III, CD IV and version 3 of Flames of War. CD IV went to a “save” system so CD III and CD IV are “different” and I think worth looking at.

Let’s start out by looking how easy for stationary infantry is to eliminate moving infantry out in the open. Next Infantry that’s dug in. Last tanks!

Flames of War – Inf vs Inf

A Rifle/MG stand rated trained firing at trained in the open has 4 in 6 chances to hit (that’s hitting on a 3, 4, 5, or 6 on a d6), 2 in 6 for the target to miss their save, so 8 in 36 or 22%. Just one successful hit eliminates a stand. A Rifle/MG stand that doesn’t move has a rate of fire of 2 so you’d have two chances.

Command Decision III – Inf vs Inf

Regular firing at Regular in the open depends on range band. 5/10/15 inches for short, medium or long. So picking average that would be 10 which is a 3 in 10 to cause one hit. A regular stand can take 2 hits, an experienced stand 3. So to eliminate, you’d need two 3 in 10 changes for a 9% chance to eliminate a stand. An infantry stand typically has a rate of fire of 1 but in the opportunity fire phase that increases to 2.

Command Decision IV – Inf vs Inf

Regular firing at Regular in the open again depends on the range band which changes to 6 and 12. Over 6 it’s a 3 in 10 chance to cause a hit otherwise 6 in 10 for something 6 inches or closer. On a hit a save is rolled and a stand is eliminated 4 in 10 or 3 in 10 depending on if Regular or Experience. Stationary stands in CDIV also get a +1 rate of fire for opportunity fire. So short range the chance to eliminate is ( 6/10 * 4/10 ) or 24% for regular or 18% if it’s experienced and at long range that drops to 3/10 * 4/10 12% for regular and 9% for experienced. Remember in opportunity you’d have 2 shots and thus two changes to eliminate.

Summary

CD IV and Flames of War turn out to be statistically quite similar and the same number of shots, while CD III essentially has a little longer range band but given that stands can take multiple hits infantry are harder to eliminate.

Indirect Artillery vs Inf

Flames of War – Indirect Artillery vs Inf

First you must range in and you have 4 in 6 chances to range in followed by two more rolls if you fail the first. Next you roll to hit, which is 3 in 6 changes to score a hit. You get one chance to hit Infantry out in the open no matter if they are moving or standing still. Then the Infantry has 2 in 6 changes to fail their save and thus be eliminated. Tallying that up, 4/6 * 3/6 * 2/6 = 11%

One artillery hit (regardless of a save) does pin the platoon the Infantry stand would be member of.

CD III – Indirect Artillery vs Inf

First you call fire, and with an observer that’s 7 in 10 you’ll get the fire mission. Against moving infantry you only have one chance to hit which is dictated by the HE factor of the gun. A 76 gun is a 4, a 105 a 5. So that’s either 4 in 10 or 5 in 10 to score a hit.

Tallying that up, 7/10 * 4/10 = 28% or 7/10 * 5/10 or 35% to score one hit. Same problem applies as before, you can only score one hit and you can’t eliminate a stand with one hit. If you want to score more than one hits, you need more artillery missions. A single hit doesn’t result in a pin, that’s part of a morale roll you resolve later.

CD IV – Indirect Artillery vs Inf

CD IV retains the HE factors as CD III but goes to a save system. The 7 in 10 is approximately correct for an observer calling in his own guns on a target. A 76 continues to be an HE4, a 105 a 5 and so on. Then you have the same system so either a 4 in 10 or 3 in 10 chances to eliminate the infantry stand depending if they are regular or experiences.

Tallying this up, that’s 7/10 * 4/10 * 3/10 = 8% to eliminate an experienced stand with a 76 gun. A 105 against a regular would be 7/10 * 5/10 * 4/10 = 14%

Dug in Infantry

What about the case that the Infantry you’re raining down artillery on is dug in and not in the open? In this case let’s look at trenches.

Flames of War – Indirect Artillery vs Inf

In Flames of war, Trenches would be called Bullet Proof cover. This introduces what is called a firepower roll at the end of the series. Firepower varies depending on the gun involved. A Russian 76 has a firepower of 6 meaning you need a 6 to eliminate the dug in stand, but a German 105 has a 4+ or 1 in 2 chance to eliminate a stand that has failed it’s save.

First you must range in and you have 4 in 6 chances to range in followed by two more rolls if you fail the first. Next you roll to hit, which is 3 in 6 changes to score a hit. You get one chance to hit Infantry out in the open no matter if they are moving or standing still. Then the Infantry has 2 in 6 changes to fail their save. Next is the firepower roll with 1 in 6 for a 76 or 1 in 2 for a 105. Tallying that up, 4/6 * 3/6 * 2/6 * 1/6 = 2% for a 76 gun. While a 105 would be 4/6 * 3/6 * 2/6 * 1/2 = 5%

CD III – Indirect Artillery vs Inf

CD adds a modifier for entrenchments, that’s -3 to the to hit roll. Going through the mechanics again you’d have…

First you call fire, and with an observer that’s 7 in 10 you’ll get the fire mission. Against moving infantry you only have one chance to hit which is dictated by the HE factor of the gun. A 76 gun is a 4, a 105 a 5 and then adjusted with a -3,  So that’s either 1 in 10 or 2 in 10 to score a hit.

Tallying that up, 7/10 * 1/10 = 7% or 7/10 * 2/10 or 14% to score one hit. Same problem applies as before, you can only score one hit and you can’t eliminate a stand with one hit. If you want to score more than one hits, you can converge your guns on the artillery missions, or use multiple artillery missions or in some cases take advantage of a higher rate of fire of some guns.

CD IV – Indirect Artillery vs Inf

CDIV follows the same mechanic for applying a modifier trenches. Trenches are hard cover for a -3.

Tallying this up, that’s 7/10 * 1/10 * 3/10 = 2% to eliminate an experienced stand with a 76 gun. A 105 against a regular would be 7/10 * 2/10 * 4/10 = 6%

Tanks!

Flames of War and Command Decision both have systems for armor values featuring an armor roll to see if you brew up an armored vehicle. Let’s look first at Tank vs Tank and then Artillery vs Tank.

With Tank vs Tank let’s compare a T-34 from 1942 to a Pz IV F2 with the Pz IV F2 shooting at the T-34.

Flames of War – Tank vs Tank

First it’s roll to hit, followed by armor save and then a firepower roll. There is only a normal or long range bands.

4/6 chances to hit a trained tank. The Anti-Tank of the F2’s gun is 11 and the front of a T34/42 is generally a 6, but increases to 7 at long range. The Soviet player would roll a d6 and needs to meet the antitank rating to escape, otherwise it’s a firepower roll for the German player to blow up the T34.

So that’s 4/6 *  4/6 * 4/6 = 30 % to eliminate the T34 at normal range or 4/6 * 1/2 * 4/6 =  22% to eliminate at long range.

CDIII – Tank vs Tank

CDIII has range bands based on the gun. 15/20/30/50 are the ranges bands with a 70%, 50%, 30% and 10% change for the bands. Next A 7,5,4 or 2 is added to your armor penetration roll in the case of a hit. A T34 has a frontal of 8 so at short range, you’d have a 9 in 10 chance to score at least one hit on the T34. In CD if you exceed the penetration roll by 4 or more, you score 2 hits, and thus this would eliminate a regular rated tank.

This works out to the following chances to eliminate a regular T34:

Close 7/10 * 6/10 = 42%

Medium 5/10 * 4/10 = 20%

Long 3/10 * 3/10 = 9%

Extreme 1/10 * 1/10 = 1%

CDIV – Tank vs Tank

CD IV uses the following range bands 6/12/18/48 for a 70%, 50%, 30% and 10% chances to hit with 11, 10 9 or 7 being added for penetration rolls with Armor Piercing ammo. The frontal armor on a T34 is an 8. To resolve if it is eliminate result, you roll a D10, add the penetration value but subtract your armor value.

Shooting at a regular tank that would be:

Close 7/10 * 7/10  = 49%

Medium 5/10 * 6/10 = 30%

Long 3/10 * 5/10 = 15%

Extreme 1/10 * 3/10 = 3%

Shooting at an experienced tank that would be:

Close 7/10 * 6/10  = 42%

Medium 5/10 * 5/10 = 25%

Long 3/10 * 4/10 = 12%

Extreme 1/10 * 2/10 = 2%

Artillery vs Tank

Last let’s look at artillery vs a tank and what it takes to eliminate.

Flames of War – Artillery vs Tank

In Flames of War the majority of tanks have a top armor of 1. Artillery to eliminate a tank uses an antitank value and than a firepower roll.

A 4 in 6 to call in the artillery, then 1 in 2 chance to score a hit followed by the firepower roll. A 1 in 6 for a 76 gun and a 1 in 2 for a 105 against a T34.

4/6 * 1/2 * 1/2 = 16% chance to eliminate a T34 with a 105

4/6 * 1/2 * 1/6 = 6% chance to eliminate a T34 with a 76.

CD III – Artillery vs Tank

CD III uses a class of a vehicle which gives you a negative modifier against the HE value of the gun. A 76 is an HE4, and a 105 would be HE5 with a T34 rated as a class V and is a -4 HE. Thus a 76 gun can not affect a T34, and a 105 only has a 1 in 10 chance excluding the call fire chance

For a 105 with an observer 7/10 * 1/10 = 7% chance to score one hit.

This requires more than one artillery mission to eliminate a moving tank.

CD IV – Artillery vs Tank

CD IV uses the same system  but then includes the save roll. Again a 76 can’t affect a T34 and a 105 only has a 1 in 10. The save roll is a 4 in 10 to eliminate a Regular rated T34 or a 3 in 10 Experienced T34.

For a 105 this would be 7/10 * 1/10 * 4/10 = 3% to eliminate a regular T34 tank.

Grand Summary

I’ve only looked at typical cases with average troops. Better troops certainly affects the outcome and changes the stats as does worse troop quality. The use of d6s and D10s to figure out the outcome seems to be about the same across the board except for Artillery vs Tanks in Flames of War where it seems to be pretty significantly easier to kills tanks with Artillery. Likewise statistically it is easier to kill tanks with tanks in CD but the range bands give more flavor and complexity to get to a result.

CD III in particular allows stands to take a number of hits based on quality of the troops. CD of course is modeling a platoon as a stand while Flames of War has a ~4 soldiers per stand. Likewise in Flames of War, a tank is a tank but in CD III that vehicle is actually ~5 vehicles so multiple hits is modeling combat effectiveness as losses occur.

Posted in CommandDecision, FlamesOfWar, Playtest | 1 Comment

Warfare at Sea in the Age of Reason : Spanish vs French

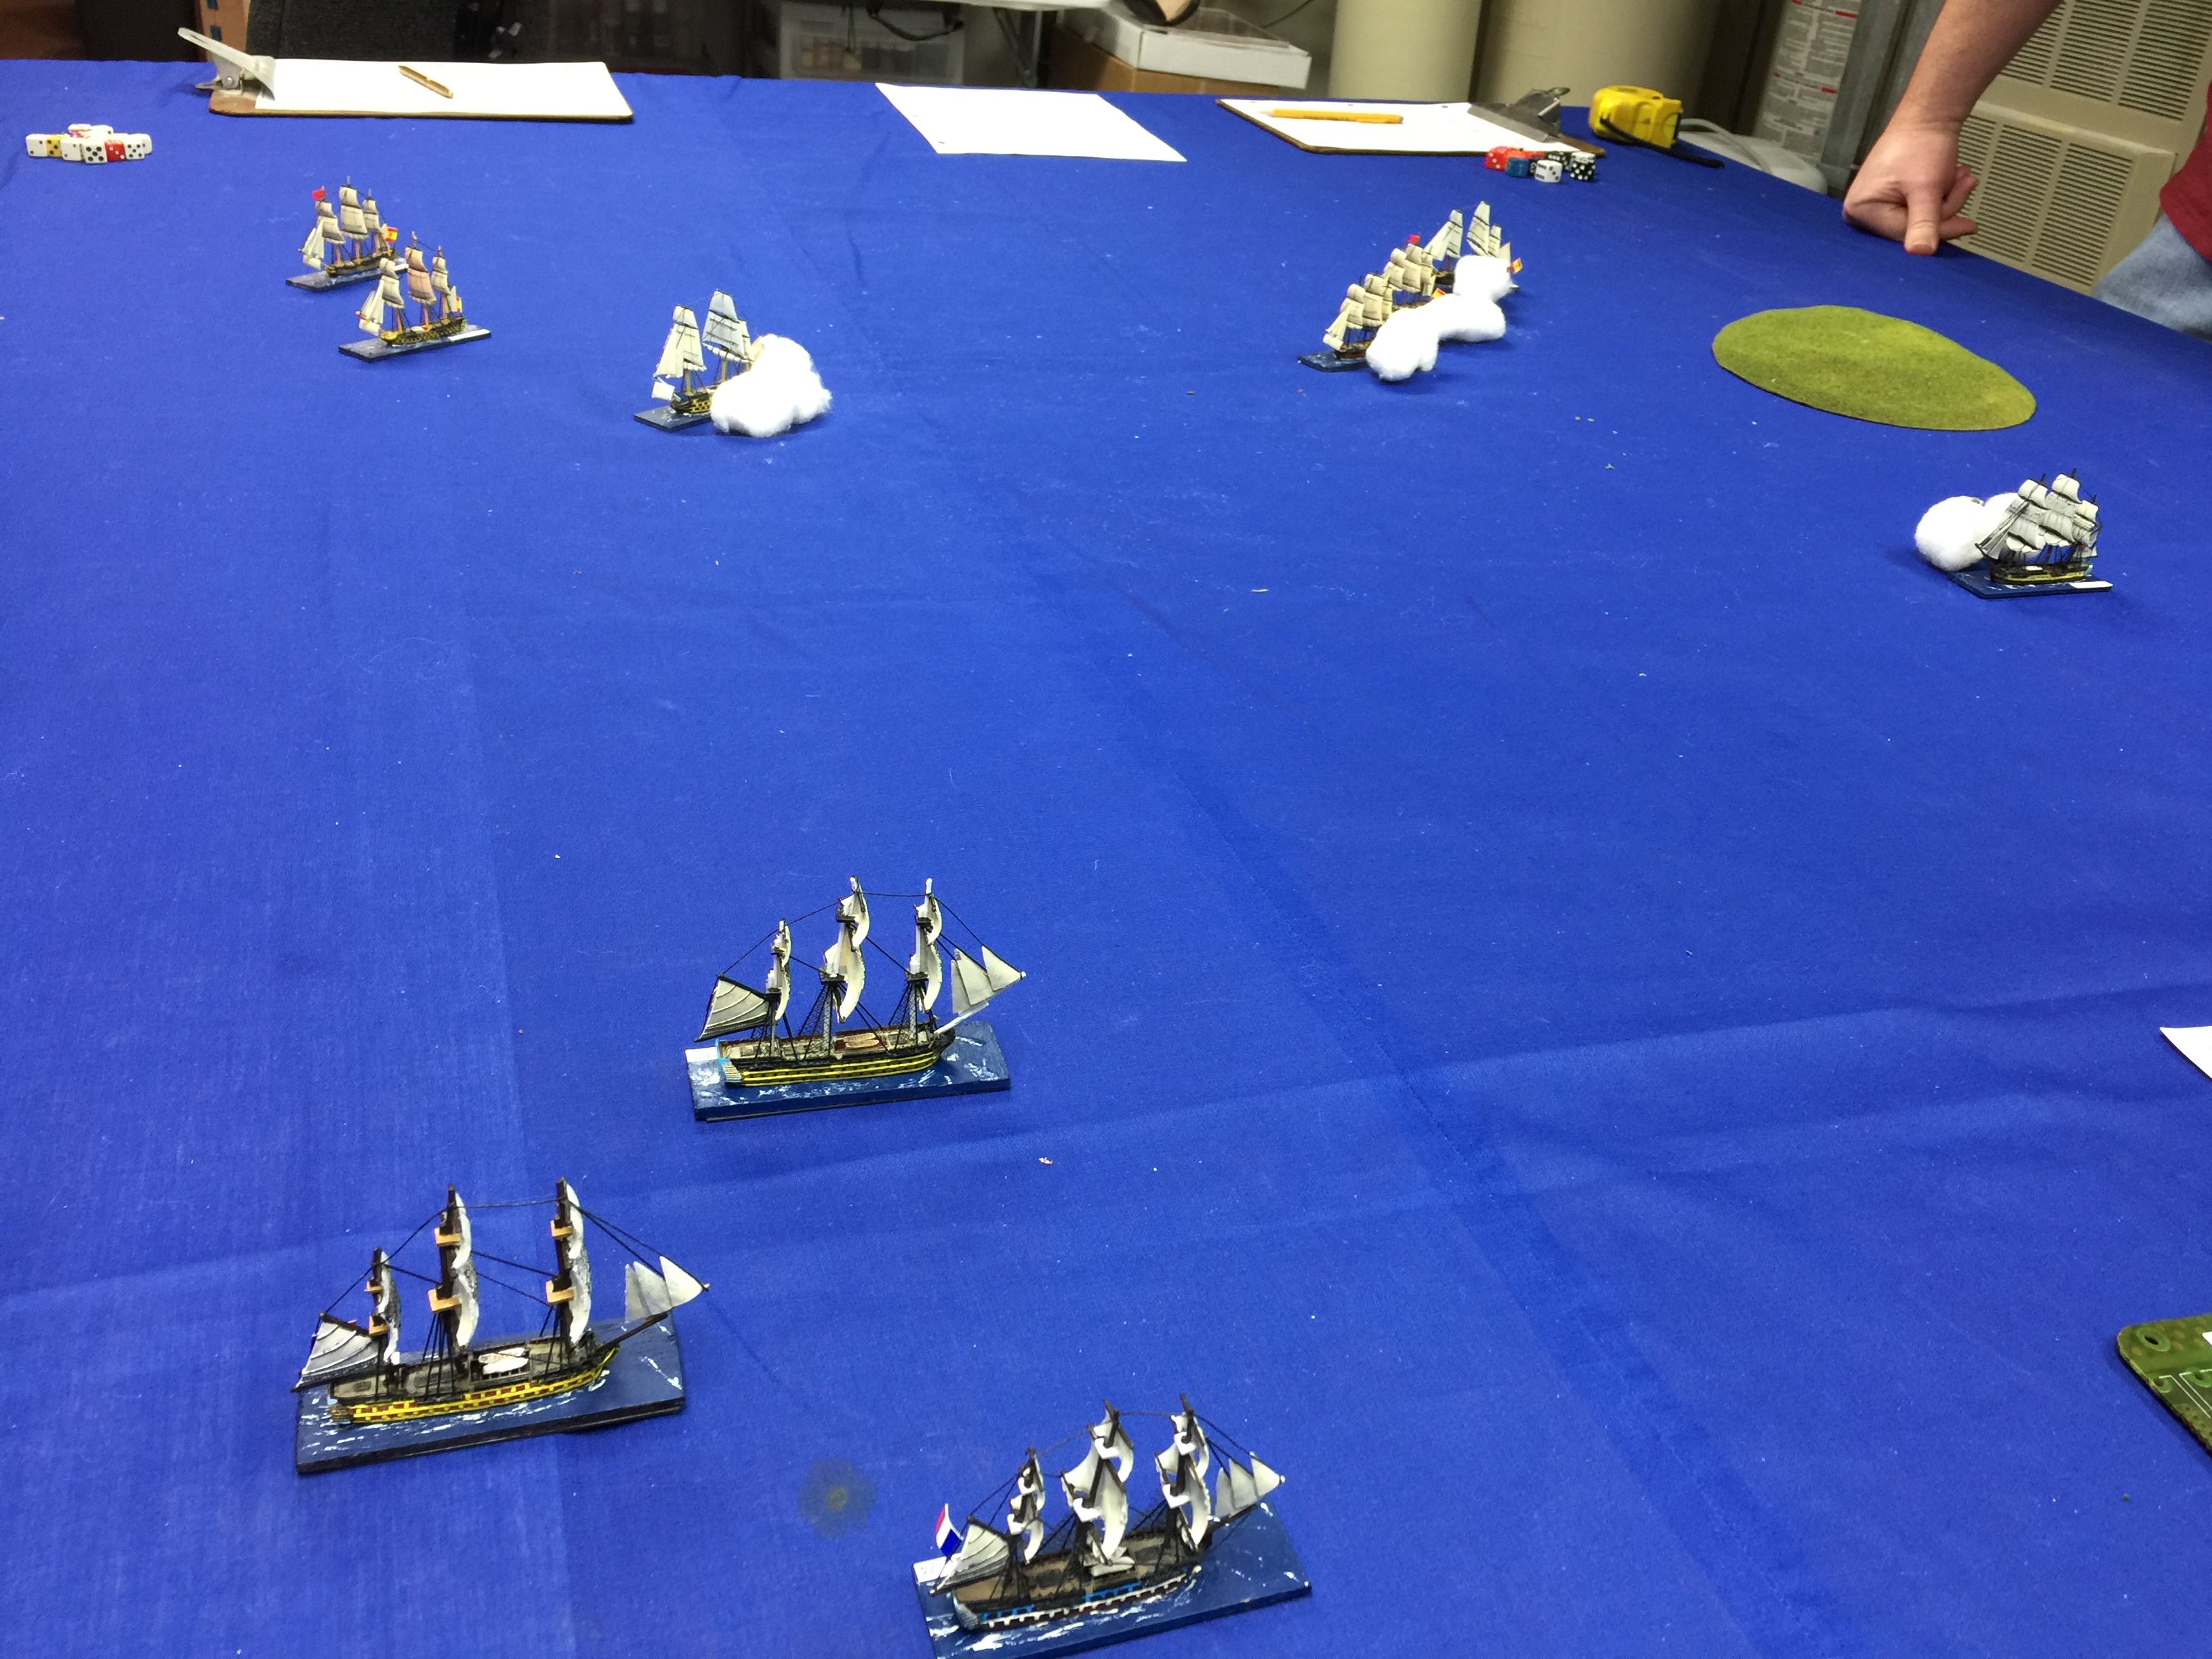
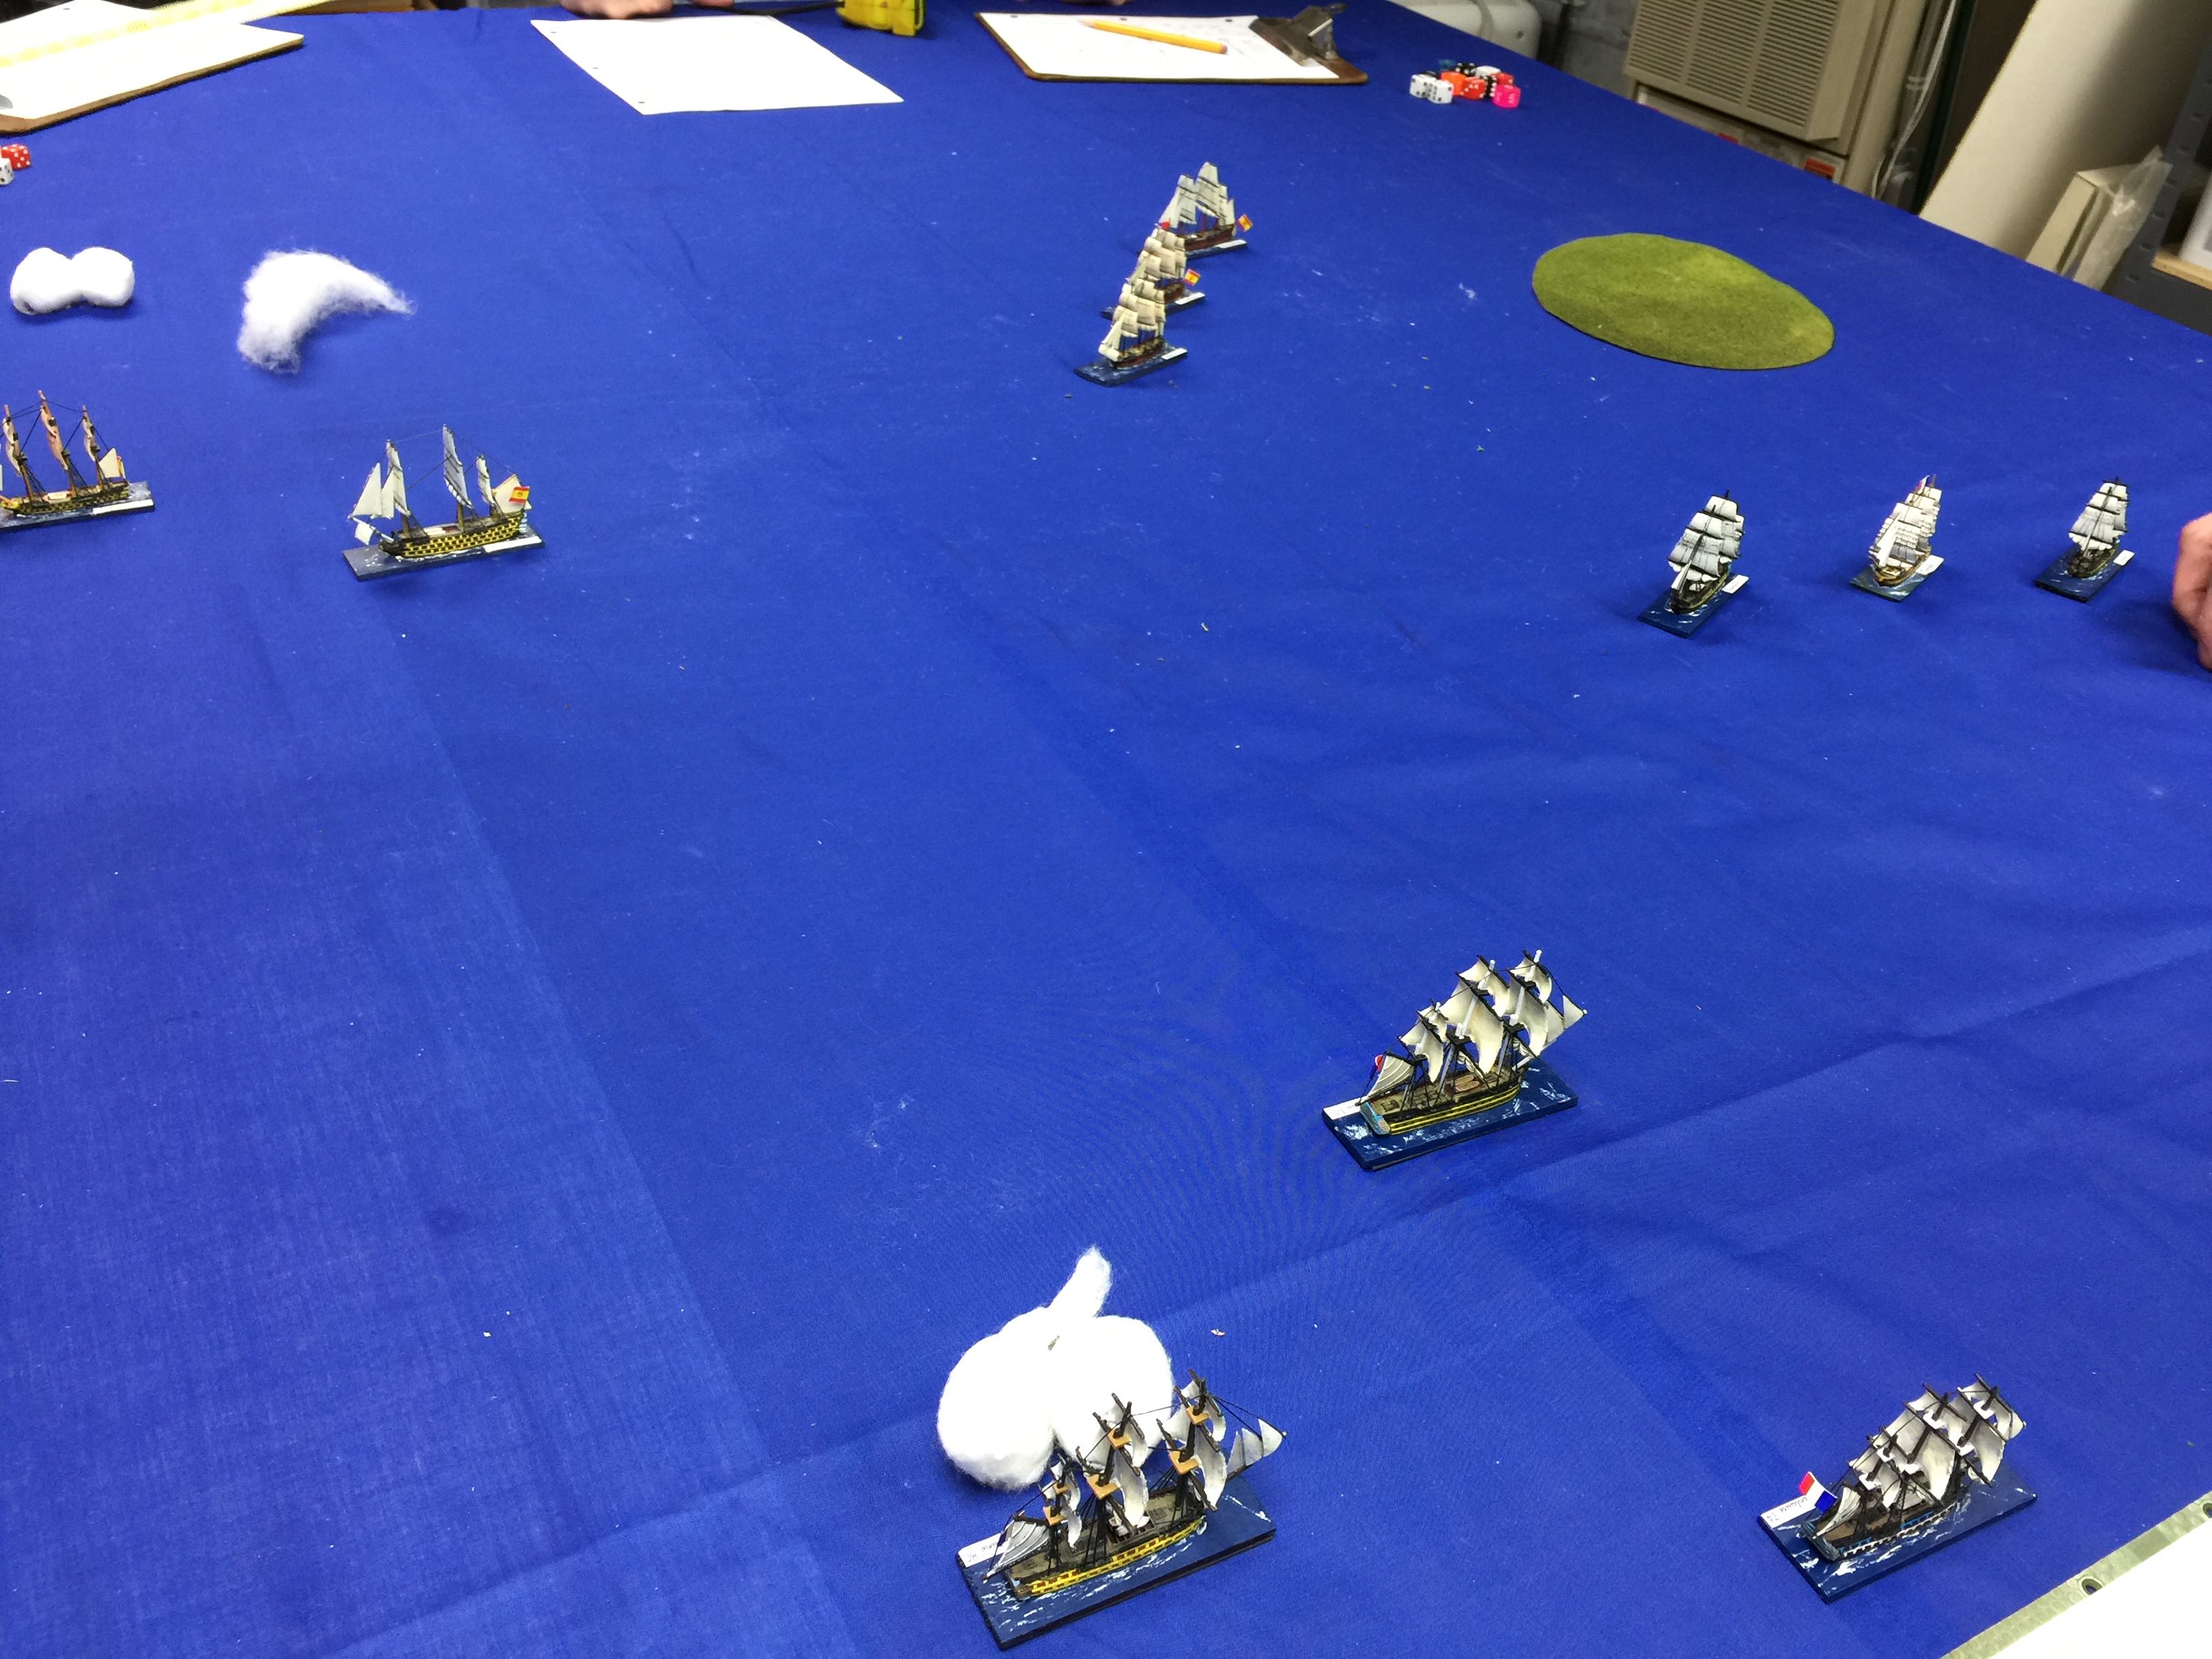
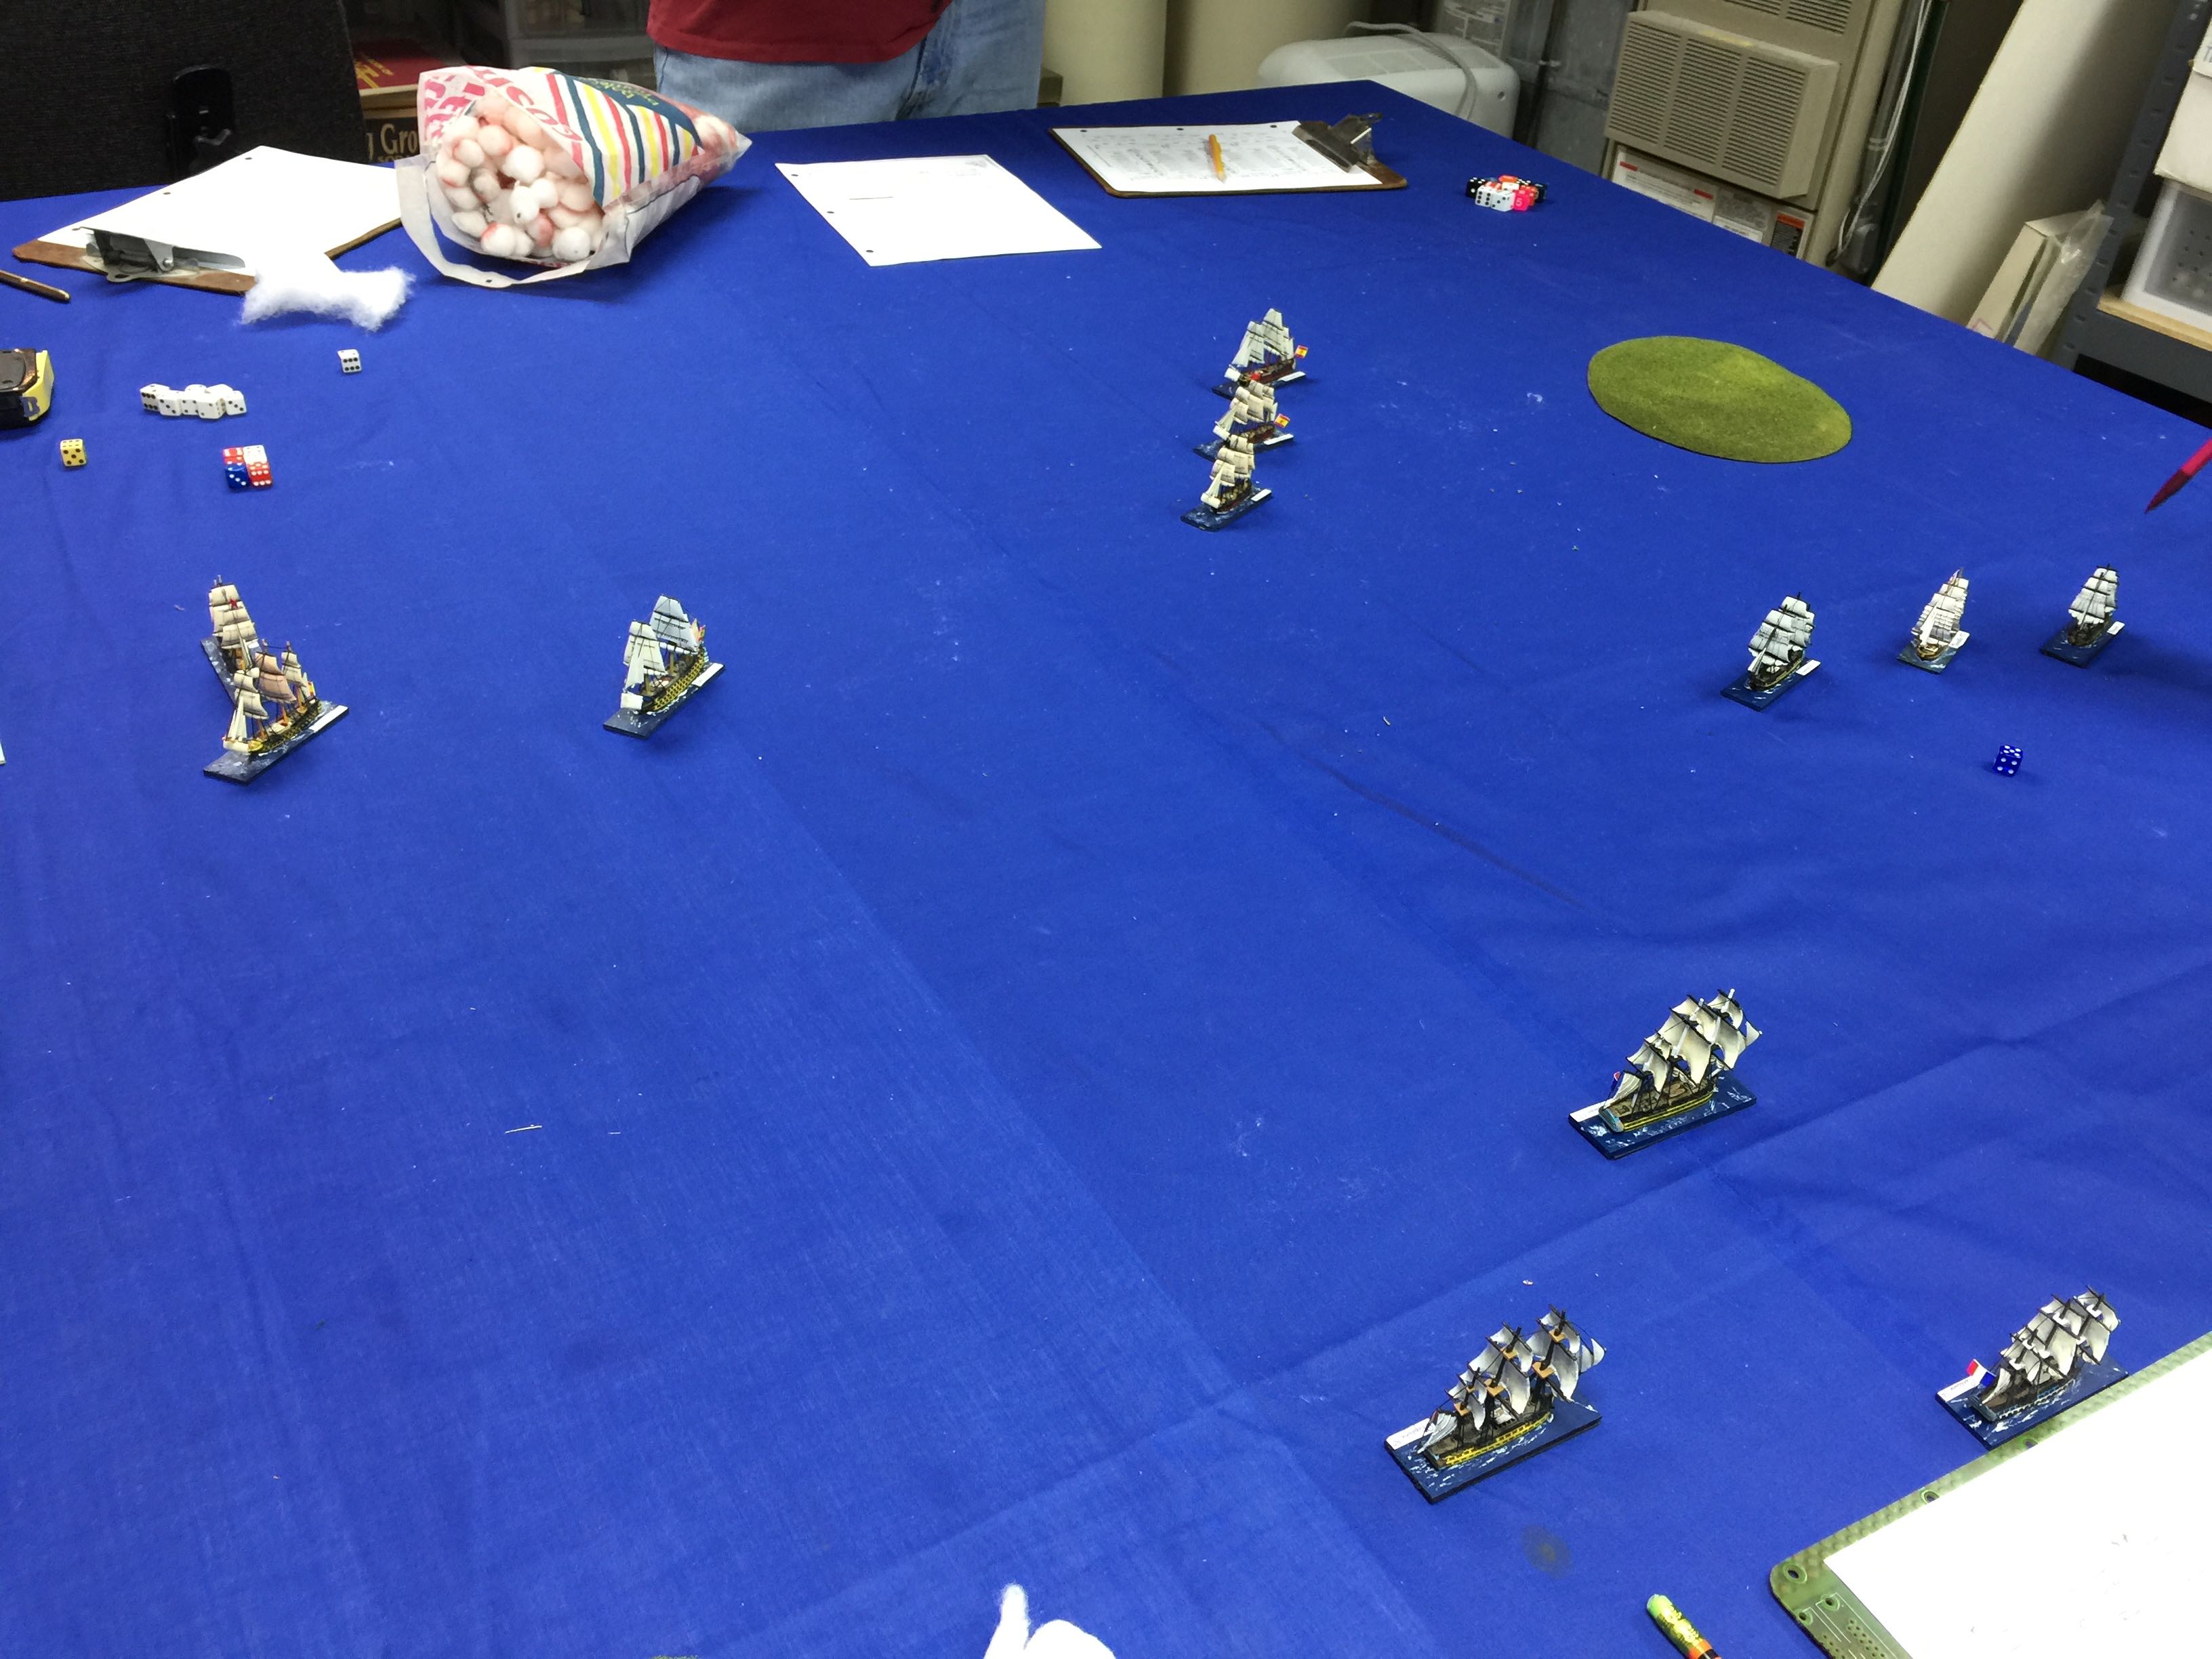
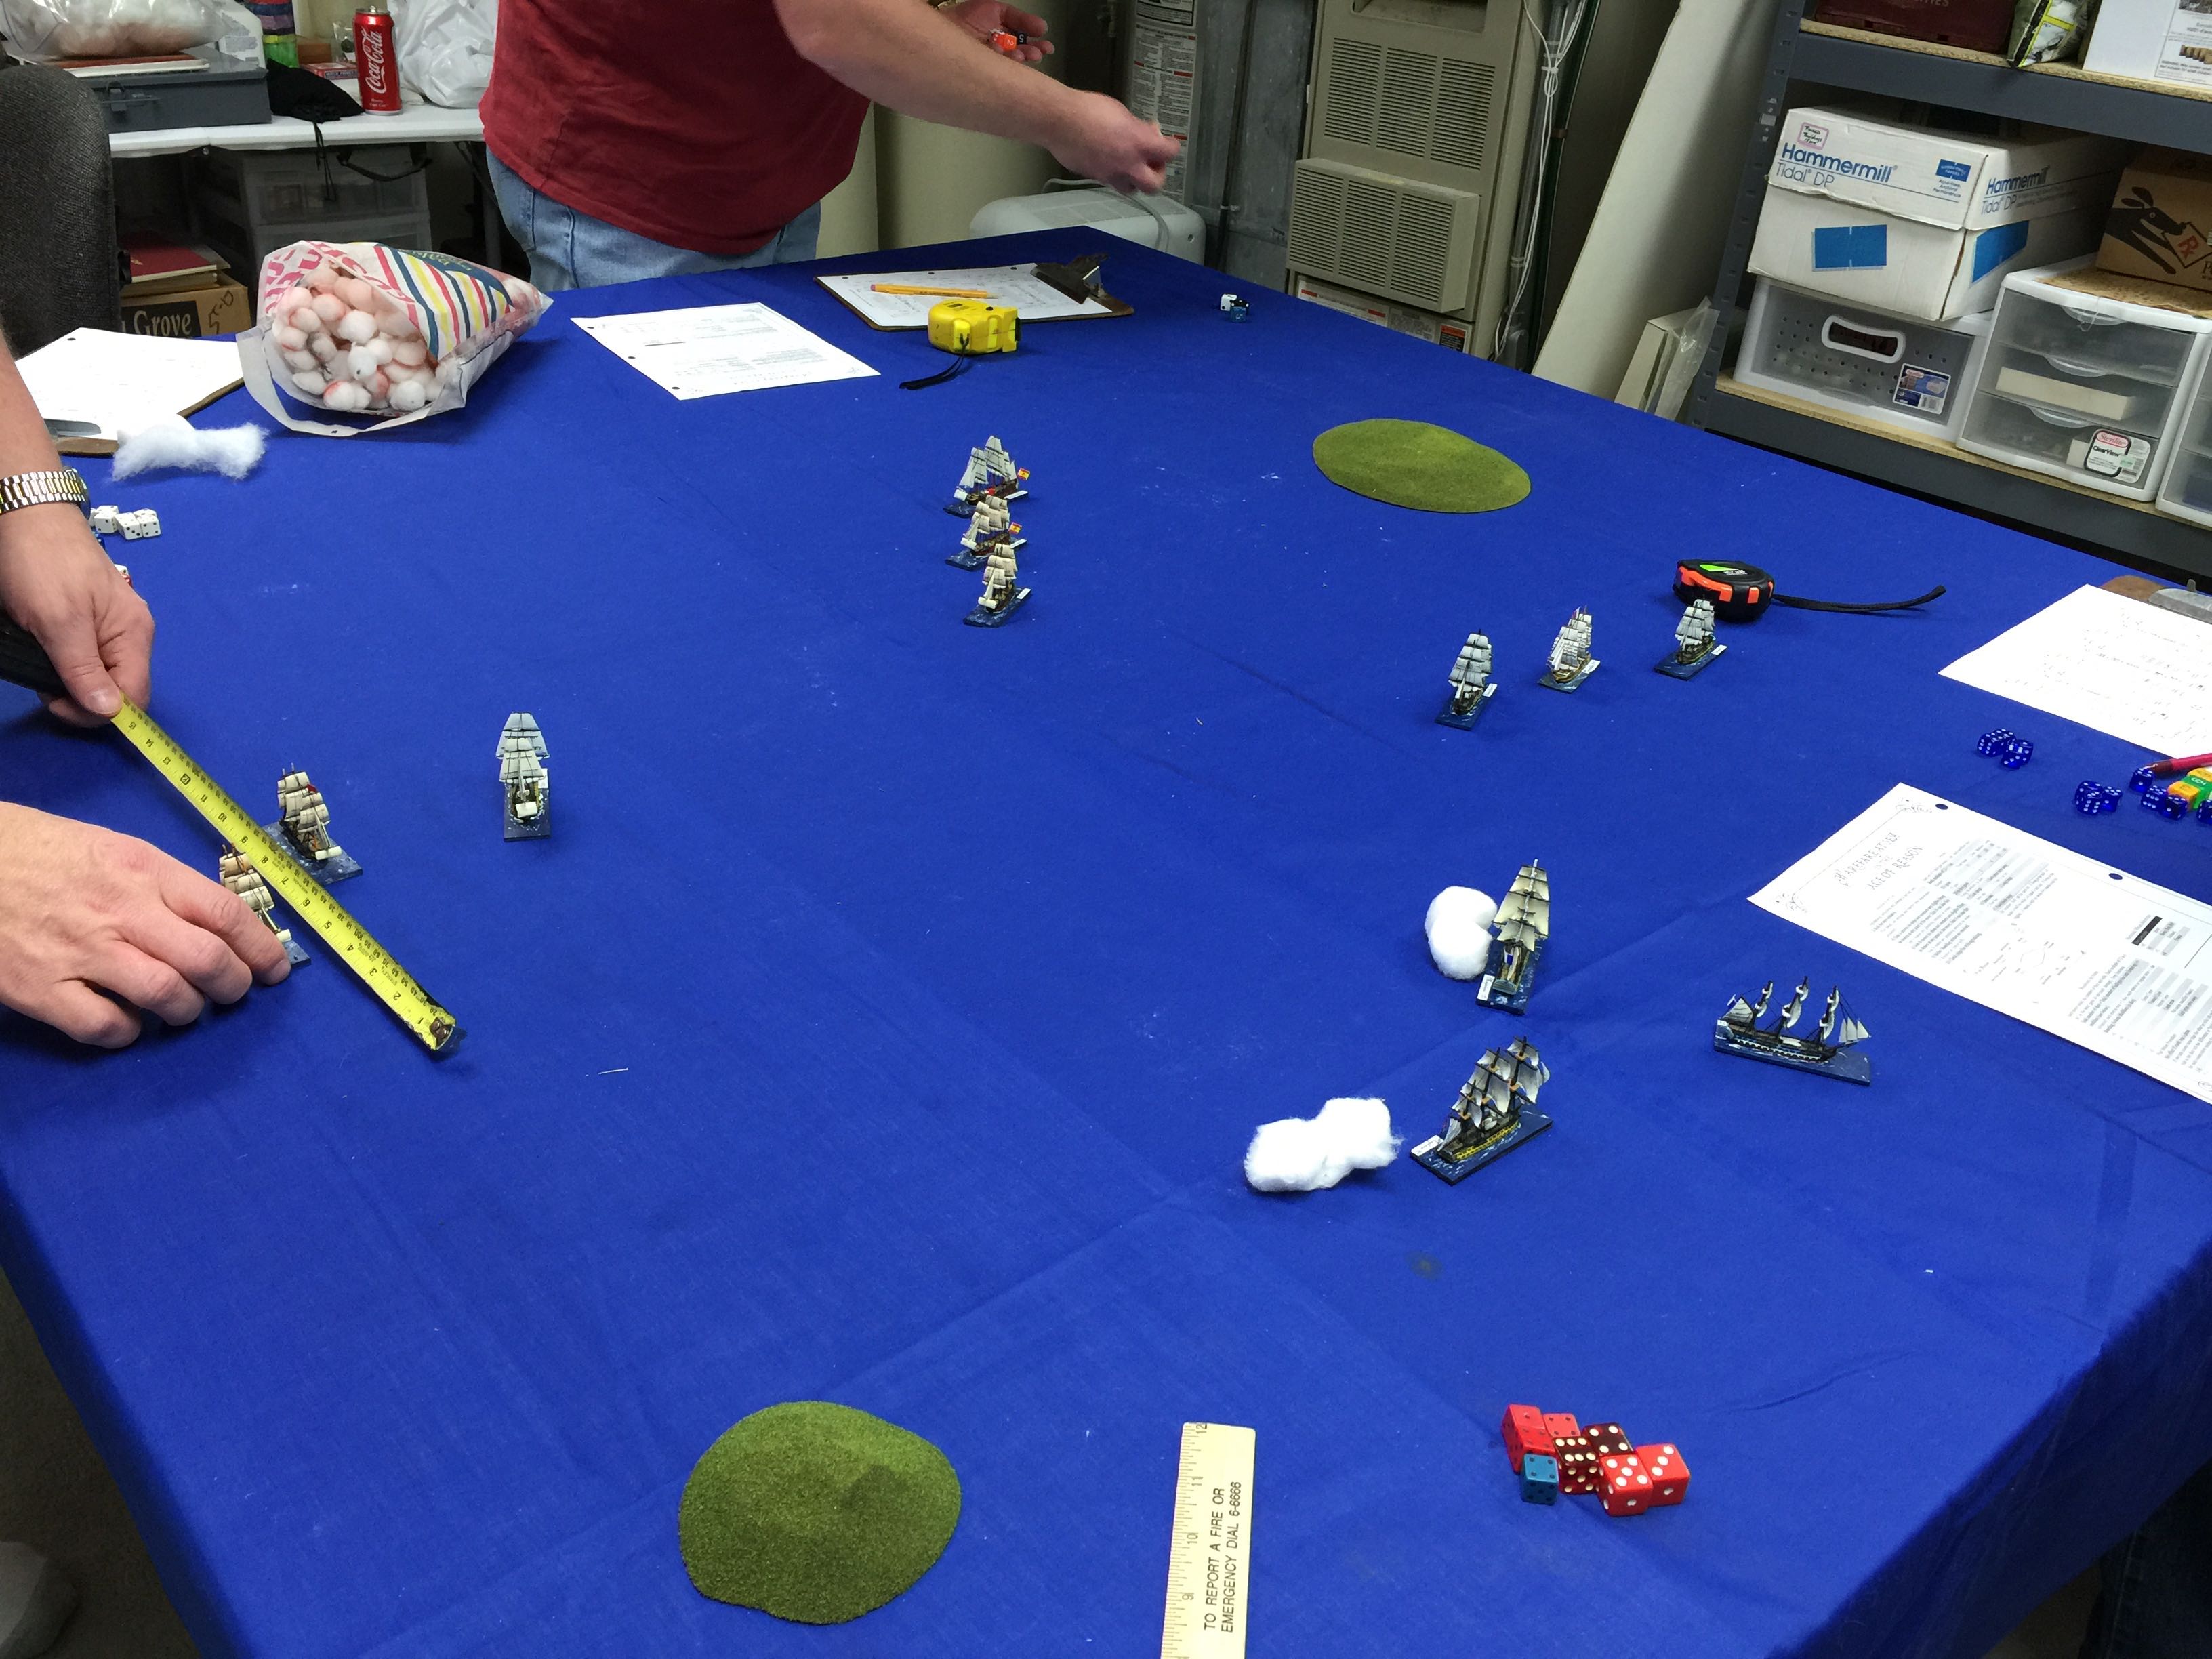
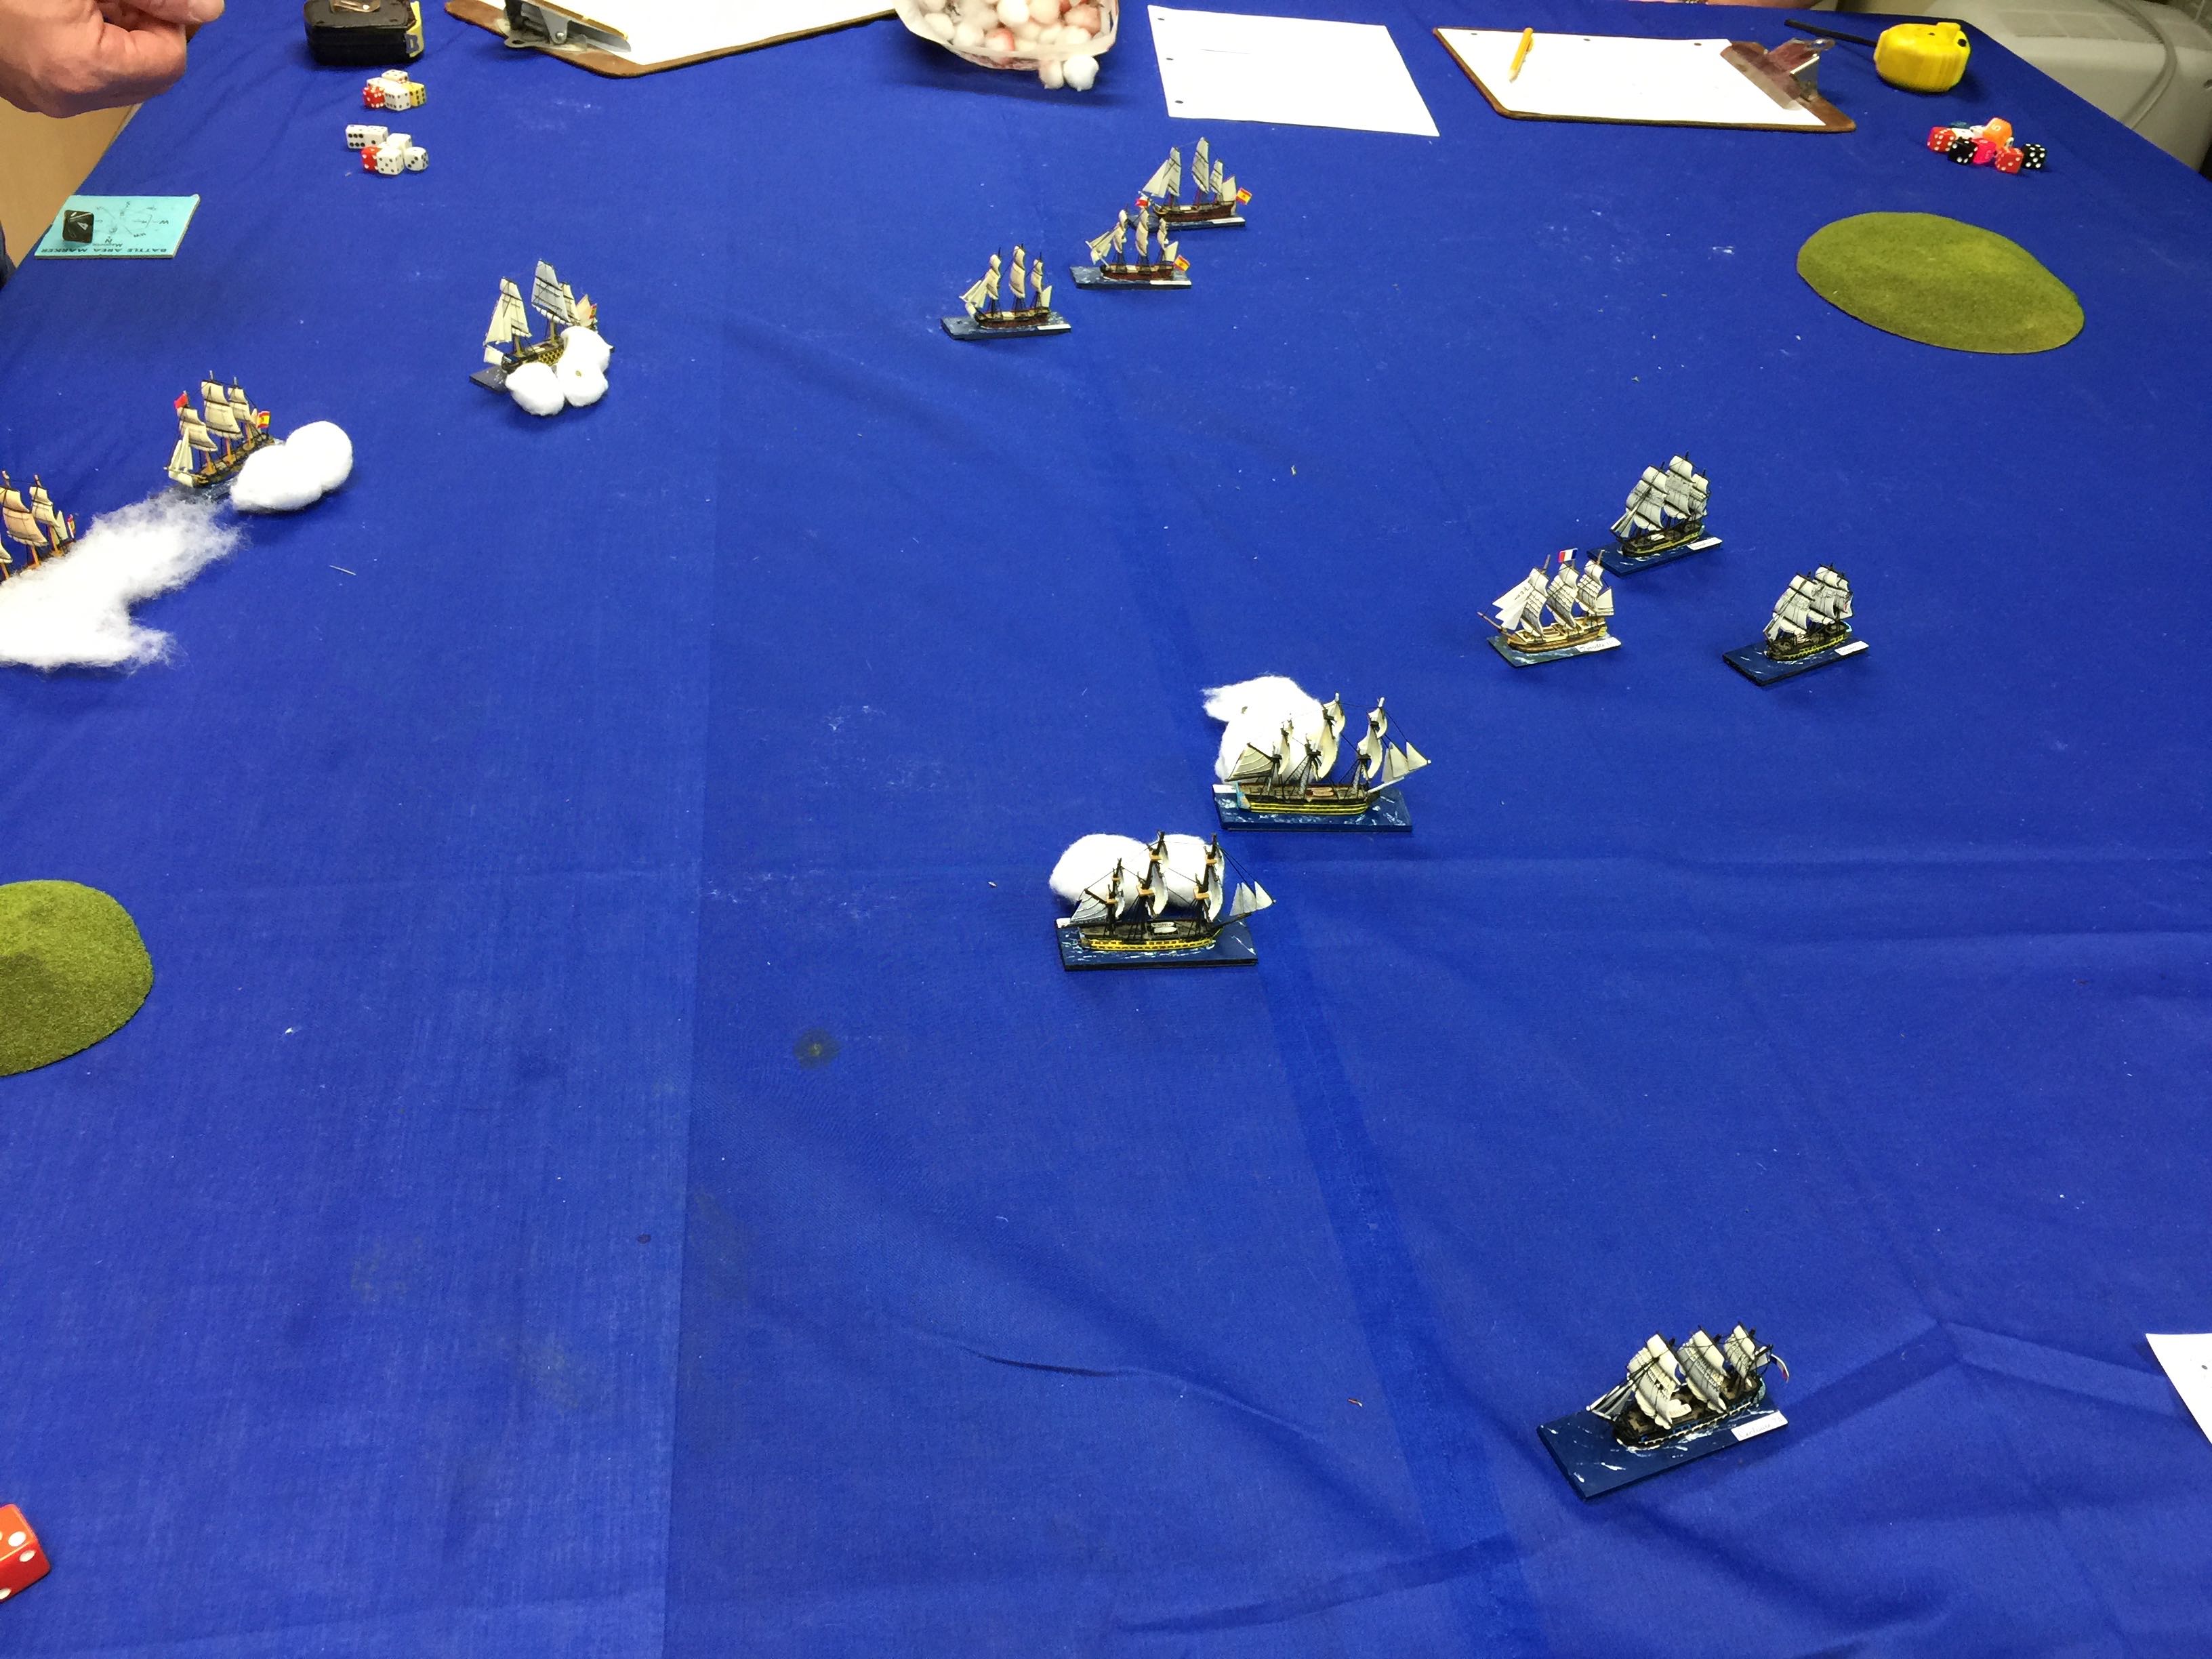
We played our second game of Warfare at Sea in the Age of Reason this past Friday. This time with four players and 3 ships each, we ended up with 12 ships of the line.

If you don’t have a copy of the rules, I very much recommend them and they are available from War-game vault for $8.

The Spanish fielded two 112 gunners, and 4 74 gunners. The french fielded a 120 gunner, a 110 gunner, 2 80 gunners and 2 74 gunners. The French had vet crews and the Spanish with trained crews.  Across the group all our ships were put together for Wooden Ships and Iron men and we just use those gunner ratings, since it’s printed right next to the name of the ship on the base of the figure. It’s all 1:1200 GHQ lead.

We played with one rule modification where instead of rolling to strike or sink based on the total number of hull boxes, to instead do it based on just one side. So if a ship was to be unfortunate enough to accumulate significant damage on both sides, it could have two rolls to strike. This modification makes sense to us given the game as written ties hull boxes and guns together.
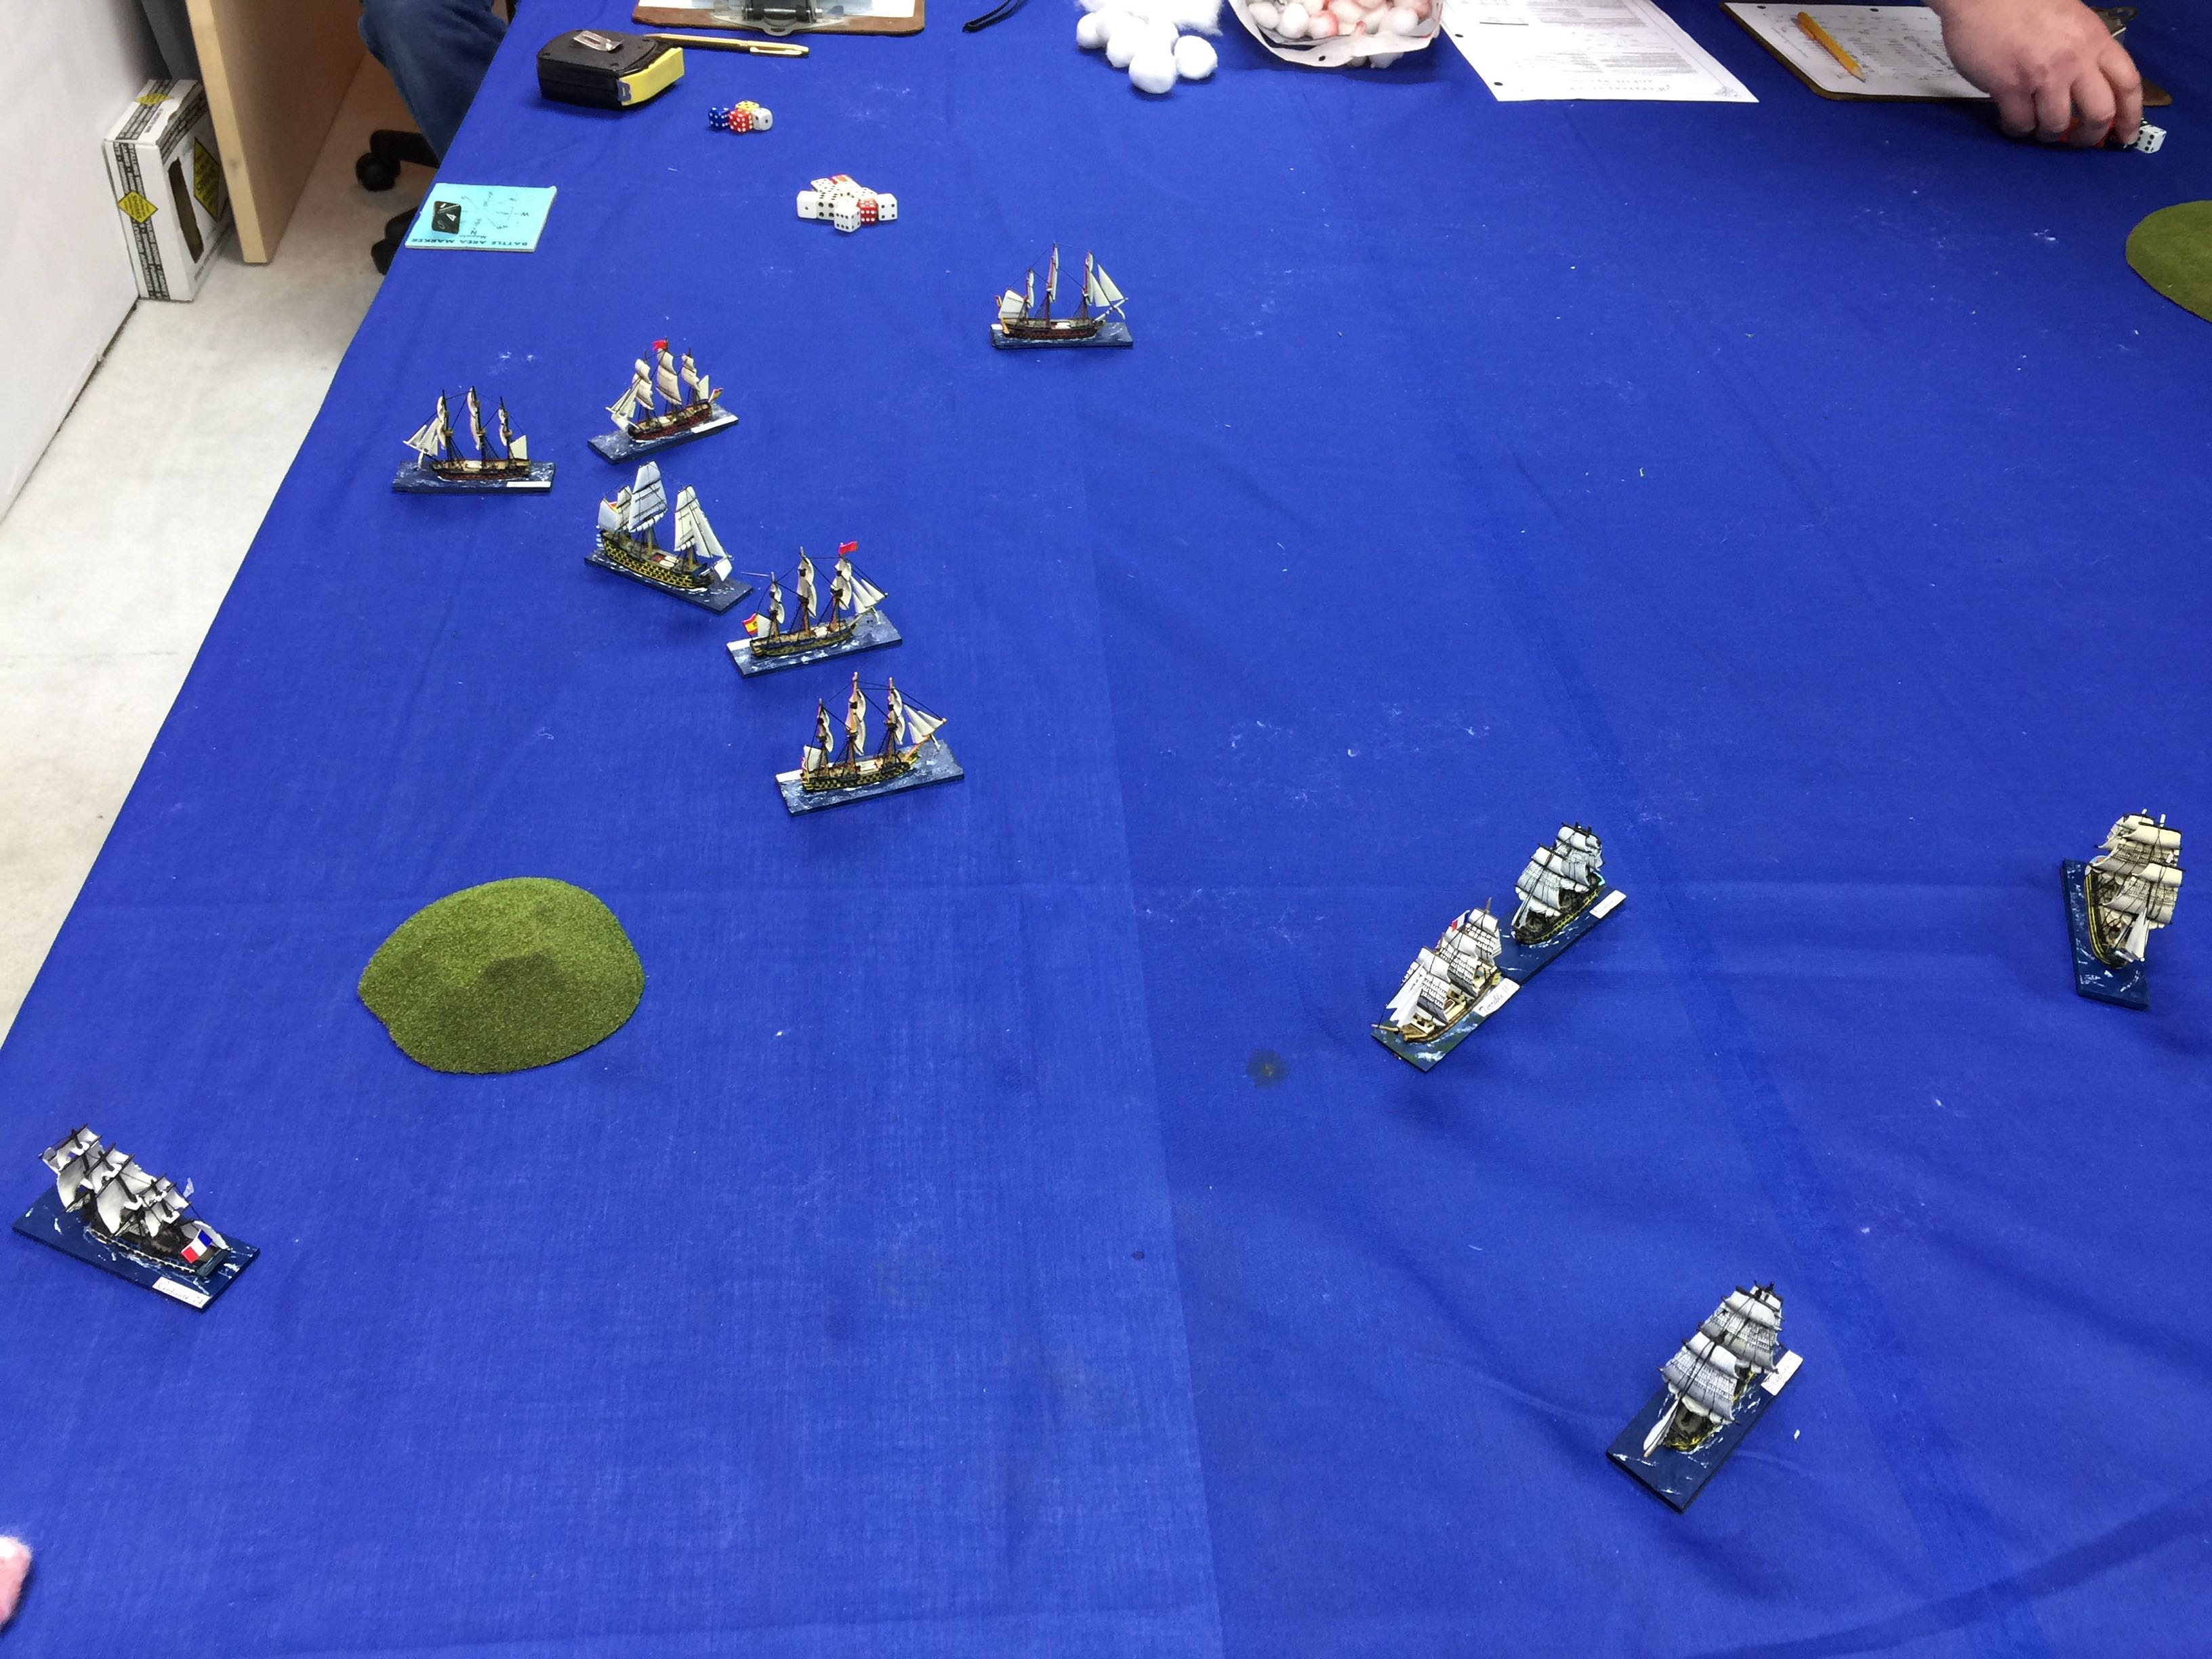
We went ahead and rolled for “terrain” and ended up with two islands. We also had each admiral roll to see if either side might get the advantage. The Spanish won the roll and had the wind at their backs to start the game.

I played French having the 120 gunner, an 80 gunner and a 74 gunner.

IMG_9184

Each squadron came in from a corner of the table. Would have rather had started with one battle line but alas, admiral’s orders! Eye-eye admiral!

The Spanish easily could maneuver with the wind at their best angle while Aaron and I both struggled to get into a meaningful position. I eventually just hauled over to starboard and let the Spanish sail into me.

IMG_9185


Chuck in the upper right corners of this picture managed to bring 3 ships to bear and Eric with one of his boats aided in for 4 on 1 from the get go. T’was quite painful for Aaron’s lead boat which was an 80 gunner and left a pretty bad mark.

IMG_9186

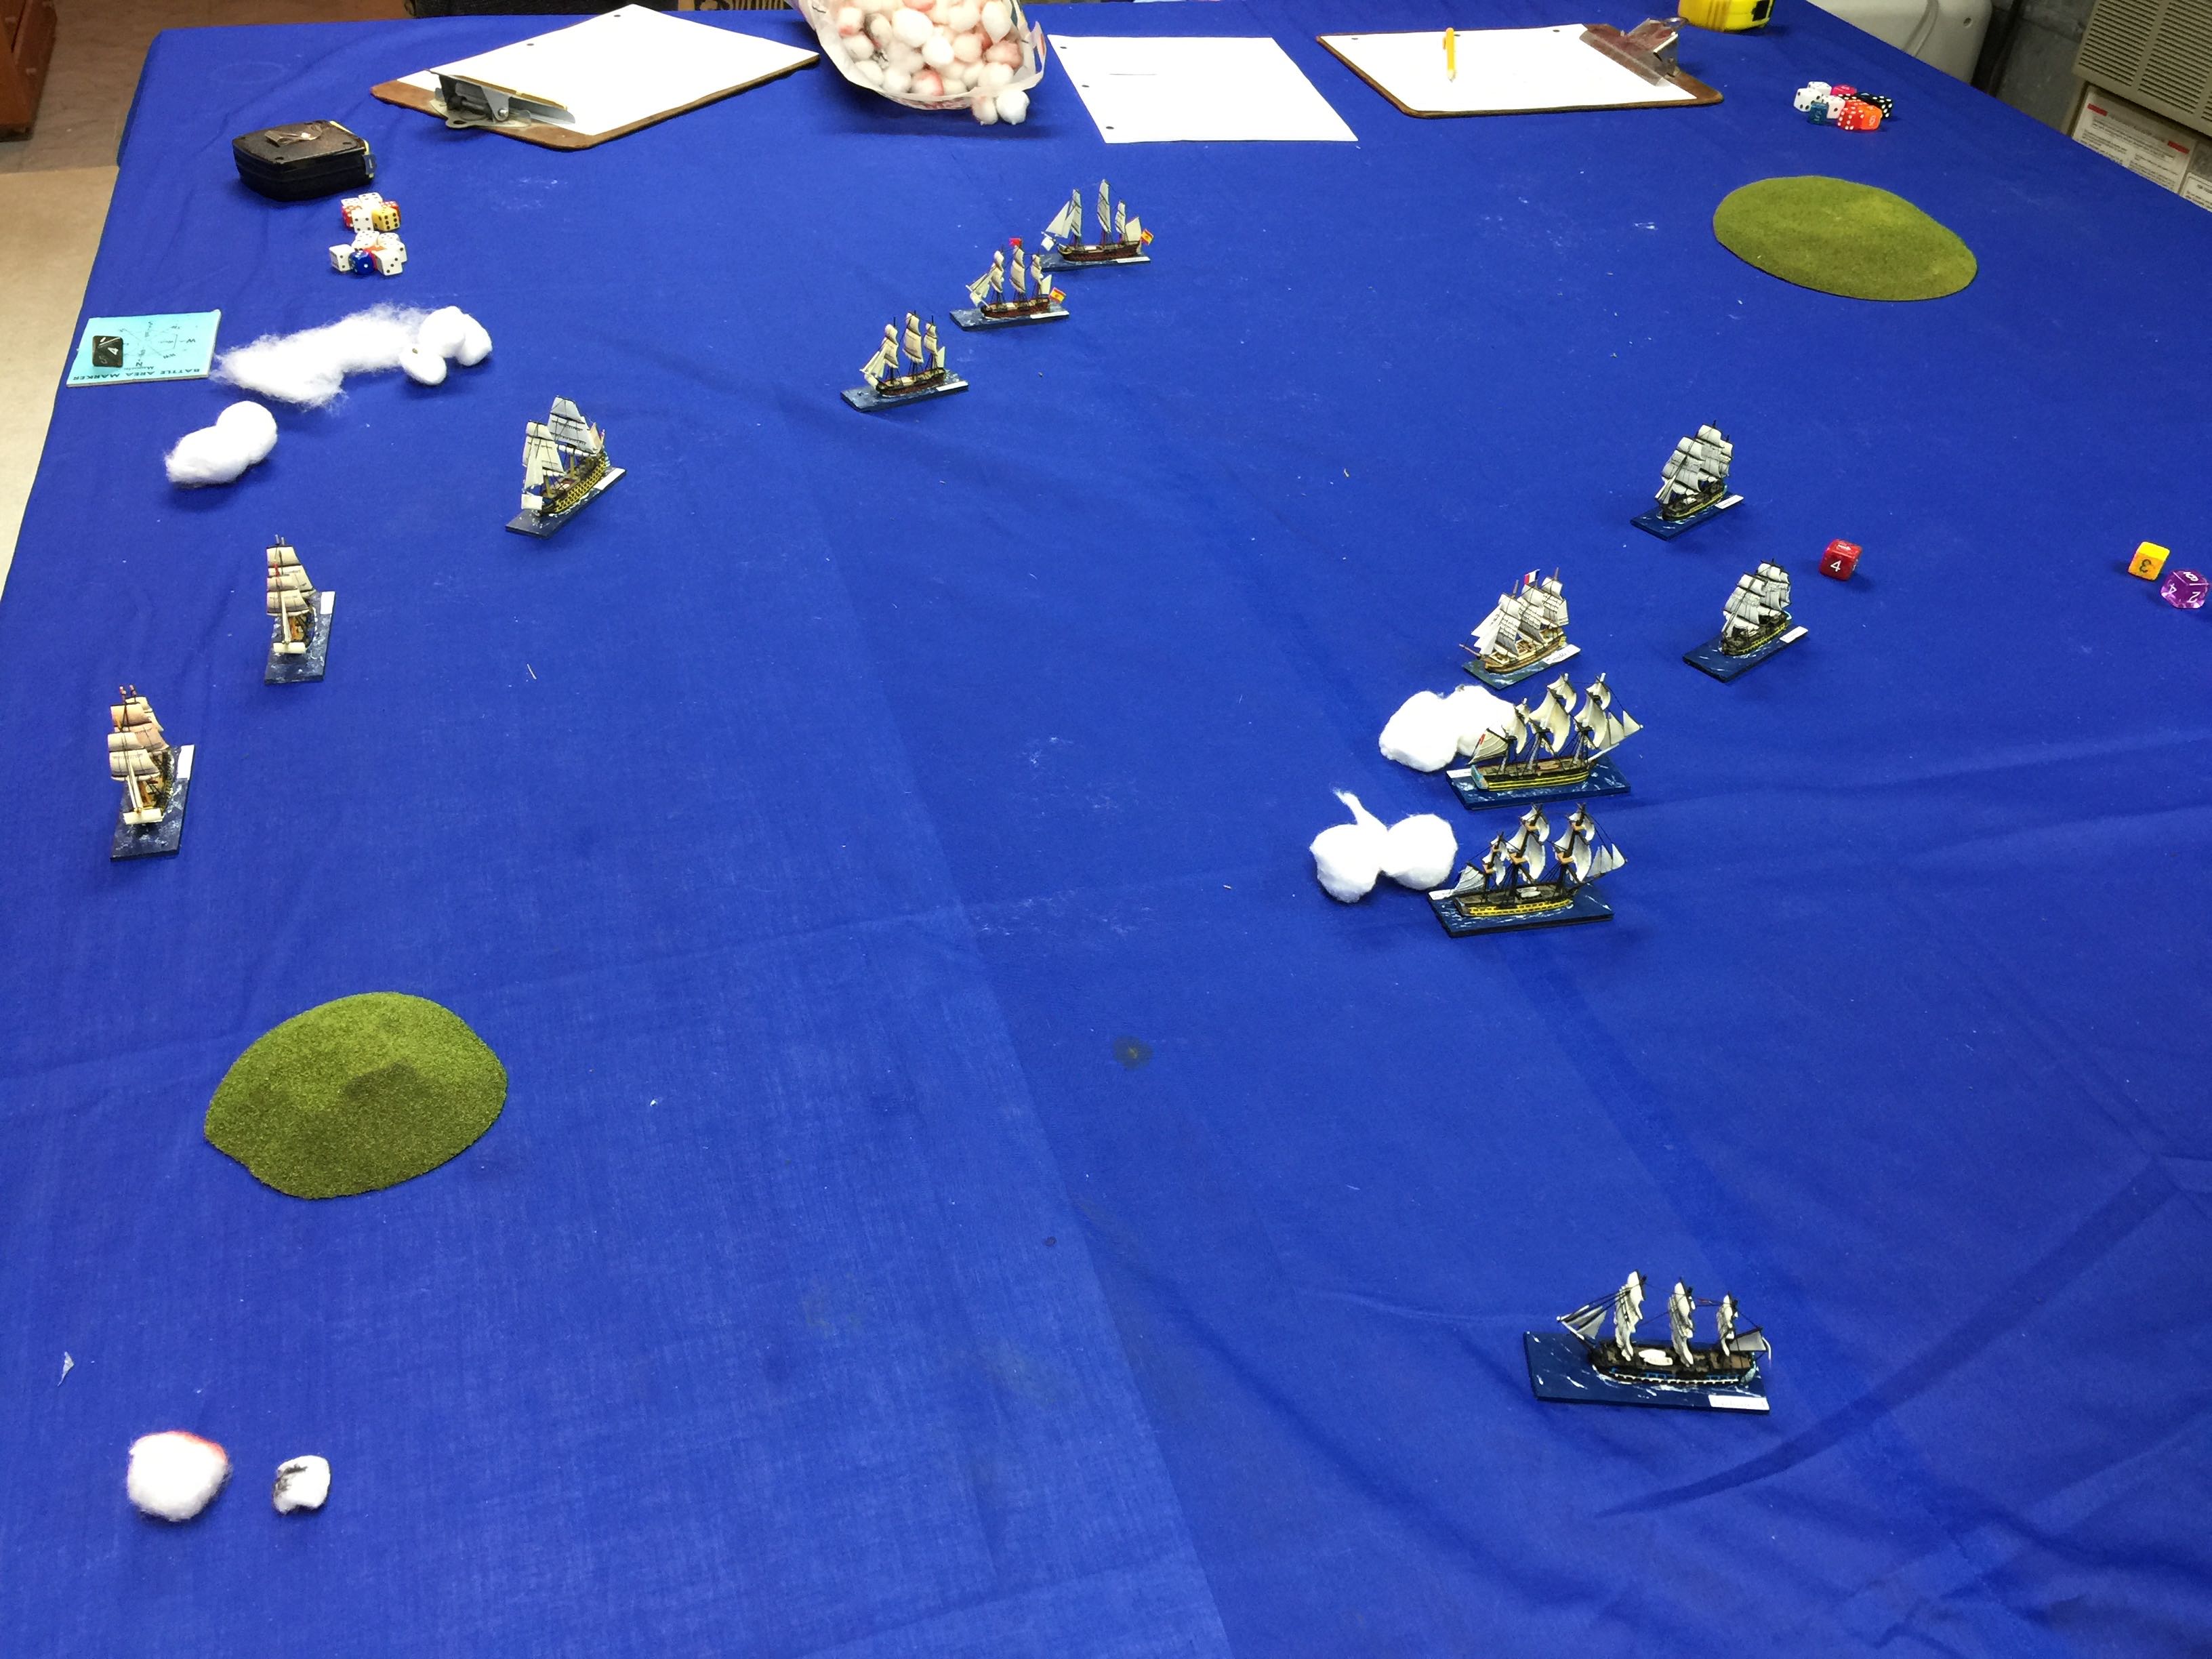
Aaron started to sail in my direction, both of us hoping the wind would change in our favor . Early initial broadsides at this point where all at long range but we were able to return fire, just not all stacked on one.

IMG_9187


Luck would be slightly with us as on Eric’s 112 gunner he rolled up a fire crit. With a trained crew I hoped this would help whittle him down quickly combined with what was for a few turns two of my ships combining fire. Alas in these early turns my 74 gunner due to my lead ship losing a sail and not keeping the line was pretty much out of position. Given the direction the Spanish were sailing, I figured I’d turn him about with the good wind, send him around the island and hopefully get in position for some bow rakes or bottle up the spanish.

IMG_9188


By this point Eric had his fire out, only take 2 turns to get it out tho taking the extra 8 hits of so help, with a 112 gunner, you’ve got a lot of hull boxes, those things can absorb a lot of damage.

Aaron getting closer was taking on Chuck’s portion of the Spanish squadron and judging by the rolls, while Aaron was landing damage, all of Chuck’s crit rolls were to no effect.

IMG_9189

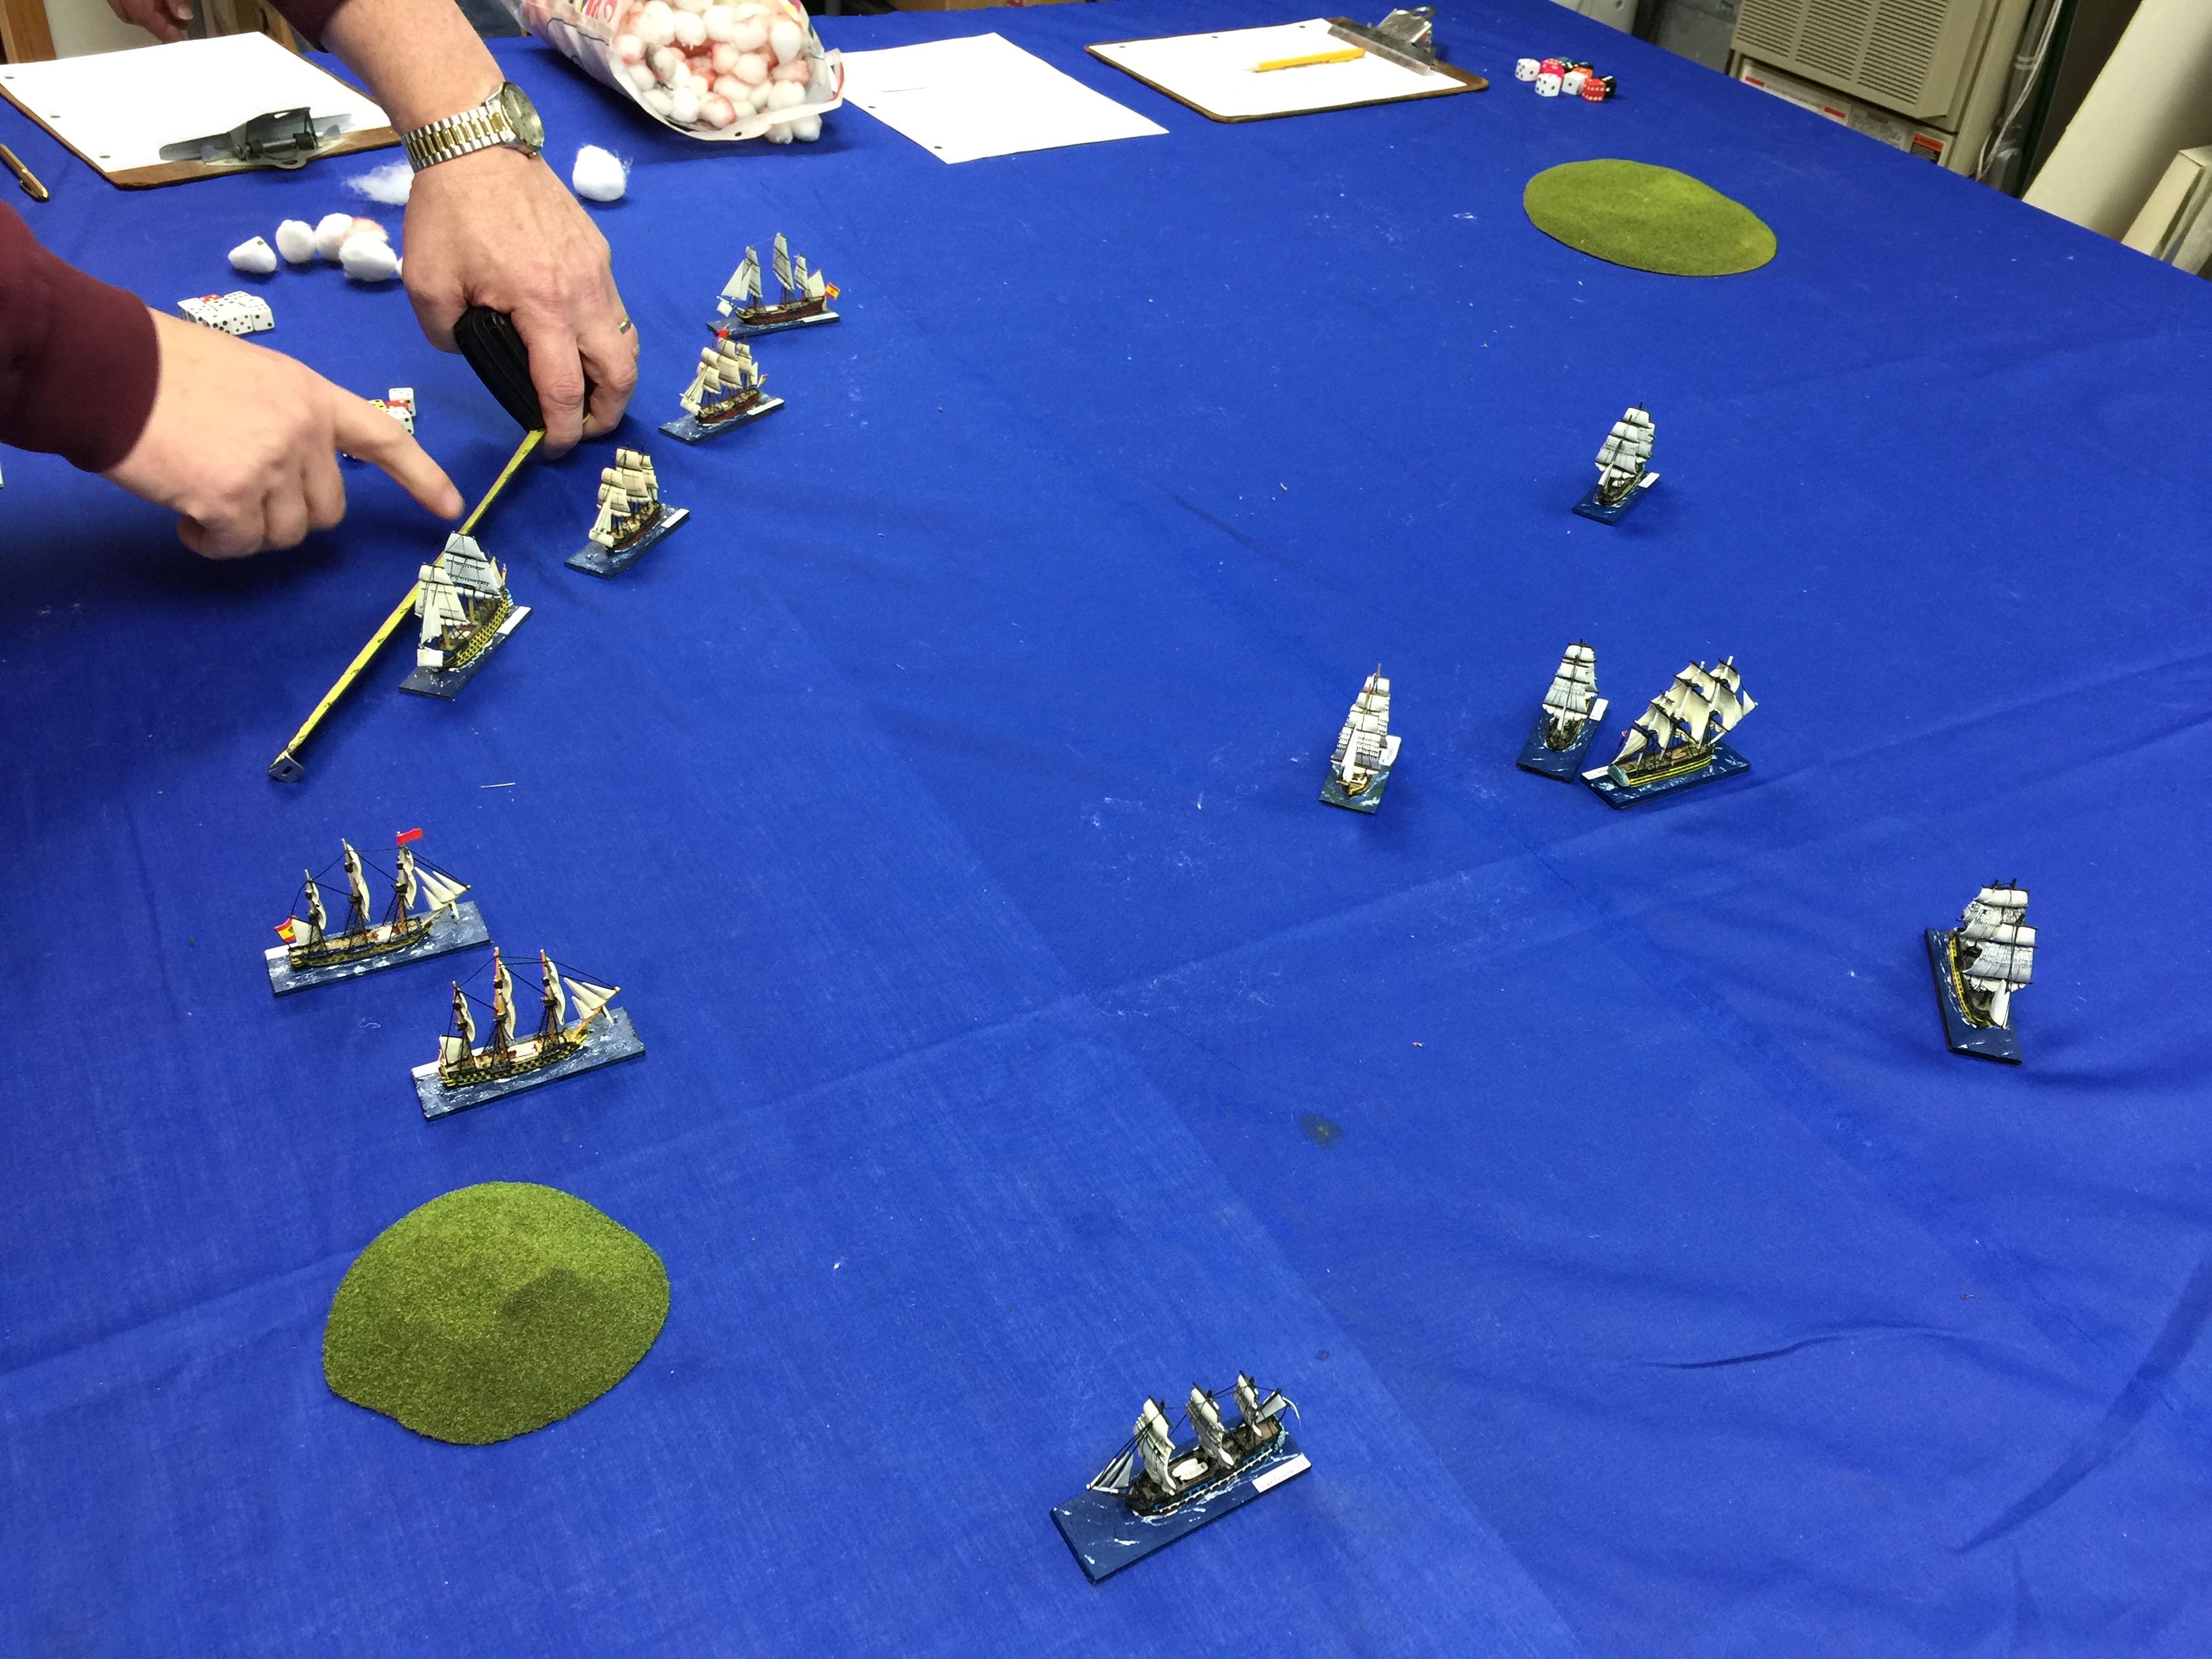
Nearly meeting Aaron and I could start to combine fire against Chuck at this point. The wind had shifted which helped Aaron but was still generally into my face so the writing was on the wall, time to haul about. Given that my 120 Le Mestieaux had lost a couple of masts, getting that 2 inches in so that I actually a turn was going to take a bit. But with the right timing and Aaron passing between me and the Spanish I would hopefully not be exposed to a dreaded stern rake.

IMG_9190


Around here one of Aarons boats was complete demasted and had taken enough damaged to start to test. It was his 74 gunner as I recall. Given the state of the ship and being dead in the water to add an extra die to see if you strike or sink, he failed the roll and struck his colors.


IMG_9191


My 74 gunner was starting to get into place. The first two in the Spanish battle line having already made the turn to keep the stay in the fight. My 80 gunner is the ship to the far right in the picture and had just made the turn. The night extra benefit about making the turn was the wind was now with us and against the Spanish AND we were ready with fresh opening broadsides from the other side of our ships.

IMG_9192

5 on 6 at this point but just about around the island and my 74 gunner was fresh. Also of course we were about to run into “end of the world” and having to adjust the map.

Aaron was getting to the point where another if his ships was about ready to test. Chuck had one of his boats just at that point but it wasn’t too far over such that it was a concern and given his place in the battle line at this point (end of the line and to the upper left in this picture) he was pretty safe from taking additional damage that would encourage the crew to reconsider striking.


IMG_9193


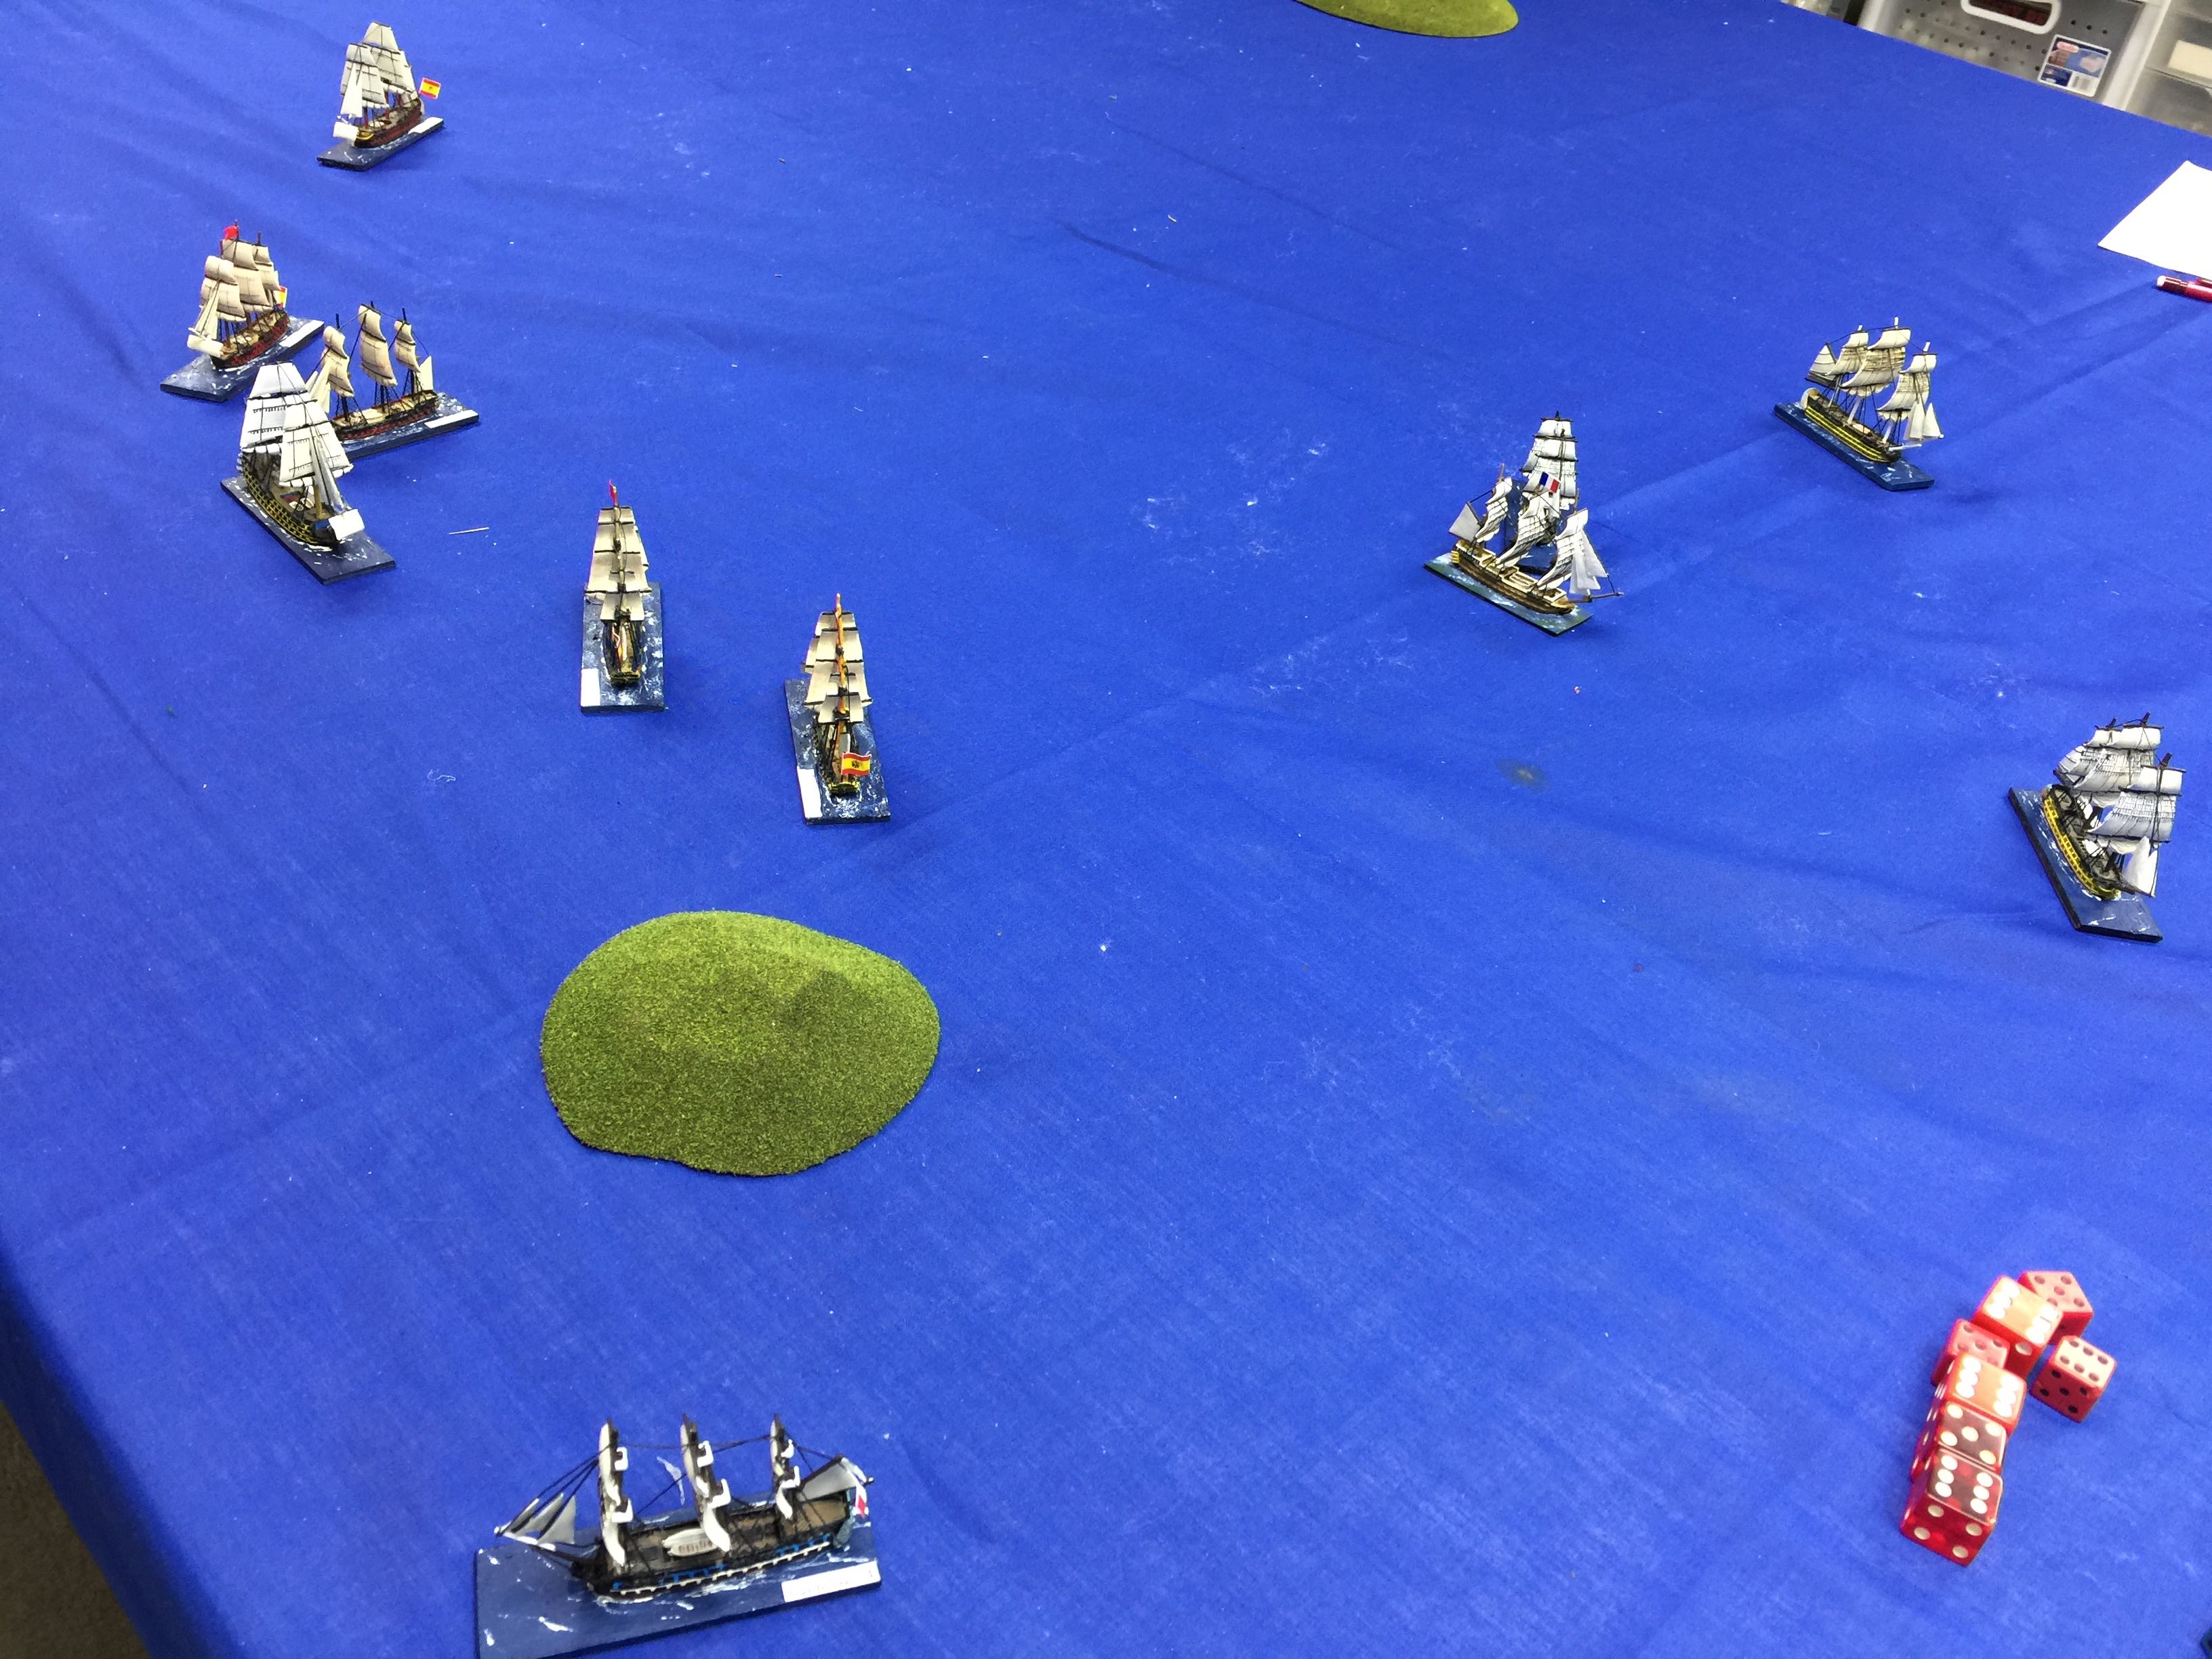
Aaron had the nice battle line here and I was left to pretty much long range snipping. We did start to combine on Eric’s smaller 74 gunners.  With my 74 gunner just emerging past the little island, Eric would take a pot shot as he would be making his turns but otherwise Chuck and I started to line up.

IMG_9194


Last picture of the night and just about at the point where we called it a night. Another one of Aaron’s ships struck and none of the Spanish failed their rolls tho they equally had a number of boats past the trigger to start to check to ship or strike.

A fun night with 2 prize ships that the Spanish just needed go and pick up.


Posted in Warfare at Sea | Comments Off on Warfare at Sea in the Age of Reason : Spanish vs French

FoW: Americans vs Germans – Dust up

This isn’t about a game I played in, rather it’s one that I refereed. My son had a friend over this past weekend and invariably my miniatures and the game room comes up because well a whole room devoted to war gaming isn’t something you see every day. In the eyes of two boys, or not so young boys, it’s gamer heaven.

I more or less got into miniatures and war gaming about the age that Ian is now. I’d been introduced to AD&D about the time I was in 3rd or 4th grade via one of my friends Matt Flom who lived across town and I only saw once in a blue moon. That cause me to buy the rules and start to visit various sections of the hobby stores in town that I wouldn’t normally.

Then at some point my best friend for many years Patrick Mahoney bought GI Anvil of Victory and I picked up Squad Leader by Avalon Hill. Both great games that we played together often. RIP John Hill. We had a lot of fun over the years and do wish at some point we’d meet up again sometime.

Ian and his friend decided that they wanted to play a game against each other so I proposed we would do it Saturday morning.

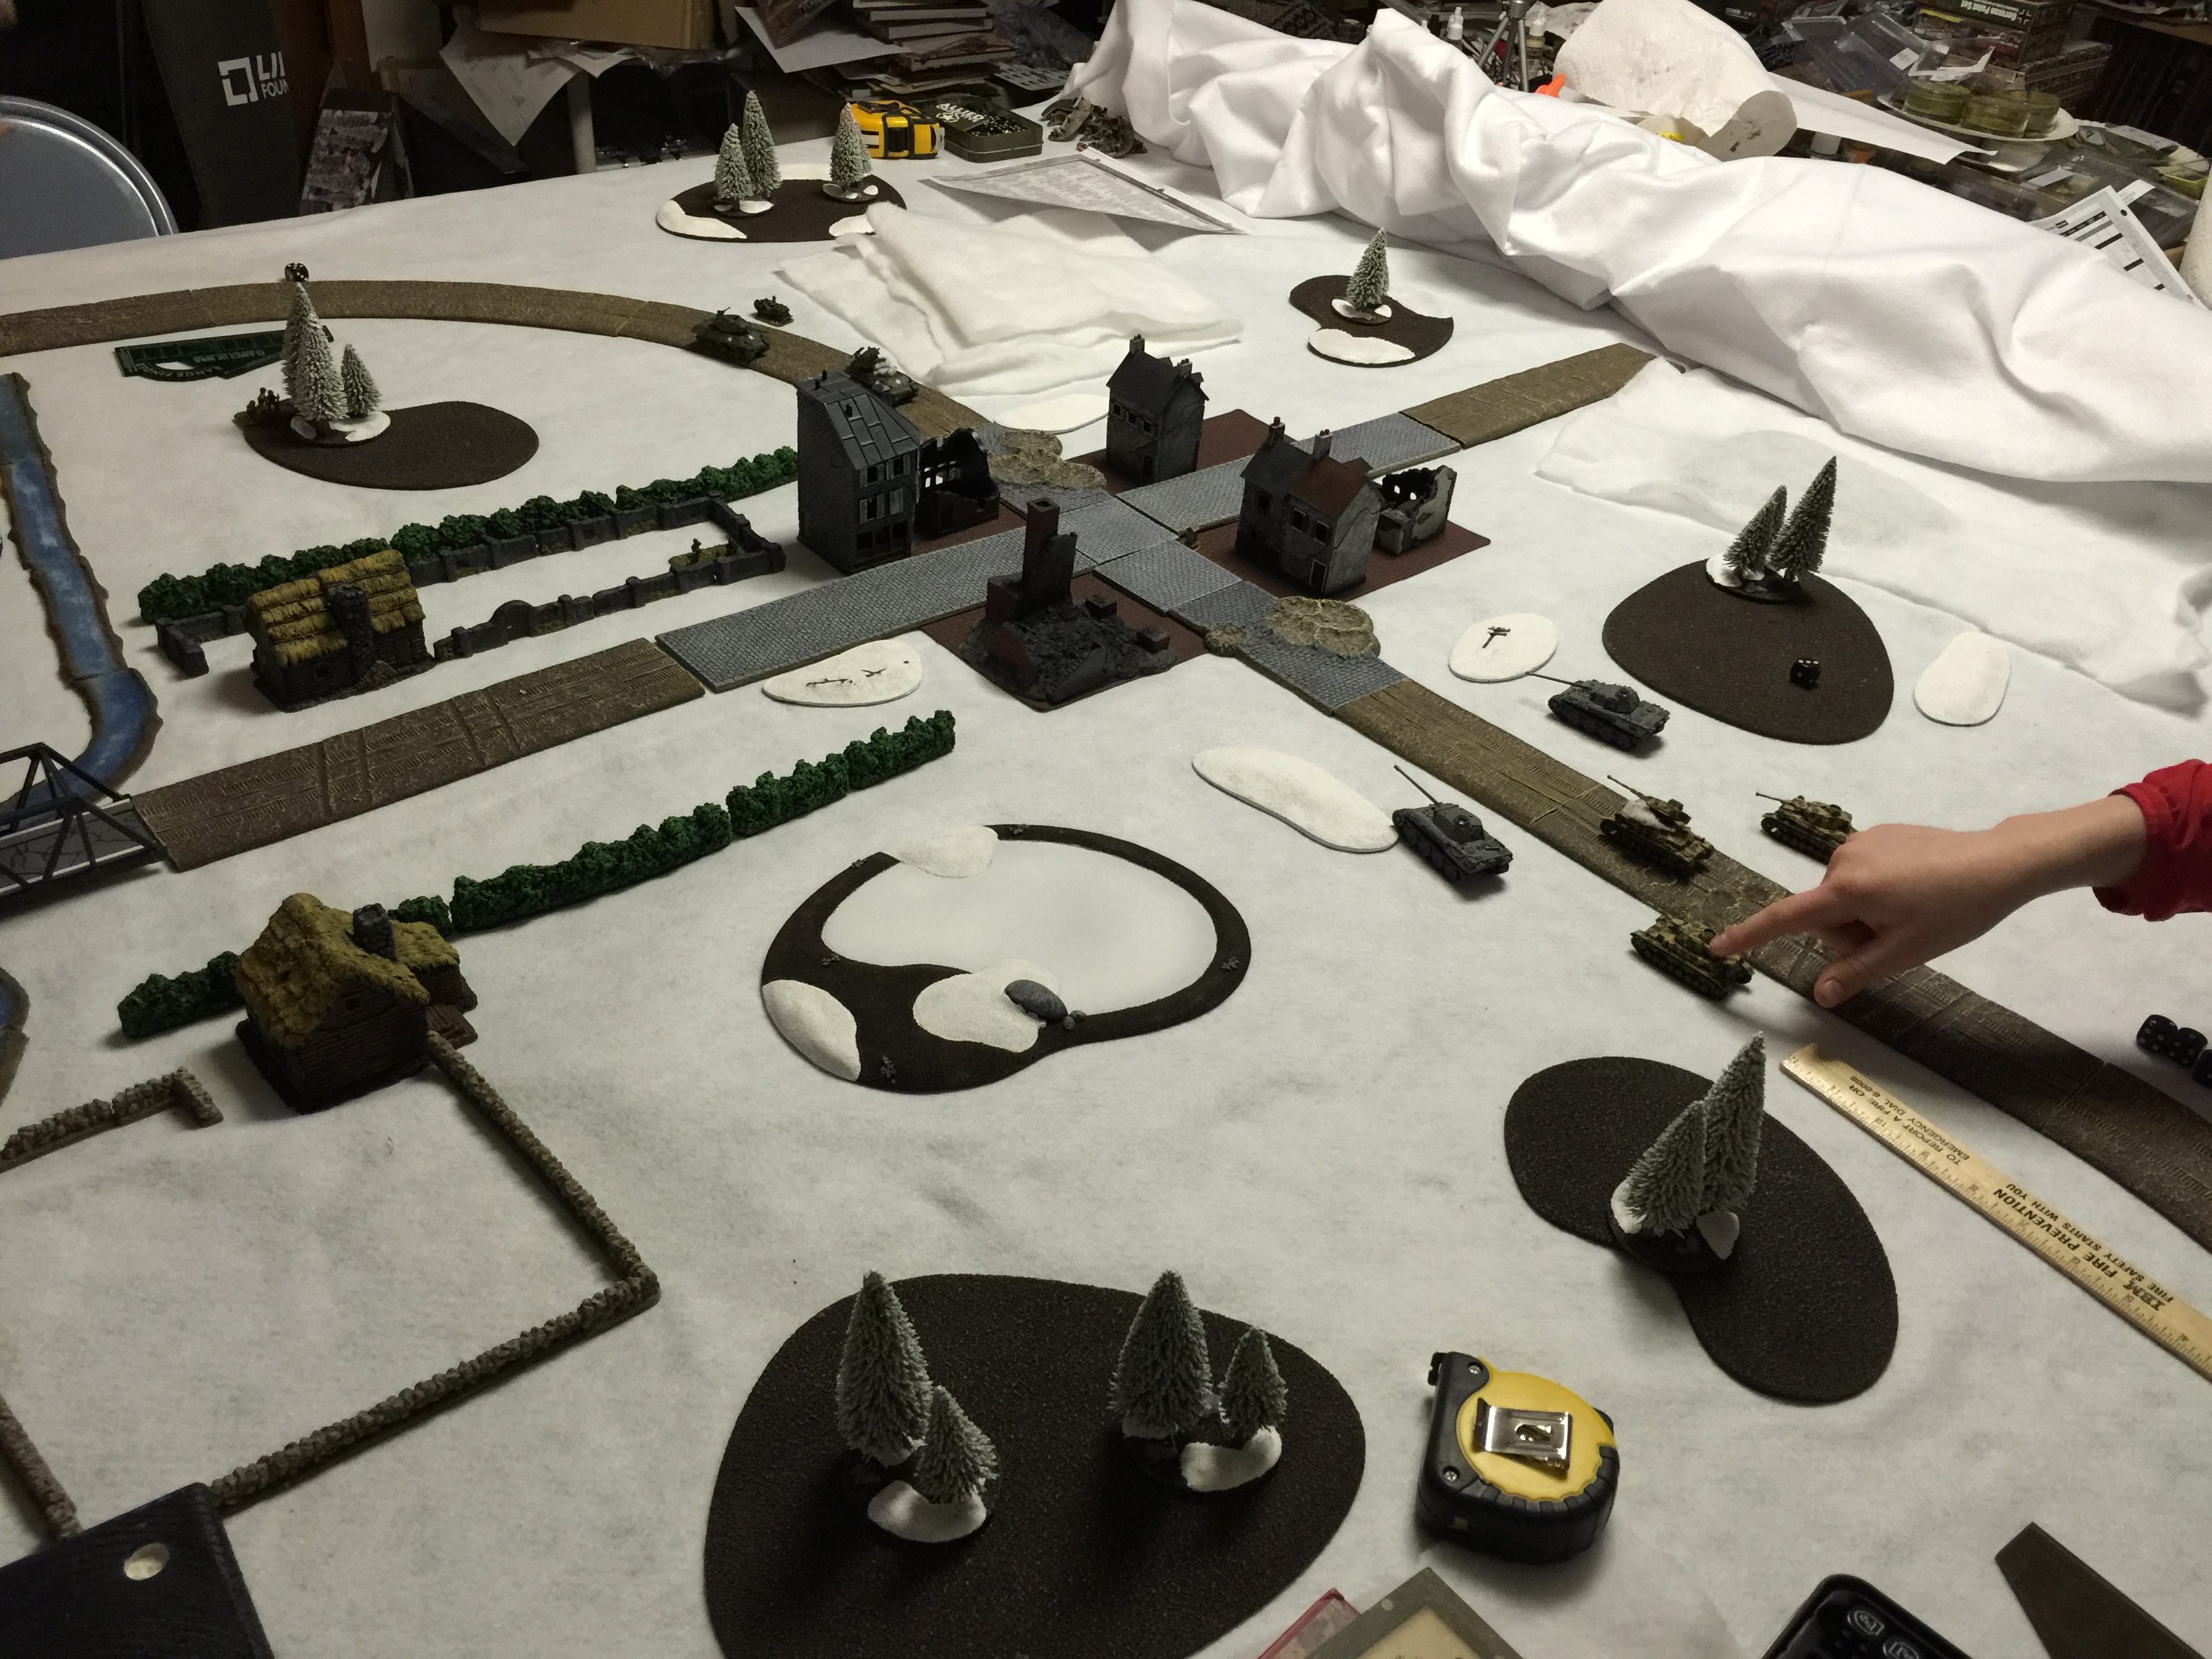
Saturday morning rolls around and I ask them what countries they wanted to be. Ian wanted to be American and Damien wanted to be German, so a ’44 winter battle it would be. Great timing too as recently I’d received some white felt from the Mrs for Christmas.

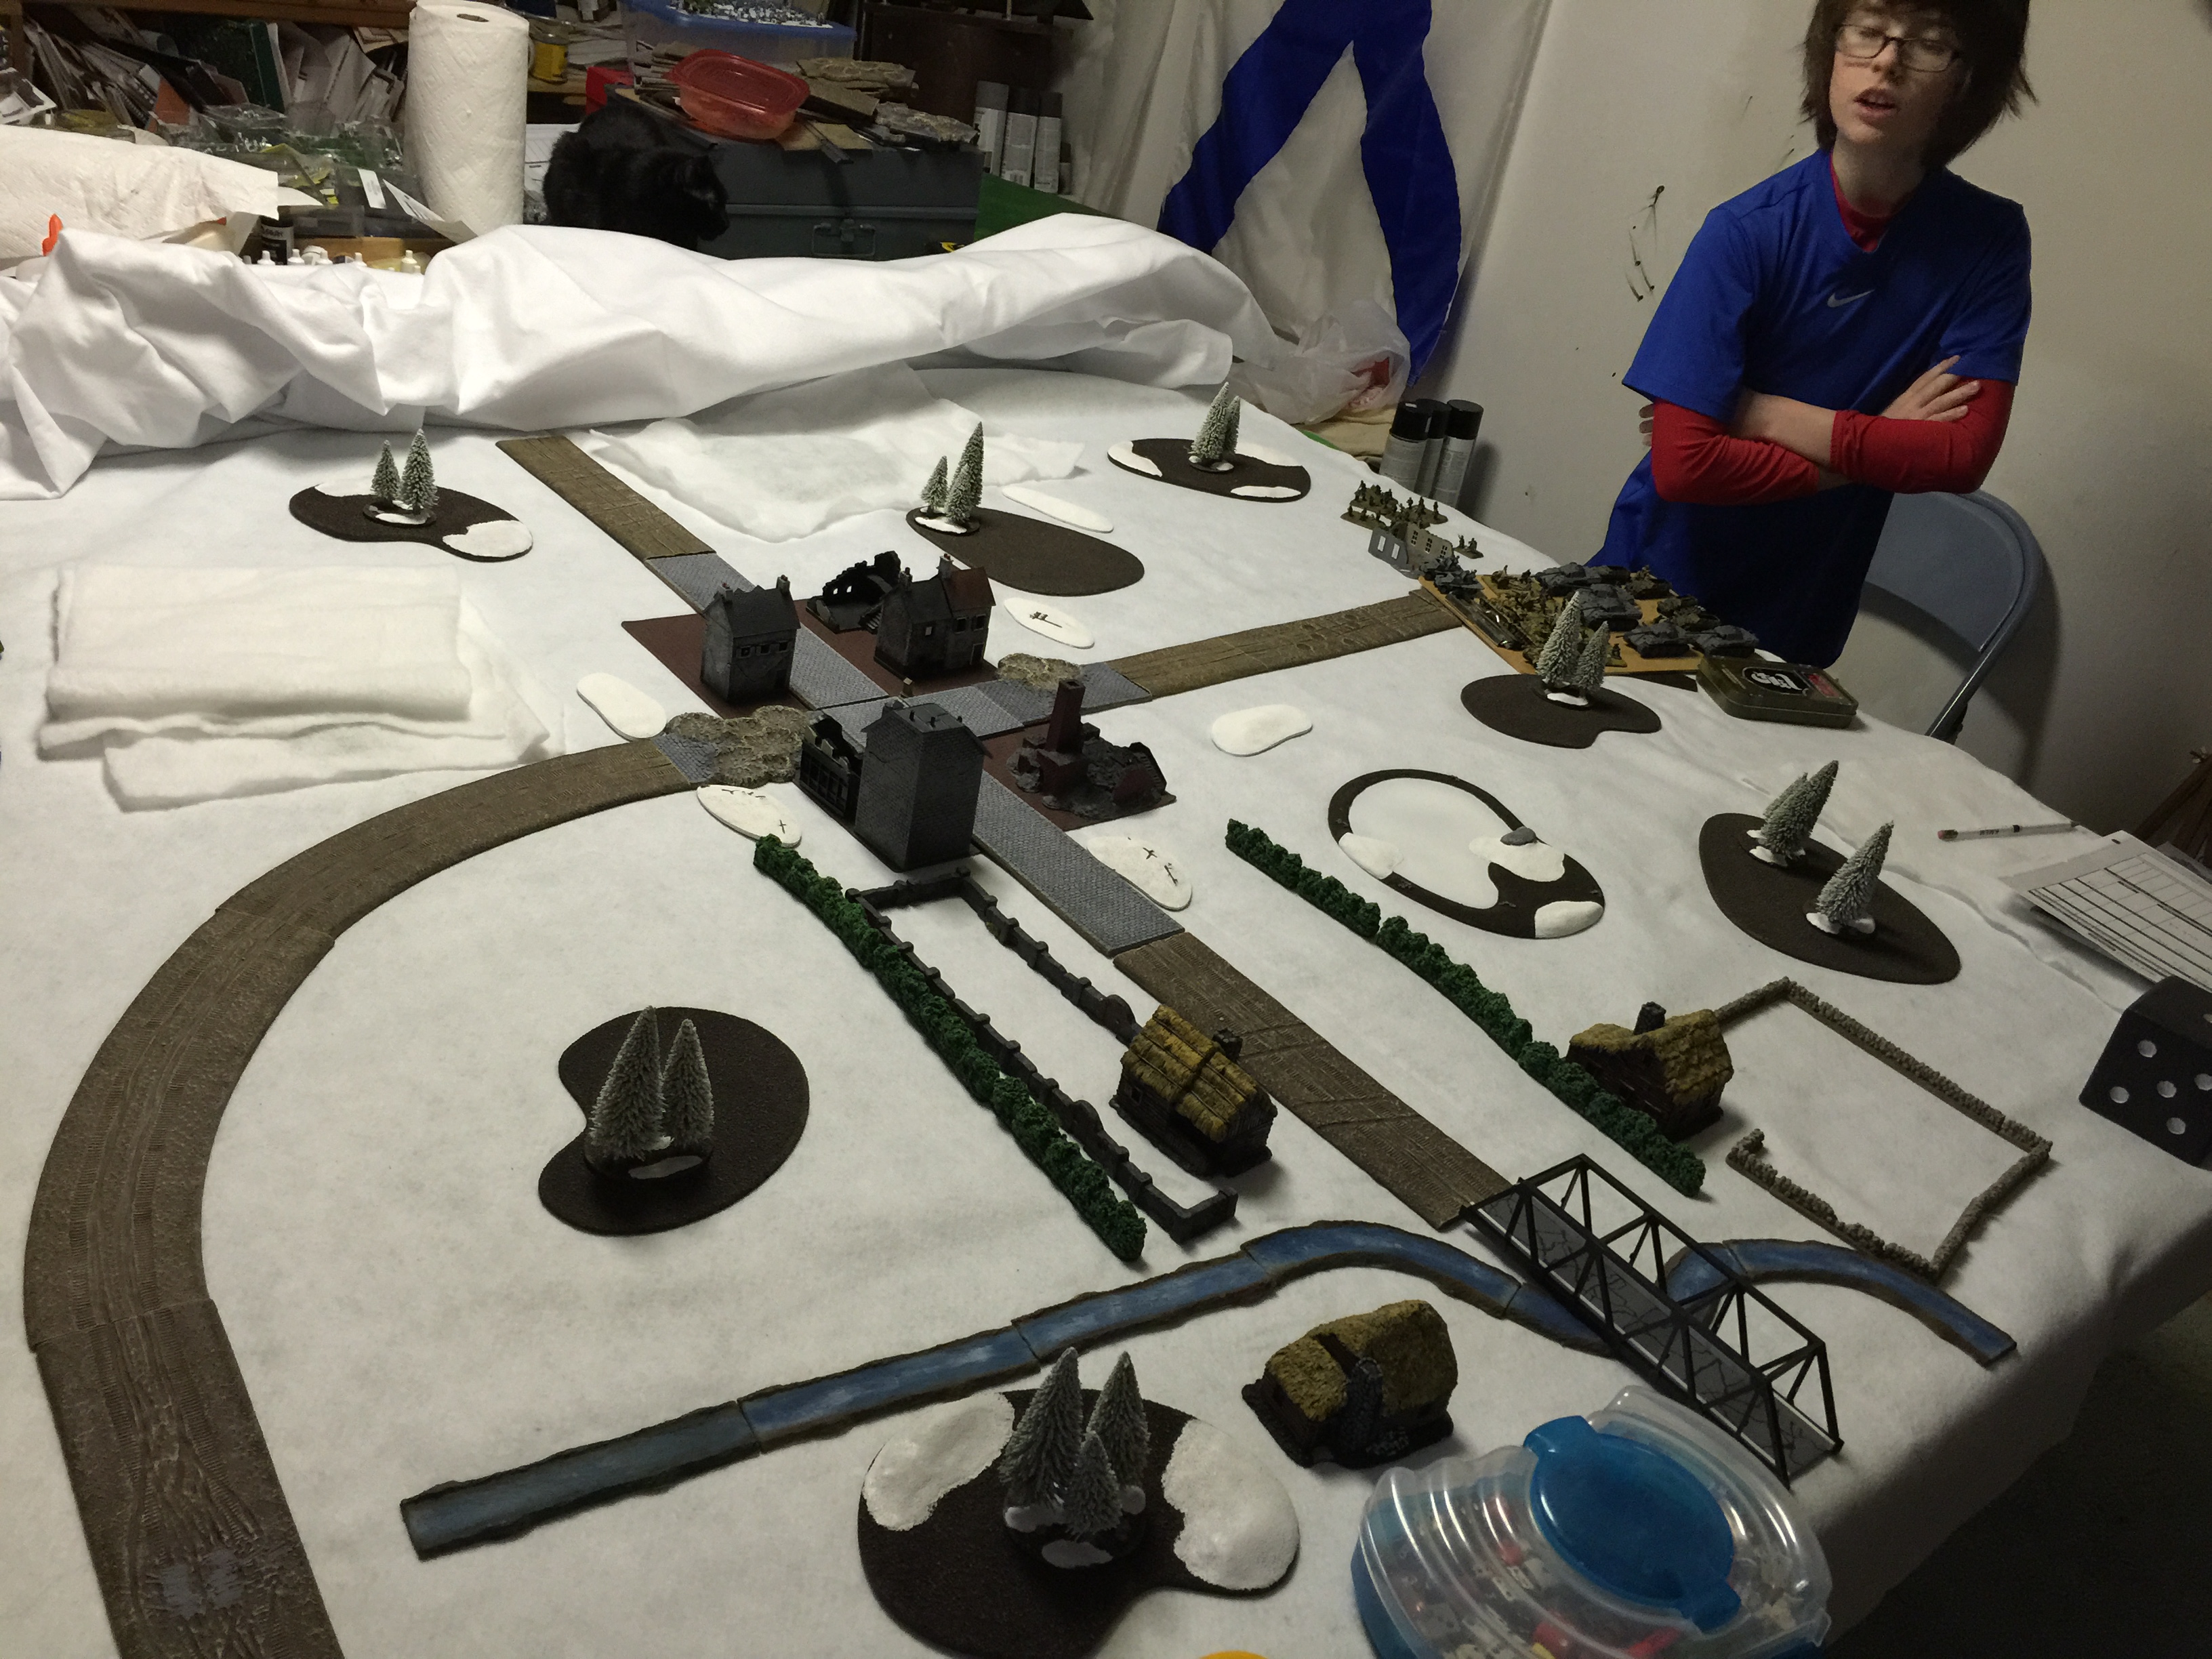
I cleaned off the table rolled out the felt and at which point the boys invaded and helped setup the terrain. I just picked out various pieces and left it entirely up to them to decide where to put it. Ian was keen on who would start on what side. I mentioned to him that would be something he and his friend would dice for so it would be possible he might be coming from a variety of directions.

Given a small stream, a little town, some woods here and there and they were ready to pick out their forces. Ian had played Flames of War before so he was off pulling 1500 points worth while I helped Damien make some choices.

He put together a formation of Panthers & Pz IV with a platoon of Panzer Grenadiers and 4 105s.

Ian picked up two M-18 tank destroyers, a platoon of Shermans, Artillery and some Infantry.

They rolled up a dust up scenario with Ian as the attacker. Damien in one corner and Ian in the other, with Ian going first.

IMG_9172


Then they each had the touch decision of what to start the game with since they would only get half their forces to start with the rest coming on as possible reserves. Damien choose his Pz IVs and his artillery, strongly influenced by Ian who chose his artillery and his tank destroyers. I think Ian thought his tank destroyers will going to instantly take care of anything and by rights they should … but the best laid plans ….

IMG_9173

Ian starts rolling down the road, having a good shot at Damien’s lead Pz IV. Quick shot, scores a hit and boom, one less tank for Damien.

IMG_9174

Not to be deterred Damien moves up and fires back, knocking out one of the tank destroyers. having company command in Panthers sure helped.

Turn 2, Ian moves up and through the town with his remaining tank destroyer but misses. Retreat? No!


IMG_9175


Damien goes, pressing forward. He fires and knocks out the last tank destroyer.

Turn 3, Ian rolls for reinforcements, alas, no one coming. Down to just his artillery he tries to call down on the Germans tanks but is unsuccessful.

IMG_9176


Damien rolls down his left flank getting closer to the objective. O the shame, playing with unpainted and still not quite assembled Panthers. Ian and Damien totally didn’t mind they were having fun. That’s what counts.

Turn 4, Ian again rolls for reinforcements…. hello? hello? Hey Mack! Anyone there? Again Ian tries to rain down artillery but with no results.

Damien now moves up onto the objective. he successfully gets this Panther platoon and they start to move up just in case there are Americans to deal with.

IMG_9177


Turn 5, Ian again rolls for reinforcements, and again no 5s or 6s are rolled and thus his artillery is all by itself. It’s game since he can’t force the Germans off the objective.

The boys both had fun and that’s what counts.

Posted in FlamesOfWar | Comments Off on FoW: Americans vs Germans – Dust up