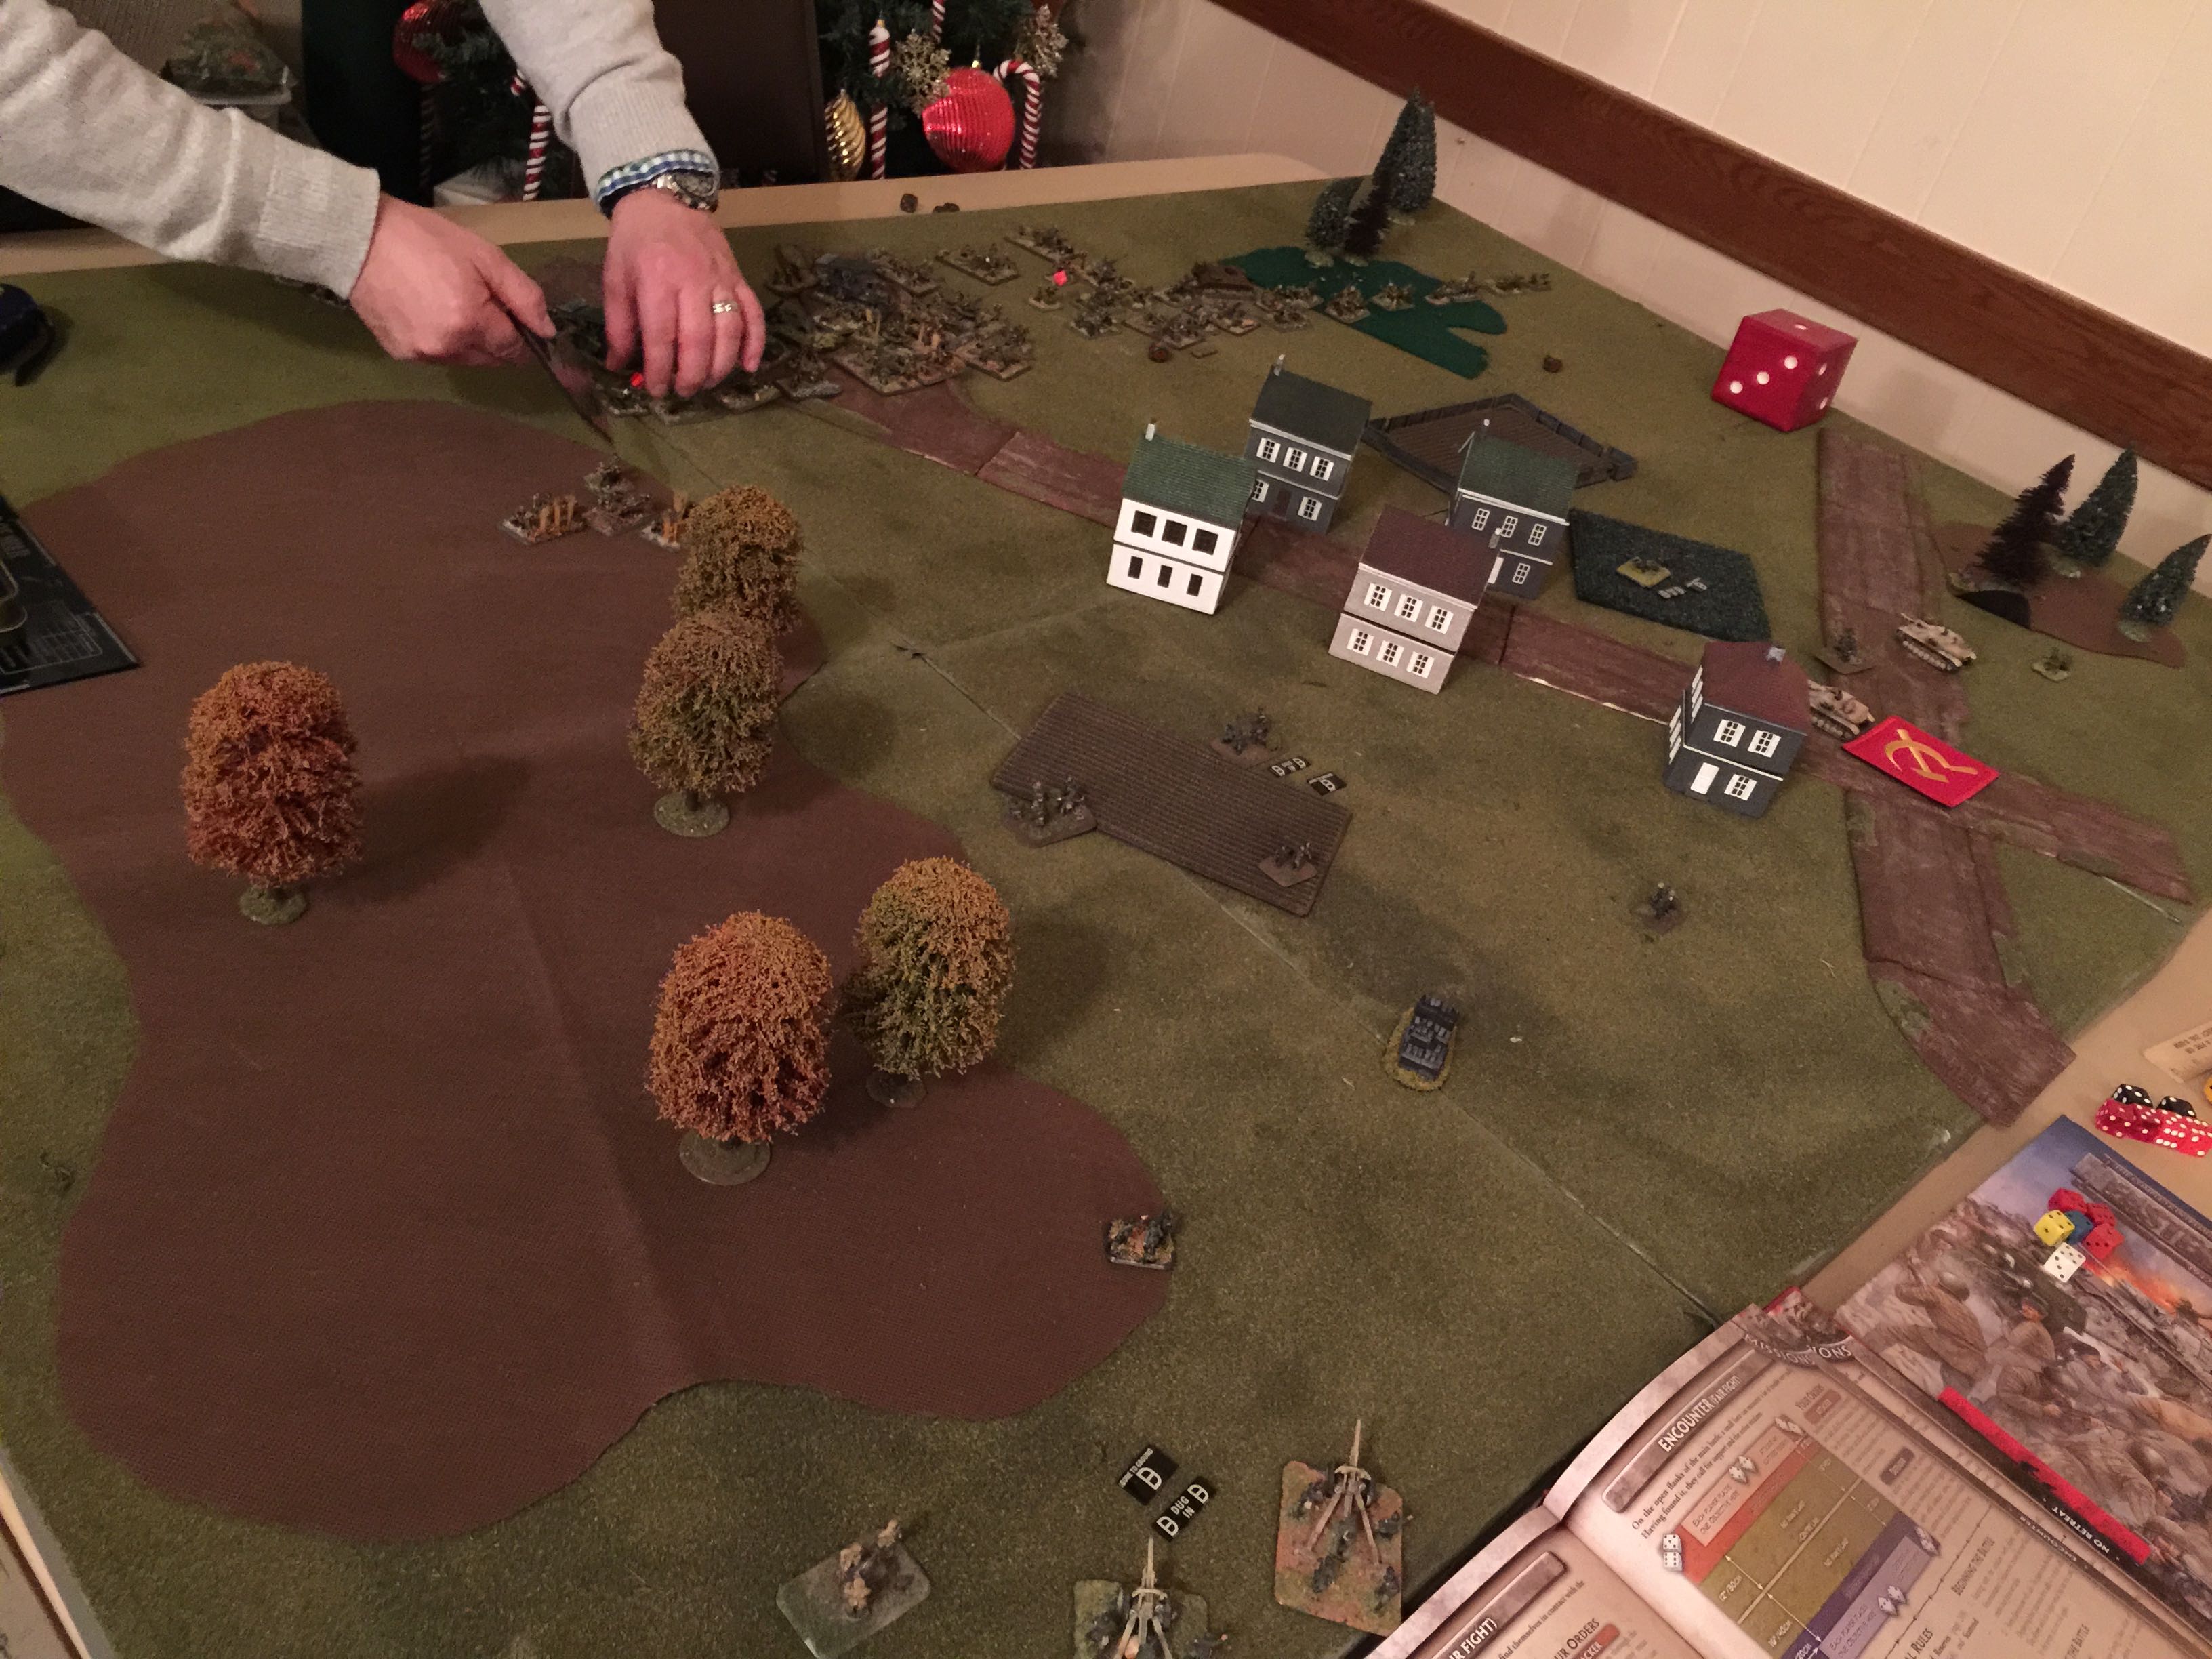
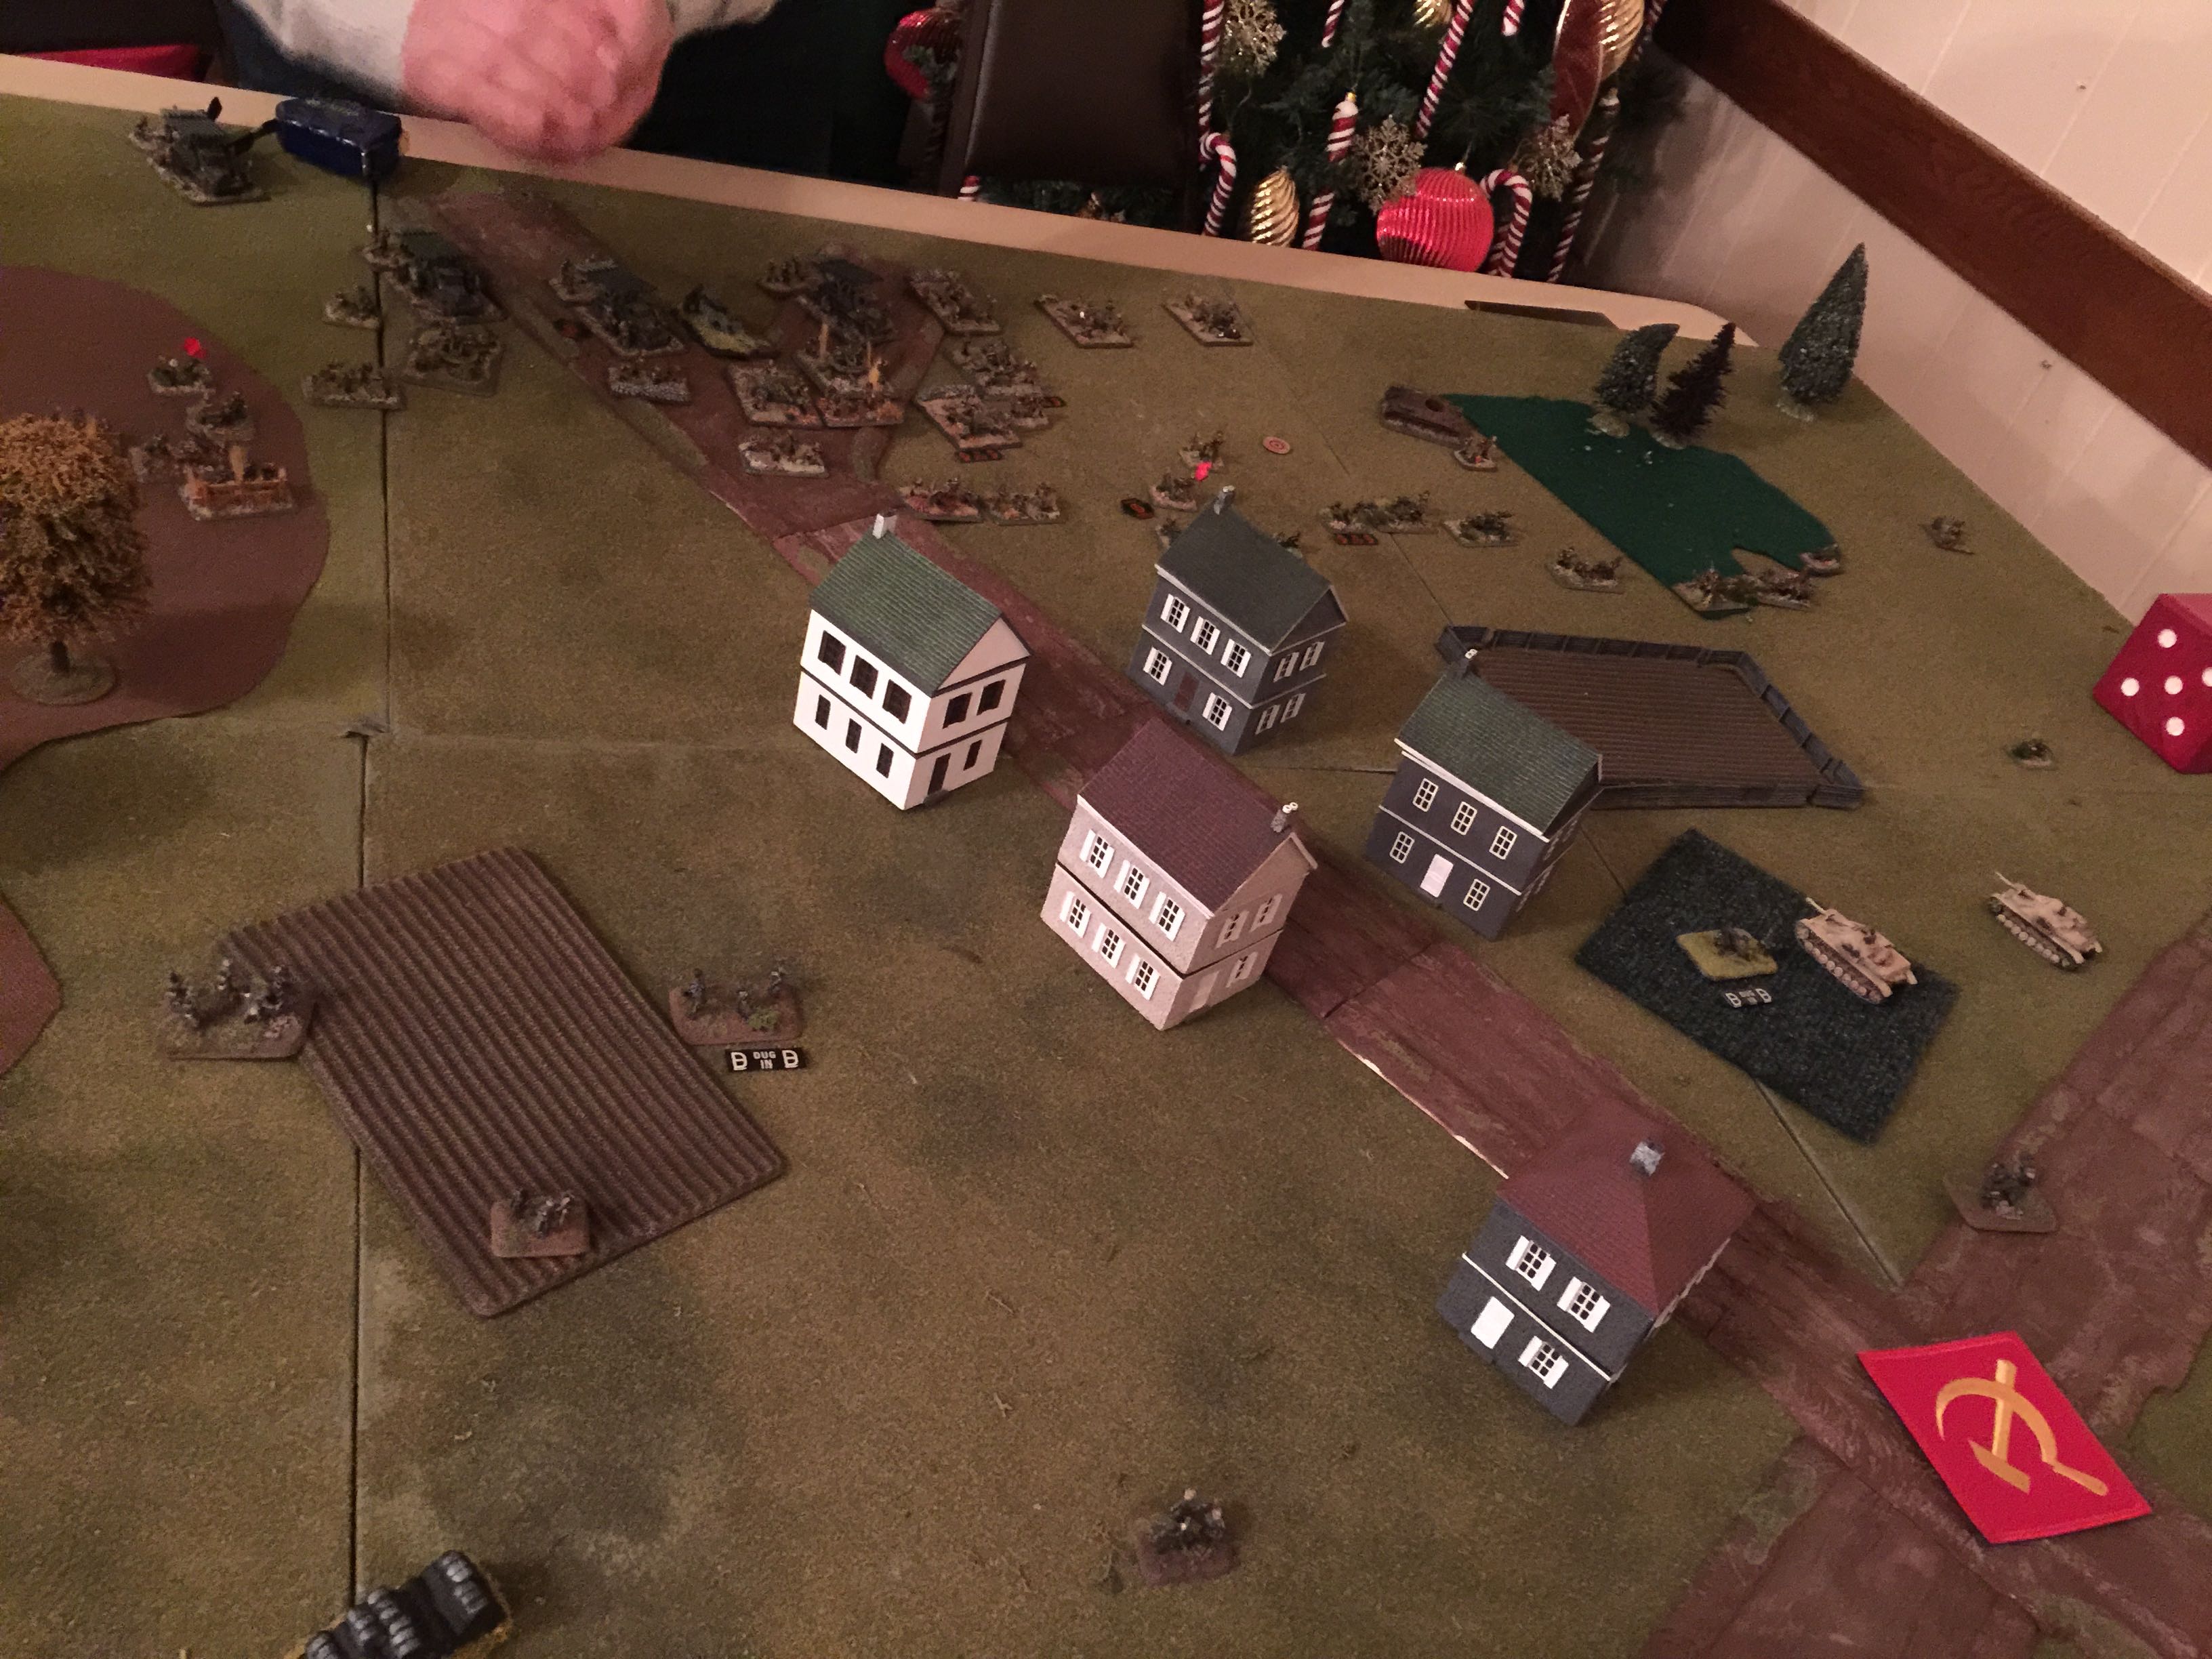
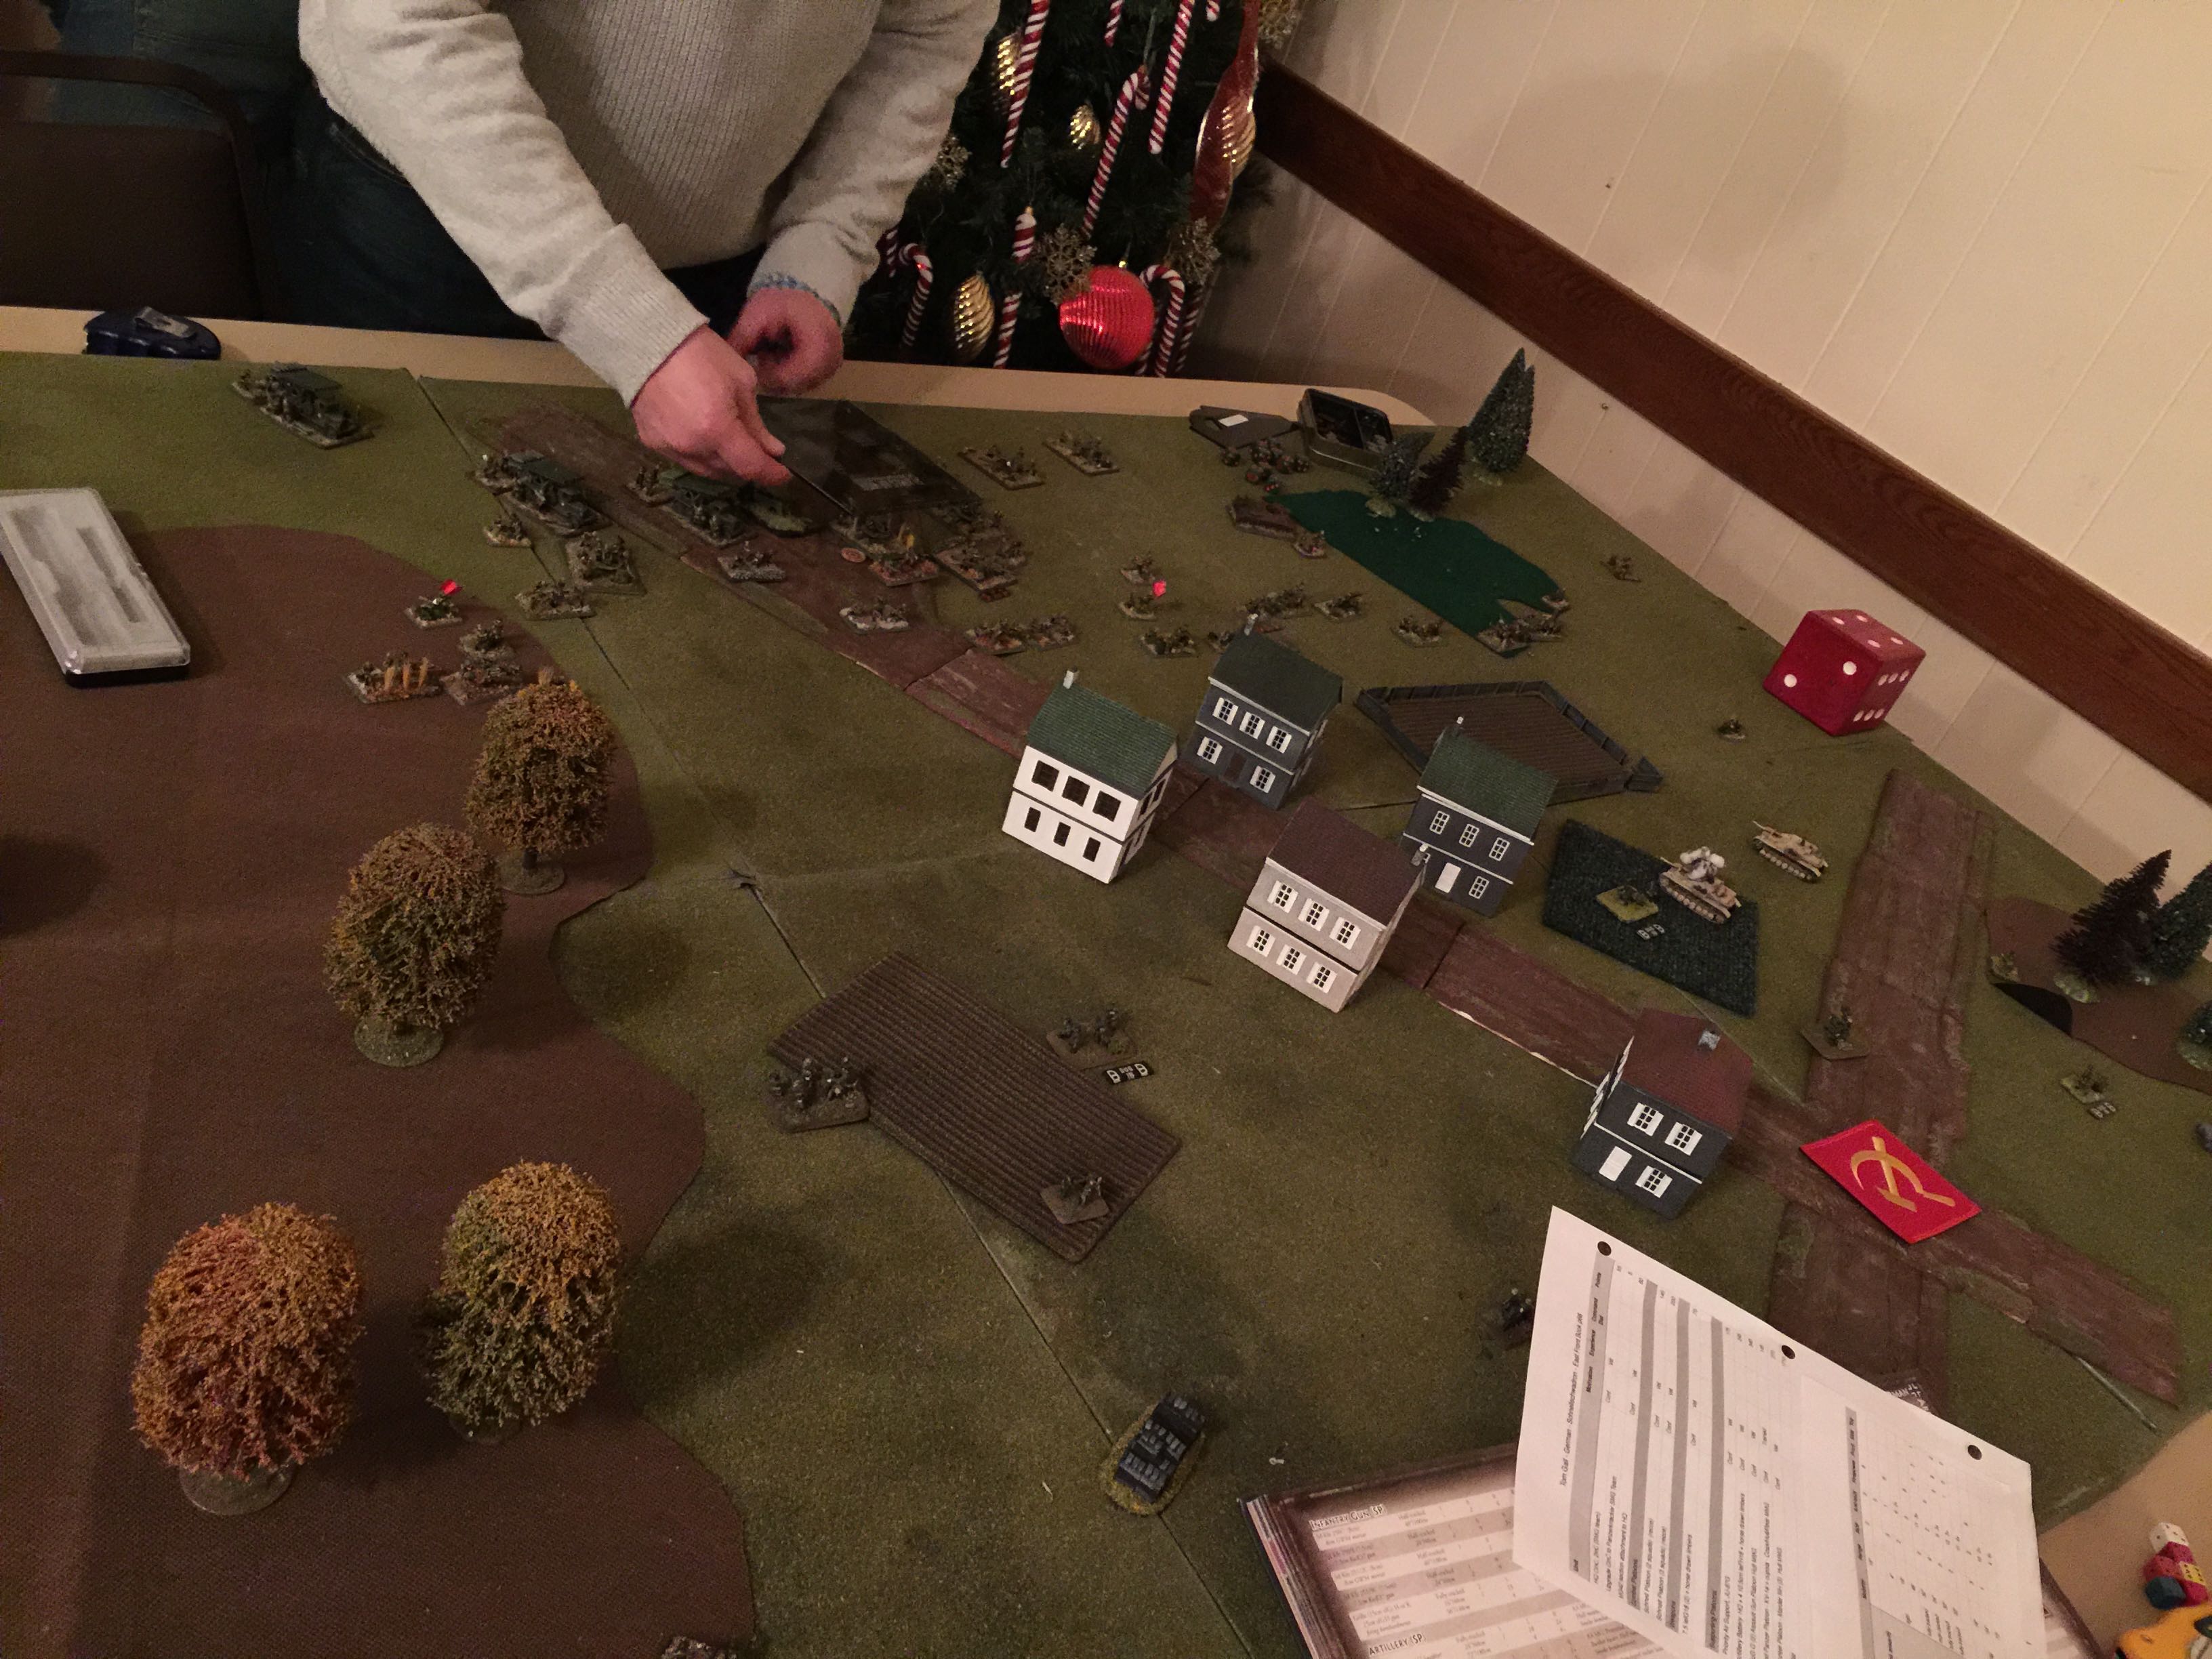
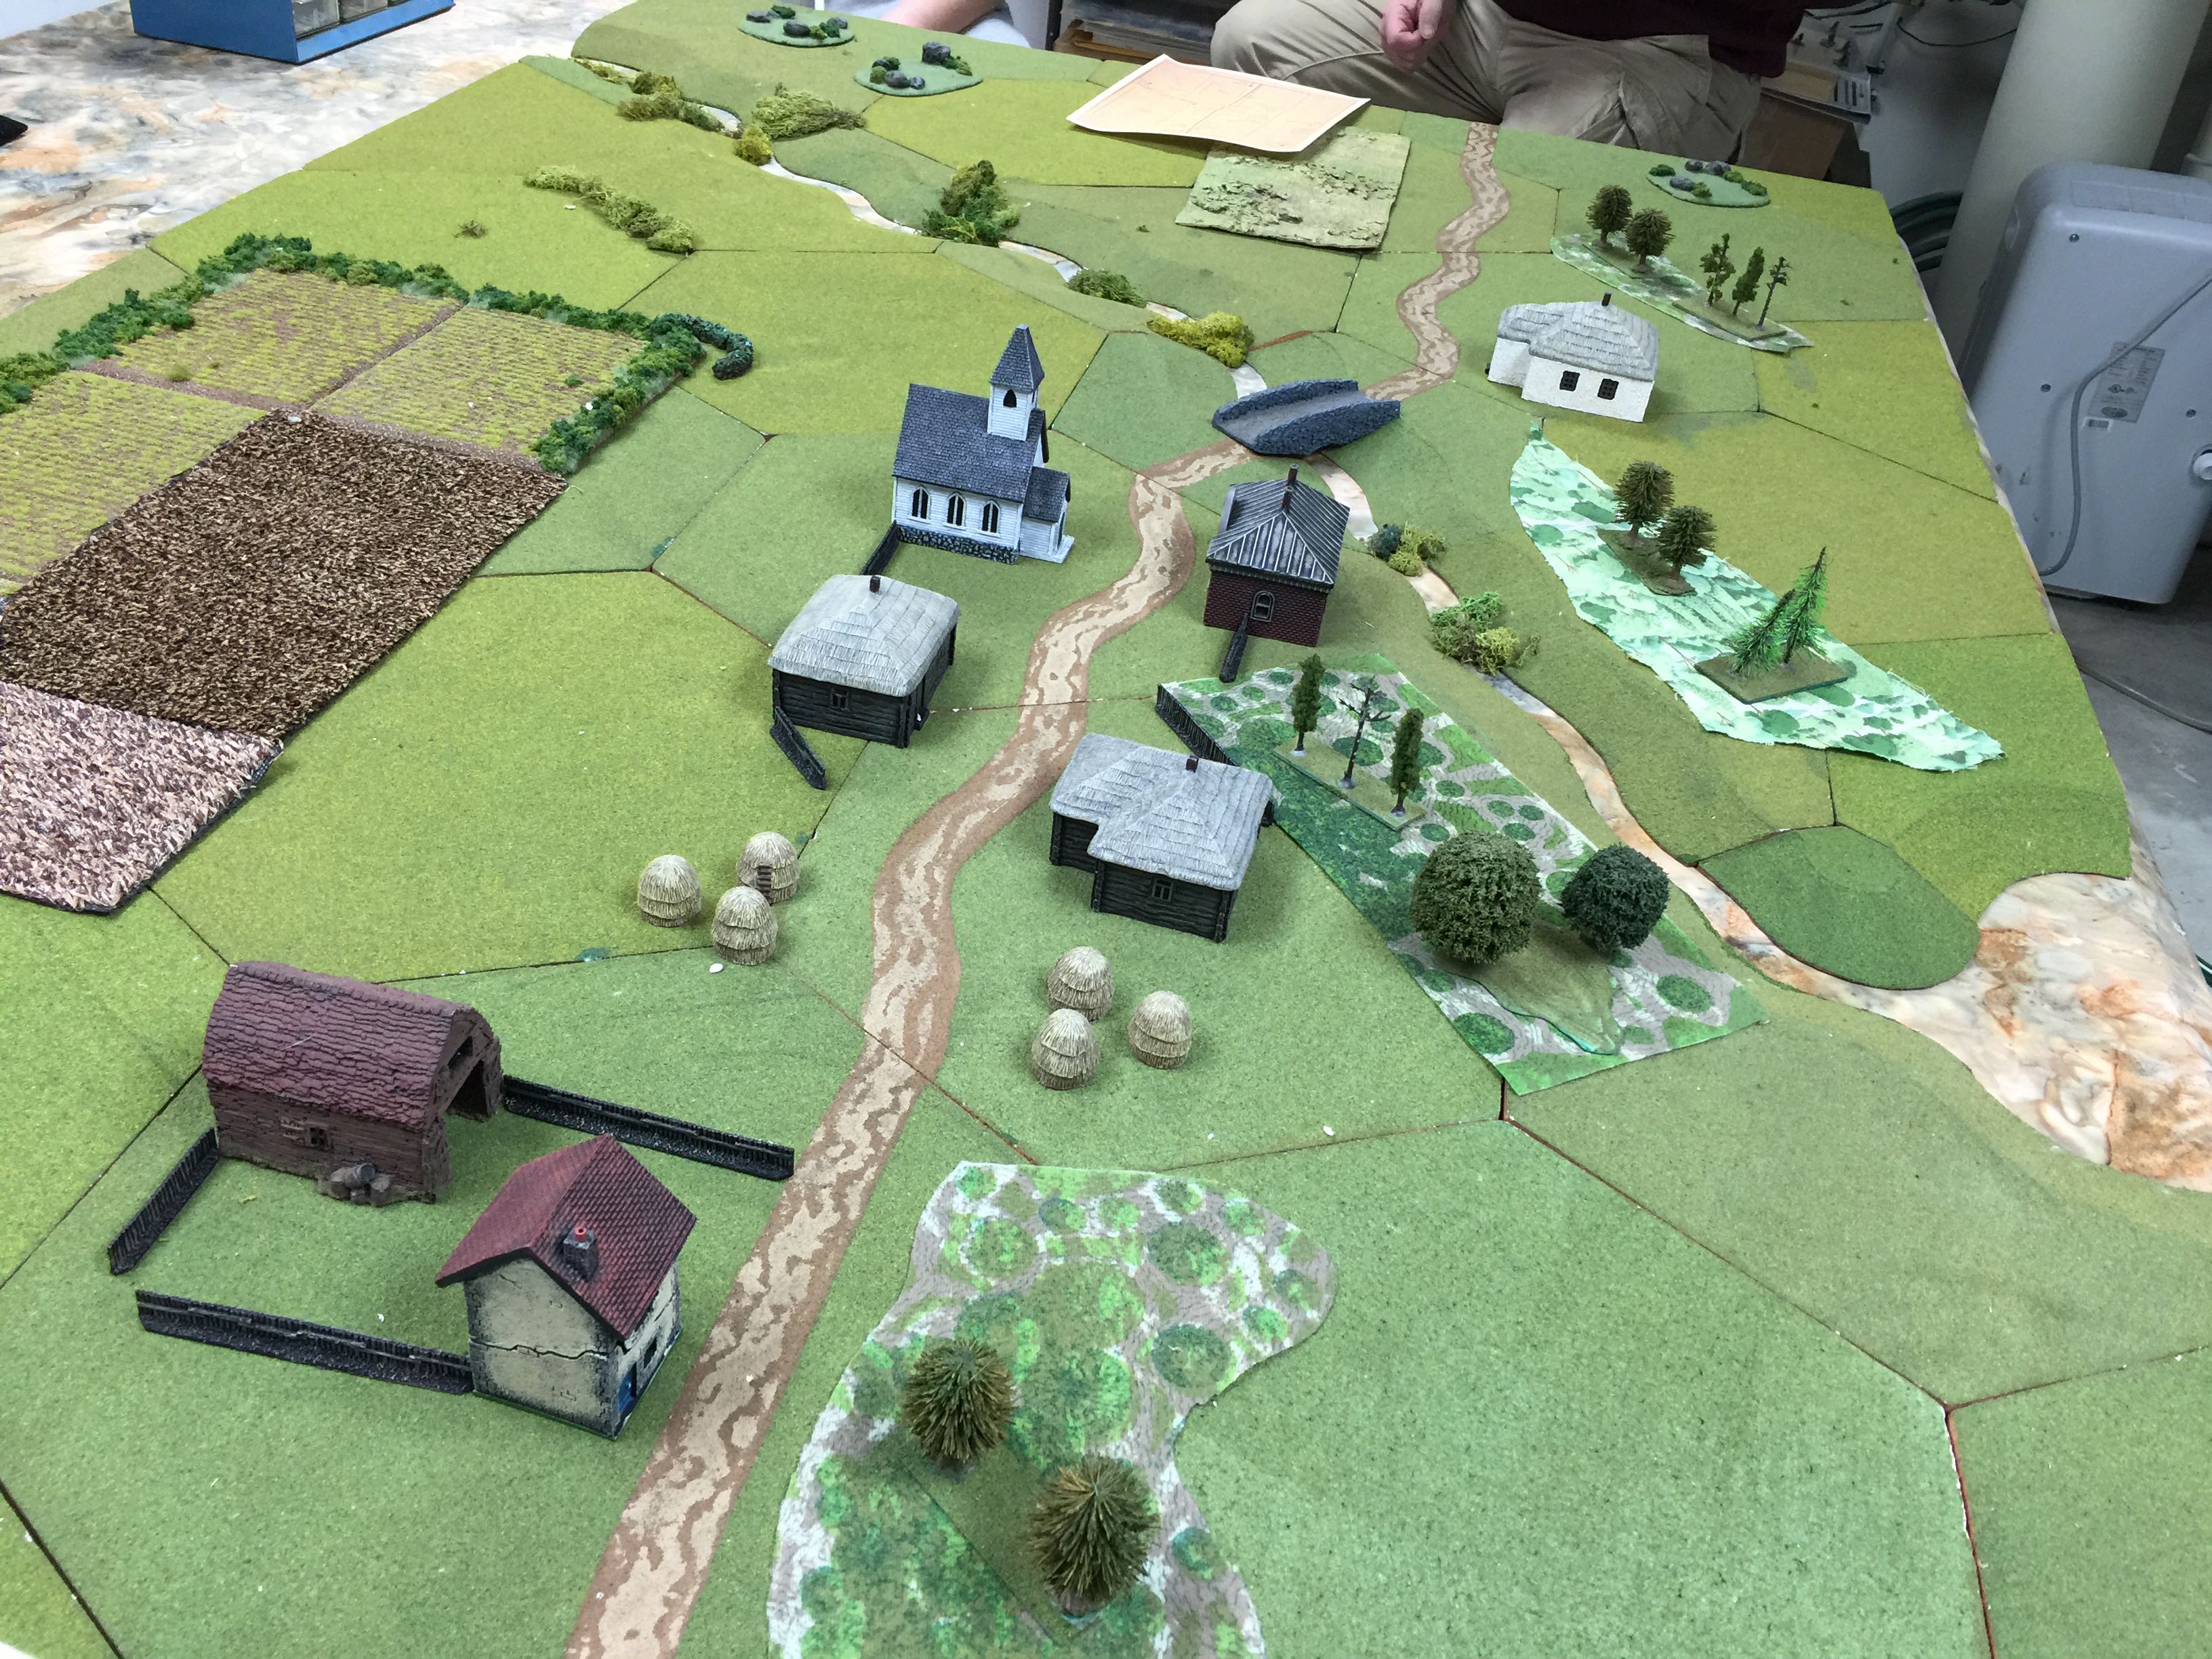
Naval Thunder: French vs Italians

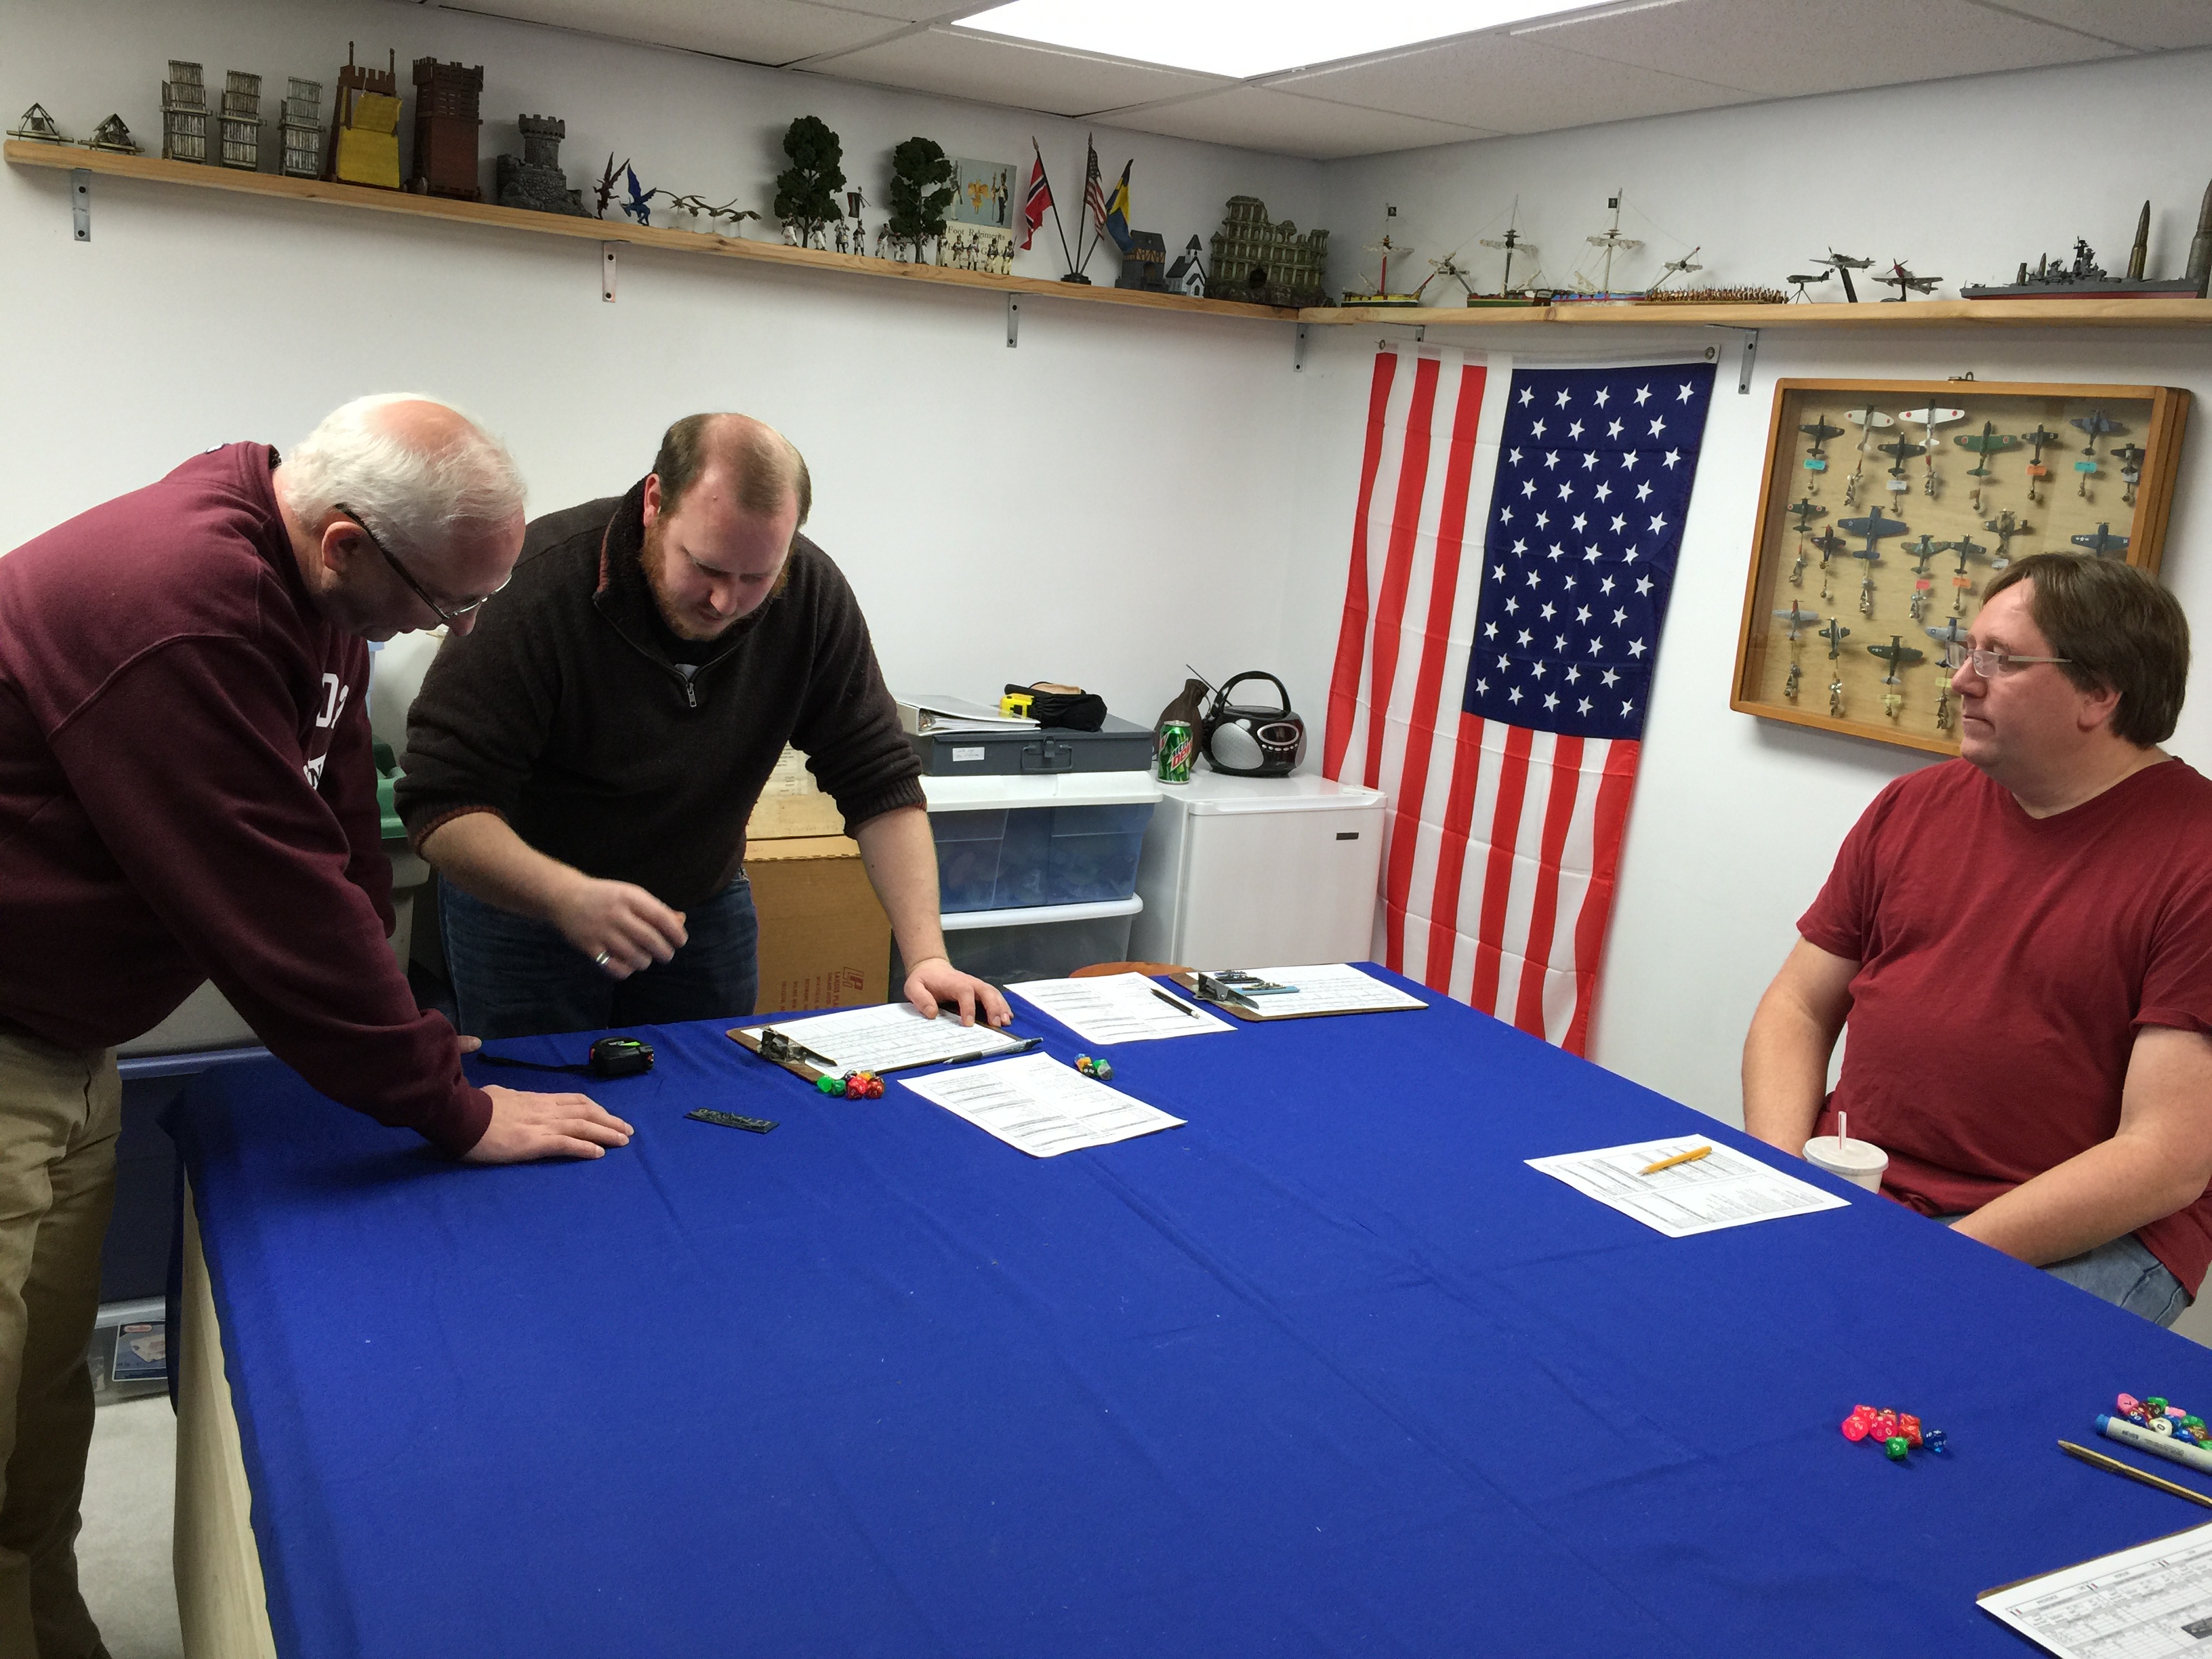
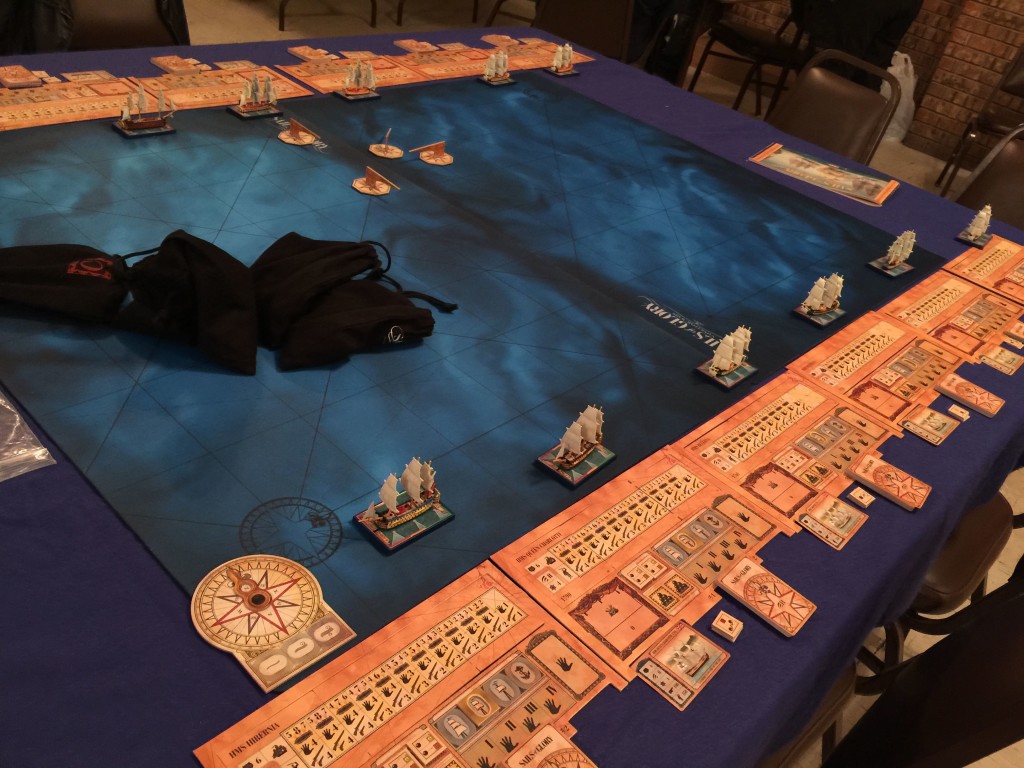
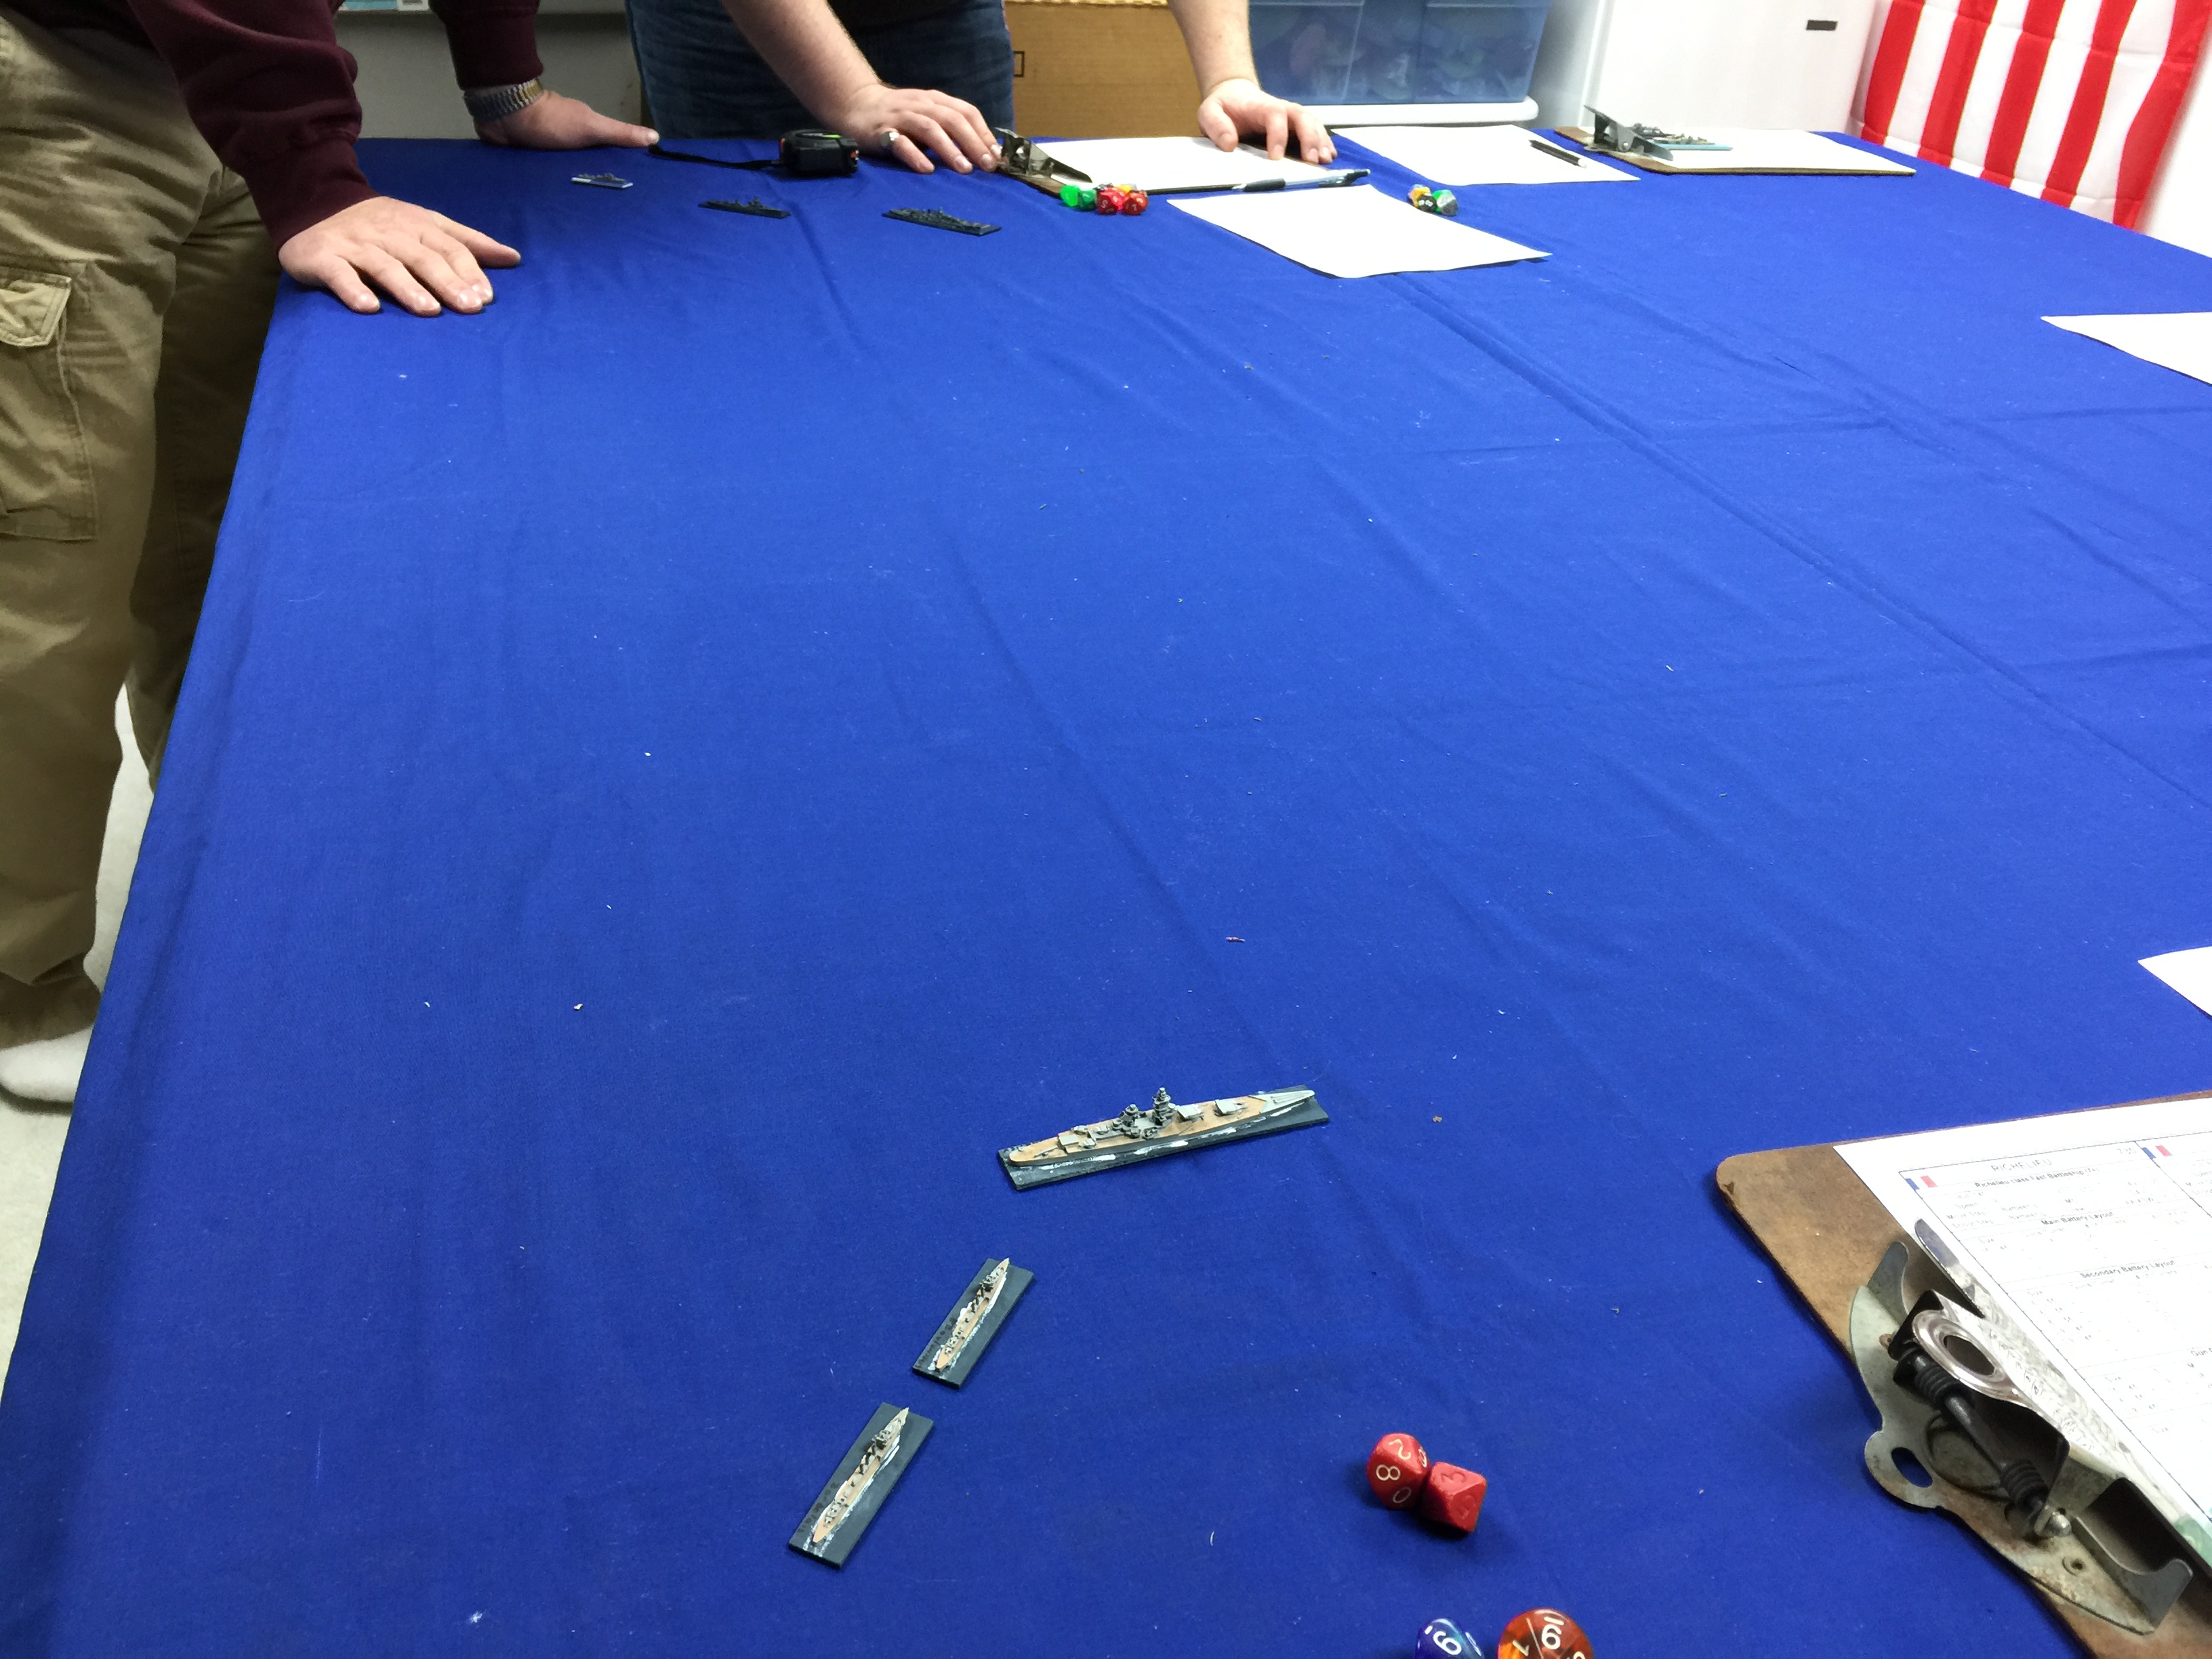
The game this week was at Eric’s with Chuck planning and refereeing the game. We played Naval Thunder by SD Games. In our case Chuck put together a WWII scenario that pit the French vs the Italians.  What if both happened to be out in the Med for their own reasons and happened to bump into each other?

Being the last one to arrive I was told I was French with Aaron. We rolled off to see who would get what. The “prize” being the Richelieu with gobs of hull boxes but a green crew. I ended up with the high die and taking her and two destroyers. Aaron ended up with two destroyers and a WWI era Battleship that from the pictures I can’t make out the name and I didn’t write it down. (alas)!

Our Italian friends had two battlewagons of their own, two light cruisers and then two destroyers. T’was hard not to feel outgunned!

IMG_9165


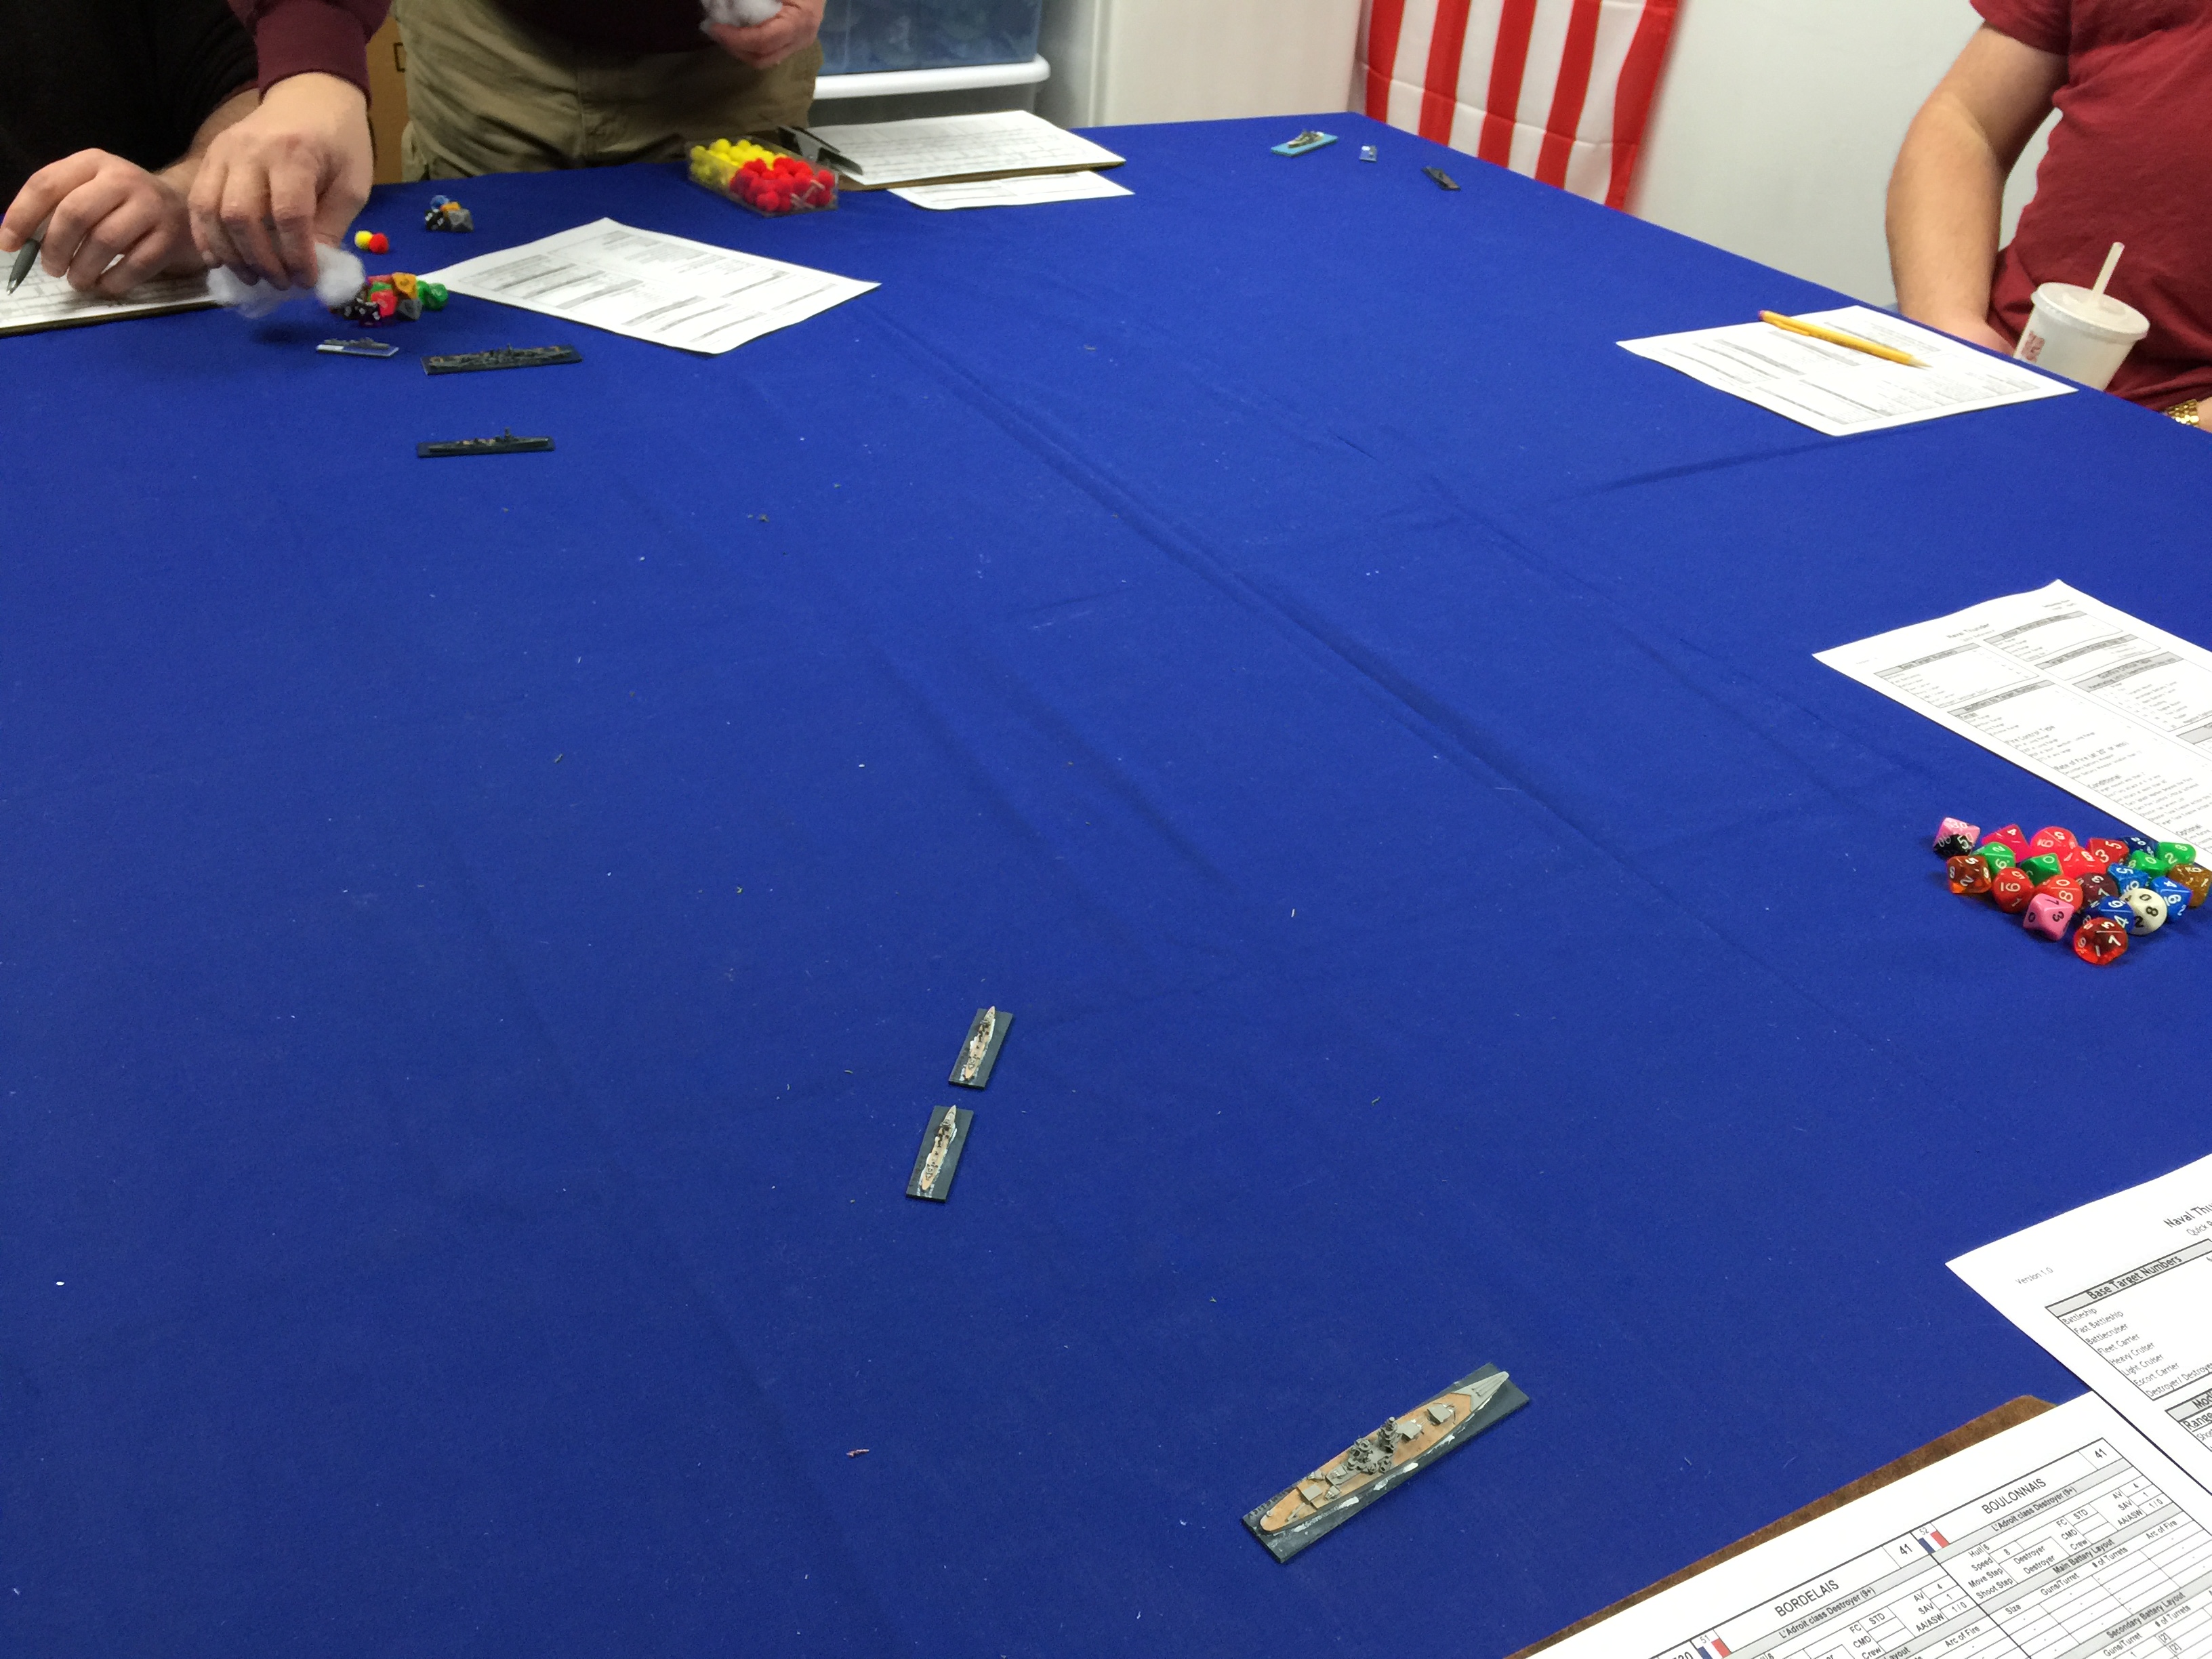
Aaron’s squadron and one of the Italian squadron’s had a variable entry so it was just Luke and I facing off for the first couple of turns. We opened up at very long range immediately with the battlewagons. As we both were adding to our potential to hit due to poor crews I didn’t feel too bad. We both had amazingly bad rolling the first few turns and didn’t land a single shell.

IMG_9166

A good shot of Eric’s new man-cave by the way. Everyone should have one. If not two.

IMG_9167

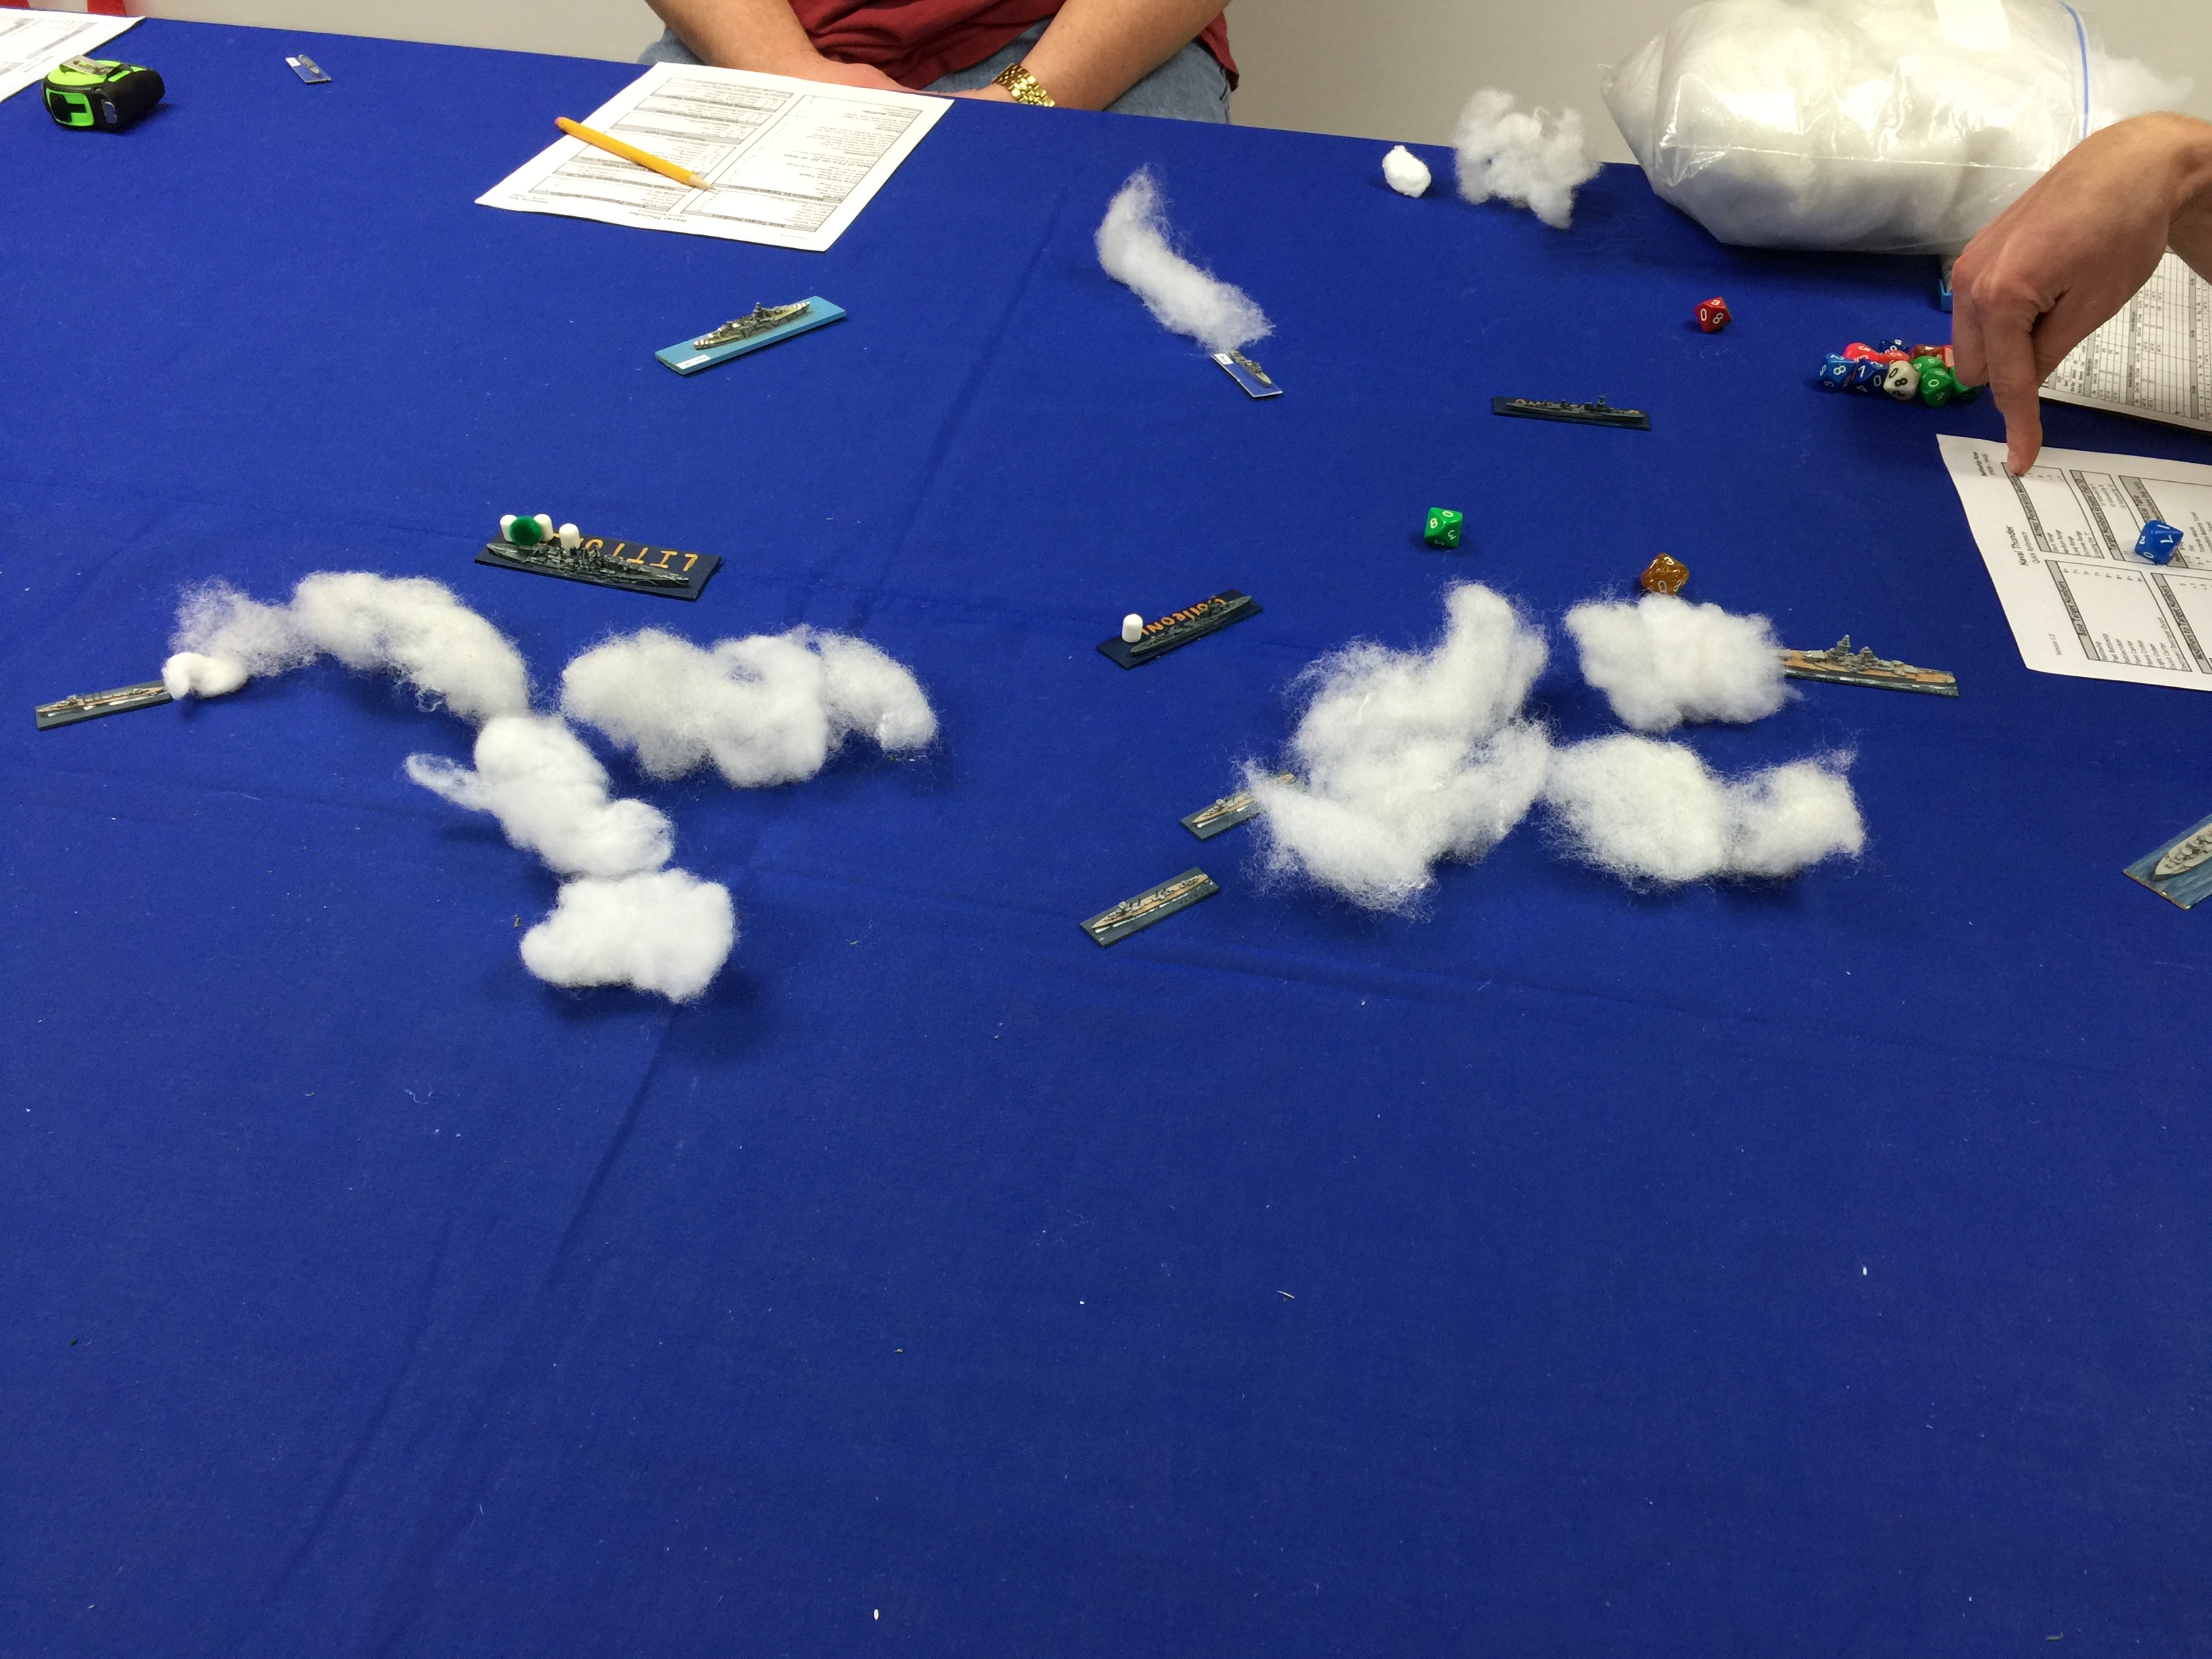
At this point turned over to starboard with the intent of picking a decent range band and then sent in the destroyers to make a torpedo run and to start to lay smoke. I theorized if I could obscure things just right I could have a 1 on 1 fight with the battle wagon or the cruiser and hopefully take one on at a time. Ideally I’d get a few shells into the light cruiser, disable it and then concentrate on the Litorio the battlewagon I was facing.

Aaron entered and so did Eric on exactly the same turn. This complicated maters as I really needed and wanted to adjust course so that Aaron and I could form a line. Thus if any Italian destroyers came our way we could concentrate fire.

The Litorio’s shooting continued to be poor but it was better than mine as they started to land a single shell a turn or so.

IMG_9168

The plan started to come together but still my shells continued to not find their mark.

IMG_9169


Aaron’s destroyers flew past by bow and about to make another smokescreen for the Richelieu to partially mask out the Italians.

Around here I took a nasty crit and lost one of my main forward turrets. Those that know the Richelieu will remember she has two main forward turrets with 4 guns each. The loss of the turret dropped my main firepower by half.

You can see my destroyers streaming ahead and just about to lay their torpedoes. It was about at this point where I lost one of my destroyers to heavy fire from the Italians.

IMG_9170

Stay on target… stay on target ….  my lone destroyer dropped all her fish in on the water aimed at the Litorio and managed 2 hits, pretty good shooting. With the damage she started taking on water. With Naval Thunder it’s the rolls to contain flooding that essentially decide the fate of a ship. Battlewagons have time and hull boxes to deal, so they can miss some rolls and still make it back. Everything else, not so much….

IMG_9171

Last turn before the French squadrons decided it was time to break away and make for home. The Litorio was still taking on water but the damage to Richelieu was starting to seriously add up. We lost a destroyer but sunk a light cruiser. The Litorio still have plenty of damage it could take but over all didn’t seem like it’d have any problems making it to port. Both Eric’s and Aaron’s battlewagons were undamaged.

A fun time had by all.

Posted in NavalThunder | 1 Comment

TundraCon-15

Jan 10th was TundraCon up in Appleton WI. Chuck and I made the trip up on Friday thinking we’d be facing iffy roads a good portion of the way given all the joys of winter we’ve been experiencing over the past week but thankfully no, it was a pleasant (and long) drive. ~5 hours for me, was it worth it? Heck ya!

It was a good collection of games from Flames of War, Bolt Action, Johnny Reb, John Bull Wings of War, and a number of others that I didn’t catch. In my case I went up to take part in my very first Flames of War tournament. I completely expected not win a single game but there were lots of surprises…
IMG_9099

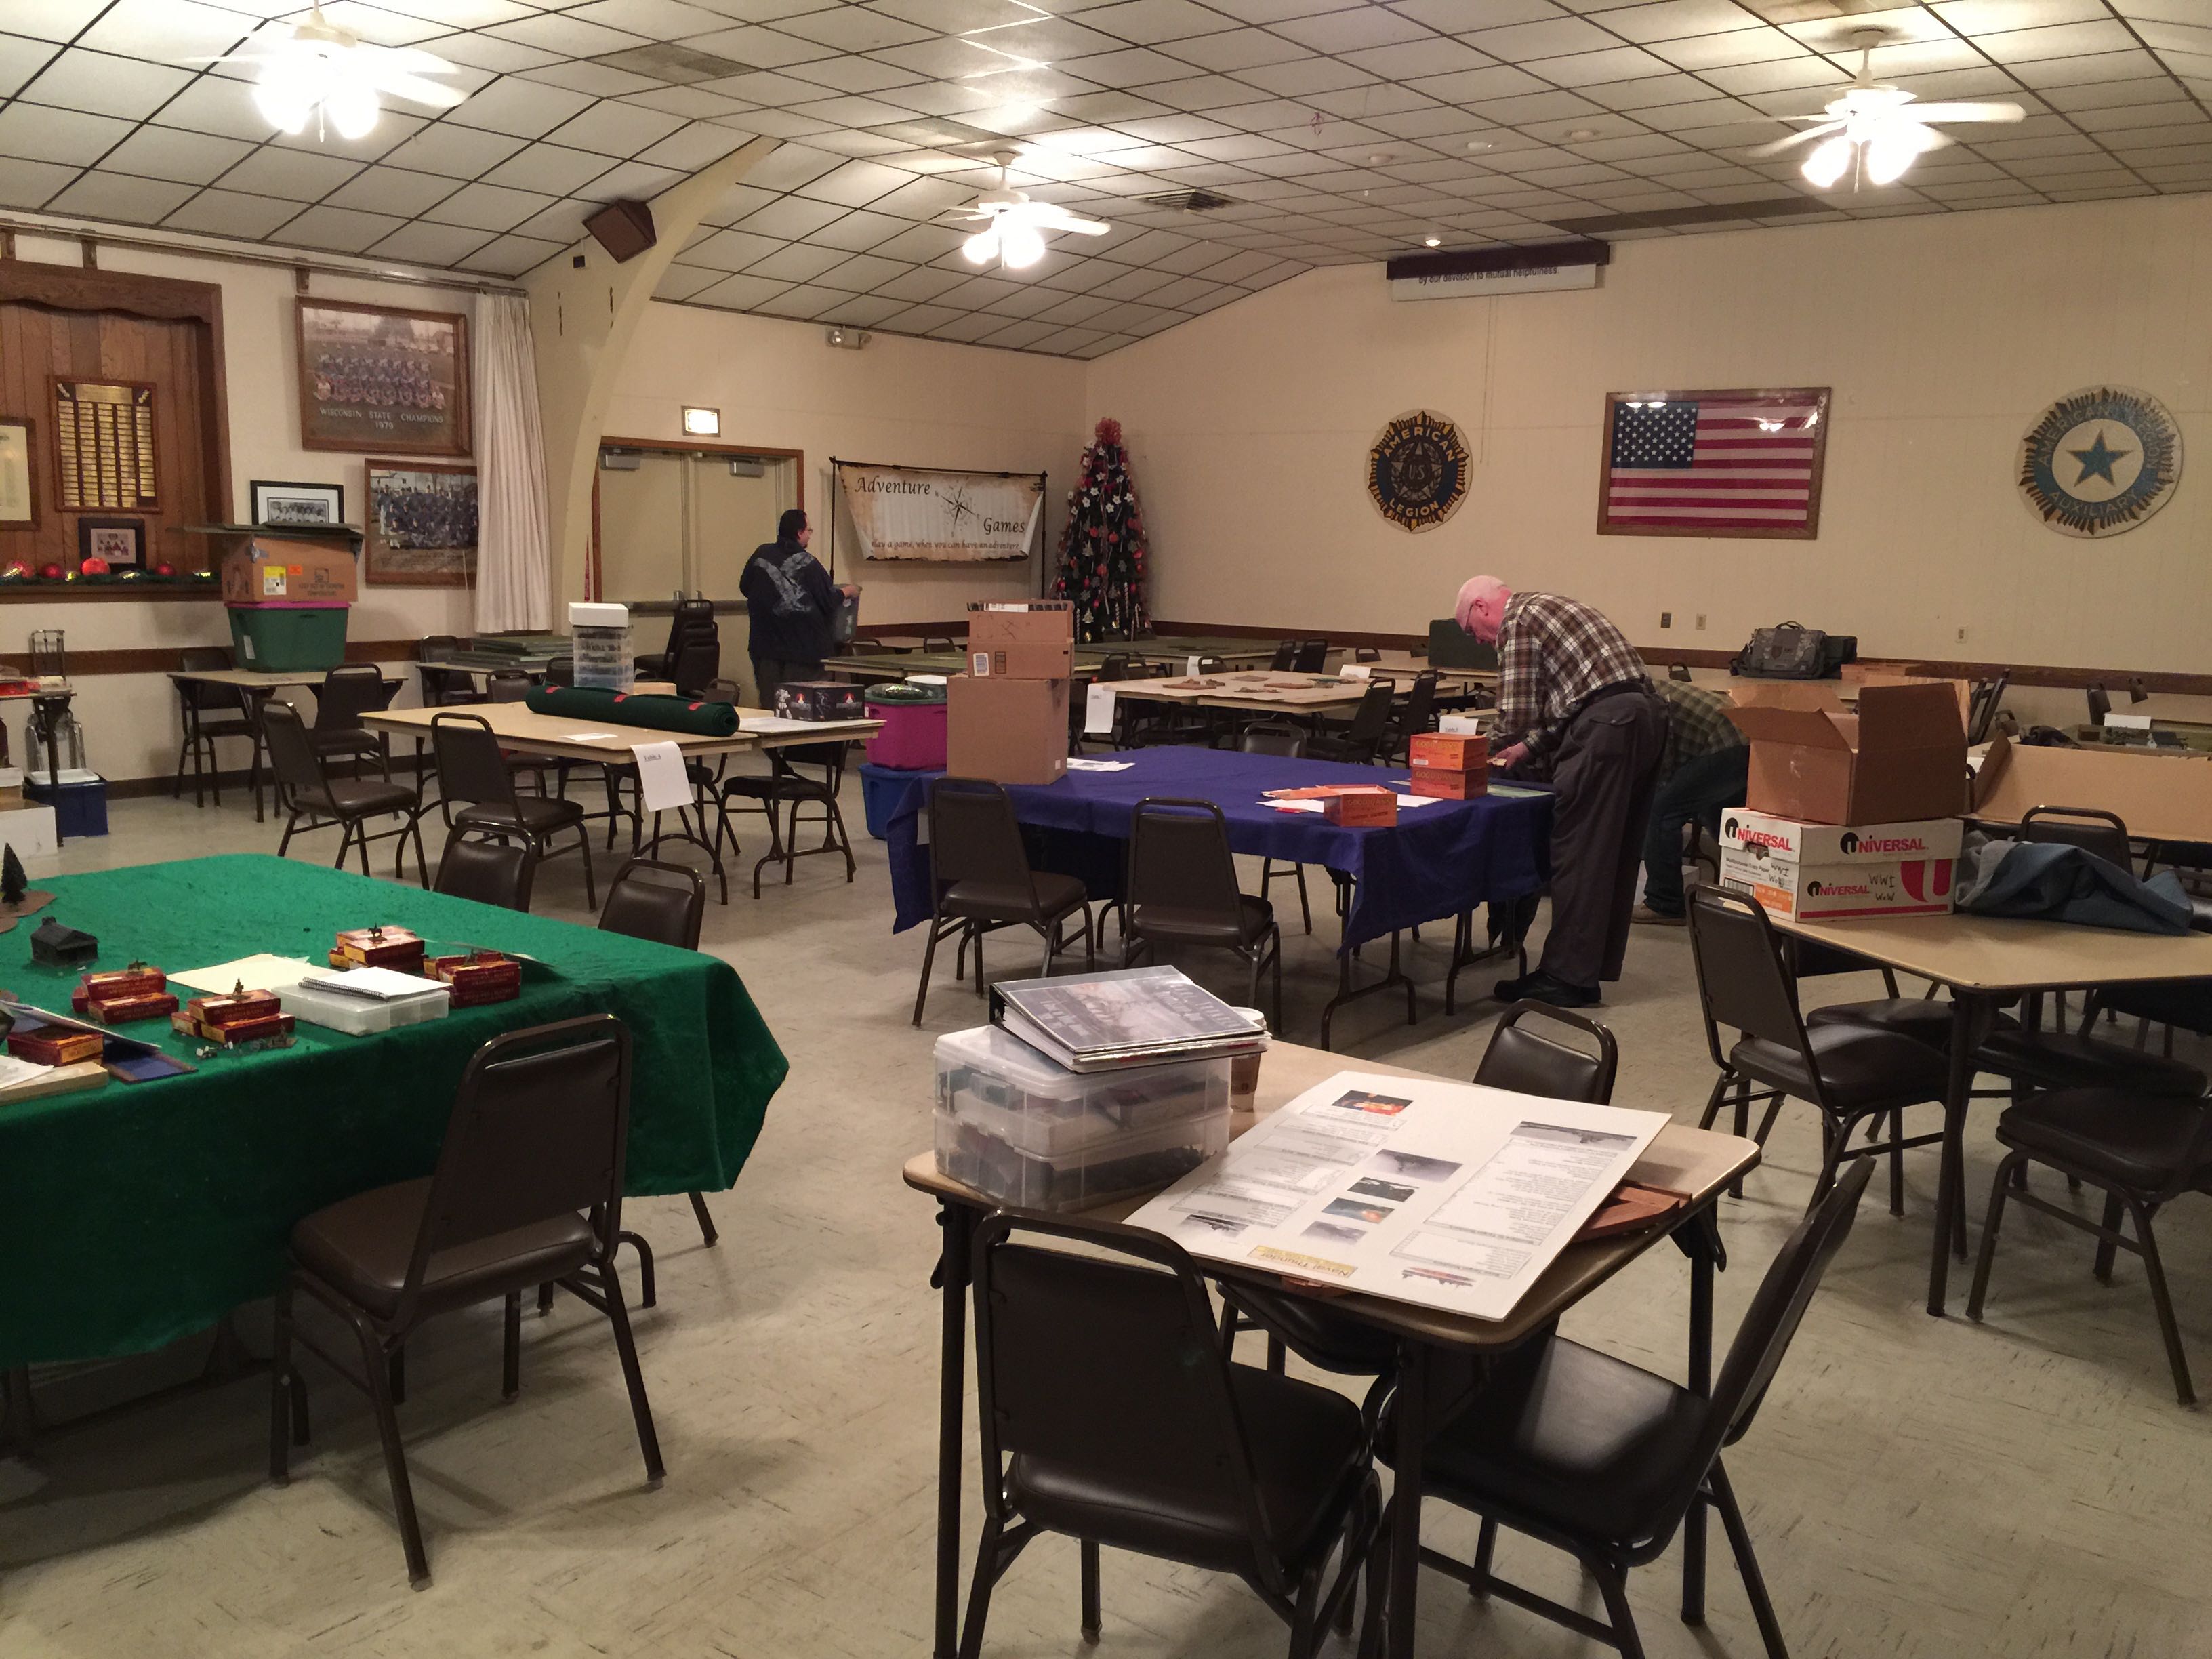
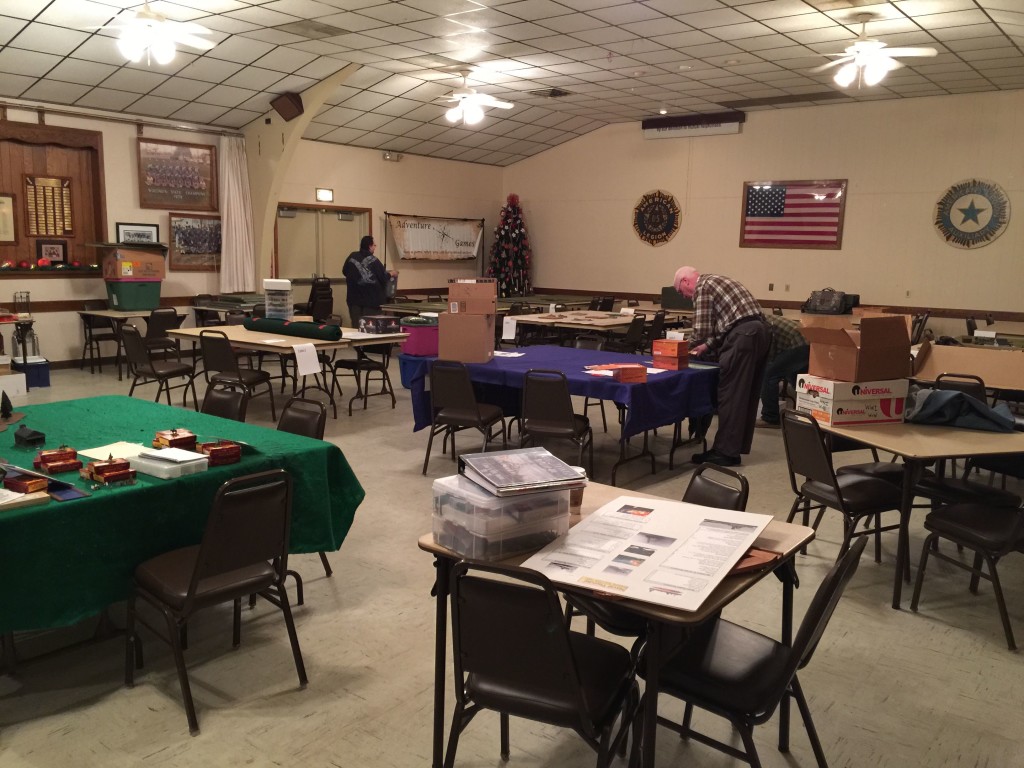
Bright and early Saturday morning, Chuck and I arrived. Last year I had been in this same spot for a refight of Gettysburg using Johnny Reb III. The Legion Hall is a great locale (tho a bit dark!) with onsite food and plenty of space. For all the tables running and all the people there it was a perfect venue.

Before getting onto the Flames of War AAR here’s some pictures of just a few of the other games. I missed a 28mm WWI game with a gorgeous set of terrain. That was one game I wish I could have taken part in and darn it I didn’t snap of picture!
IMG_9114

IMG_9113

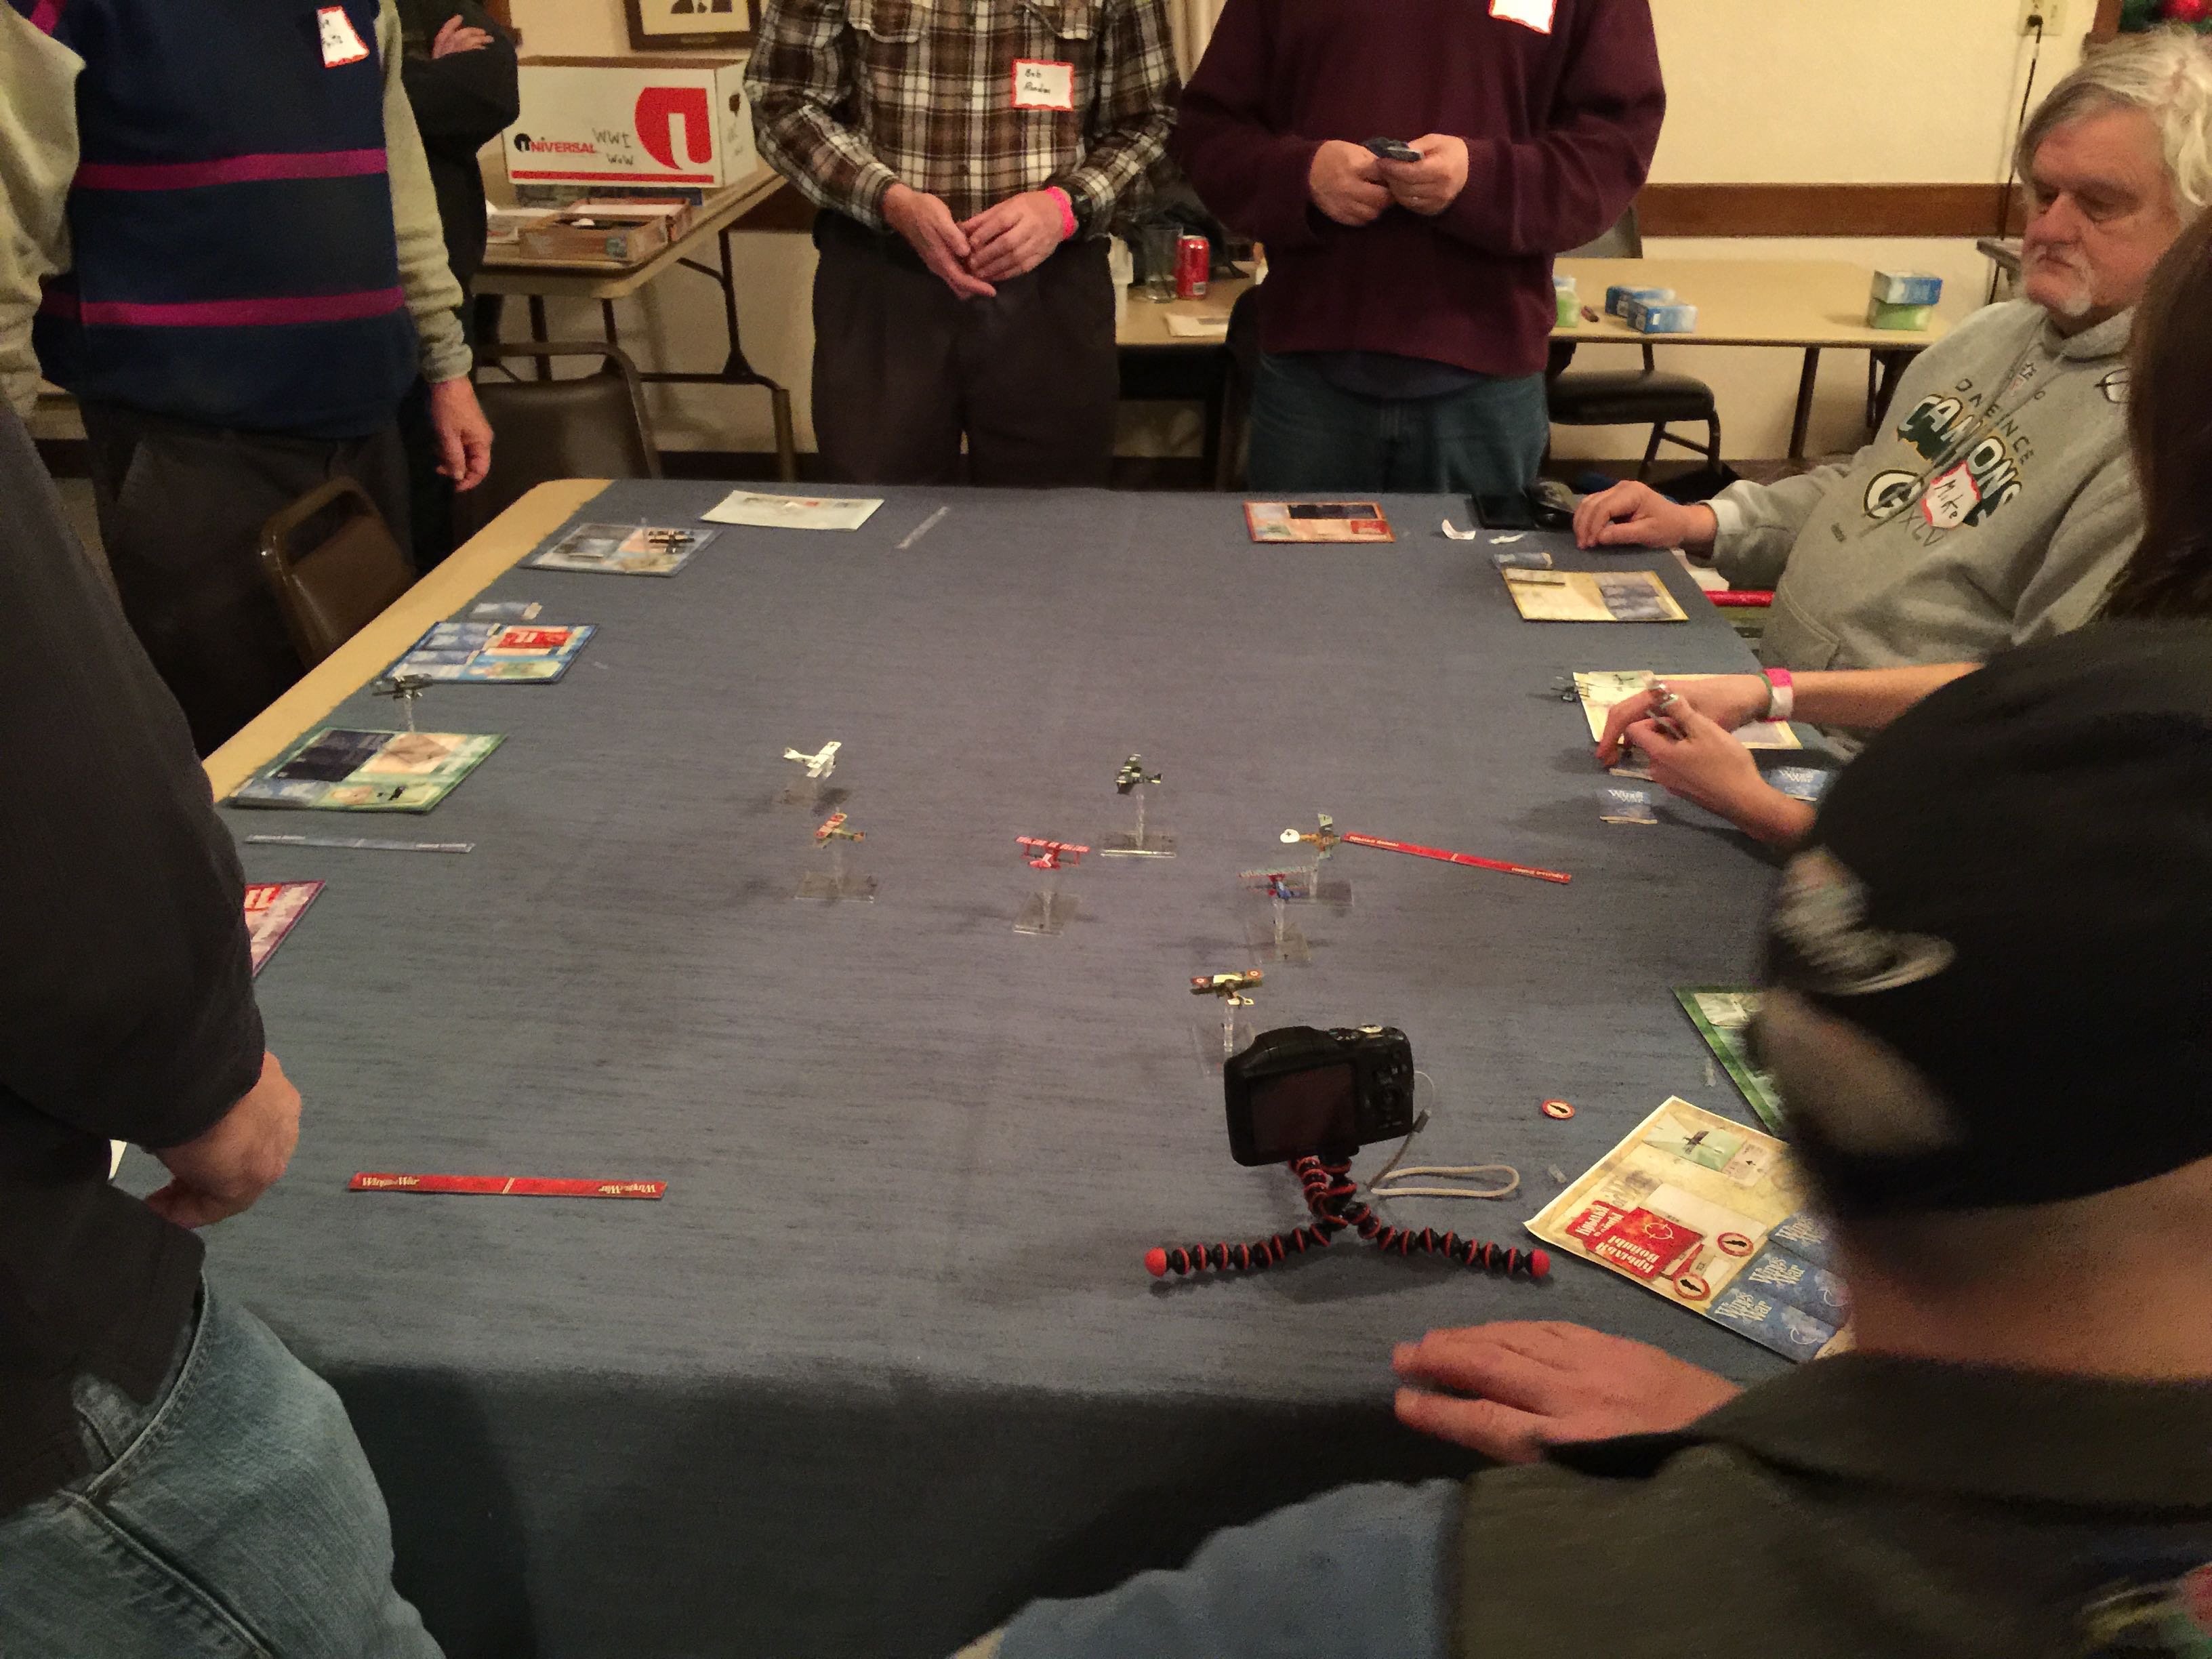
Wings of War.

IMG_9104

Bolt action.

So for the Flames of War Tournament the Battle Badgers and Ranger Rick in particular organized a great event with really awesome support from Battlefront and Adventure games. It was a midwar swiss style tournament. 1710 point armies from one of 3 books was allowed, Eastern Front, North Africa or I think it was Burning Empires. I used Eastern Front.

There wasn’t a single wrinkle the whole day save for one poor gamer who dropped his army on the floor. Poor guy! Trays people! Get a good one!

The prize table was full of lots to oo and ah over. With all the games, many that weren’t taking part could see Flames of War in person and get a good sense of the game. Often had several people watching and fielded questions by people interested in how the game worked.

For my force I put together a German Schnellschwadron rated at Confident Vet. I initially thought long and hard about putting together a tank centric force but in the end either didn’t have the lead or just couldn’t get the math to work out with either a Panther or Tiger centric force. Kinda wished I had the North Africa book as I would have considered playing with my Italians.

I went in with:

  • CinC + Panzerknacker, 2CinC
  • MG42 section
  • 2 Squad Schnell Platoon
  • 3 Squad Schnell Platoon
  • 7.5 lelG18 Platoon
  • Priority Air Support with a JU-87G
  • 10.5 leFH18 Artillery Battery (4)
  • 2 STuG G Assault Guns
  • Looted Panzer Platoon with a KV-1e + cupola
  • 3 Marder IIIH

First Game

Lee was my first opponent for my initial debut of my first ever Flames of War Tournament. He fielded an American armored infantry formation with tank destroyers. (Hates! Hates! Me Hates! SSSsssssss!)

The initial scenario was a dust up , so we each had to pick half of our forces to deploy and  enjoy the challenge of waiting for our delayed reserves to arrive.

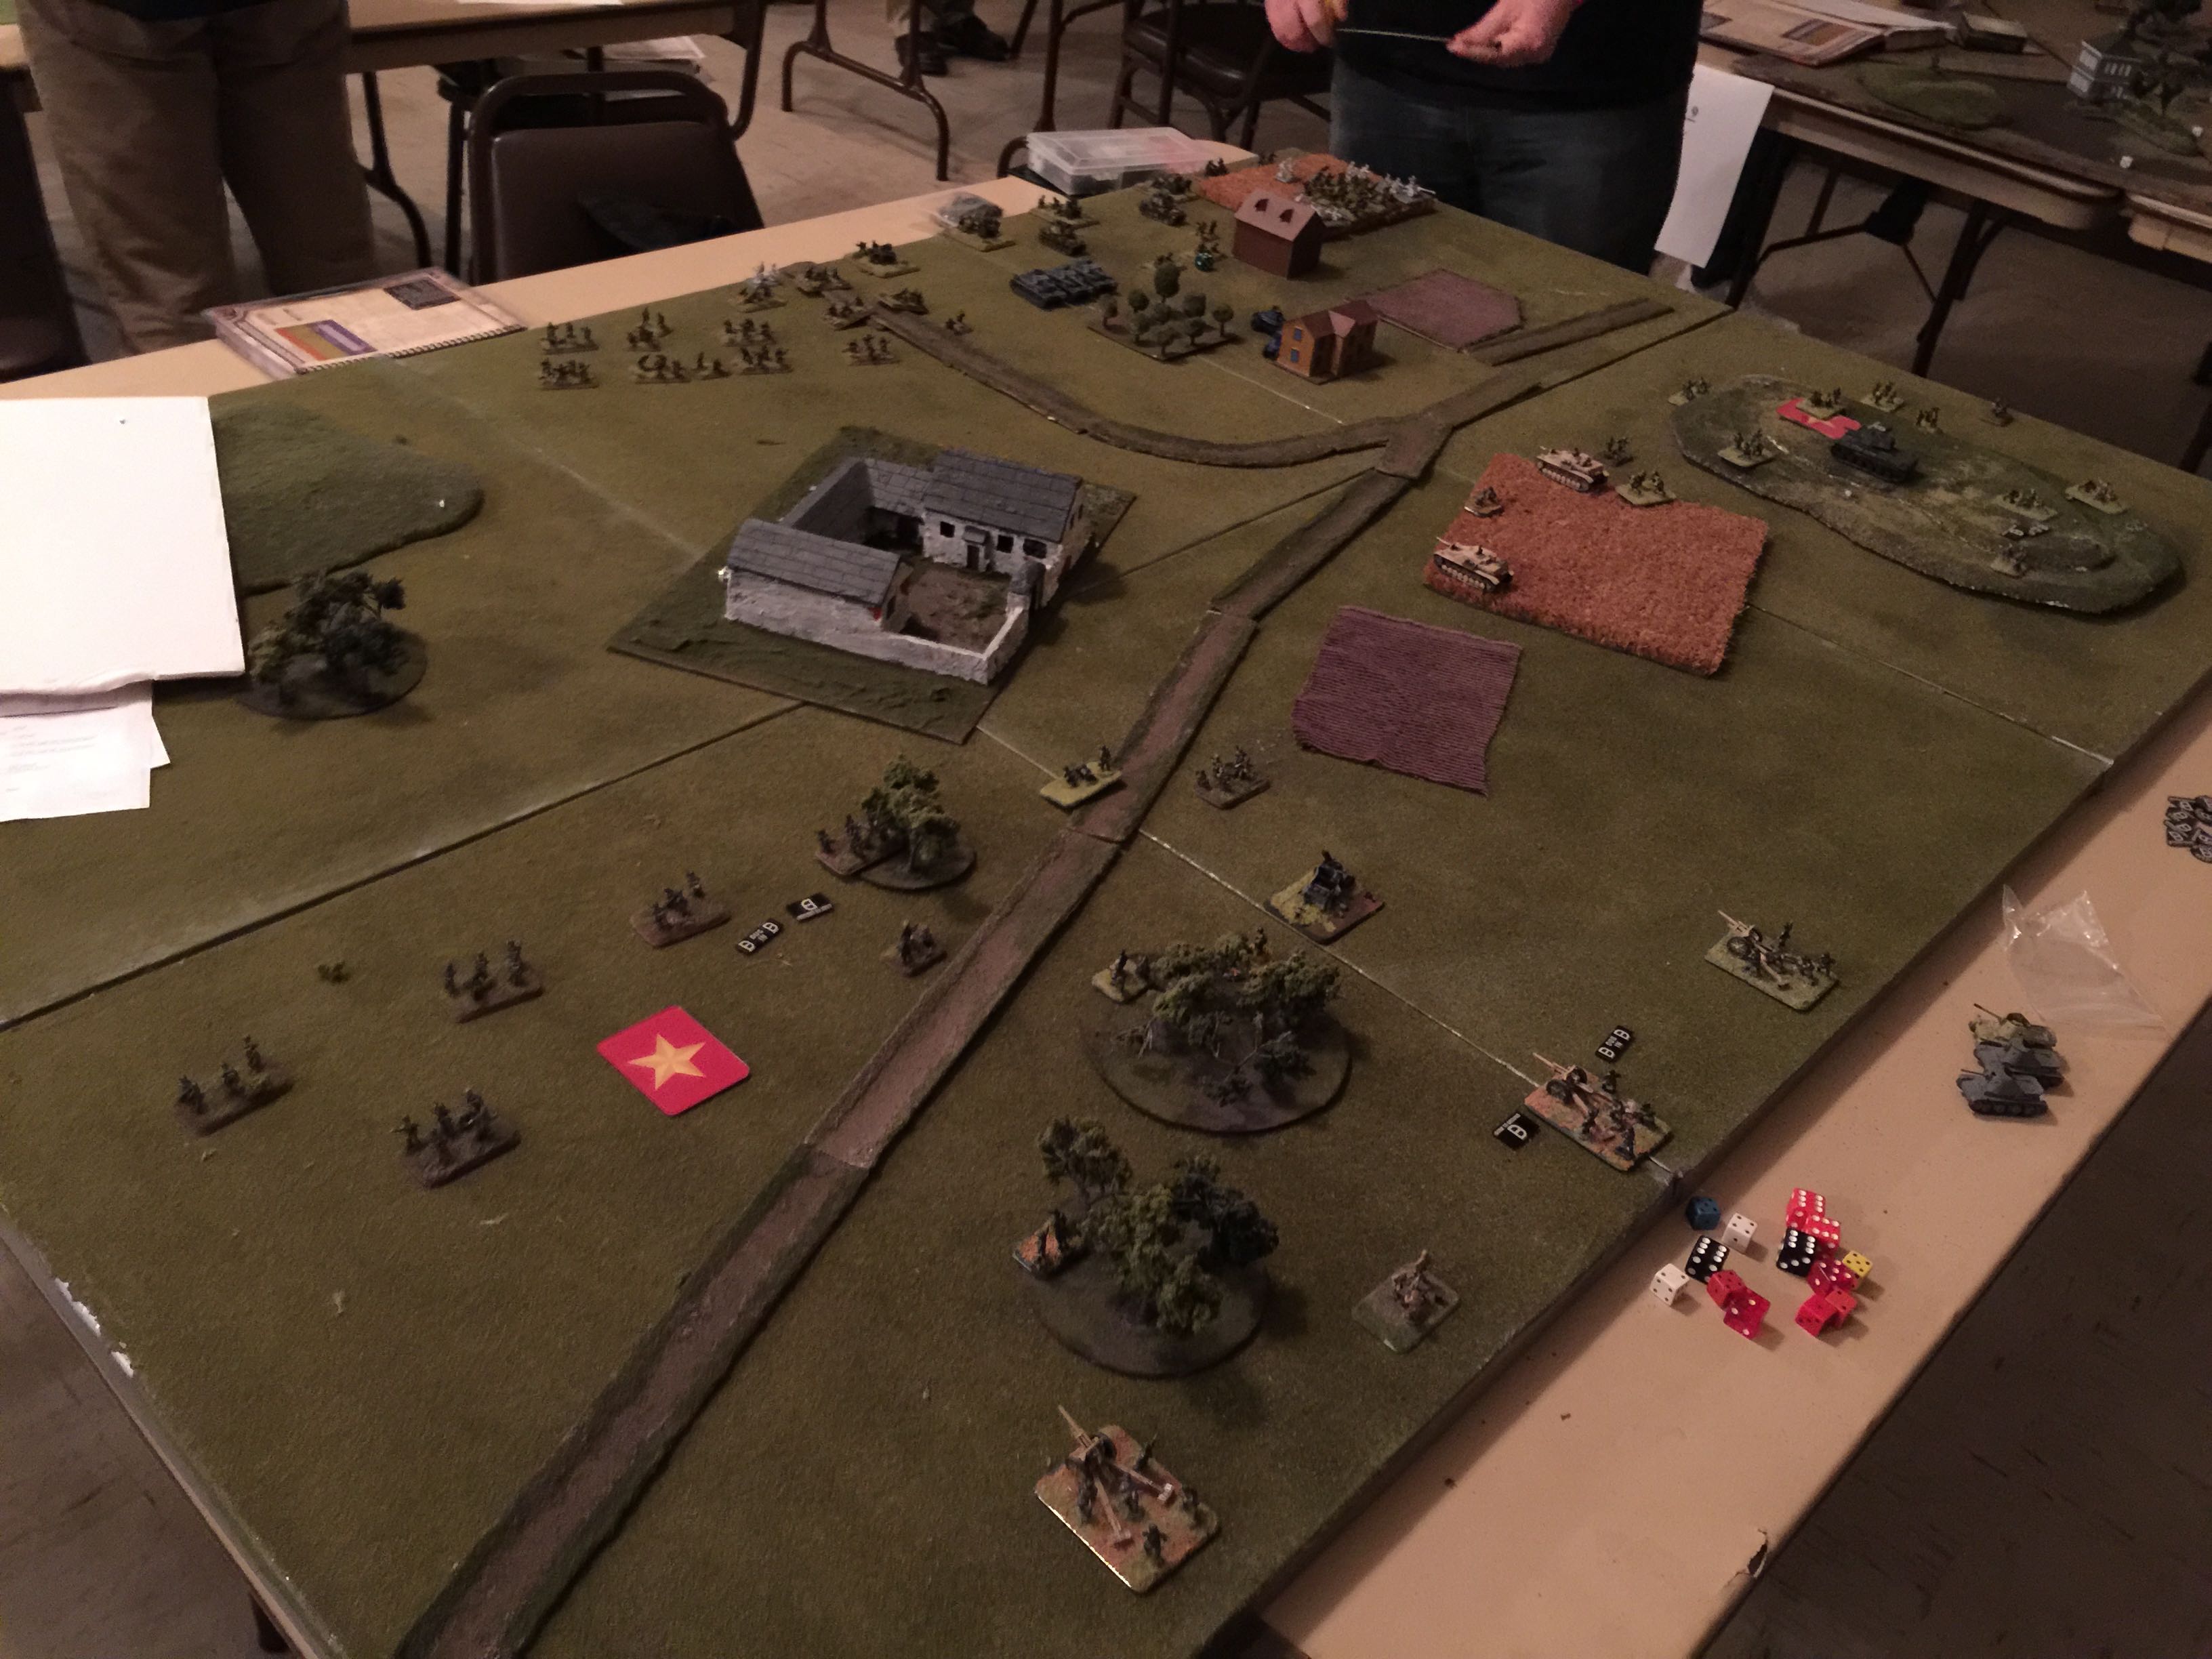
I formed a platoon around my 2CinC and then performed my split for what I could field:  4 platoons –  STuGs, 105s, 75 lelG18s and then last an infantry platoon where I attached one MG42 from the company HQ with each infantry platoon.

IMG_9100

Lee setup next to the two objectives in his initial setup corner. He brought on the security team of his tank destroyers, and 2 of his infantry platoons, one in halftracks and the other deployed around the objective.

I moved up and peeked my STuG noses through the tree line taking a few shots at his infantry in half tracks. Brewed up 2 but otherwise didn’t get much accomplished this very first turn since I didn’t have my air or artillery I should have dug in. I didn’t. This was stupid on my part. N00b mistake that I wouldn’t repeat.

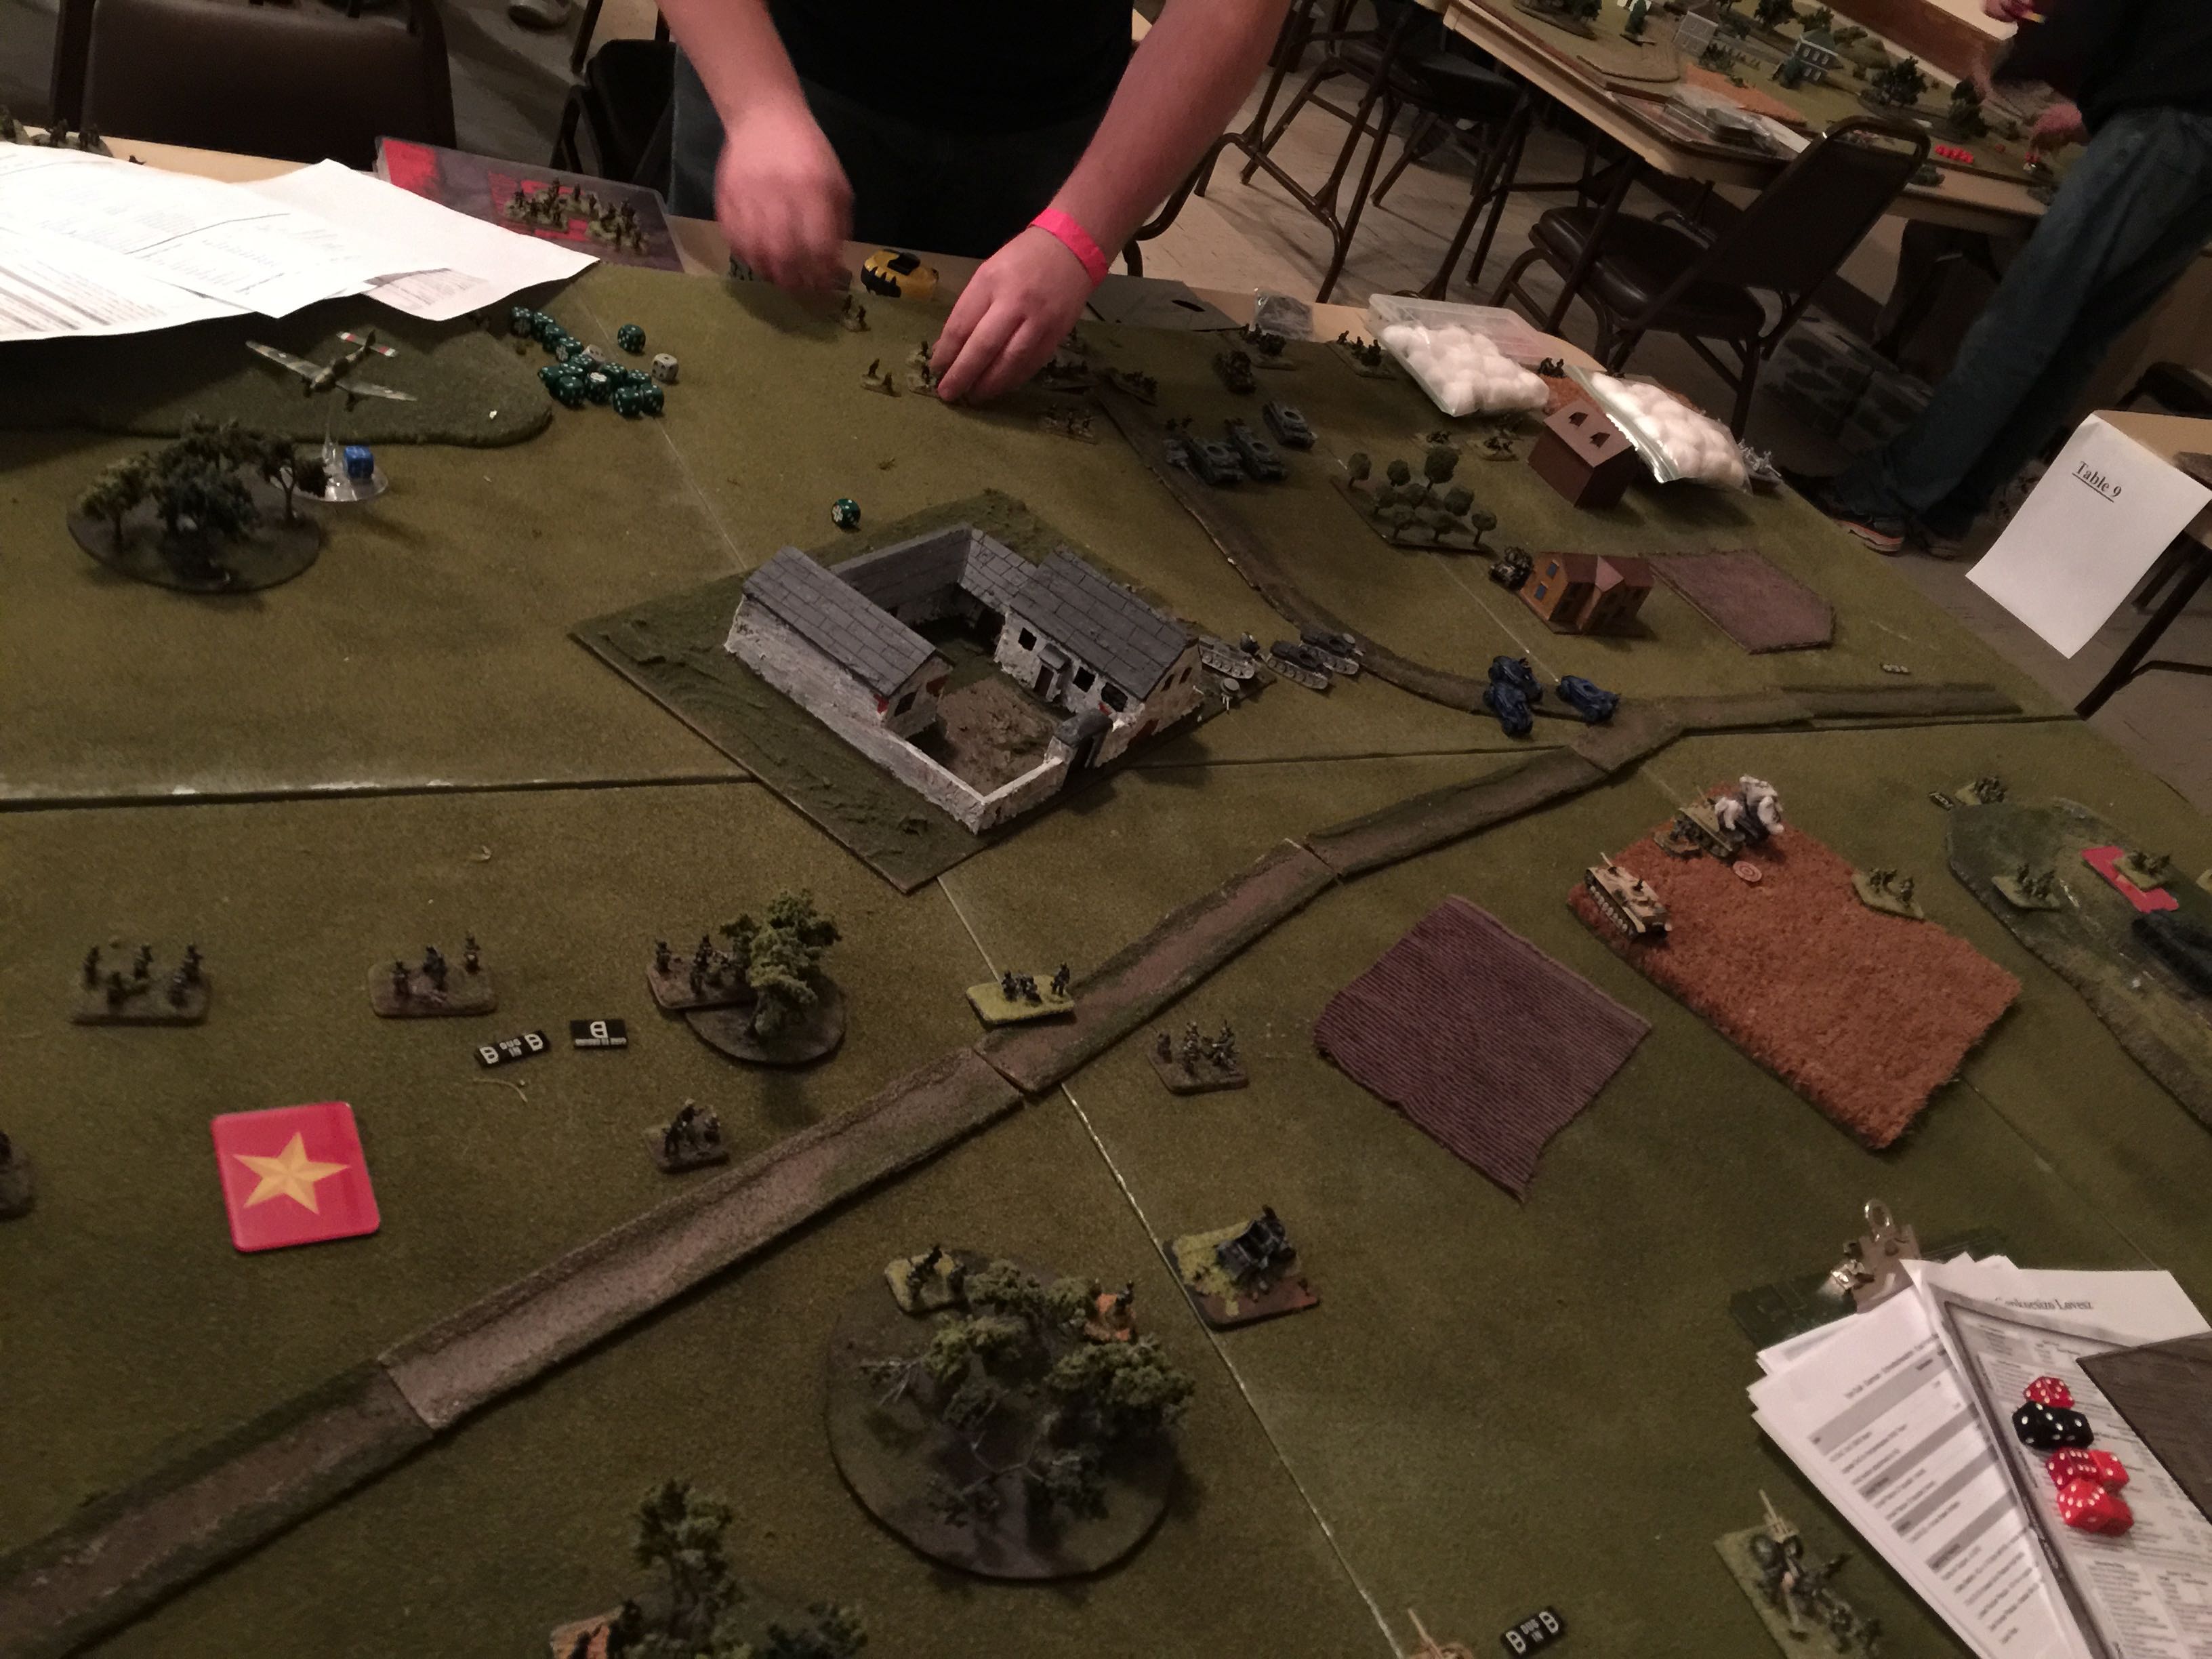
IMG_9101

Another angle of turn 1. In a bit of foreshadowing this is where I point out Lee’s reserves would be coming from the left table corner in this picture and mine would be coming from the far right corner. duh-duh-dum!

IMG_9102

Over the course of the next couple of turns Lee would bring on his tank destroyers and he brewed up one of my STuG. I would respond with my 105s and fire back with the long survivor slowly taking them out one by one or bailing.

Closer in the Americans that were in the half tracks, immediately bailed out and ran through the forest to attempt to assault through my lines. It was some pretty high drama and I was able to put on 5 hits and turn them back.

Meanwhile my air was coming down again and again trying to root out the Americans on the objectives. They were good for a pin and sometimes take out a stand or two but without also being able to concentrate fire, they were a “problem” that was going to have to wait as I had to take out the tank destroyers and push off the infantry.

With the first turn of reserves I made my roll and immediately put on my Marders. I pulled back my STuG until I could get the Marders into place and used the 105s to continue to pin down/bail out the tank destroyers.

Lee didn’t make his turn 3 reserves rolls (whew) so over the course of the turn, more luv from the luftwaffe which continue to plink away but the Americans continued to hold.

Finally with my Marders in place, my STuG and the Marders all poked their noses through the woods line on turn 4 and with reasonable dice and some more artillery, the tank destroyers were gone. Now could I throw off the American infantry?

At the bottom of turn 4, Lee made his reserve roll and on came his Sherman platoon and this is were my plan completely came apart. The only thing I had on the far side of the table was my 105s and 75s. The 105s you’ll recall are immobile. So they couldn’t exactly turn to face and the entry and travel was such that Lee could just come rolling onto their flank unabated. Worse remember I didn’t dig in any of my artillery. Here, please stab my soft underbelly, you know you want to! Gar!

IMG_9103

Here we are top of turn 5 and the very last we would play before victory would go to Lee. My air couldn’t come down on the Shermans molesting my 105s since I still had friendlies within 16″ of the Shermans. I had counted on the air being able to swoop in and save the day. Critical error on my part. Lee took out my 75lelG18s and the 105s couldn’t come to bear.

2-5 Loss. Very good game.

Second Game

For the second action it was a Fighting Withdrawal. Rolling, I was the Defender playing against (Ron? or was it Ken? … or?) Hungarians.

It was an interesting force as he had anti-air (Nimrods), Pz IV Fs, artillery, a platoon of light tankette thingies that seemed to be every bit as fun as Pz IIs with 20mm and MGs, a platoon of armored cars also with 20mm and MGs, a mortar platoon, an HMG platoon, sporatic air, 2 pak40s and 2 infantry platoons. All in all I thought we were very well matched.
IMG_9105

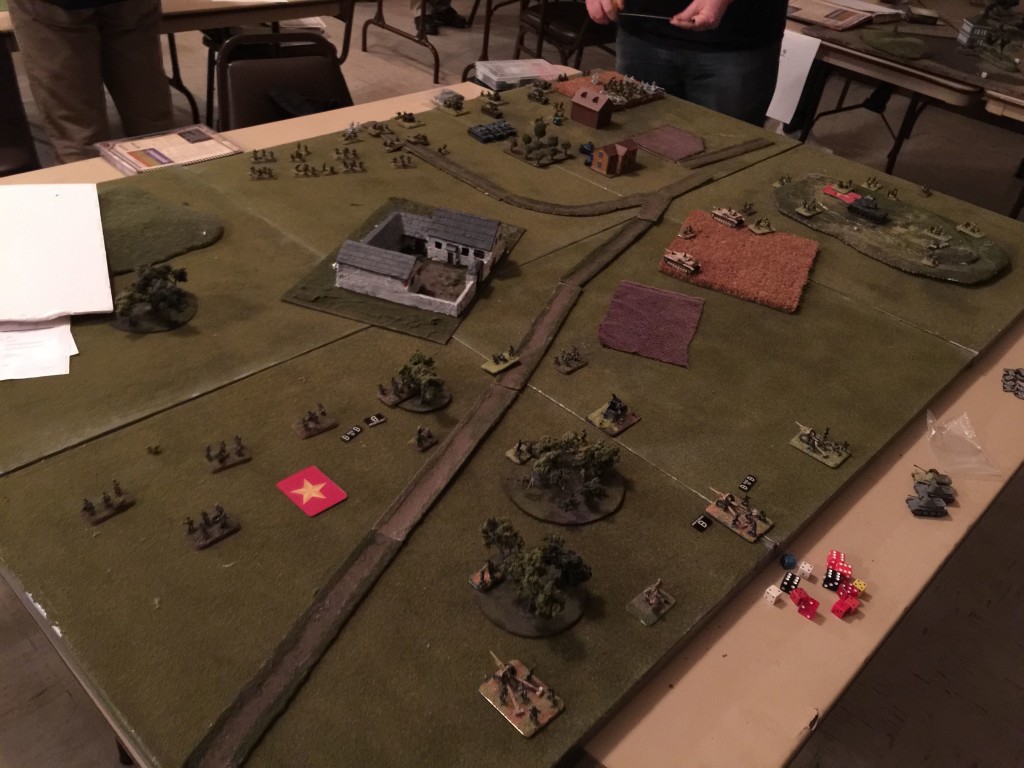
With the setup having to cover the length of the table, I put the larger of my two infantry platoons and the 105s on the left flank starting dug in. The left flank was also where 2 of the 3 objectives that the Hungarians needed to take.

The 3rd objective was on the right flank up on top of the hill were I also put the smaller of my two infantry platoons with the 75lelG18s behind and the KV1e also in support.

I put the STuGs to cover the center right flank and then held my Marders in ambush.

The Hungarians decided my right flank looked the juicer of the two options so thats where their forces stacked up and you can see the Hungarian first turn in progress.

With my first turn I sprung my ambush and completely took out the Hungarians PzIVs.

Unfortunately throughout this entire game my air just wasn’t effective. I had to burn air support dice to counter the Hungarian sporatic air (I had zero AA) and even when I could bring it in successfully the nimrods would chase them off. (sigh)

Thankfully however the 105s and the 75s would pick up the slack.

IMG_9106

Most of the game was a sort of armor duel to dislodge my STuGs and Marders. One of my STuGs would get brewed up, and the KV1e would spend most of the game bailed out (and failing the roll to get back in!) due to a turn 1 air attack.

The Hungarians would throw their tankettes at me but largely keep the left center flank of Hungary infantry in once place. On my right flank a platoon of Hungarians would push forward, and then dig in just sort of my line of dug in infantry. It would take about 2-3 turns but I ended up whittling them down and they would fail their morale when they dipped below 50% and disappear.

Next in the middle we had a pitched battle between the Pak40s,  the platoon of Hungarian tankettes and the armored cars. I would end up brewing up the platoon of tankettes and taking out one of the three armored cars before the Hungarians would do their last thunderbolt to try and tank the objective on the right flank.

Having to pull off a platoon each turn starting on turn 3 was a real, royal utter, complete, tactical pain in the ass. I would first take off my 75 lelG18s (and really miss their smoke), then the Marders which given they were down to one I would have to roll and fail which would result in a destroyed platoon for me. Then I took off the 105s.
IMG_9107

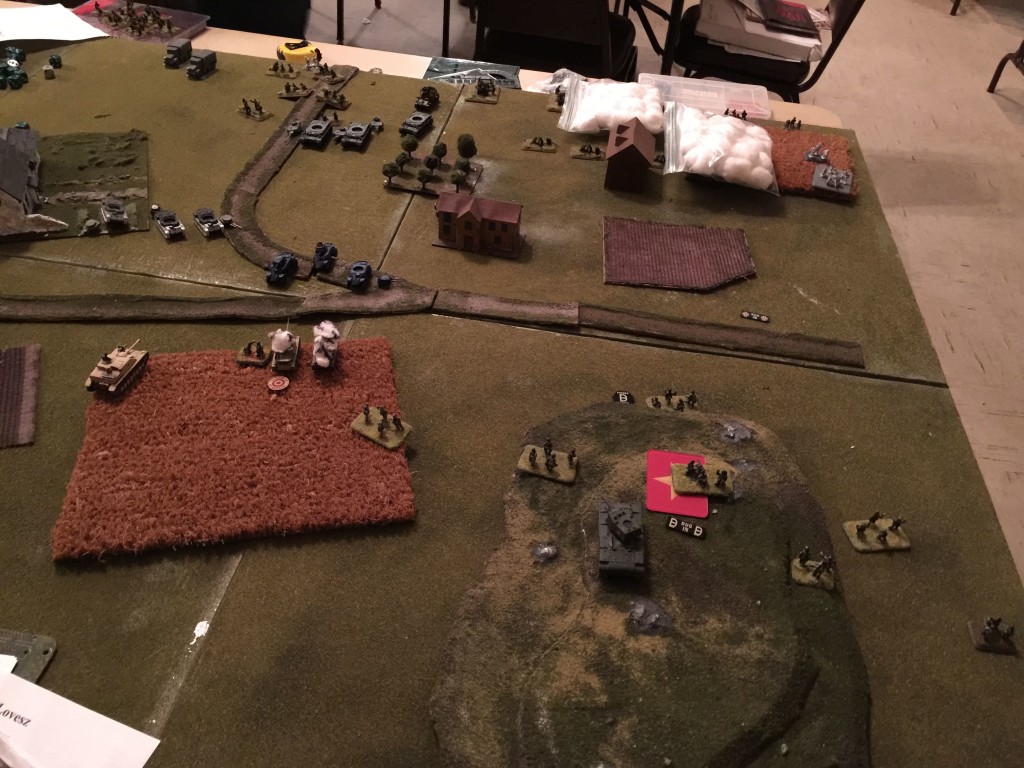
Here you can see the turn just prior to the last turn where the Hungarian cars would head towards my right flank with the intent of assaulting and taking the objective. They would smoke my KV1e which I had just recovered from it’s bailed out status.

So the armored cars drove for the infantry on the hill to assault and my KV1e needed 5s to hit, 2 shots …..  hit and hit! I brewed up both and that was game.

Had we played one more turn, this would have been the objective I would have removed.

5-2 Victory.

Third Game

For the last game, Chuck and I would end up playing. It’s pretty funny as we both had compared lists the day before.

The last game was an Encounter with delayed reserves, nothing starting out dug in and only getting 1/2 of our respective forces.

Chuck decided to put out his AA, Katy, 76 battery and a platoon of Russians. On my side I put out my larger infantry platoon and this time assigned both MG42s to that platoon not knowing when or if reserves would be coming on, my 105s and last my STuGs.

I rolled up as the attacker and dreaded it given there were 2 objectives on both sides so not only did I need to pretty forward but I also needed to defend the long side of the table. I was amazingly spread out but the terrain helped out quite a bit. Then of course there’s there is the far part where Russians just always have tons of stuff.

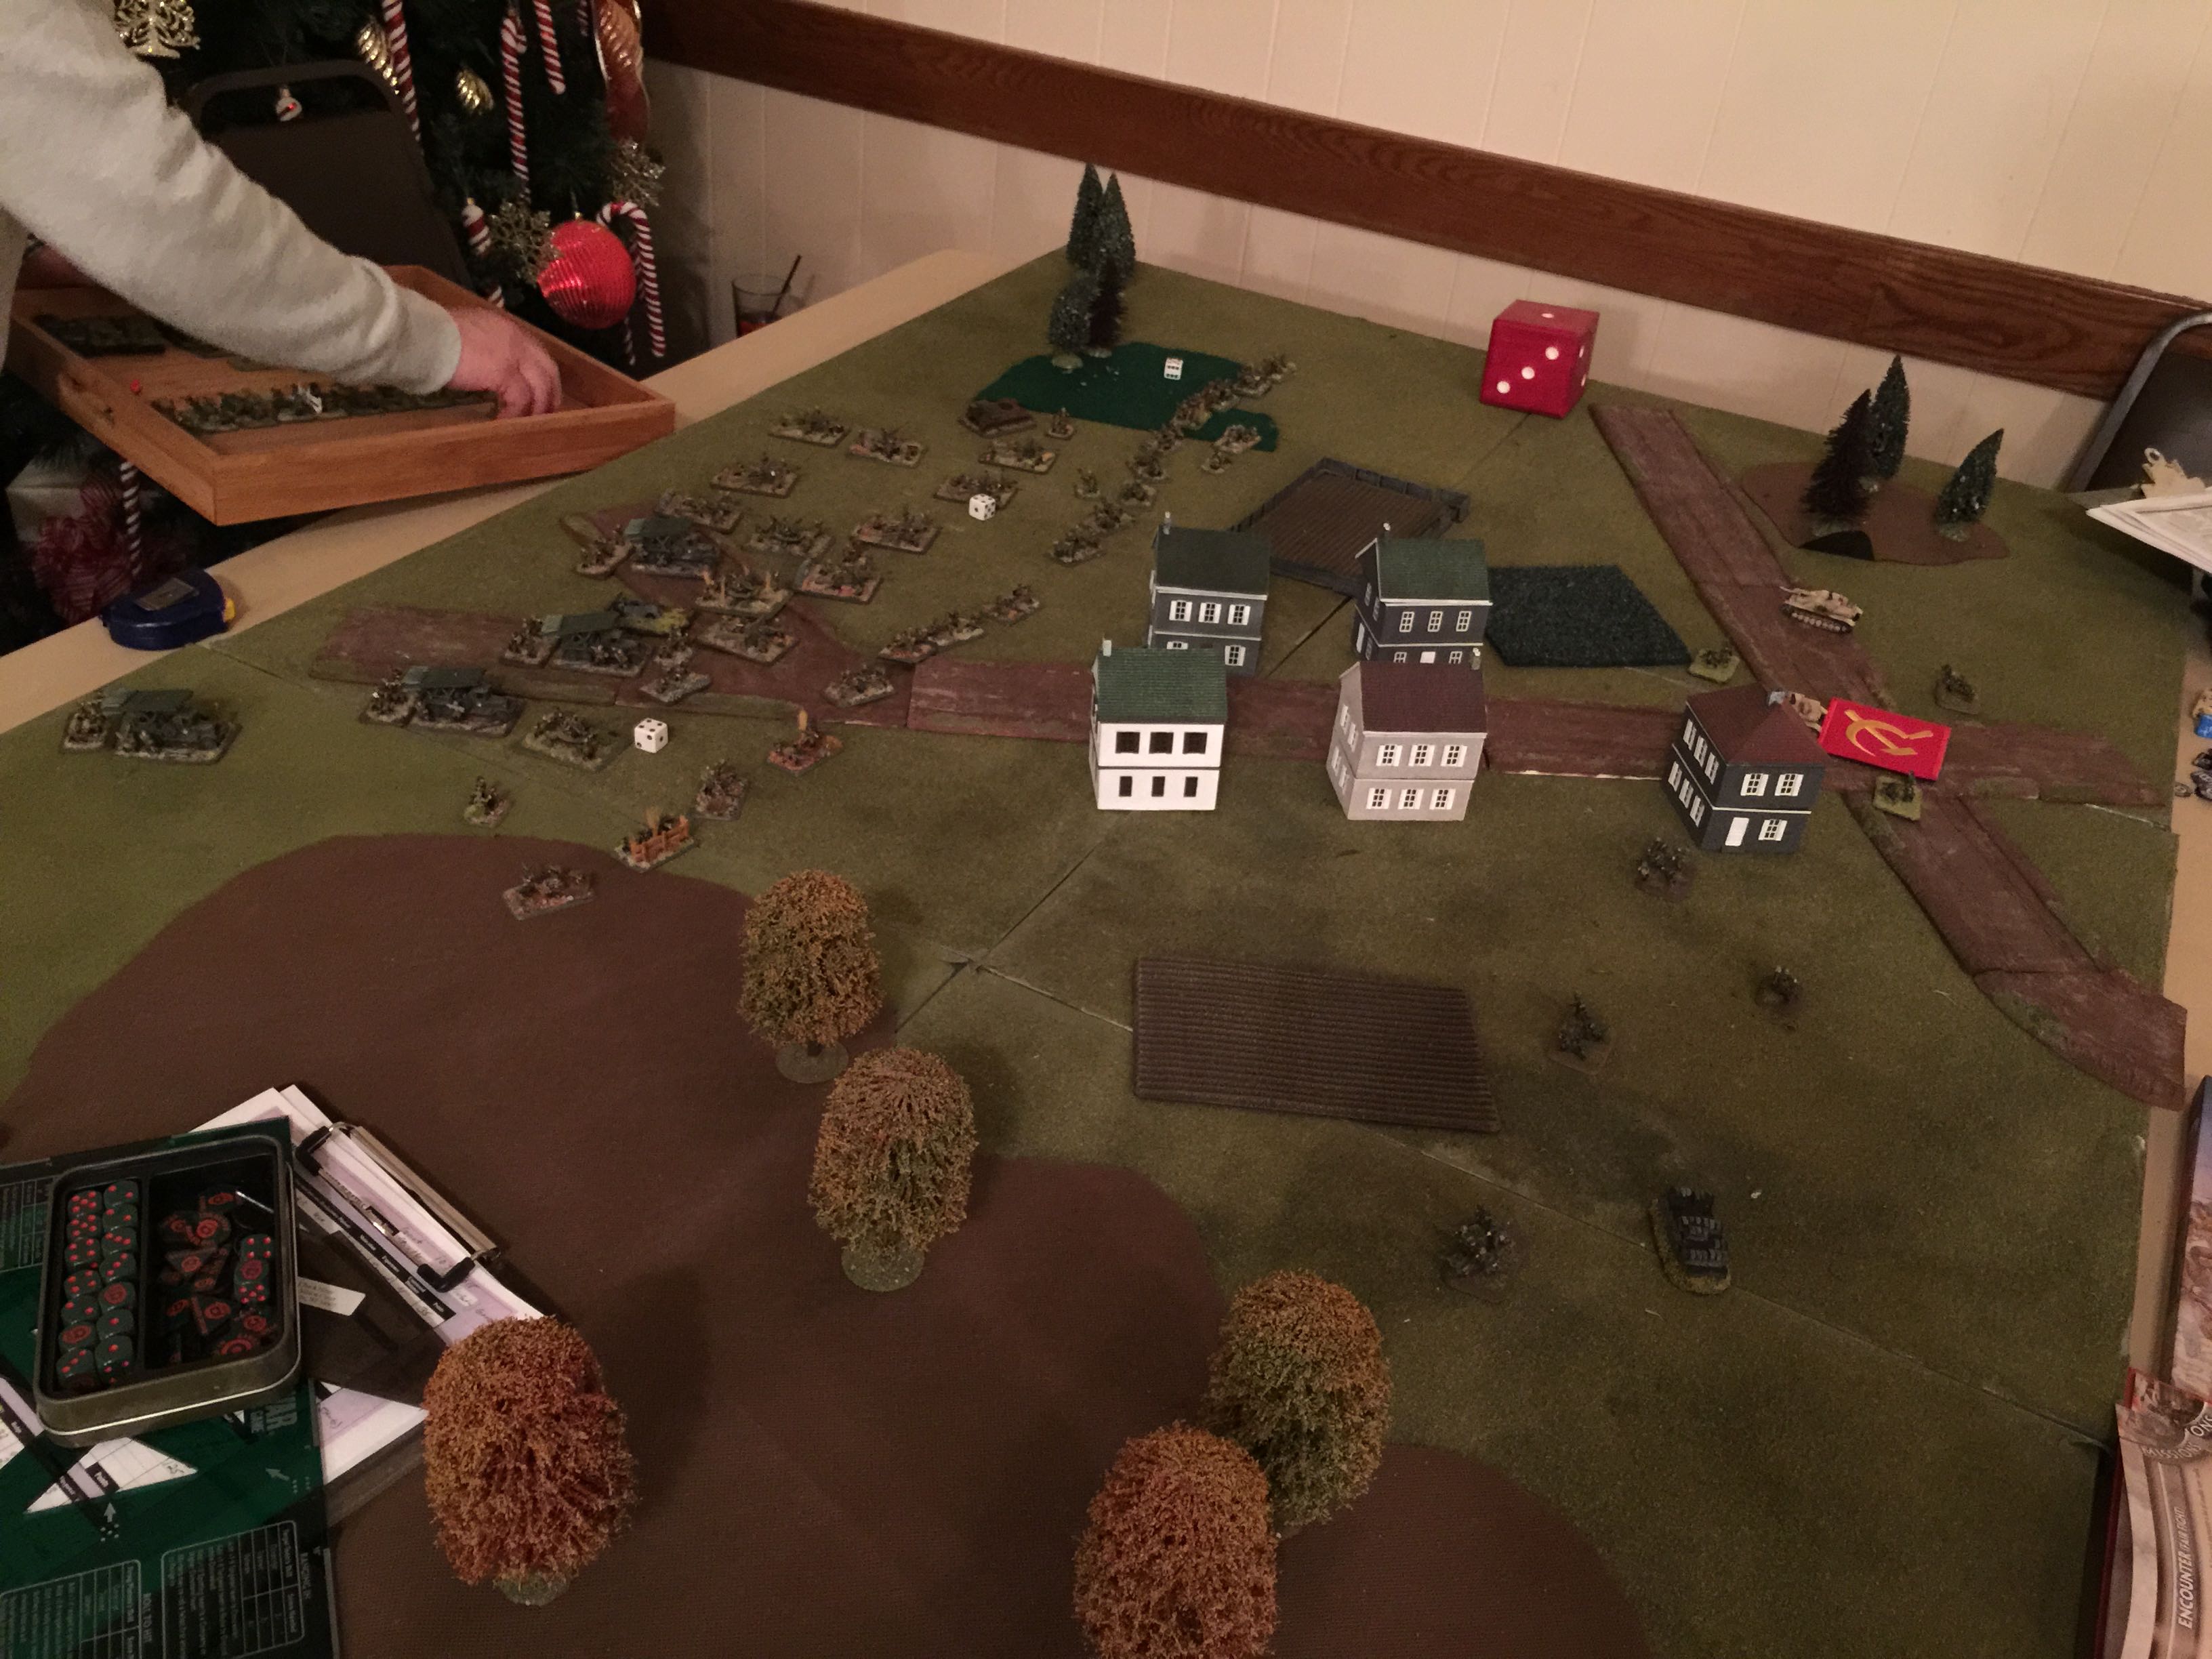
IMG_9108

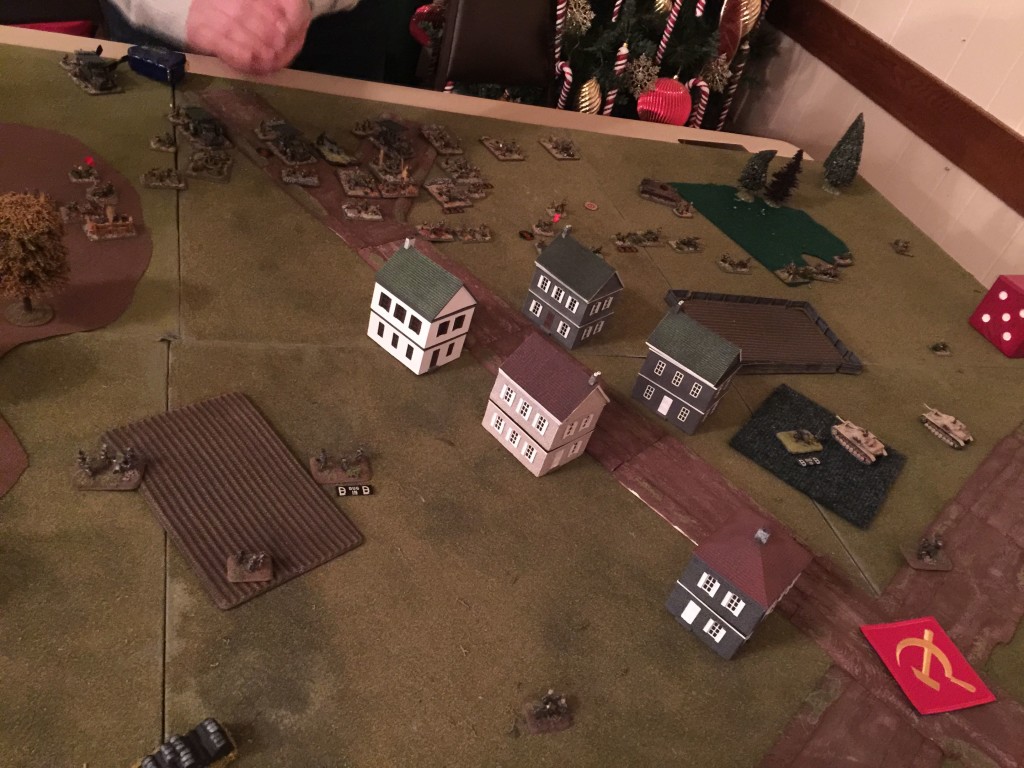
Here you can see Chuck deploy his line of battle with infantry in front and all the guns set with the 76 guns more on my right flank and the Katy on the center left and AA spread out to cover the two.

The huge area of woods on the left flank gave a really nice place for my 105s to hide and then the town was just such that my infantry line could spread across occupy buildings and then again more on the opposite side. I placed the two MGs on the right flank and the STuGs too. It would have to be the focus for the attack.

IMG_9109

First turn I dug in my artillery this time and with the STuGs immediately started to target the 76 guns at nearly 30″ of range. Thankfully this allowed me to attack them piecemeal and take them out one by one instead of having to face fire from the whole battery.

Bottom of turn one in the above picture. The Russian infantry didn’t dig in but advanced! I was really surprised by this and really had the infantry come down through the woods I would have had to abandon my position and attack in the woods to counter, otherwise my 105s would have been dogmeat. That was as far as they would advance for the course of the game.

IMG_9110

With Turn 2, my MG42s opened up on my left flank at the Russian infantry in the open and took out a few stands. Given the 12 shots at over 16″ of range that was enough to stop Chuck from moving forward. Likewise I kept up the combo of 105s, STuGs and attempts at air to concentrate on the 76 guns as well as target the AA and Katy to keep them pinned or take out a stand. Luck was generally with me tho air was a constant variable, getting them wasn’t hard, but keeping them on target with the AA was difficult.
IMG_9111

We essentially stayed in this static position, as I hammered and slowly tried to develop a chance to take the objective on the right flank.

For my first reserve roll I brought on my 75lelG18 guns with the thought that I would use them for smoke and I needed to in order to be able to cut off the Russian 76s without them getting my STuG. While the frontal on the STuG is a 7 and the antitank on a 76 is a 9 and the +1 frontal for over 16″ helped when the Russians are bowling with dice at some point my luck was going to run out. (and it sort of did losing one of them)

IMG_9112

Next reserve roll on turn 4 I would bring on my Marders and using the same tactic, fire on the 76s at rang with the help of my one STuG. Chuck would fail his reserve rolls on turn 3 and 4. Turn 5 I would bring on my KV1e and he would bring on his SU-76s and then SU85s. Given the variable entries of reserves, I was oddly consistent and always getting the right corner. Chuck for the SU76s had those enter on my left and then right side.

With time running down both Chuck and I tried to score that one set of hits which would result in a destroyed platoon. Neither of us were successful and I couldn’t quite get to a point where I could get enough whittled down were a rush towards an objective would make sense.

For me this was the best game of the day with lots of drama and a high point to end the day.

Tie 2-2.

All in all I was pleasantly surprised that my force did ok through the course of the day and that I was able to eak out a win. A die roll and I could have won the first game or even the third. This is why we roll dice!

Chuck won the “best painted army” award. It was well earned in my opinion. I call his paint jobs as “museum quality” and I really think it was great recognition for what he’s created.

For the over all winners they were able to go up and pick a big and small item from the awards table. The folks at Battlefront and Adventure Games really put together some nice items for everyone.

Chuck picked the Battlefront Bastogne Church and that’ll see lots of table time in LaCrosse without a doubt!

When I was called I picked up a set of dice and tokens as well as an 88 nest, pretty cool and much appreciated on my part.

Hats off to Ranger Rick and the Battle Badgers, excellent job for running such a good tournament!

Thanks to Battlefront and Adventure games for supporting a first run Con. It sure advances the hobby.

Likewise, hats off to the Dan, Michael, Tod and I’m sure many others that I’m missing for putting together TundraCon. It was a great first time event and I look forward to next year! Given all the people there it sure looked like a roaring success.
Posted in Con | 3 Comments

Playtest: Bolt Action Barbarossa chapter 2

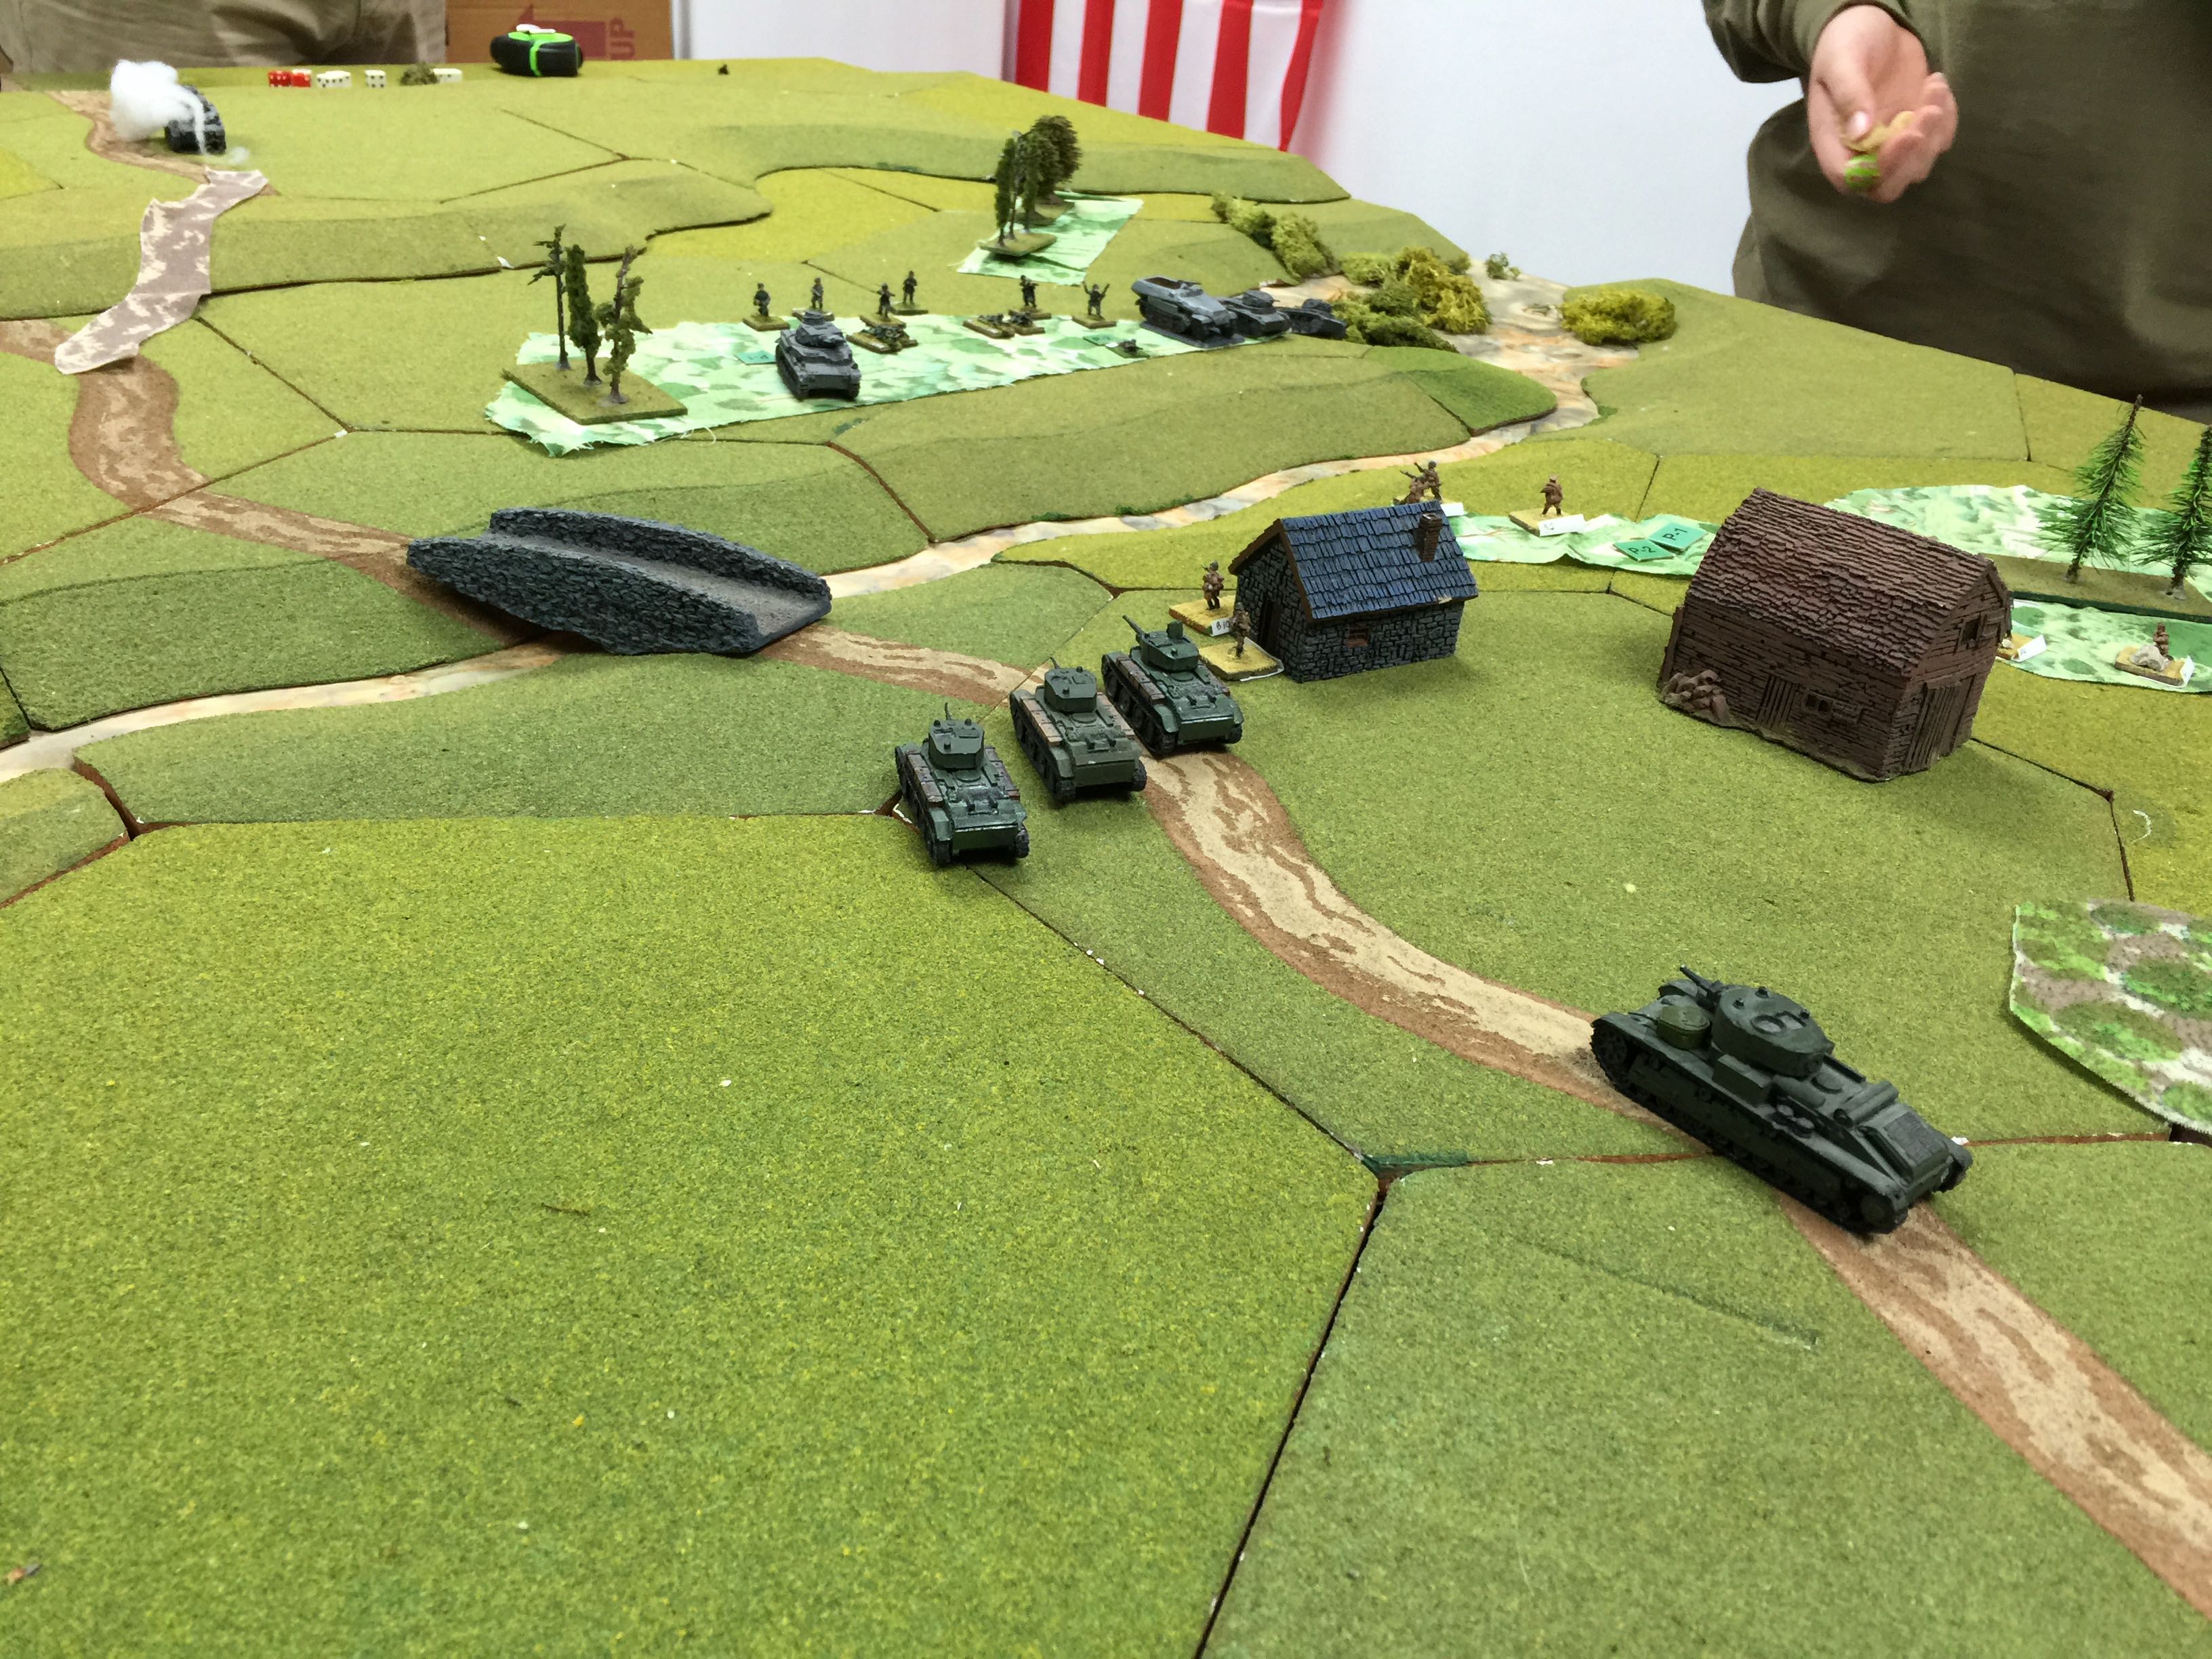
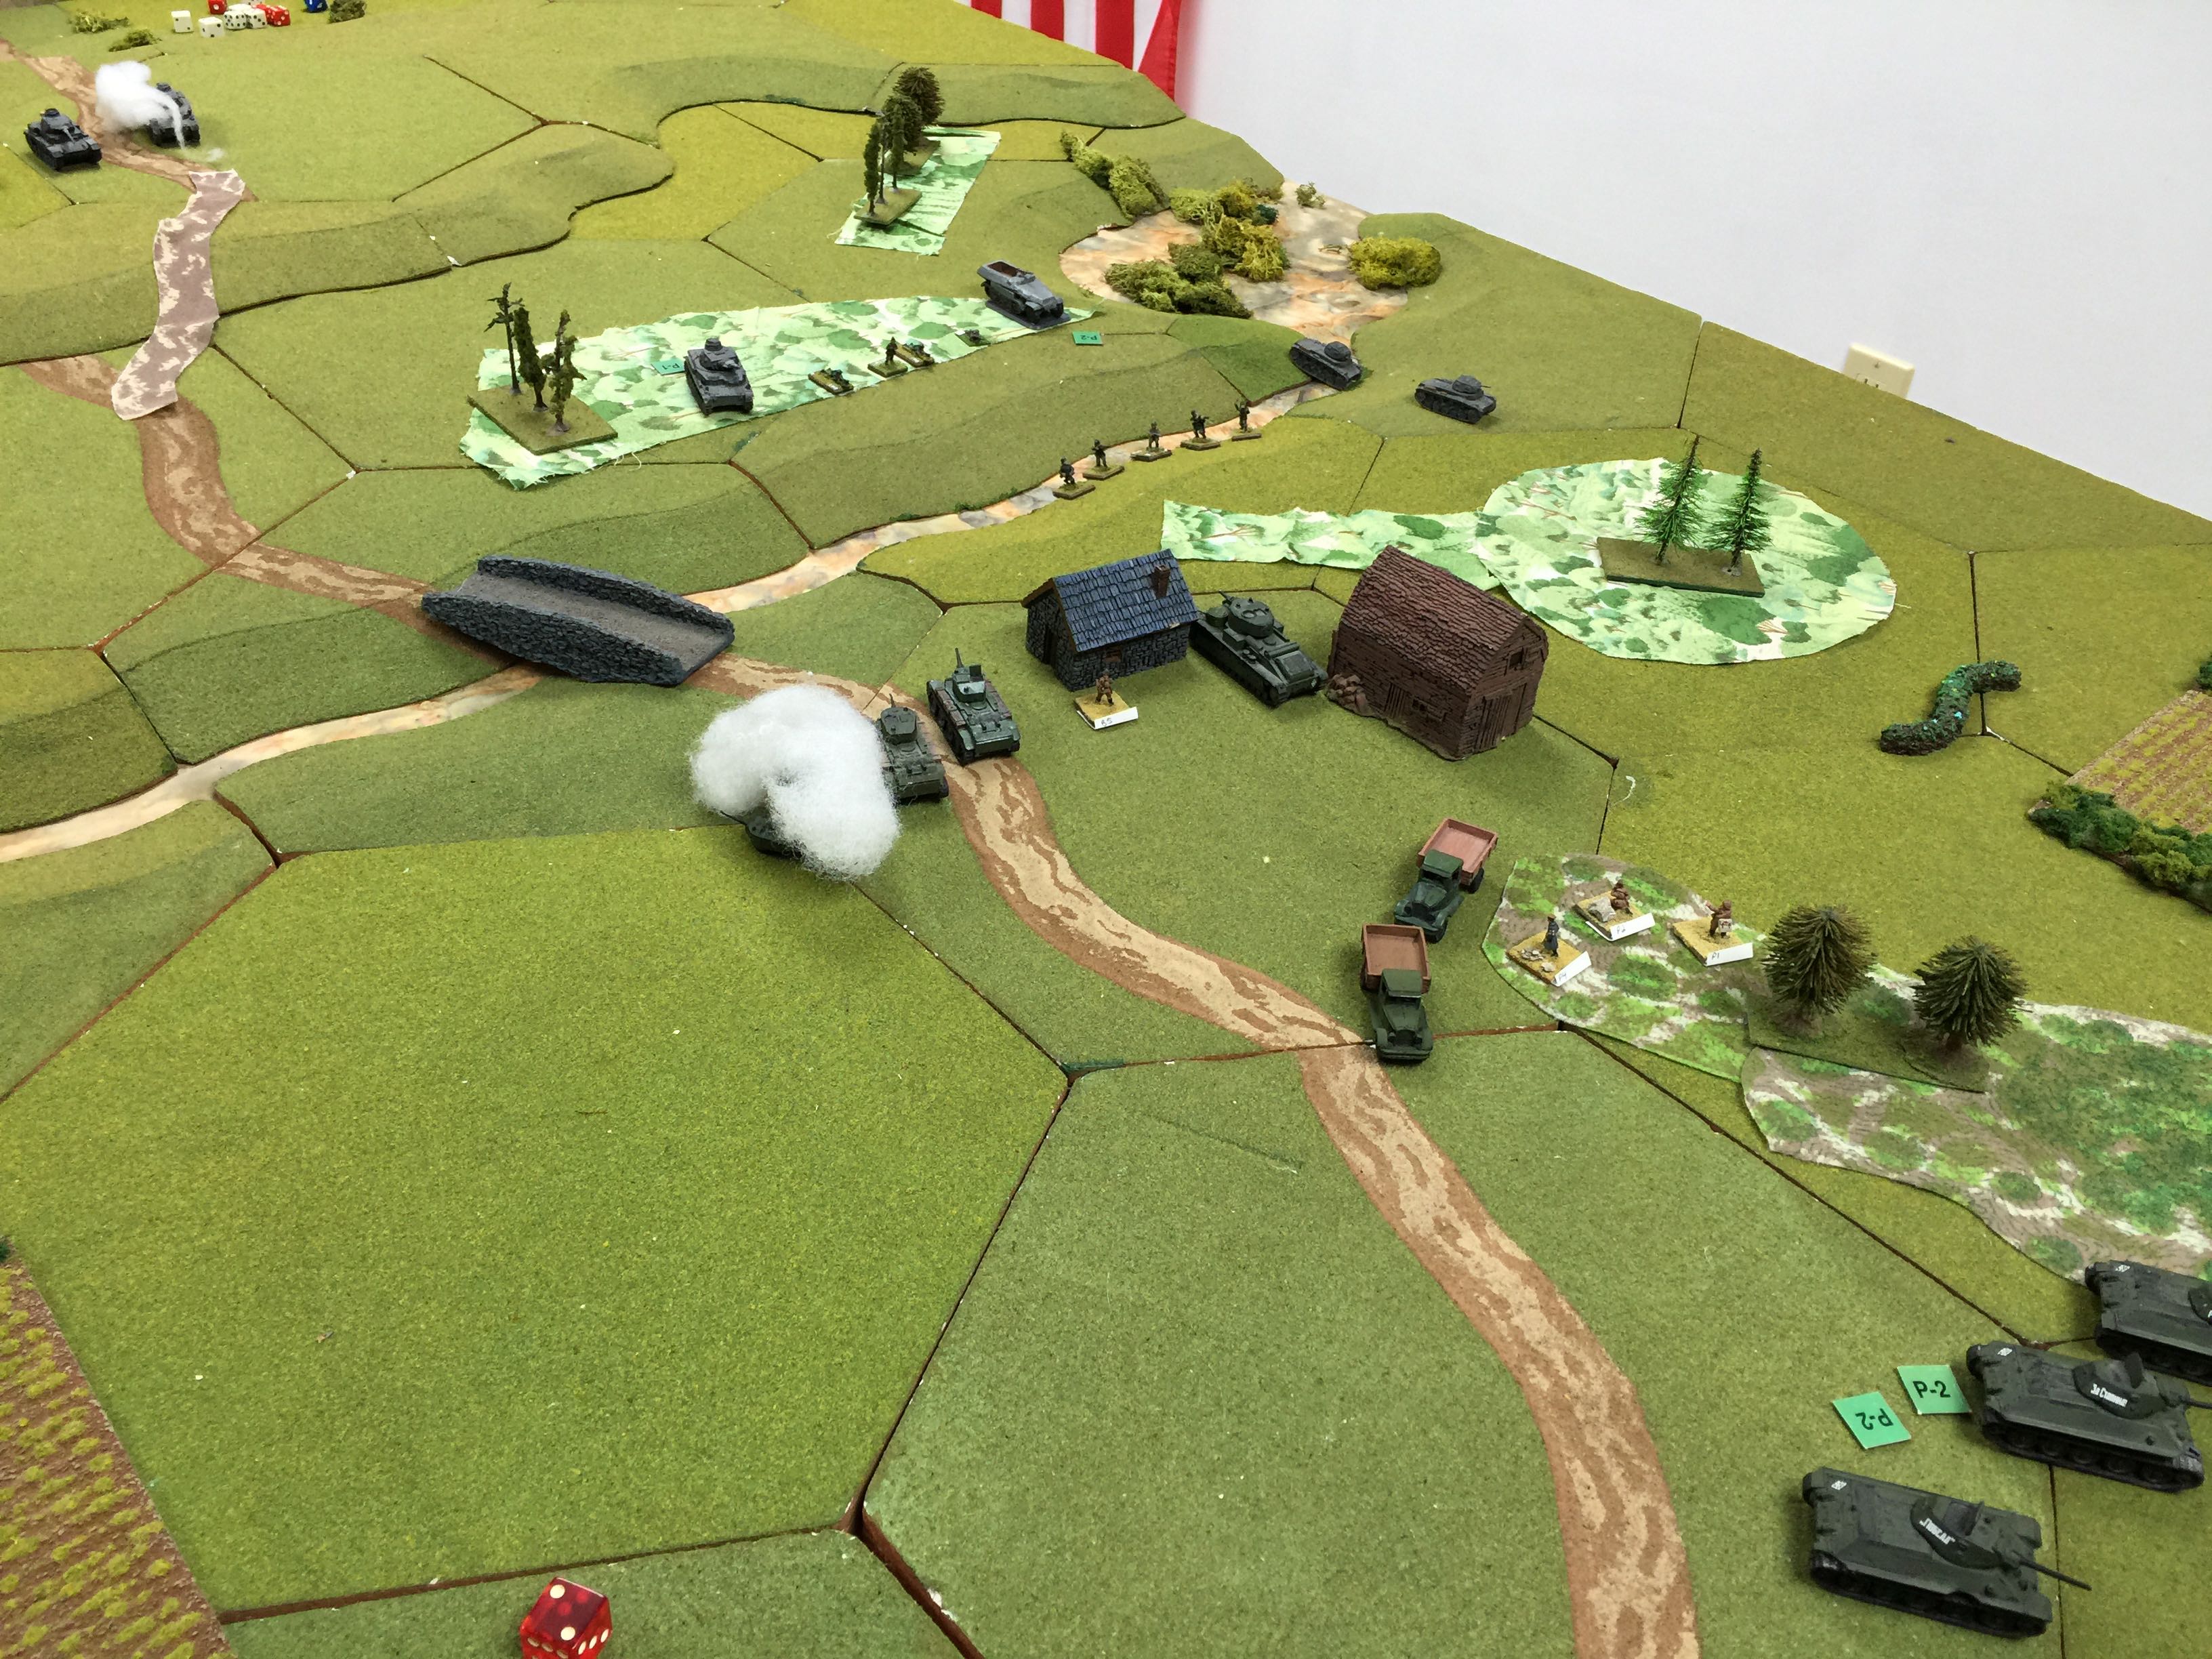
Eric, Chuck and I on New Years Day tried out Bolt Action yet again. This time, it was the second installment from the Skirmish Campaigns book, ’41 Into the Ukraine.

This action took place on June 23rd, 1941 late in the day near Berestochko Ukraine featuring the 37th Tank Division vs the 11th Panzer as they continued their push into the Ukraine.

I always enjoy when we can put a historical action on the table and be faced with having to make more or less the same decisions, tho under much different circumstances than those that served back then.

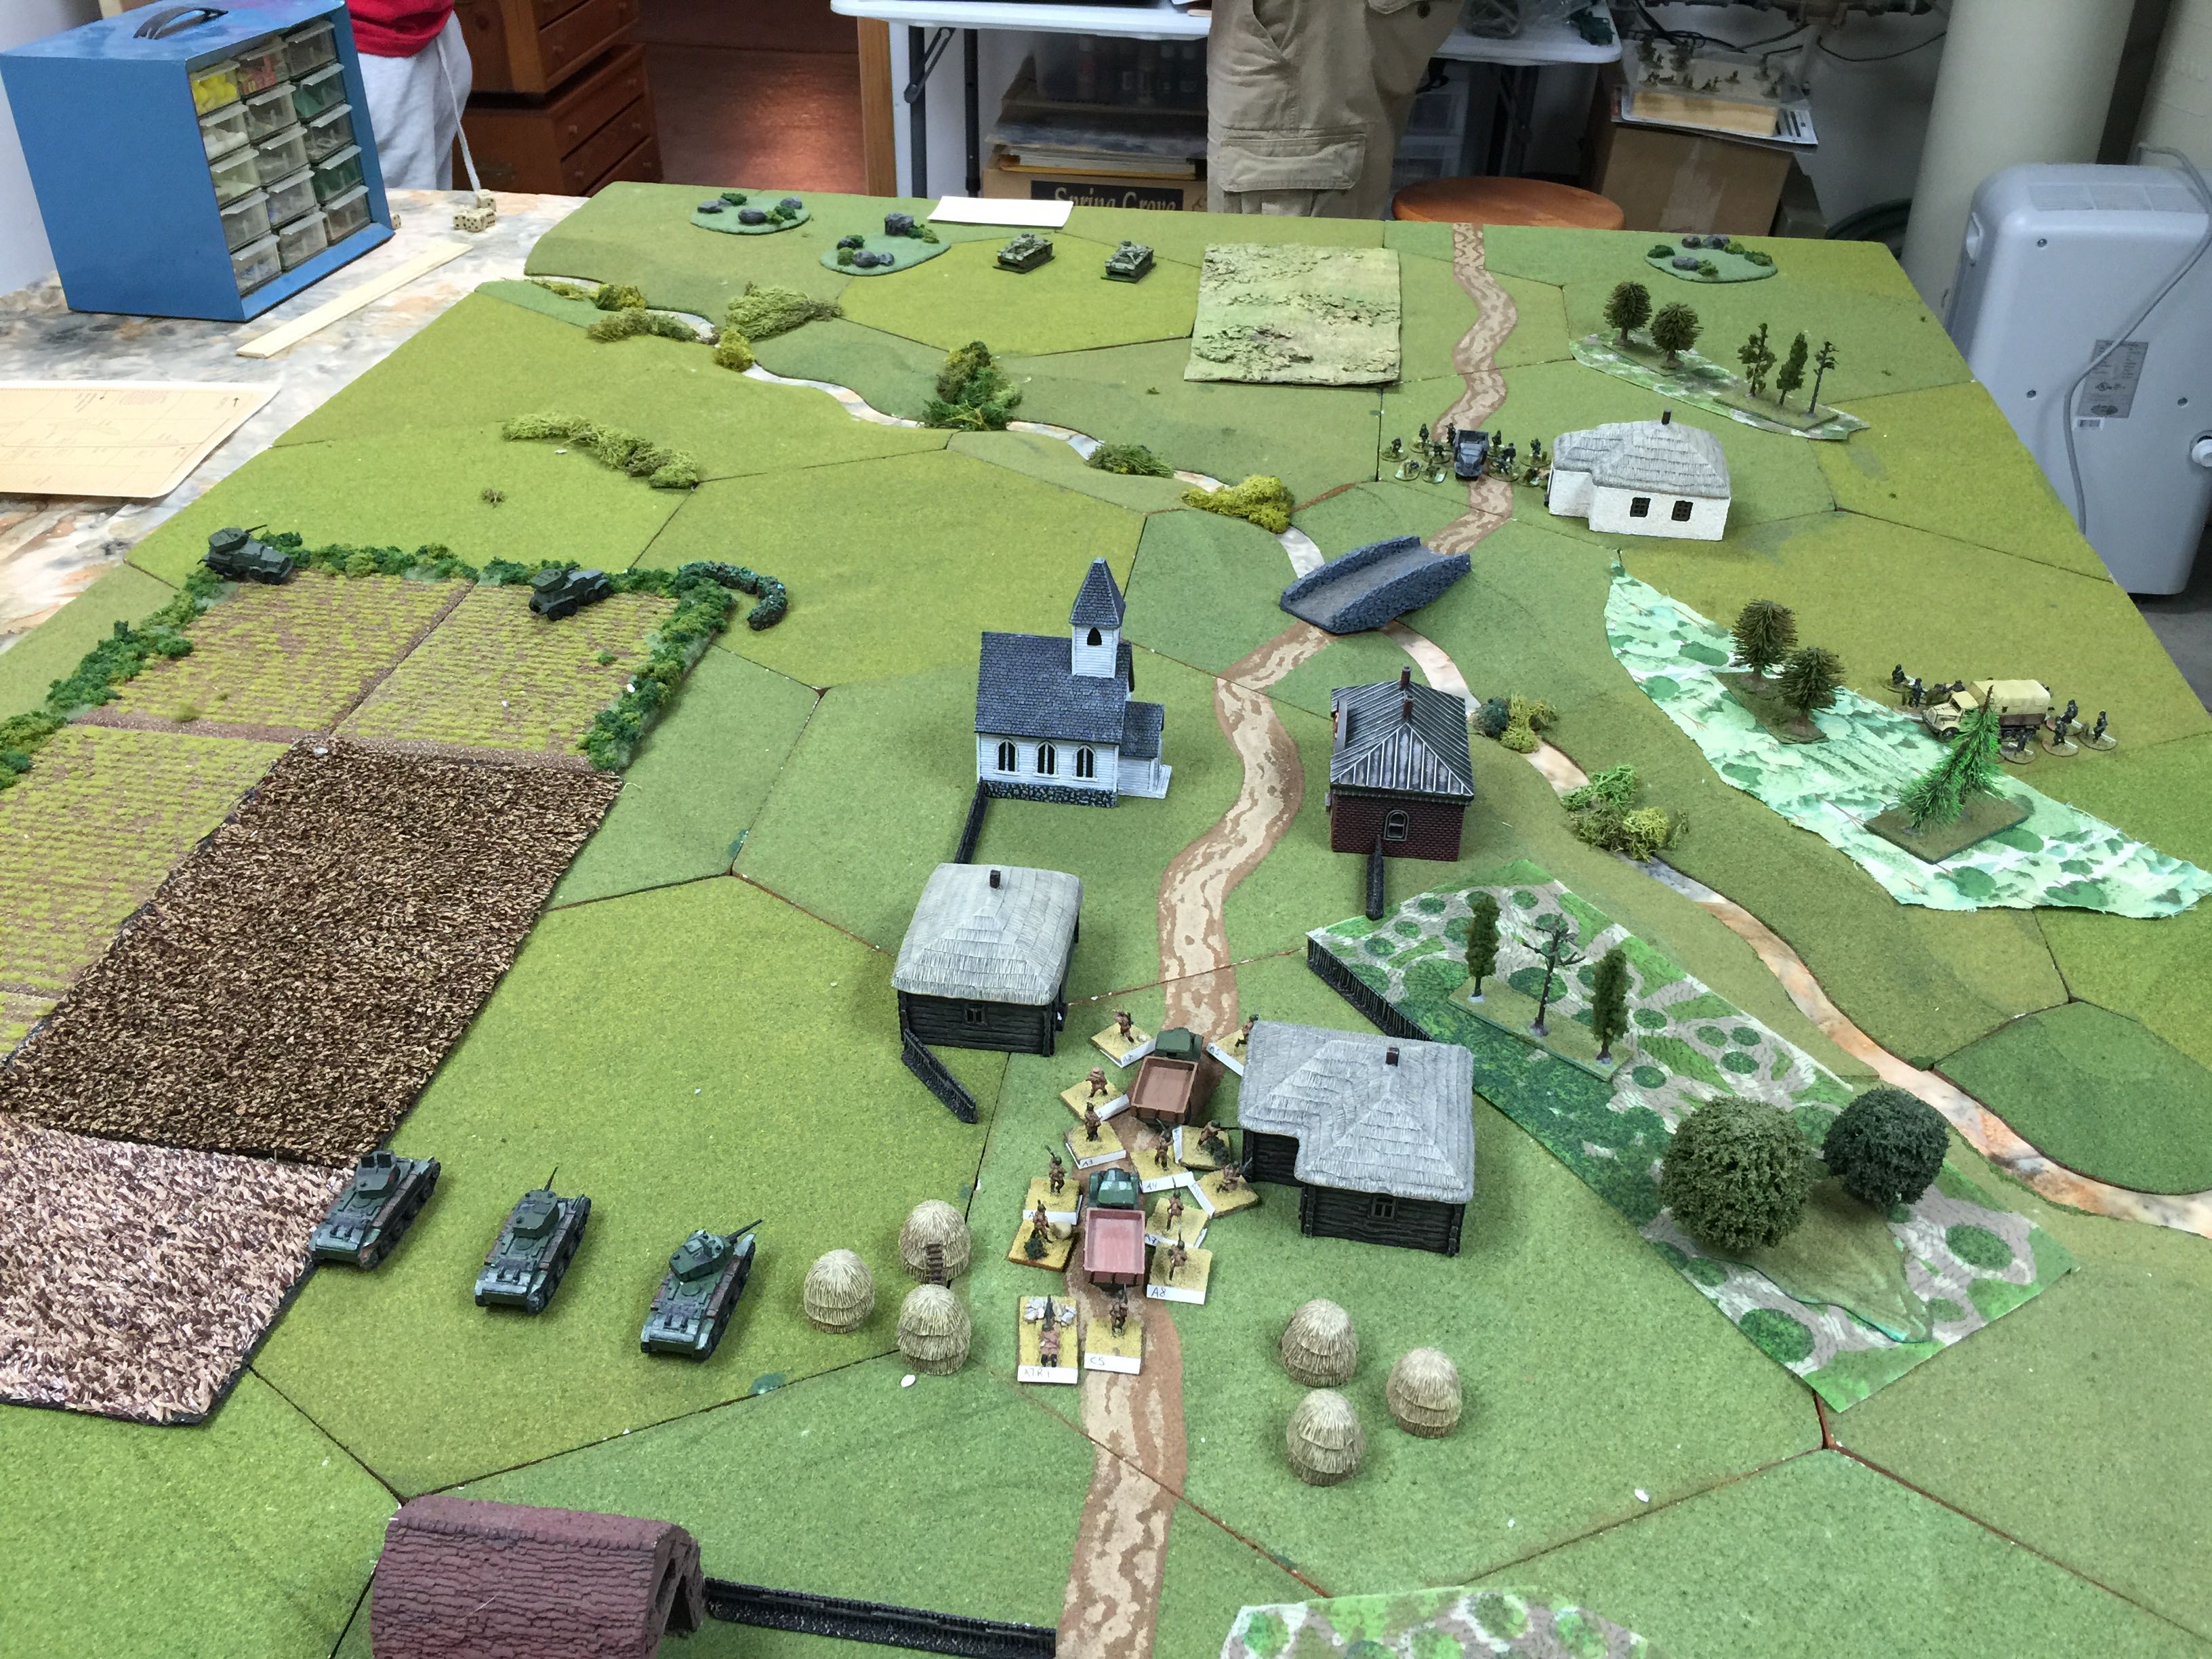
This time Chuck and I were on the Russian side and Ian and Eric were the Germans. Both sides had to enter on table on turn one. The Russian directive was to again slow / stop the German advance and prevent the German armor from getting off table.

For a Russian force we had 2 BA-10 scout cars, 3 BT7s, a somewhat enlarged political section of 5 soldiers and then a squad of 11. We then had to roll for losses, a d4 for each infantry formation. Chuck rolled a 3 for each. For our optional forces check rolled up 3 T-34s and a 45mm ATG.

We had the option of starting our BA-10 scout cars entering from our left flank which Chuck decided to do. Alas with out forces we rolled as poorly as you could roll for when reinforcements would show up. Our 45mm ATG maxed out to enter on turn 4 and 3 T-34s wouldn’t be showing up until turn 6. A very long wait.

Eric started with 2 PzIIIg, 4 Pz IIc, and two squads of motorized infantry and their platoon HQ.

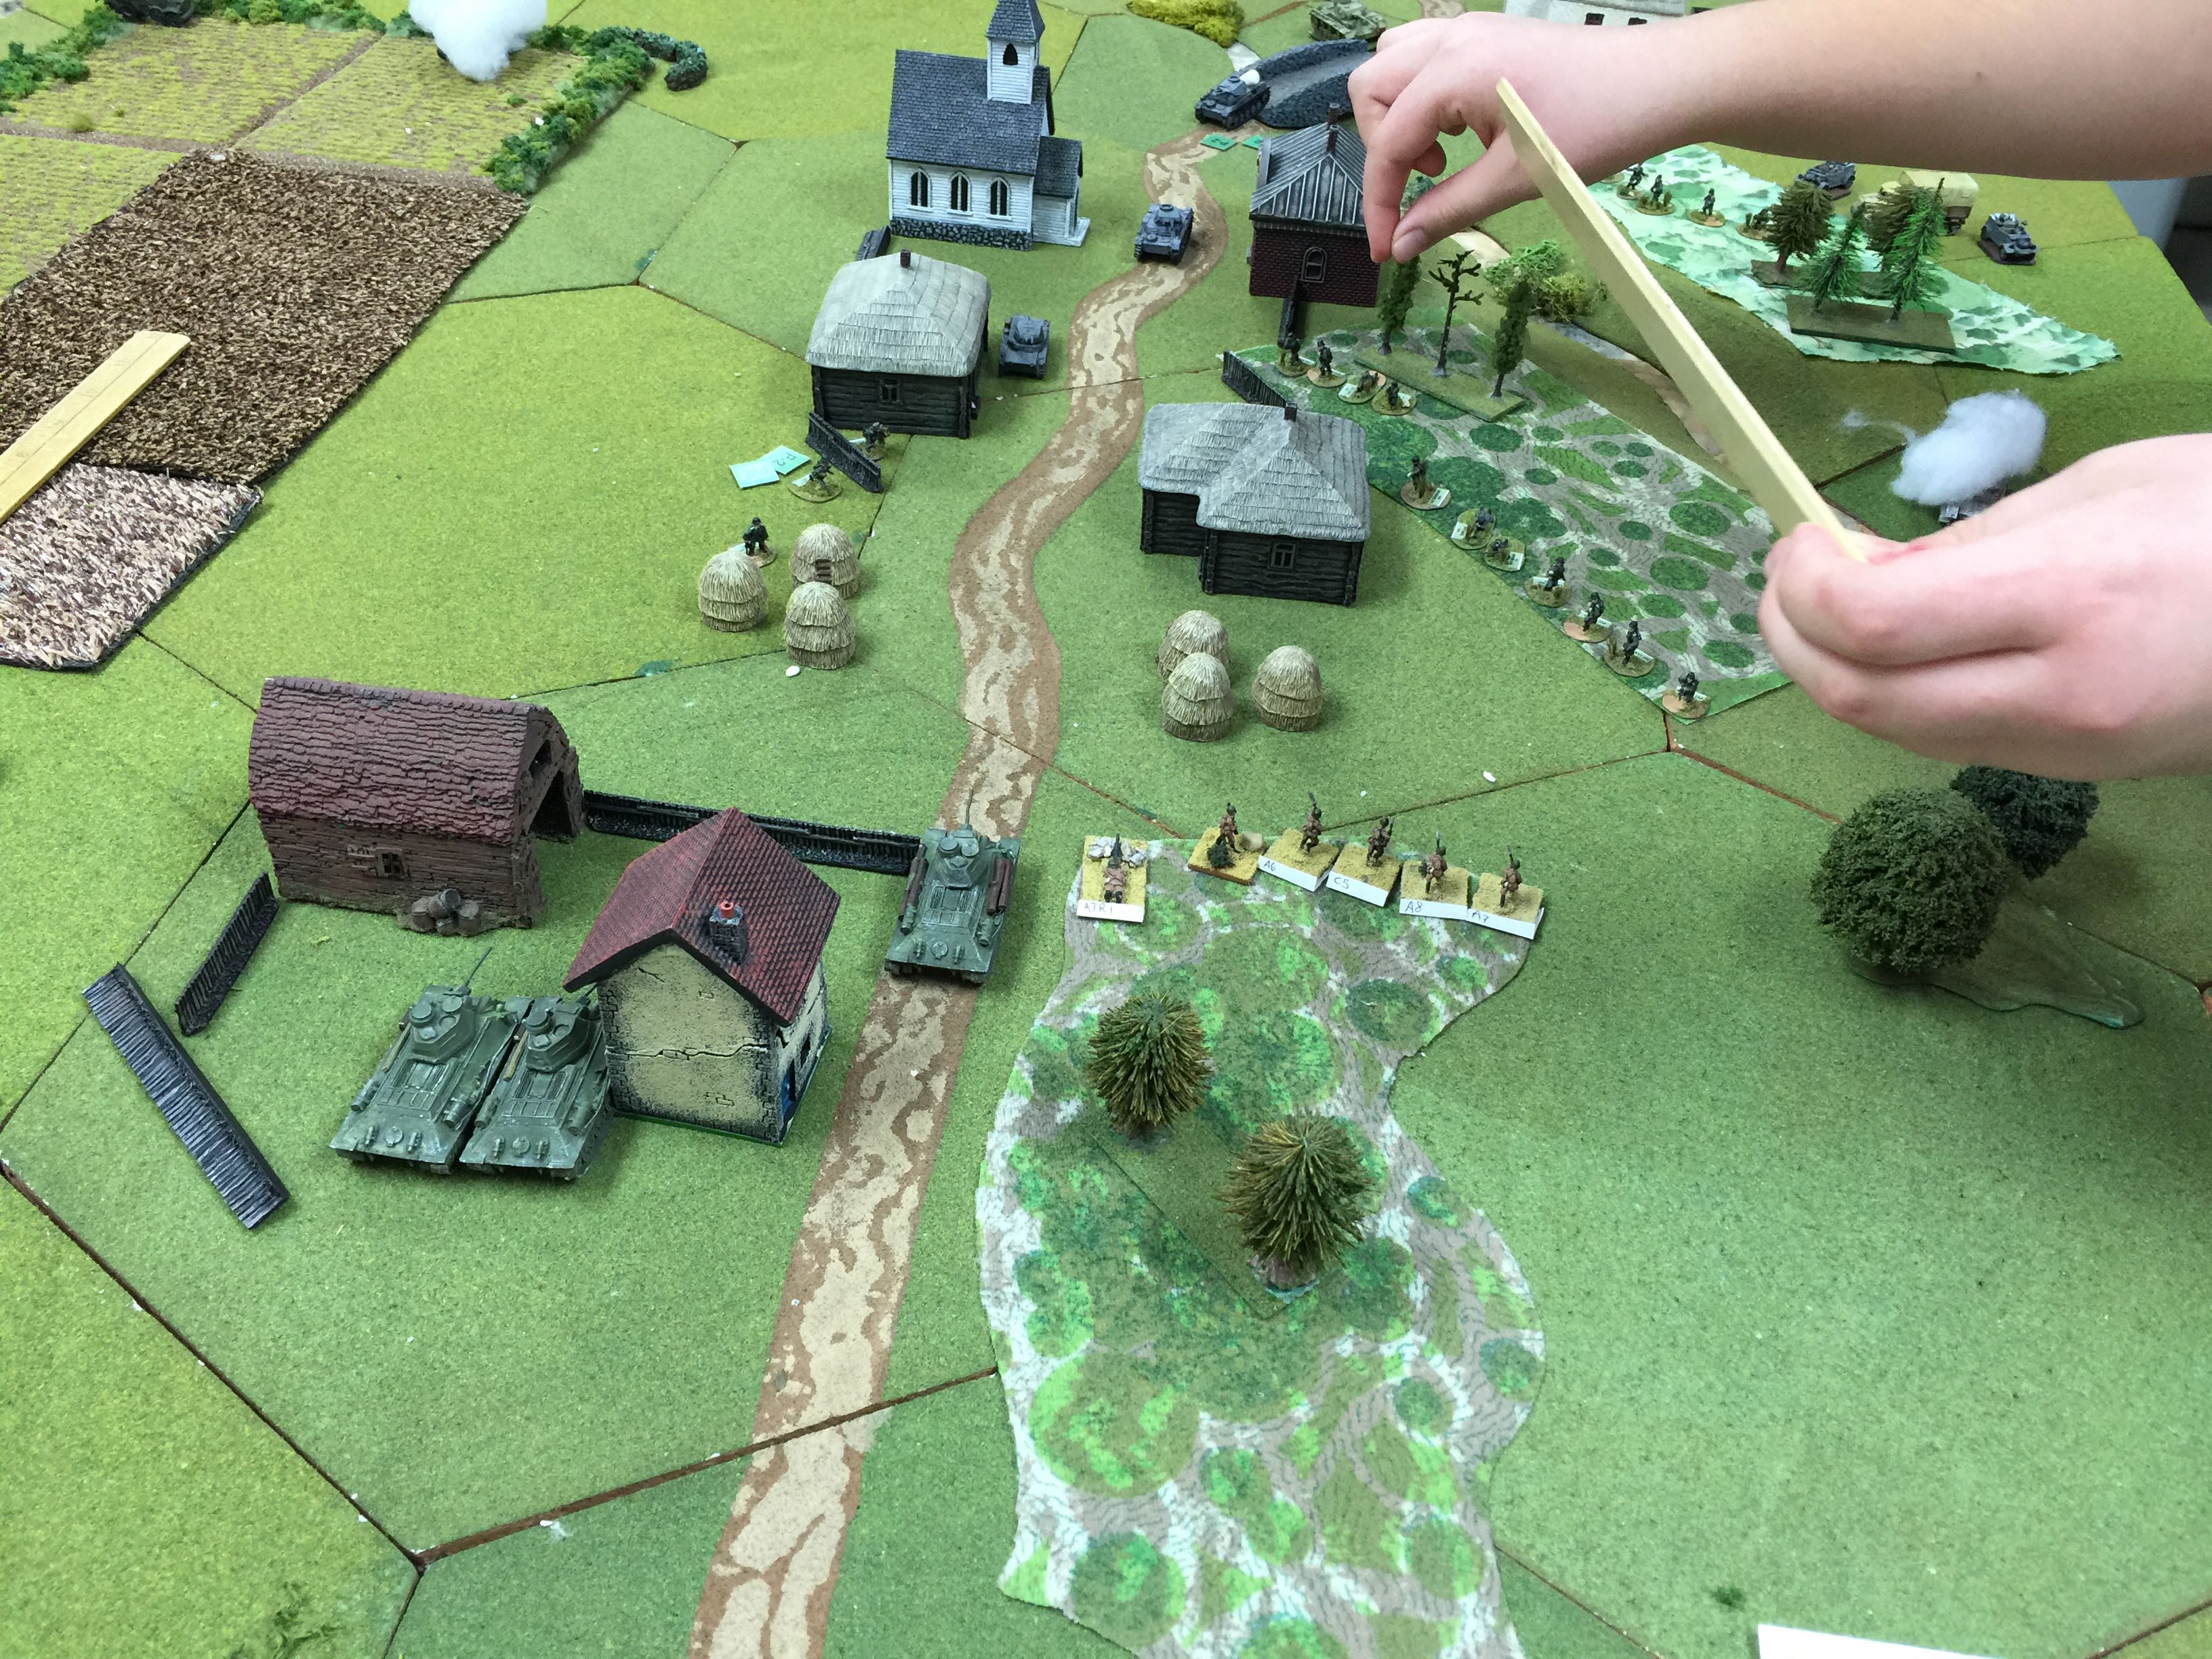
IMG_9080

For an initial plan, Chuck and I decided that we’d plan on pushing into the built up area with our forces and try and keep them back from what should be the “safety” of a town fight.

The gully is muddy and so is the field so vehicles had a chance to bog. The bridge was in less than great shape which was a hint to Eric. Fate would allow him to more or less ignore my hint.

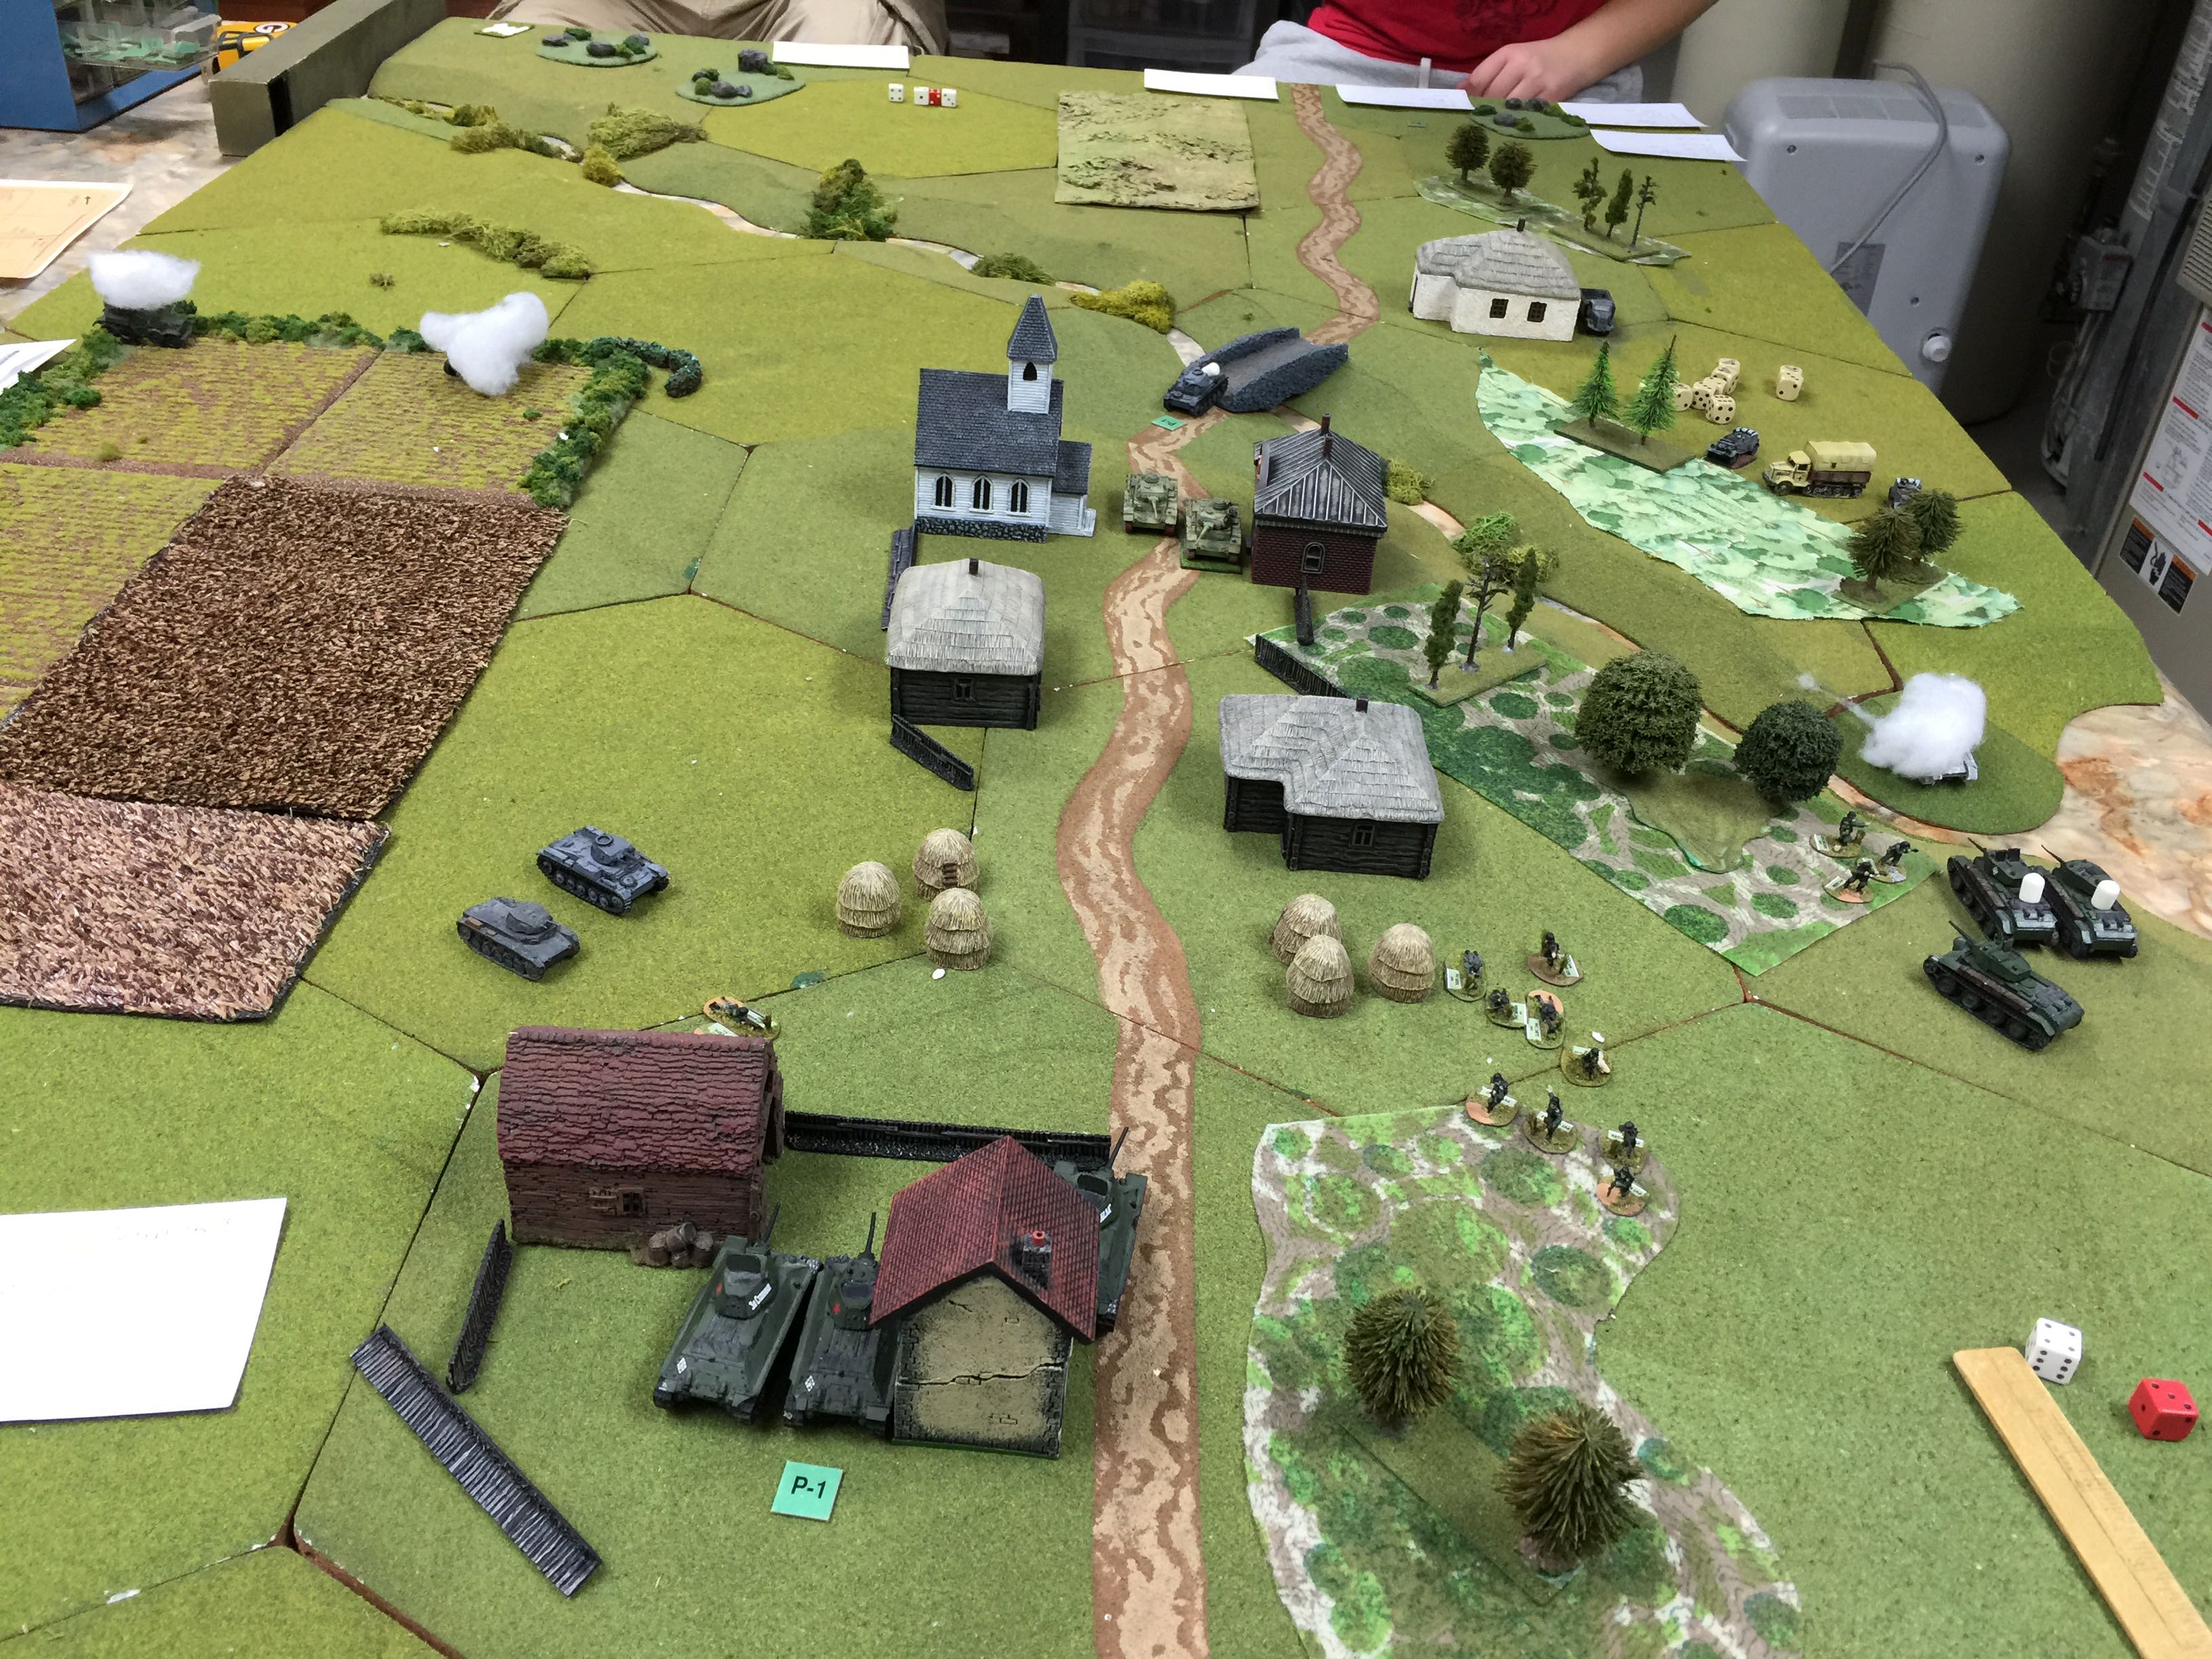
IMG_9081

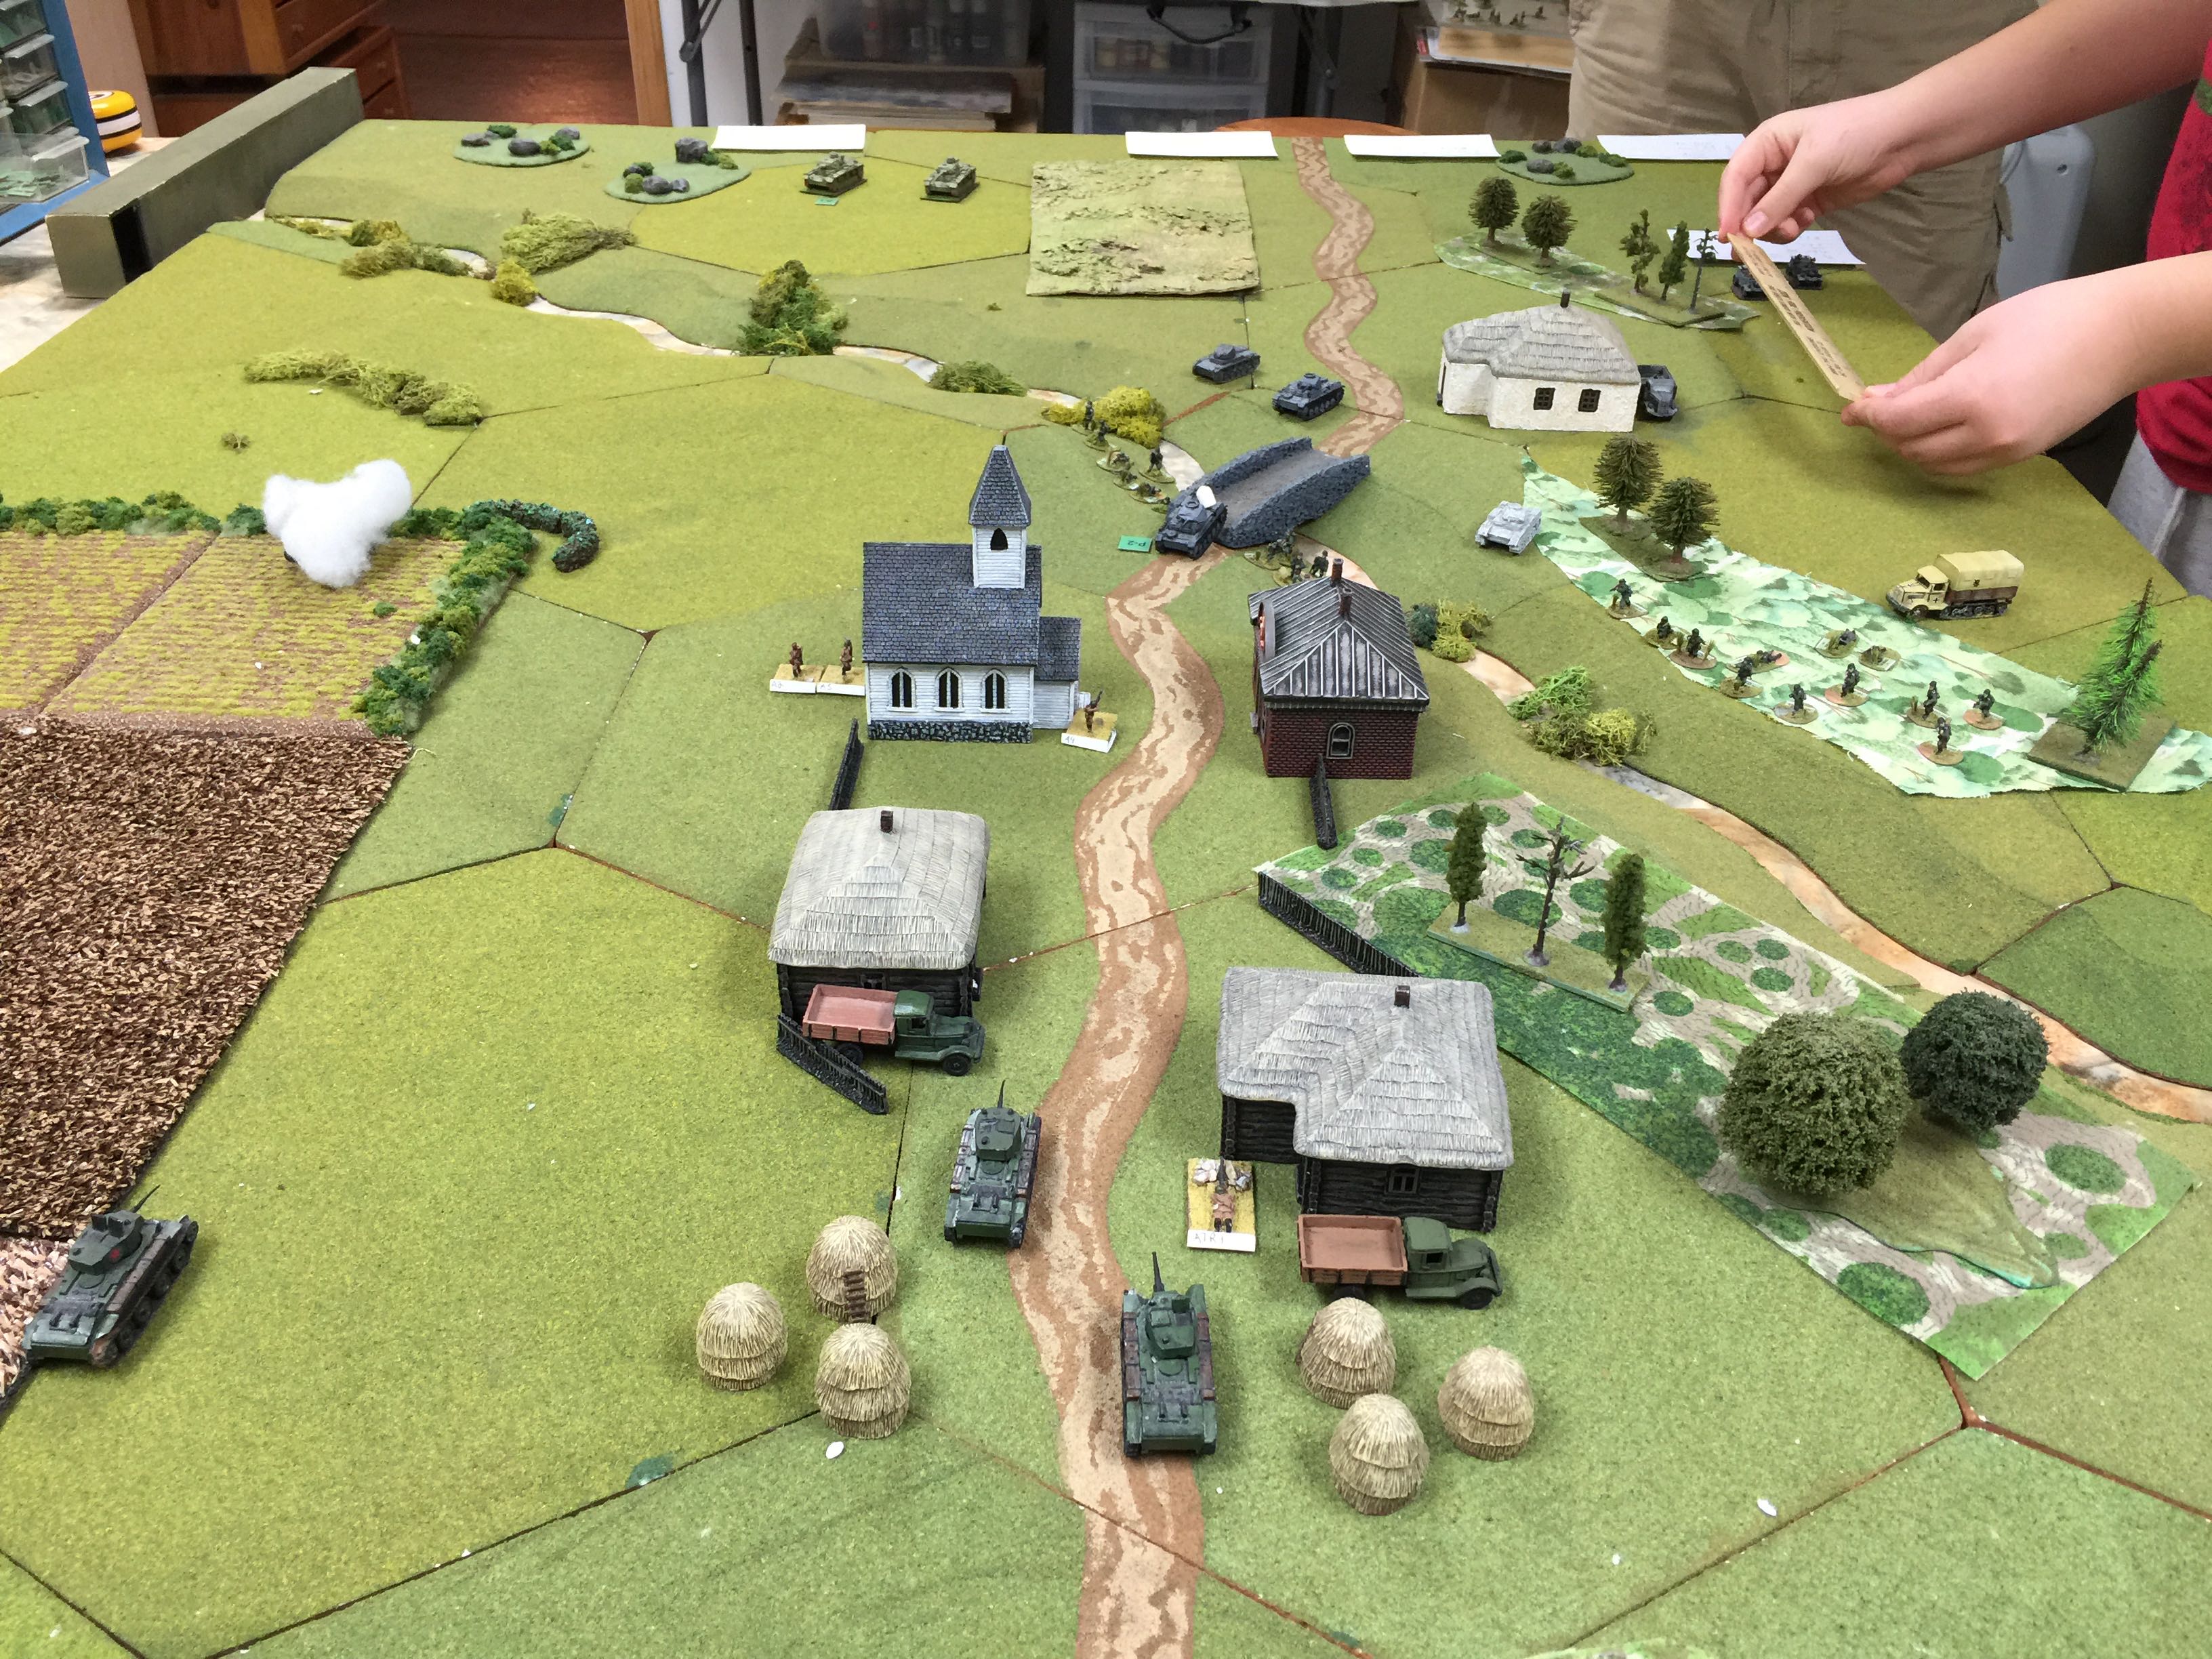
Turn one, our trucks entered on the road and the infantry dismounted. The BT7s keeping to the left flank but staying far back given they were easily out gunned by the PzIIIgs they could see at a distance.

Our two scout cards came on and one immediately got stuck in the field.

Eric had his infantry drive in and dismount on the opposite side of the gully. They seemed to have decided to cross on foot. This picture is also be fore Eric’s Pz IIc tanks arrived.

IMG_9082

The Pz IIIg tanks easily make quick work of the two armored cars. Favorable draw of the cards will do that. The German infantry decide to duck into the woods as well as into the gully.

We push our infantry into the builds. I take the former church and Chuck takes the back right building.

The PzIIc tanks press forward and it’s a good match up against the BT7s, least in Bolt Action. Autocannon vs Lt ATG. We got the drop and the tank on the bridge is hit and immobilized. Unplanned but effective way to block the bridge.

IMG_9083

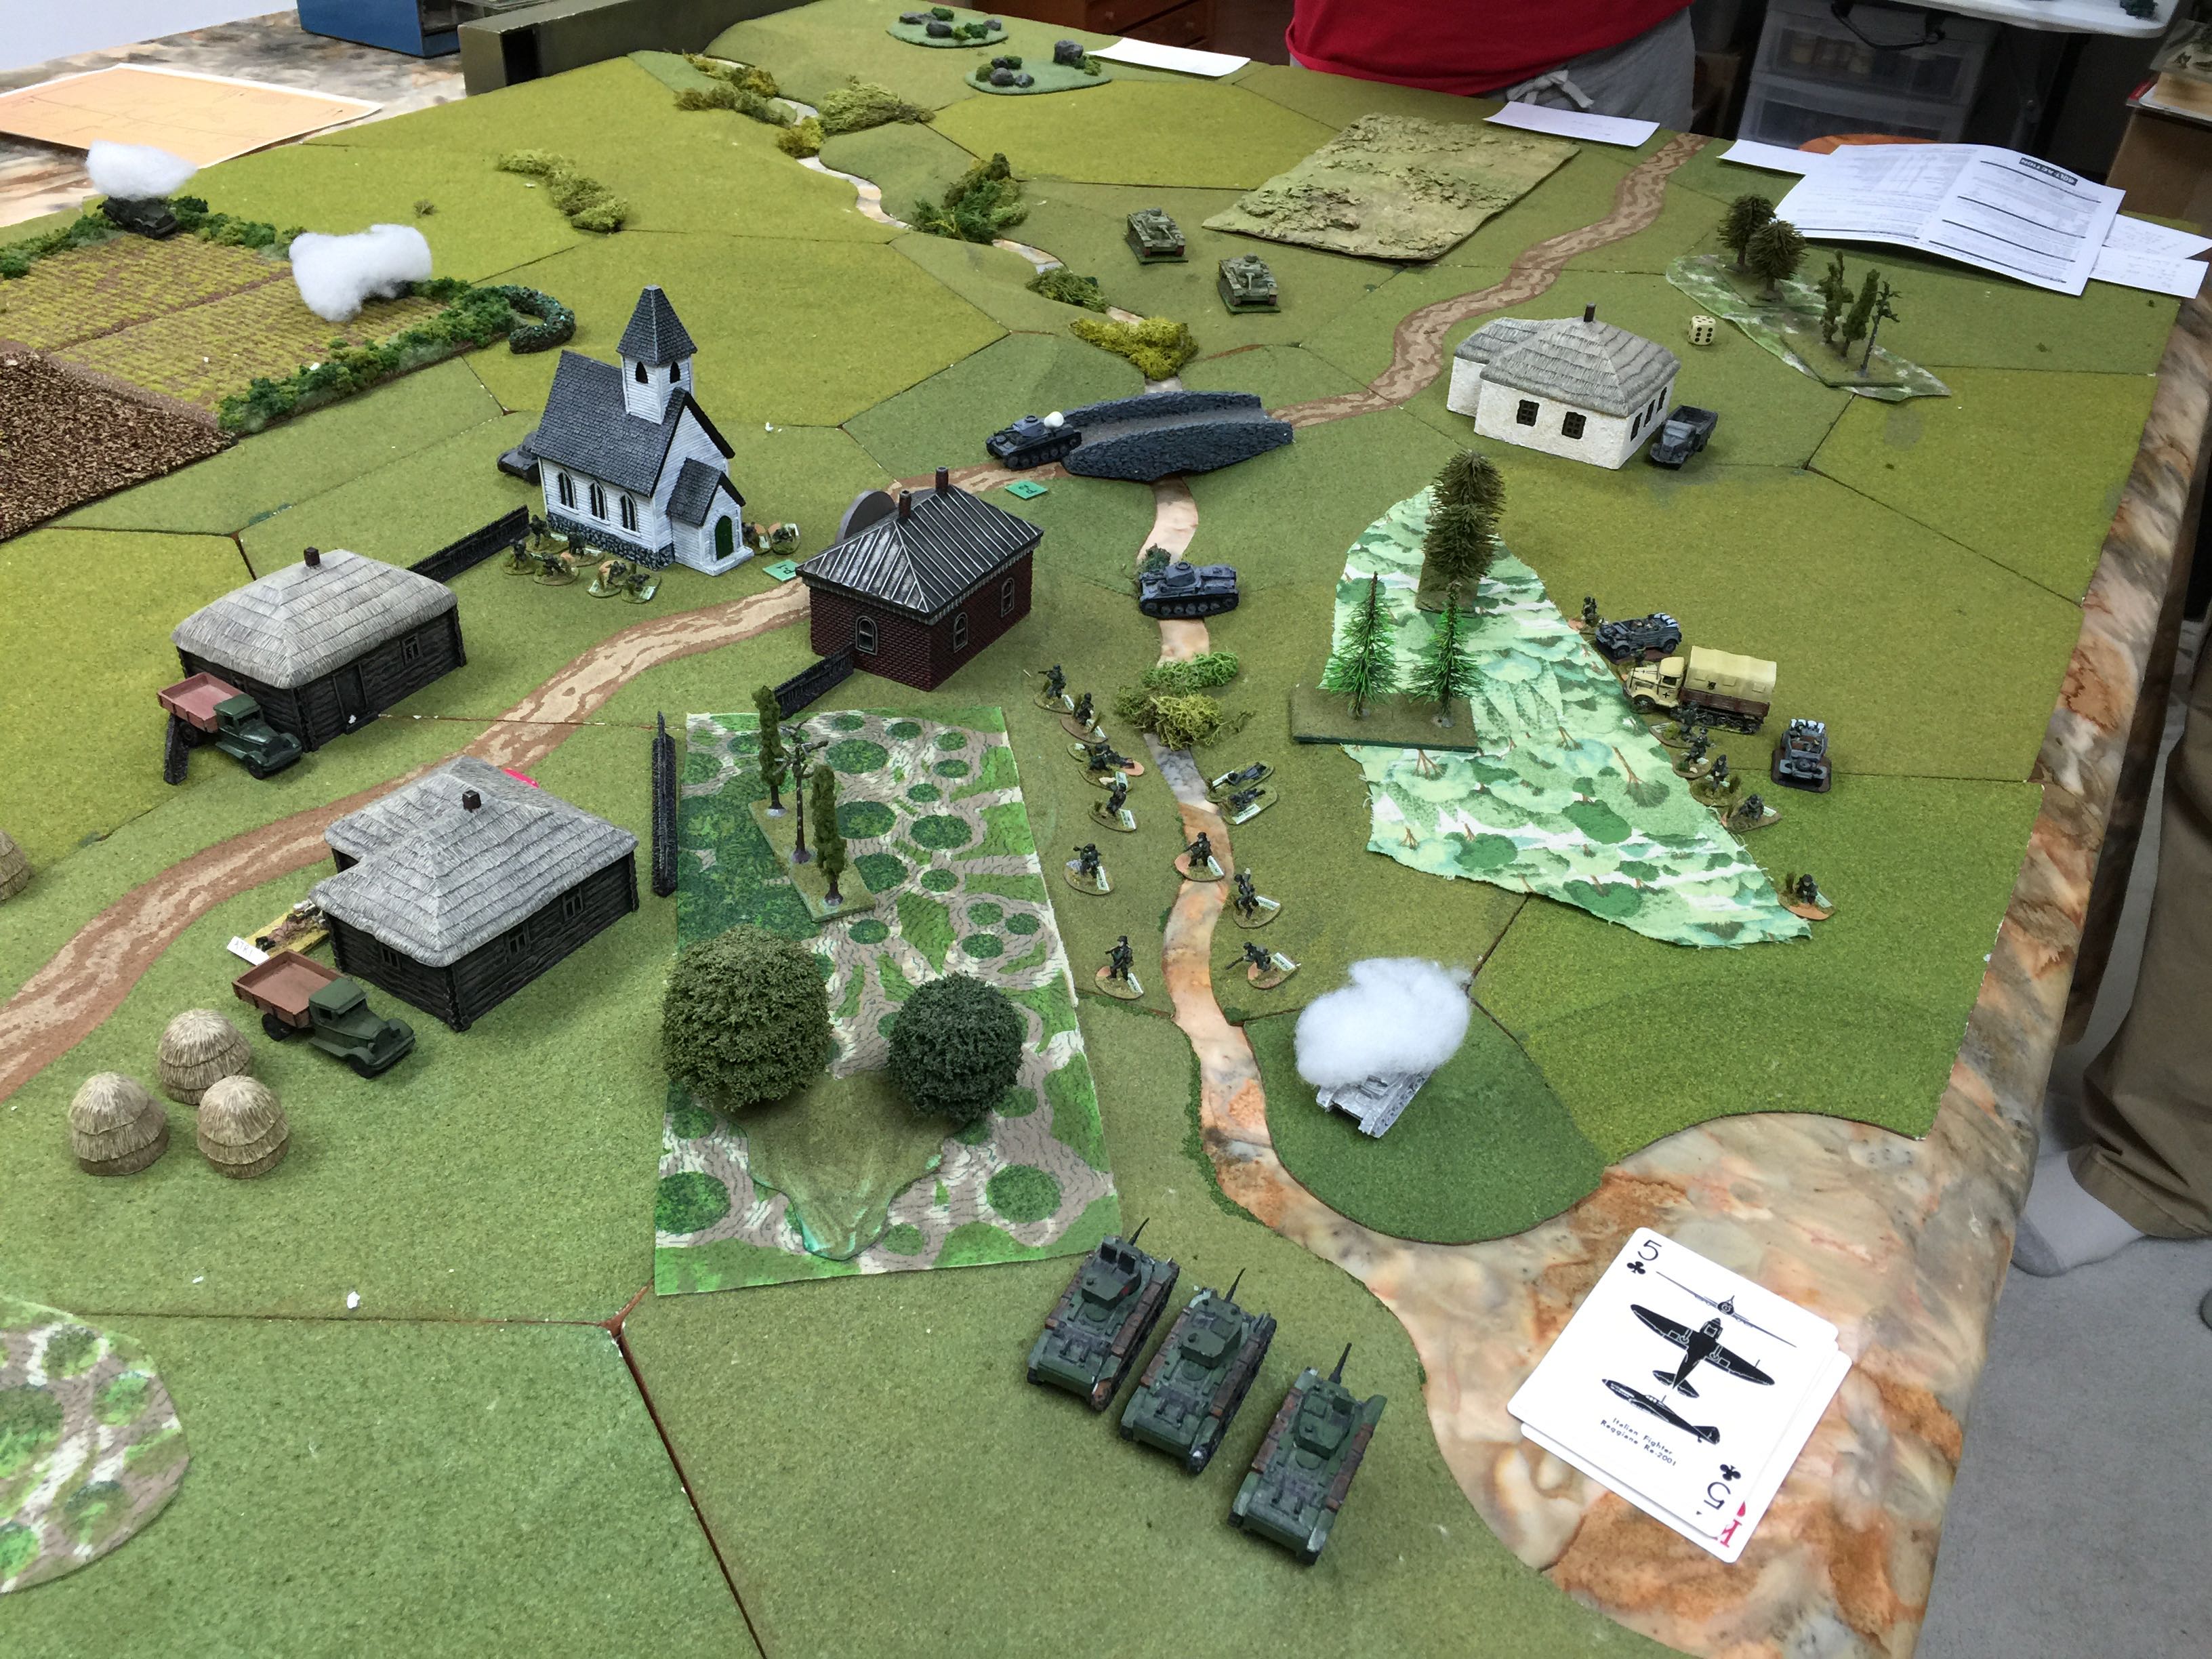
We swung our BT7s around to the right in hopes that we can cover armor that would try to cross the gully and but most importantly hopefully get some machine gun shots on the infantry in the gully. This doesn’t go as planned as the priority target is the armor. The one Pz IIc you can see in the gully bogged.

The other Pz IIc you can’t see as it’s on the other side of the river obscured by the buildings and under the smoke right by the cards is a brewed up Pz IIc, the victim of decent BT7 shooting and about the last of the good shooting by the Russians as we were about to be rained on with pin markers.

The German infantry by the bridge would rise up and charge into the church for a close assault. Firing at Germans charging in the open, I figure I should be able to deal with, especially giving I had an LMG and the squad and Eric had done nothing to prep the position. Wrong. Even with the generous shooting of all that charged at me, only got one so we went to close combat which when across an obstacle like a building means both sides  resolve their attacks at the same time.

Unsurprisingly inexperienced Russians vs Vet Germans isn’t going to end well. Least for the Russians. It didn’t. Eric rolled really well and got ever man in the Russian squad. These are the things that happen when you give Boris the gun and Ivan the ammo.

IMG_9084

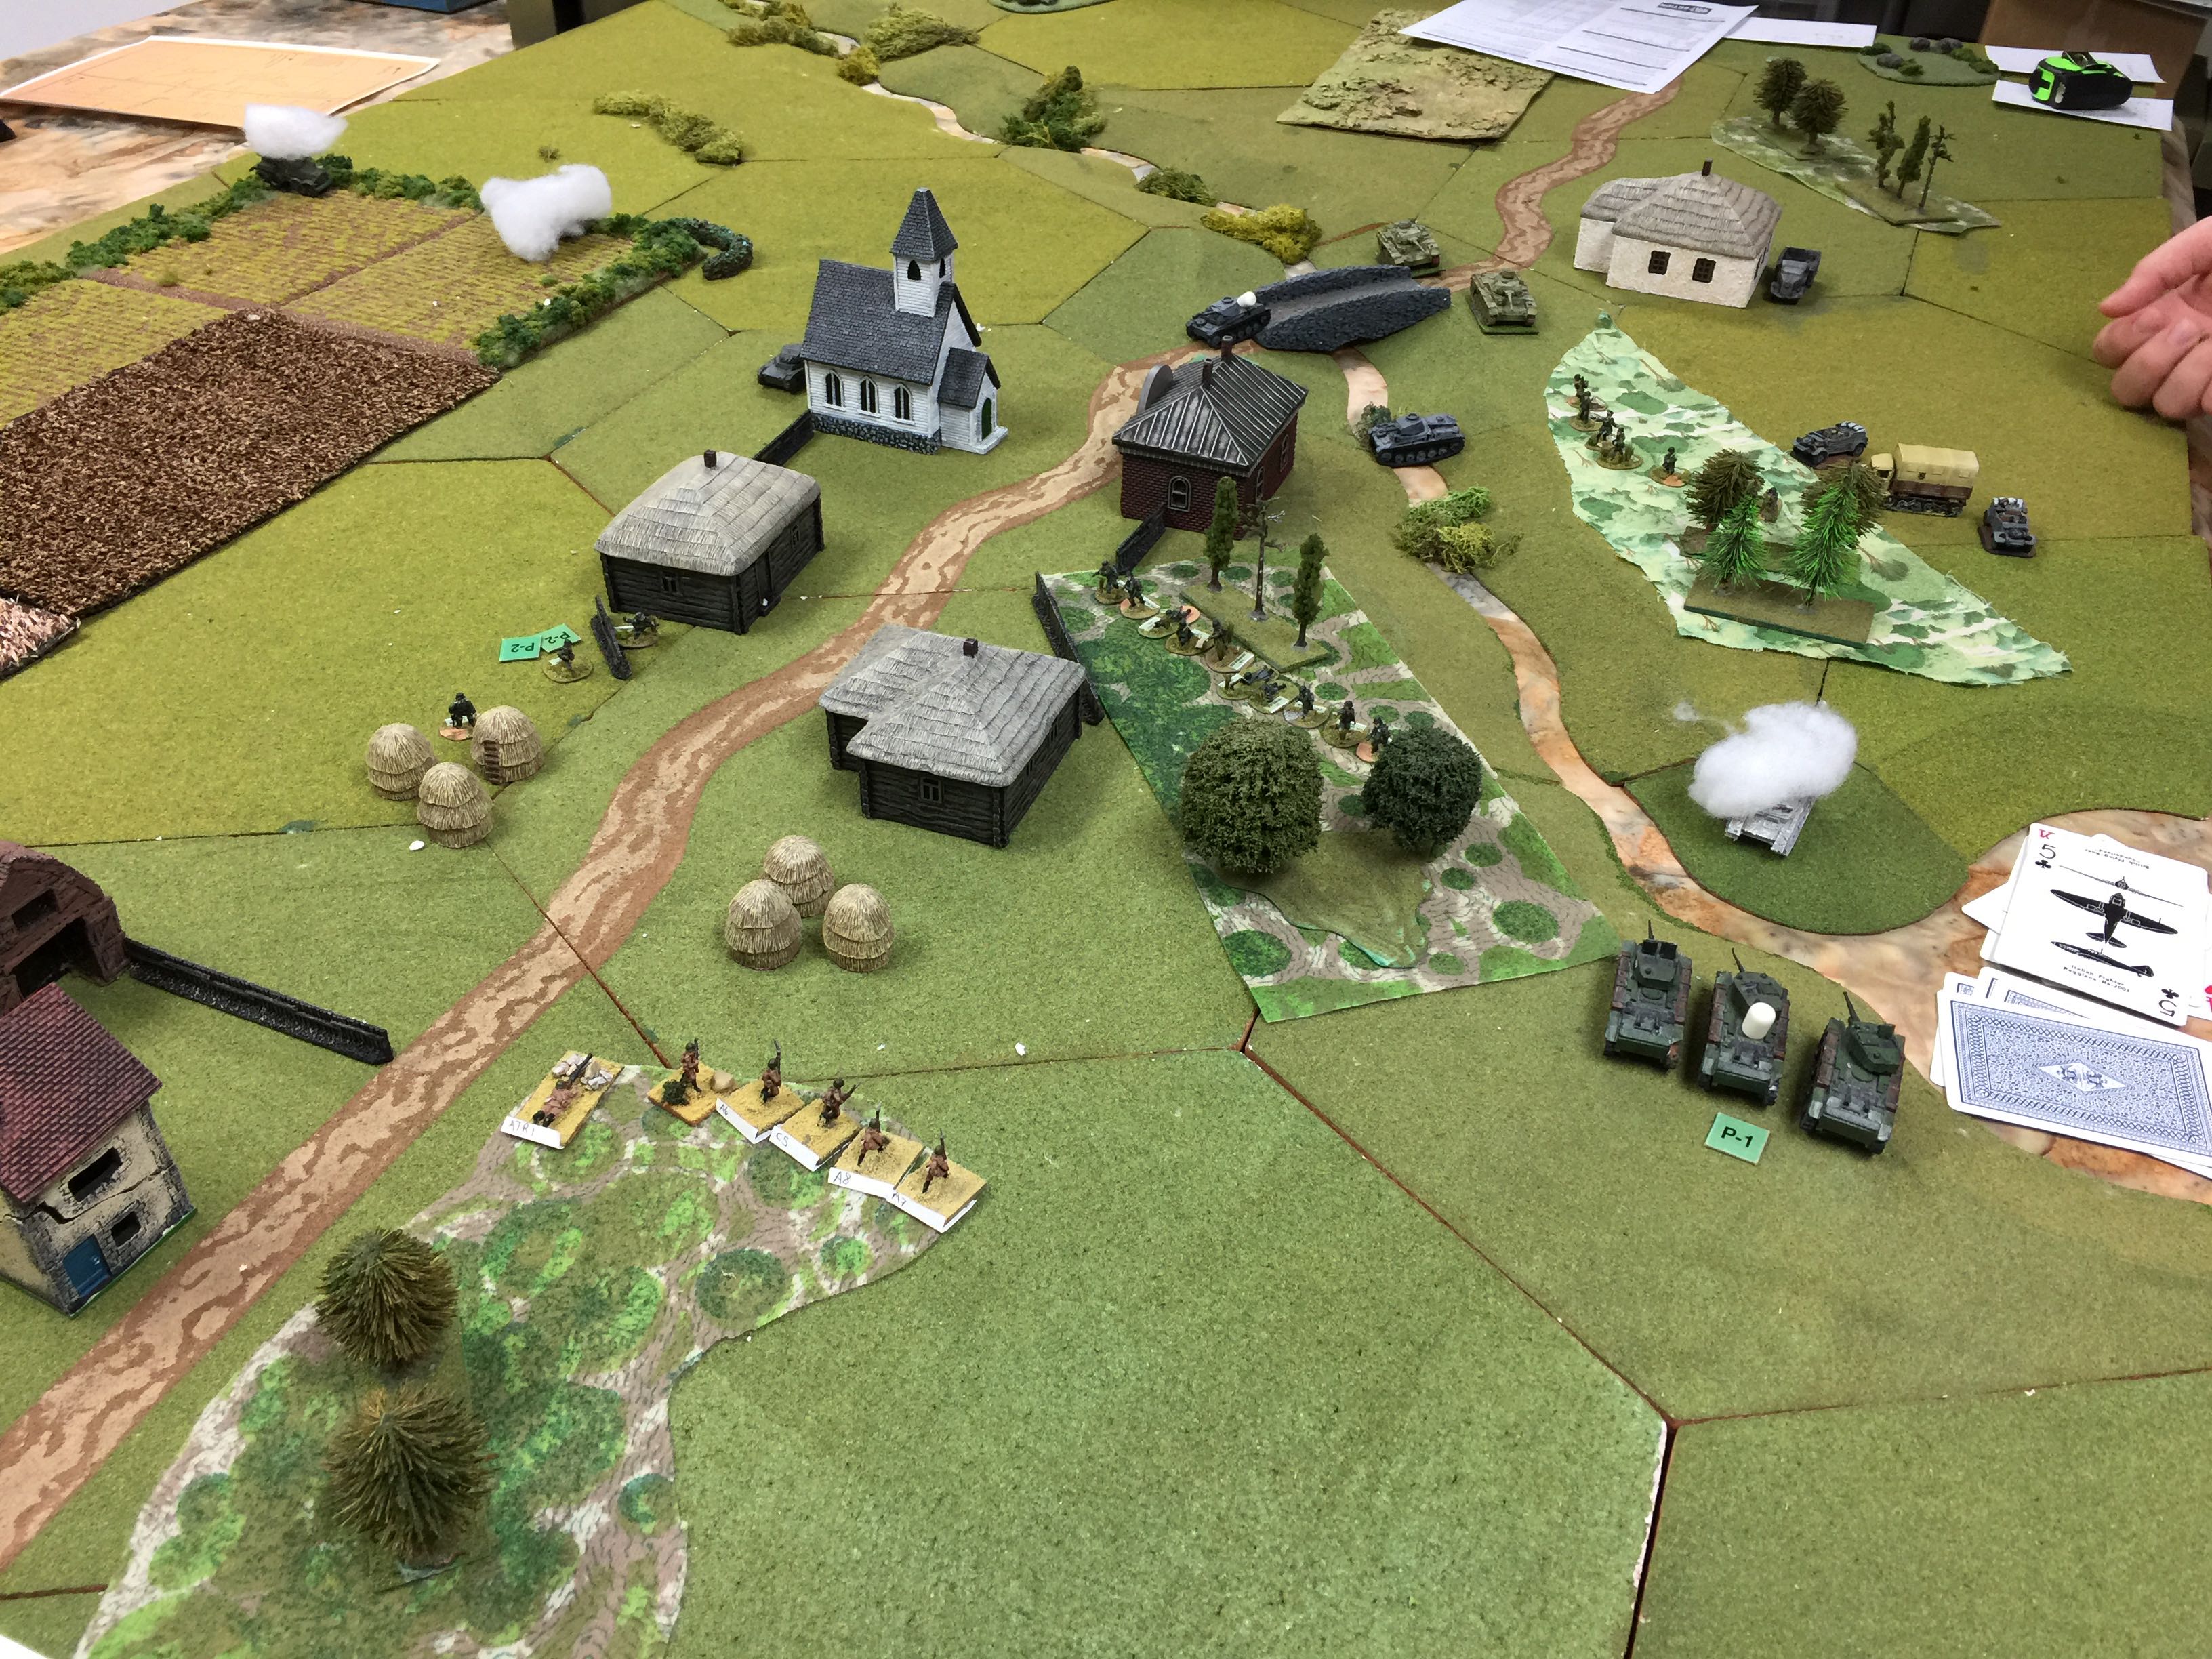
The next turn Chuck designed to get out of the town before suffering the same fate. Smart Commissar feeling the nose start to form around his neck. Also one of the BT7s was immobilized.  The town at this point was pretty much in the hands of the Germans.

IMG_9085

But here comes the cavalry to the rescue… or so we hoped with the arrival of the T34s. Surely they could puff out their chests and scare off the Germans with their impressive armor and guns.

Not so much. Chuck was able to get just enough pin markers on to the T34s that they effectively had to keep rallying in order to stay effective. Worse we just couldn’t stand up to the infantry given our own infantry had effectively melted away. Chuck’s small squad took a few hits and it was pretty obvious to the Commissar, time to continue to fall back.

IMG_9086

Last turn before we packed it up, PzIIcs rolling up and another BT7 immobilized and the Pz IIIgs safely across the gully. Highly doubtful we’d make it to the end but we’d held 8 turns which wasn’t bad.

Over all with two play tests of Bolt Action under out belt, I put together my review of the rules in another post. I think over all as a ruleset it needs work. There are some interesting elements in the design but lumping guns and tanks into limited categories and saddled with the use of a single d6 dice for penetration check and results, it just doesn’t work for me.

Posted in Bolt Action, Playtest | Comments Off on Playtest: Bolt Action Barbarossa chapter 2

Review : Bolt Action

We play tested Bolt Action a set of WWII skirmish rules published by Osprey and made by Warlord Games. It’s a beautiful book benefiting I think from Osprey’s library of excellent artwork as well as their very skilled publishing staff.

I very much like and appreciate that the rules and expansions for Bolt Action are available both in print as well as electronically. I have the printed rules (and recommend you get that as well). The expansions I’ve turned to electronic versions picking up the Tank, German and Russian books. Oddly tho I don’t seem to be able to get electronic versions from the Osprey web site anymore and instead had to get them via the Amazon Kindle store. O well. It works.

The core rule book gives you just enough to get started with not only the rules but a smattering of stats for Germany, US, Brits and Russia to be able to play without having to get an expansion.

I’ve been looking for a good set of WWII skirmish rules for quite awhile and frankly Bolt Action still isn’t it. Over the years we’ve tried Battalions in Crisis, Battleground, Face of Battle, Rules of Engagement and a few others.

So why does Bolt Action fall short and what good qualities does it have?

Firstly it lumps tanks and guns into categories. It really distills away the flavor and nuances of various WWII hardware. Bolt Action uses a damage value for tanks. So a soft skin truck is a damage value of 6. An armored car is a 7. Tanks like the Russian BT7 or German Pz IIc are an 8. The Pz IIIg is also an 8 but the T-34 is a 9. When you fire at such beasts, if you score a hit (it’s a d6 roll) you then use the penetration value to add to a d6 roll. So the Pz IIIg for instance has a medium AT gun and adds 5 to the roll. So say you roll a 4 (+5 penetration) and you’re shooting at a T-34 with a damage value of a 9 you do a superficial hit as you’ve just tied the value. If you get a 10 you do a full on penetrating hit. Potential modifiers include side (-1), rear (-2) and long range (-1).

For the penetration roll, again it’s drop another d6. For a superficial hit it’s d6-3 and for a full penetrating hit just d6 unadjusted. A 4-6 brews up the tank, 1 (or less) is a stun, 2 is immobilized and 3 is a fire.

So take a KV2 or KV1. They’re a damage value of a 10. Ummm this is where one should remind the authors of the Bolt Action rules the stories of German tanks unable to deal with KVs. Literally. Yet by these rules a Pz IIIg is able to take one out with a direct frontal hit! Roll a 6 penetration, +5 penetration for a “medium” anti-tank gun for a 11 which gets you a roll for a full penetrating hit.

But even then when you get a penetrating hit, there’s no modifiers for the roll to see if you brew up the tank. Doesn’t matter where you sit in the category of “a medium” AT gun, it’s a straight up die roll. HVAP? Doesn’t matter, not in the rules.

Also consider the T-35, the Russian early war land battleship. Bolt Action gives this a damage value of 9, the same as the T34. It’s pretty well documented that the armor plates on the T34 performed much better than the T35 given the slant on the T-34 even tho the thickness of plates on the T-35 were at best 70mm which was more than the 1941 T34 variant which at best had 52mm of armor.

Let’s talk about small arms fire. It’s all d6, with one roll per rate of fire. There is a -1 for soft cover and -2 for hard cover on the to hit. Everything is a base 3+ to hit, with -1 for movement, and/or over half so long range. If you get a hit you cause a pin marker with each hit.

Pin markers I find novel as they stack up and for the unit afflicted with pin markers, next time you give the unit an order they have to make an “order” check which is their base moral minus the number of pin marks adjusted for leadership if nearby. If the unit fails, it might just do nothing and hit the dirt but you could also run away. Get more pin makers then your morale and poof that unit disappears, which for Russians in 1941, is an 8. A couple of turns of German MMG fire and this isn’t hard to accomplish.

Now the goofy part. So if you get a hit, you then roll based on the experience of the infantry you’re shooting at. So if they are vets, it’s a 5+ to eliminate and 3+ for inexperienced. But but but, what about if you’re in a trench? Or a stone building? Or ..  This is built into the initial to hit roll. So at best a trench will get you a -2 to hit. Starting at a 3+ to hit, modified to 5+, and say a machine gun, you’re bowling at pretty good odds. Now the target unit can go “down” which gets them a further -1 to hit, but STILL, troops in bulletproof cover don’t seem hard to deal with.

All it all, we found that it makes infantry pretty fragile and whole squads will disappear pretty quickly.

Other odd ball part of the game is assaults. If you start the assault within 6″ of your target, they get no defensive fire. None. 6″. This could be tied to the experience level of the troops being assaulted (and adjusted for leadership), but again, it’s not.

On the good side, we have played a couple of June 1941 games from the Skirmish Campaign source book Russia ’41 – Into the Ukraine by Scott Fisher and Nathan Forney. The Germans were via the use of the pin counters able to cause T34s and other Soviet units to lose effectiveness pretty quick and run/disappear which is a very reasonable historical result. This is something I look for in a set of rules.

The turn order of units in Bolt Action I very much like. Ideally you’d have a jar full of dice representing both sides, where you draw a die, then the side decided which unit to activate for one of six orders. Fire, Advance (and fire), Run, Ambush, Rally and Down make for a solid foundation of potential actions. While we didn’t have the special dice we used cards and that worked well, but the special dice gives you the ability to put the die down by the unit so you can see what order it has executed. I recommend picking up order dice.

This system of movement also lends well to building drama (and fun) as far as wanting to apply orders. Having to make tough choices as a table top leader really shows through in this part of the design of the game. In multi-player games tho it does mean everything is sitting around watching the one player perform whatever actions for the single unit.

Nothing is specified in the rules about terrain features. It’s really abstracted to be something far too simple. There are no rules of bogging or unbogging vehicles for instance! There’s nothing about how far to see into woods. I don’t know how a ruleset leaves out simple details like this!

All in all, I like the idea of a WWII skirmish game and really want a nice ruleset. Bolt Action least for me seems to fall short. Armor rules need fleshing out and like small arms fire is just too bound up by the use of d6s.

Our playtests didn’t make use of artillery but it really seems like the lack of artillery templates is unfortunate, especially for a “what you see is what you get” kind of game.

I’ll have a couple of playtest blog posts (with pictures) and I do think we’ll play test it a few more times so maybe my opinion my change but at first blush seems like the rules need a bit more work.

Posted in Bolt Action | 2 Comments

Playtest: Bolt Action, 41 Russians v Germans

Eric and I play tested a couple of games of Bolt Action over the holiday break. This is the AAR of the first of those games. We played the first two scenarios from the Skirmish Campaign book Russia ’41 – Into the Ukraine which features a series of early Barbarossa actions. I can’t recommend the Skirmish Campaign books enough. They are well researched and easily lend themselves to a large list of skirmish rules, including Bolt Action.

This one “Opening Volley” is from June 23rd a historical action located just west of Radekhov in the Ukraine where elements of the German 11th Panzer Division were tangling with the Russian 10th Tank Division.

I took on the role of the Russians with 3 T-34s, a T-28, a Political Section and 2 Motorized Rifled Squads. All but the Political Section was Inexperienced in Bolt Action and the Commissar was the lone leader to have a leadership bonus. For my variable attachment I rolled up 3 BT-7s that would enter on Turn 2.

Eric had 2 Pz IIc, 2 Pz IVe, 4 Pz IIIg and a Mechanized Inf Squad in a SdKfz 251/1. For his variable attachment he rolled up a Sniper Team.

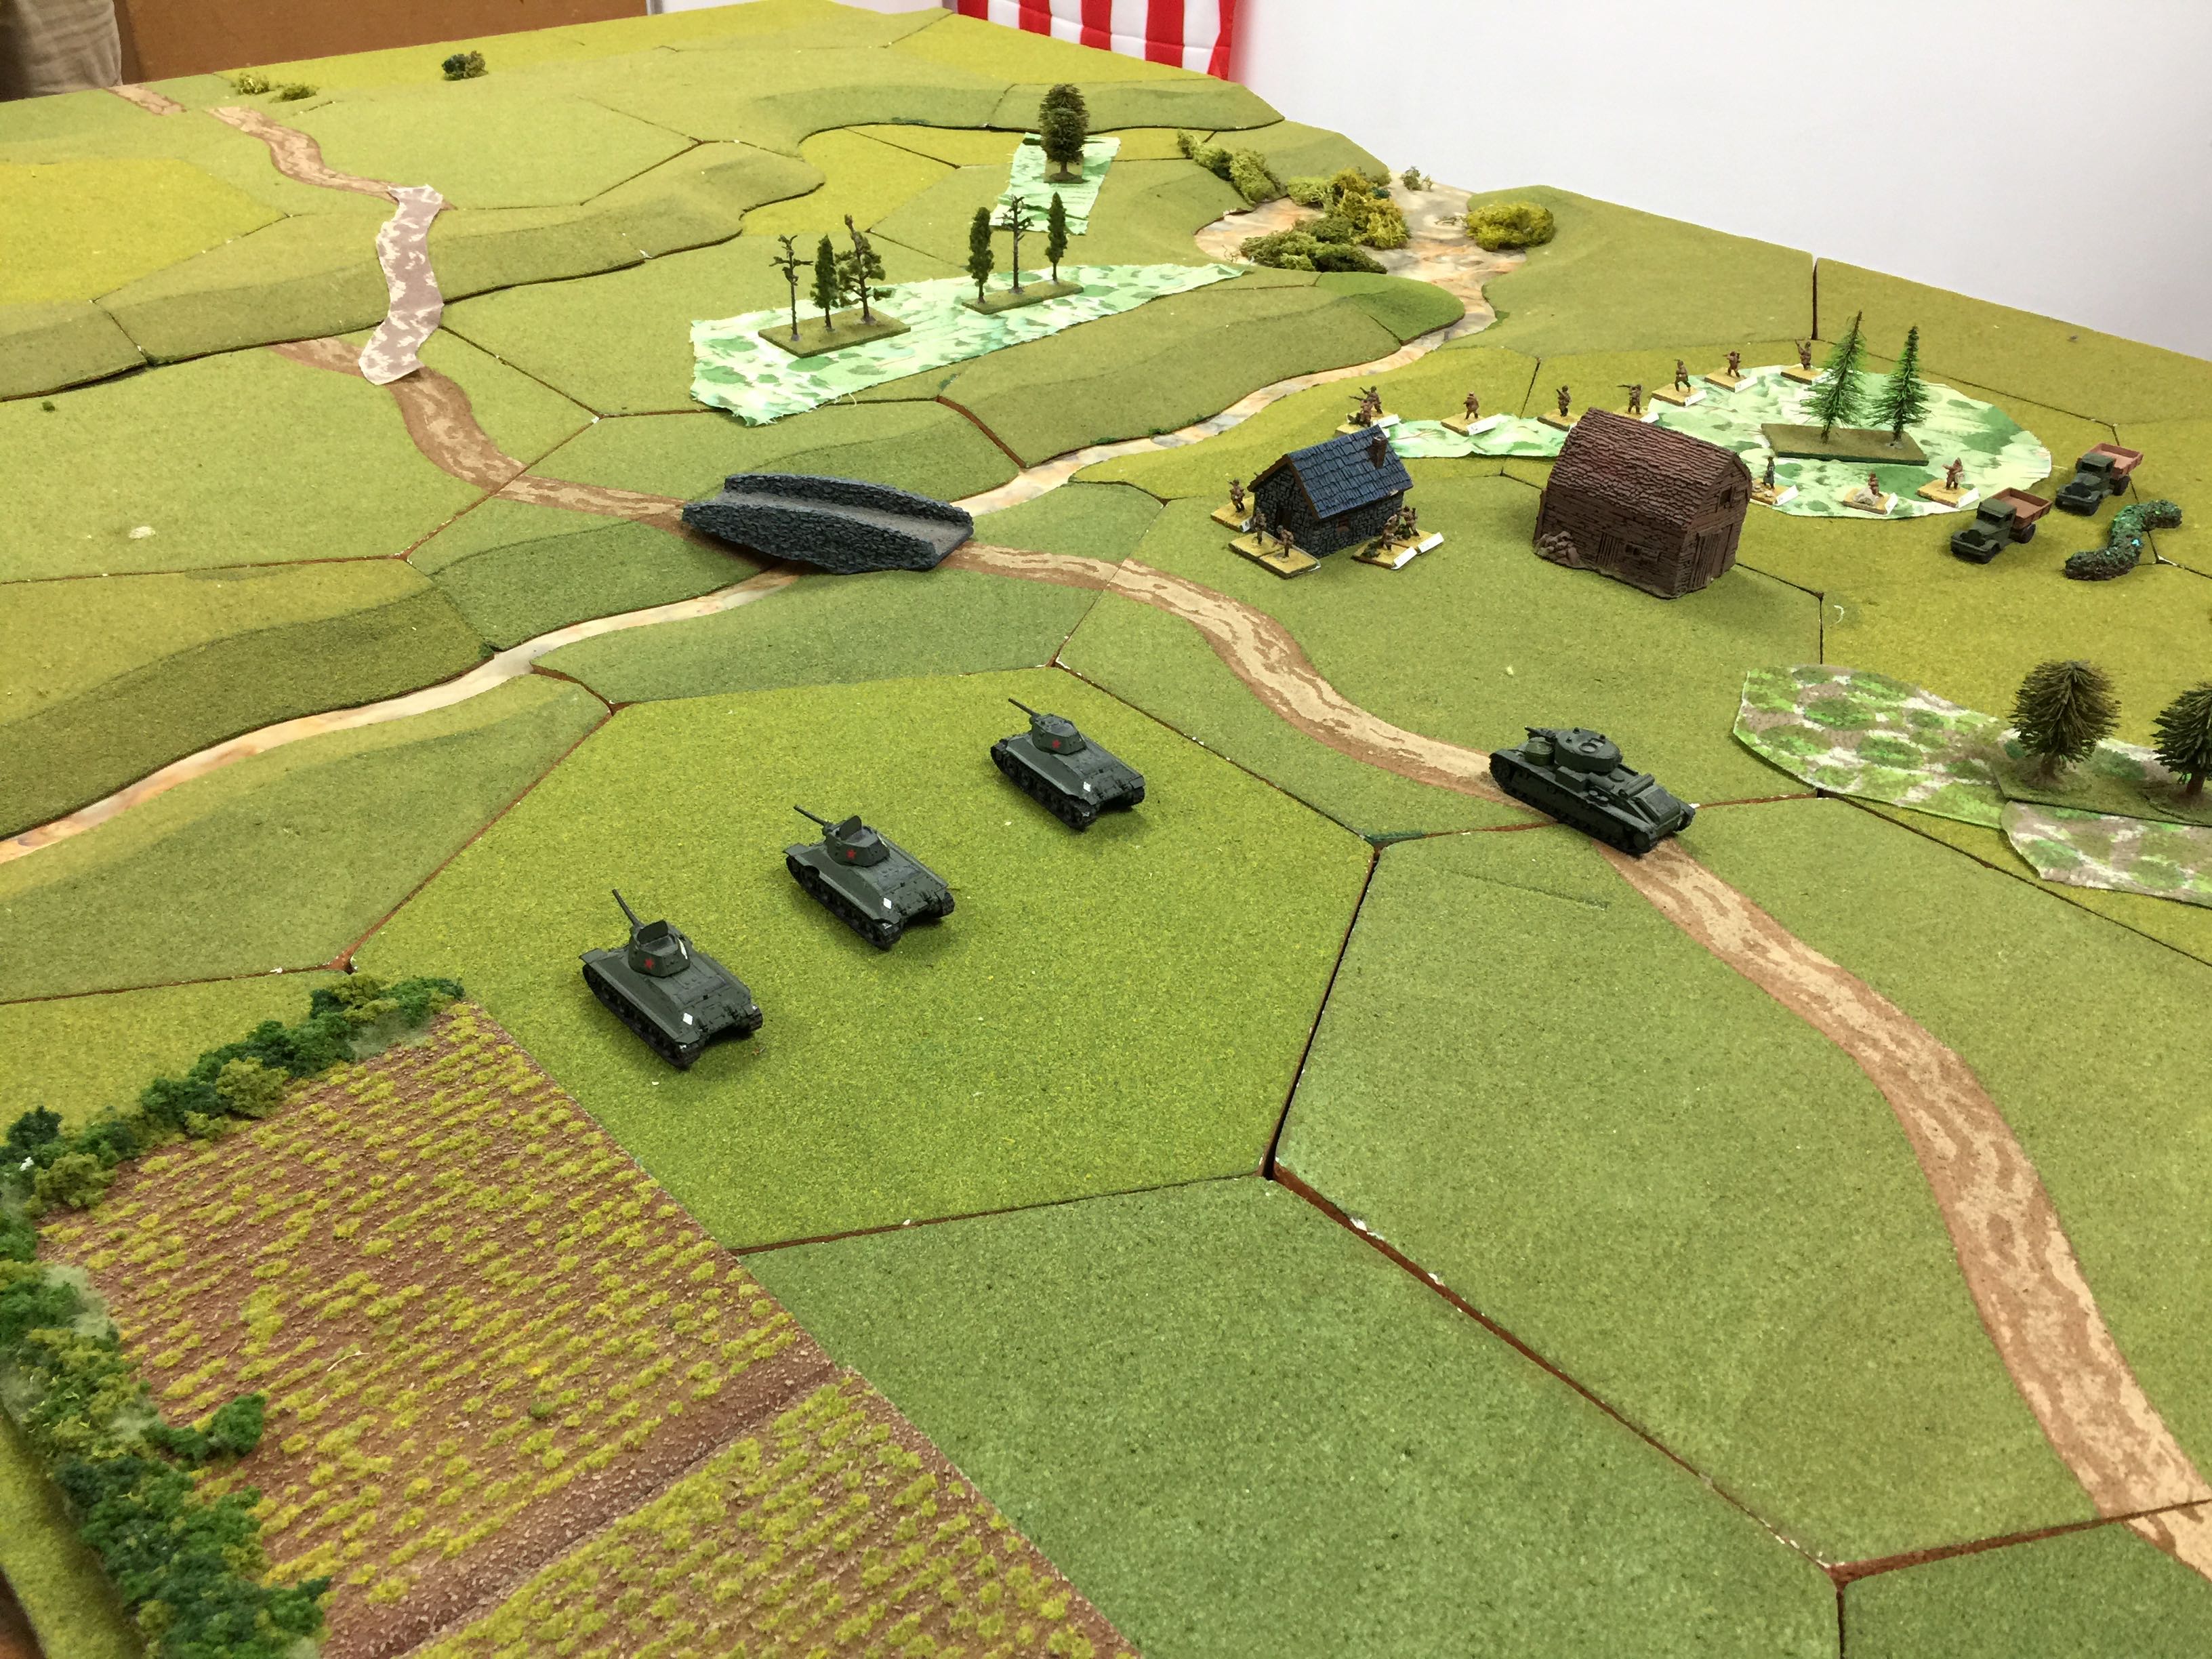
IMG_9063

For the setup I know I needed to prevent German AFVs exiting off the road as well and avoid losing 2 of my AFVs. I took a “none-shall-pass” approach and put the T28 on the road and the 3 T34s off to the left flank with the first infantry squad in the woods and the second in the wooden house.

Eric entered on table on turn 1 on the road and was just able to barely crest the hill. With Bolt Action it’s a what you see is what you get for sighting so his PzIIIg tanks were hull down if he wanted to open up at range.

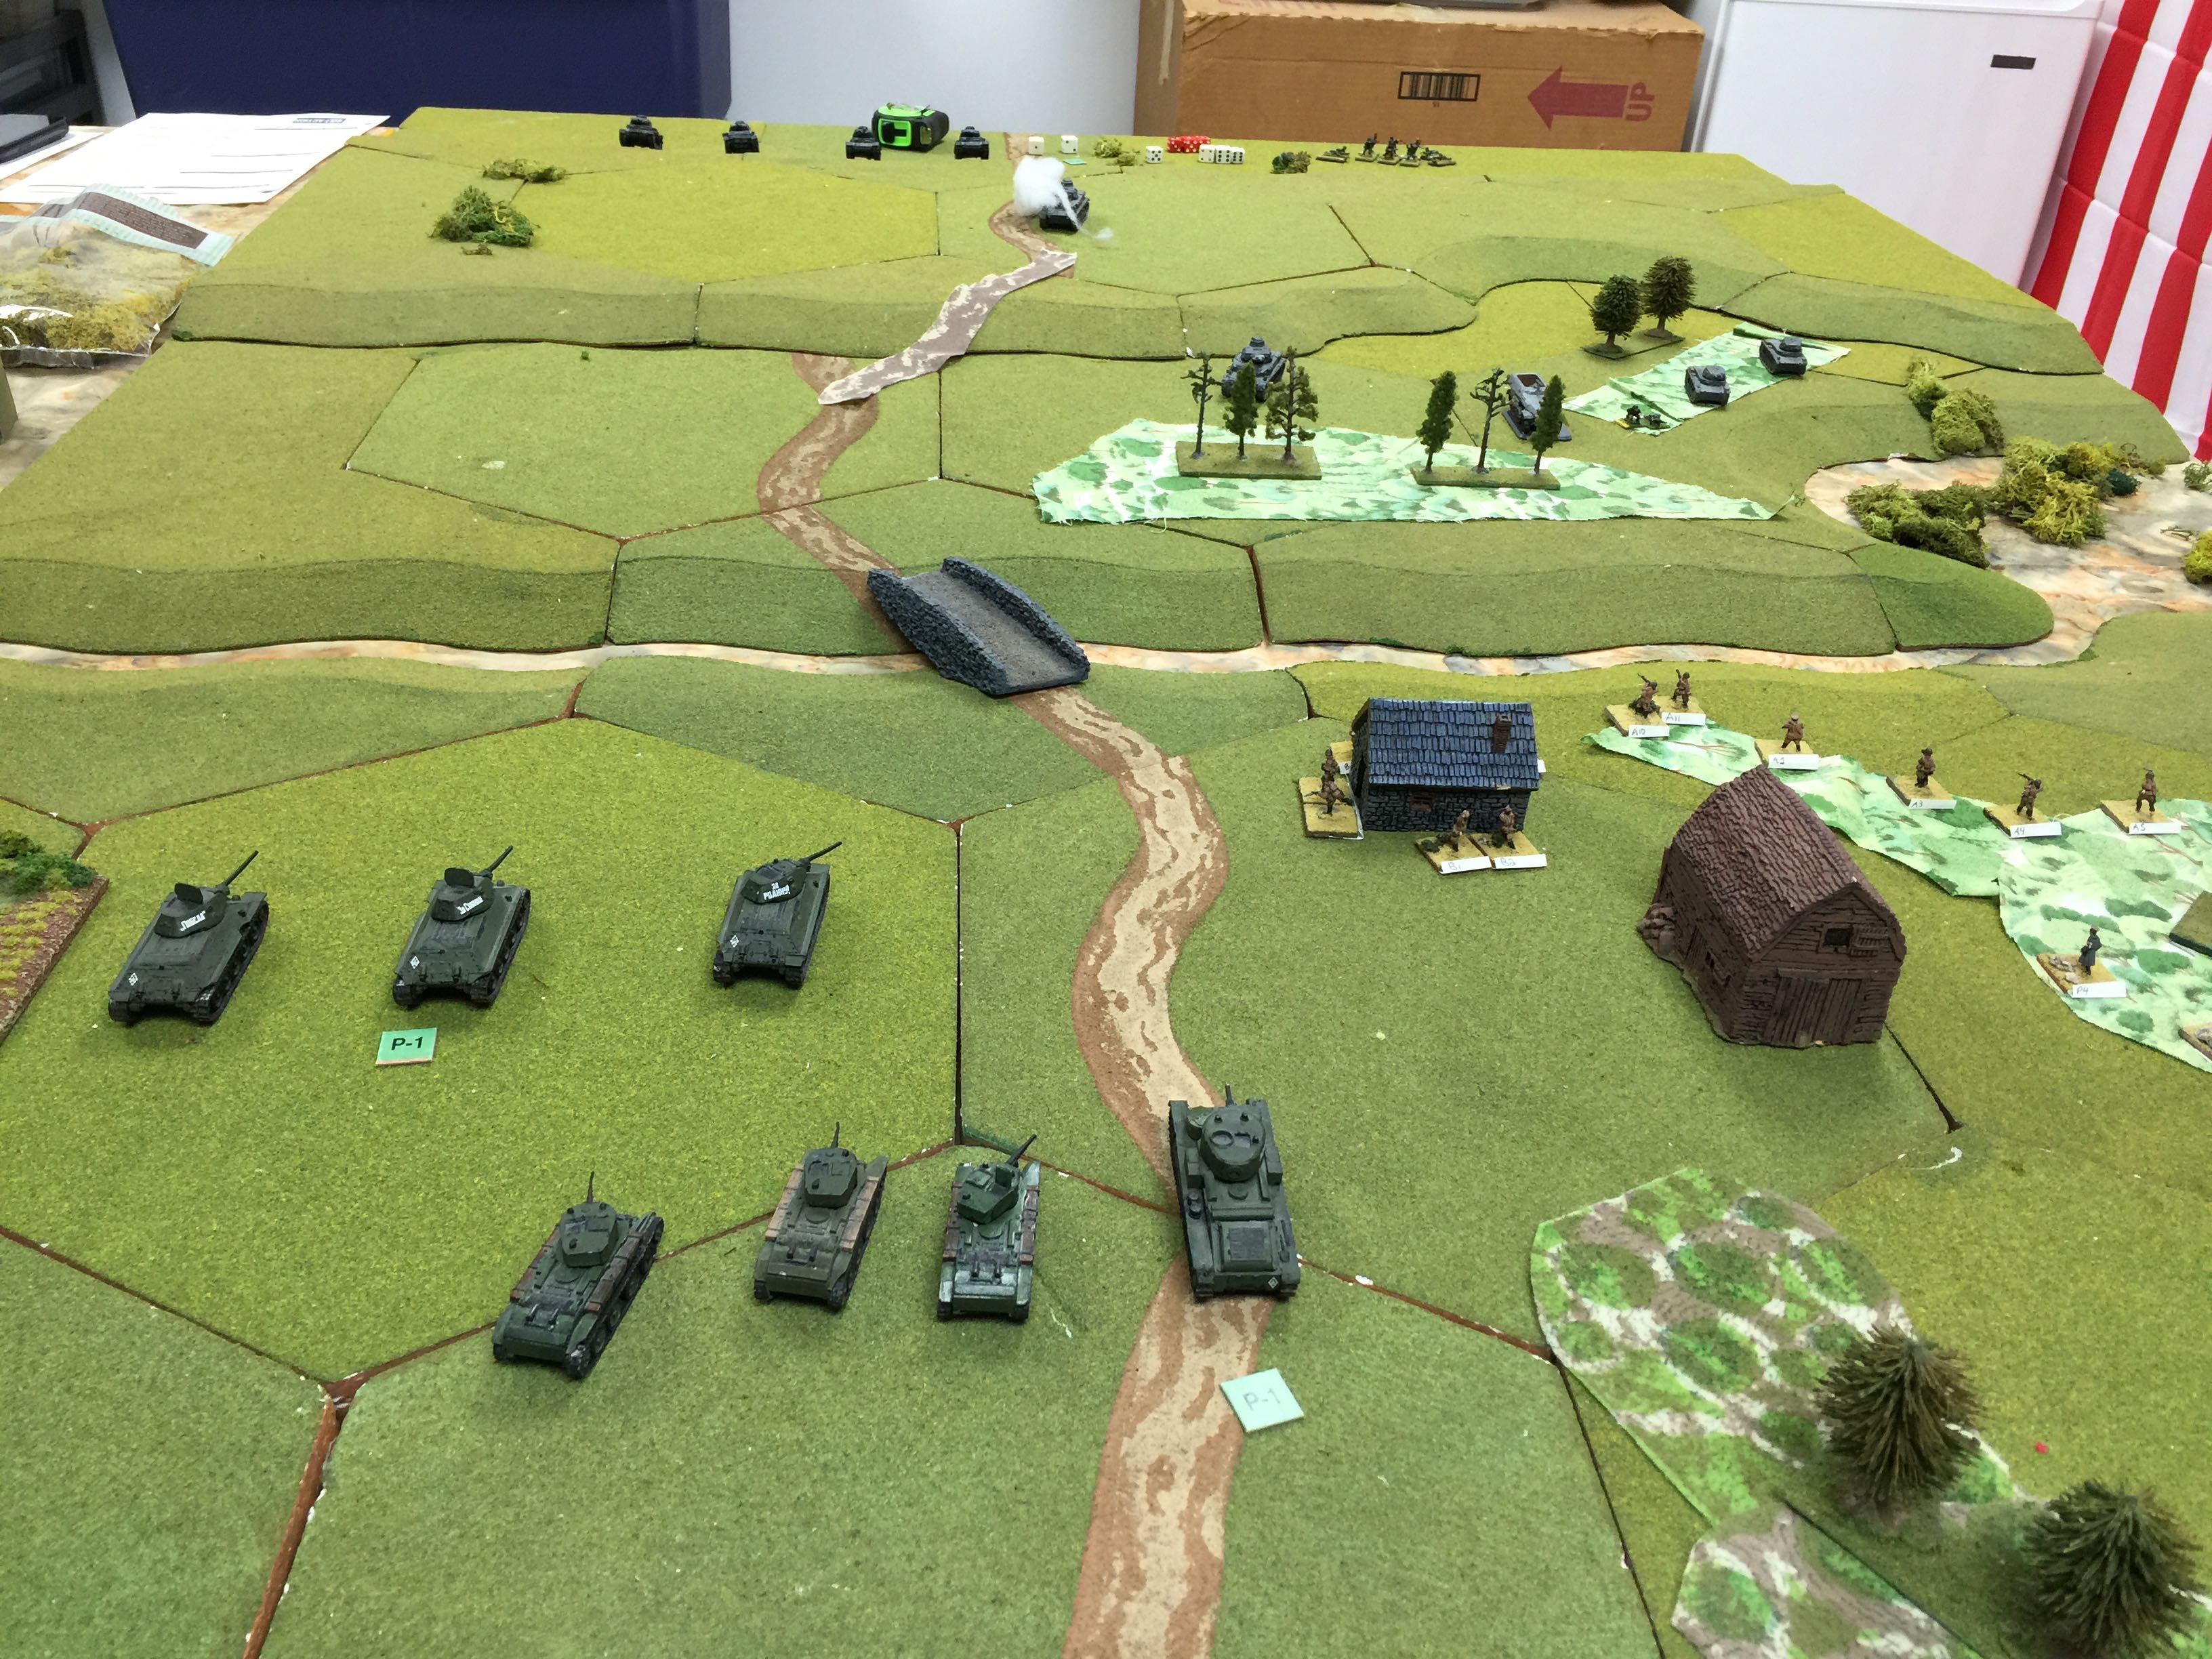
IMG_9064

Eric pressed ahead with his two Panzer IVe tanks and in my case I opened up on them with my T34s and was able to brew one up. Eric was able to score a hit (and thus the pin marker) on my T34 but his penetration roll was too low and thus a shell bounced off. Eric swung his two Pz IIs over to my right flank and his lone infantry squad in it’s 251/1 as well as his Sniper team who road in on the Pz IIs. My 3 BT-7s entered and rolled up but not much for them to do.

IMG_9065

Eric rolled his lone Pz IVe into the woods, and unloaded his infantry from his half track. The halftrack and the PzIIs moved forward and proceeded to very effectively spray my infantry with 20mm and machine gun rounds.

Kind of a bummer but Bolt Action is silent on primary and secondary gun rates of fire when it comes to AFVs. It could be argued that on vehicles like the Pz IIc just one gun should have the full rate of fire.

Alas my T34s failed their order check roll and worse I achieved a fubar and caused them to fall back. Two pin markers with an 8 morale is pretty tough.

IMG_9066

Next turn Eric moves up his Pz IIIg tanks and brews up one of my BT-7s. His infantry supported by the impressive fire of his MG34s covering melt away my infantry both in the house as well as in the woods. One of his PzIIc tanks makes it across the gully, the other gets stuck.

The two gaz trucks I start to retreat as the political sections, gloriously leading from the rear give much encouragement to the very last Russian rifleman alone in the house who amazingly didn’t fail his morale roll.

IMG_9067

I moved up the T28, with the two machine gun turrets to fire away at the Germans crossing the gully. Between the BT7 and T28 shells are bouncing off the halftrack and PzIV to no avail. I did manage to take out a single German but it was looking increasingly obvious the T34s weren’t going to come back and with no infantry my defense was getting increasingly desperate.

IMG_9068

Next turn Eric brews up my T28 and another BT7. The lone Russian rifleman flees, failing his morale and the Commissar looking at his two helpers was having to face reality, as again my roll to try and rally the T34s failed.

IMG_9069

Last picture of the game as we called it at that point. I have a separate review of Bolt Action in another blog post. Least for this play test the results I think equal a historical result.

Russian armor and infantry were very brittle and ready to flee after taking a shot or two. Infantry even in sort of reasonable cover seemed really really extra brittle tho. (More about that in the analysis of the rules.)

I’m sure we missed a few things as it was the very first time we’d played with Bolt Action. I’m sure we got a few things wrong but overall a good way to spend the afternoon but a few “huh” type situations.

Posted in Bolt Action, Playtest | 1 Comment