A little tussle in the desert

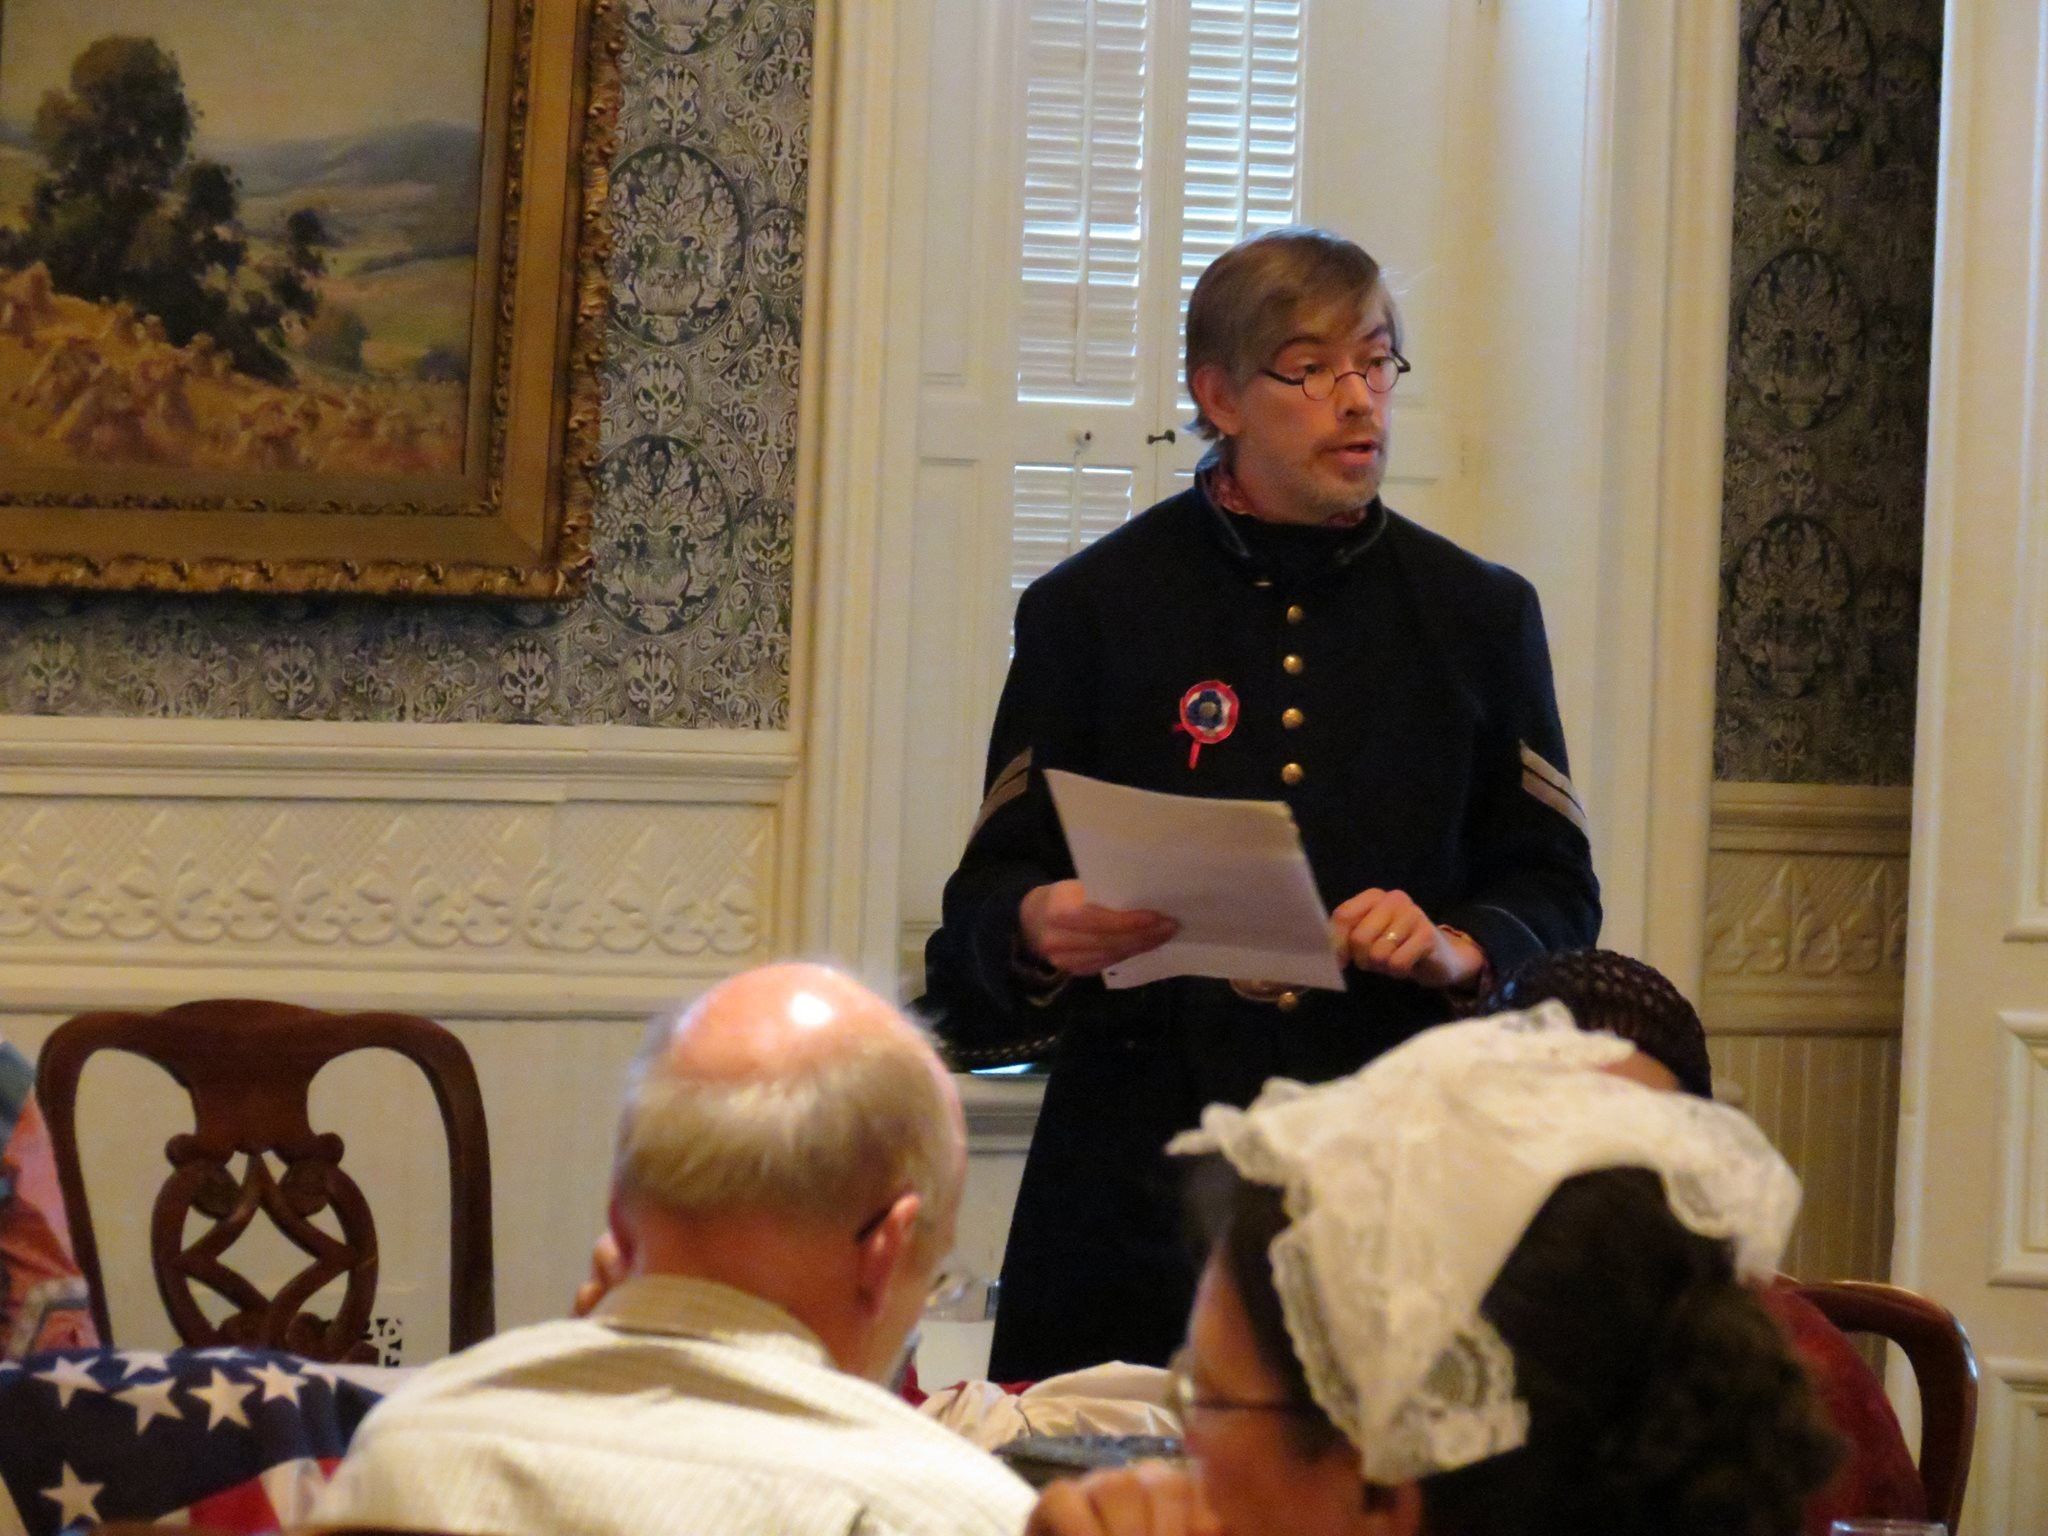
This weekend I didn’t get to game my usual Saturday game with either gaming group. The Mrs and I were up at the 3rd Minnesota Ladies’ Tea in Red Wing where we had an election theme going. I was tasked with stumping for McClellan. This is all related to my US Civil War reenactment group, the Third Minnesota Volunteer Infantry.

IMG_8903

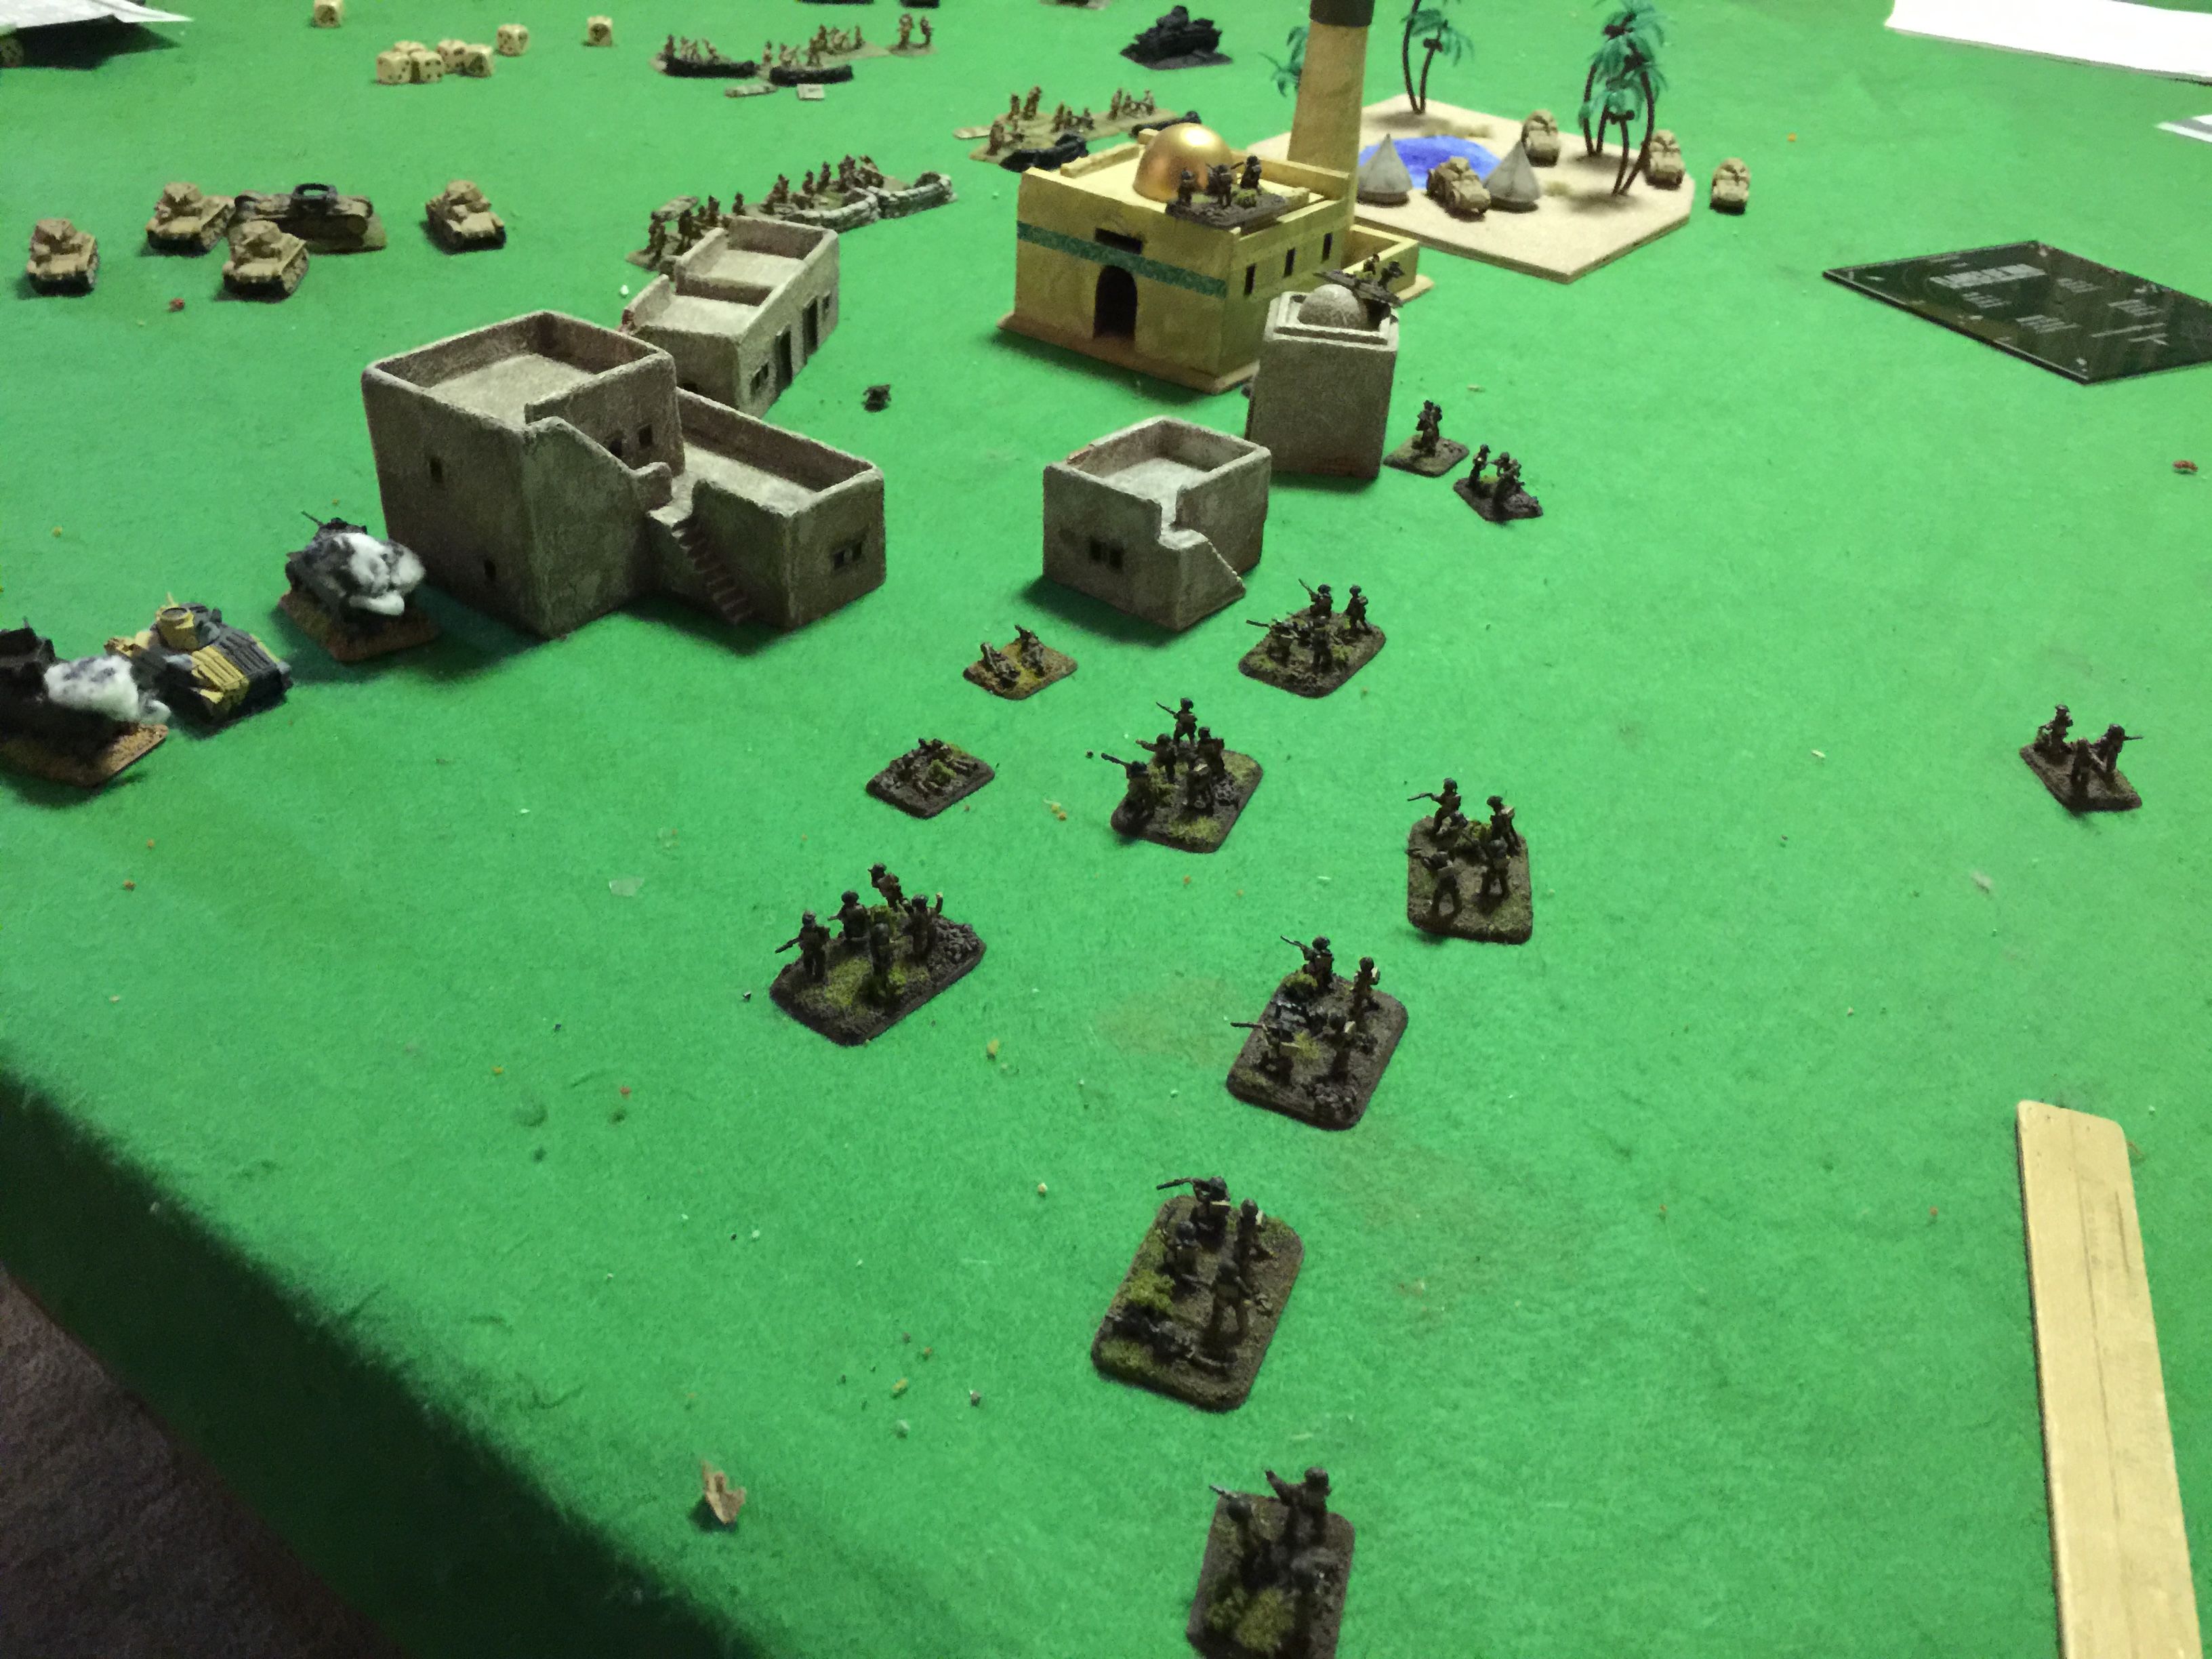
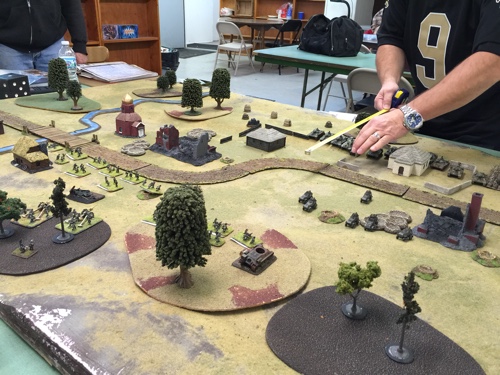
Ian and I played a Flames of War game on Sunday. We did a 1500 point a side early war Italians vs Brits. He with my Italian lead and me with my Brits.

I mounted an Infantry formation, backed with 3 Honeys, 2 Matilda IIs, 2 platoons of straight legs and an artillery formation of 4 25lbers.

We rolled up a Hold the Line scenario with me as the attacker.  Ian bought himself a hodgepodge, which even tho it wasn’t following book directly had to work given I only have so many Italians. His selection had 4 AB41s, a 102 truck mounted auto cannon thing, 4 M13/40s, a platoon of infantry, 2 plantoons of HMGs, 4 47/32s, a mortar platoon and a JU87 on limited support for good measure.

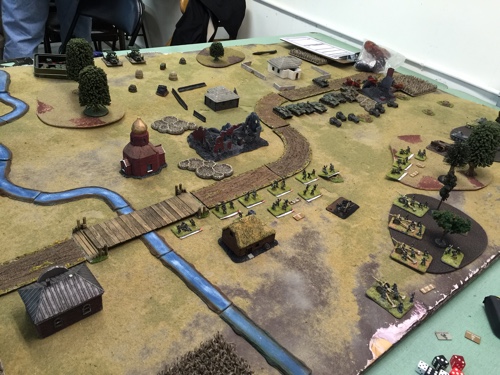
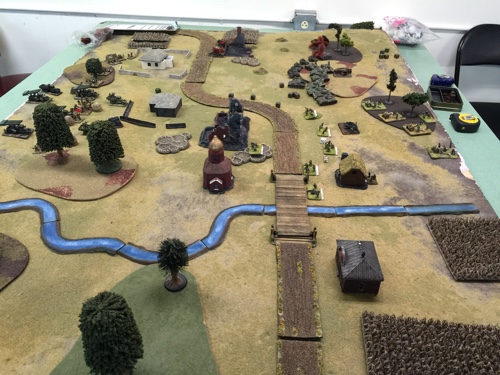
Ian set the table and situated a little oasis and a town roughly in the middle. The ground on either side was pretty sparse otherwise. Ian had 1/2 of his units starting off table, with 2 platoons in ambush per the scenario. He chose the formation of tanks and an HMG platoon for the ambuse. The rest of his stuff was on delayed reserves.

Ian’s Italians while Elite in the book require a roll to determine their motivation and skill. He rolled poorly and came up with reluctant trained. This can zap much of the enthusiasm of an 11 year old, being presented with what he figures will be crap troops, but also an important lesson of making the best of what you have.

With my Brits being vets and Ian having delayed reserves I figured I best strike fast as possible having the choice of an objective on the left and right flank. I’d go for the one on the left.

IMG_8906

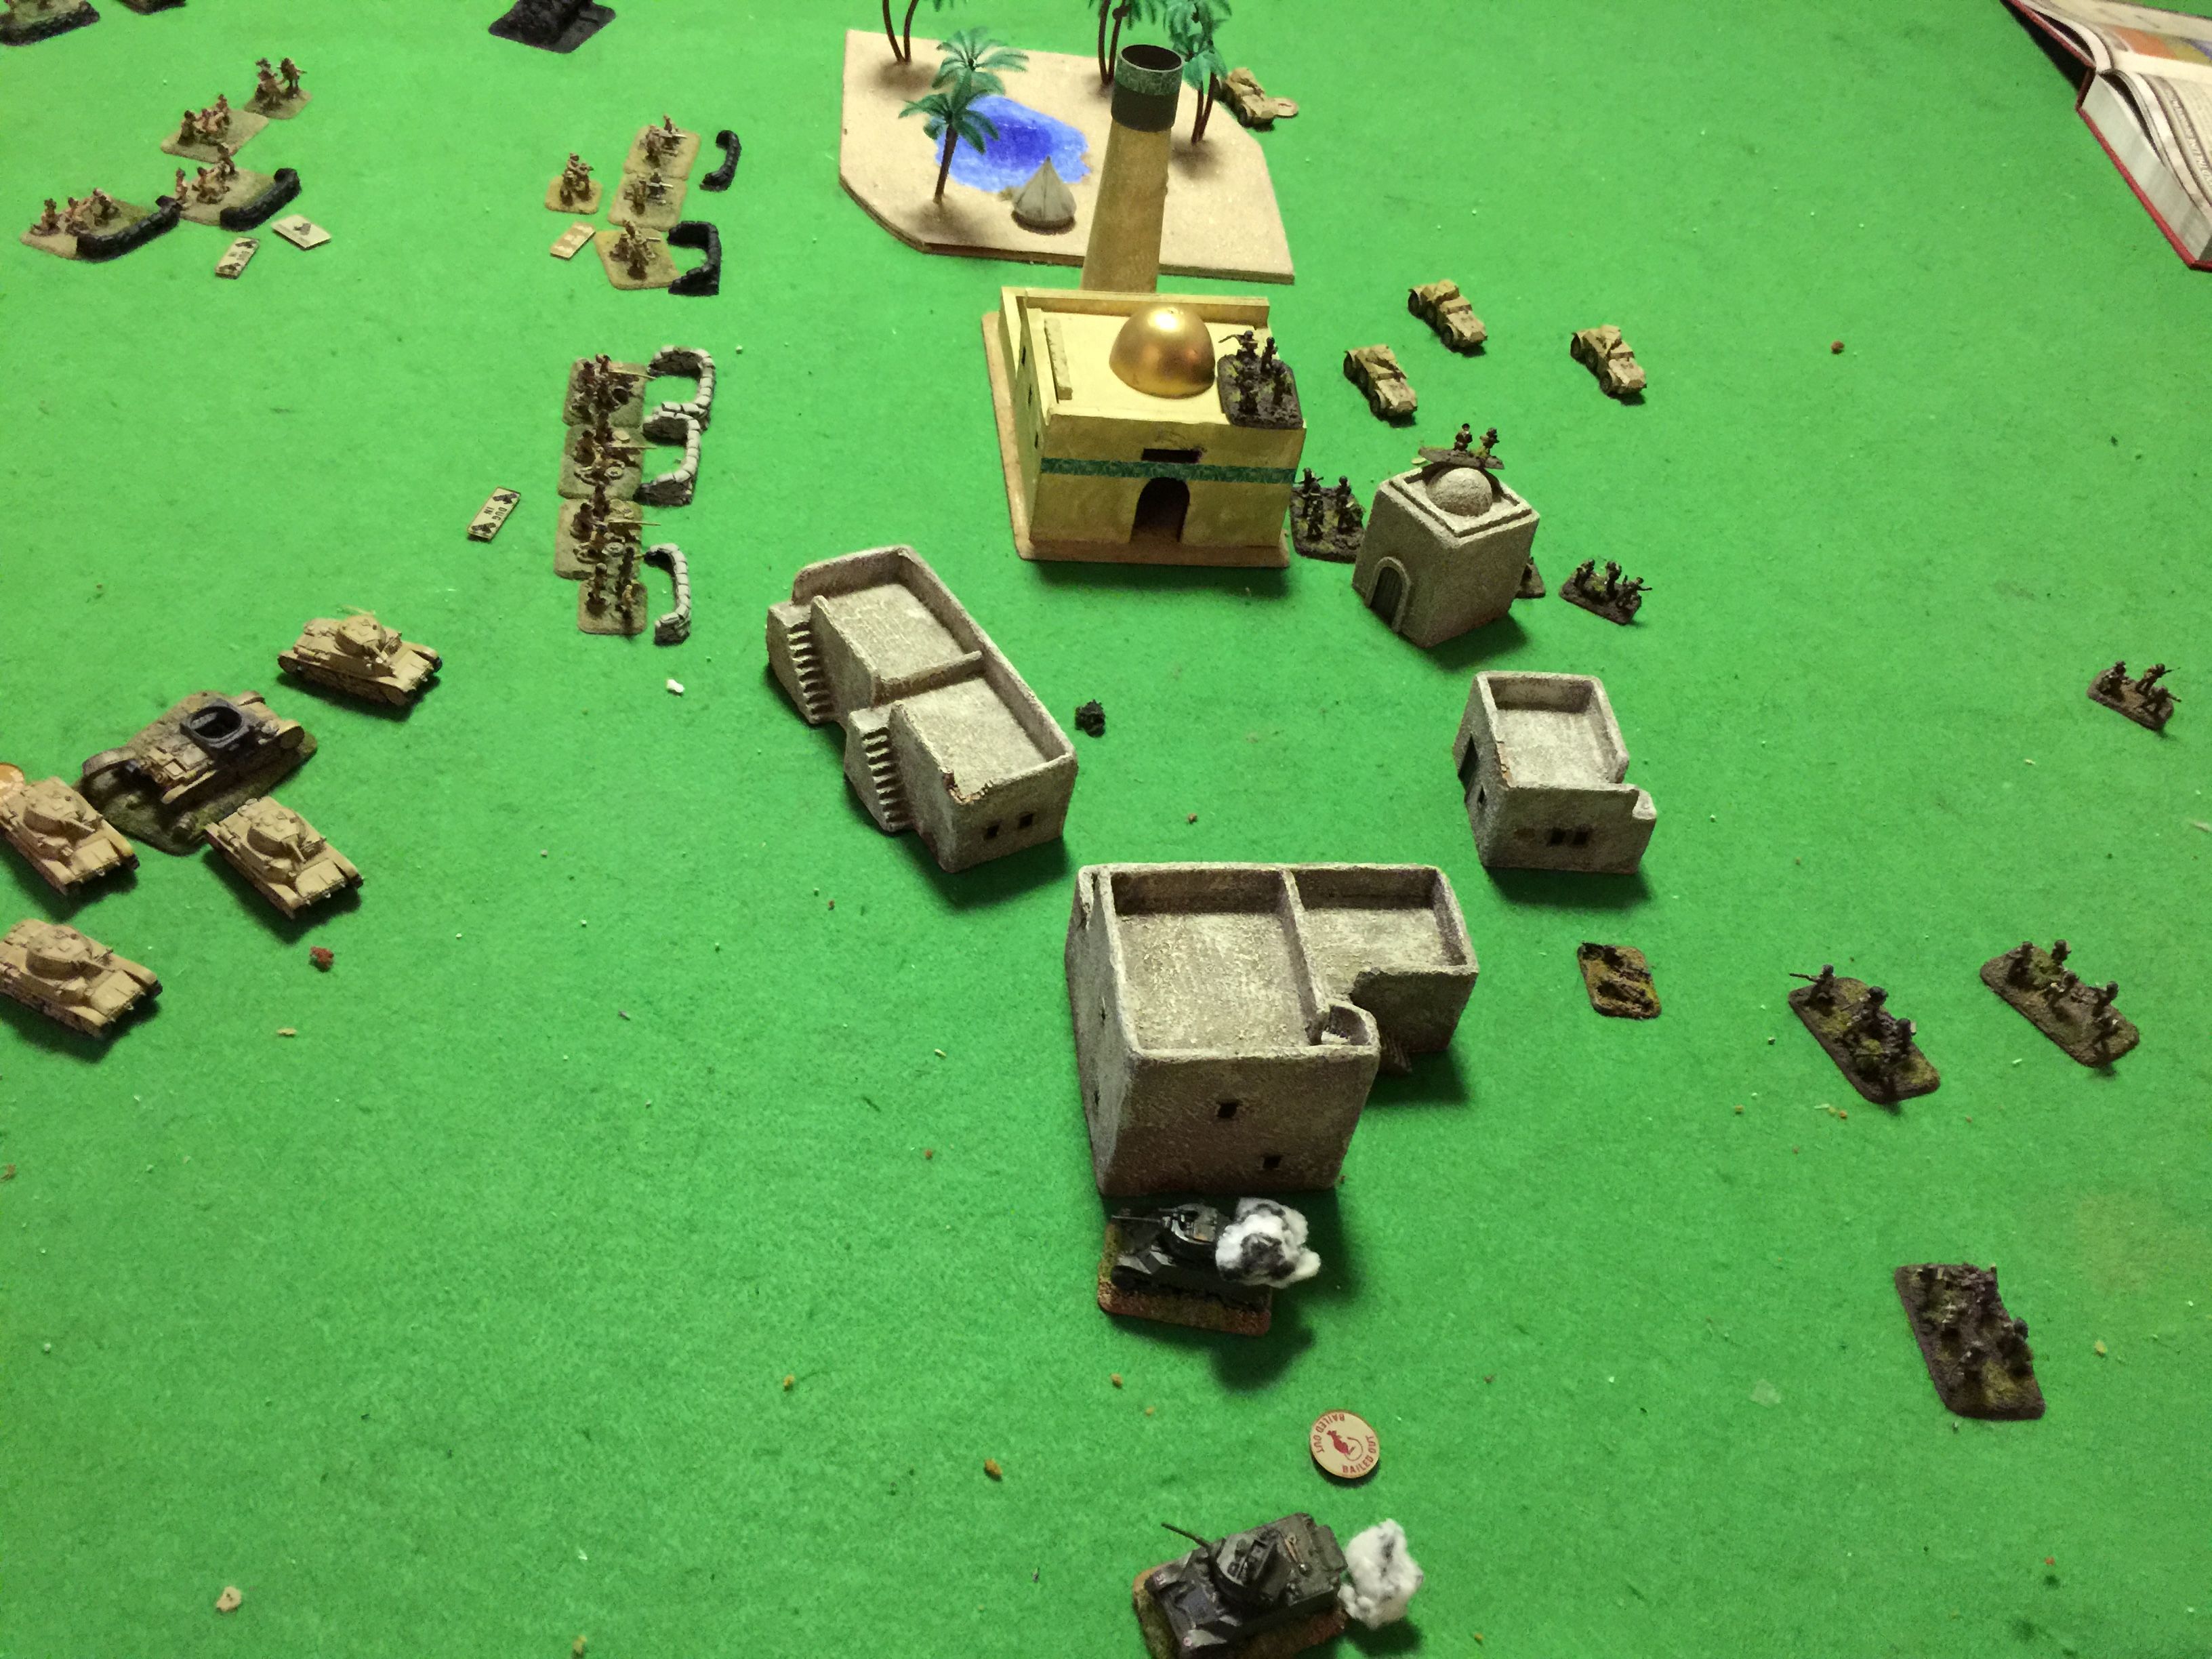
It could have gone better, least for the Brits. Turn 1 and 2 the straight legs on the right flank received lots of love from the Italian mortars, AB41s and other stuff that all added up to lots of losses over the next few turns. The Honeys lead on the left followed by the Matildas and then the straight legs pretty much were obscured from view so they were able to get up and get engaged. Since I wasn’t sure the infantry was obscured for sure I didn’t chance a move on the double dreading the possible double hits by indirect artillery.

Ian was able to roll well for air support especially given that it was supposed to be sporadic. In Flames of War parlance, that’s starting with 3 dice and every time you call for air, you lose a dice, going no lower than 1 dice. Get a 5+ on one of the dice and you get air. Turns 1 and 3 Ian was successful on his air support rolls and that made a big difference. Between the air in the form of  Ju87s dropping bombs, the M13/40s, and the 102 truck mounted auto cannon at long range, the Honeys went right up. Pop! Pop! Run-away! (sigh)

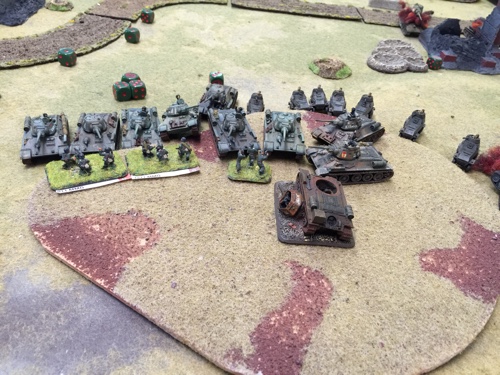
Turn 4 would see again plenty of luck for Ian. This time he was able to brew up a Matilda II and added to the additional infantry losses (as they were starting to get into the town) morale rolls became critical. Unfortunately for the Brits, failure there results in the remaining armor leaving the field and effectively that would be that.

Here’s at the end of Turn 4. You can see the AB41s moving up and there being very little I can do about it save doing an assault. My 25lbers are just out of direct range and using indirect I did drop rounds on them a couple of times, it only bailed out one. Given the reluctant Italian ratings almost good as a brew up.

IMG_8907

I think a good lesson for Ian. Poor tactics on the part of one player can go a long way to rub out advantages in troop quality.

Posted in FlamesOfWar, Reenacting | 1 Comment

Squad Leader Scenarios for Flames of War

Some years ago I started to graduate from board games into both role playing games and war gaming. My first real WWII wargaming experience started with the venerable Avalon Hill game called Squad Leader. I didn’t play with miniatures it was of course all cardboard stock chits.

Squad Leader, like Flames of War is a company level based game. Squads (and later half squads) and their equipment represented by counters on a hex map yielded a game with lots of flavor and some really fun scenarios. It included a point system for putting together games. It also included a system were you could have your own “command” counter that you could track experience points and make your way up from Corpl through the ranks, gaining better morale and leadership abilities as you go as long as you were able to survive.

So this article is all about adapting a bit of that old Squad Leader charm into playable Flames of War scenarios.

IMG_8862

The first scenario in Squad Leader was called the Guards Counterattack, part of the battle of Stalingrad and this captures the action on Oct 6th 1942 when the 37th Guards threw themselves at the German lines. So in the above, you’ve got the order of battle. In Squad Leader terms these are squads which in Flames of War parlance generally equals 2 stands of infantry. Now equipment in Squad Leader is just a piece of equipment, assign it to stands as you may. But not quite the case in Flames of War as gun teams effectively crew and “own” a weapon, thus you have to have that kind of gun time. Still, that’s perfectly ok.

Also note that the Leaders in Squad Leader have more of an effect as compared to what they do in Flames of War. That 10-2 on Col Berki means his moral is a 10 and he gives a 2 leadership modifier for his men presuming he passes his morale check.

Like Flames of War, Squad Leader has a points system, based on the thing you’re buying as compared to by the unit formation in Flames of War.  So a German 4-6-7 stand (4 firepower, 6 range, 7 morale) is 25 points. A Russian 4-4-7 is 20 points and those 6-2-8s are 60 a piece. So we start to have some direct things to compare in order to make it a Flames of War game.

Terrain is another important aspect and this is where things can get into a bit of a challenge. I say this because Flames of War games tend to be a smaller table. Granted in my gaming groups we tend to treasure the sprawling tables that enable out of control massive actions.

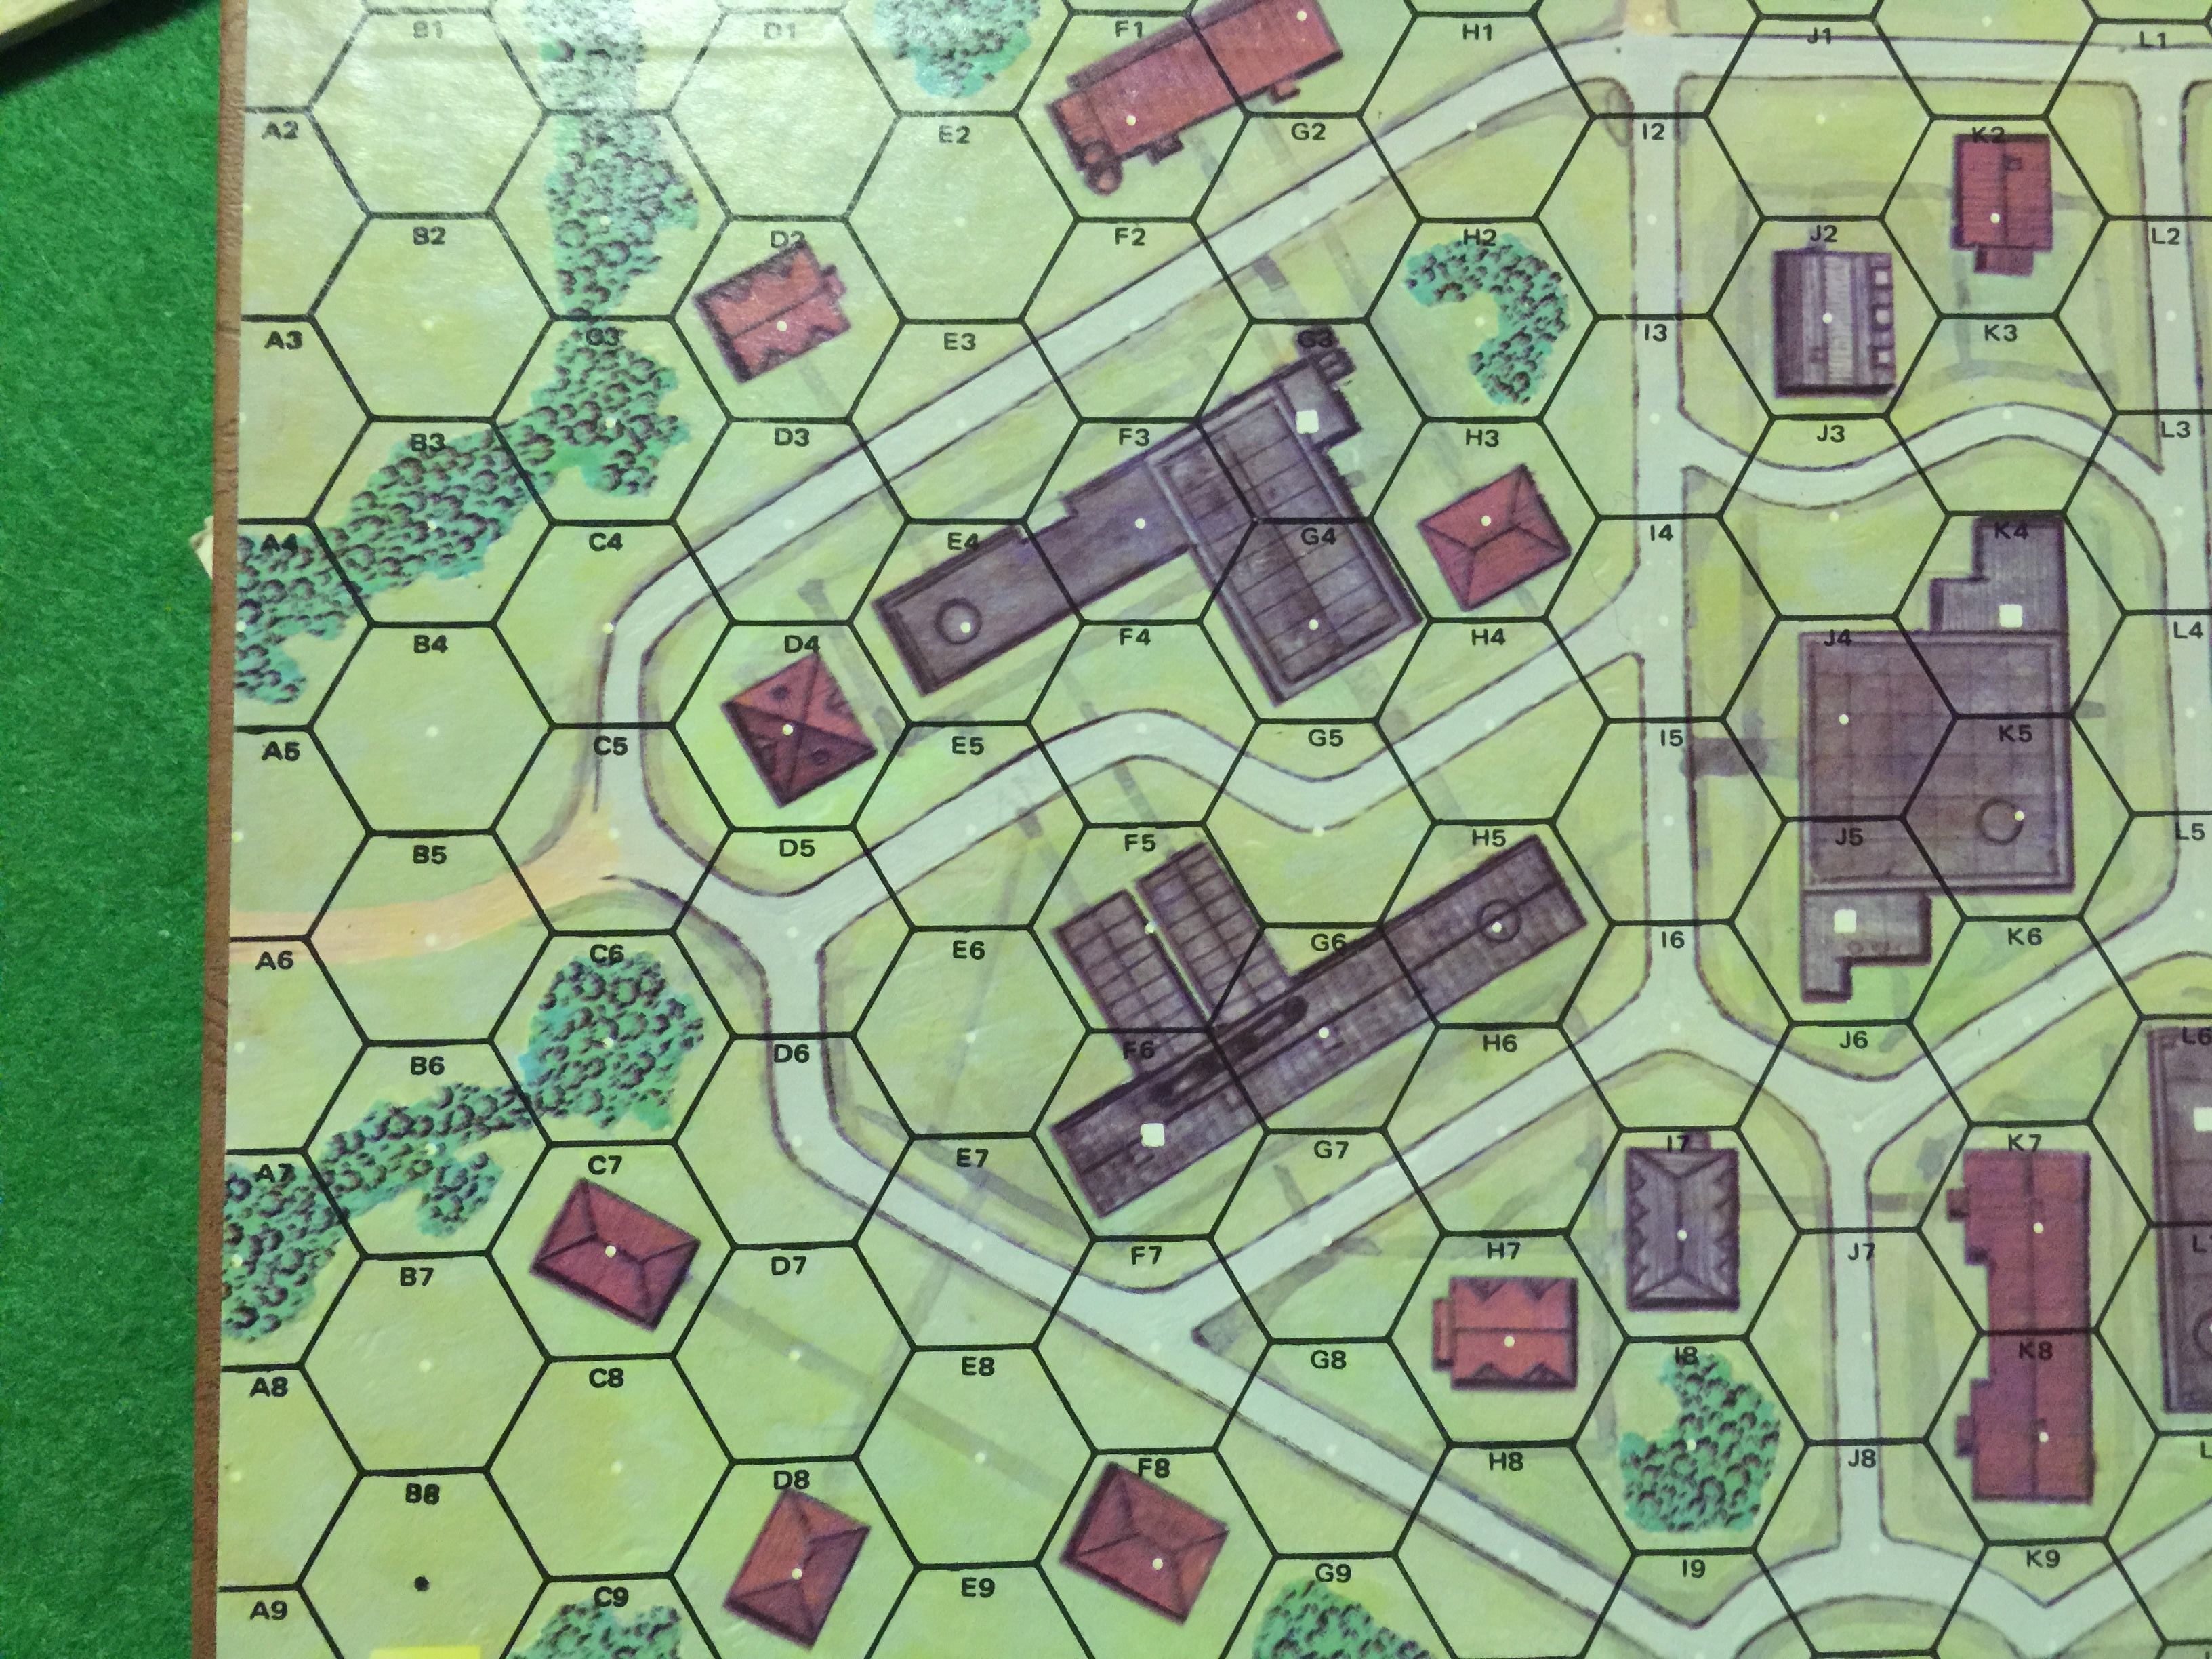
Squad leader is hex based on a set of game boards. the first scenario actually is limited to just a part of a single board, which translates well. The area of the board for this particular scenario looks like this.

IMG_8889

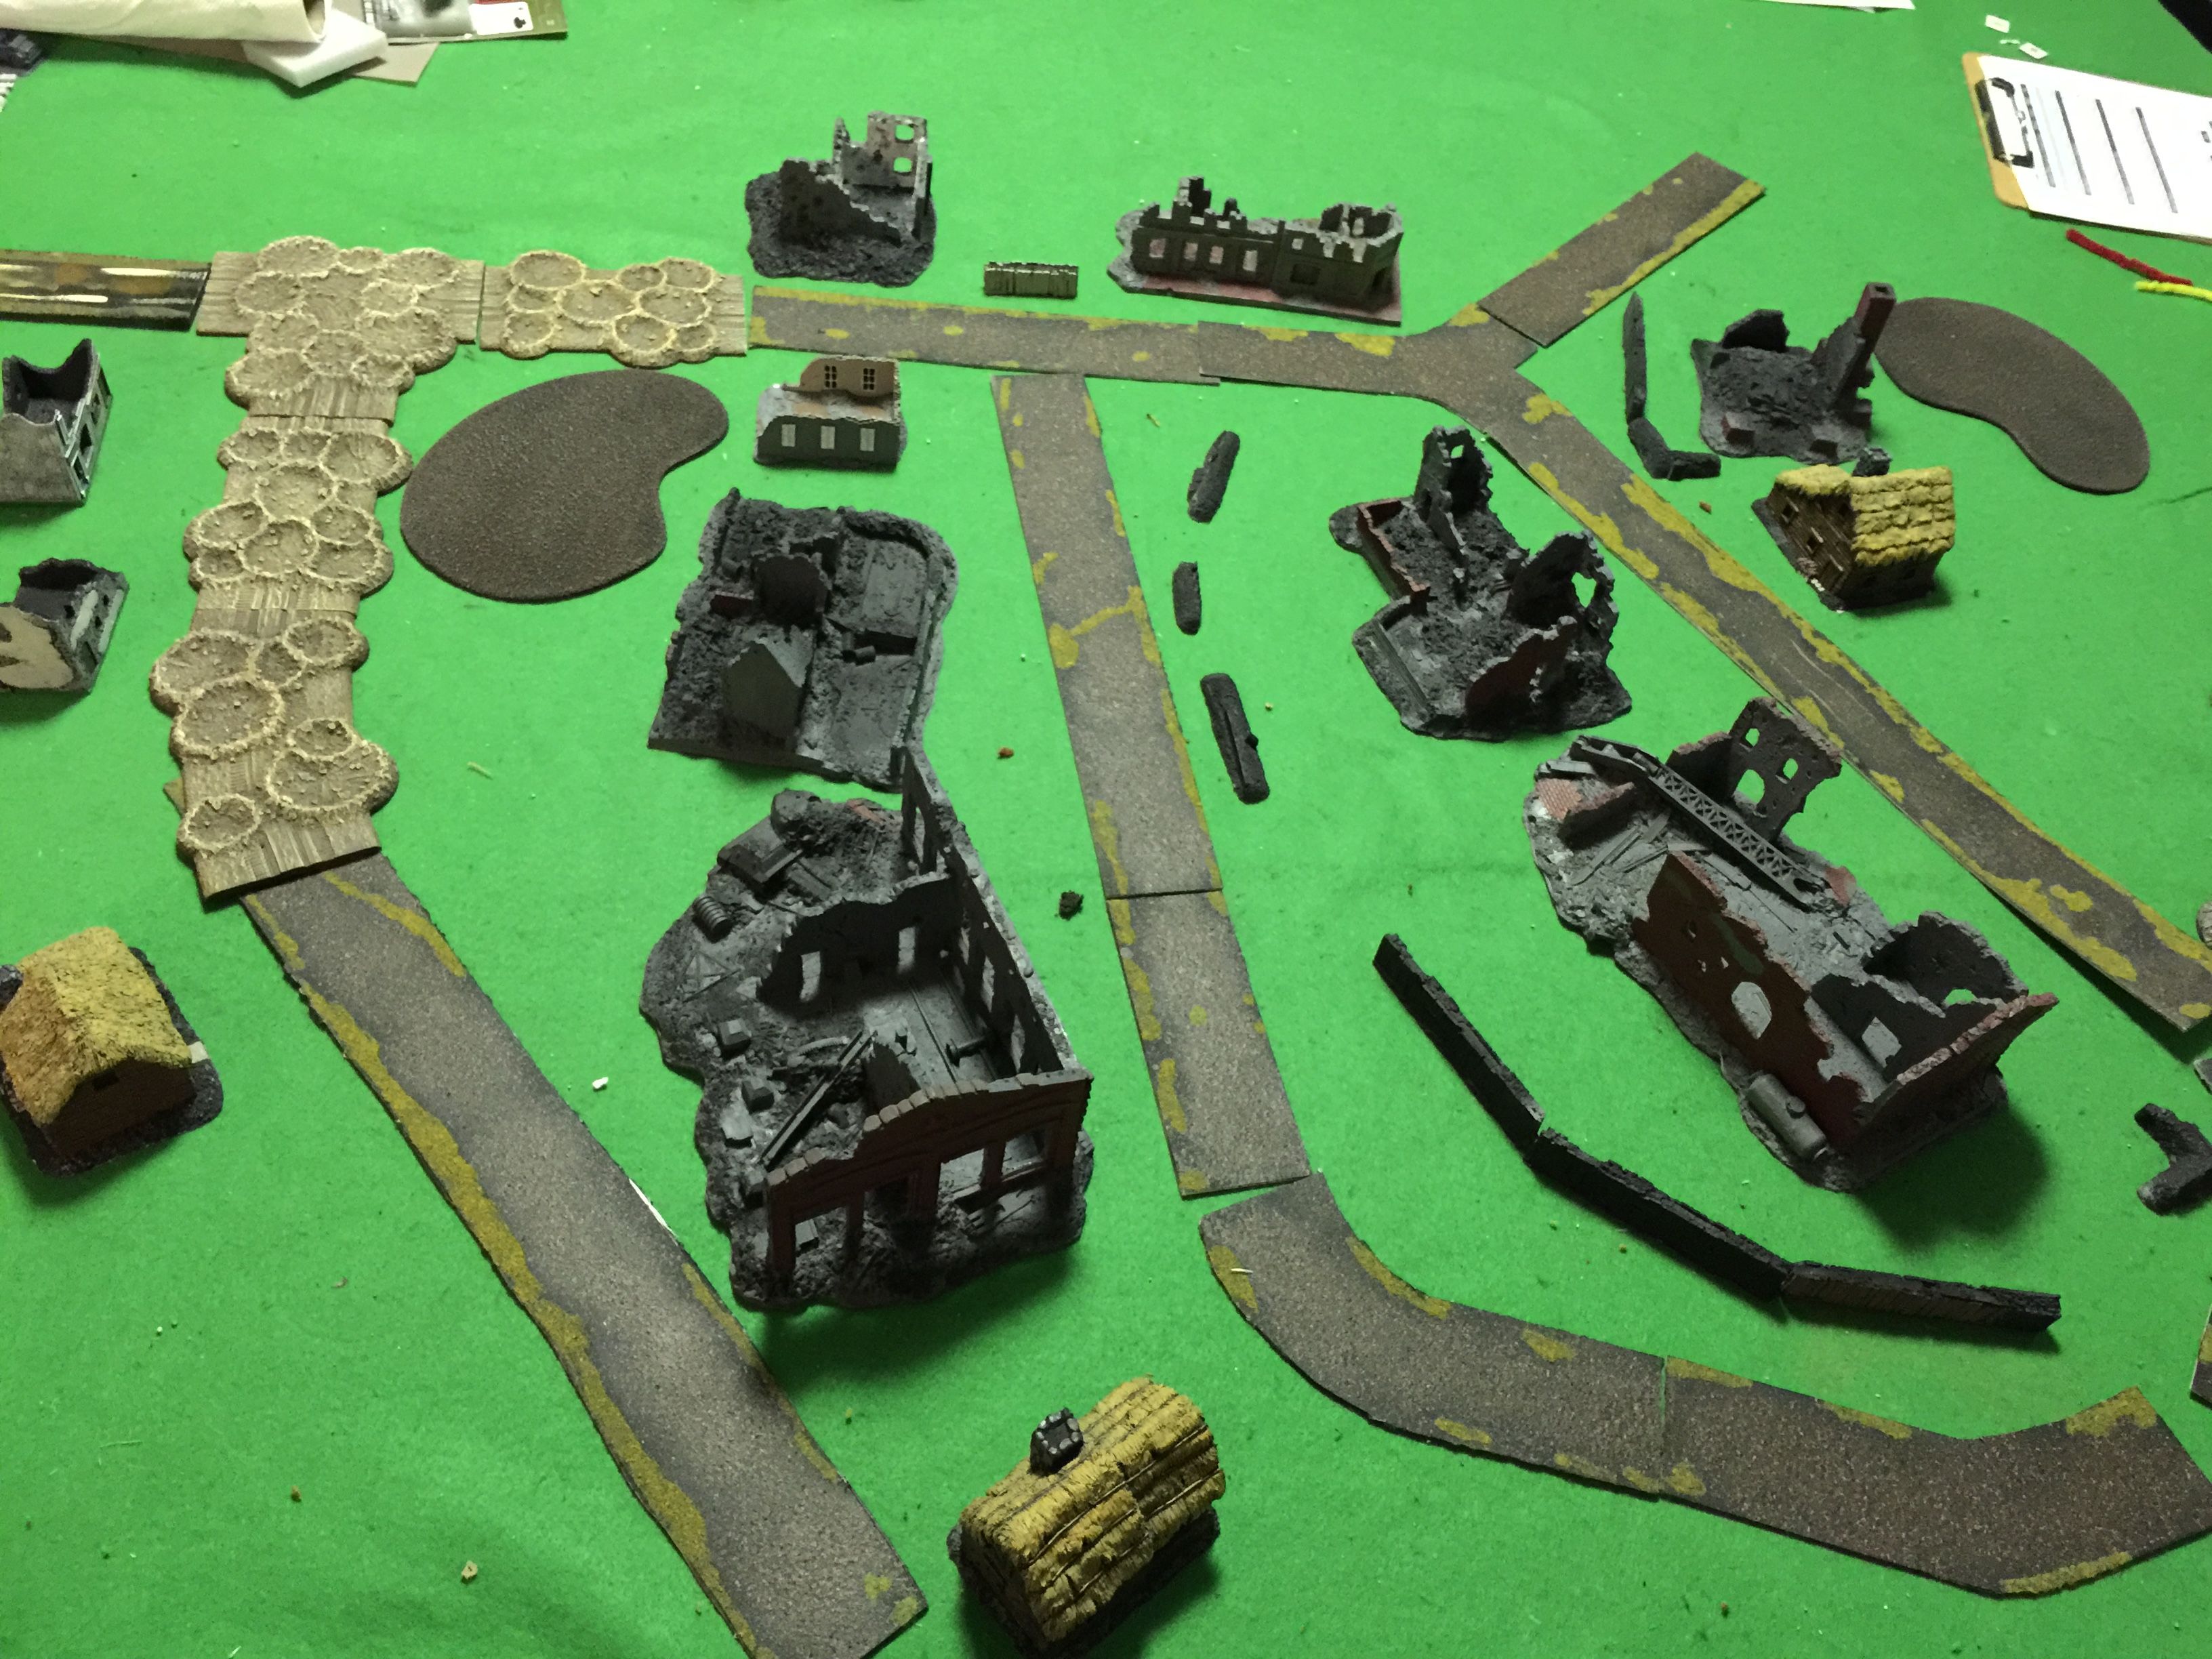
So translated into a game table. I’d interpret it to be approximately something like this. Note the table pictured here is basically the map rotated 90 degrees. Hex H7 / I7 is in the upper right.  Hex I2 in the upper left.

IMG_8891

Let’s talk about forces. If we let each squad chit in Squad Leader be equal to two FoW teams, as a rough guide and if we let the existence of an LMG equal to say a Rifle / MG team and MMG or HMG chits equal to elements of a machine gun platoon I think we start to have a reasonable mapping.

So in the the case of the Squad Leader specified German resources it equals in FoW roughly:

  • Company HQ with CinC and 2iC.
  • 3 section Rifle / MG platoon – confident  vet
  • 3 section Rifle / MG platoon – confident  vet
  • 3 section Rifle / MG platoon – confident  vet
  • 3 section Rifle / MG platoon – confident  vet
  • 2 MG section – confident  vet

Russians approximately would be:

  • Company HQ CinC, 2iC, Kommisar team
  • 3 SMG Guard Platoons – fearless trained
  • HMG Platoon, 2 sections – fearless conscript
  • 1 Rifle Platoon – fearless conscript

It roughly equals to about 800 pts a side but the Russians are a bit short and thus I would add say 4 76mm/obr 1927 guns to even out the points.

Will play it out and let you know how it goes!

Posted in FlamesOfWar, SquadLeader | Comments Off on Squad Leader Scenarios for Flames of War

Game 2: Russian Midwar double feature

This game I really didn’t plan for it. It was again a midwar Russian v German action with 1800points a side. We rolled a Hasty Attack scenario. Originally Bill was looking to join us after he got off work. I figured he would field 900 points and I 900 points and I would defer to Bill as far as what he would want to field. As the time started to go back and Bill was running late we decided to press ahead so I pulled together a whole force.

Chuck used the same force as before, but this time I decided to switch to an Infantry platoon with what I thought would be some reasonable armor and artillery support.

For my Infantry company I picked, 2 infantry platoons, an HMG platoon, a platoon of 105s, a platoon of 3 Marder III Hs, and a platoon of 4 Pz IV F2s.

With the delayed reserves it meant that starting the game and holding was going to be tough. I deployed a platoon of infantry, the 105s, the HMG platoon and the Marders in ambush.

I was on the defense and Chuck on the attack. As the attacker Chuck placed two objectives and then removes one after the initial placement. This adds even a bit more scramble on the part of the defense which is an element of FoW that I really like.

gtCiagdcMU2cN9gV.jpg


Above is the initial placement. Chuck decided to attack my right flank. I had the 105s in the middle thinking they could fire over open sights if needed and help take out the Russian armor. With the Marders I figured they could be in the woods on either side and thus be a good asset again to deal with armor. Again another part of FoW that I really like. You don’t have to pick the exact spot of an ambush. You can pick that as part of the game. With a Immediate Ambush rule which I was under I had to place my ambush before the Recon move and then the attacker gets their first move. Really blunts the effect of the ambush and you have to hope you last until the bottom of turn 1 in hopes you’re around to shoot!

We got things a little out of order between the recon move and the ambush placement and the initial move, but we just reasoned it out and given what Chuck wanted to do it didn’t really matter.

k5TEO7z4lrbd9CYh.jpg

So in this case this is Chuck’s recon move going off. He was able to successfully remove my gone to ground markers for a number of units. Well done, BA-10s!

Chuck then rolled up his two T34 platoons behind the BA-10s. The BA10s with their ATRs fired away at my Marders and the T-34s were shooting at the HMGs, and at the Marders but given the move, concealment etc pretty hard to hit on that first turn.


iGDXOur3JlOTIYF1.jpg

Bottom of turn 1, the Marders opened up and bailed on T34 and brewed up 2. Um, wow, what a gun on those things. Think they’re going to last long? Ha!

The 105s opened up, but it was a hard choice. A bombardment of course catches under the template but the direct fire might catch a tank with a good antitank rating. I went for direct fire and it was obviously the wrong choice. With a rate of fire of 1, I wasn’t able to do any damaged.

XhHuoLOrtyy70Ajz.jpg


Turn 2 and surprise, Chuck gave my Marders lots of love. Lots of love. They were smoking them cause they got’em and I mean lots of them. By that I mean lots of shells. So much for my effective antitank forces. It was looking mighty bleak.

Turn 3 Chuck rolls a couple of platoons of reinforcements, he brings his Pioneer platoon on, his Katyies and a platoon of 76s too.

He rolled up his armor into the now long HMG platoon by the objective. While I was dug in, only the leader stand had a Panzerknacker.

5D6ZnBN7spTNkIfi.jpg


ZeK9Tv4cvPtgWWJJ.jpg

Pretty much a hopeless situation if you ever saw it. Chuck’s attack of course took out my dug in platoon and easily took the objective. Game in 3 turns. Lack of reserves really really hurt. Even then an infantry platoon without more effective antitank assets just wasn’t able to deal with it. Another lesson learned!

With that we picked up for the day. Definitely was a fun one. Till next time!


Posted in FlamesOfWar | 1 Comment

Russian Midwar double feature

T’was a full day with double the gaming over in La Crosse at Deaf Ear records today. Chuck and I met up at 9am for a ~1800pts vs ~1800pts Russian Kursk action using Flames of War. As it was Kursk the thought was play a German armor company against a Russian armor company.

This week I had anticipated I was probably going to be playing Germans so I finished up some Panzer IVs  Fs with a 1943 camo pattern. These poor Panzer IVs had been sitting on the shelf for awhile in simple primer black unplayed (sad violin) with so they were long long over due to get finished and see some time on table.

As experienced Flames of War players know 1800 points goes quick if you aspire to be playing a heavy metal game. I picked to build a Tiger company with 2 platoons each having but 1 Tiger from the East Front book. To round things out I picked up a JU-87G as priority air support (errrrmmmm taka-taka-taka), 3 Pz IVs F2s, a light AA platoon of 2 Sd Kfx 10/5 with a single 2cm FlaK38 gun and then last a platoon of infantry in Sd Kfz 250s.

Ian had decided to come along at the last minute so he and I were handling the Germans. I figured we were going to be on the defensive and largely outnumbered throughout the game. The scenario we rolled up was a Dust up.  With delayed reserves we picked to have on table the CiC Tiger, a single Tiger platoon of one Tiger and then the 3 Pz IV F2s. Not much but if luck would be with us the luftwaffe might appear occasionally and help keep the Red Horde from completely mauling us.

The table with the initial placement. Germans on the bottom left with the Russian objective by the road there next by the Tigers.  A platoon of Russian T34s can be seen on the far right, and then a formation of BA-10s Russian Recon to the left of the T34s and a little further back of that Katyies for Russian artillery.

RHuujf22rKkQtb2U.jpg

Chuck started the game off with his Recon move and sprung forward with his BA10s. Ian and I were a little taken aback by this but why not, that juicy Russian objective all out there ripe for the taking with just a few panzers not quite in range to hold the objective.

As luck would have it Ian and I would go first for the first turn. Do we move and make sure the objective is contested, or do we sit tight and preserve the rate of firepower. We elected to hold right were we started and let them have it. We also tried out our first call for air support and given the 7 dice with priority air support were quite happy that Hans was listening in on the radio.

oAq5xNtQKl3KA0Ek.jpg

The Luftwaffe when it came time swooped down after the T34s but the two Russian AA trucks guns found their mark and sent the two stukas off to find easier targets. Killjoys! This being the first time I’d bought air wasn’t too sure if it was a wise investment or not. Not a great start but hope springs eternal.

wLP3z1FGWyXbVXuW.jpg

After the opening shots from turn one, a number of the BA10s (3 IIRC) where less then lucky going, pop, pop, pop! 3 went up, but at the bottom of turn 1 the BM-10s continued to push down the road on the Russian first turn. The Katyies aimed for the Pz IVs but for all the rockets coming down, none could leave a dent. Later Chuck realized he should have been rerolling misses. :-/ Given I’m still a sort of newbie to FoW, I’m blissfully ignorant of these details sometimes, but I sure am trying to get better at these kinds of details either pro or con and make sure even if it works against me, to remind people. It’s fair play after all!

The T34s pushed up the table as well, looking to approach the Tigers at range. This is one criticism I have of FoW. There seems like an area to add flavor to adjust the anti-tank ratings based on range. Range bands work well for other game systems and it does help portray the differences in optics and so on.

Turn two, the Germans again called for Stukas and again was successful. Ian and I decided to stay where we were. With my Pz IVs I aimed for the BA-10s but my shooting was less than great, while I hit they passed morale and stuck around. A couple had PTRs on board so they were trying to angle for a side shot. Ian shooting at range managed to bail out a T34. We again sent the Stukas after the T34s and this time the AA was partially out of range. The Stukas came down,  scored some hits and took out a T34. Later we found out that cannon or MG shots from air should test against side armor and bombs or rockets should test against side armor. Sigh. Learning! It wouldn’t have had much of an effect given the Anti-tank of the Ju-87G is an 11.

lU8AqBh3JFQukxzc.jpg

At the bottom of turn 2, the BA10s fired their ATRs at the PzIVs but none found their mark. The T34s continued to maneuver and the Katyies again rained down but didn’t leave so much as a smudge,  the new paint jobs of the PzIVs remained mint.

About at this point it started to dawn on me, we might actually have a somewhat reasonable chance to go after our objective. I asked Ian to move ahead down the hill and I would try and  face the last of the BA10s and then join him.

A few dice rolls later and the BA10s were gone. At the bottom of the 3rd turn the Russians backed up their T34s to get back under the safety of the AA umbrella as another T34 was hit  by the air.

Turn 4 and the Germans with some confidence continuing to move towards the objective, but at the bottom of the turn, the Russians score their first set of reserves and another T34 platoon enters. No reserves for us Germans tho.

10fdWHrdvXnXB5Au.jpg

Russians pressing, we’re pressing, and we’ve got a good ol’fashion tank duel brewing. Ian’s Tigers while taking hit after hit but nothing is penetrating and even in the case of the Pz IVs they are leading a very charmed life, saving against the odds.

The new Russian T34 platoon that just arrived had copulas so their vision problems were corrected and thus not having to suffer from a +1 to hit due to the turret design. We decided to hold off one turn for air, as the dice to roll for making requests were starting to dwindle.

The new T34 platoon would over the course of the last turns rush up to engage the Tigers from all around but it wouldn’t have any effect. Ian was able to ker-chunk… boom,  ker-chunk… boom with ease and brew up the T34s that were getting too close. Between that 9 frontal and 8 side, those Tigers sure did really well. I guess someday soonish I should actually buckle down and get some Panthers too.

cBV8R8lFUxLgSJNY.jpg

Turn 6,  luck would have it, we get all of our reserves finally. The extra Tiger, the infantry in half tracks and light AA,  late but quite welcome. Somebody from the merry newly arrived band was going to be going to map reading class after this action. Never a good thing to keep Herr Hauptmann waiting.

qhscgfZr2QzaQNFW.jpg

In the picture above I decided to move 1 Pz IV on to the objective, and then the 2 remaining Pz IVs in the platoon would take care of the lone T34. With the newly arrived Tiger and more air, the T34s on our right flank were quickly being taken care of.  You can see the results of Ian starting to take out the newly arrived T34 platoon.

IcnvJ04uecA5RhoHJ.jpg

And with that we were able to get onto the objective. Ian swatting the T34s with a little too much ease, we decided the question was pretty much decided and best break for lunch, clean up and get ready for game #2 of the day.

Chuck fought valiantly and had some pretty cold dice in spots. Still those Tigers in future games I think will be going against some new Russian armor as Chuck has a very impressive list of armor in his painting queue that in future games will have better chances to make a dent. Definitely look forward to those future match-ups!

All in all a pretty unexpected outcome, least for me. I really didn’t think the Germans were going to be able to stand up this well. The Russian Katyies seem like better hardware to aim at infantry than tanks. The air was in my mind very effective. That was a good lesson to learn both to have air as well has have AA assets in the area to protect. While you can’t depend on how many planes will show, the ability to auto target things in the open and have reasonably good chances of scoring hits, was pretty cool. The PzIVs should of had some losses. Given the anti-tank of the Russian T34s, if it hadn’t of been for my rolling I could easily have seen where that platoon should have been brewed up.
Posted in FlamesOfWar | 8 Comments

Salamanca : Demo Game

I had the pleasure this past weekend to be part of a Demo game for some college students at the Rivendell Sanctuary with the Rochester game group. Don McConnell is a faculty member and he on occasions makes it down from the twin cities to take in a game.

The purpose of the game and the day was to teach a bit about the Napoleonic era. The battle Don picked was Salamanca which happened in 1812 as part of the Peninsula War. Marmont and Wellington squared off with the British carrying the day.

I wore my French Napoleonic Fifer uniform from the 21eme which is one of the units I reenact with. I gave the students each a reproduction french franc and spoke a little bit about the times and played a few tunes.

IMG_8847

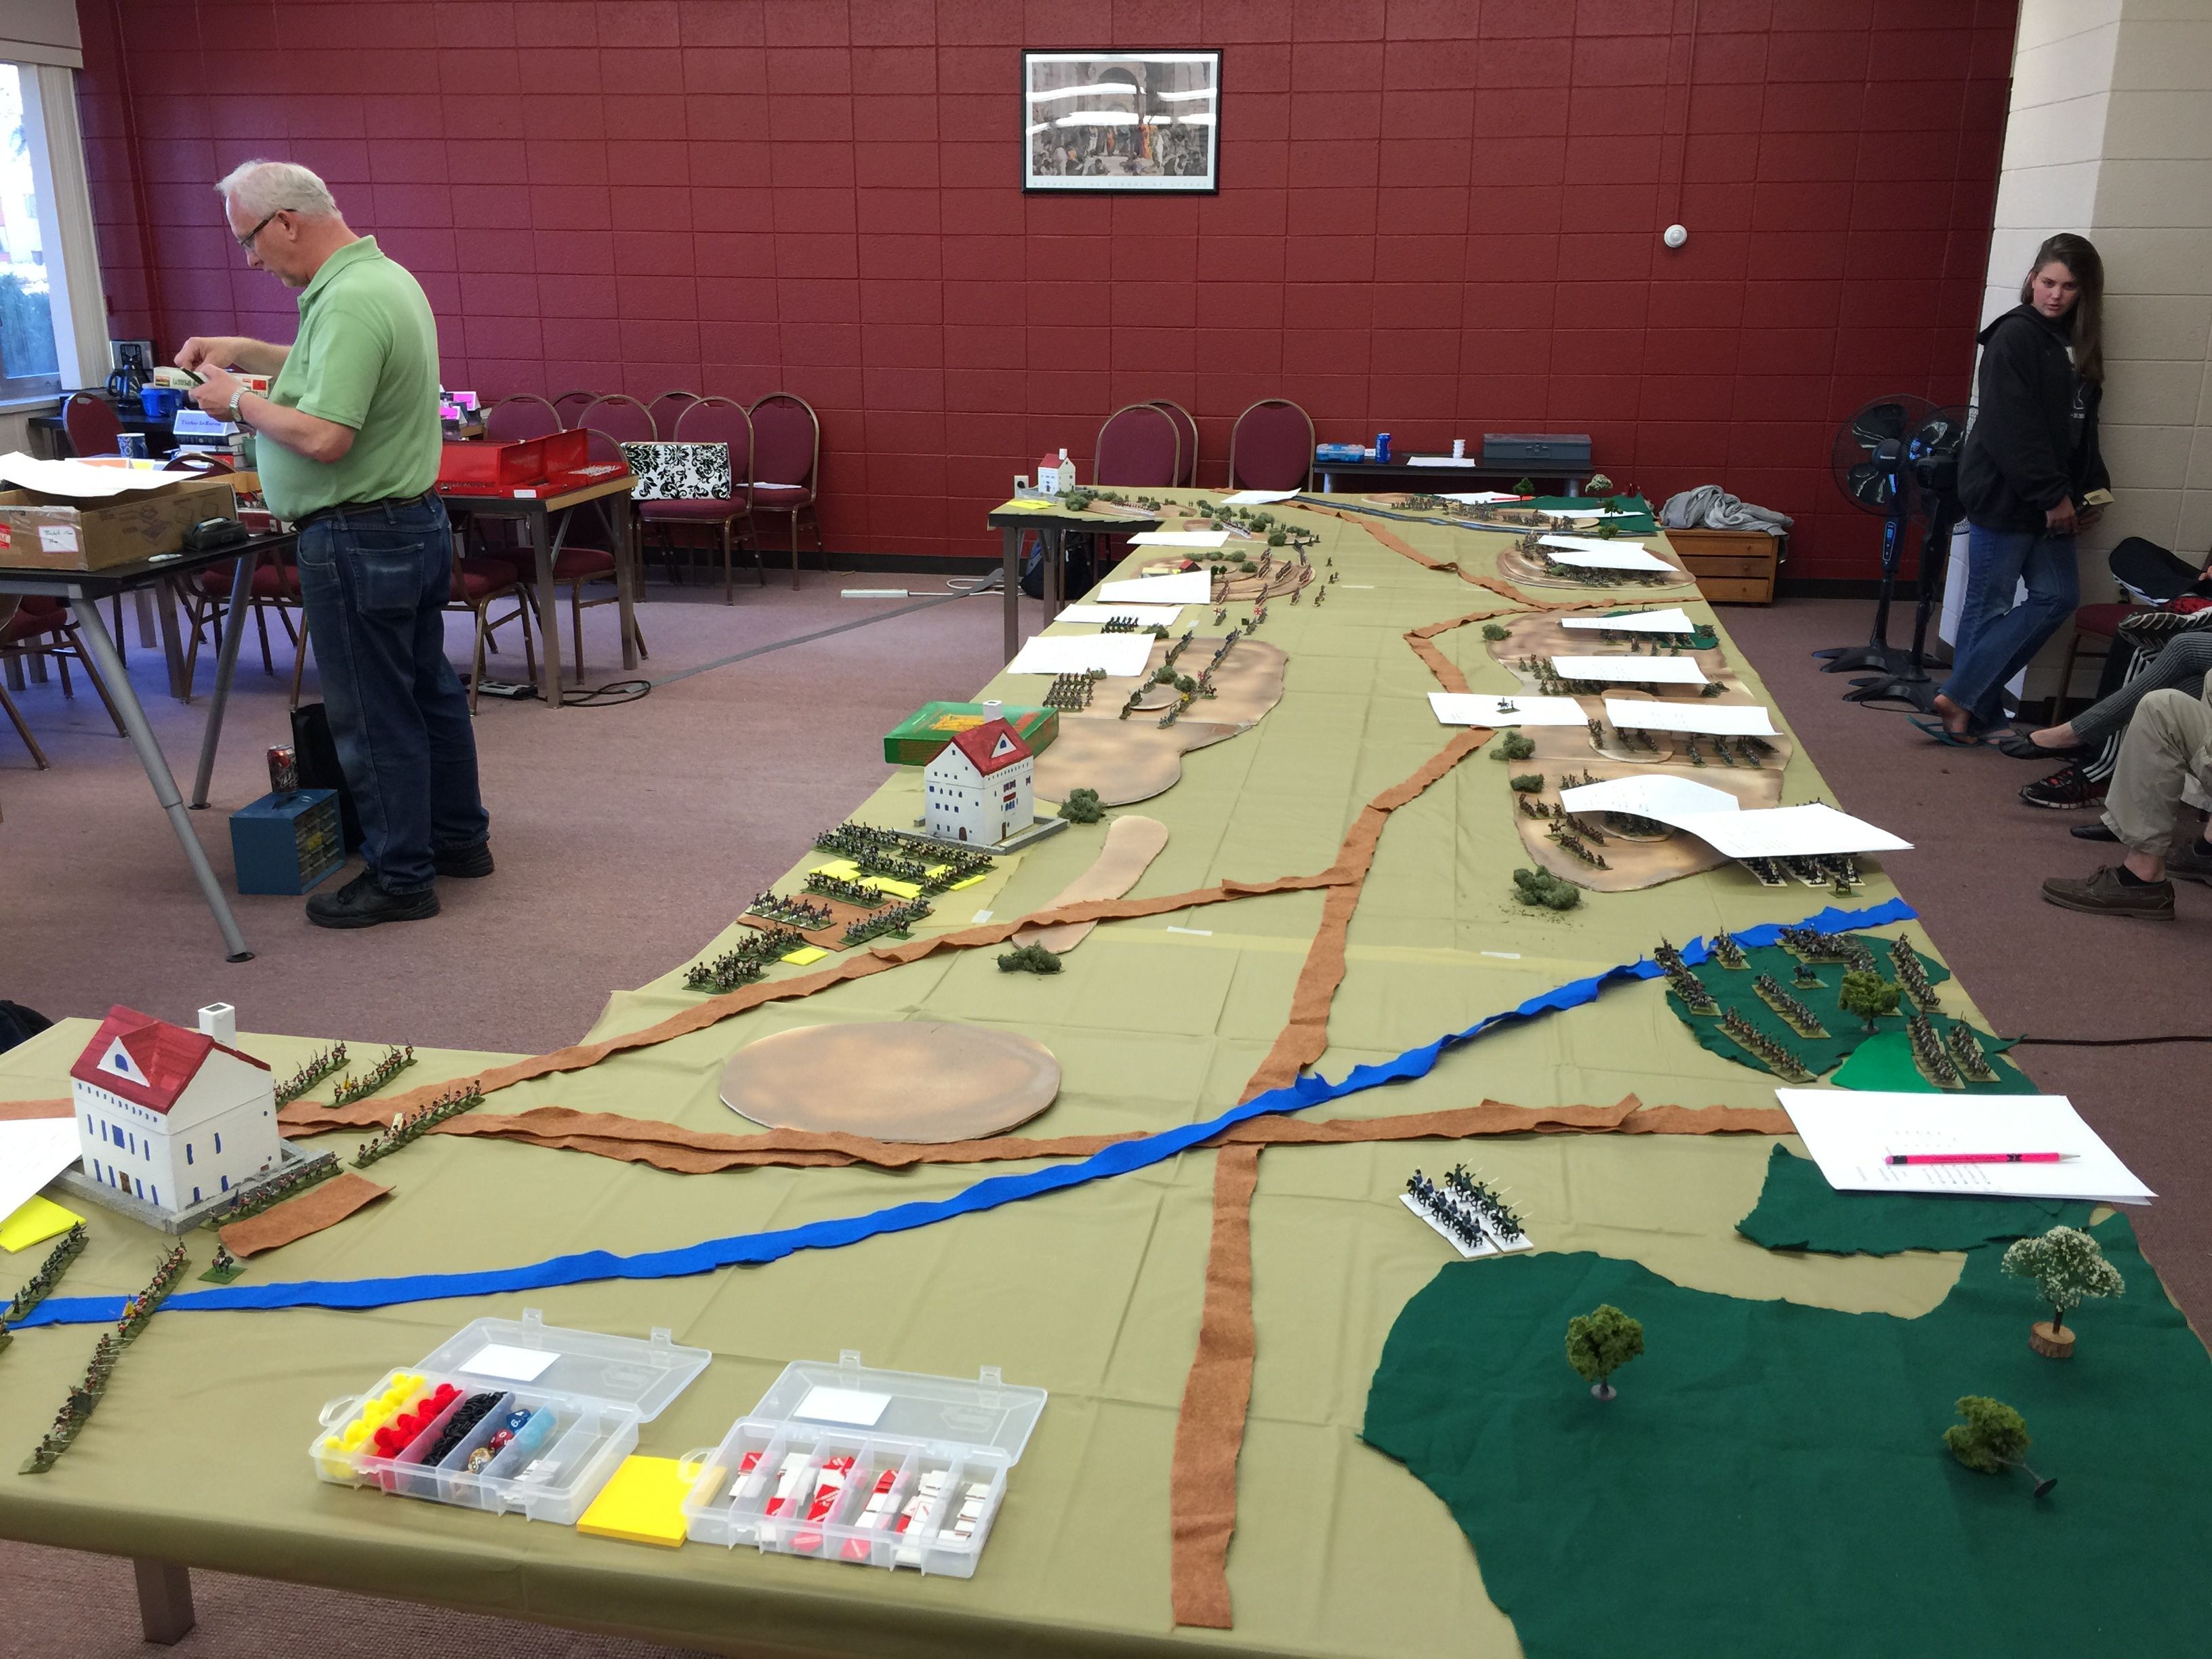
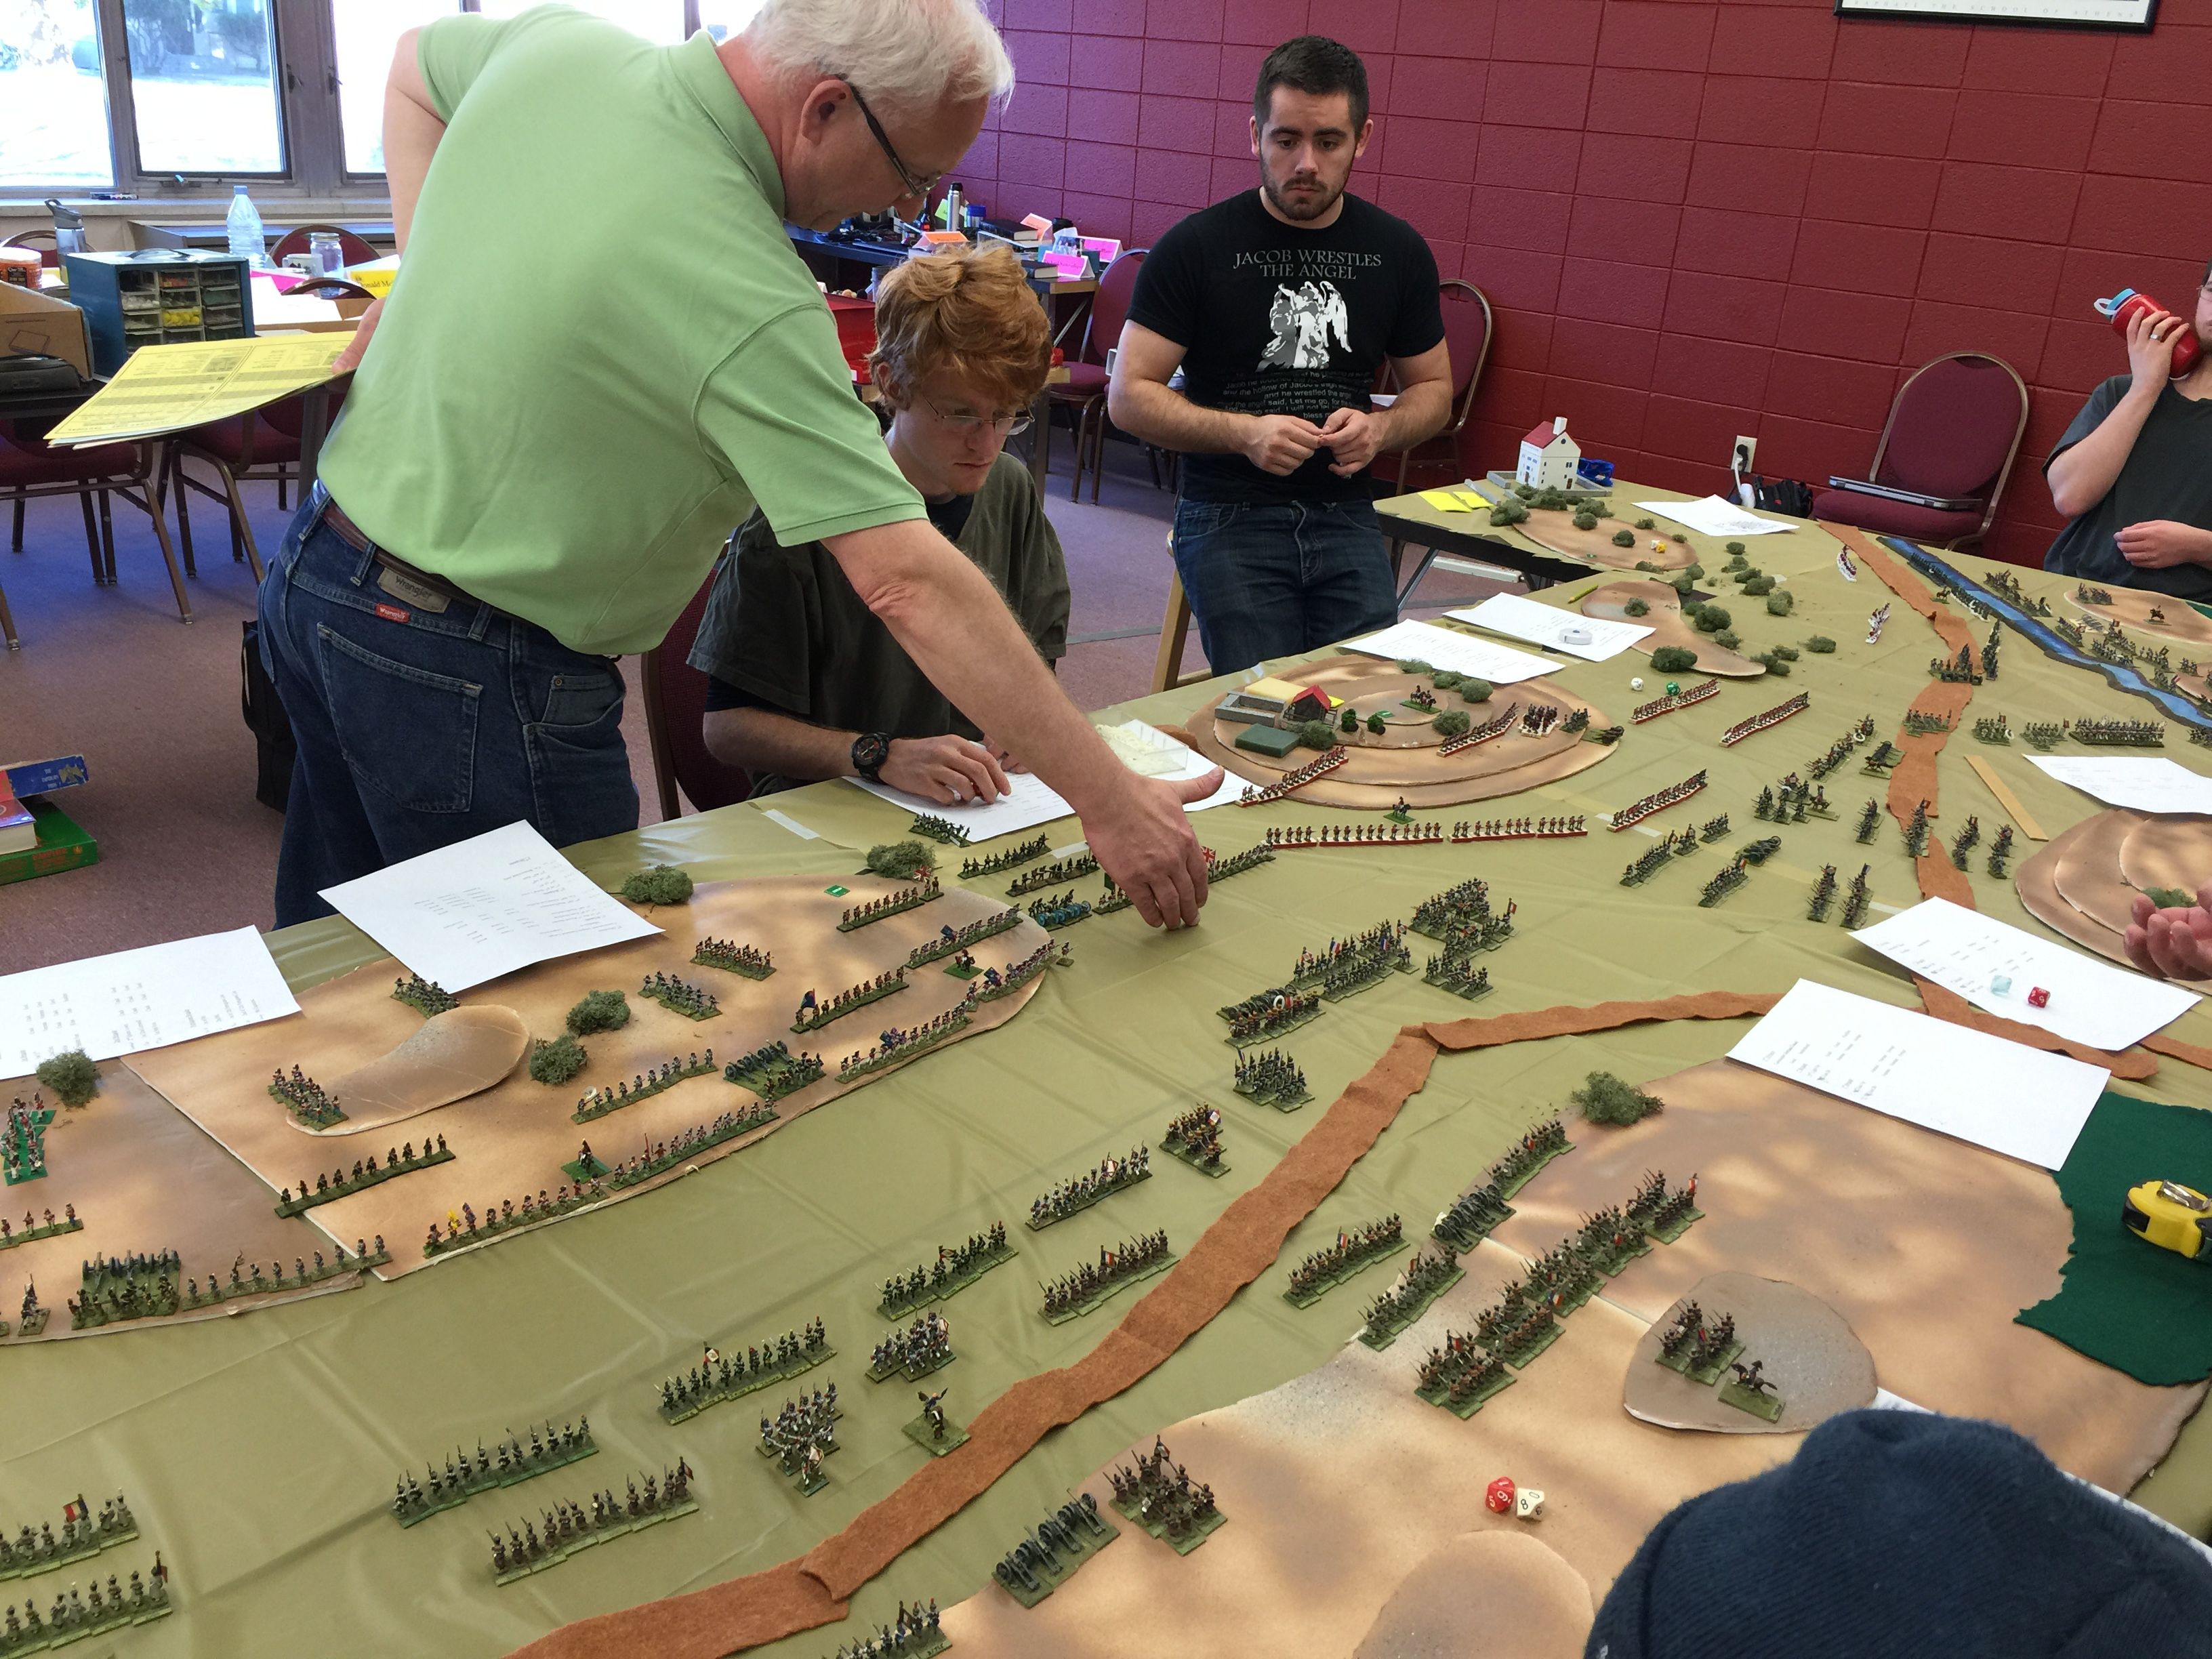
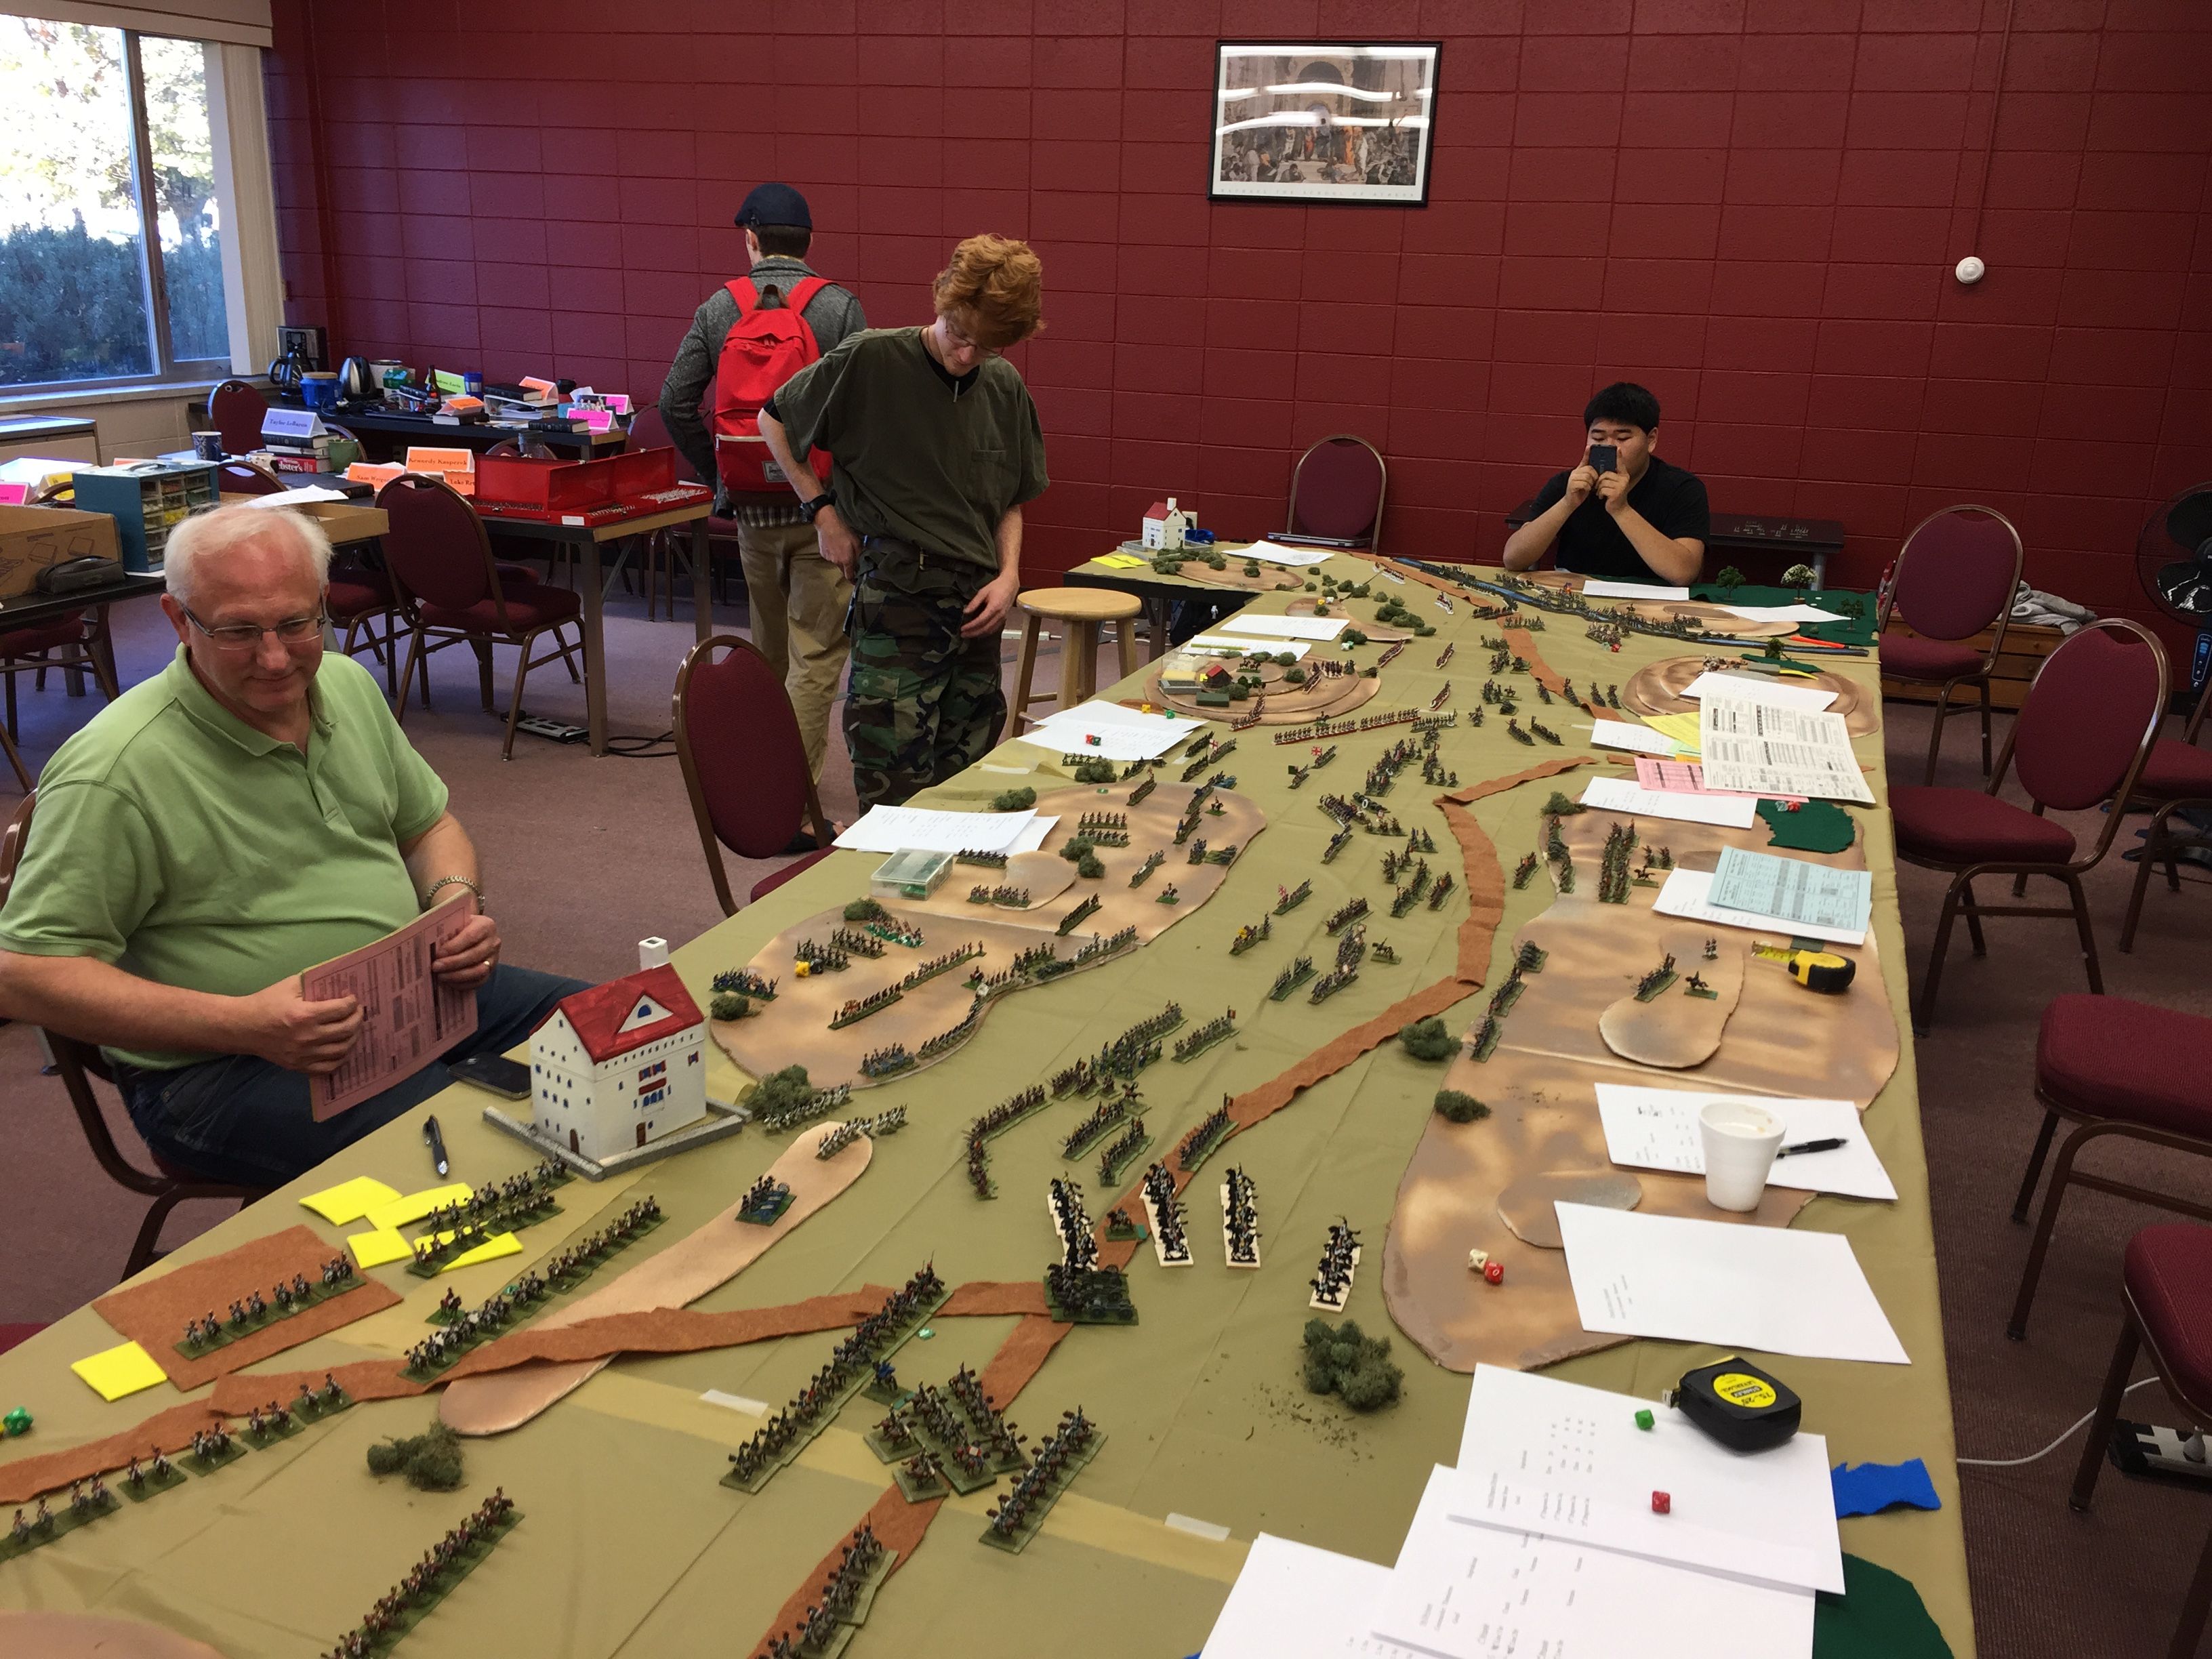
The initial table with the armies mostly set. We followed the historical order which found both sides trying to flank each other and thus were strung out. I played on the French side, our cav was at the head of the formation with division by division behind. We had 7 divisions of infantry and 2 of cav if I remember my numbers correctly.

The students that attended each were given a division to run. As the day wore on you could see the excitement as good tactics and die rolls lead to battlefield success.

IMG_8848

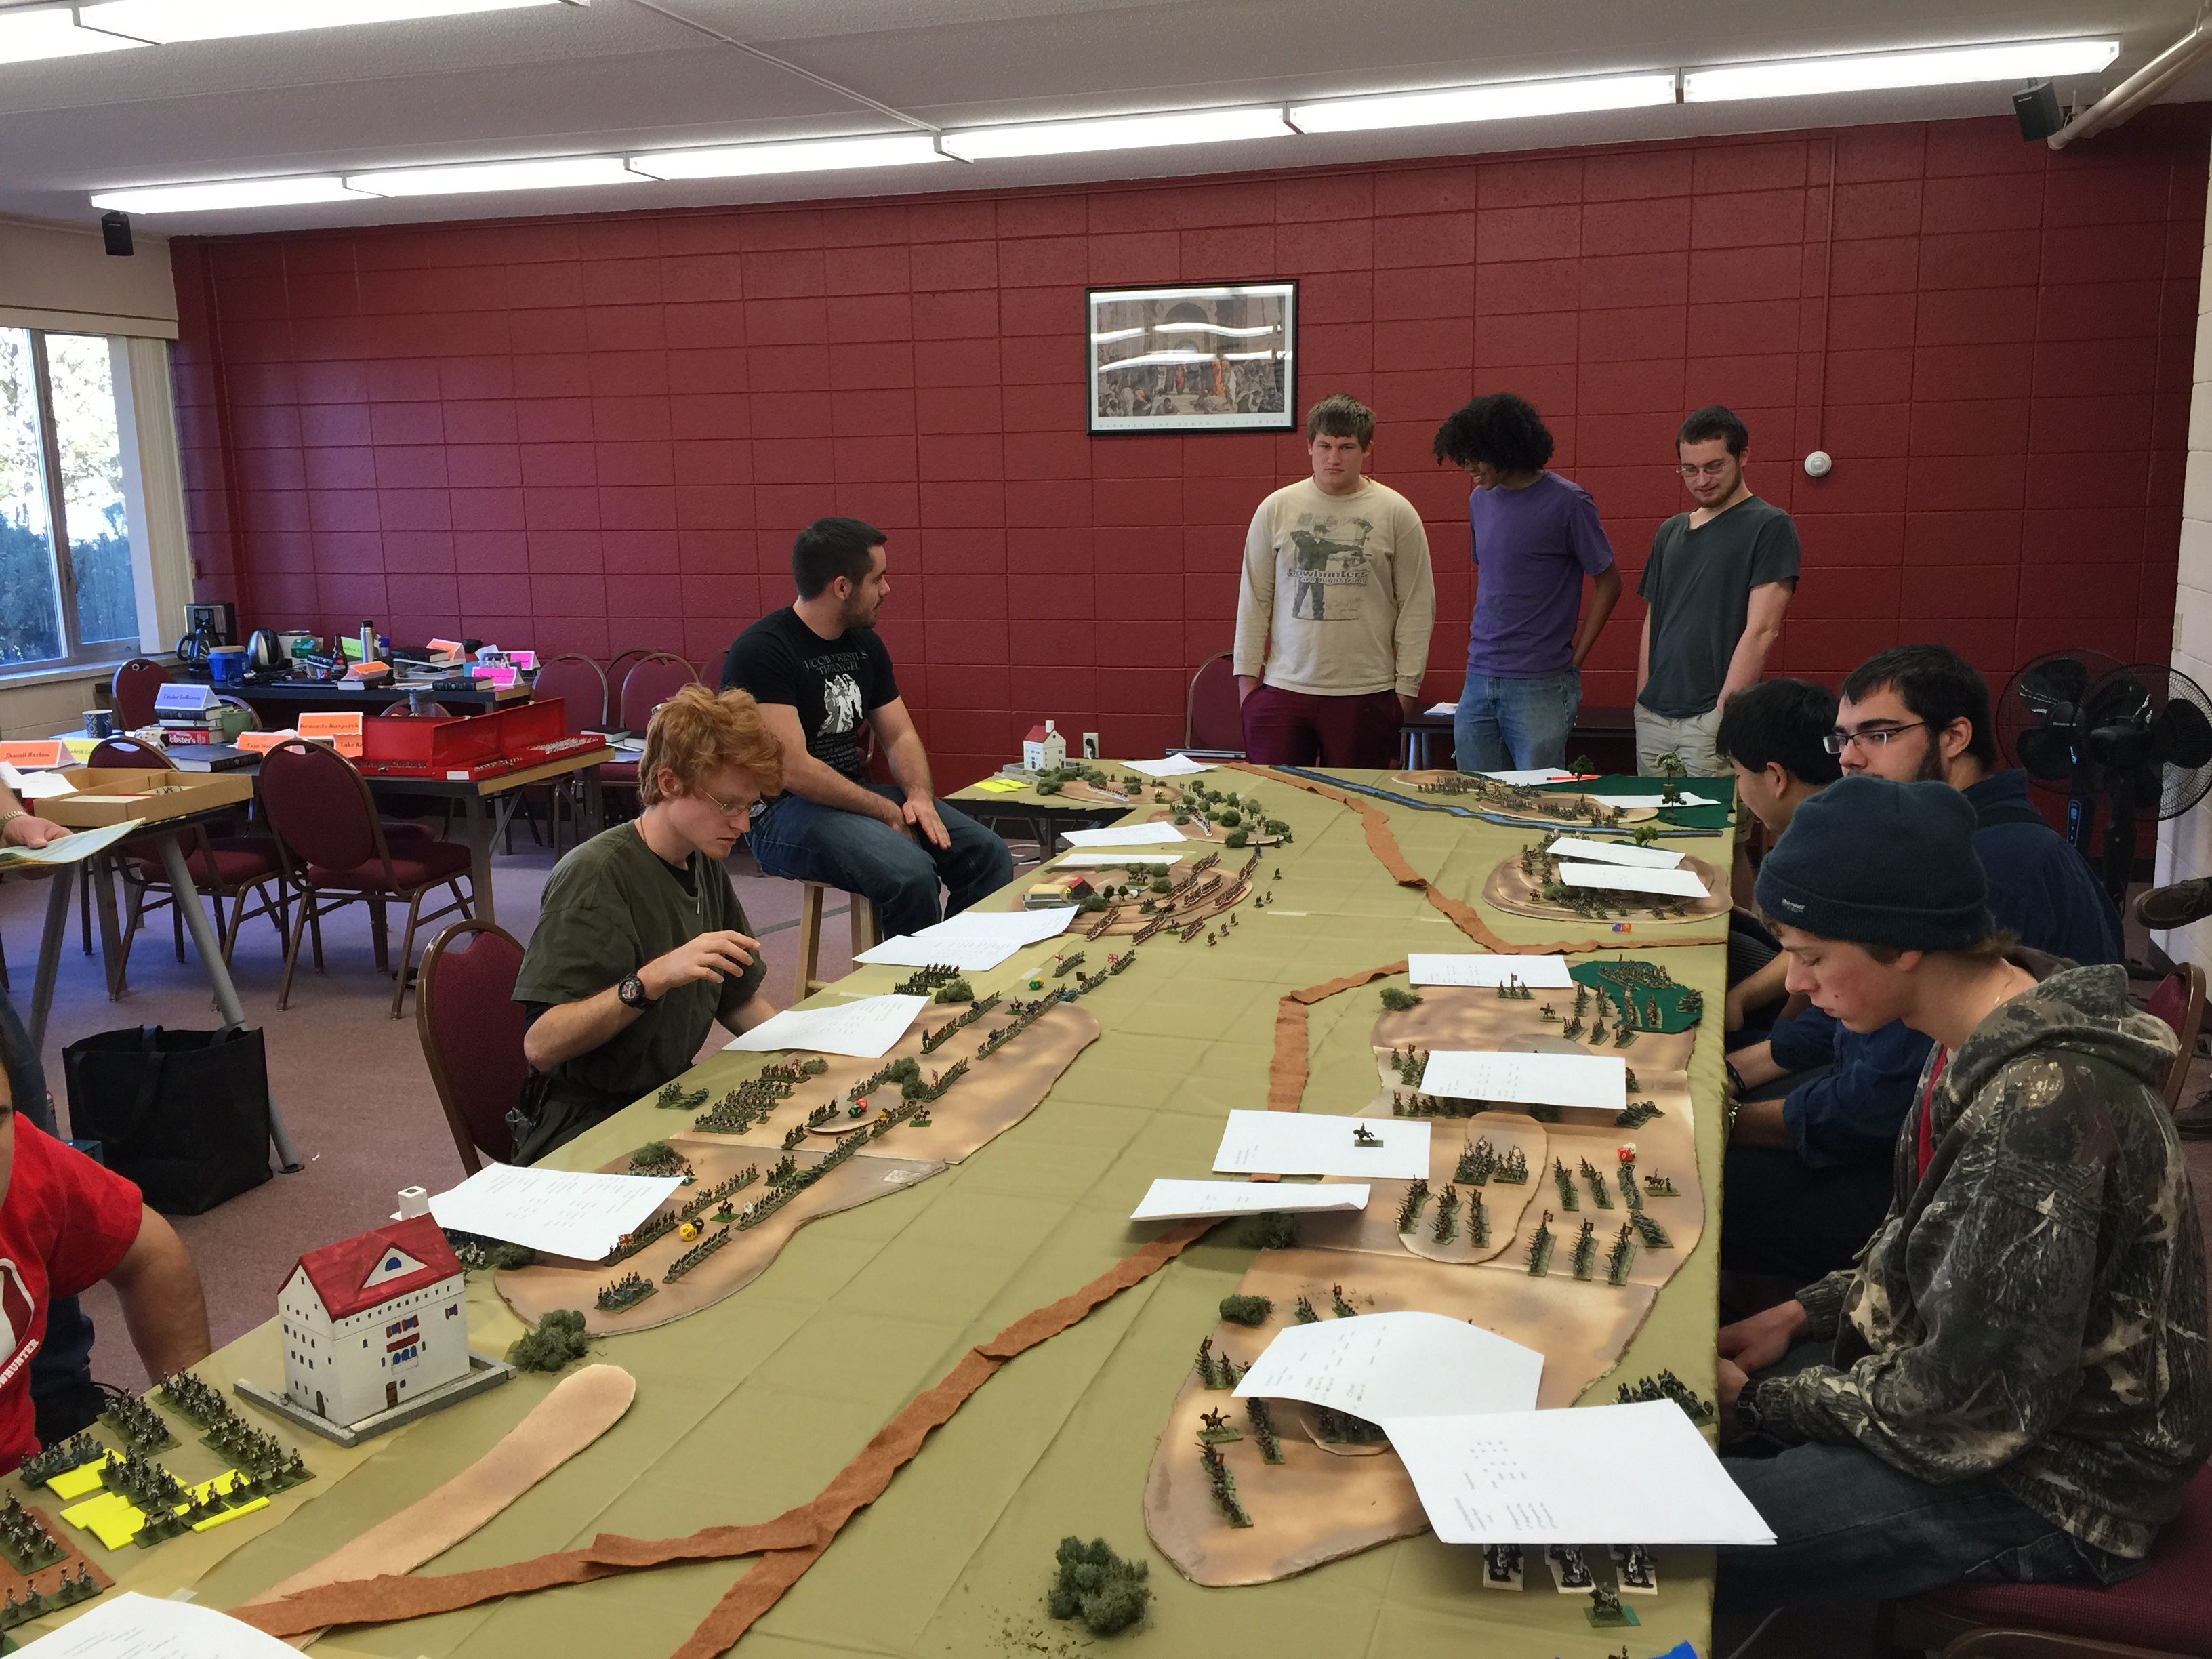
Here is the crew contemplating their initial forces. On the French side I asked them each to arrange their forces, pick a formation for the unit and then we got started. The Brits won the initiative and came forward on the attack.

IMG_8849

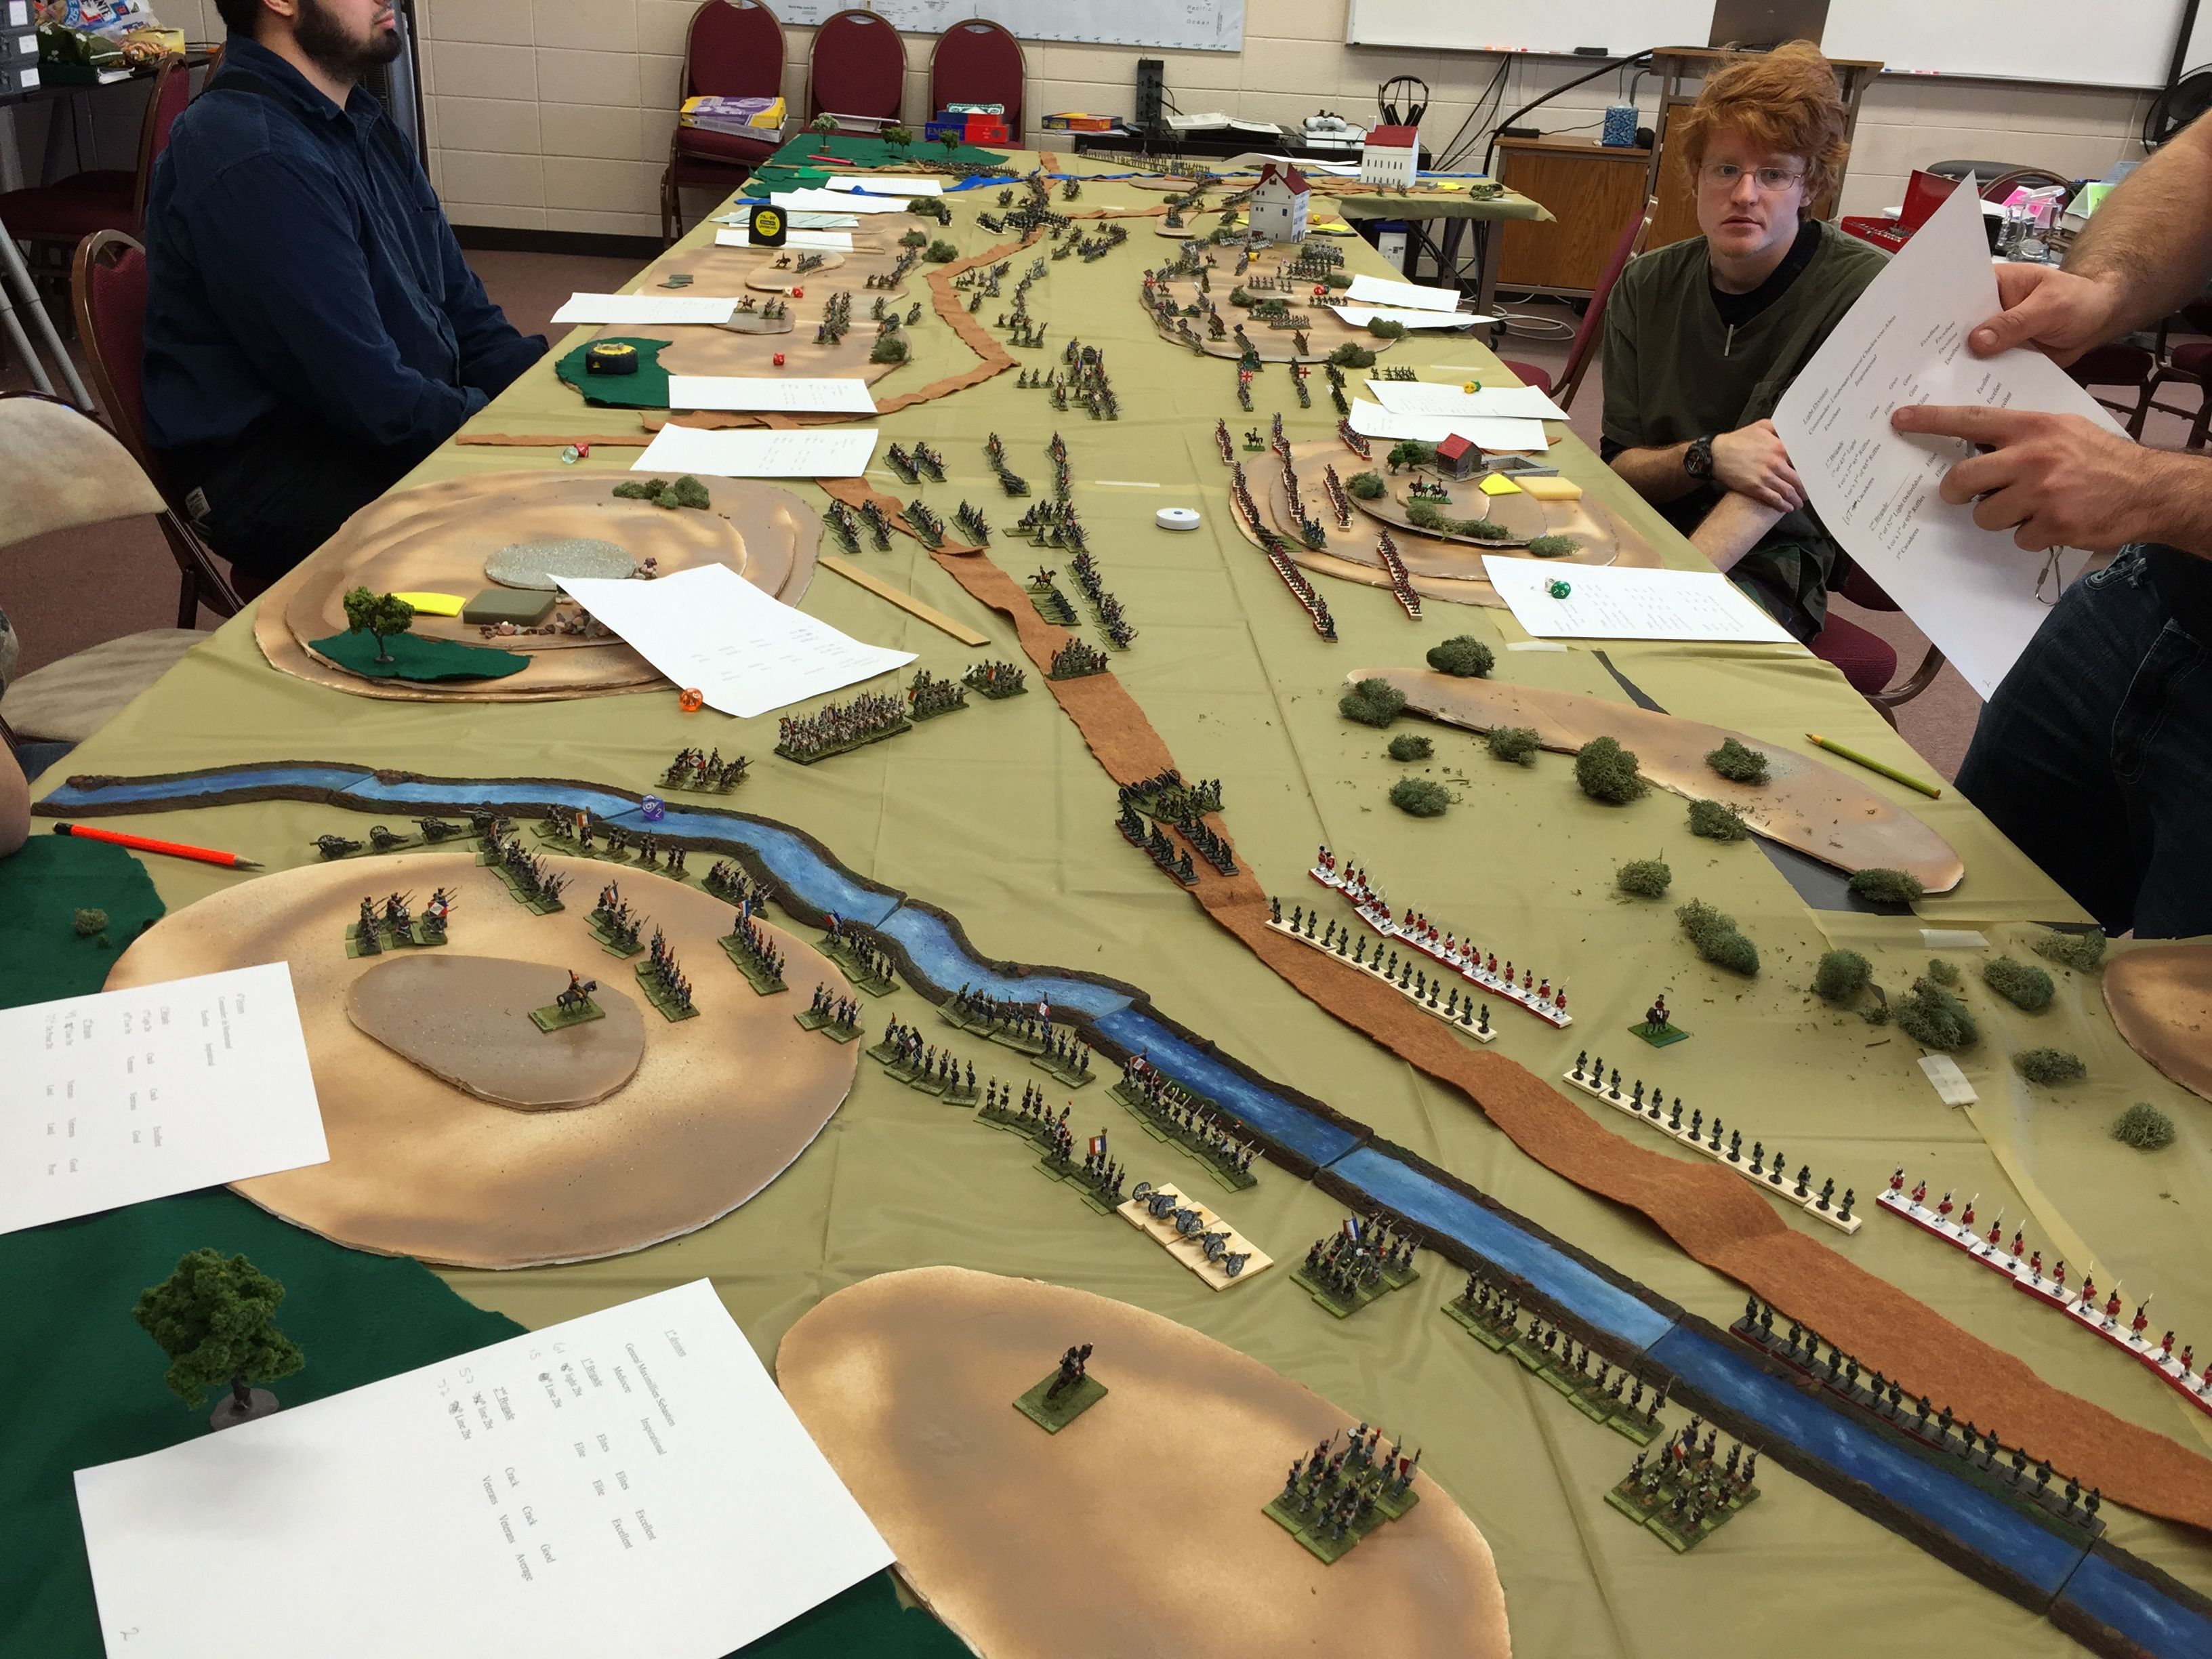
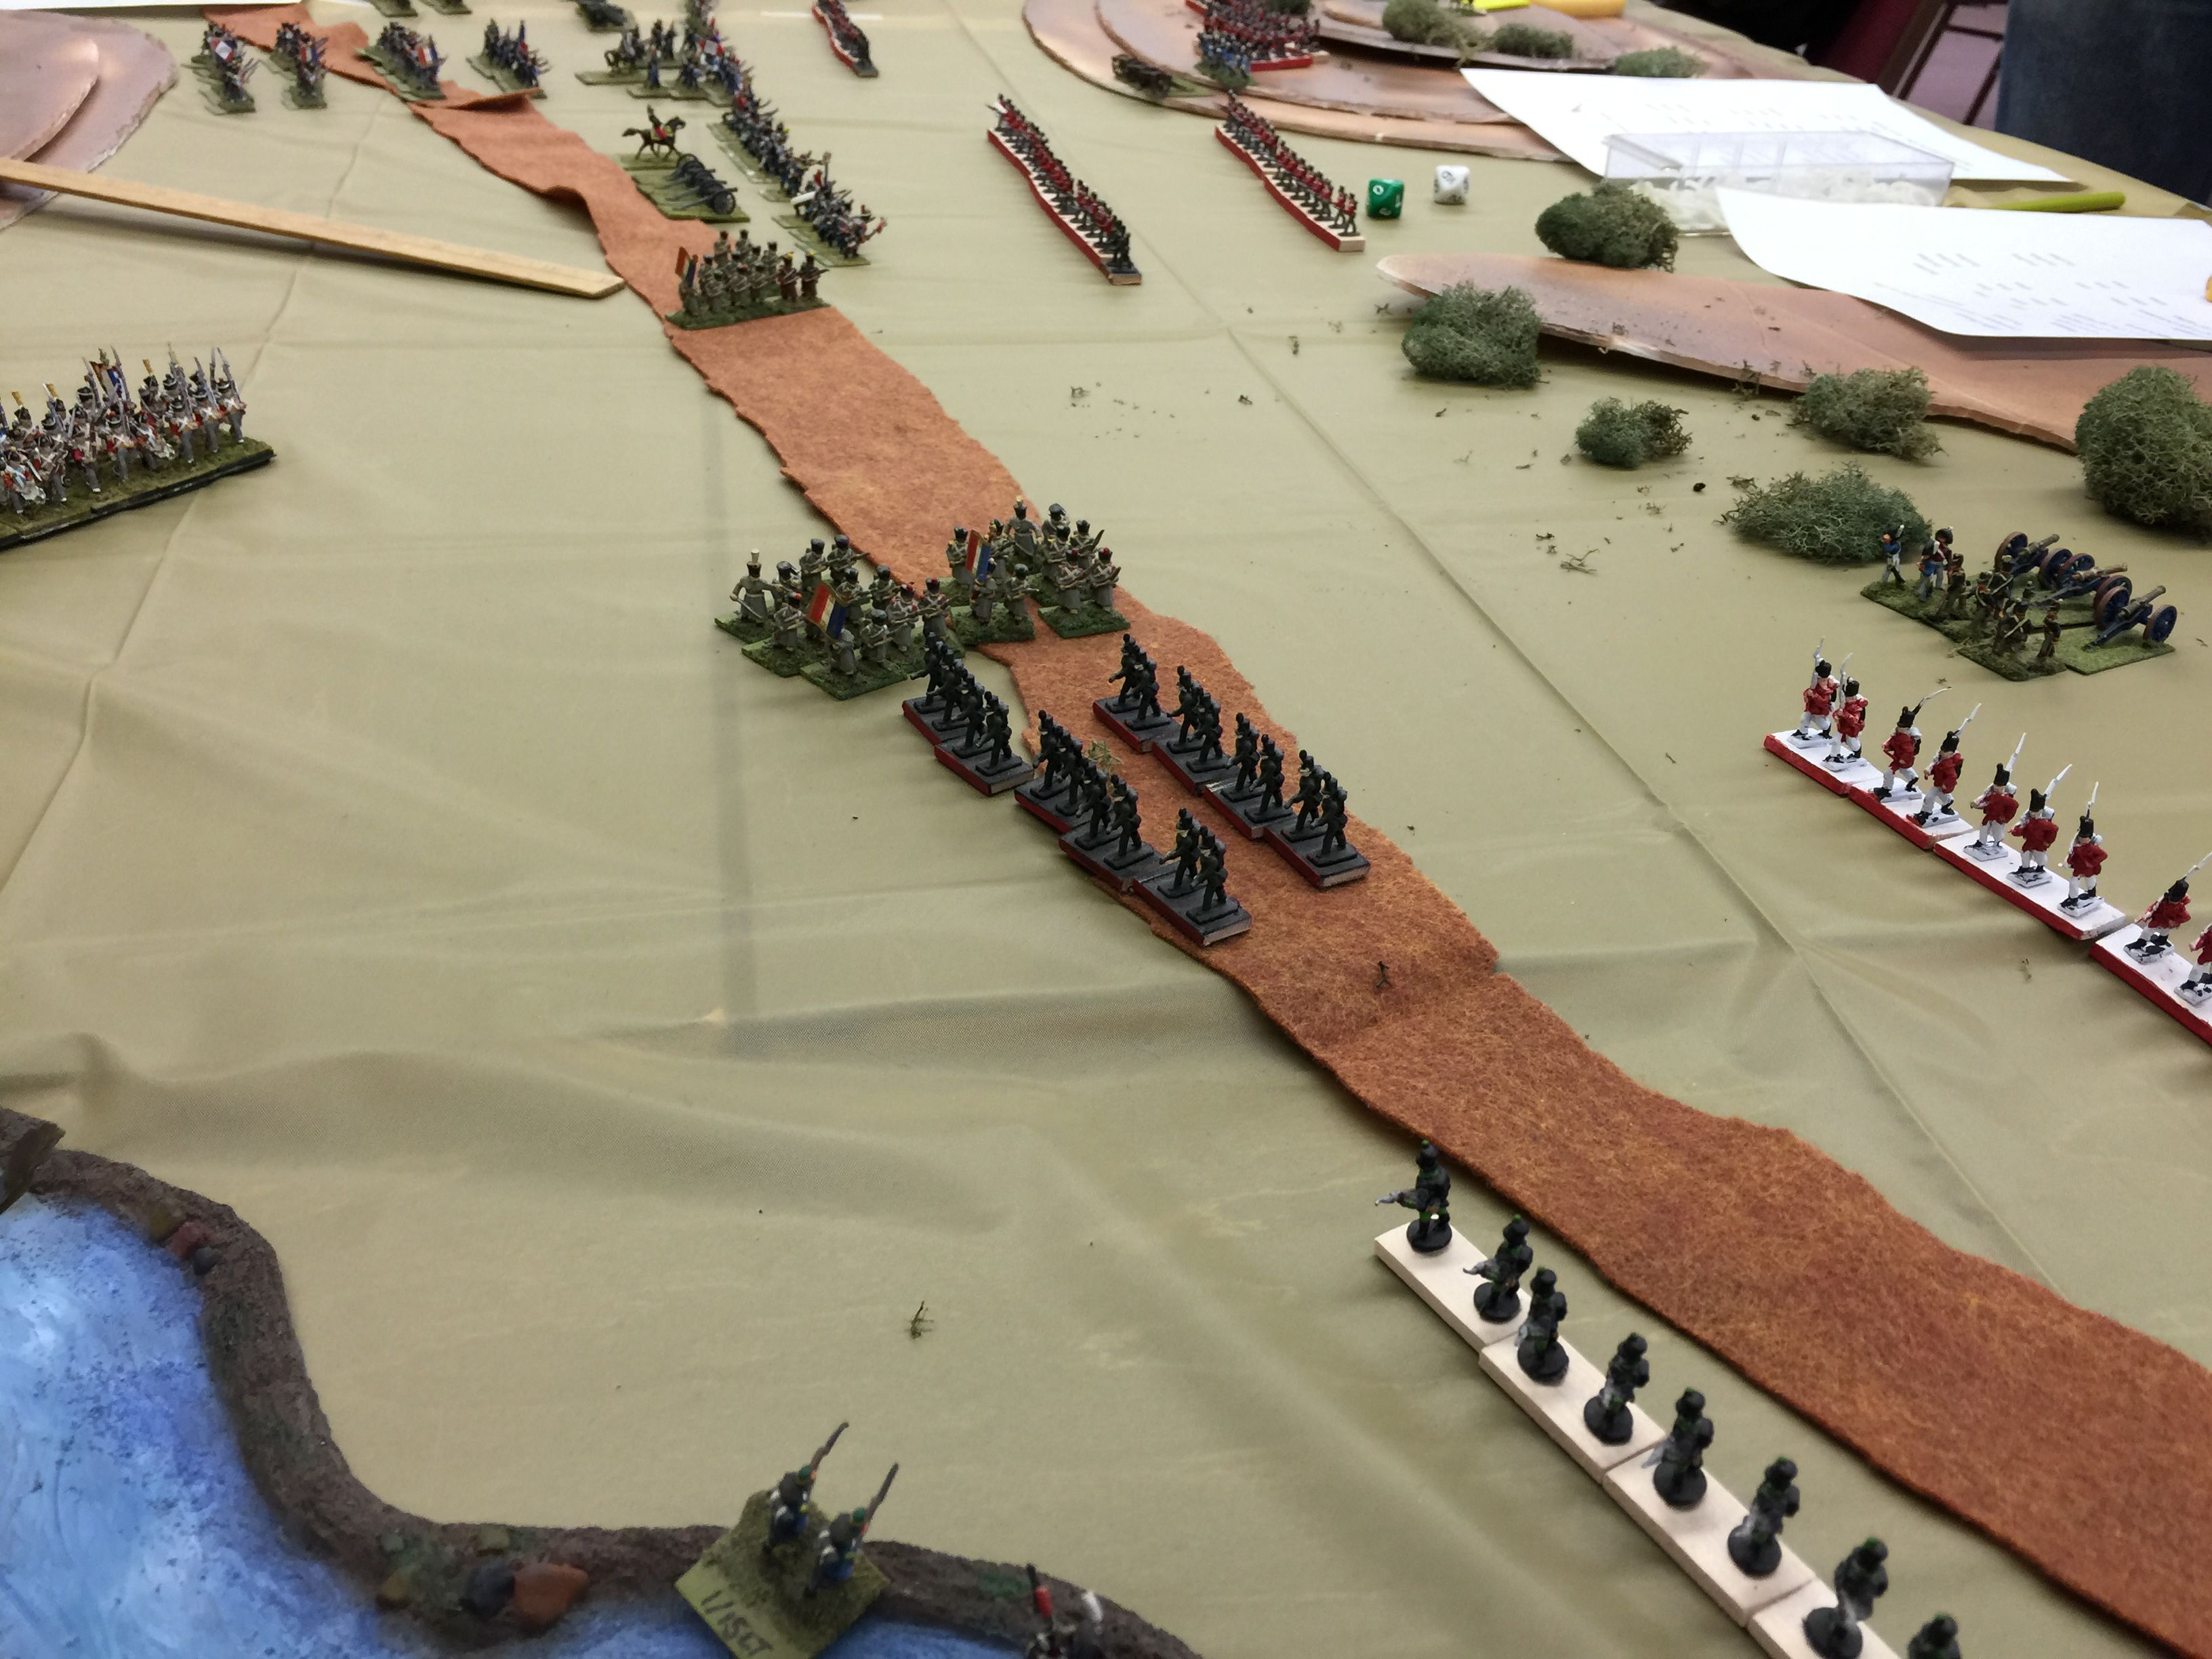
We played from right to left as of course all the students were new to the rules. Here the Brits came forward to give battle, one division of Brits vs 2 of French. Note the gap in the British line.  Two battalions of the 95th Rifles are involved and certainly the quality of the British across the line was generally better than the French so nothing bad will come of that right? 🙂

IMG_8850

Here Jon moves forward on his attack.

IMG_8851

Eric giving a few pointers.

IMG_8852

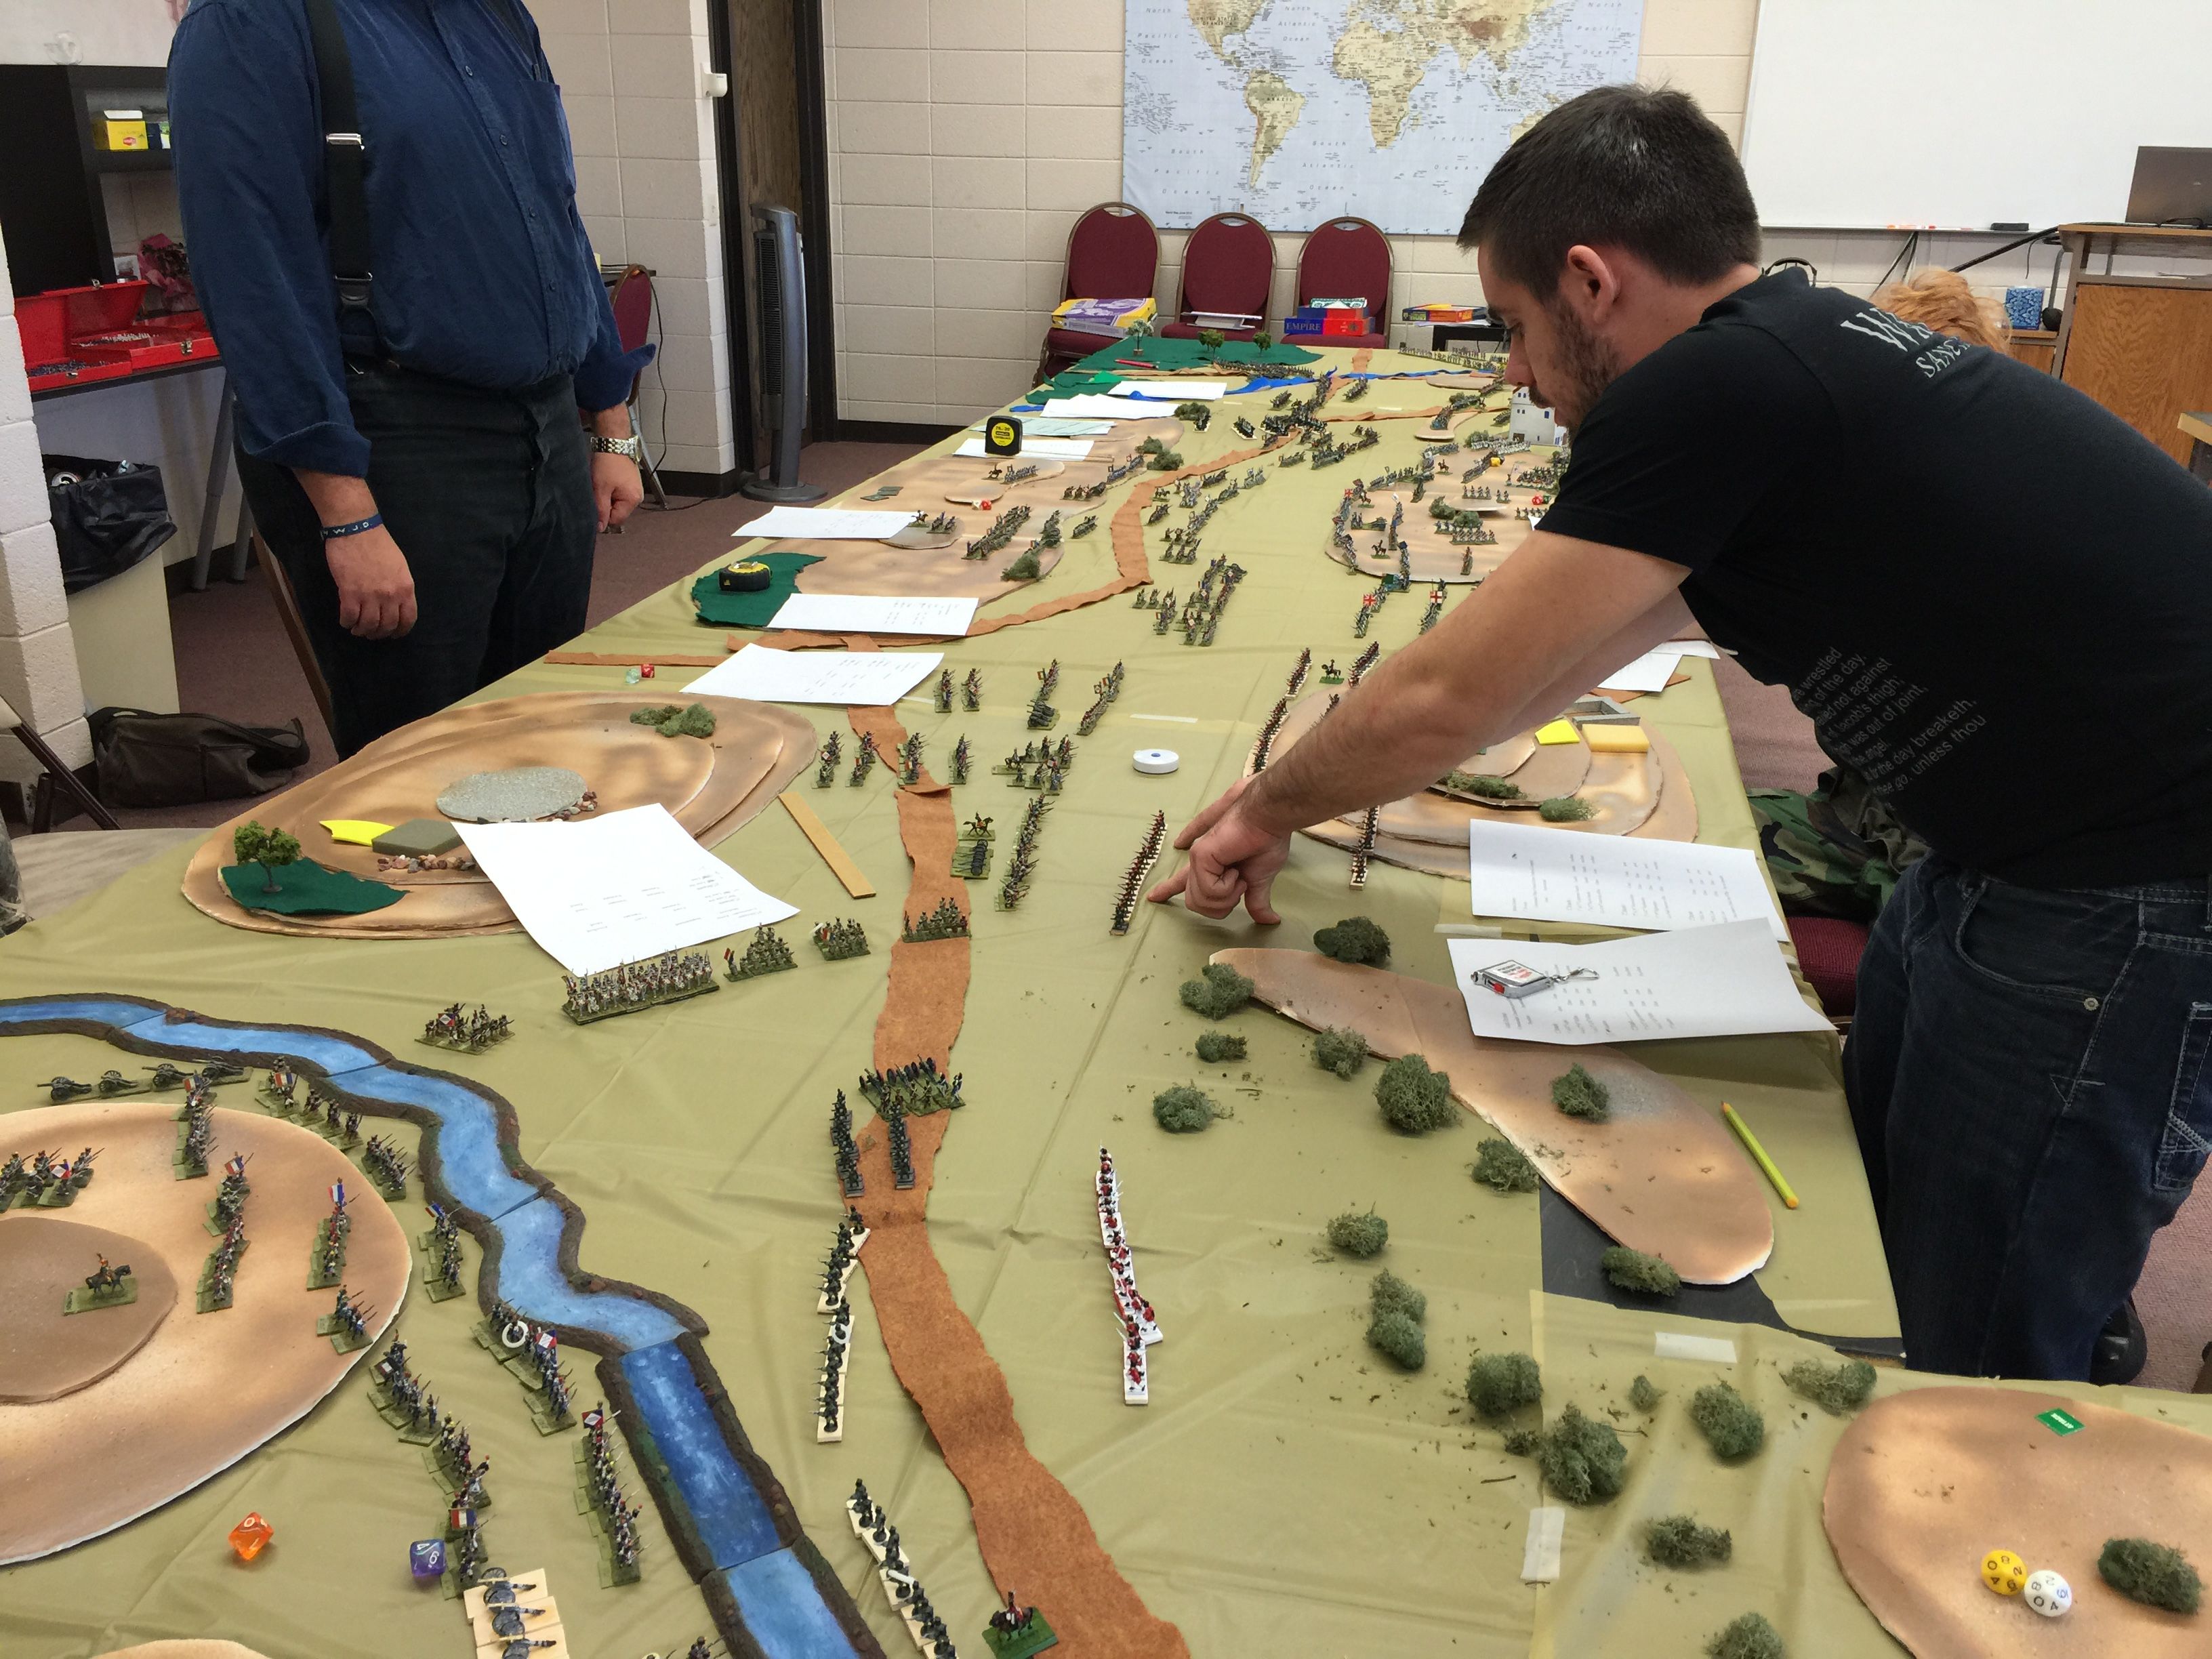
Remember that gap? Well the French charged into it, first routing off some artillery and then into the flank of a battalion of the 95th Rifles. It was well done but the dice were not so kind and while it should have been a good victory for the French the roll was low on the melee and the Brits were able to just drop back. Still the gap was now a hole and this side of the lines was certainly looking less than great for the Brits.

IMG_8853

The Cav scrum on the left flank started. The British certainly had better quality and you can see in the bottom middle of the frame a French unit of Hussars thown back.

It was getting to be about 4:30 at this point and with a lengthy pick up, we were happen to have played one impulse per side with as many hands as we hand and with so many new to the rules. It was obvious that the right flank was going well for the French and the left was going to be an interest set of Cav duels.

Historically the French saw Marmont injured early in the battle. Bonet the second in command was also injured early on. No doubt that played a significant role in what happened historically. How this might have gone, tis an open question.

A good time had by all and we certainly look forward to doing something like this again. I hope that students had a fun time. They were a great bunch.

Posted in Empire | 2 Comments