Playtest: Warfare at Sea in the Age of Reason

A new year and time to catch up on what has been an active week in gaming. 4(!), yes 4 games this week.

Today Chuck and I play tested the Warfare at Sea in the Age of Reason rules. This set of rules is tucked, ney, hidden away in the Age of Reason Vol II expansion book. The book is the second in expansion books for Warfare in the Age of Reason a set of rules which covers the Seven Years War.

It’s also available stand alone from War-game vault. It’s well worth it.

It is in direct competition with Wood Ships and Iron Men which our group has used for a number of years for age of sail battles.
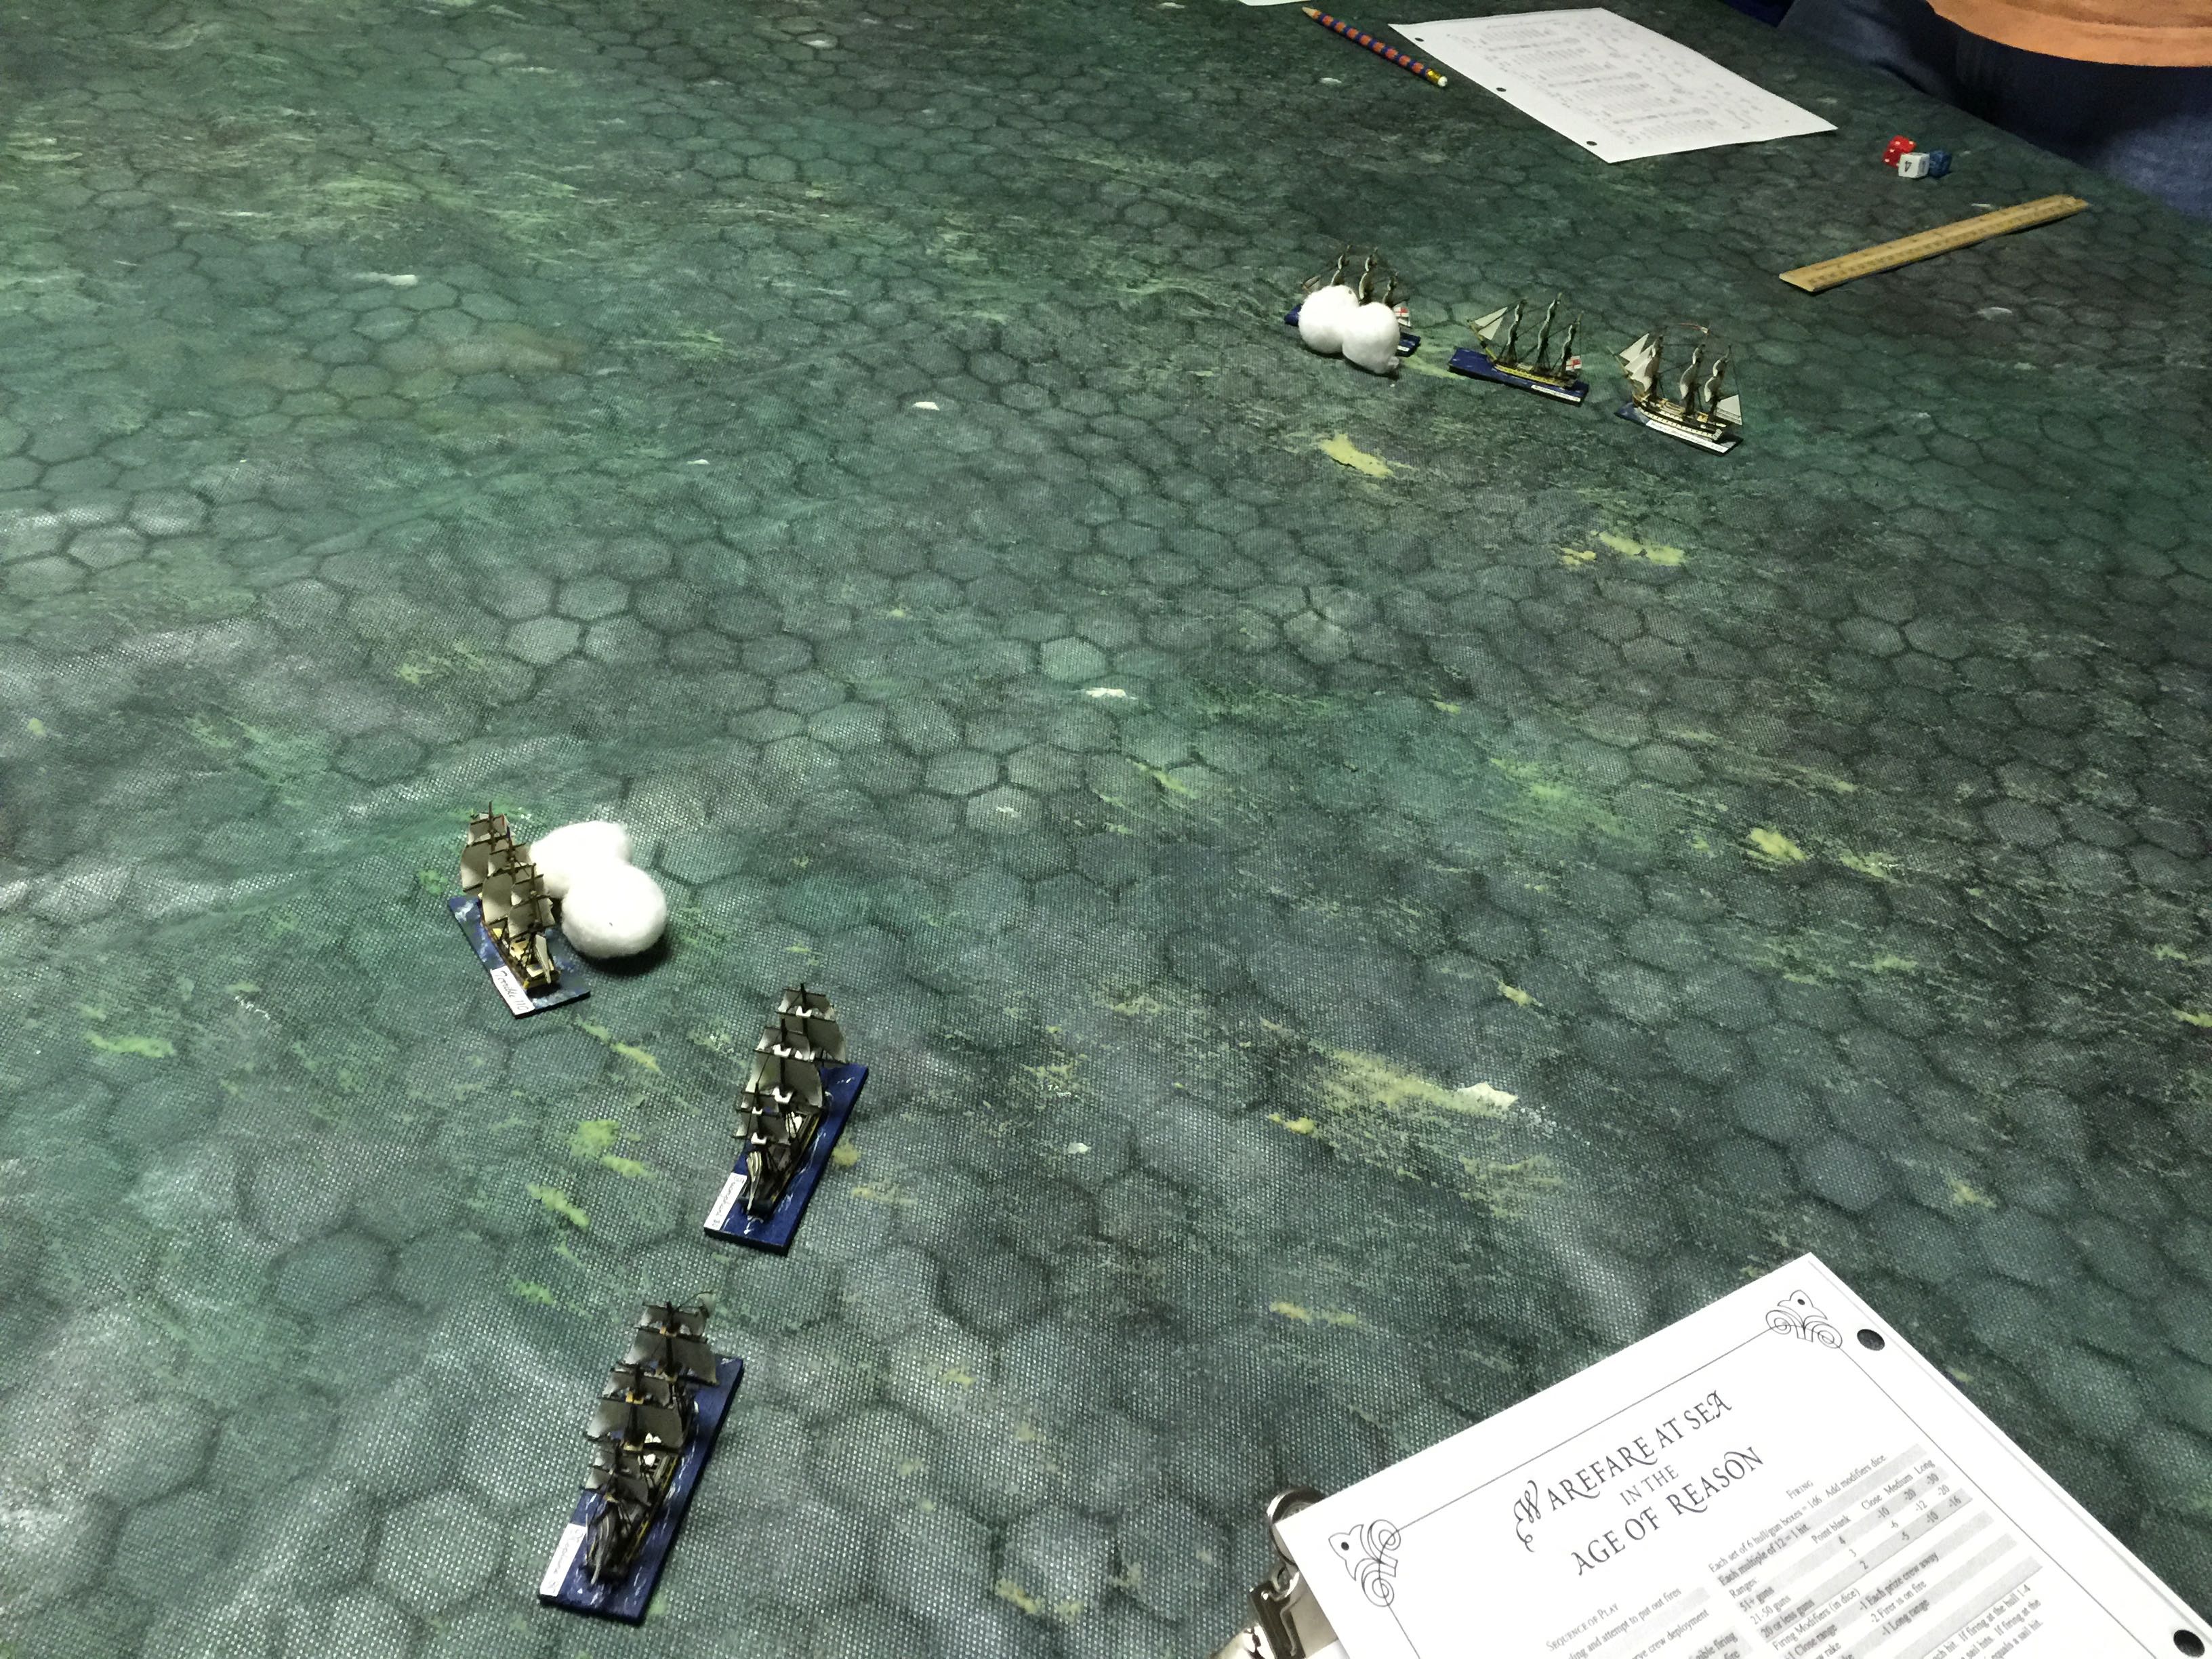
IMG_9090

With Warfare at Sea you command various ships of the line. Chuck and I played French (me) vs Brits (Chuck). The stats system is straightforward, based on the rate of ship you have so many sail boxes for each of 4 sails. I had 2 80 gunners and 1 110 gunner. Chuck had two 74 gunners and a 110 gunner. So 4 boxes per sail  for the 80 gunners and 6 boxes per sail for the 110. The 110 was a 1st rate and the 80s were 3rd rate ships of the line. Then you divide up your guns with 2 bow, 2 stern and then the rest between port and starboard. That would be 38 port and starboard for the 80s for instance. The guns are organized into groups of 6 boxes so that’d be 6 of 6 boxes and 1 line with 2 boxes for 7 total lines for the 80 gunner. This represents the number of 6 sided dice you throw when firing without modifiers.

One fires at either the rigging or the hull. Historically the French attempted to de-mast and thus aim high, Brits would aim low and go for the hull. Hull hits check off gun boxes and rigging hits check off sail boxes.  Complete a row of the guns, lose a dice for firing and also take a critical hit roll. Lose a sail and you loose 1/4 of your unadjusted speed.

The game plays much like Wooden Ships and Iron Men but with a few differences. Moving is similar with the orientation of the ship and the wind either slowing or increasing speed. You can set full or battle sail. Full sail increases speed but if you take a sail hit, it doubles to 2 sail hits.

When firing as mentioned you roll d6s and for each multiple of 12, you score a hit after which you drop a d6 for each hit to determine if it’s a sail or hull hit.

Crew quality ranges from green to crack. We used the historical values for French and Brits and were both Vet. There are various times to use your crew ratings such as getting out of irons. (IE sailing into the wind to tack)

Each turn each side rolls for initiative. High die decides to either go first or defer.

Gunner class is interesting in the game. The Brits are a B and the French a C. In the case of the French you can fire just once but you can do so in your own or anytime during the movement of the other side. Brits if they win the initiative have the ability to fire twice but only by letting the other side move first. The Brits are able to fire anytime during the move of the French and then again at the end of their own turn. If the Brits go first, they only get to fire once at anytime during their turn.

The cone of fire is directly to the left and right for a broadside. It’s a fire zone that is directly perpendicular to the ship so it’s not a generous cone. Again this factors into the gunner class. In the case of firing at any point during the turn you can fire anytime when a ship drift into your field of fire, but with the Brits for them to fire twice their ship has to fire at the very END of their movement, so they have to keep the enemy in cone. This takes some expert sailing!

Overall, I’m quite pleased with the rules and they seemed to play pretty well. I would only change the rule when a ship should start to roll to see if it might sink or strike her colors. As printed the rule is that it’s a total number of hull boxes will determine when to start to roll to see if you sink or strike. I would change it to the number of hull boxes on either port or starboard. Thus if both sides of your ship take a great deal of fire, you’ve two chances to roll for. Further if you lose all your sails and take a bow or stern rake, that’s another very good reason for a captain to call it a day, as they did back then.

In our game Ian took command of the French 110 gun ship. He decided to open up at long range which then caused the Brits to open up with their line but concentrate on one of the 80s. Having been hit fairly hard the one 80 turned to starboard in the hopes with the fresh guns it might be able to get a stern rake or two as the rest of the French lined tried to match the Brit line.
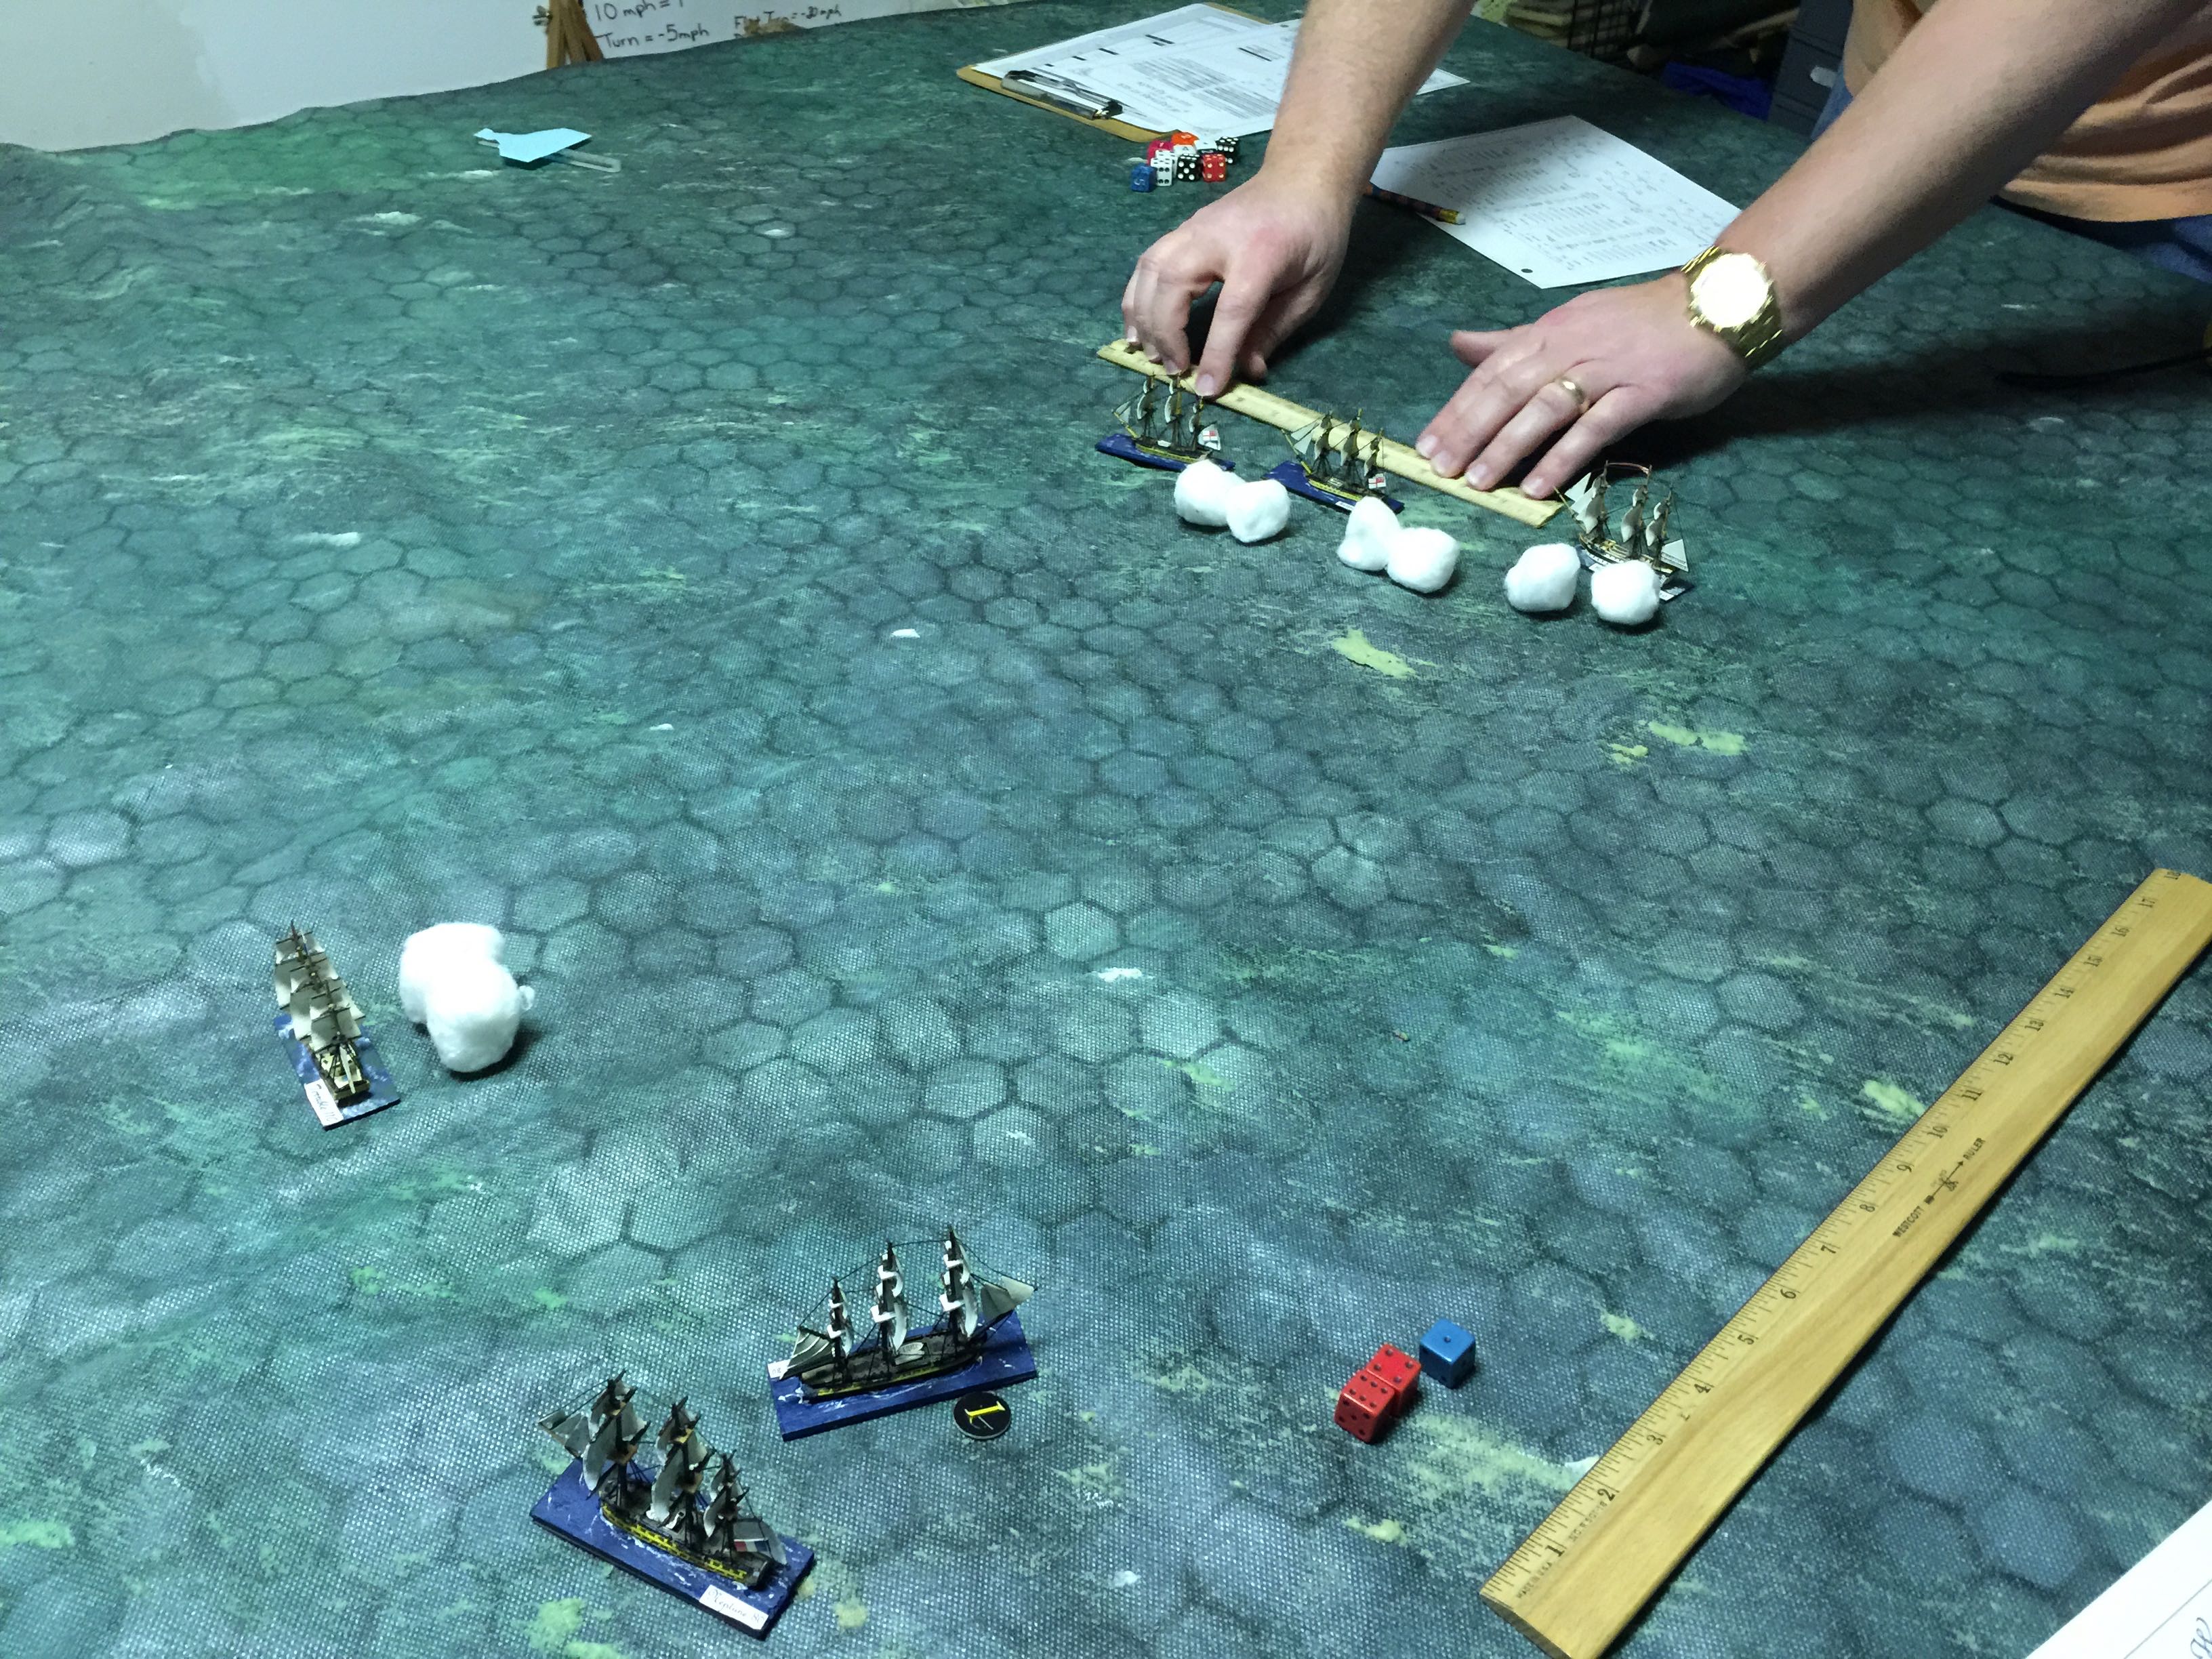
IMG_9092

Chuck through the course of the action took advantage of the ability to fire twice and eventually de-masted the French 110 gunner. We ended up firing most of the action at long range and only just coming into normal range a few times. Oddly even tho Chuck completely followed the British doctrine to fire at the hull, his rolling was such that he completely de-masted the French 1st rate ship of the line.

We had one lull in the wind that lasted for 4 turns. In this game when you tie the initiative roll, you see if the wind changes both speed and direction.

IMG_9094


IMG_9095

With the 110 taking a huge amount of damage she struck her colors being dead in the water. I almost de-masted a Brit 74 gunner but today just wasn’t our day and the two 80s needed to both flee, victory Brits.

We didn’t get to test out a boarding action but perhaps next time. For 3 ships each, we were able to play through even new with the rules in about 3 hours with prep and rule review.

Posted in Playtest, Warfare at Sea | 4 Comments

Mid war Russian/American vs Germans/Hungarians free-for-all

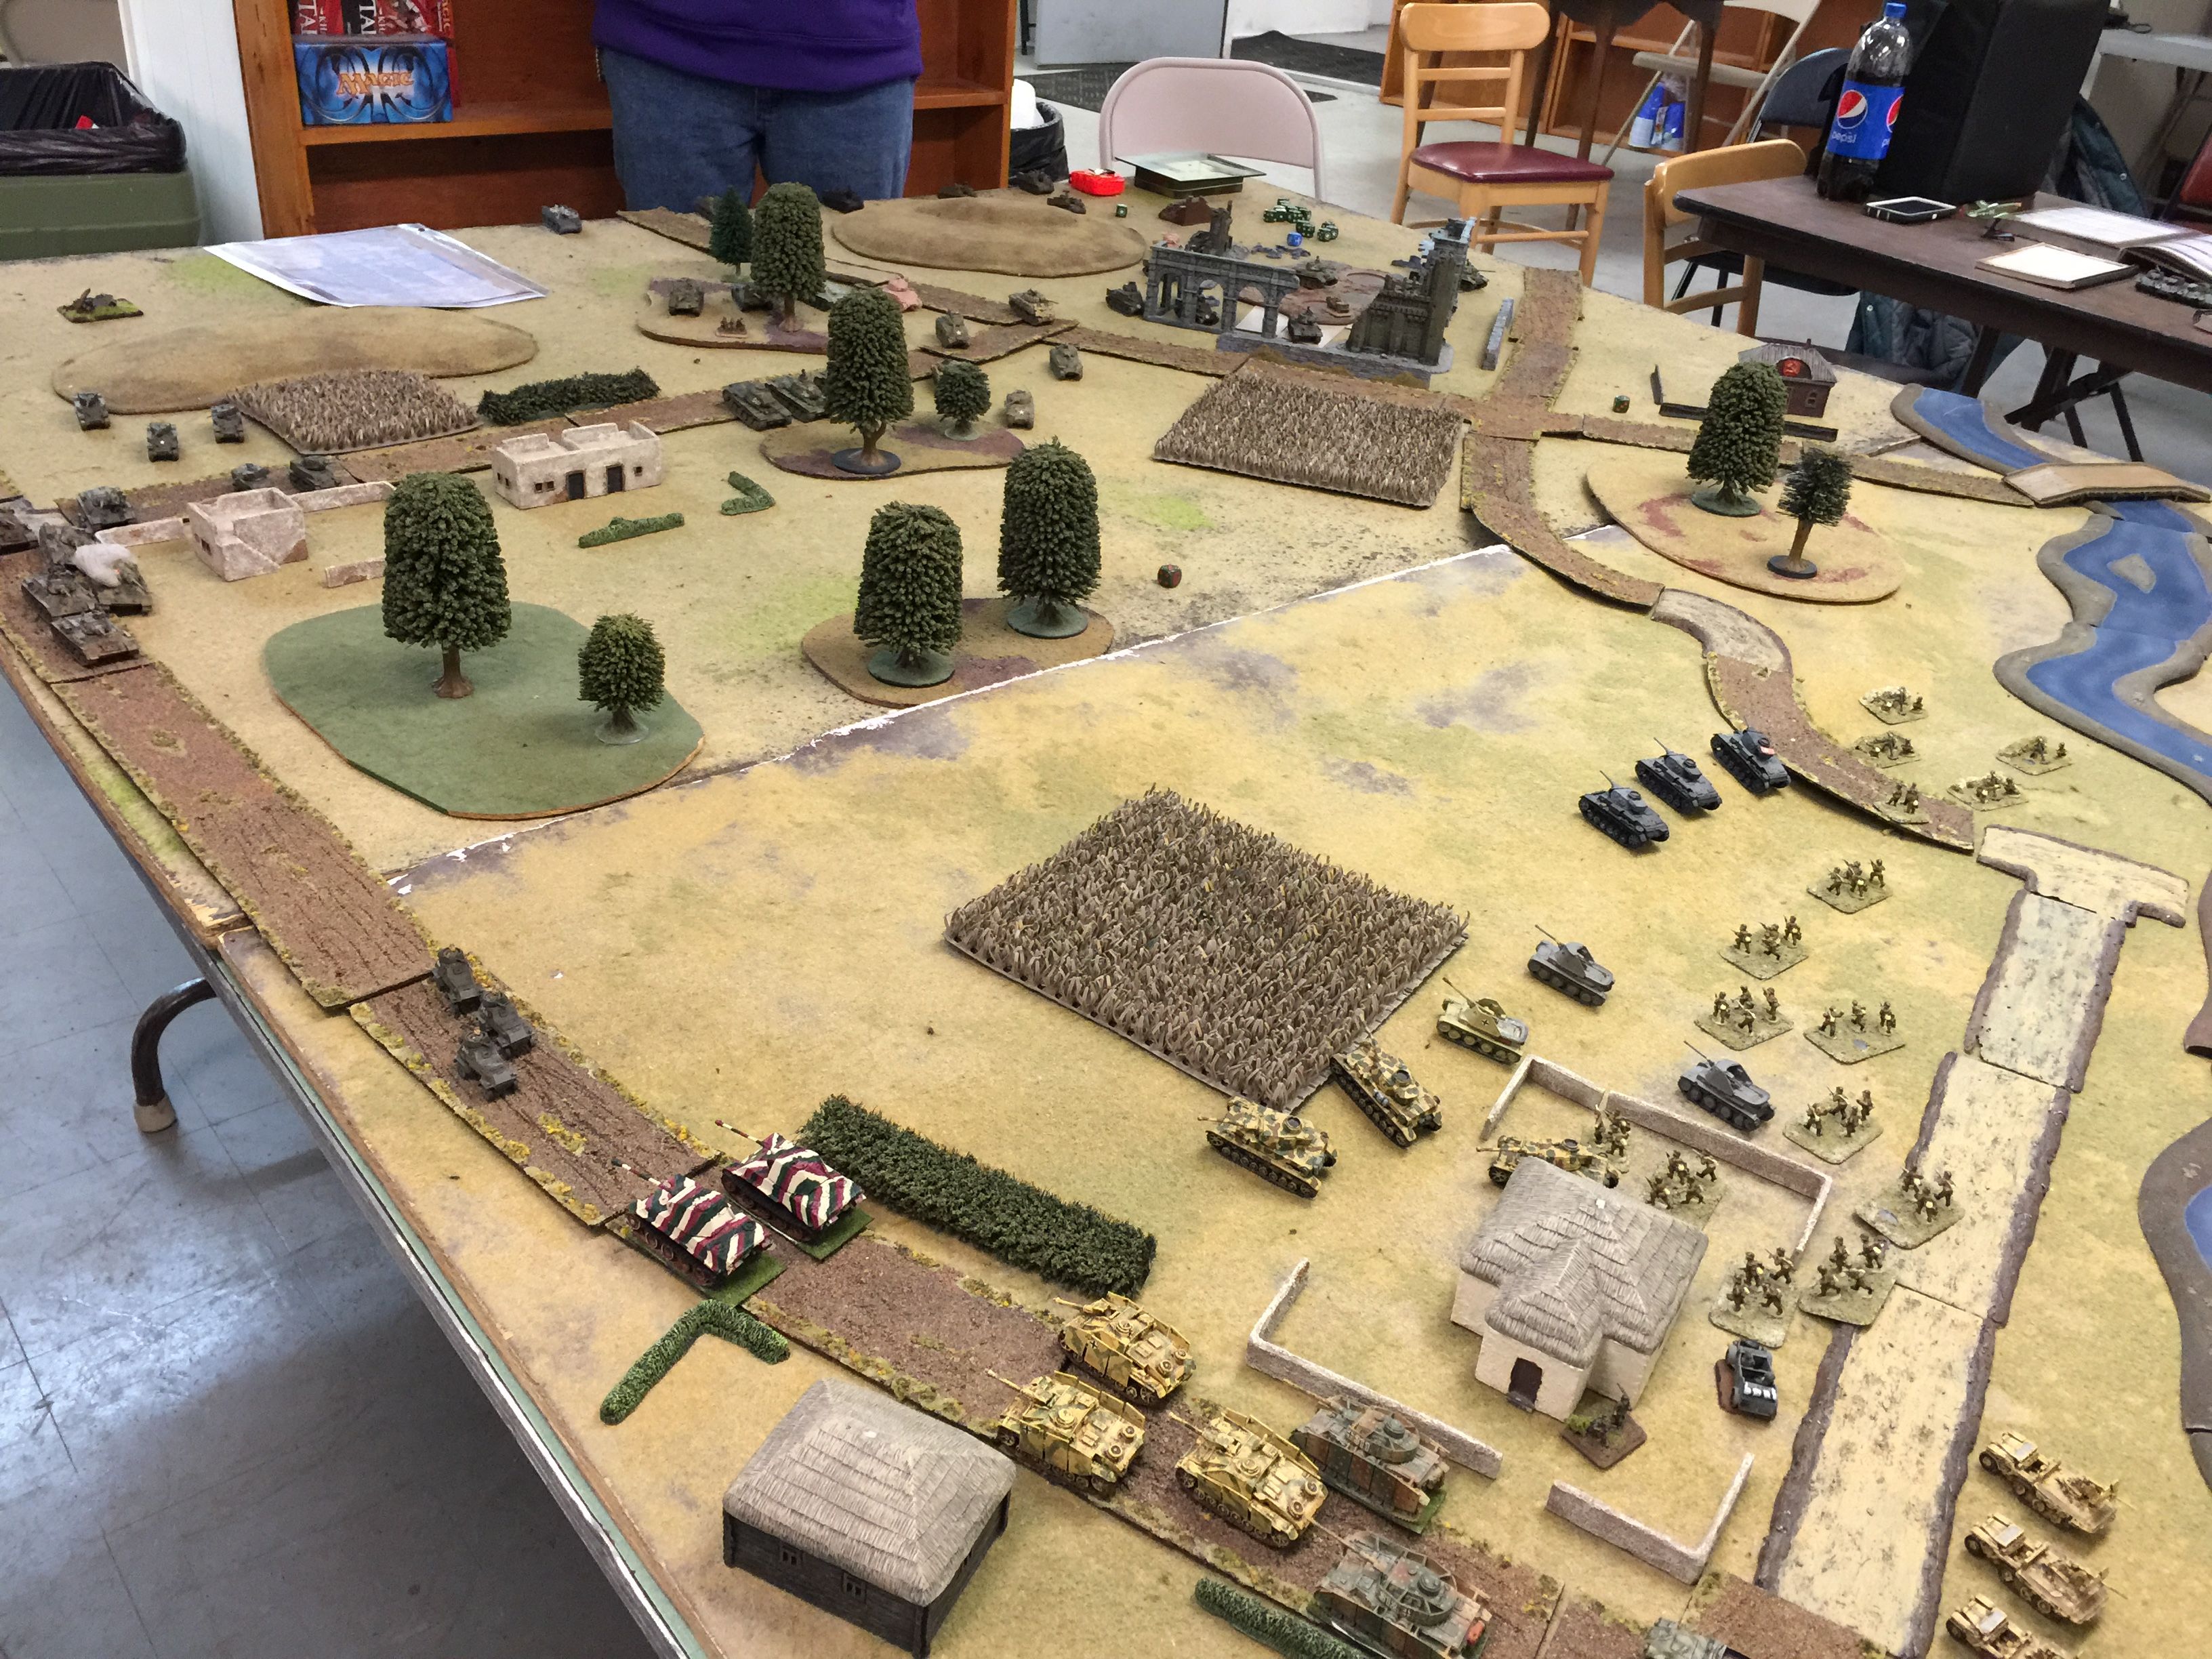
Yesterday played in a fun game at Deaf Ear Records in LaCrosse with the LaCrosse crew. Eric from the Rochester gaming group also drove over making for 5 people around the table playing Flames of War. Eric, Bill and I played Germans/Hungarian with 1500 pts each and then Collin and Chuck played Russian/American with their respective hoard.

Kind of a silly game as of course this kind of action never historically happened and from a Flames of War perspective you’re effectively spanning books which can make things potentially dubious.  For instance, at one point Collin playing with his American noted he was using Time on Target. Well of course the Americans didn’t do that until 1944 and this being a midwar game, that was out of place.

We set up a double sized game board, and the Russian/Americans decided that they wanted to defend. With our side on the attack and the direction of both the attack and the defense, we started to deploy our forces. No reserves and everything on table, we started to deploy.

IMG_8973

Eric fielded a Panzer company with platoons of Panthers and STuG Gs and Pz IV Hs as his company HQ. Alas 1500 pts goes fast!

In my case I fielded a Panzer company as well tho going for lighter fair so that I could have some support hardware. I was really really tempted to field Tigers but given the point budget it wouldn’t have allowed for much. I picked a couple of III Js as my company HQ, platoons of IV F2s, and IIIMs as the core. Then I added a 2 gun battery of 105s, 3 Marders, a pioneer platoon and some quad 2cm AA guns.

Bill with his Hungarians looked to have fielded an infantry formation with 4 105s, pioneers, 2 platoons of straight legs, some motorized AA and 4 Antitank guns which I think were 50L60s.

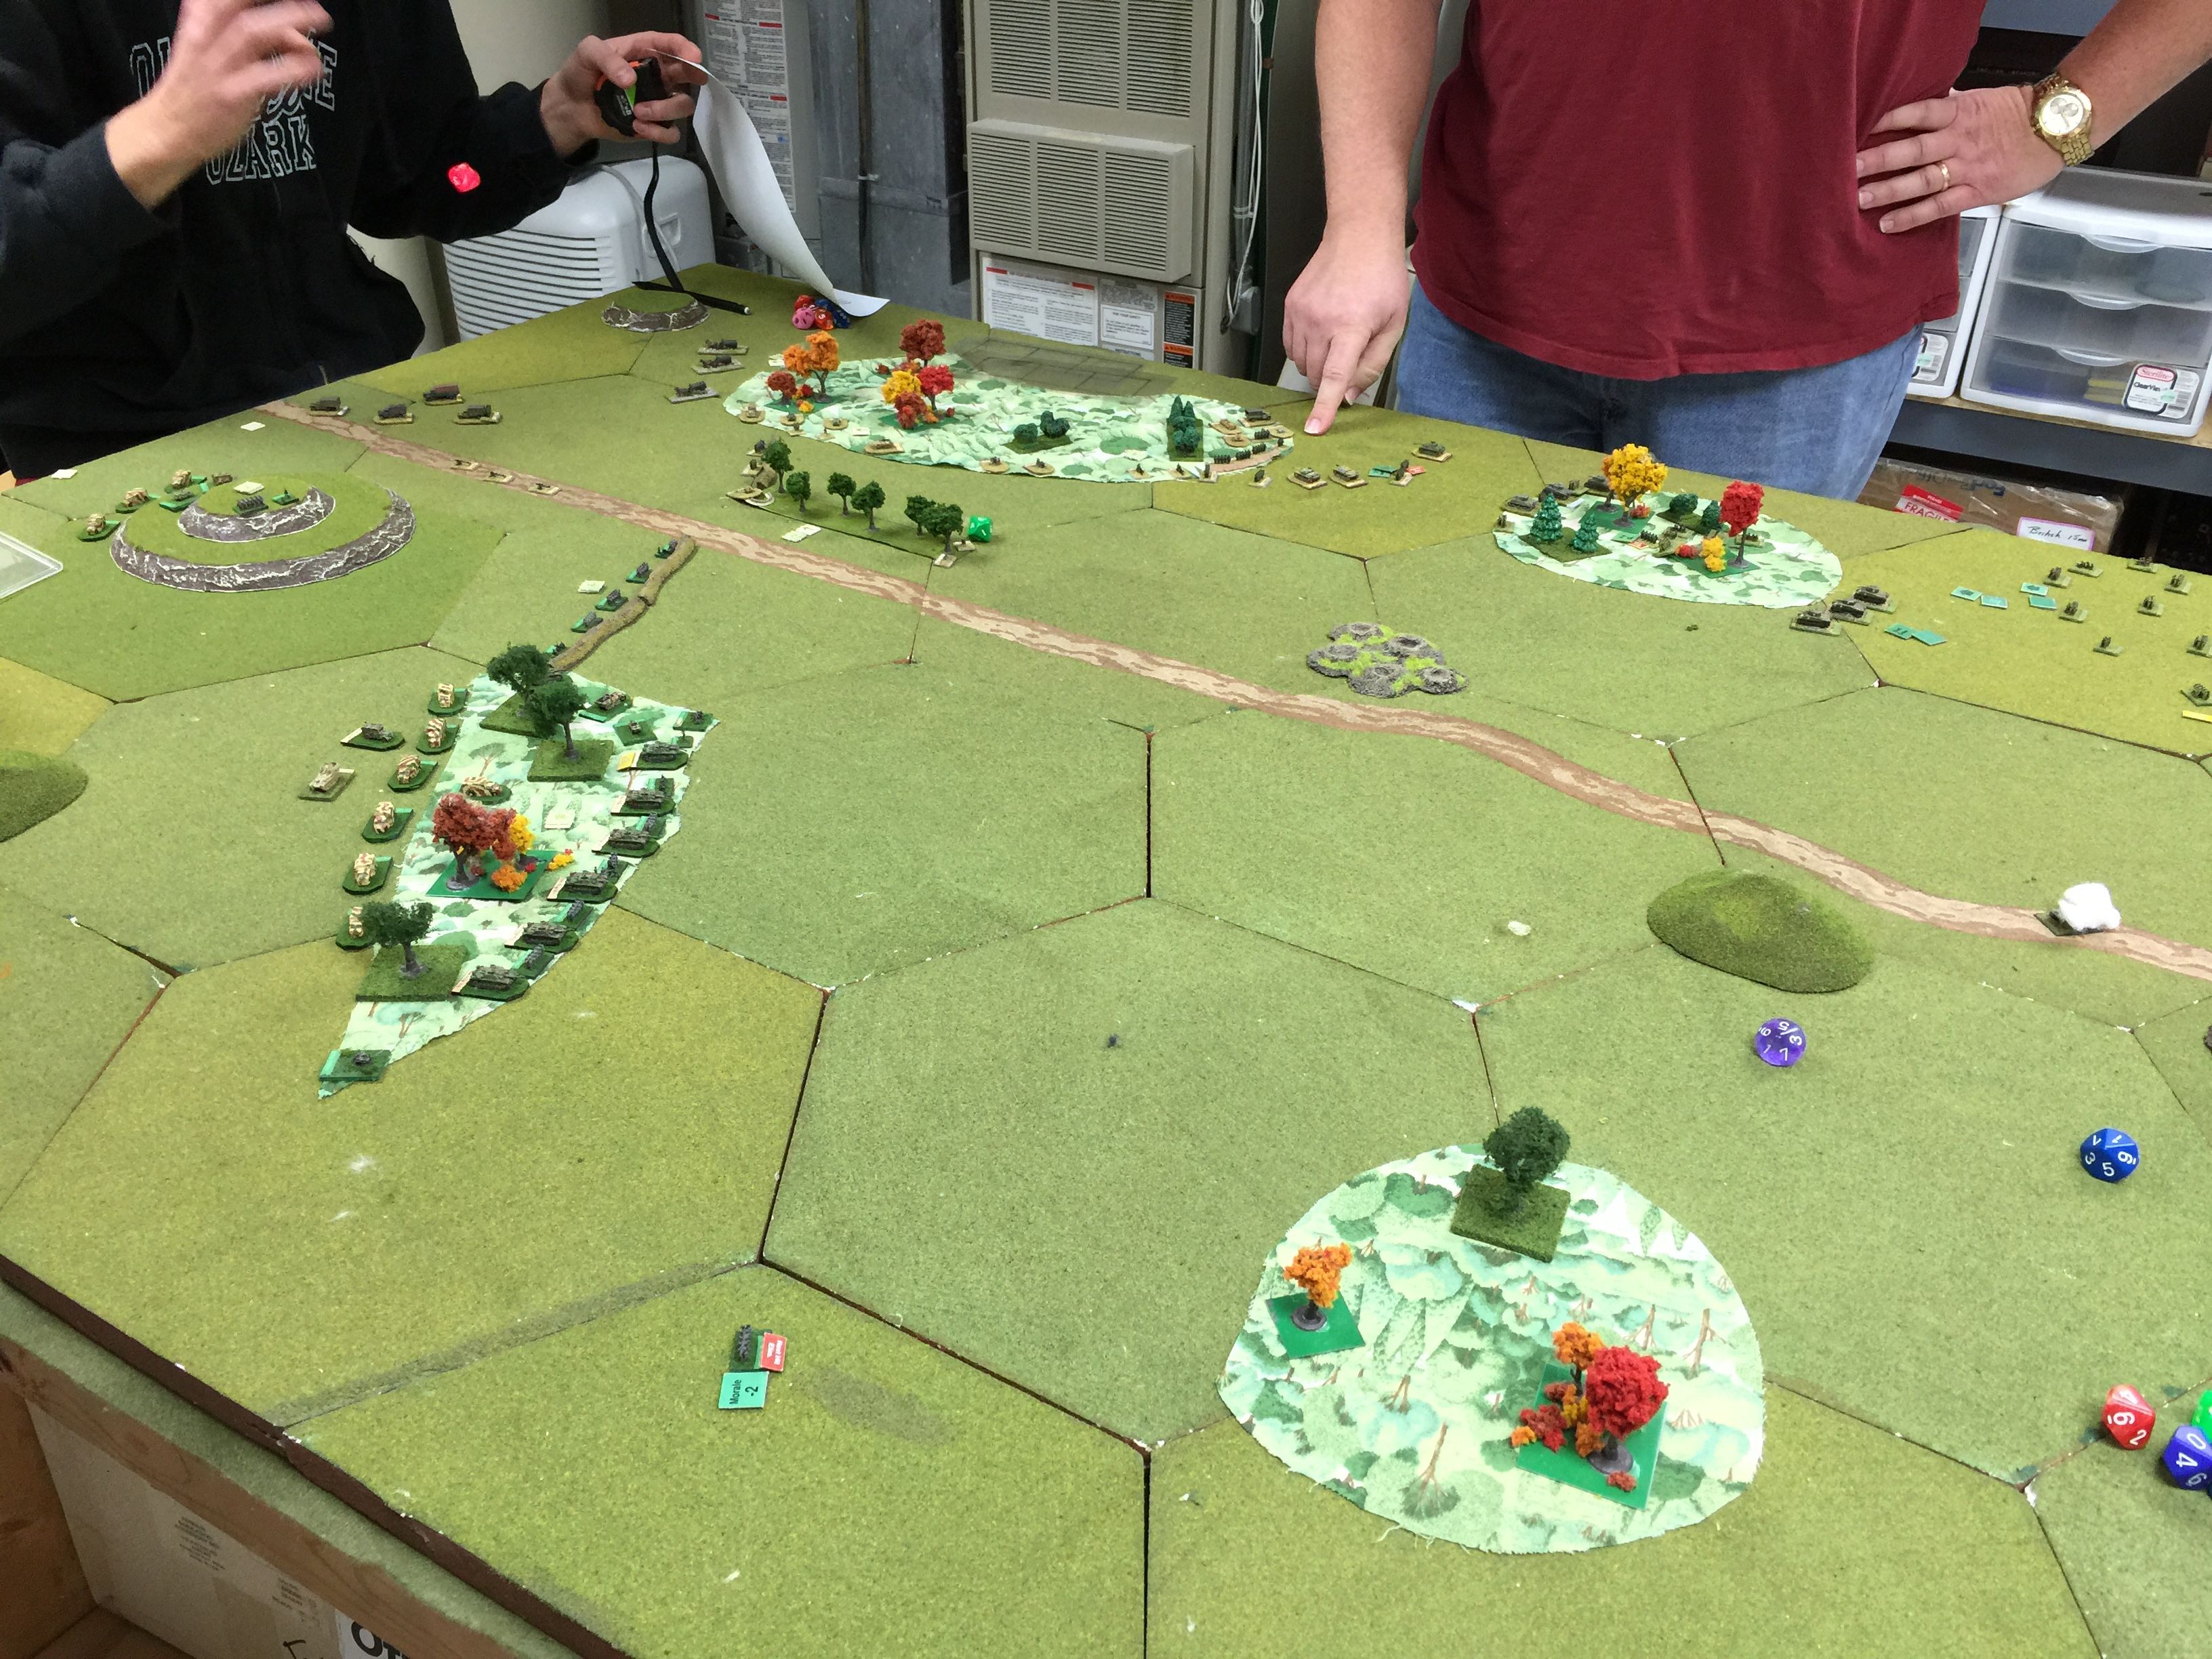
We decided that the nature of our attack was to go down the left side. There was a cliff in the center of the table so this created two channels. We figured if we went strong on the one side, given the cover we could approach the attack more on our own terms. With just 2 Panthers we had use them carefully. If they both were lost, that’d be it for us.

IMG_8974

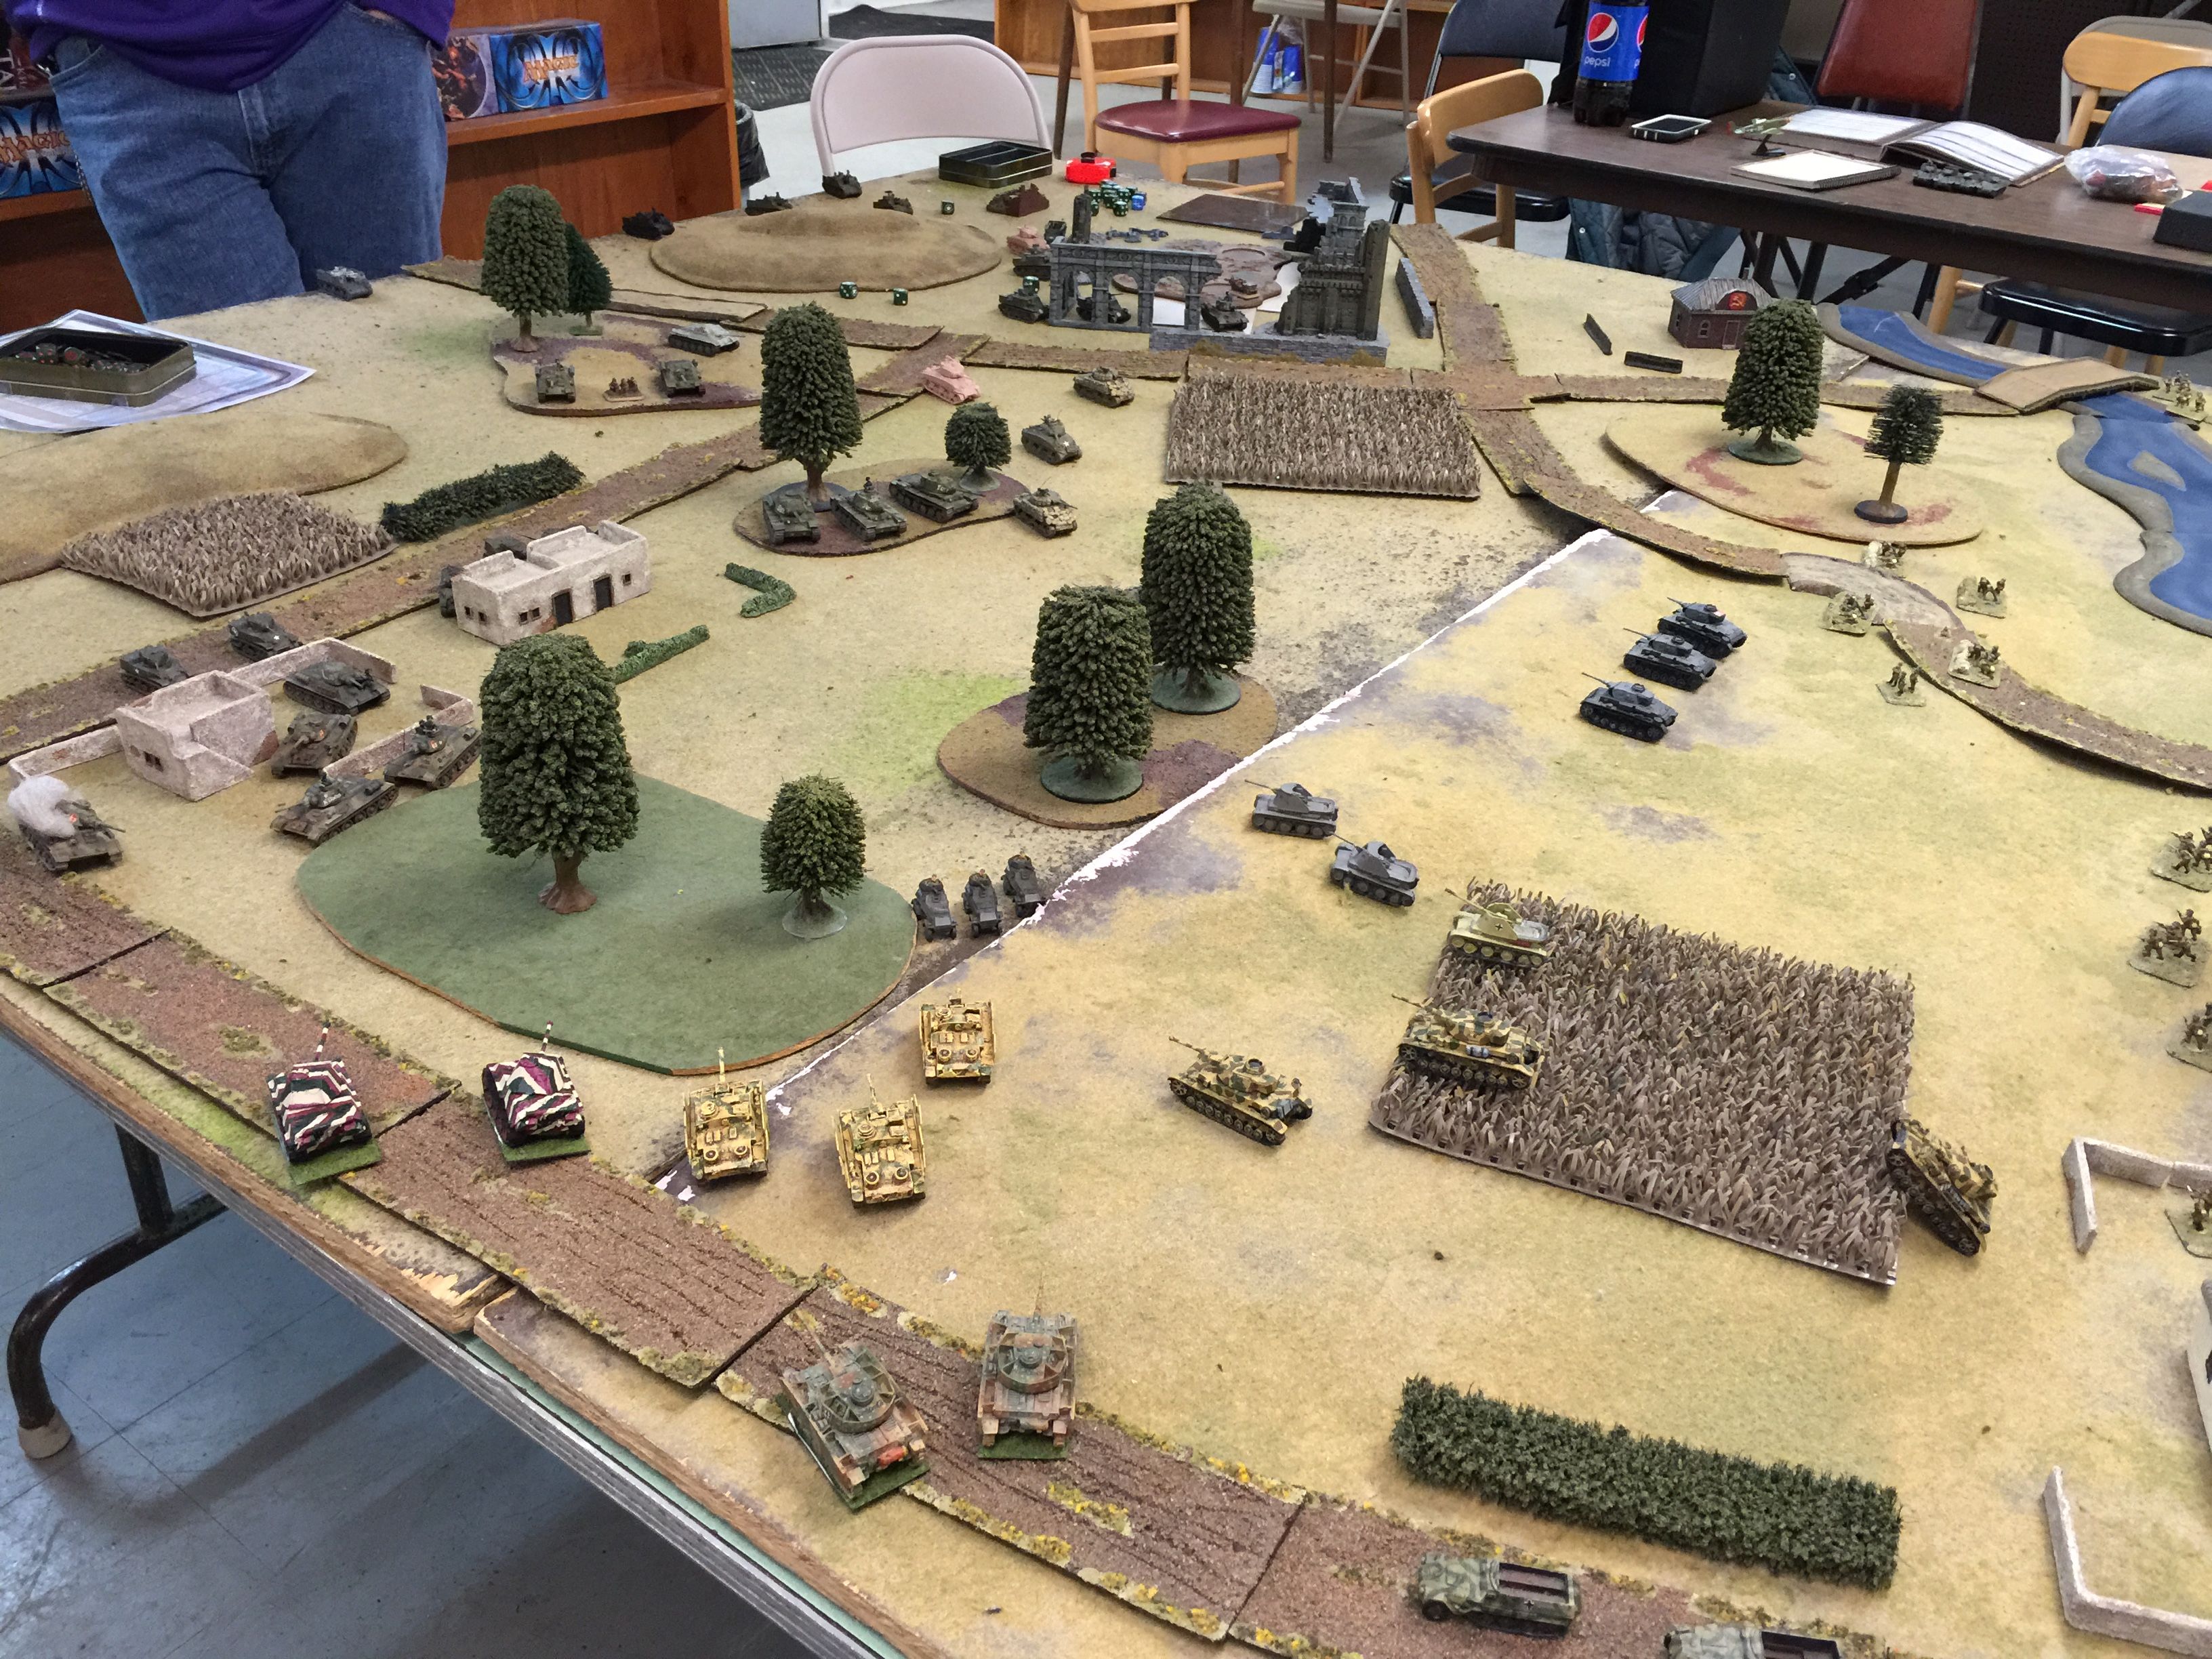
A view from the Russian/American side. Chuck had a company of KV85s to square up against the Panthers. I was looking forward to this part of the action in particular. Between the Russian T34s, KV85s, and SU85s it created our own Tanksgiving.

Collin as the Americans had a 6 gun battery of Priests I think and then platoons of Shermans, Lees, tank destroyers that would later pop up (M10s I think) and Stuarts.

Chuck started by pushing his recon forward, 3 BA scout cars. Fearless buggers they were too, going down to the road with Panthers in sight and would later pester us with their antitank rifles.

IMG_8975

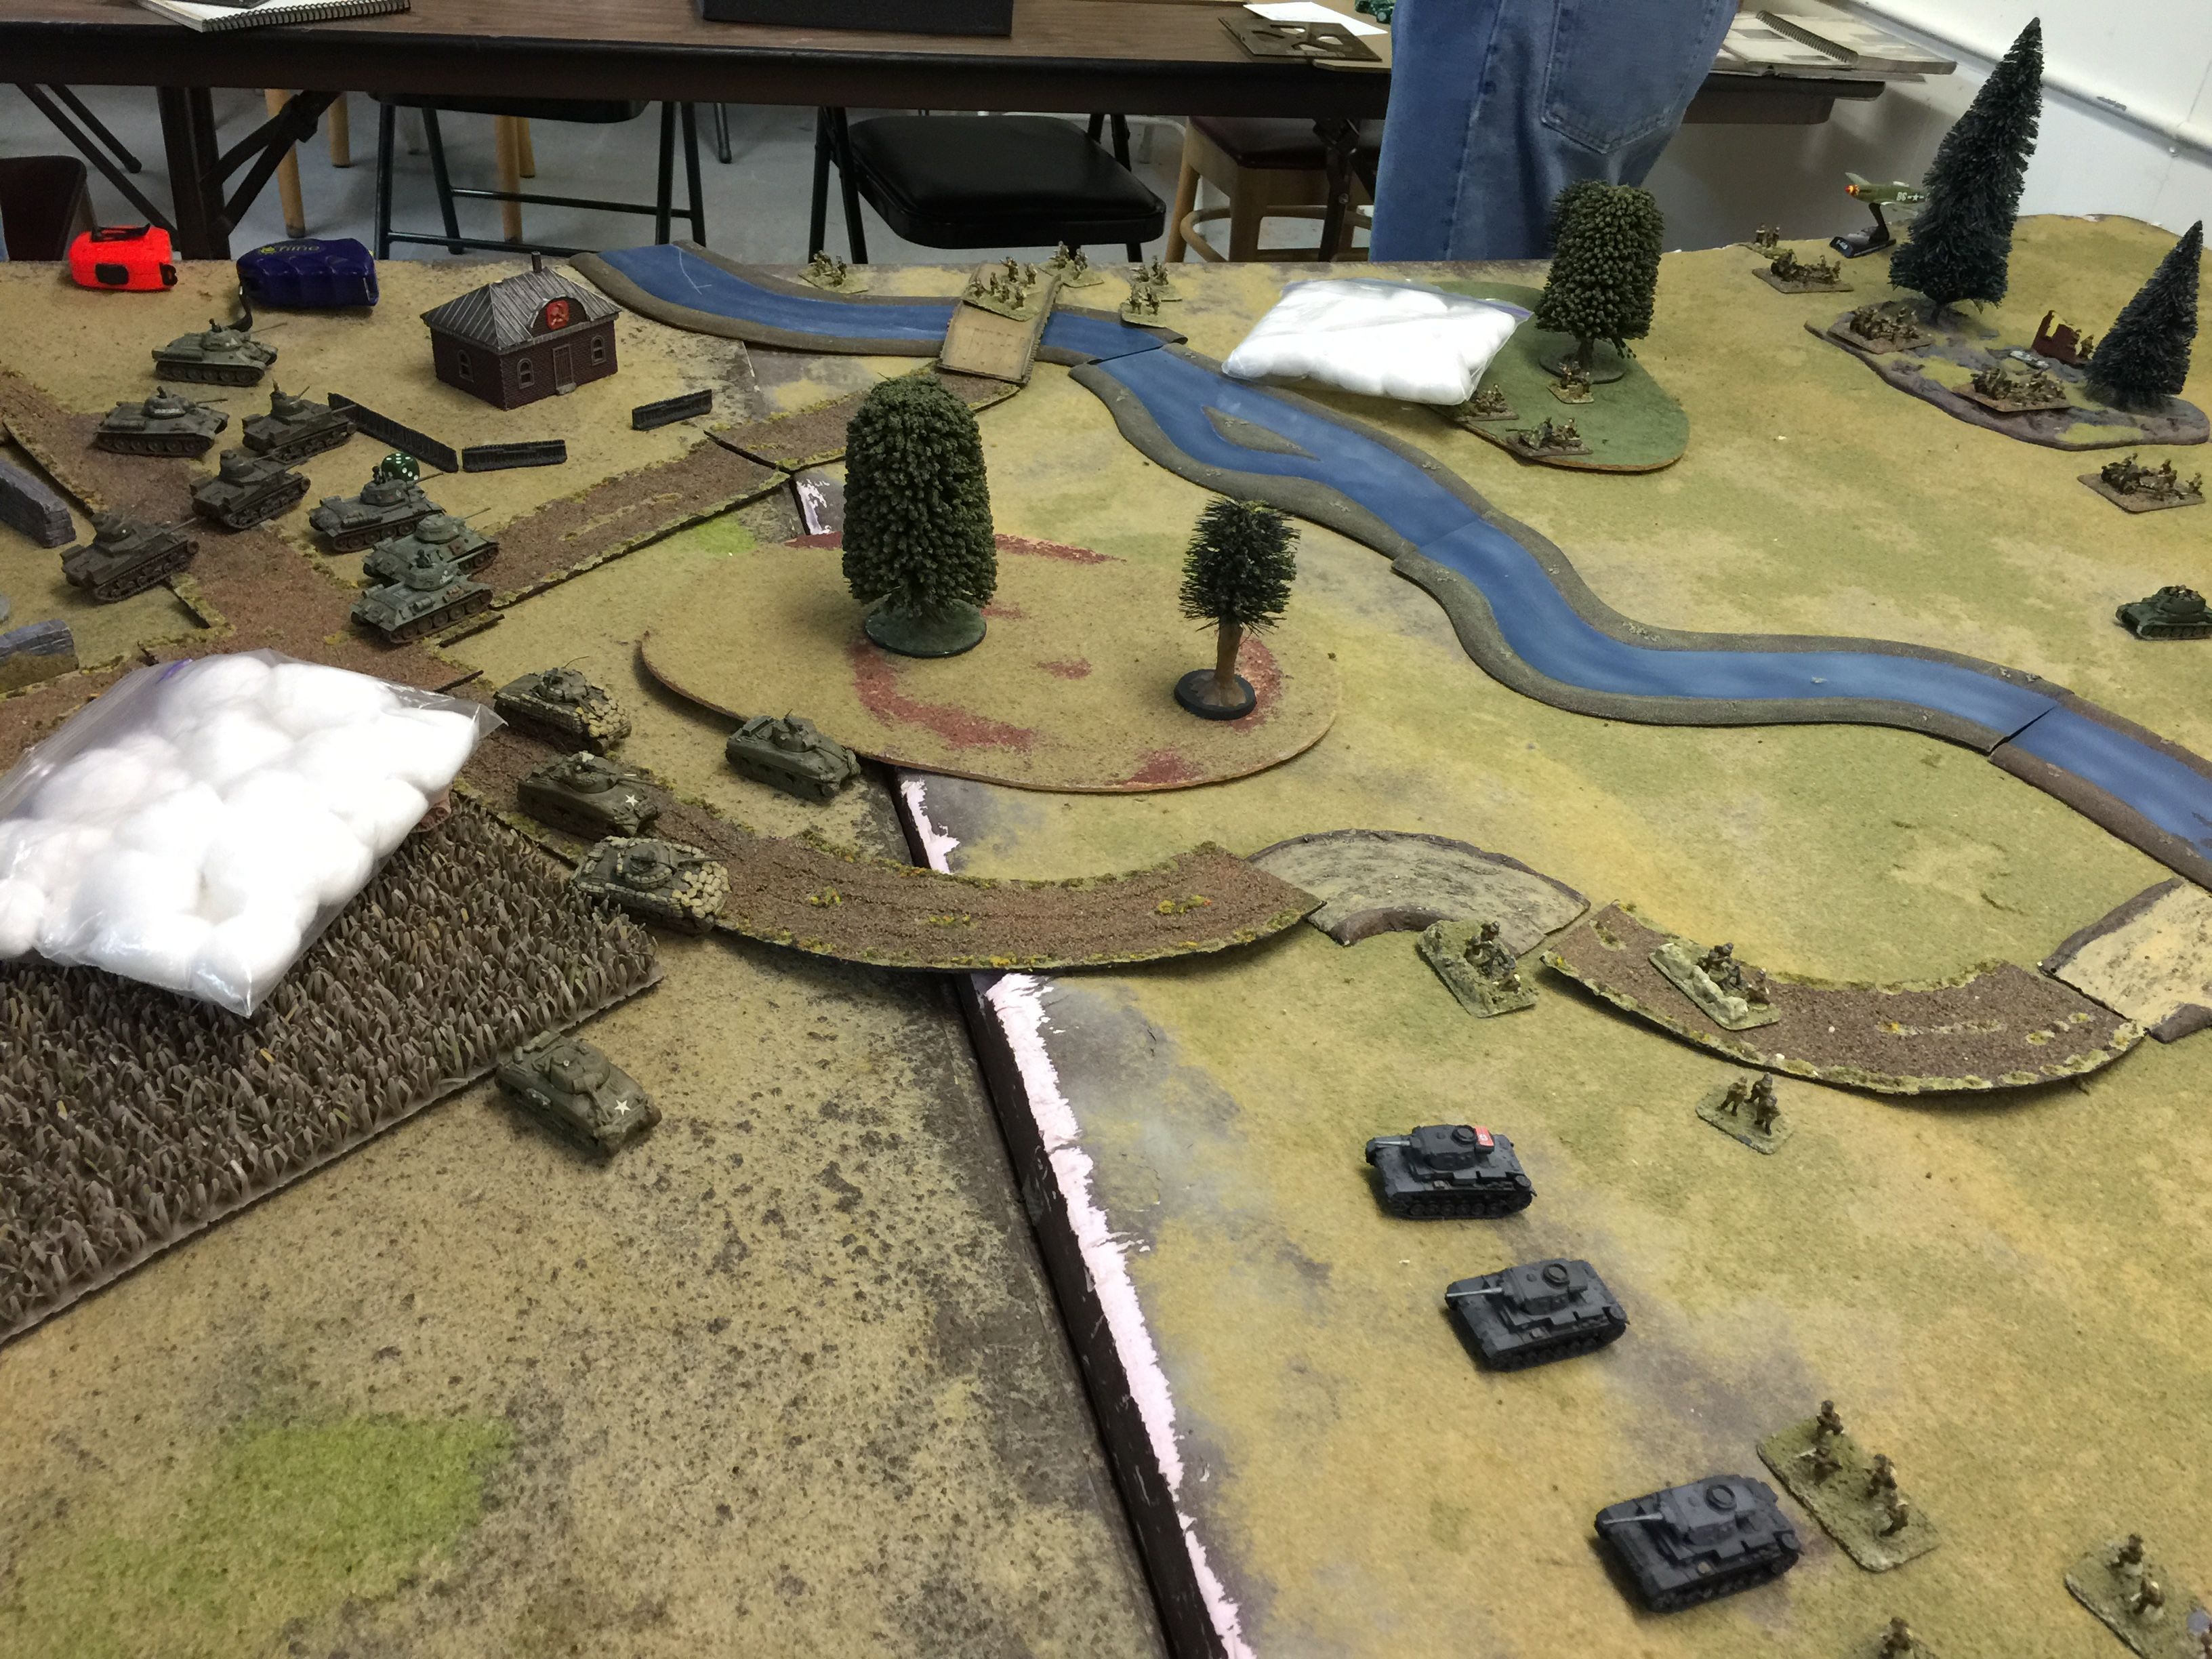
With Turn 1 away we proceeded down the road, Panthers, STuGs, Pz IV Hs in the lead. I took the center backed by Bill’s Hungarian pioneers. On the far right Bill kept to the far side of the river. Hard to advance against armor with just AT guns.

IMG_8977

The Russian recon gave way. Eric pressed forward with his Panthers in the lead blowing a T34 up with ease. I was charged with going after the Russian recon while Eric worried more about the copious Russian armor out there. I was able to knock out one recon car but the rest were able to disengage.

You can not quite see one of our objectives on the otherside of the hill in the top left of the picture.

In the center of the table I moved up my IIIMs as far as I dared. I figured they would be easily outclassed by the American Shermans. With us overloading on the left flank I figured I just needed to hold in the center. Bill faced a choice of hold or move forward on the right. A hard choice to be sure given what was on the other side of the river!

IMG_8978

Bill decided to press forward and kudos for the courage to do so!  He smoked the Shermans I was worried about in the center and pressed ahead. Unfortunately this caused him to be the recipient of Collins artillery. Pretty deadly stuff which forced Bill back.

IMG_8979

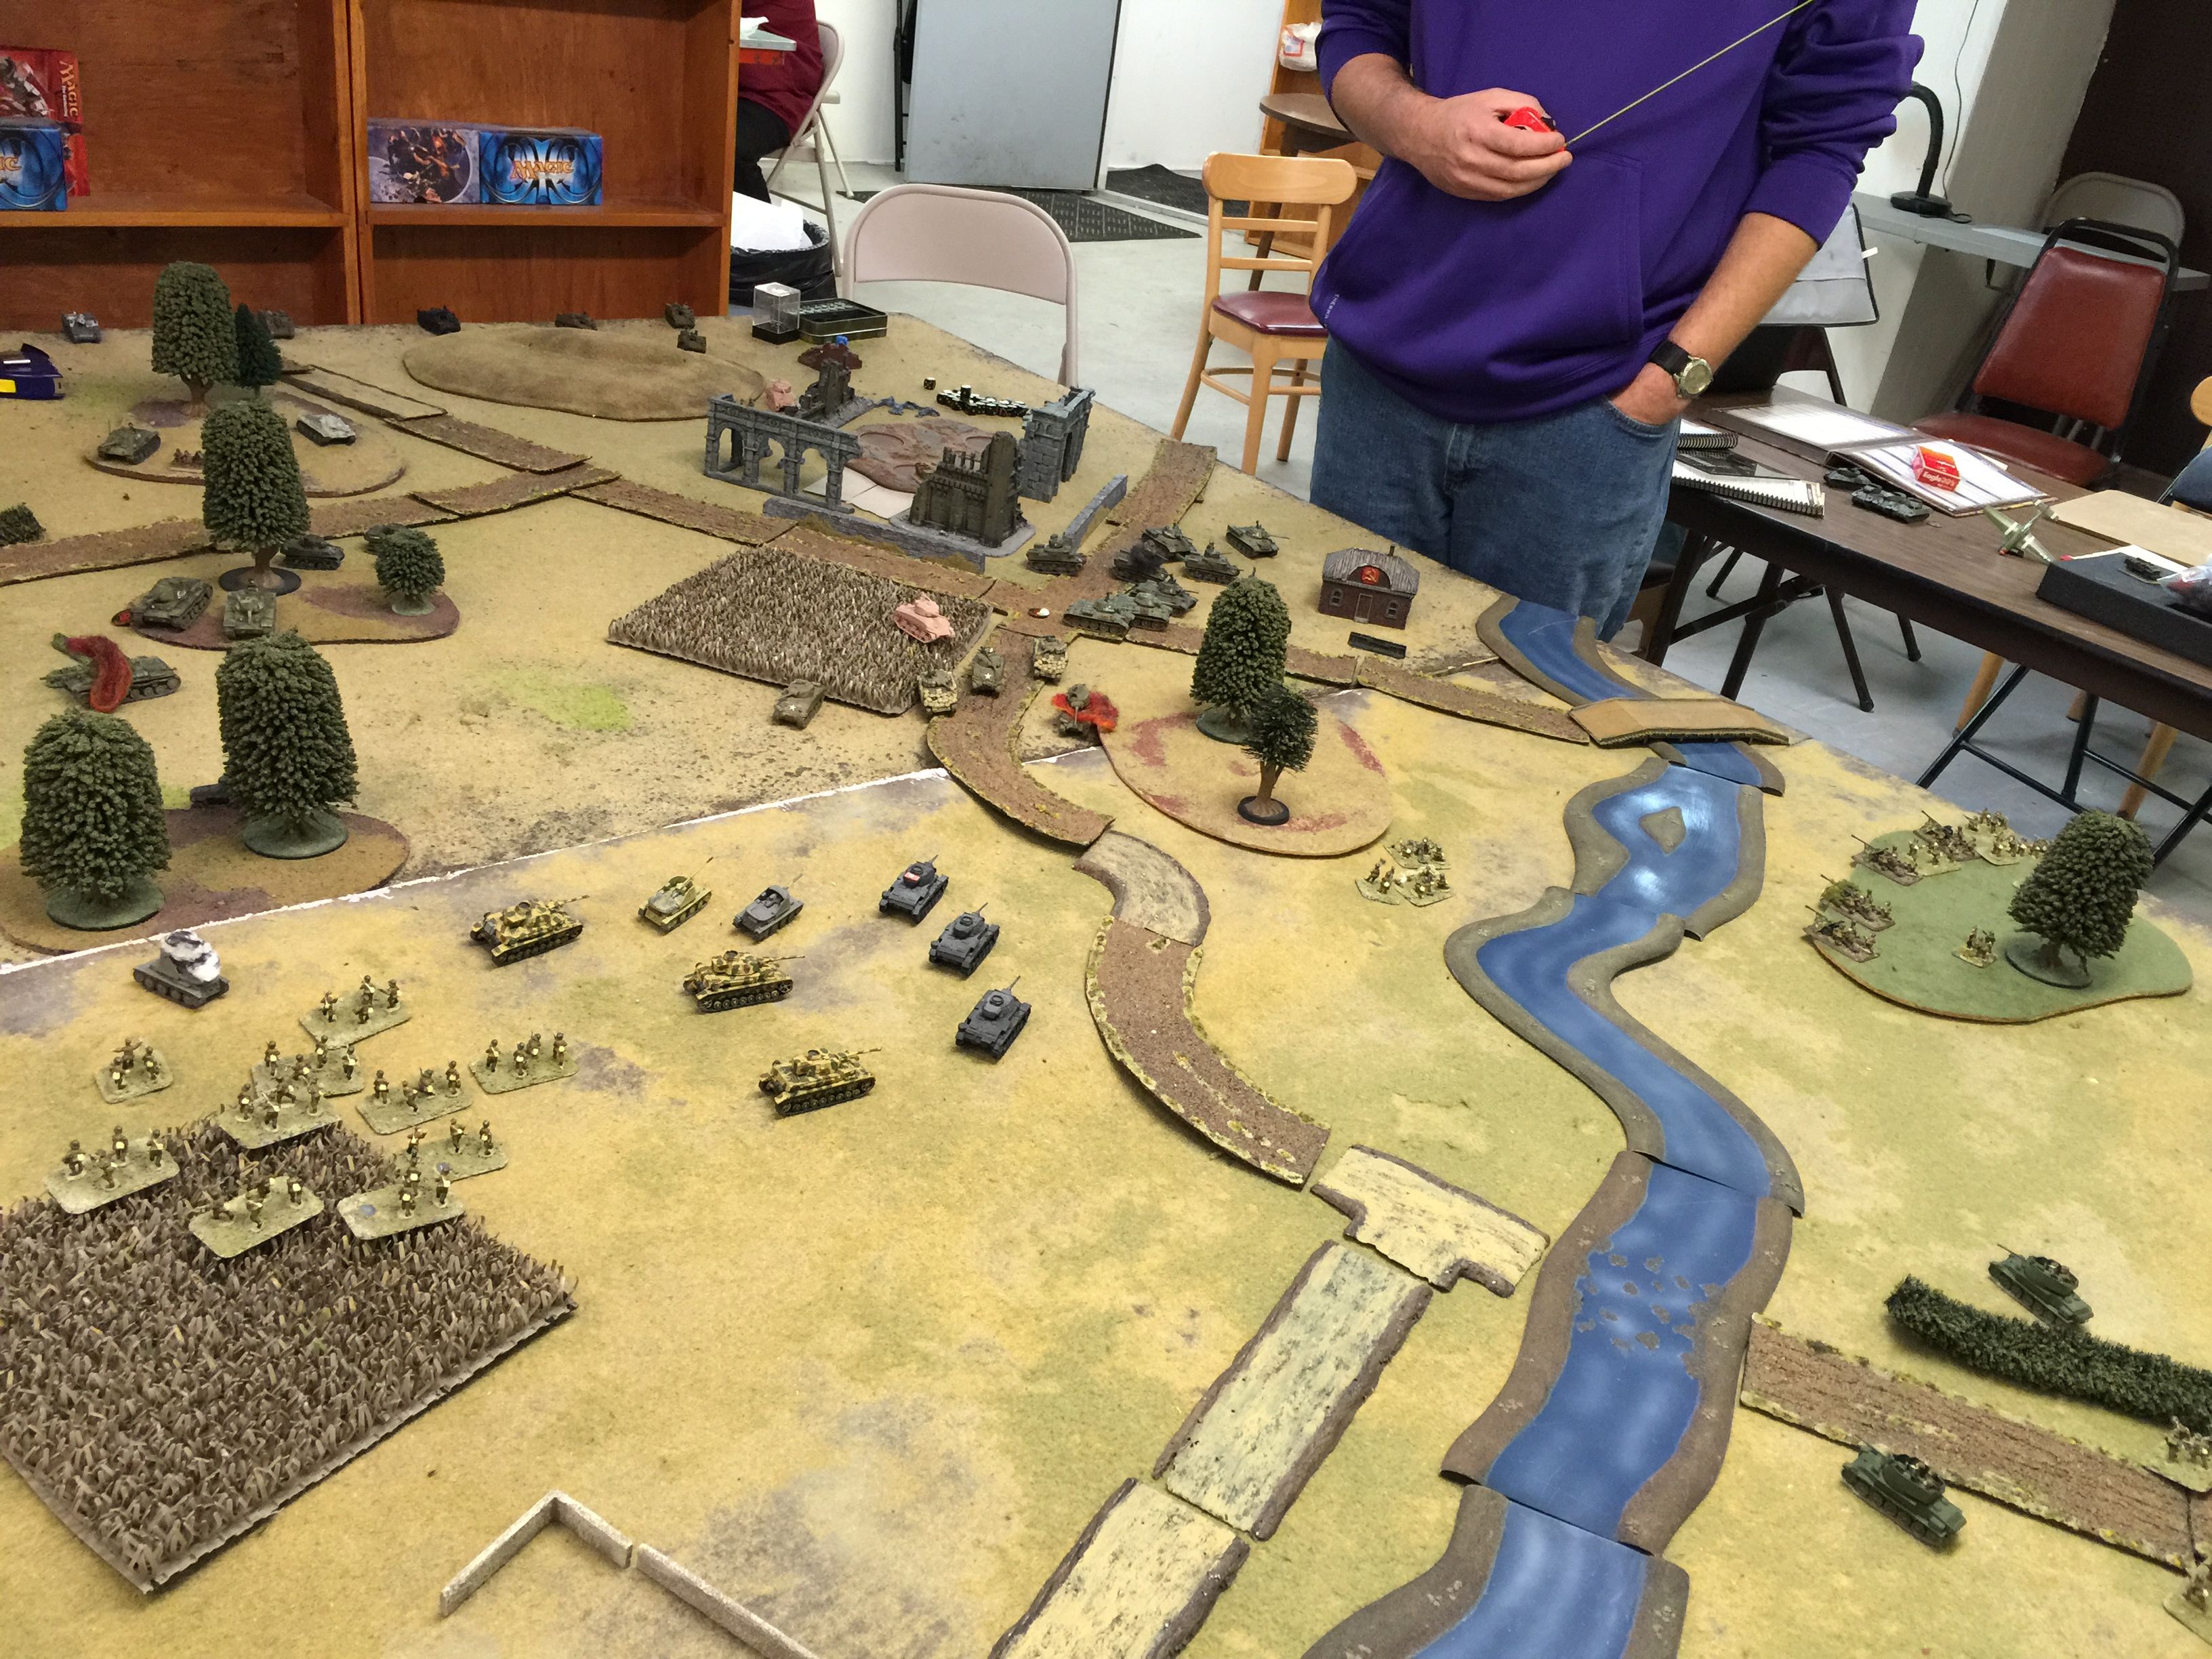
Meanwhile on the left flank the STuGs tangled with T34s in the woods, brewing them up. Chuck’s dice were really cold the whole day. Collin brought up his Stuarts which I fired away at with my Pz IV F2s and Marders. I took out 3 in pretty short order. Unfortunately I misjudged the cliff and as a result one of my Marders wandered into the line of fire of one of the Shermans and was easily taken out before the smoke came down.

IMG_8981

Collin seeing he could press his advantage rolled forward with his Shermans which precipitated a collective Axis “O shit.” I would have to move over my remaining Marders as well as Pz IV F2s to add to the Pz IIIMs in hope that it would be enough. Up in the top left you can see that array of tanks about to be thrown at Bill. Yowch.

IMG_8982

Meanwhile on the other side, the KV85 & SU85 vs Panther battle was in earnest. To me this was the highlight of the day. Could but two Panthers and STuGs be enough to deal? Little did we know Chuck’s dice seemed to be more on our side this his side. Between bog checks, bail outs and well lots of other rolls things just wouldn’t go his way add to that what I call typical Saterdalen luck.

IMG_8983

Here the first KV85 has gone up and the STuGs are on the line with the German pioneer platoon coming up on the road ready to head past the action to hopefully get to what looks to be an undefended objective.

Meanwhile in the center the American/German/Russian/Hungarian battle is starting to ensue with the first Sherman going up.

IMG_8984

A better picture. Collin would press forward and the battle would eb and flow back and forth. My shooting started out great bailing and taking out a number of Shermans, but Collin would come back and basically blow away my Marders, Pz IV F2s and most of my Pz IIIMs. Sigh.

IMG_8986

Yup lots of smoking hulks. So in the final turns before we called it a game off in the distance Bill had some great shooting bailing a number of the T34s as well as dropping 105s to effectively take out a lot of the strength of the attack.

In the middle I was down to one bailed IIIM and one functional IIIM where Collin had 2 functional Lees and then 2 Shermans.

On the left Eric had very effectively dealt with the KV85s and was making good progress against the SU85s. One of the Panthers was taken out by American artillery. One thing about Flames of War, the top armor ratings of especially the better heavier tanks seems … wrong. A top armor rating of 1 for a Panther vs the bombardment of antitank of a 4 seems overly generous. In Command Decision terms (a well researched set of rules FWIW) you’d have a 1 in 10 change of touching a Panther with 105s).

Anyway, at this point the M10s appeared next to the SU85s and in overwatch of the objective on the left flank. I was able to get my pioneer platoon in the area but again American artillery rained down spoiling the day and reducing my platoon down to a single stand. Near to a victory but not quite enough without taking out the over watch.

On the right flank Collin would have to rush through the lines with his armor to get near his objective. Given Bill’s antitank guns, my 105s and Bills 105s as well as unsupported tanks vs Infantry seemed like a tall order to be able to get onto the objective.

We called it at this point. I had to get back as I was due on stage at 6:30pm for the show I’m in. Would have been great to play another turn or two and get a conclusion out of it. We did get 8 turns in.

Oddly neither the Hungarian air nor the American air really accomplished much. We were able to turn away two American air attacks with AA as well as with fighter intercept. The Americans did get one air attack successfully against Bill that did take out a gun, but otherwise notta.


Posted in FlamesOfWar | Comments Off on Mid war Russian/American vs Germans/Hungarians free-for-all

A little Red Baron

WWI air has always been a really strong passion of mine that goes all the way back to Dawn Patrol a board game of yore.

Now days 1/144 WWI airplanes can be found a plenty. With Battlefront dipping into WWI I do wonder if they won’t add an air component at some point especially given the use of air to spot artillery both from planes as well as from observation balloons. There was also some amount of bombing and strafing of targets on the ground.

O pretty pictures. Right 🙂

IMG_8953

IMG_8955

Some of my holdings.

Anyway the best rules I like to use is Red Baron by Emporer’s Press. You can find them here. Seriously buy a set, you’ll be glad you did!

What does a game of Red Baron look like and what makes it fun?  First you select your plane, in this game I had an French Nieuport 17 and an Italian Ansaldo going up against a couple of Austrian planes a Phoenix D I and an Oeffeg DIII.

IMG_8957

The planes are mounted on sticks with each inch representing a 100′ of game altitude. You plot a turn at a time for your plane and then move. So if you’re moving at say 100 mph, you have 10 boxes of movement to pre-plot where of course you can climb, dive, bank, turn, etc etc through that turn depending on the capabilities of your airplane.

IMG_8958Of course you want to end up on someones tail (if you can) and fire bursts. Depending on the attitude between the two respective aircraft determines if you have pluses or minuses to apply. Range also figures into it. Drop a percentage roll and hope for the best!

To work through an example, first you see if your target is in cone. (You can see the cone in  picture above on the table). Next you measure distance to your target in inches. Let’s say 8″ in this example. Next you check the angle between you and your target with the wheel for attitude. (It’s the wheel again on the table) So an attitude with an attack from the rear is a +3.

Next you roll for bursts, let’s say a long burst from the lewis gun and the Vickers, you roll a d10 for each gun. If you score above the length of the burst, that’s how much of a burst you get off. Roll below and your guns jam. A 3 is the minimum number and a 2 for a lewis gun, let’s say I’m successful, so that combines for a 5.

How we add in the attitude, the bursts, and subtract the distance, so for this example that’s 5 (bursts), +3 (attitude), – 8, and multiply by 10… so we’re at a zero. You roll percentage dice and add/subtract the previous result and that gives you a value that you look up on a table. If you get a 100+, your target automatically goes down. Lower it’ll be some amount of damage that they mark on their sheet.

It’s a mighty fun and challenging game. In the past our gaming group has had whole air campaigns where as new aircraft would become available the balance of power would shift back and forth.


Posted in Red Baron | Comments Off on A little Red Baron

’43 Americans v Germans in Sicily

On Saturday, the Rochester Historical Miniatures group debuted Eric’s new game table and broke a very long gaming drought in the process. Nice to get together with the crew and now that Eric has a dedicated game space, it adds another year round option for a table.

A bummer for me tho as always a tough choice when you have two gaming groups planning something for the same time on the same day! It’s a good problem but sorta feel bad for having to make a choice.

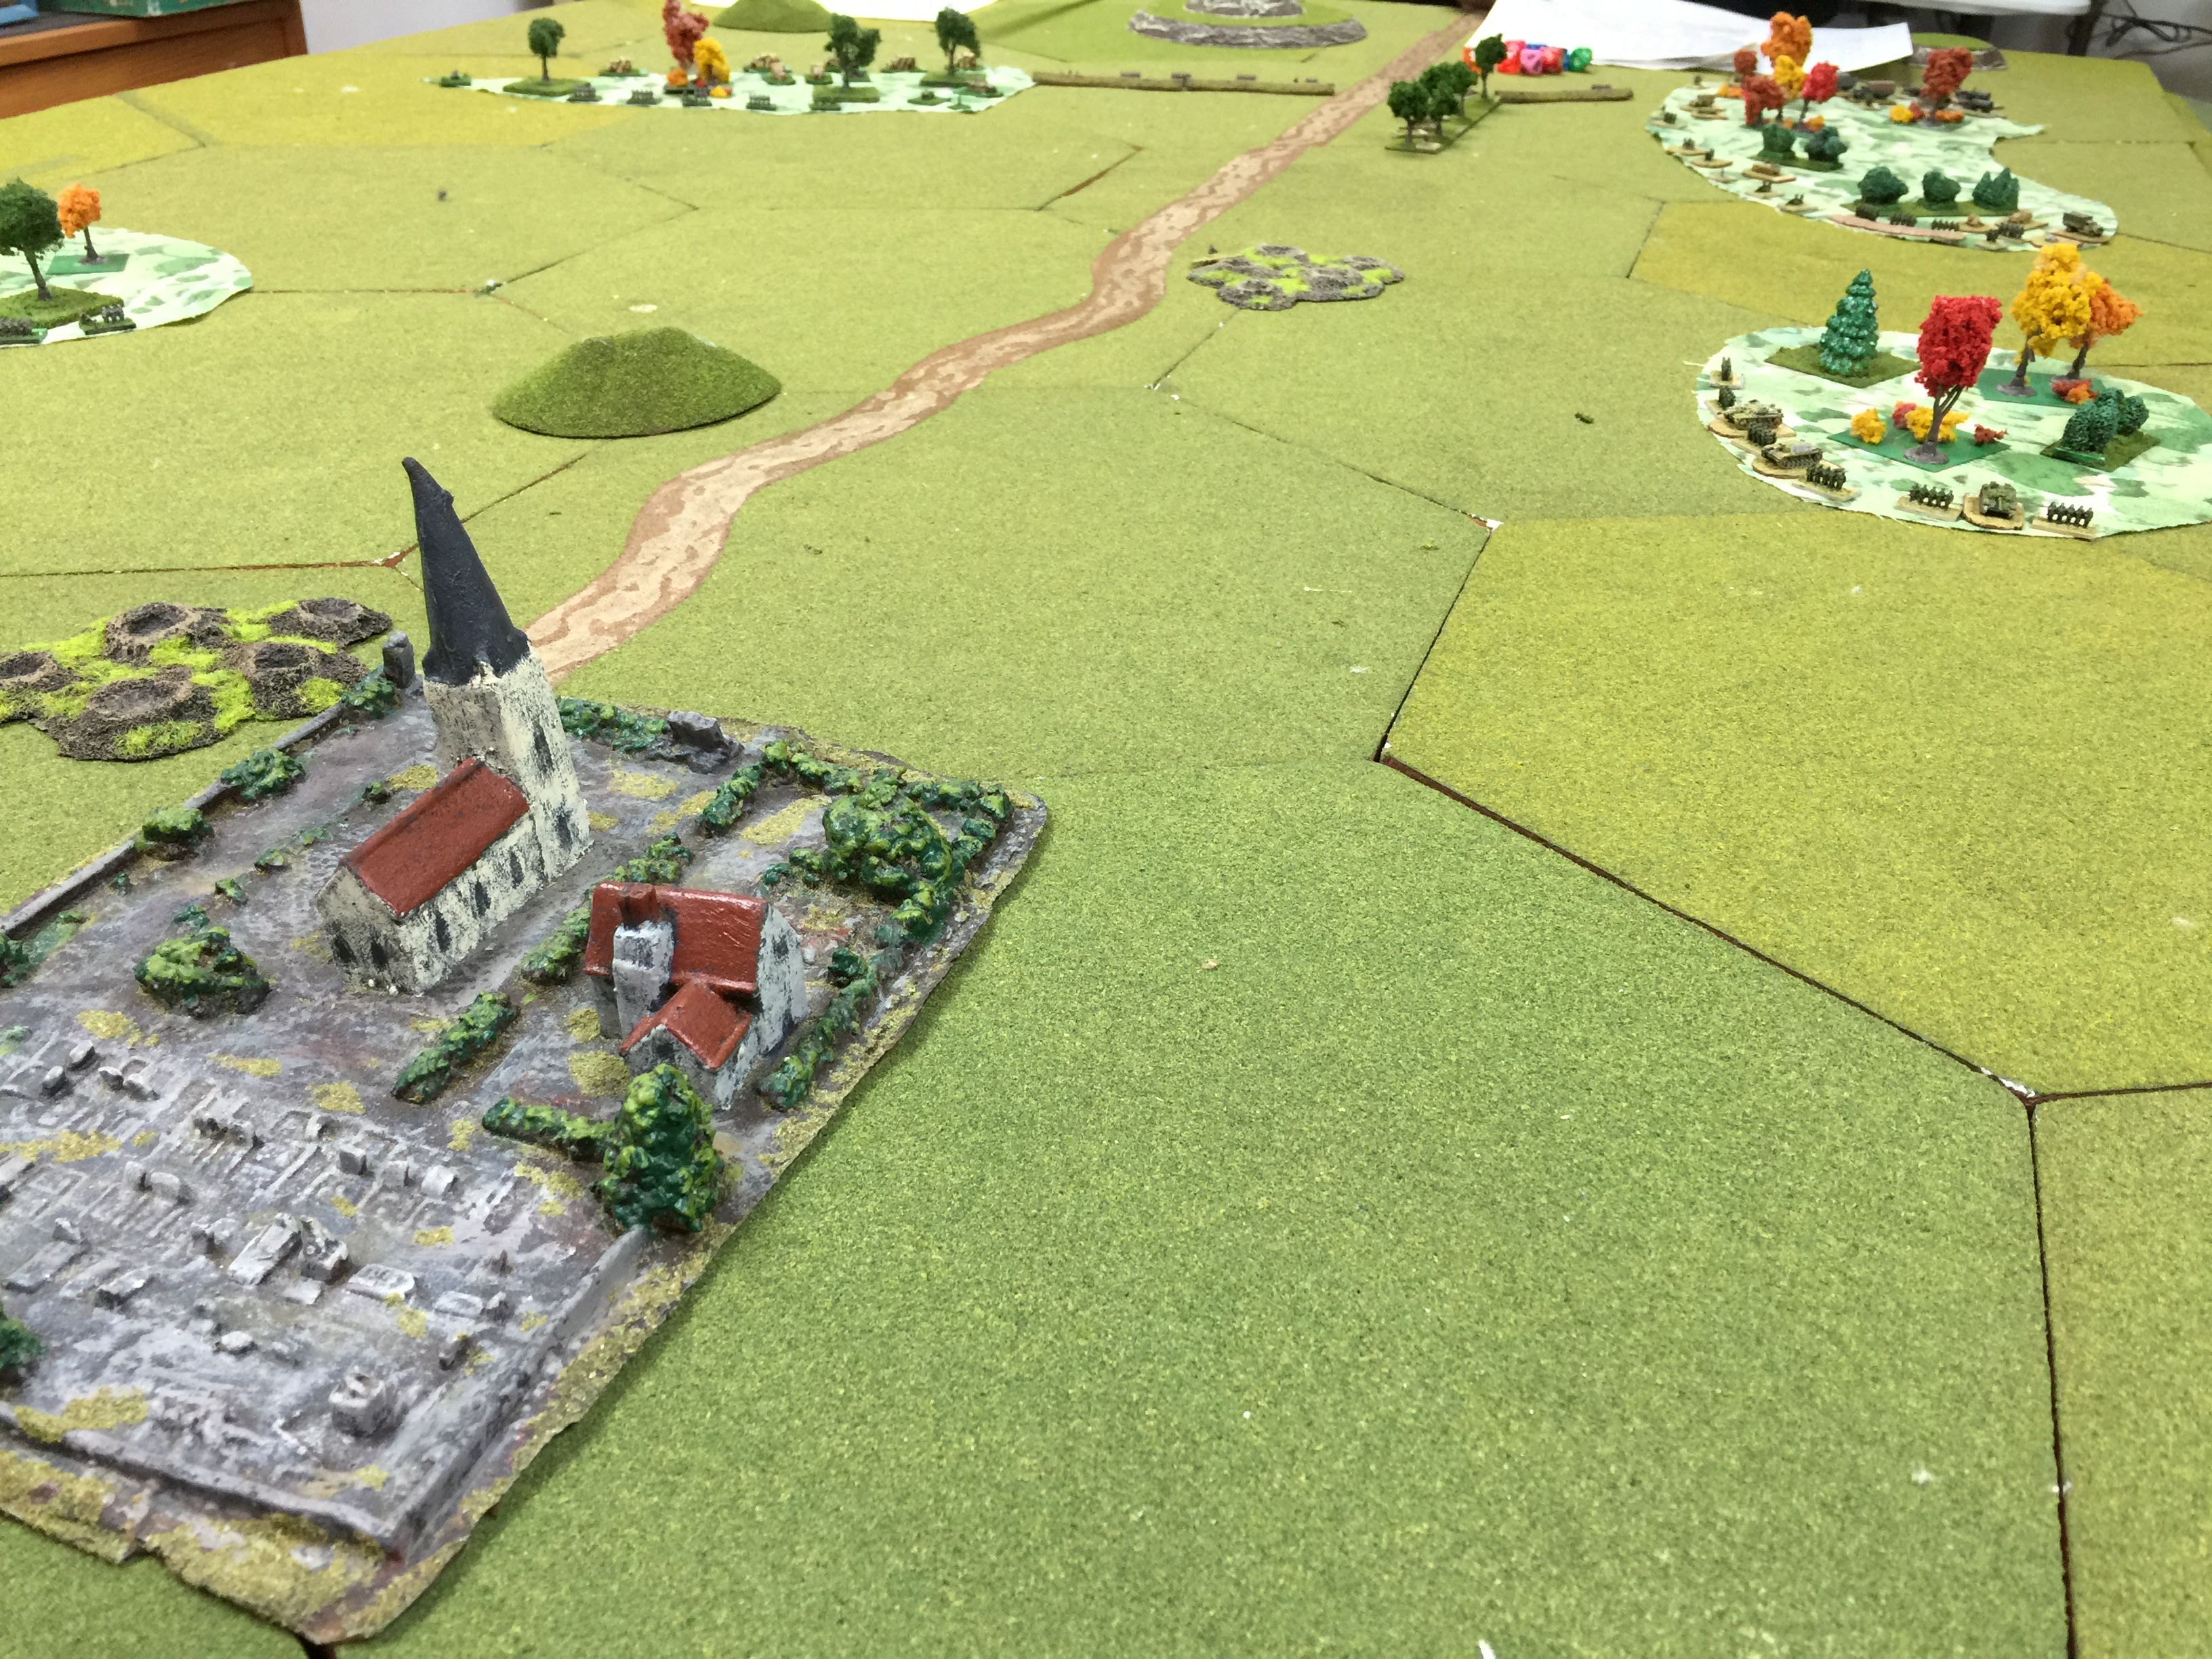
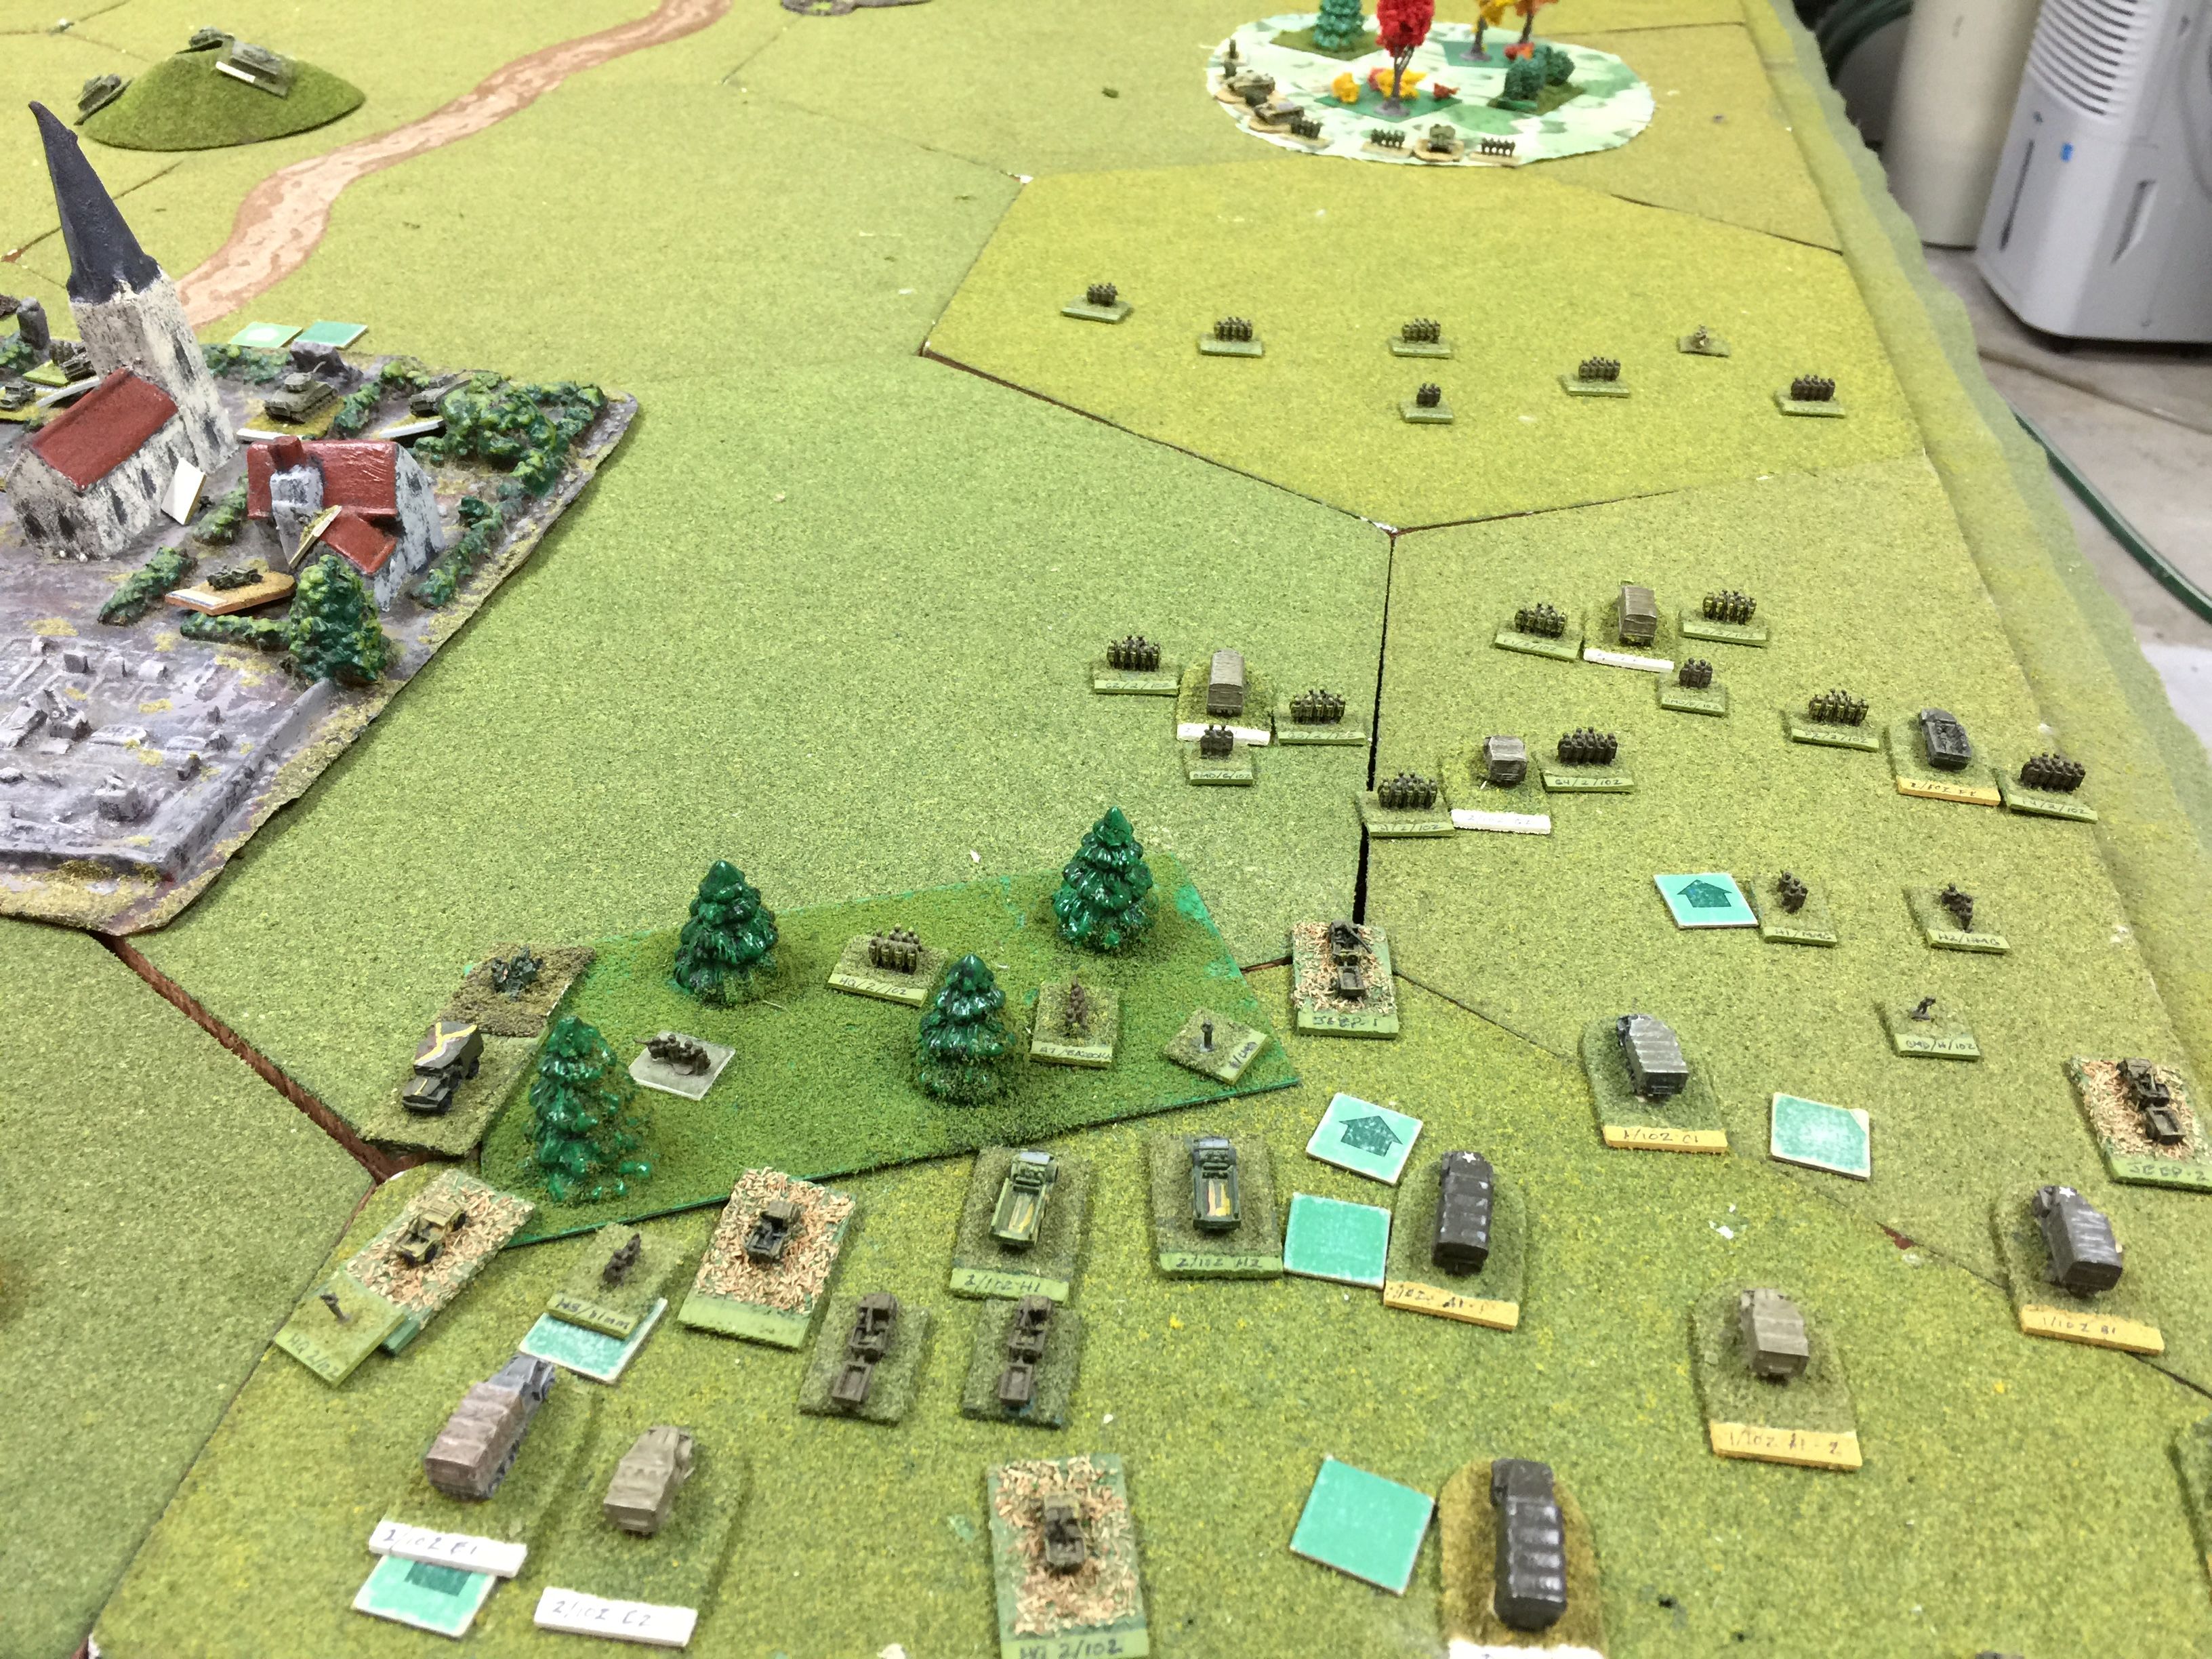
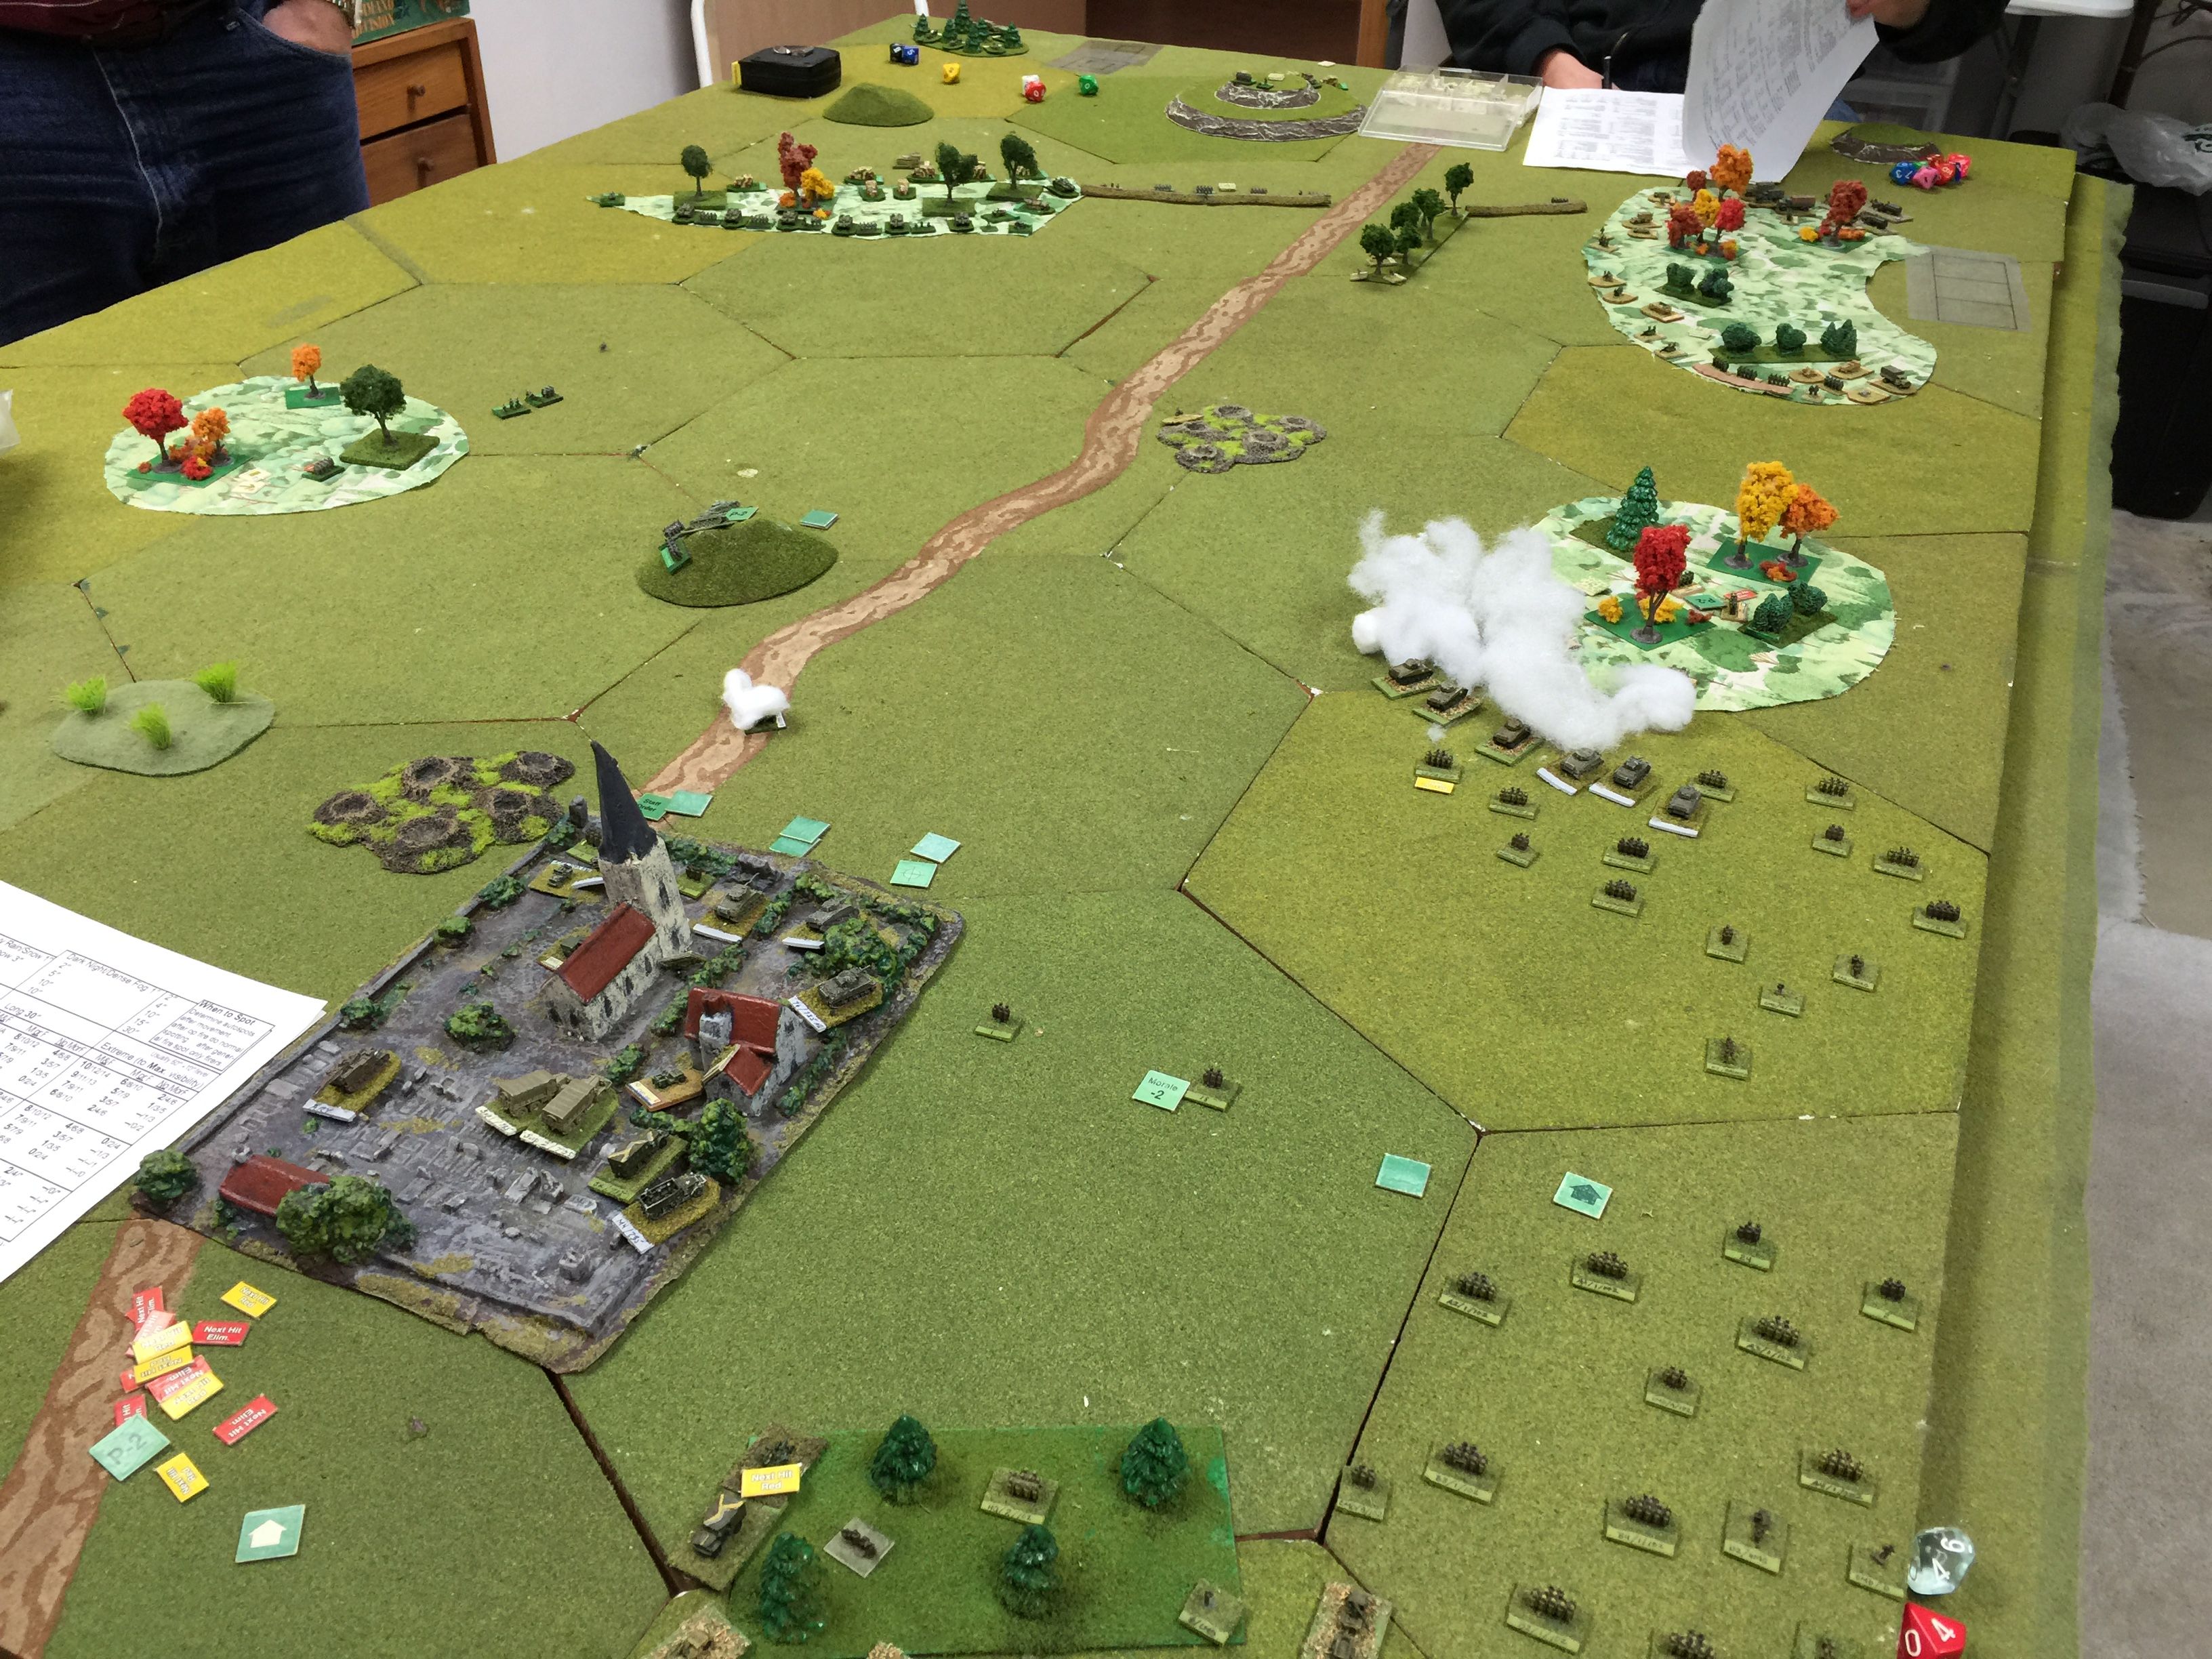
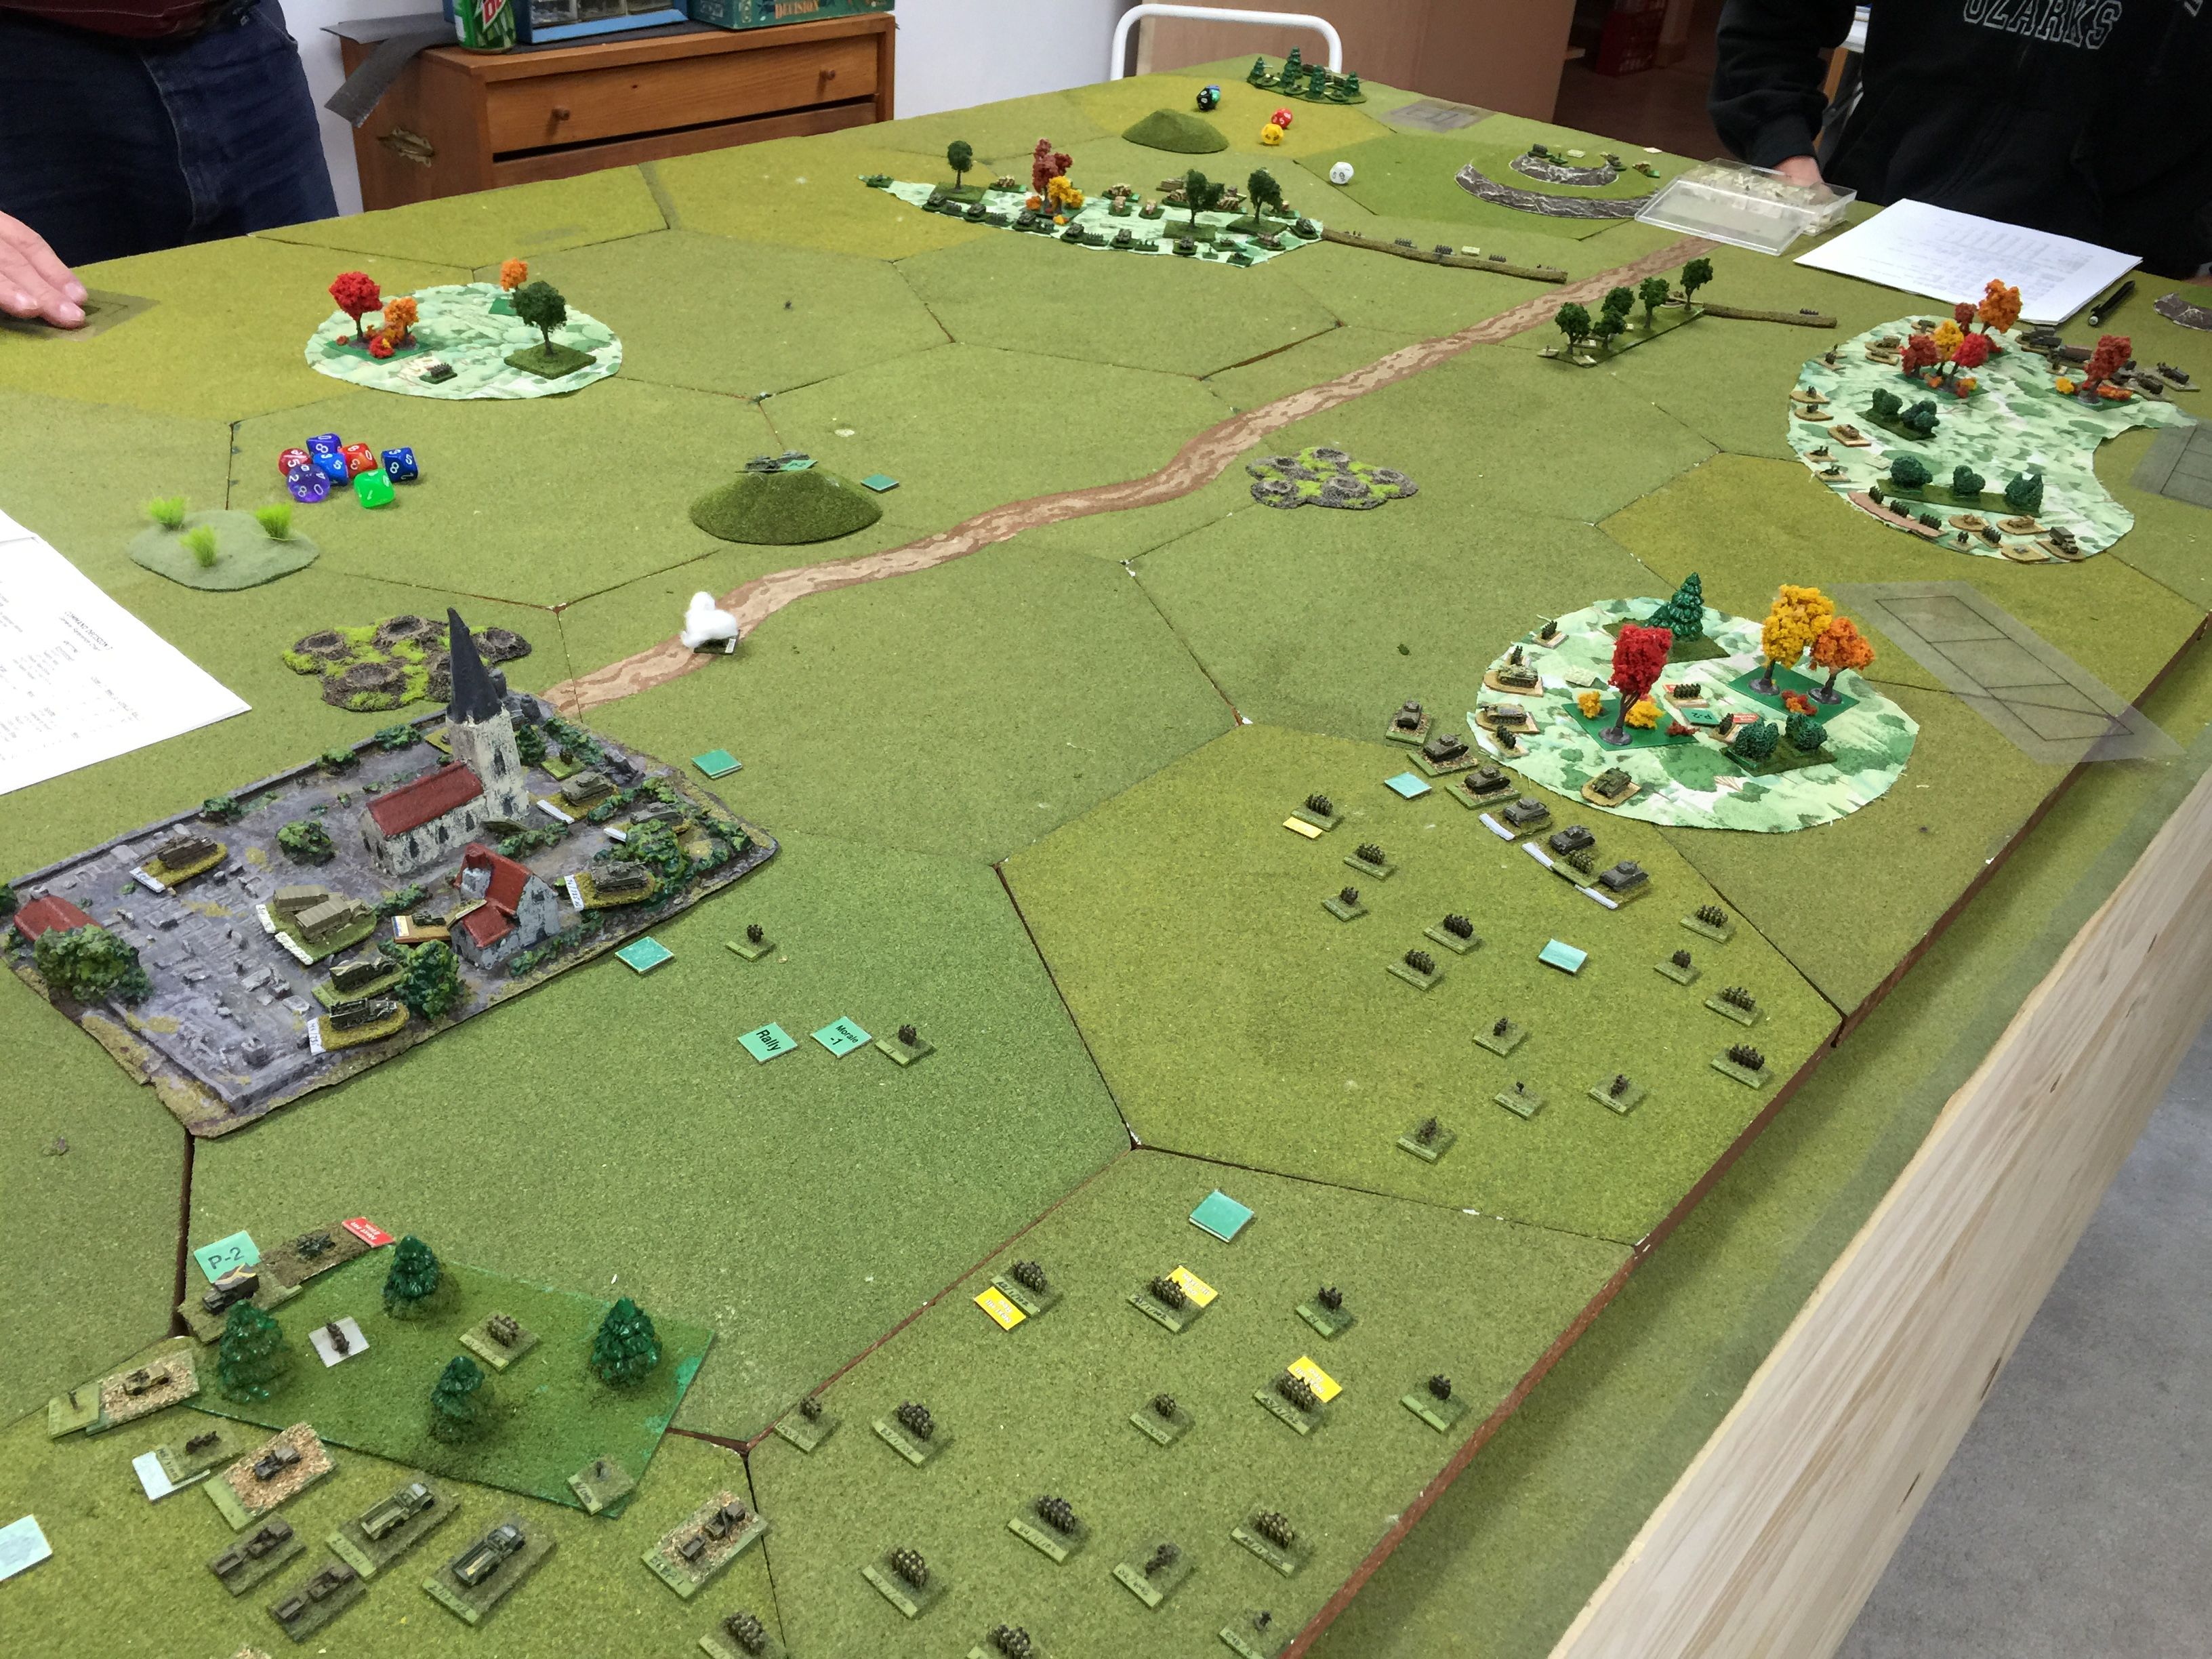
For the game Eric provided all the toys and decided to put together a WWII action in Sicily using Command Decision III. Prior to our long draught we’d been playing quite a bit of CDIV as part of a Barbarossa campaign. We’re playing the middle/southern part of the action having played the north part in a campaign a few years back.

So in this game the Germans were deftly trying to give ground as the Americans were trying to race the Brits to Messina. This action had Chuck and I running the Americans with a regiment with 2 battalions of American Infantry and an Armored Regiment with 105s and 150s in support. Eric and his son Aaron ran the Germans.

IMG_8923

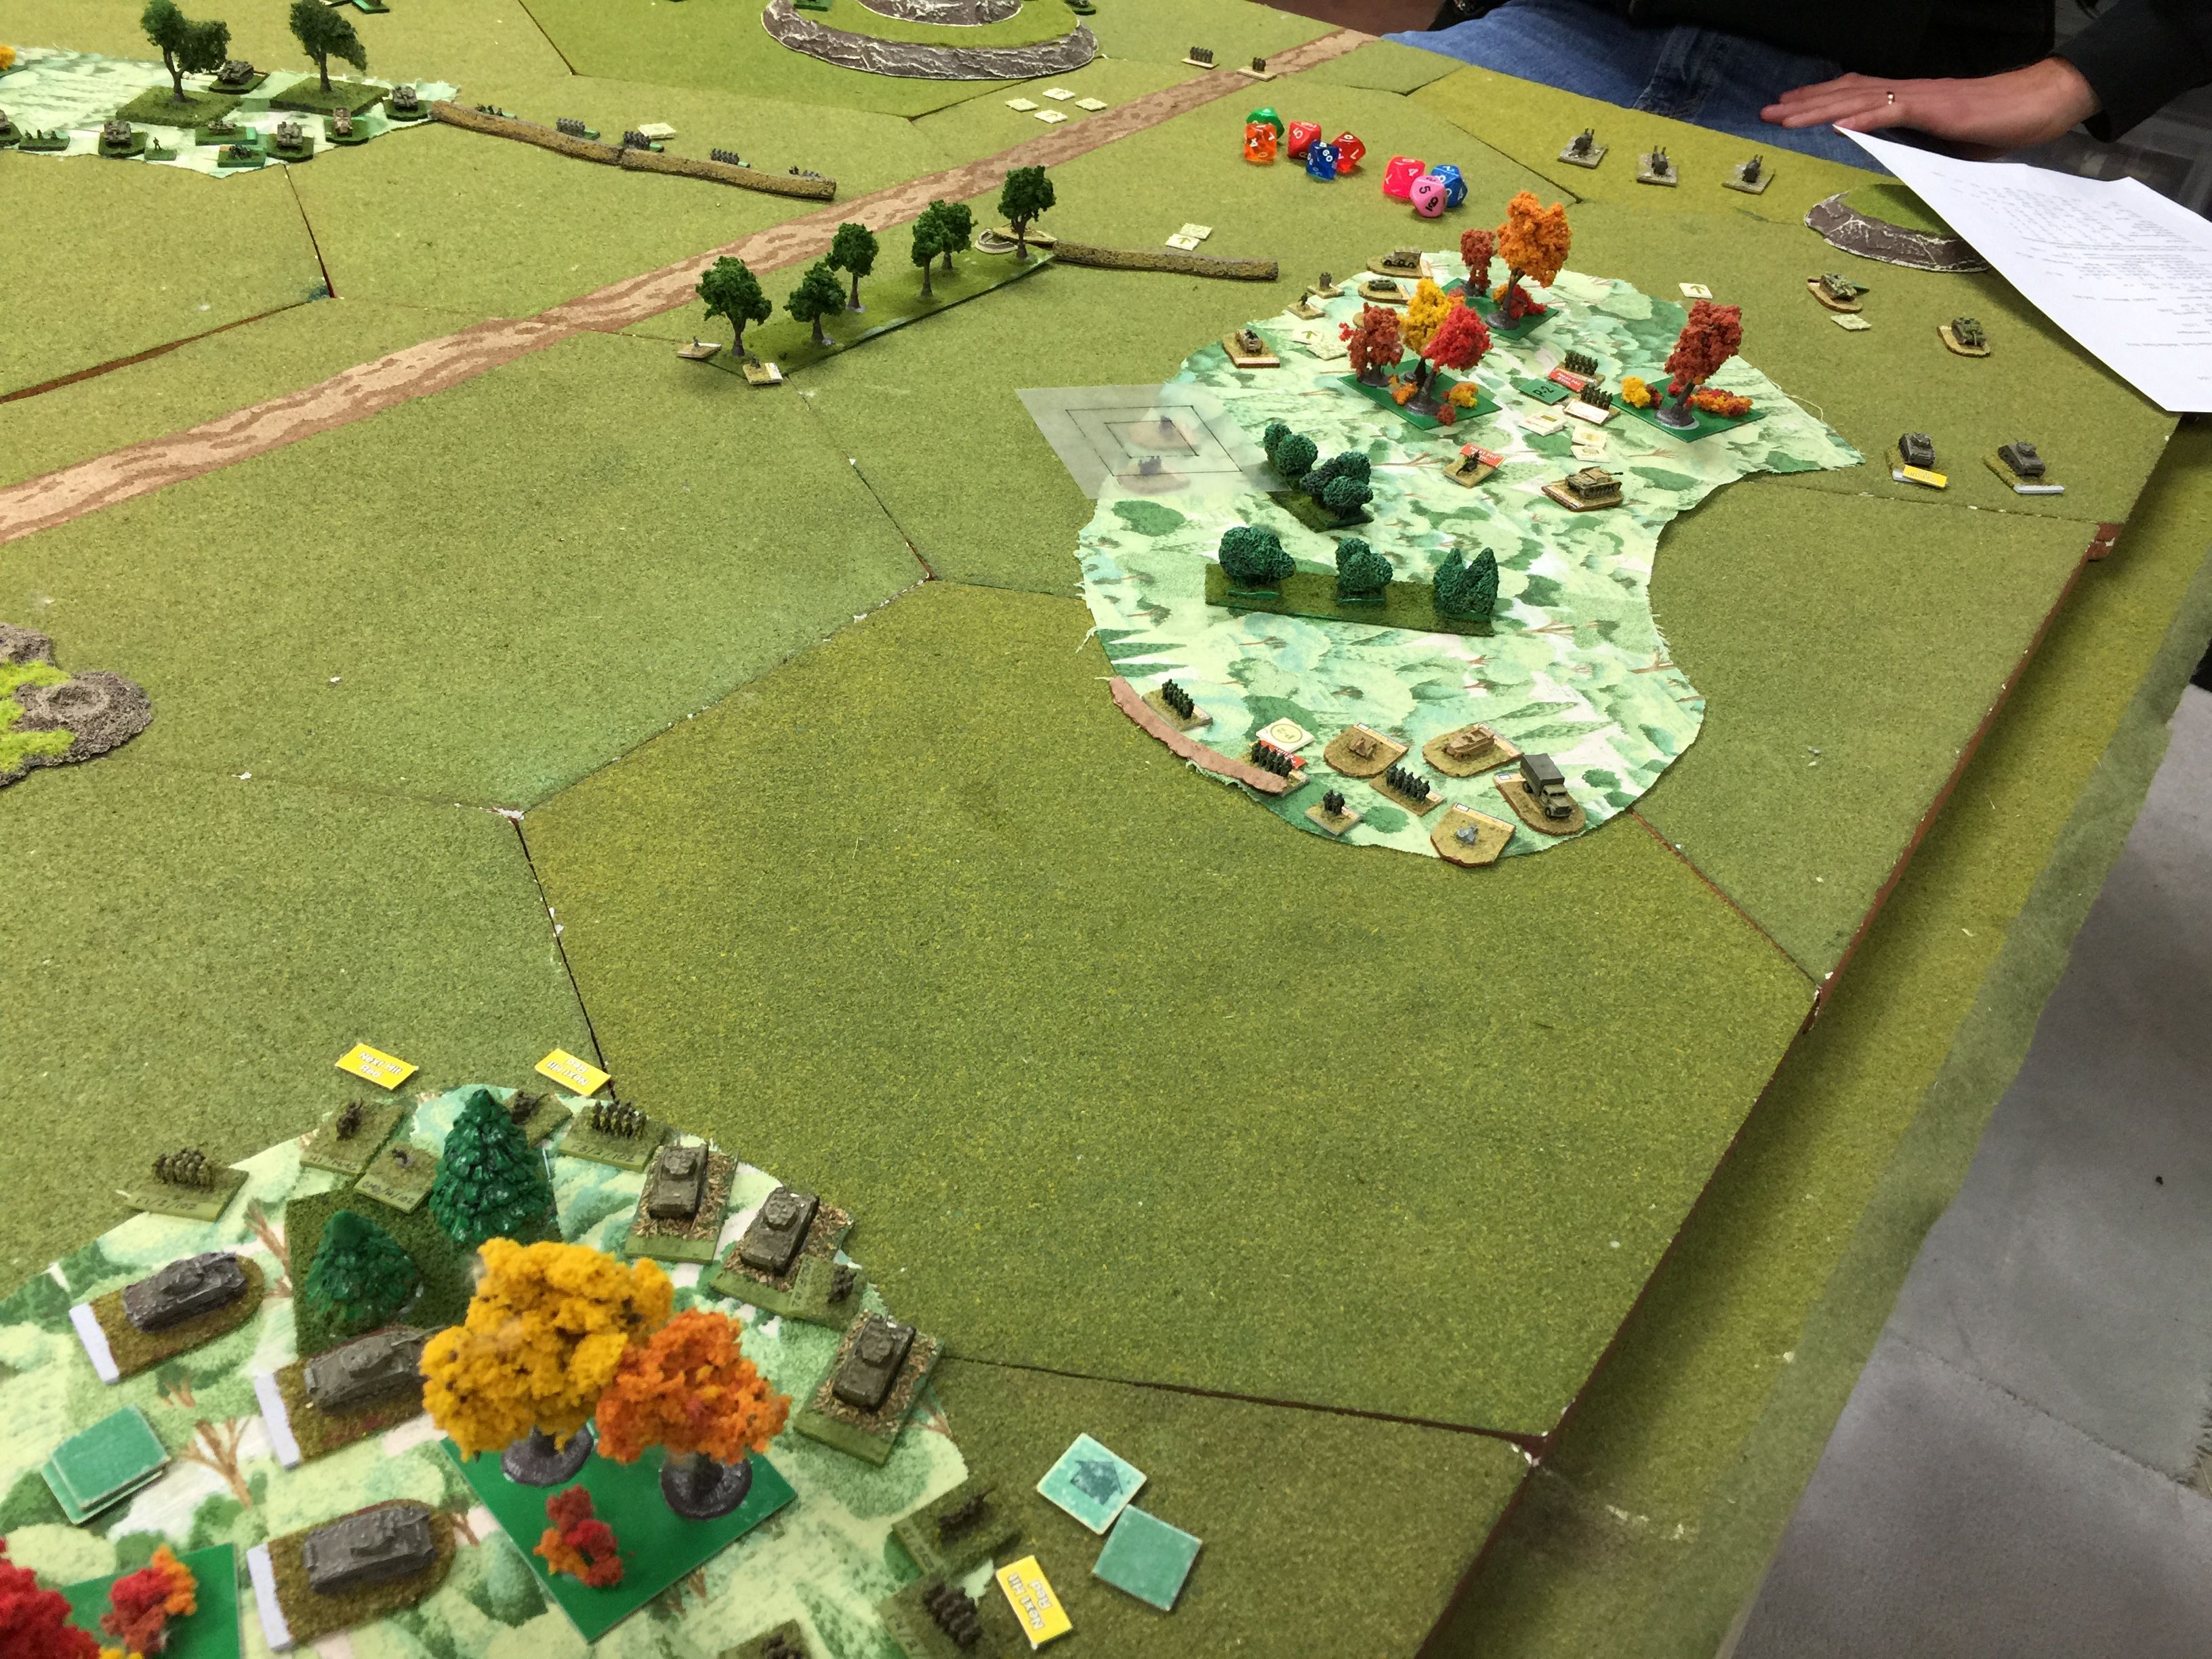
This is the view from our end of the table and the identified route of our offensive. Chuck and I figured we’d pick one side of the road and push away. We liked the shorter distances between the two woods on this right side and as Chuck put it, “looks to be more tank friendly.”

So Chuck ran the armor and I the infantry. We went ahead and entered on turn 1. I came in on the left flank and Chuck down the middle.

IMG_8924

So on Turn 2, I went ahead and sent Easy company forward towards the woods. CDIII doesn’t have deterministic spotting, so it’s a roll to see what you see. I only saw the vehicles and the infantry I missed but that was enough that we figured smoke would be our next move. Unfortunately before we could call it down, the infantry and StuGs opened up and put enough into the forward company that they up and failed their morale by 8 and thus were a complete pick up.

IMG_8926

Chuck threw some of his light takes onto the hill in the middle but losing one in the process. Thankfully we did get the smoke down and 6 Shermans pointed that way. Turn 4 looked to offer much in the way of drama!

IMG_8928

Smoke up and luck was with us. We put enough into the Germans that they quickly started to lose the position. First set of woods down with many straight legs on the run trying to keep up and keep the offensive moving.

Eric and Aaron would drop plenty of artillery on me and as a result, two of the companies would pin but thankfully enough was rolling forward it didn’t slow us up too bad.

IMG_8929

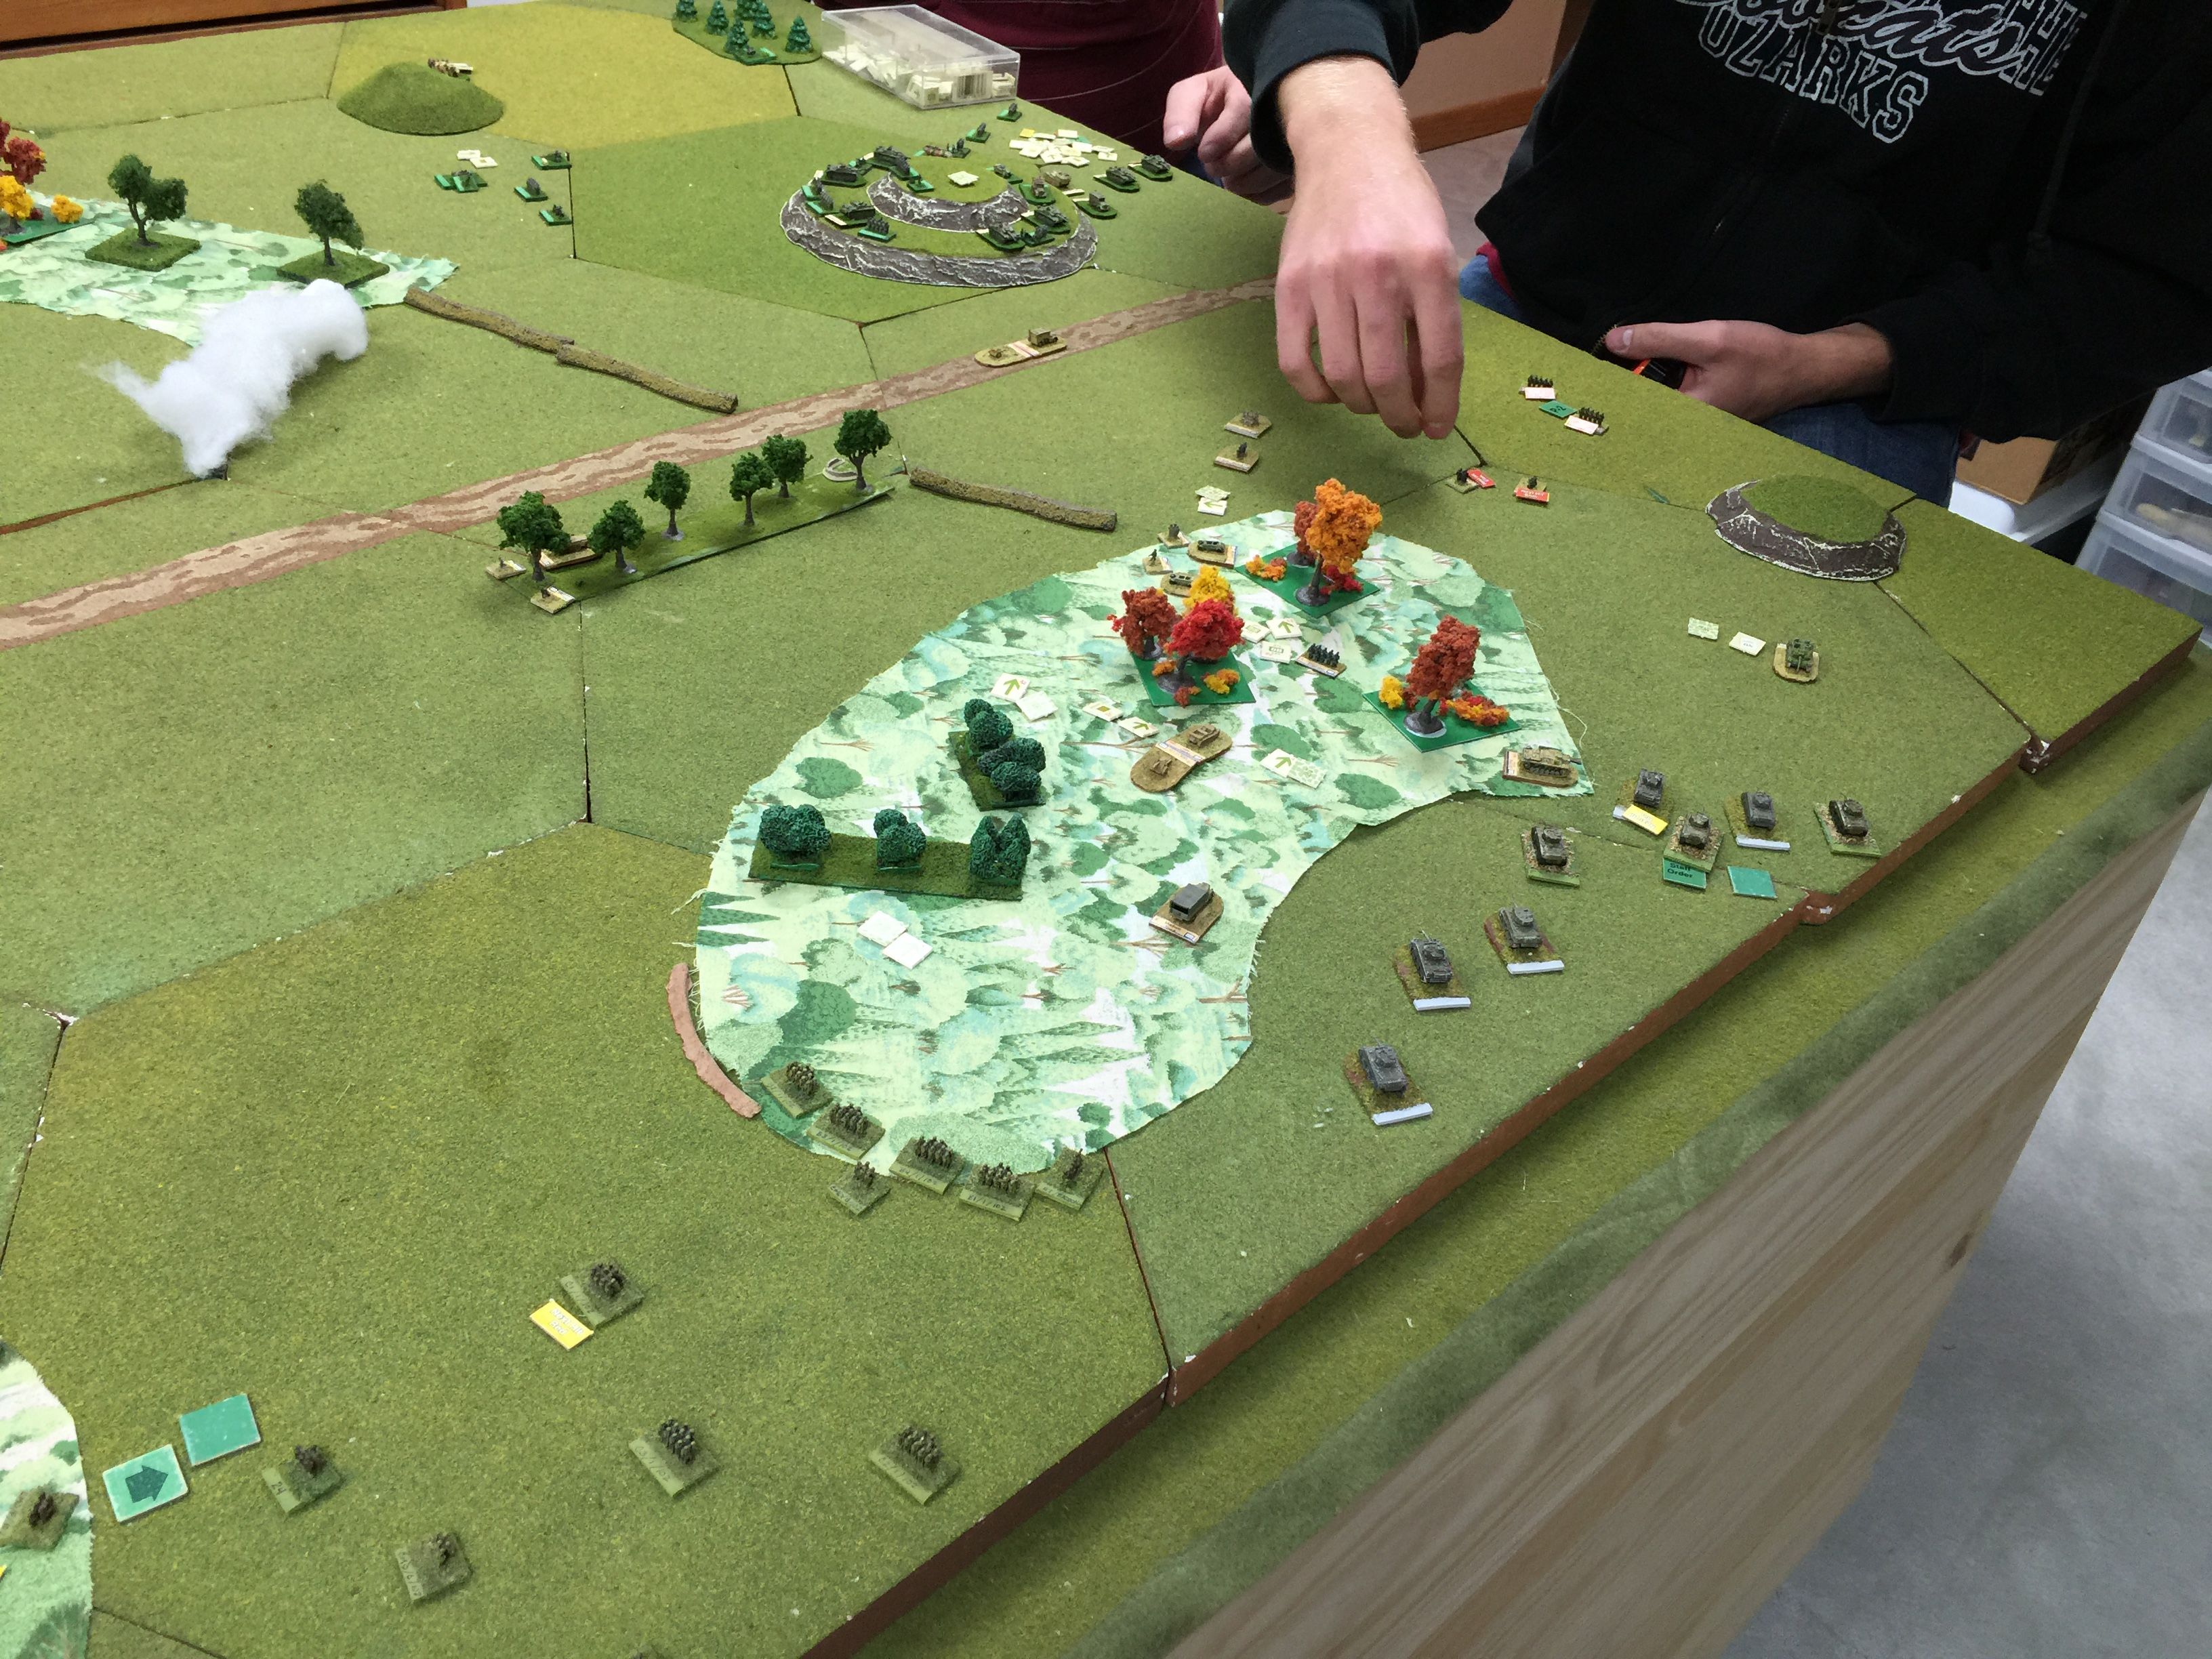
View from the opposite side. On the left Eric had a whole line of StuGs that were trying to snip us from the flank at long range. Thankfully they were vets and were bowling for 1s, still with limited ammo they couldn’t be to aggressive.

Our offensive continued and we made it to the woods line of the second forest on the left. Chuck’s Shermans were really doing all the work. My infantry was just trying to best to keep up!

IMG_8931

This is actually an earlier picture of the left flank just before the picture above. Our lightning bolt all ready to go yet again into the woods and Chuck even had a company of Shermans well beyond near the back of these woods already and unsupported at that!

At this point Eric and Aaron were starting to pull their forces. Historically exactly what the Germans were doing. They wanted to get back into mainland Italy. The conclusion was obvious, it was more a matter of blunting the attack and getting forces off the island quickly as possible.

IMG_8932

Last picture and very much close to the conclusion of the game. The StuGs on the left flank, not wanting to get encircled have pulled back. The Shermans and Infantry well into the woodline on the left flank. Our attack successful and the battle plan actually survived contact! Rare day where that happens!

Fun game, good to see the crew again

Posted in CommandDecision | Comments Off on ’43 Americans v Germans in Sicily

Great War – Big Push – Flames of War

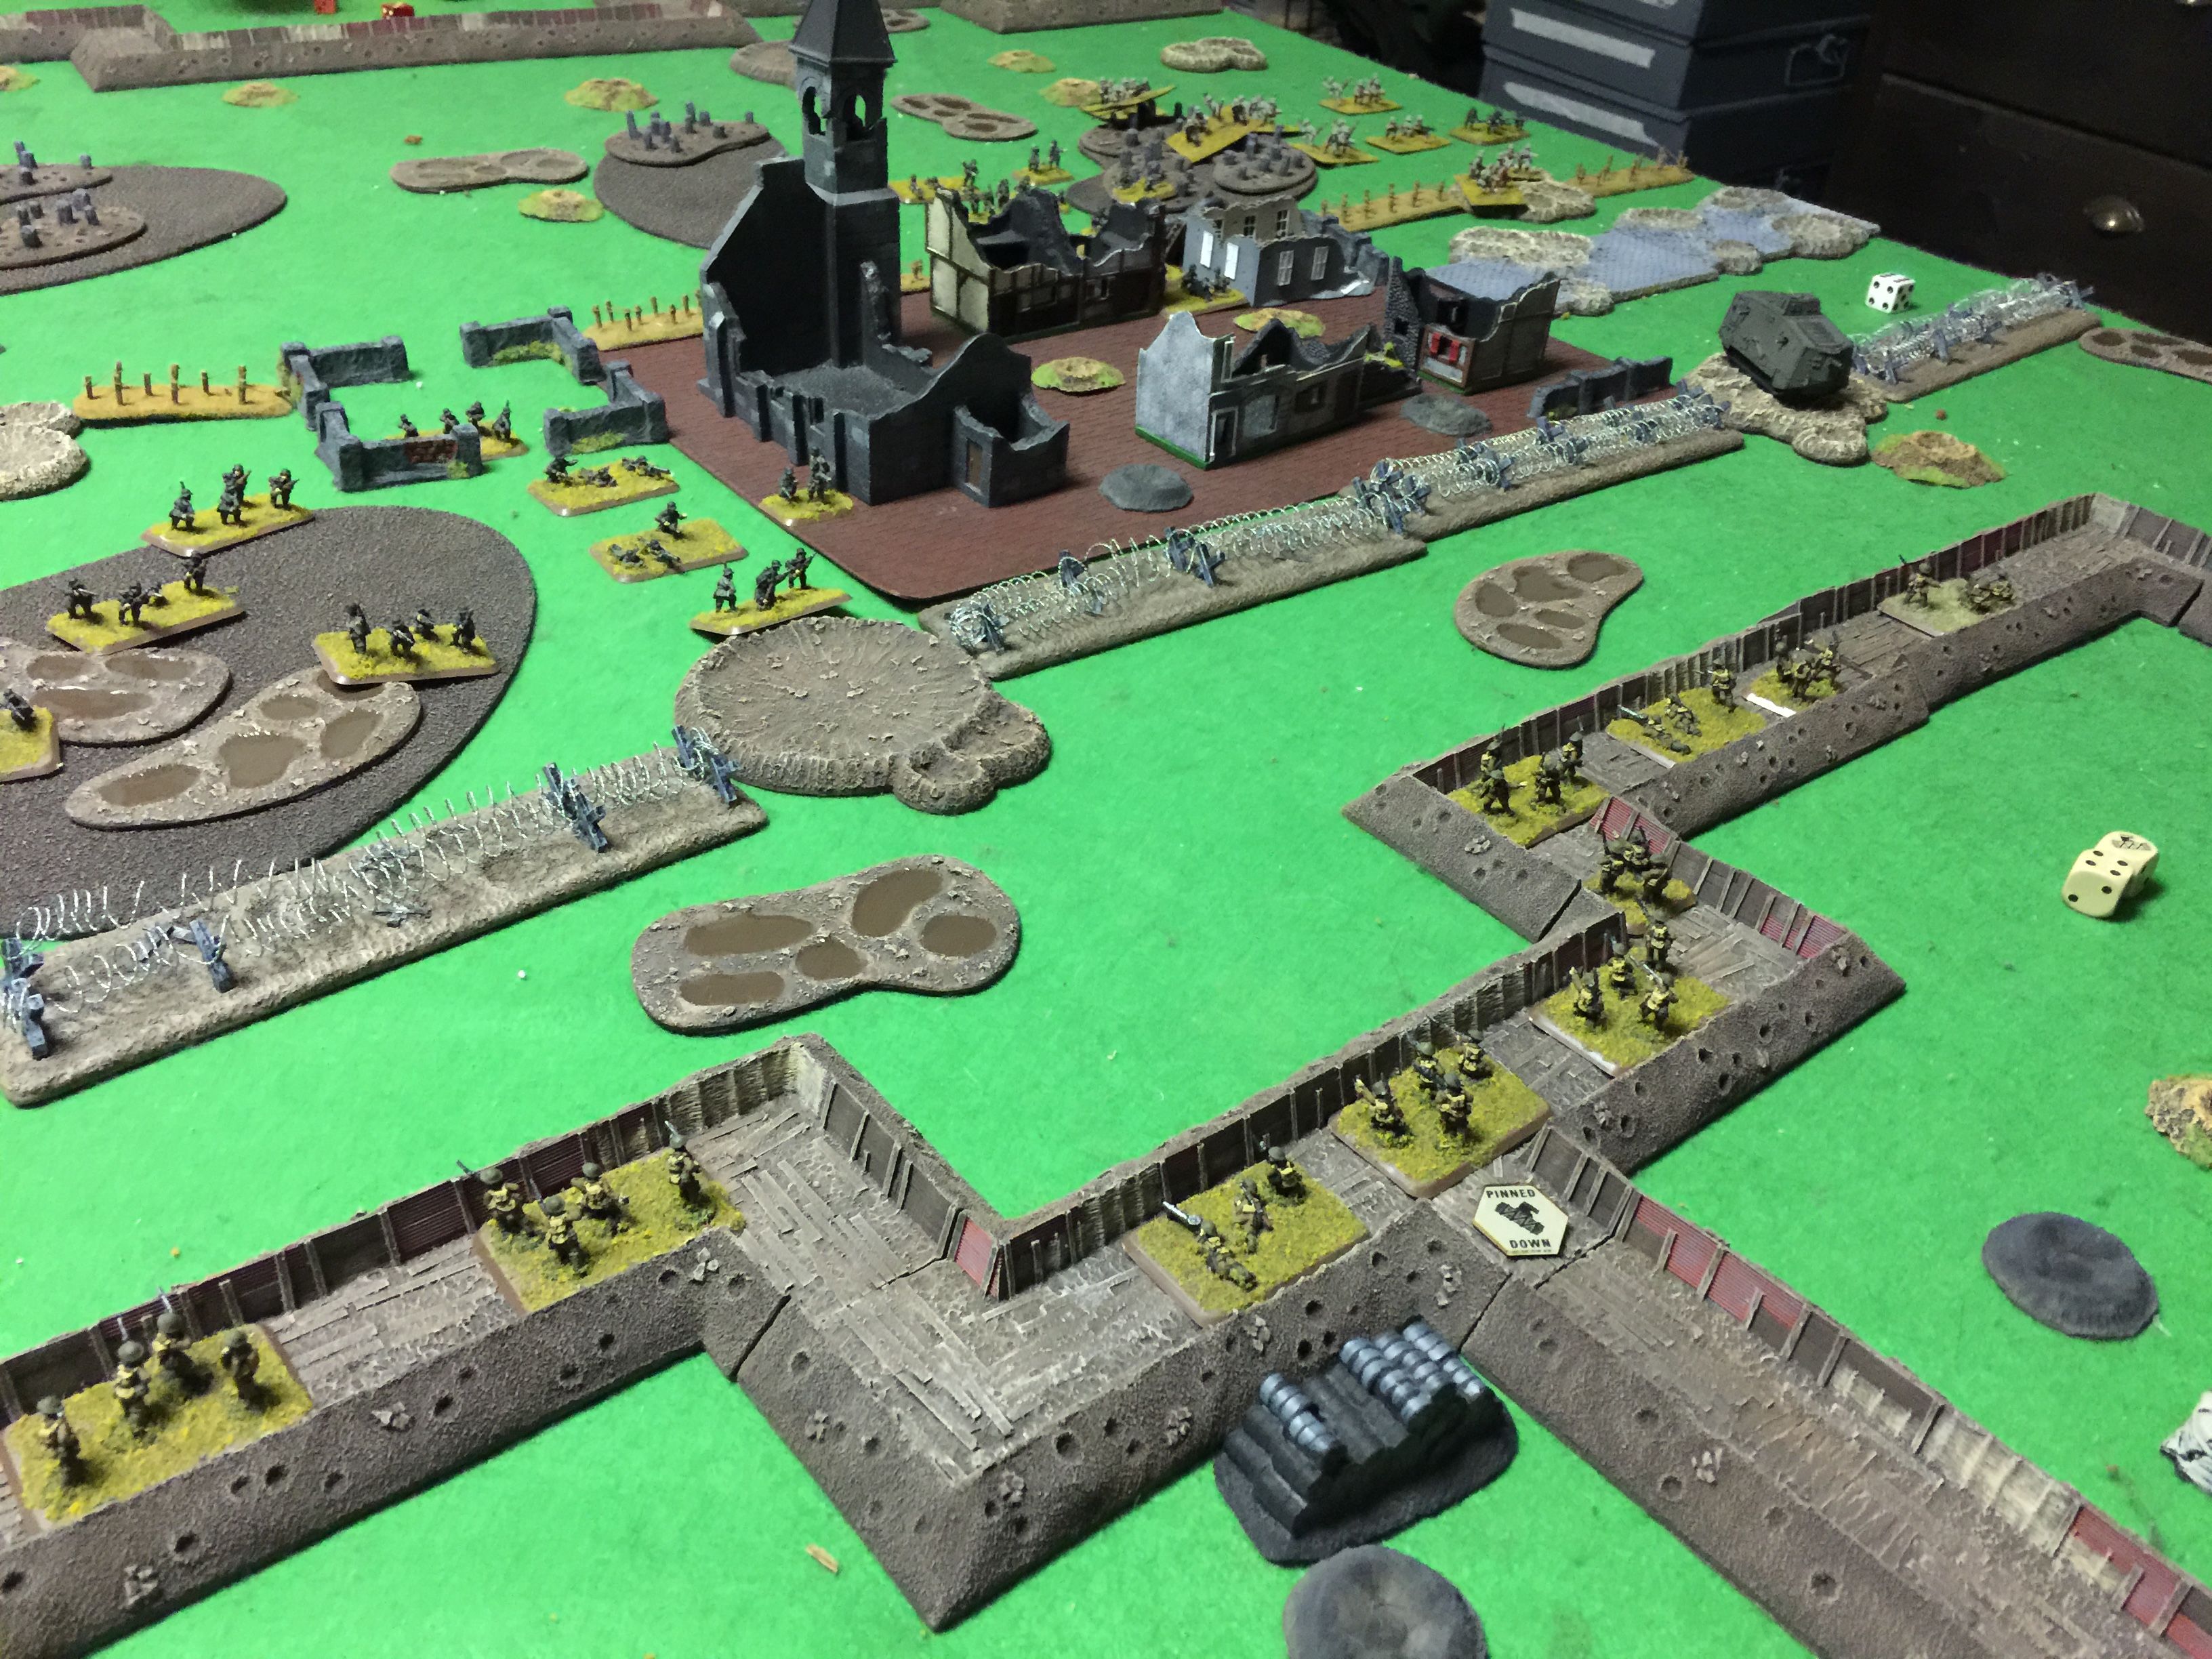
Ian and put together a WWI map on the table so naturally a big push scenario using the Flames of War Great War rules was calling.

IMG_8912

I played the Brits and Ian the Germans in a 1918 action. He was on the offensive and I on the defense.

My force was 2 platoons of straight legs. I had my Scots out for one of them. I also got a 3 gun battery of 18 lbers, a 4 tub platoon of mortars, an HMG platoon and 2 whippets for good measure.

Ian picked up a straight legs platoon, 2 7.62 Krupp guns he was just dying to use, a stoss platoon with a flame thrower team, an HMG platoon, a couple of mortars at the company level and then an Av7.

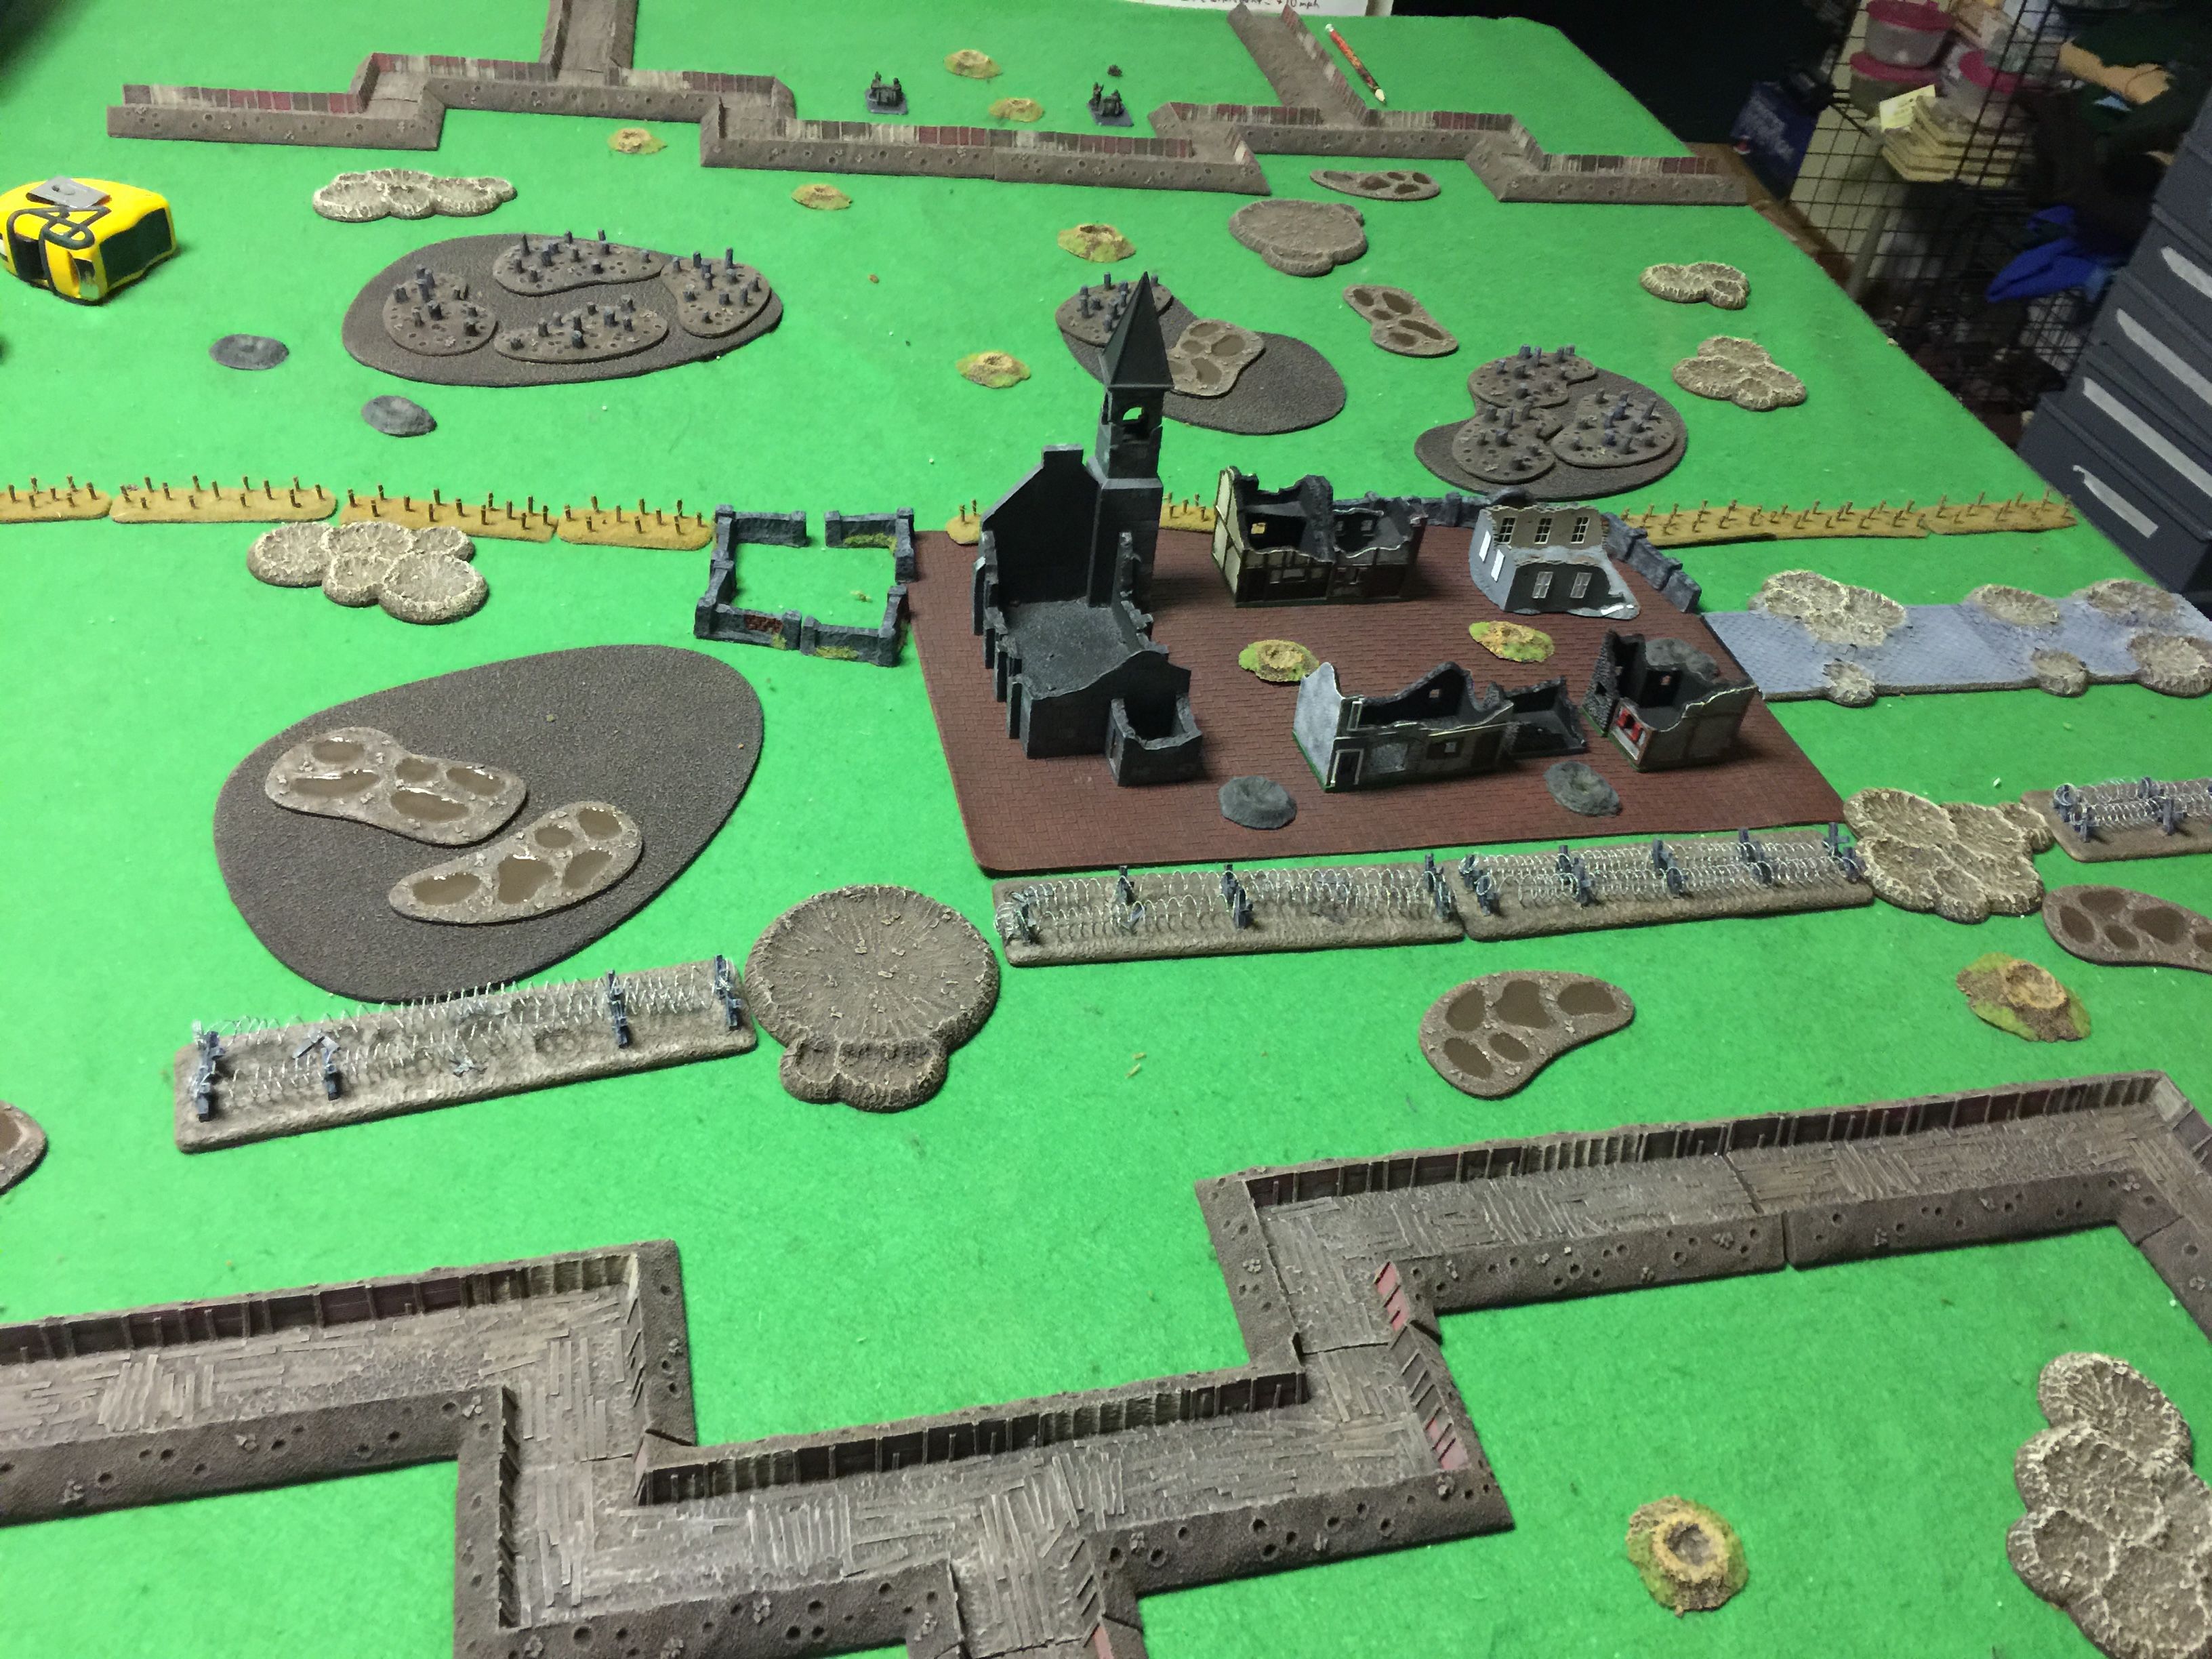
Turn 1 of course had Ian starting  just back from the center line. In the picture above that’s just on the other side of the wire on the far side of the town. Alas those trenches on the other side of the table just wouldn’t get used.

With the big push that means that I had to pick for 1/2 of my initial forces to start on table and then hope reinforcements would save the day depending on how hard I might get hit.

IMG_8913

I deployed a straight leg platoon of infantry on my left and then my HMG platoon on the right. I also picked up the 3 18 lbers at the start, having them being dug in. Ian spread his men out at the beginning quite a bit. So he put back the initial push a bit. I think he really wanted to make use of the trench line back there but really that was just window dressing.

IMG_8914

The first turn was pretty uneventful, especially considering with the big push as the defender you start pinned. Worse since my entire force was confident trained and my dice were being less than great, I failed my unpinning rolls across the board. So much for a great rate of fire or using my artillery. sigh.

IMG_8915

Turn 2 the Germans infantry was getting a little closer. The town was effective cover in the middle and on both side there were a couple of channels for them to filter through and shell holes a plenty to grab some cover in. On turn 2 I was finally able to get my HMG and artillery to unpin but my lone infantry platoon still felt the need to keep to the cover.

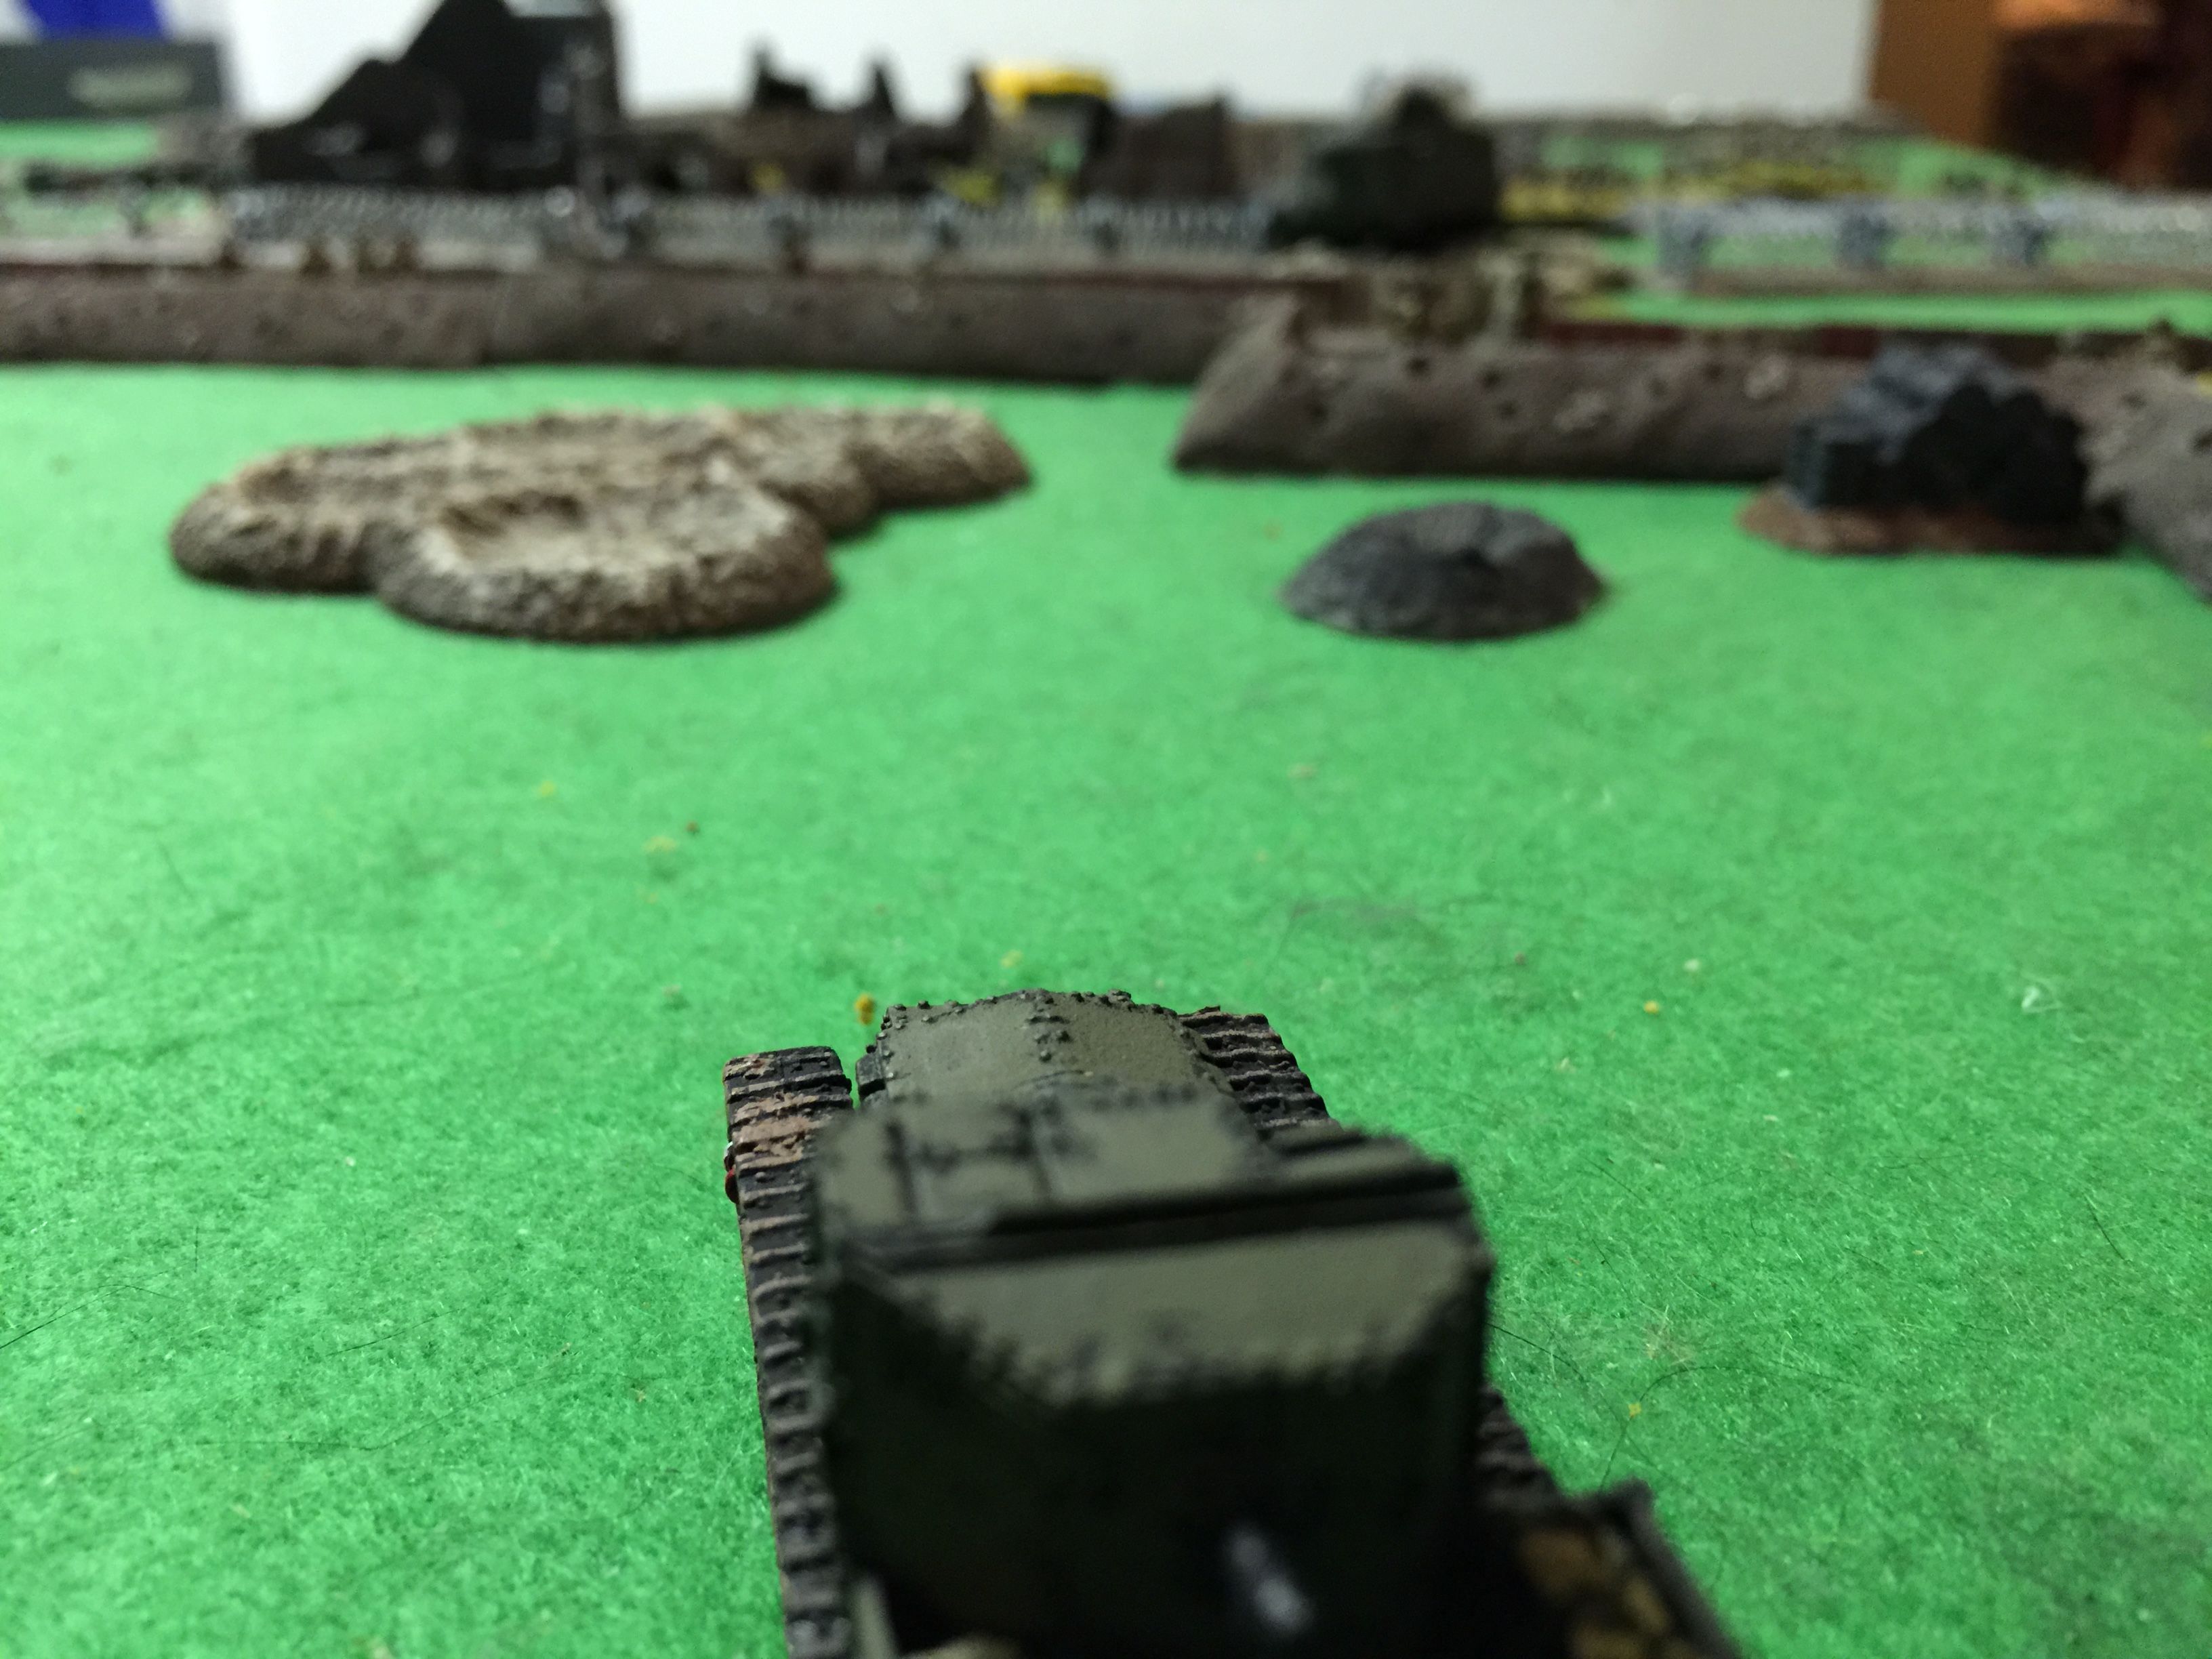
Ian’s A7V was rolling forward fine. With no bogging this was definitely my area of concern since only my artillery could handle that tank. I was hoping I could make quick work of it and then get back to pounding the incoming infantry.

IMG_8916

Such a juicy target off in the distance. And hit it I did but I didn’t destroy it and instead put a couple of damage markers on it. Finally some decent shooting on my part. Otherwise the German infantry was advancing with little damage.

IMG_8918

With Turn 3 I got my first reinforcement rolls so given I hadn’t suffered much in the way of damage yet I figured I’d bring the whippets on. Tank-a tank-a tank-a! I also had a second platoon successfully rolled for from the 3 dice, and I chose my Scottish Infantry. The Whippets rolled a 5 for entry and thus could come on anywhere and a 3 for the Scots which had the coming down the left communications trench. Bugger!  I really needed them on the right flank!

IMG_8919

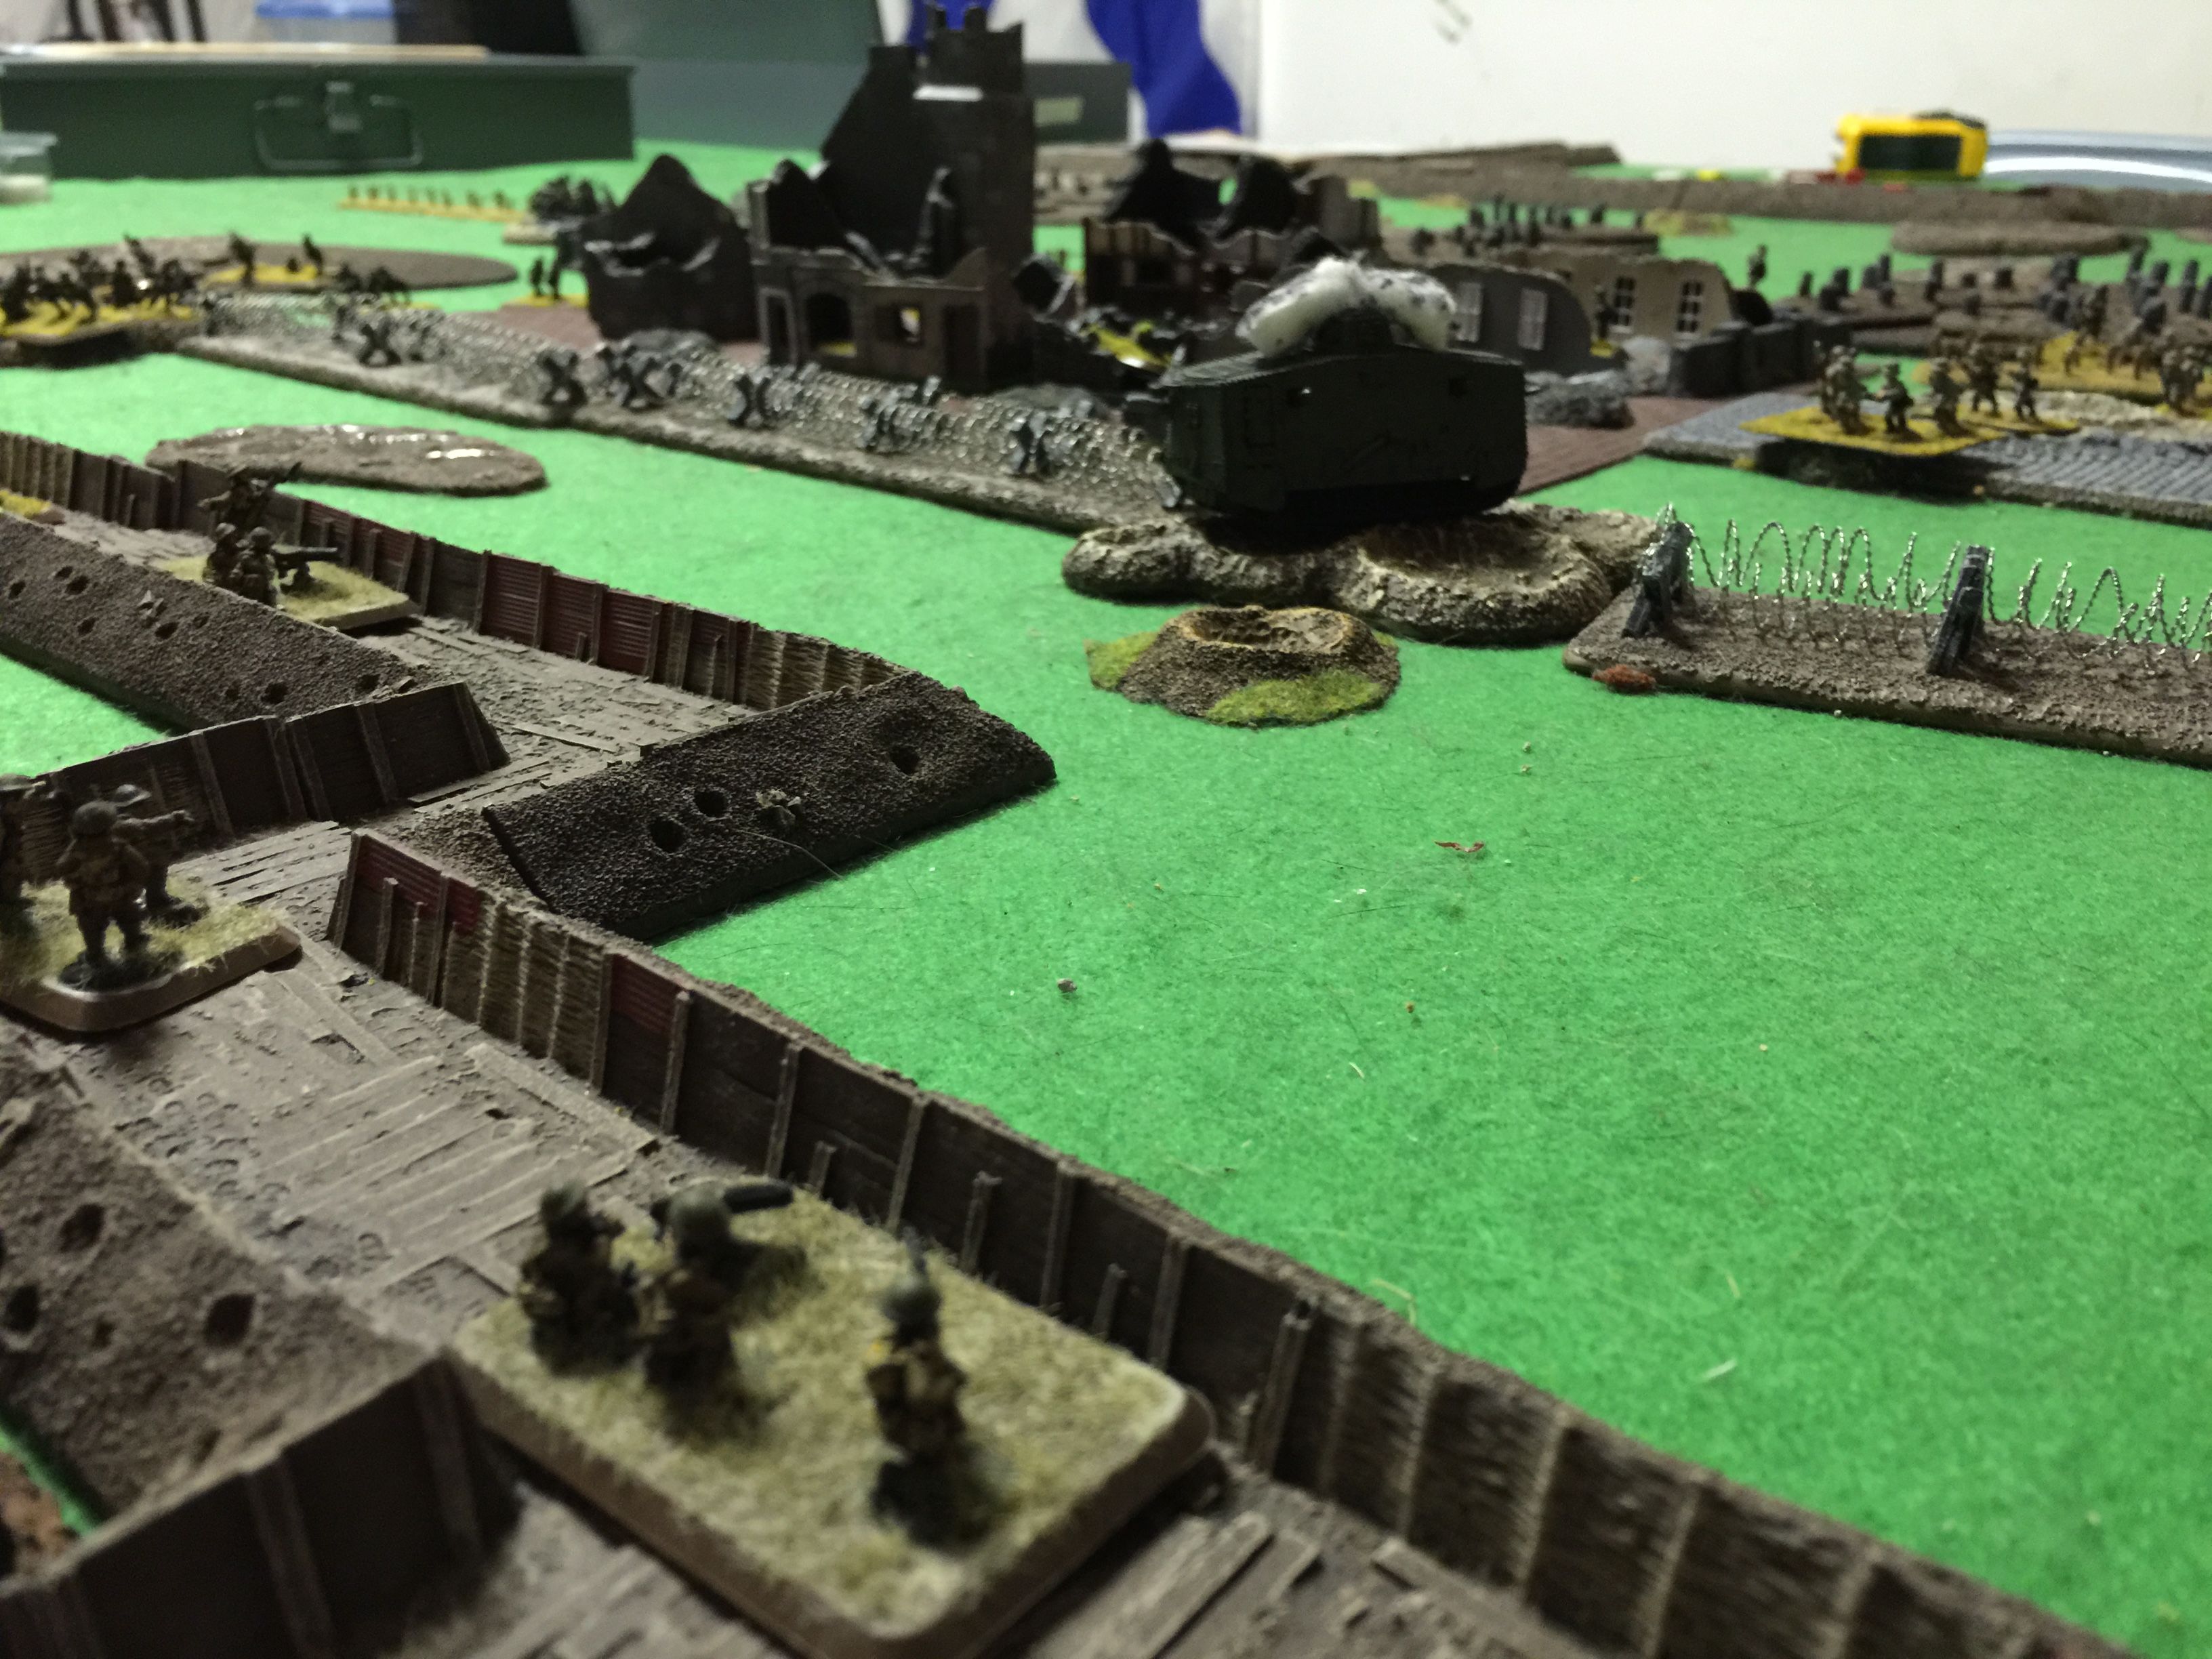
Ka-boom!  Ian didn’t get his A7V repaired at all in Turn 3, so at the bottom of the turn I was able to complete the distruction. Tho off in the distance on the left, you can see the Germans were streaming my way. Ian placed a sniper in the town in Turn 2 and unfortunately he was causing a platoon here and there to dive for cover and go pinned. Grrr!  Otherwise my fire at the incoming hoard was down right poor and I was starting to brace myself for a future assault phase that was going to be bloody. Also on the right side here you can see the Stoss in the shell holes. I was throwing HMG fire into them but just not landing any hits with the bullet proof cover. Least my artillery would be back online in turn 4 for using against infantry.

IMG_8920

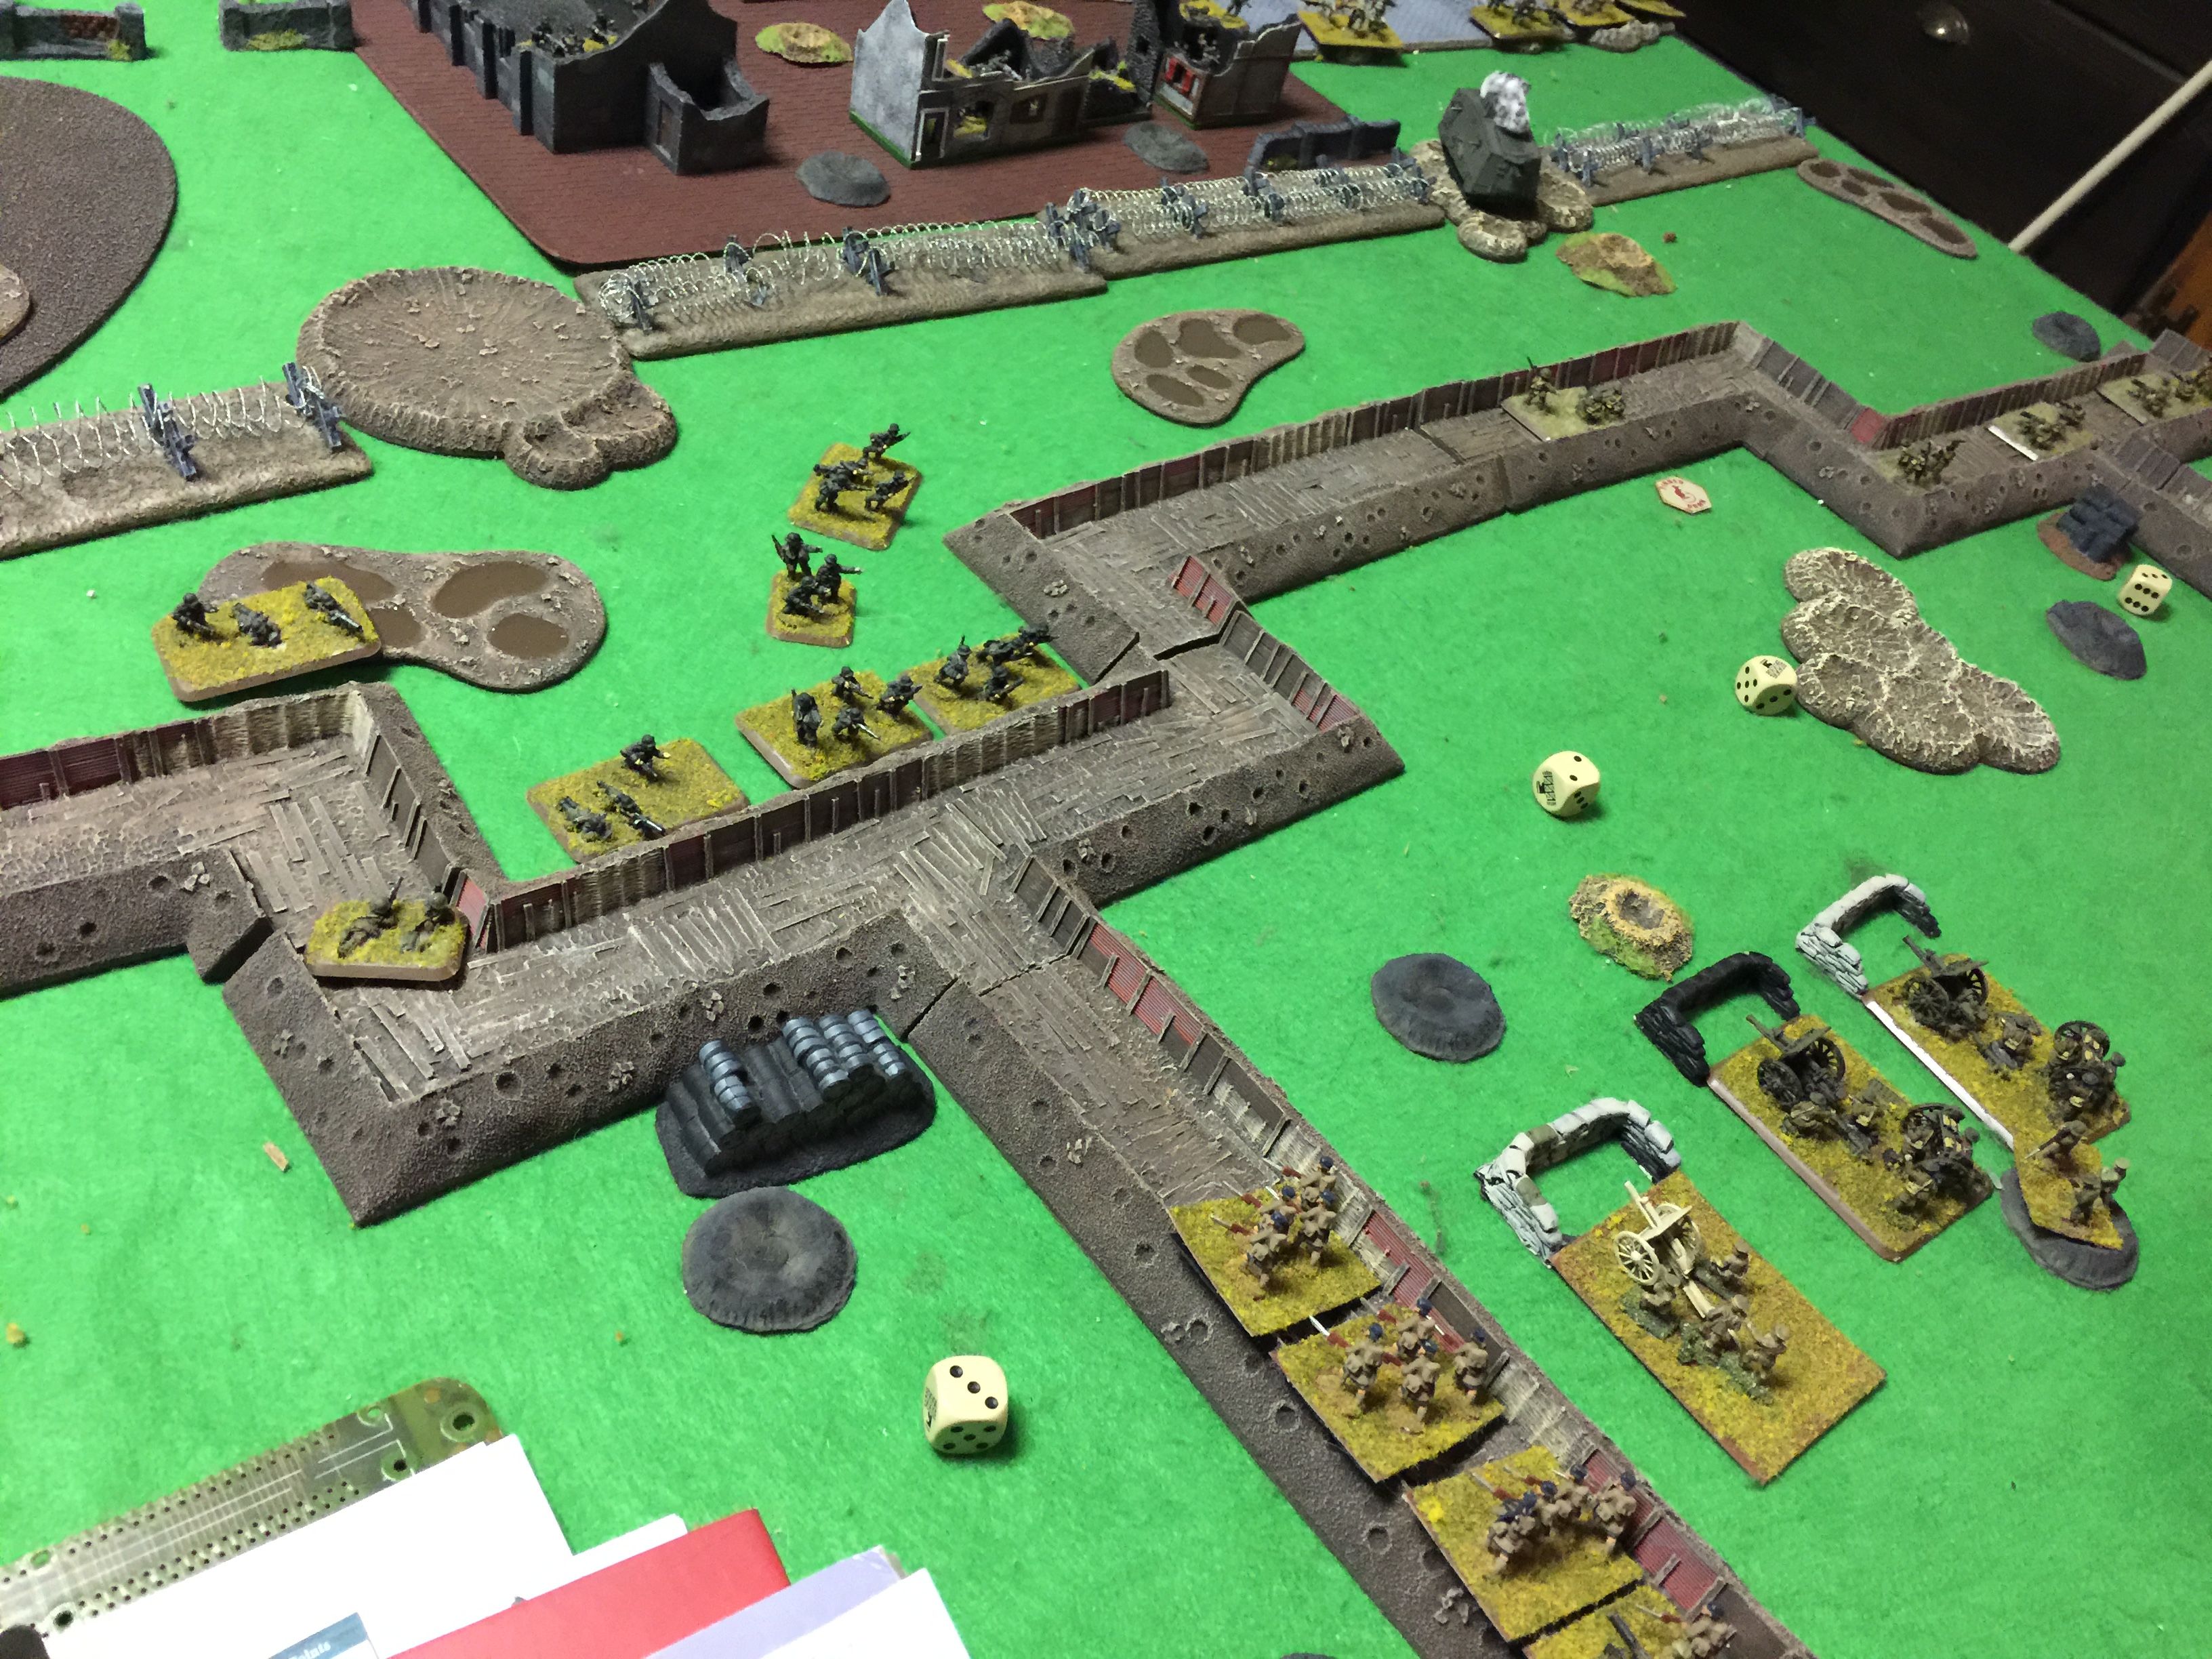
A view from behind the German Stoss platoon. You can see in the town German HMGs and mortar teams getting into position.

IMG_8922


So bottom of turn 3 here on the left flank. Things looking quite secure and with the Scots coming down the communications trench as reinforcements.

IMG_8935

Surprise, surprise the Germans assault and once again my fire is just horrible, so while the Germans lost a couple of teams on the defensive fire, they make it in for the close combat where things go back and forth a few very bloody rounds when the Germans finally decide they’ve had enough. Unfortunately on consolidation my platoon has decided it’s had enough and makes a run for it, failing it’s platoon morale roll entirely. No matter the Scots will save the day … right?

IMG_8936


So the only thing left is the one sniper of mine. I double march the Scots into place so they can defend the trench. This turns out to be a bad idea. More on that in a second.

IMG_8938

So I’m able to refill the trenches. But you can see the very big problem I’m about to have on the right flank. A mob of Stoss incoming. I start to point the Whippets over in that direction.

My Scots on the left get into place. But given the double move, that cause them to receive double hits. I’m in bullet proof cover. So no problem right? No problem. Big Problem. Ian throws a hail of HMG prep fire etc into me and so that results in a number of losses. The as Ian assaults, the Scots don’t get to do defensive fire, so we just go into it. It’s a bloody back and forth scrum which again my dice seem to think I should be doing something else so the end result is pretty bad.

IMG_8940

Where did everybody go?  Yup you got that right. Ian wins the fight but given that damage fails platoon morale and pick up. So my snipper team is holding the left flank all by himself and would for the rest of the game.

IMG_8943

So what of the Stoss platoon?  Well due to some damage my HMG platoon was whittled down to just 1 team left and the 2iC company commander and the platoon commander. I sent my Whippets over toot sweet in hopes they might be able to save the day.

Further my mortar platoon is rolled up as reserves and comes in on the right communications trench. Things are looking desperate for the Brits.

IMG_8944

My whippets do their best none small pass impression and fail to really do much. They take out a couple teams.

Ian on the other hand, has 4 HMGs, his 2 7.62 Krupp guns all into my Whippets…..

IMG_8945

…and scores a crap ton of his causing them both to bail.

IMG_8946

The assault goes just how you think it would, Ian clearing my out easily and it’s basically and easily game for the Germans. There’s not way the single mortar platoon is going to take on a Stoss platoon but just for good measure and to drive the point home, with my losses, I’d have a roll for company morale, but it’s an auto fail since the CiC and 2iC both have died in the trenches.

Good game, with very code dice.

Posted in FlamesOfWar | Comments Off on Great War – Big Push – Flames of War